 Vitaly
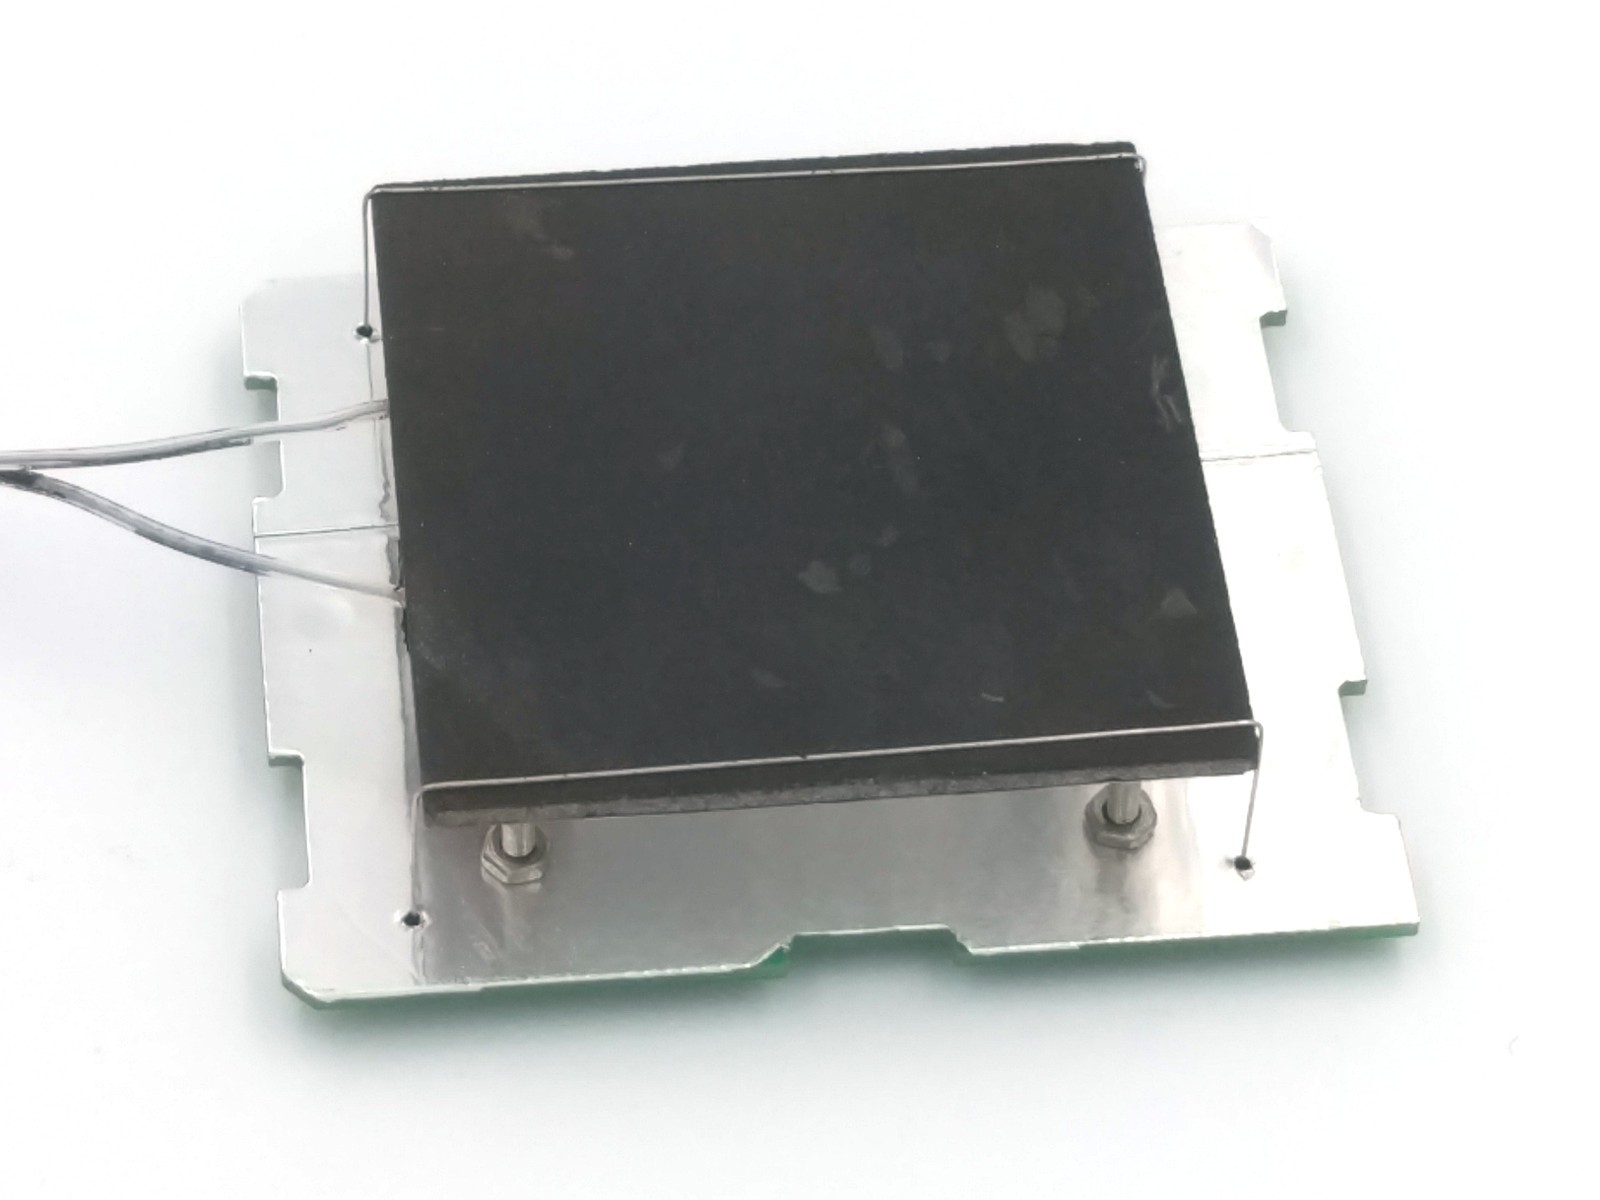
Finally achieved very good results: MCH top 260C, bottom mount points 45C (screw heads), PCB almost cold. Only 10mm space between PCB and MCH. That's a win :). See photos and read details below.
Details
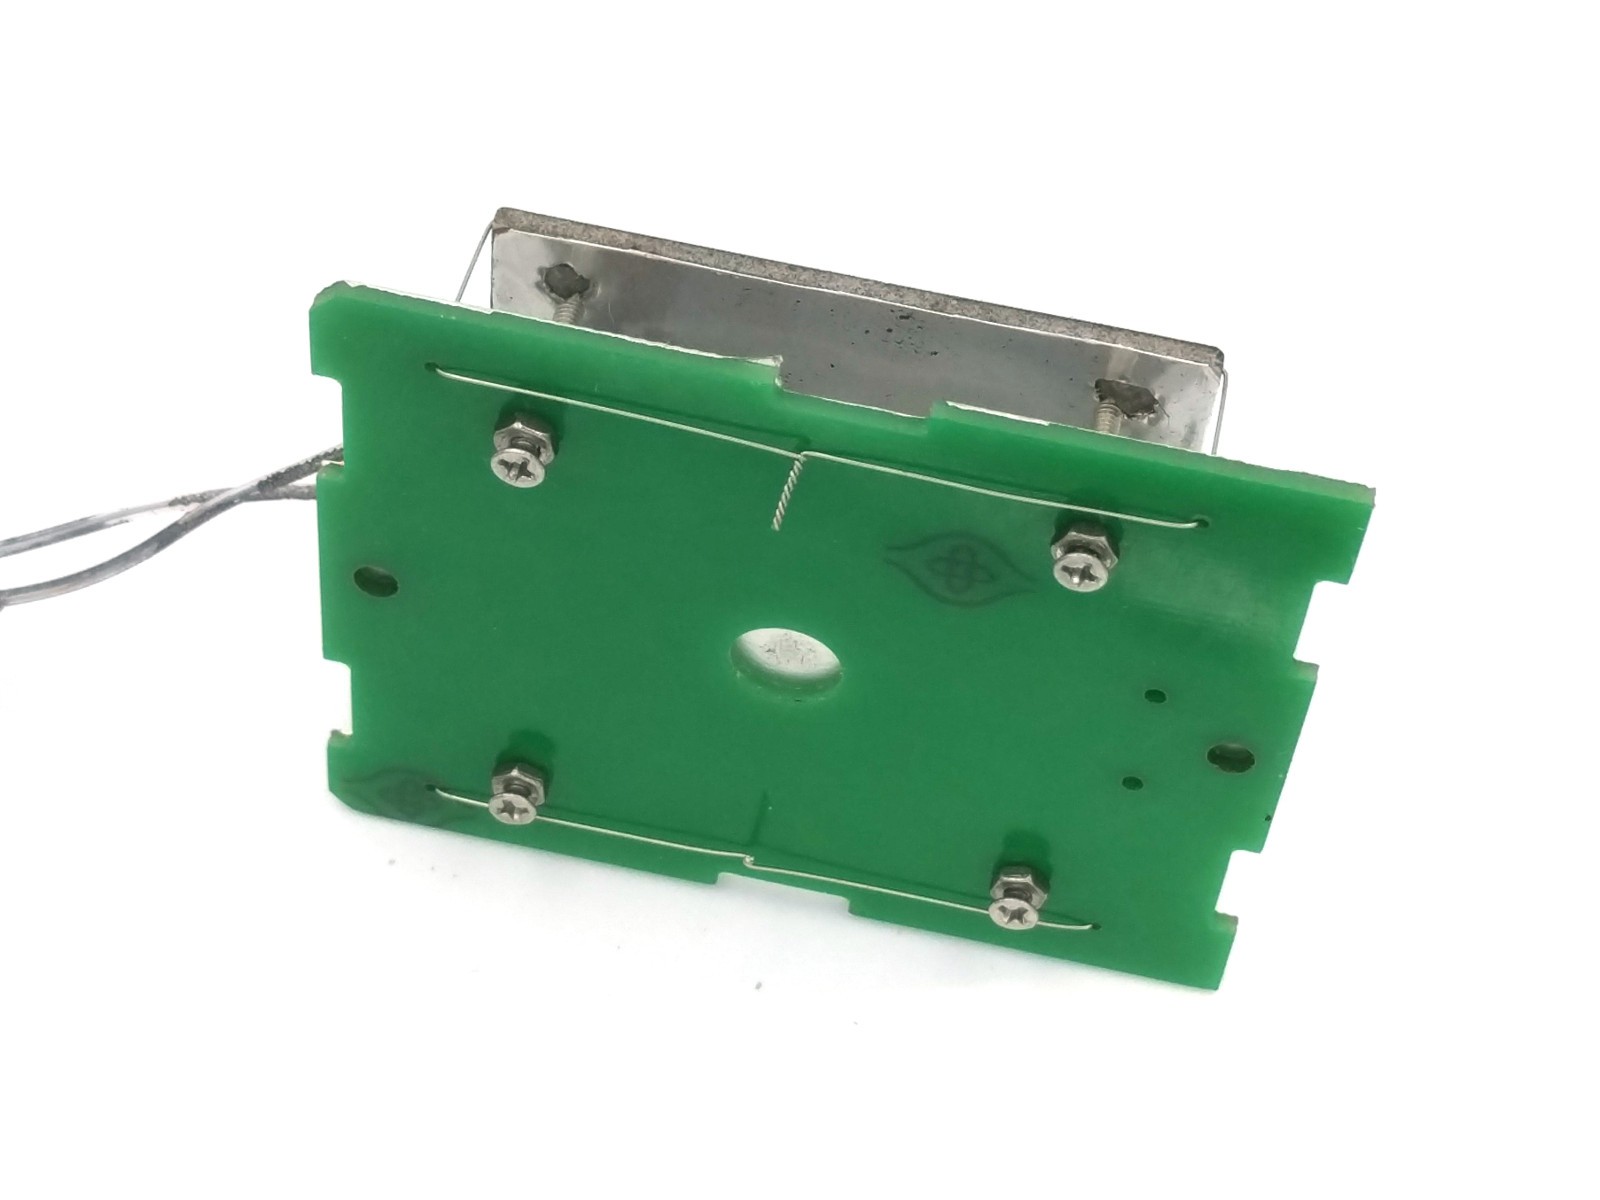
Idea is very simple - take 2 thin SS screws, sharpen ends and mount to PCB with 2 nuts from both sides.
Screw sharpening can be done with screwdriver and hand grinder:
- Place 2 nuts on screw, one at cup, another more close to the end.
- Put this into screwdriver (use nuts to hold).
- Rotate screwdriver left, and sharpen screw end with grinder.
If your screwdriver has axial oscillations, cone will be not symmetric, but that's not principal.
What is important:
- Screw should be stainless steel, not carbon steel. SS has lower thermal conductivity.
- Screw dia should be M2 or less. M3 has twice less section than M3 - lower thermal conductivity.
- PCB reflector should use ordinary aluminium adhesive tape. DON'T use reinforced tapes for auto tuning, those have not enough good IR reflection and heat distribution.
After all, assembled device can work many hours (was tested!), and keep PCB slightly warm. The most hot points are screw heads, and those are only 45C.
What's next
Finally, i have working solution to move forward:
- Easy to repeat.
- Safe enough to place electronics on the same PCB.
But in real device I plan to use M1.6 screws (almost twice less section than M2) and check additional things:
- Can we use screws "as is", without sharpening (assembly simplification)?
- Can we reduce interval between PCB and MCH even more (device size)?
Now, time to route PCB :). All details will be at https://easyeda.com/reflow/reflow-micro-table.
Discussions
Become a Hackaday.io Member
Create an account to leave a comment. Already have an account? Log In.