 deʃhipu
So let's get this thing done. First, it's good to start with a mock-up, so that we catch any obvious errors:
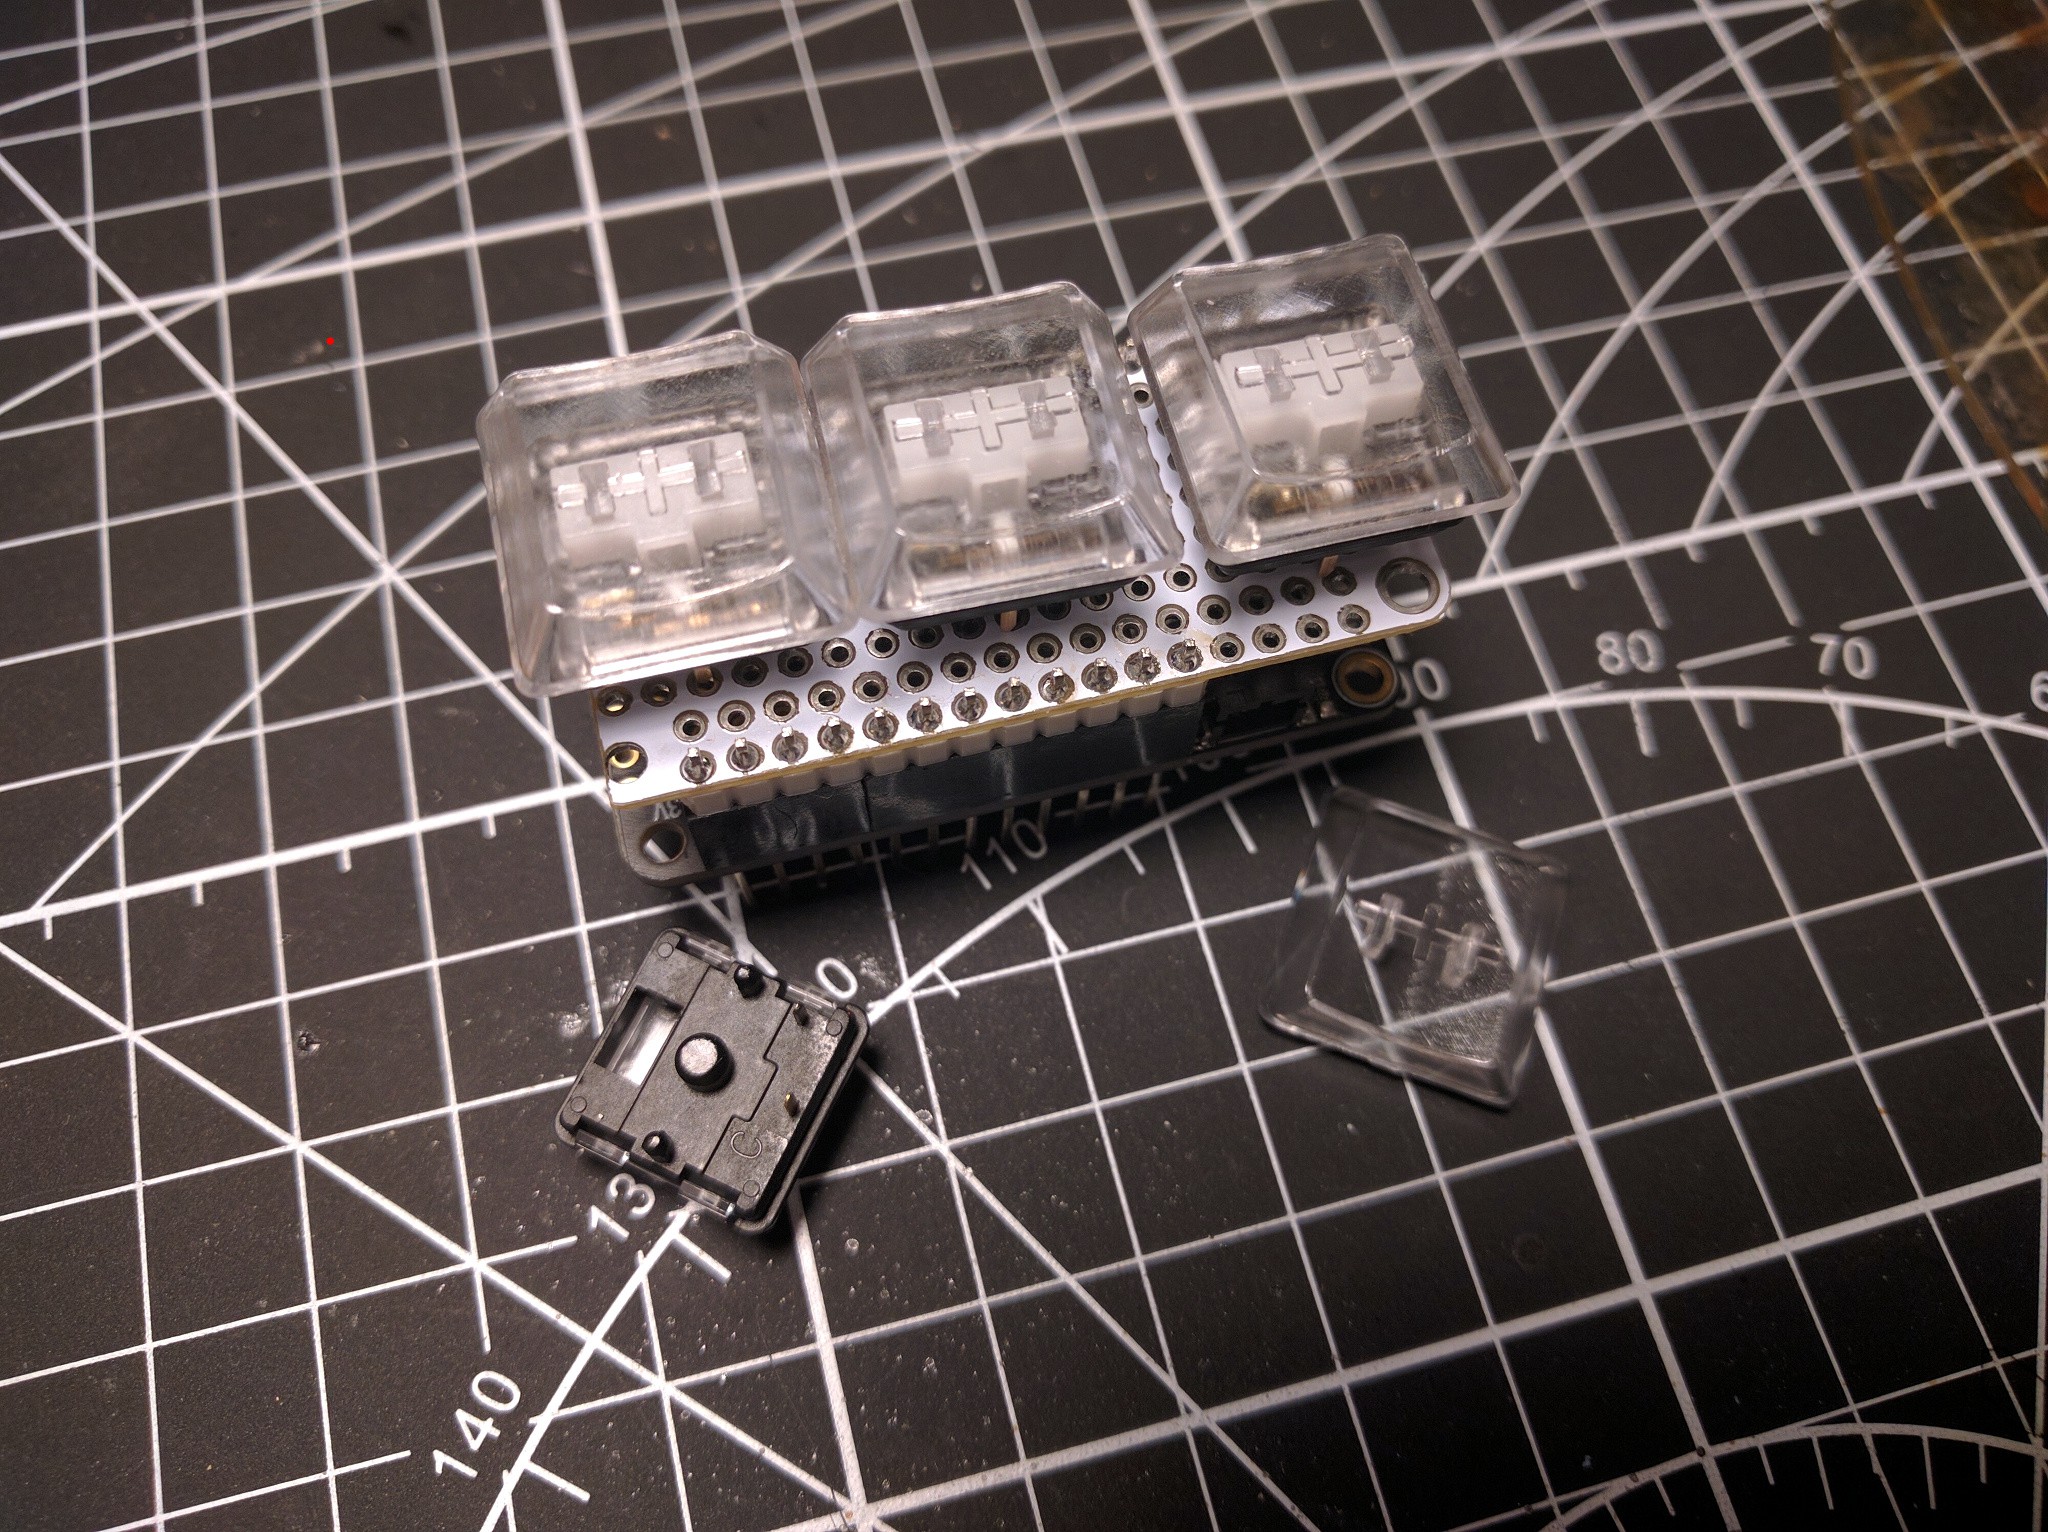
I also checked that the APA102 LED fits inside that window in the switch. All seems good, so let's work on the footprint. Kailh has some dimensions in their docs:
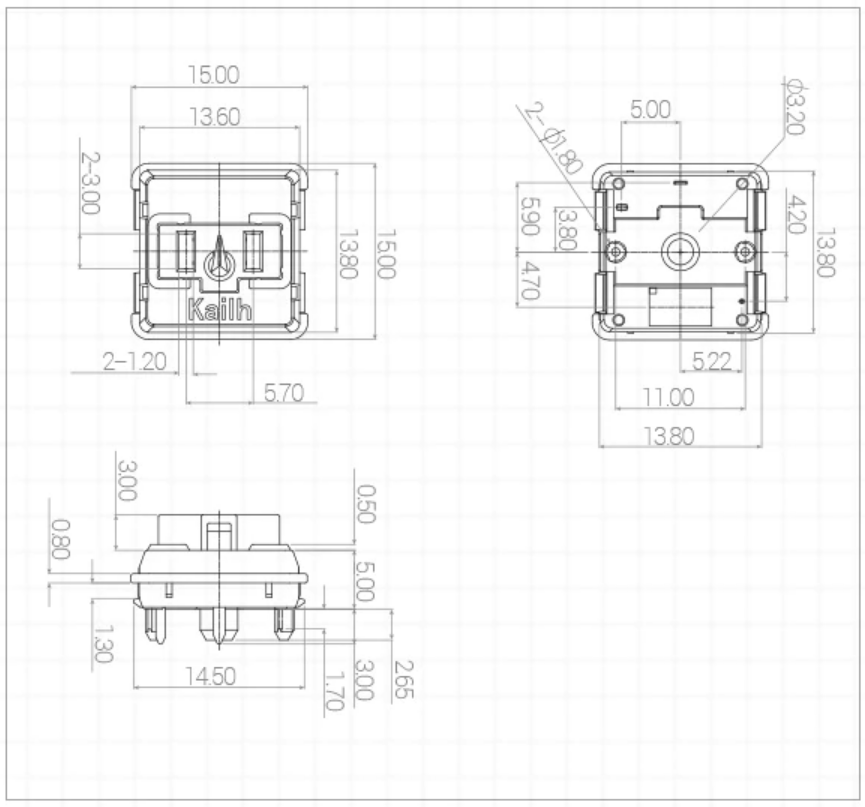
That lets me draw the footprint in Inkscape and import it into Fritzing. I already had a footprint for the APA102 LED, so all that is left is to route it all:
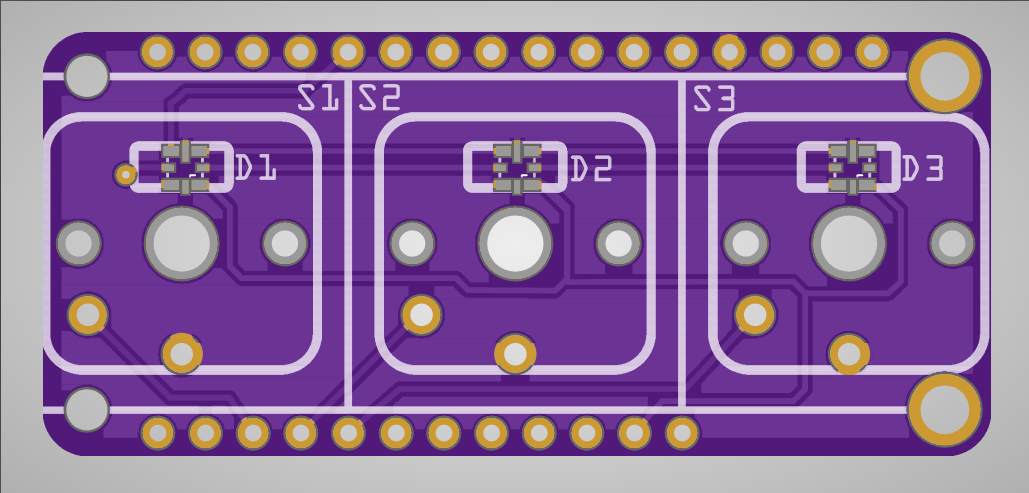
The keys go to their own pins each, and the LEDs are chained together and connected to the SPI bus. The DRC check passes, I can't see any obvious errors, but it's past midnight already, so I won't be ordering this PCB yet. I will wait until morning, to take one more look at it, and then order it, like a responsible person that I pretend to be when someone is looking.
Discussions
Become a Hackaday.io Member
Create an account to leave a comment. Already have an account? Log In.