Colordance Circle
Art piece that creates kaleidoscopic colored shadows.
Arrays of high-powered LEDs in a circle, pointing at the center.
Art piece that creates kaleidoscopic colored shadows.
Arrays of high-powered LEDs in a circle, pointing at the center.
To make the experience fit your profile, pick a username and tell us what interests you.
We found and based on your interests.
We debuted Colordance at Apogaea 2022, a Colorado regional burn.
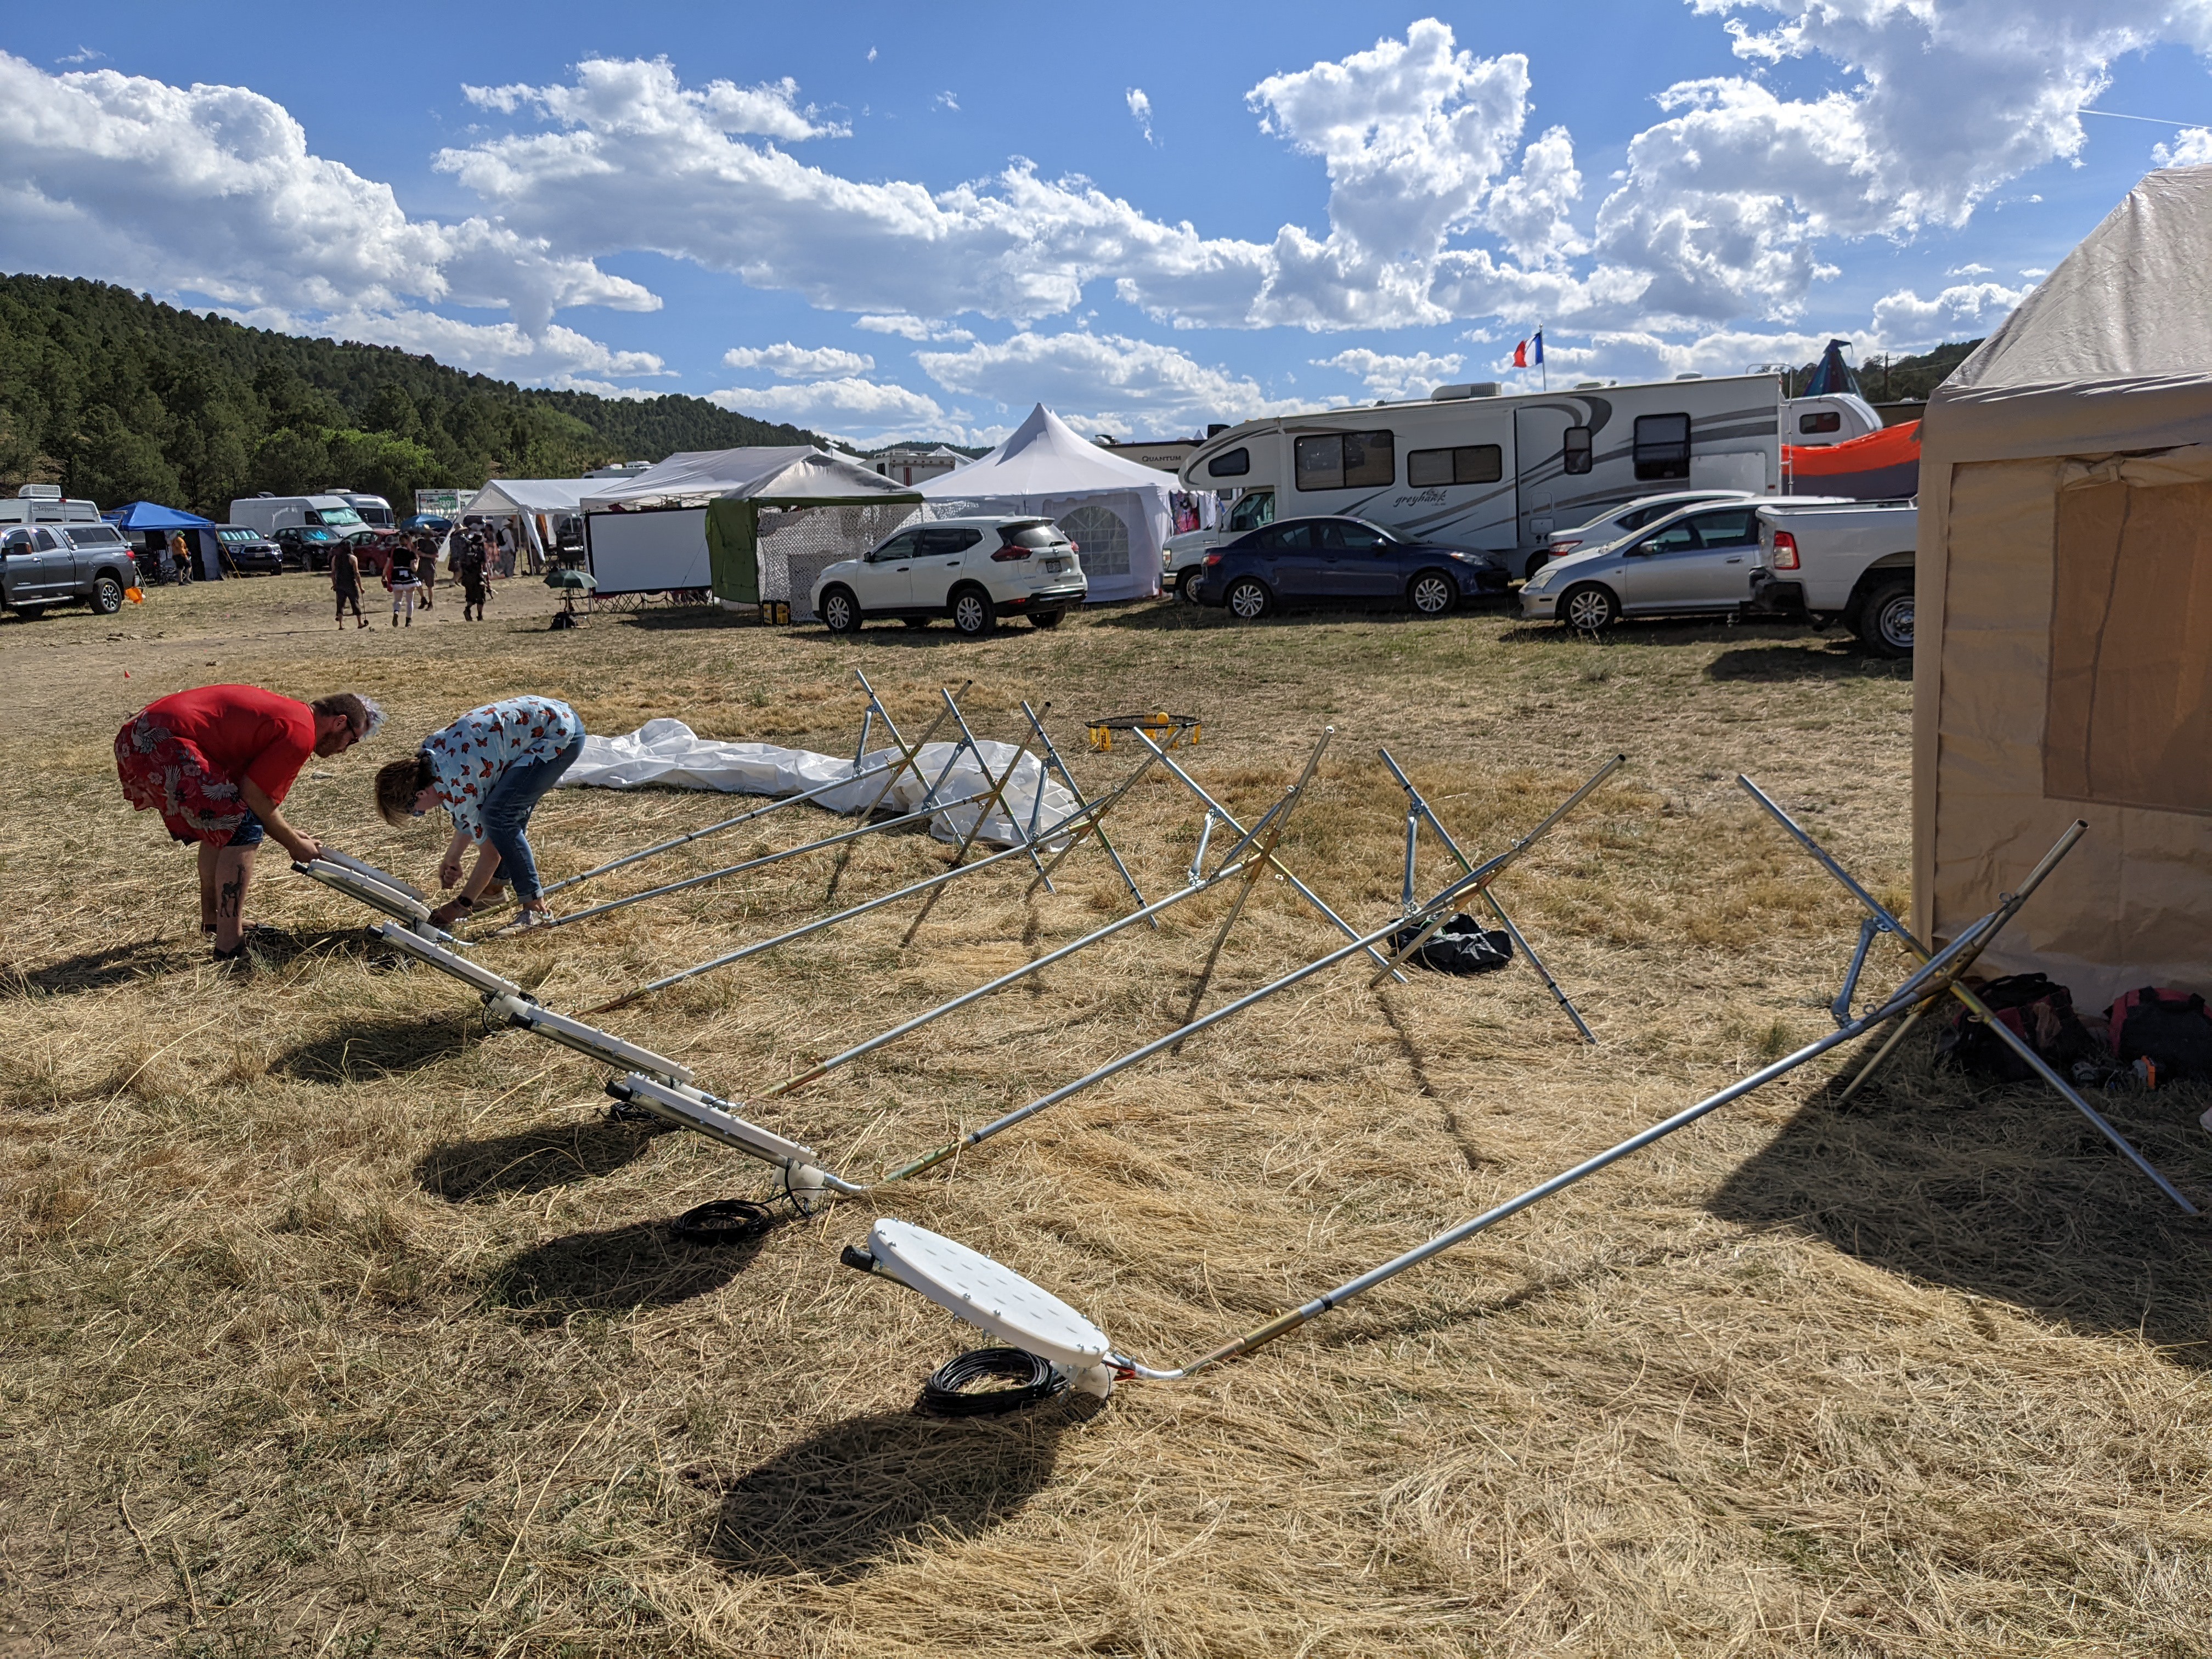
We used a 20' x 25' white tarp as the canvas. This worked really well - it made the shadows much crisper and brighter than just using the ground. We were worried that it would be too slippery, but it had good texture.
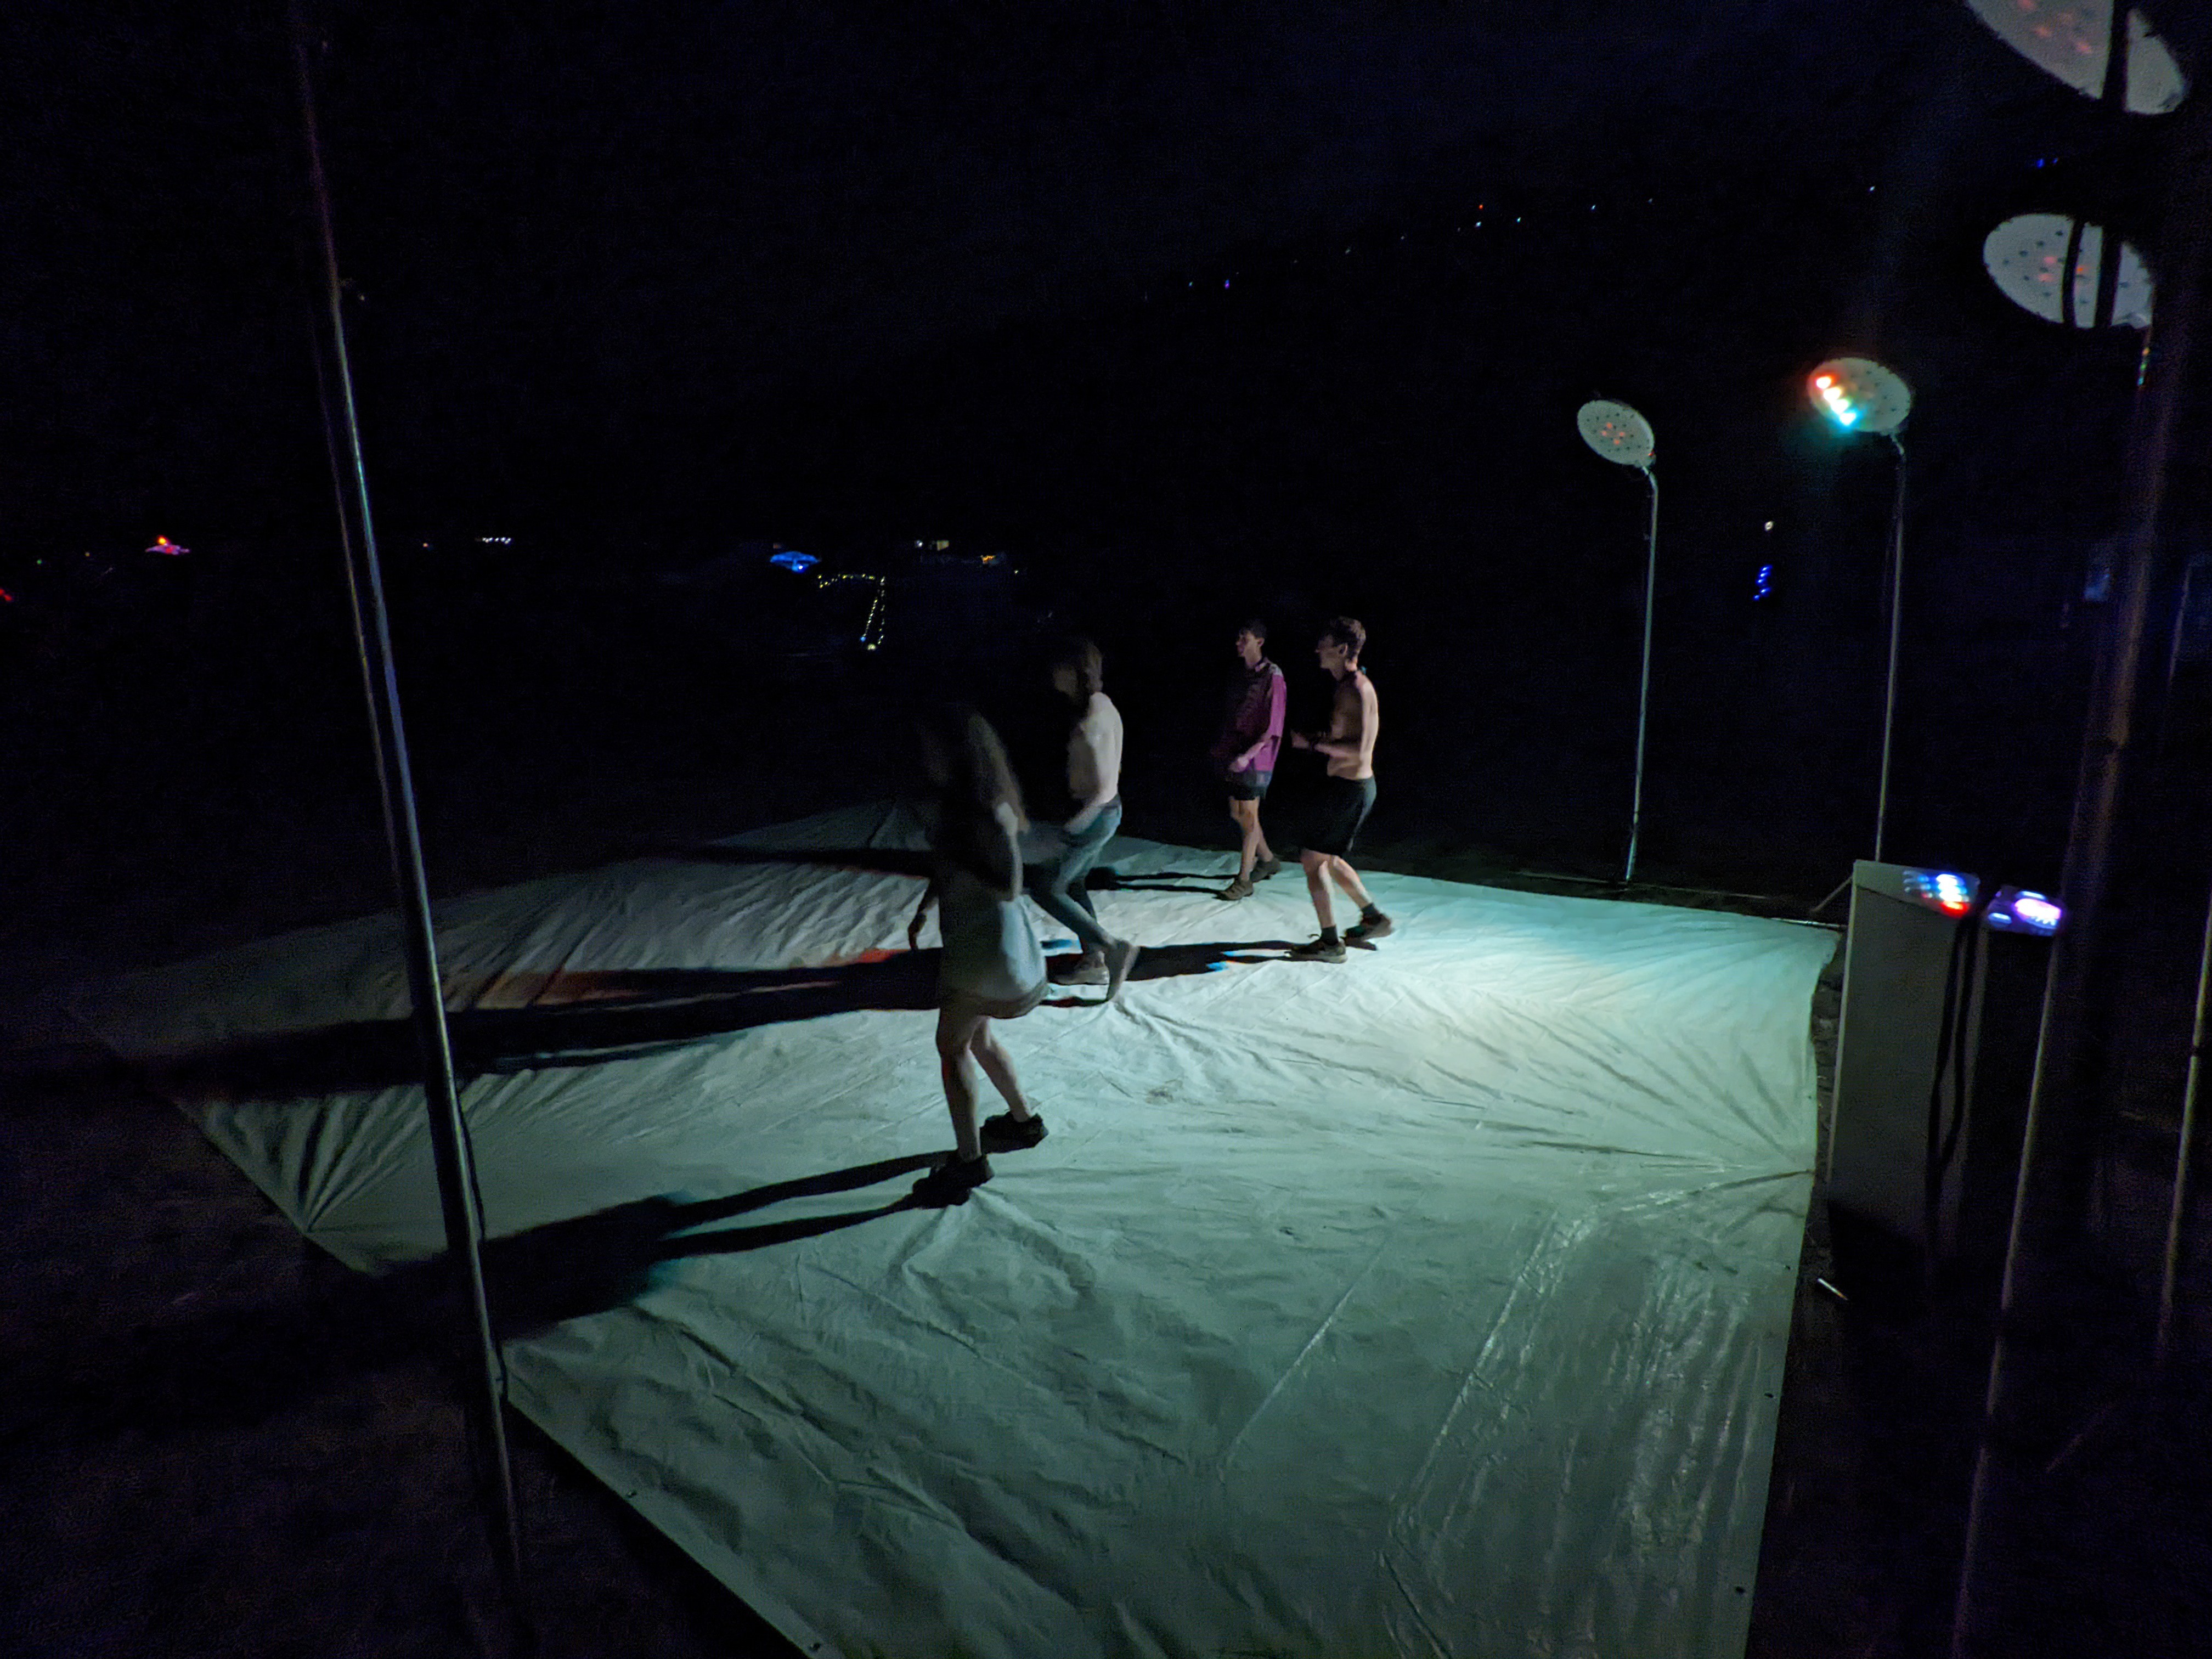
Our vision for Colordance is to have a "dj surface" for controlling the lights. These controls should be easy to use, and facilitate making the lights go to the beat of music. We designed a hexagonal podium.
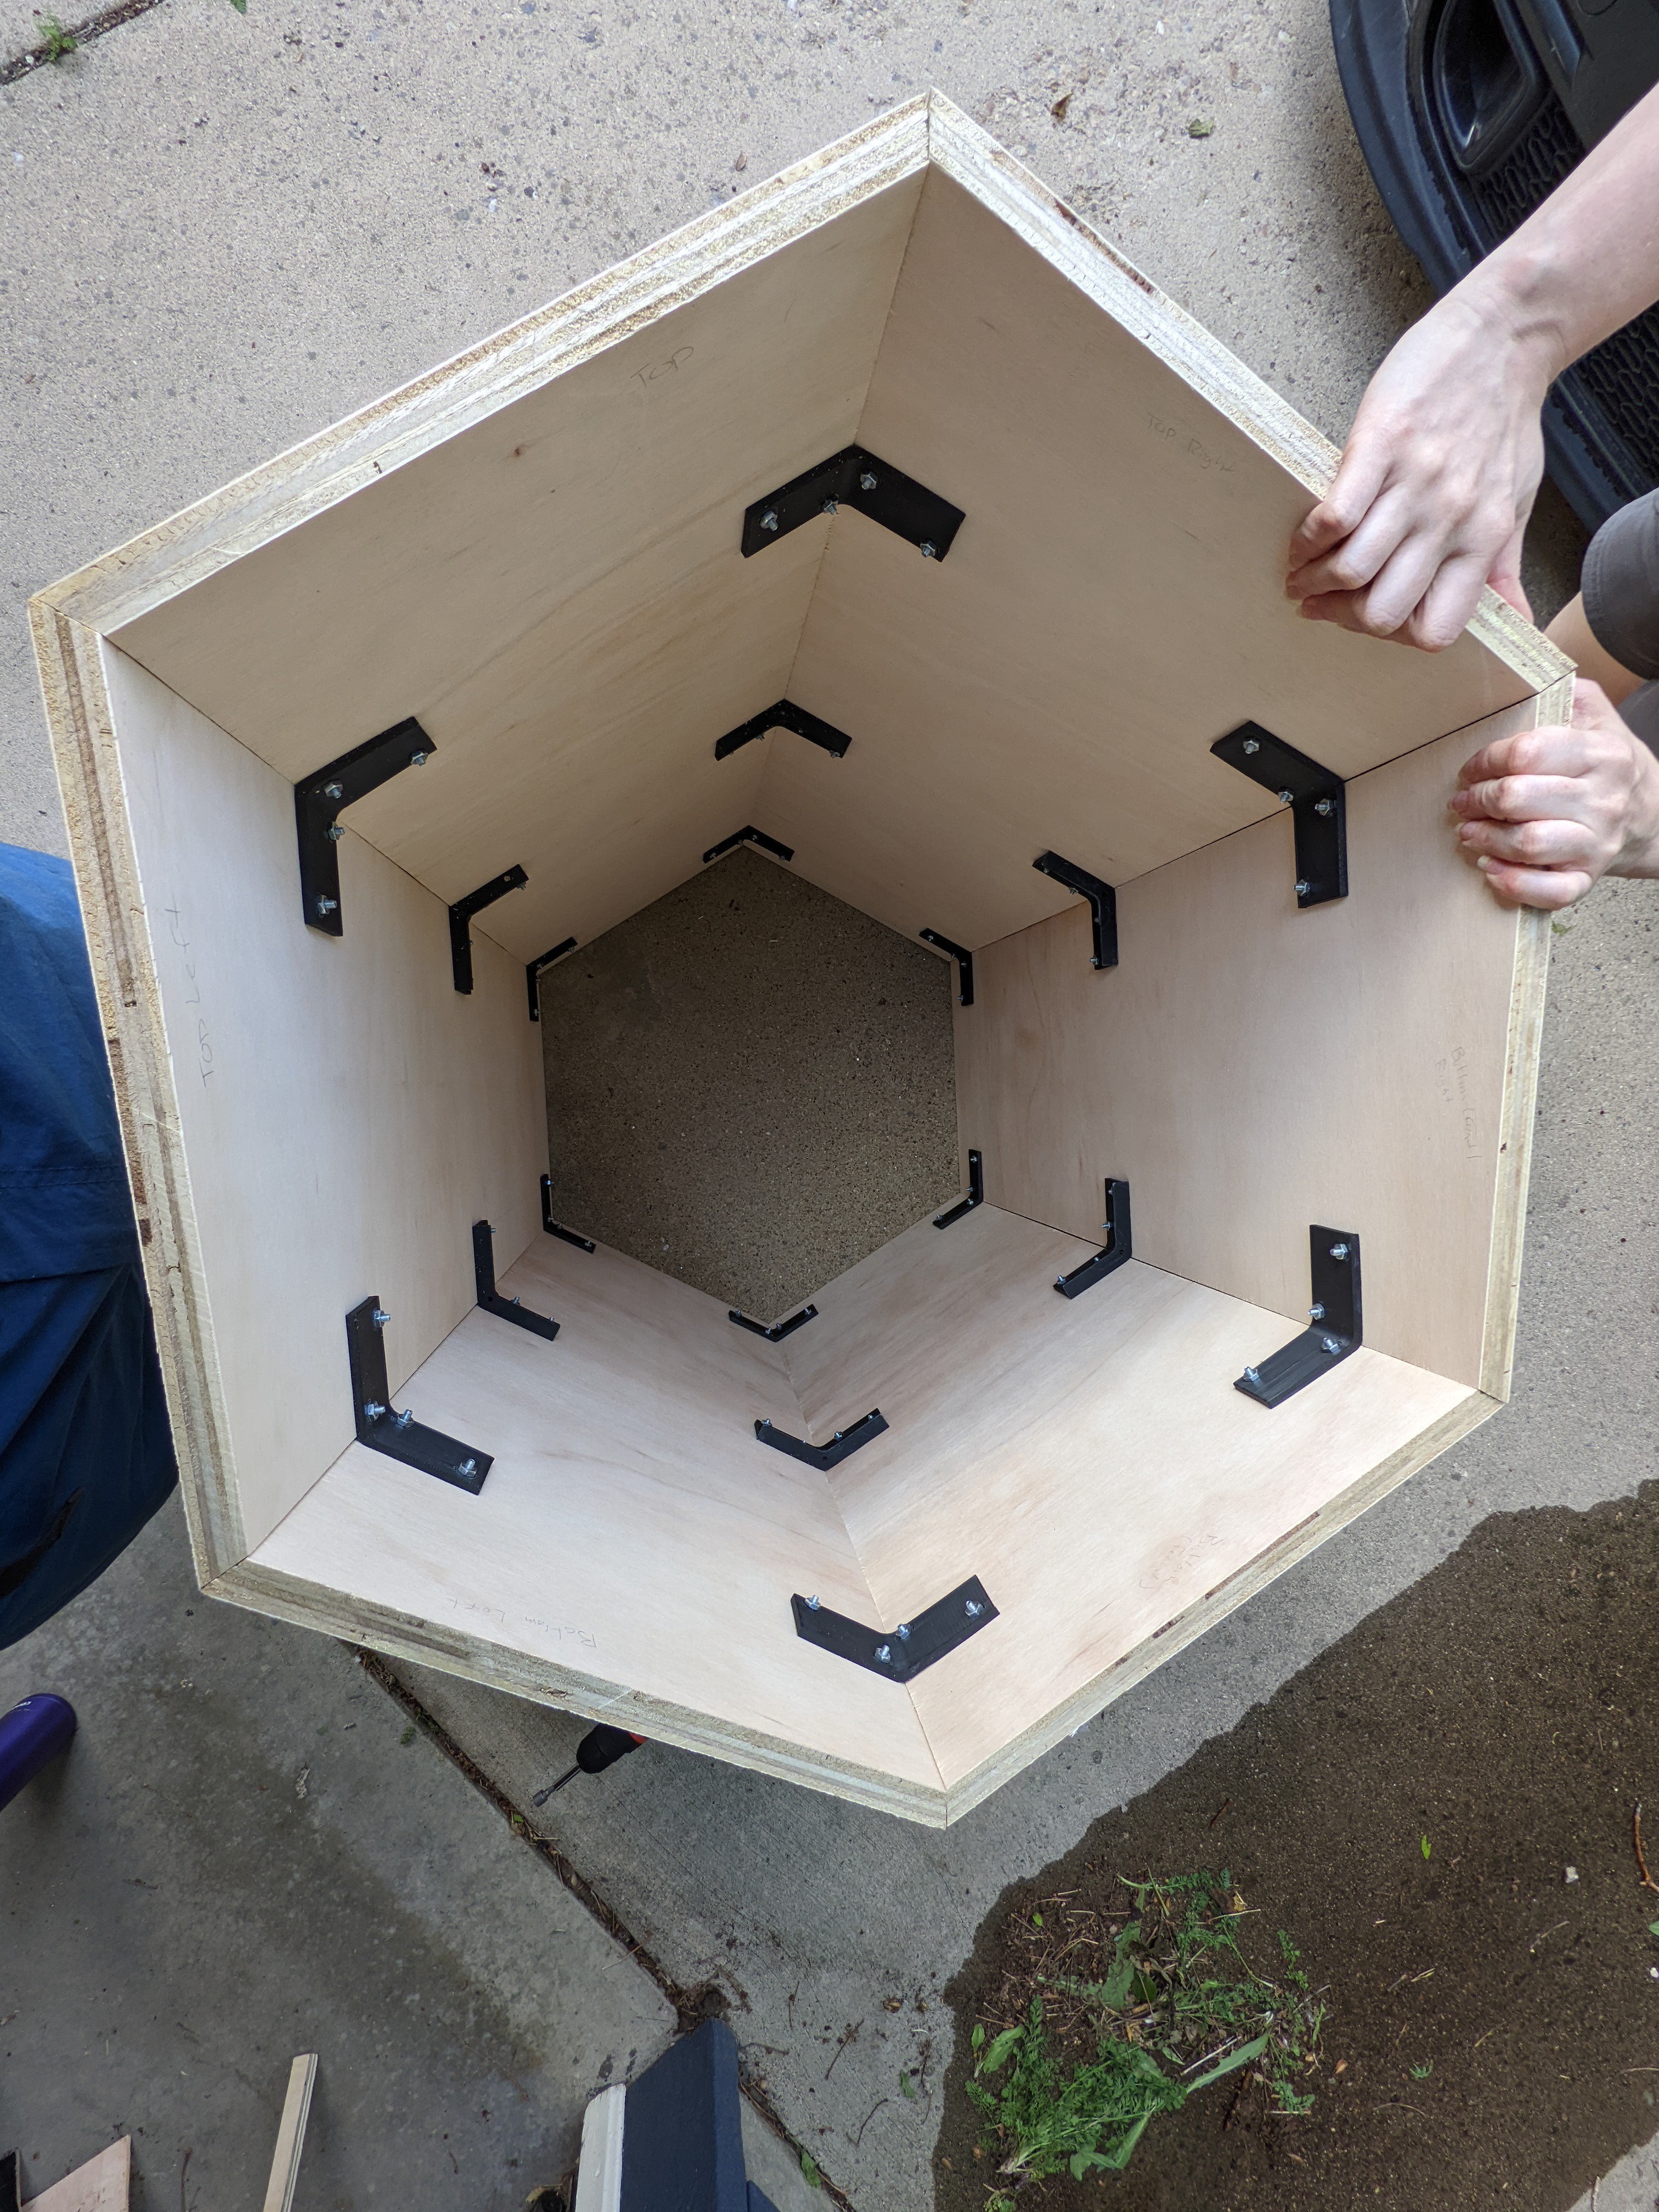
The podium is built from 3/4" plywood. It uses 3D-printed corner brackets.
On the top of the podium is the control surface. There are 14 buttons and 2 sliders. The buttons use custom PCBs for the LEDs and the switches. The buttons caps are printed clear PETG, and the button frames are HTPLA. These mount to a piece of plywood, which attaches to the podium via four captive bolts.
We know that we'll need to make some changes to the interface, so for Apo we cut the top panel out of 1/8" hardboard.
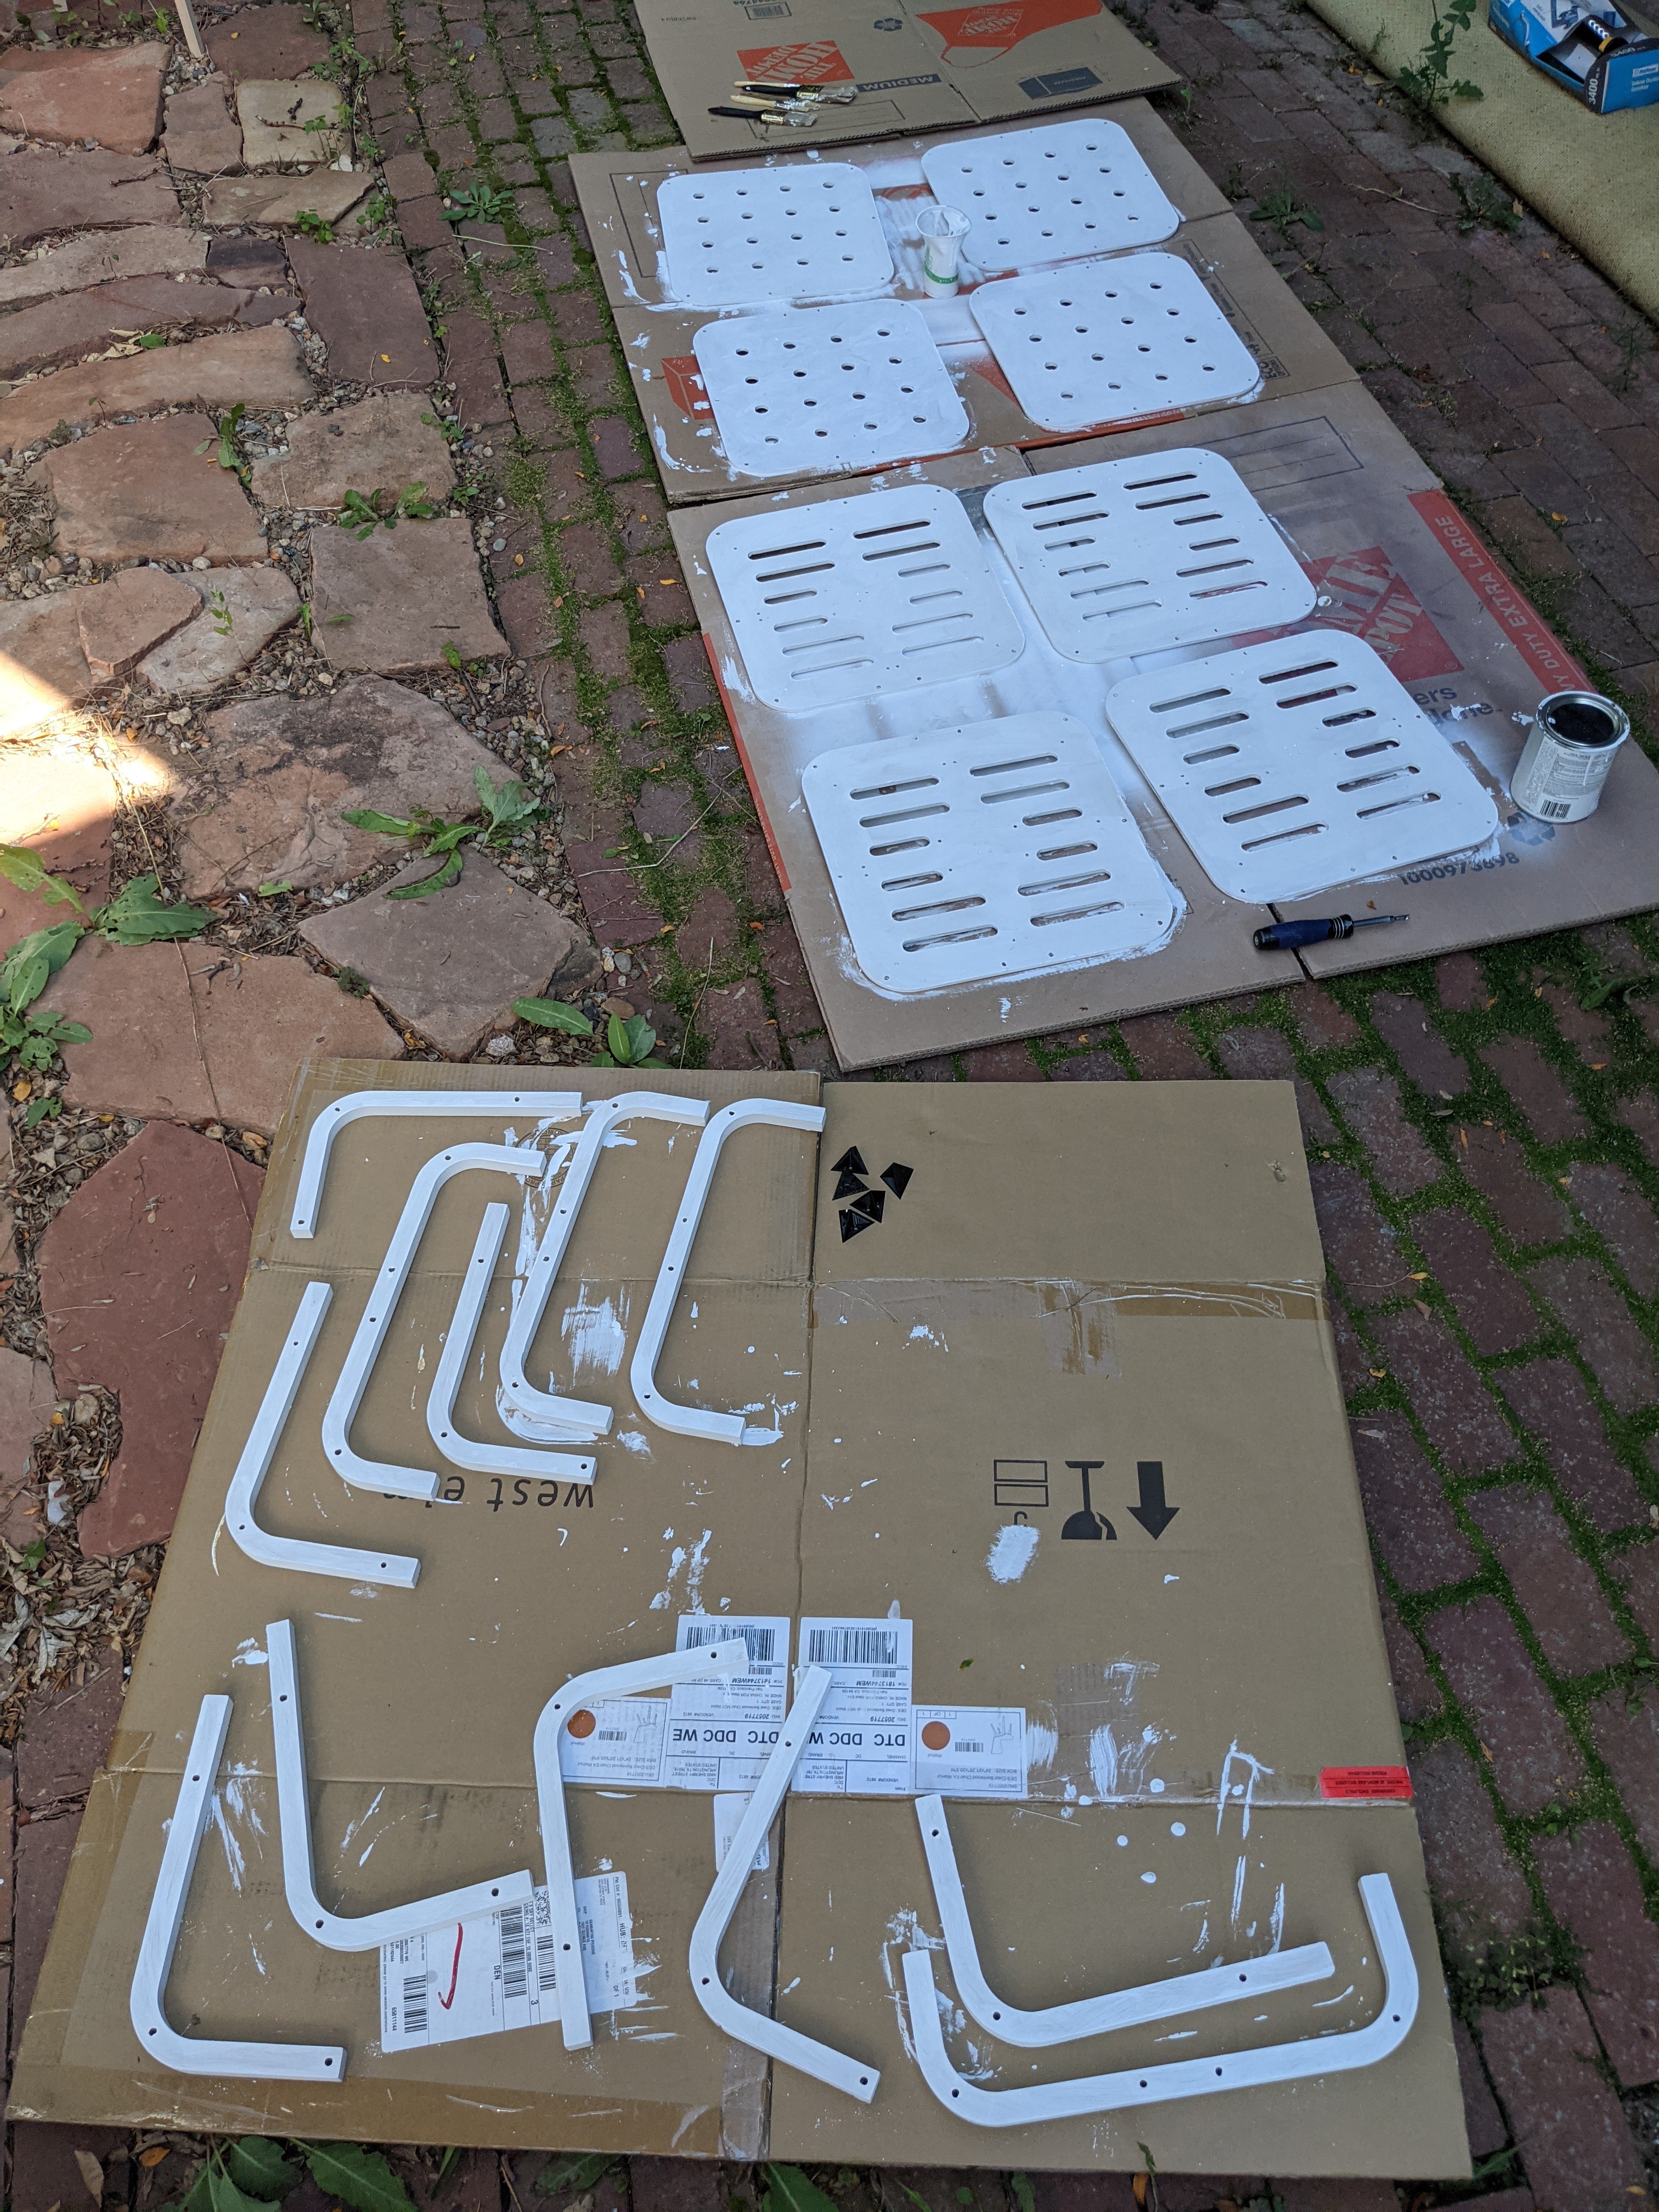
In September 2021, we demoed our first prototype. We designed and cut enclosures for the light PCBs out of MDF. These have holes for the lenses in the front, and vent slots in the back. We painted the MDF white.
We assembled four poles, and set them up in a circle, using 8' lengths of 1" EMT.
Carving and painting the MDF was a huge pain. MDF is not a very robust material, and the paint flaked off pretty easily. This was OK for a prototype, but we definitely wouldn't want to leave it outside, even for a week.
Overall, the prototype worked pretty well! One thing we found is that the circle wasn't a great form factor - it was difficult to know which way to look when the lights changed direction. The circle also made the space feel cramped. The previous version used a single 5x5 stage light pointed at a screen. We found that (1) the area for shadows was small, since the screen size was limited by wind loading, and (2) going in front of the screen felt like performing, which most people didn't want to do. Using the ground as the canvas worked well, but we wanted more people to be able to use it at once!
We gained valuable insight from this prototype, and continued working.
The final Colordance 2.0 installation will have a main control board in a podium. This board will control the main bright LED panels, as well as standard strips of LEDs on the outside (for visibility). There will be six poles, each having a bright LED array and an LED strip. To reduce the risk of failure, the bright LEDs and LED strips will be driven separately. This means that the main control board will need to drive twelve strings of lights. The poles will be 10 feet tall, and be situated in a circle 15 feet in diameter, so the line between the control board and the LEDs could be up to 30 feet.
The WS2812 protocol isn't designed for long distances like this. I couldn't find many people on the internet who had done this (successful or no). We decided that it was best to reduce risk by using a different hardware transport for the signal between the control board and the poles. I chose RS422 because it supports a high enough datarate (WS2812 is 800khz), and because it is differential, so it has good noise immunity and can support long lines.
Note that RS422 and RS485 are similar. Each RS422 line is one-way, with a fixed transmitter and receiver. RS485 allows multidirectional communication by tri-stating when not transmitting. Since we only need one-way communication, either kind of transceiver will work.
I used capacitive termination for the RS422 line. See this application note for details. This worked fine with my ~25ft ethernet cable, and the scope traces looked fine. We're likely to need some termination at our cable length and data rate. However, using a 120 ohm resistor means that each RS485 line will burn a moderate amount of power. Capacitive coupling means that it will only consume power when the line is active (and even, much less). I used 1300pF capacitors.
I started with the receiver boards. Here are the requirements for these boards:
I used Ethernet (with RJ45 plugs) to transport the signal. I'm hoping that these will be relatively robust (a concern for art that lives outside, especially for Burning Man).
Here's the receiver board:
See the design files here.
And hooked up to an LED strip and a 2x2 LED panel:
I also designed a simple transmitter board for testing. The RS422 driver I plan to use on the control board has 4 driver channels - I designed the transmitter test board to use all of them, just in case.
Design files here.
I captured oscilloscope traces of the RS422 signal, to make sure that the capacitive termination works. On these captures, the red line is the actual differential signal - that is, it's the difference between the A and B lines (teal and yellow). First, here is the signal measured at the RJ45 jack of the transmitter - you can see that there's just a little bit of ringing and capacitance, but it's pretty clean:
Now, here's the receiving end:
Not quite as nice, but still totally fine. Lastly, here's the output of the board:
Nice and clean!
Theoretically, the capacitive coupling will consume more power when the line is changing. I roughly tested this using a USB multimeter with a resolution of 10 mA. I programmed the sender to write out 100 LEDs about every 10ms. The increase in power consumption was less than 10mA. That's good enough for my purposes.
The finished project will have six 4x4 arrays of LEDs. Each array will consist of four 2x2 PCBs, arranged in a square. We have to make our own PCBs for this because we need each LED to be pretty bright. We couldn't find anything off-the-shelf that (1) has bright enough LEDs, (2) is cheap enough, and (3) will be easy to mount in a grid.
These PCBs use primarily surface-mount components, so that we can do reflow assembly. They'll probably take about an hour to assemble and test. The process is standard for DIY surface mount assembly - use a stencil to apply solder paste, hand place the components, and reflow the solder in a toaster oven.
Here's one of the PCBs. The parts have been placed, but not reflowed yet.
There are connectors on two sides so that the boards will tile.
Here's that board in our toaster oven (with convection!):
We tested that the boards tile successfully:
The LED boards use the WS2811 chip to control the LEDs. This means that they can be controlled using standard software (e.g. FastLED). The WS2811s control constant-current LED drivers. These drivers are essentially a switching-mode power supply with current sense.
The boards are designed to run directly off of 12v. The control electronics are 5v, so there is a small onboard linear regulator.
We're concerned about robustness, since these will be installed in a harsh environment. We included a couple of features to make the design less likely to fail. The 12V power input has a PTC (resettable) fuse and a TVS diode. This should protect against transients (e.g. static shocks), and against hooking up the board backwards. There is also a TVS diode on the data input, again to protect against transients such as static shocks.
These LEDs are quite bright. They are "9W" LEDs. The actual ratings are 700mA per color, 3.0-3.6v for green and blue, and 2.0-2.6v for red. With that much power, the LEDs need significant heatsinking. The PCB has a large copper area around the LED to dissipate heat. According to this helpful article, the thermal resistance of this heatsink should be around 25C/W. We expect to run the LEDs at no more than half brightness, so the worst-case total power consumption is ~3.2W. An LED turns about 70% of incoming power to heat, so we need to dissipate about 2.2W of heat. At 25C/W, this means the LED will be 55C above ambient. We plan to run this outdoors at night, where the air temperatures should be <20C. This means we should have a peak LED temperature of 75C. In reality, the LEDs will probably have a much lower duty cycle, so hopefully they will stay cooler.
Colordance Circle is an evolution of the original "Colordance" project. Here are some images of the original Colordance in action:
Here's a quick description of how that worked:
There are two components, the podium, and the screen. The podium contains a 5x5 DMX stage light:
The podium also has a control box, for changing parameters of the effects:
The control box is made of solvent-welded, laser-cut acrylic. The control box PCB includes a Teensy 3.5, the potentiometers and encoders, connectors for the buttons and APA102 LEDs, a DMX interface (with galvanic isolation), and an SD-card based logger.
The screen is a large piece of white spandex material that we attached to webbing and velcro:
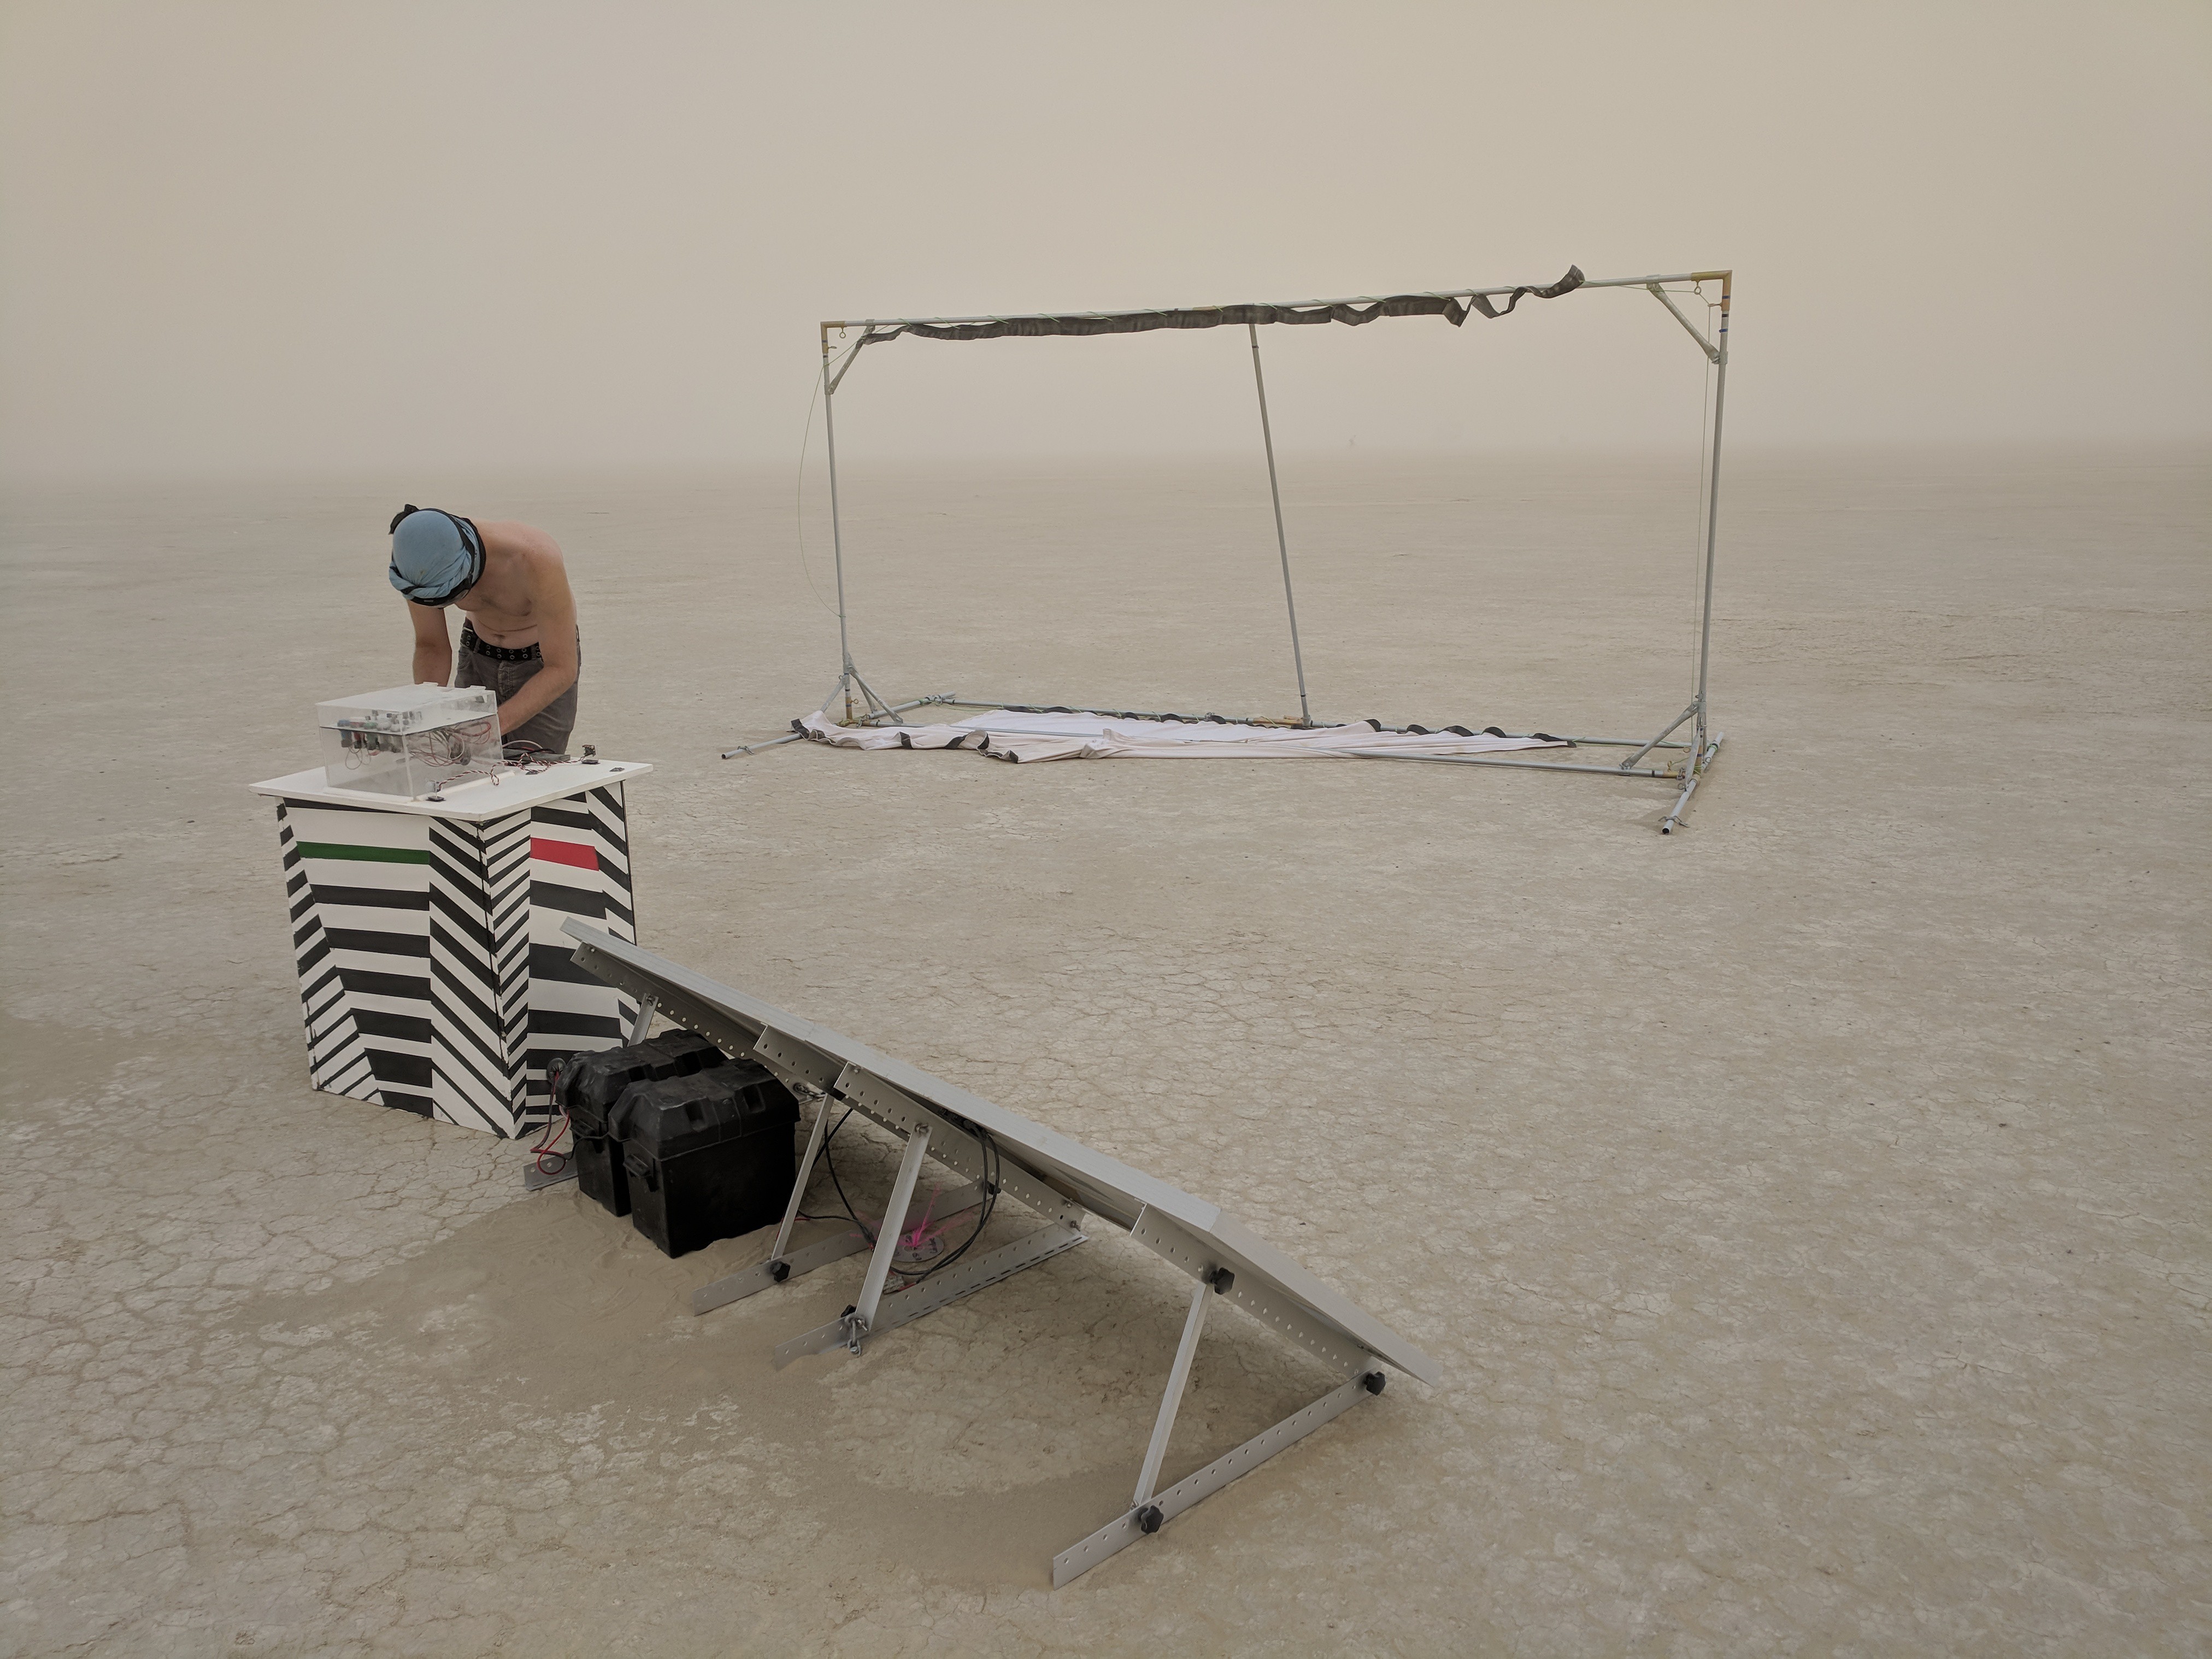 The screen is rigged on the bottom, and velcroed to a piece of rigged webbing on the top. The velcro is selectively blocked so that the screen will detach when wind speeds hit roughly 30mph.
Create an account to leave a comment. Already have an account? Log In.
Become a member to follow this project and never miss any updates