I did it... I achieved my goal... I can now control my air conditioner from Home Assistant!
I'm so happy and proud of myself!
Everything happened so quickly in just one week that I can hardly believe it. Here's a brief summary of what I did and how:
1. Using this GUI tool, I created a firmware with the following settings:
- Board type = CC2530
- Device type = End device without routing
- Status LED = P22, Sending reports
- Output 1 = P03, UART, Baud rate = 9600, Packet end = 0x0D
- Model ID = RAS-LJ22Y_ADPT (for an unique name)
- Set default reporting interval(s) = 60
- Update firmware's timestamp
2. Before closing the GUI tool, I used "Save custom converter for Z2M" to create the corresponding external converter for Zigbee2MQTT (see file A-C_Hitachi_converter.js).
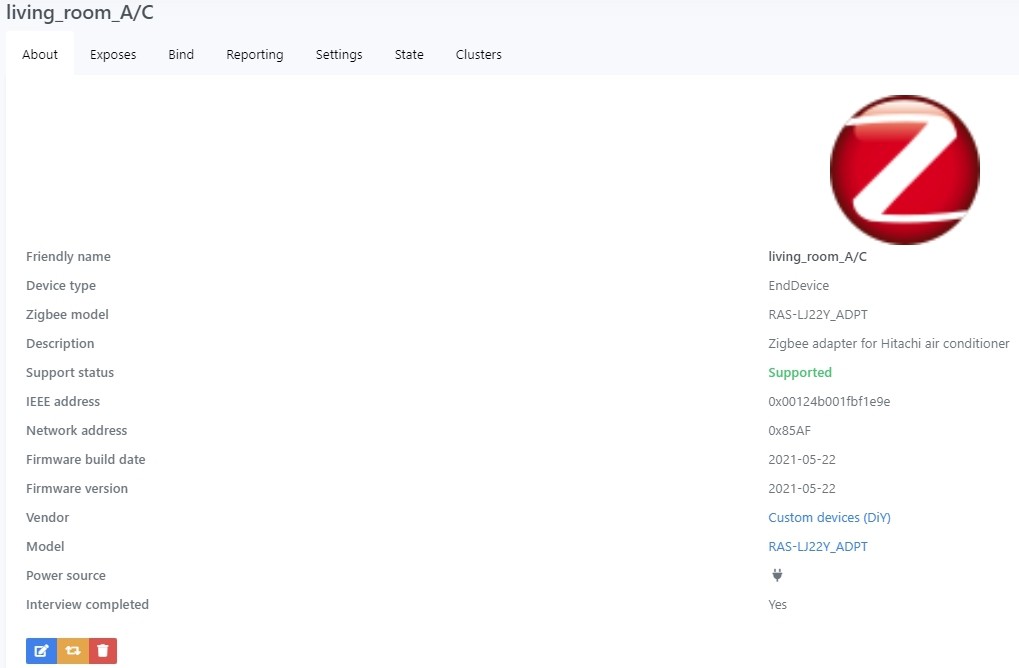
3. I flashed my Zigbee module, powered it up and then moved to Zigbee2MQTT dashboard in Home Assistant to add it. It appeared as an unsupported device with the name "RAS-LJ22Y_ADPT", so I followed the indication on this page and added it without any issues.
4. Then I moved the external converter I previously created to /config/zigbee2mqtt/.
5. Back to Zigbee2MQTT dashboard, I went to Settings > External converters, entered the name of the converter, clicked "Submit" and restarted Zigbee2MQTT. The result is as follow.

6. I added a climate platform to my configuration.yaml following this documentation (see file climate_platform.yaml for more details.) and restarted Home Assistant.
7. In the meantime, I wrote a simple program that retrieves the air conditioner’s status every 2 seconds, compares it to the previously known status, and if different, sends the new status to Home Assistant in a JSON format. Additionally, this program sends setting commands to the air conditioner based on what it receives from Home Assistant (see file my_puny_program.ino for details).
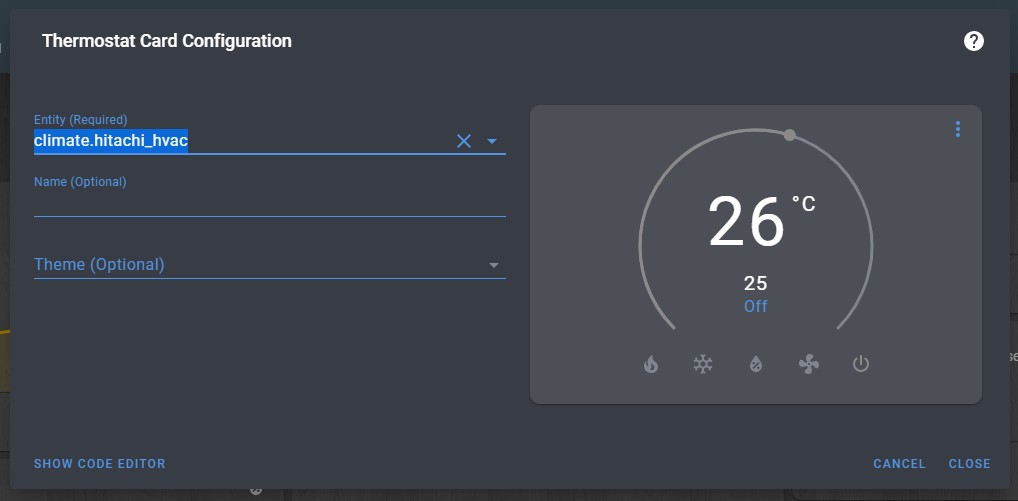
8. Finally I added a "Thermostat card" in Lovelace and set the "Entity" to the climate entity I created.

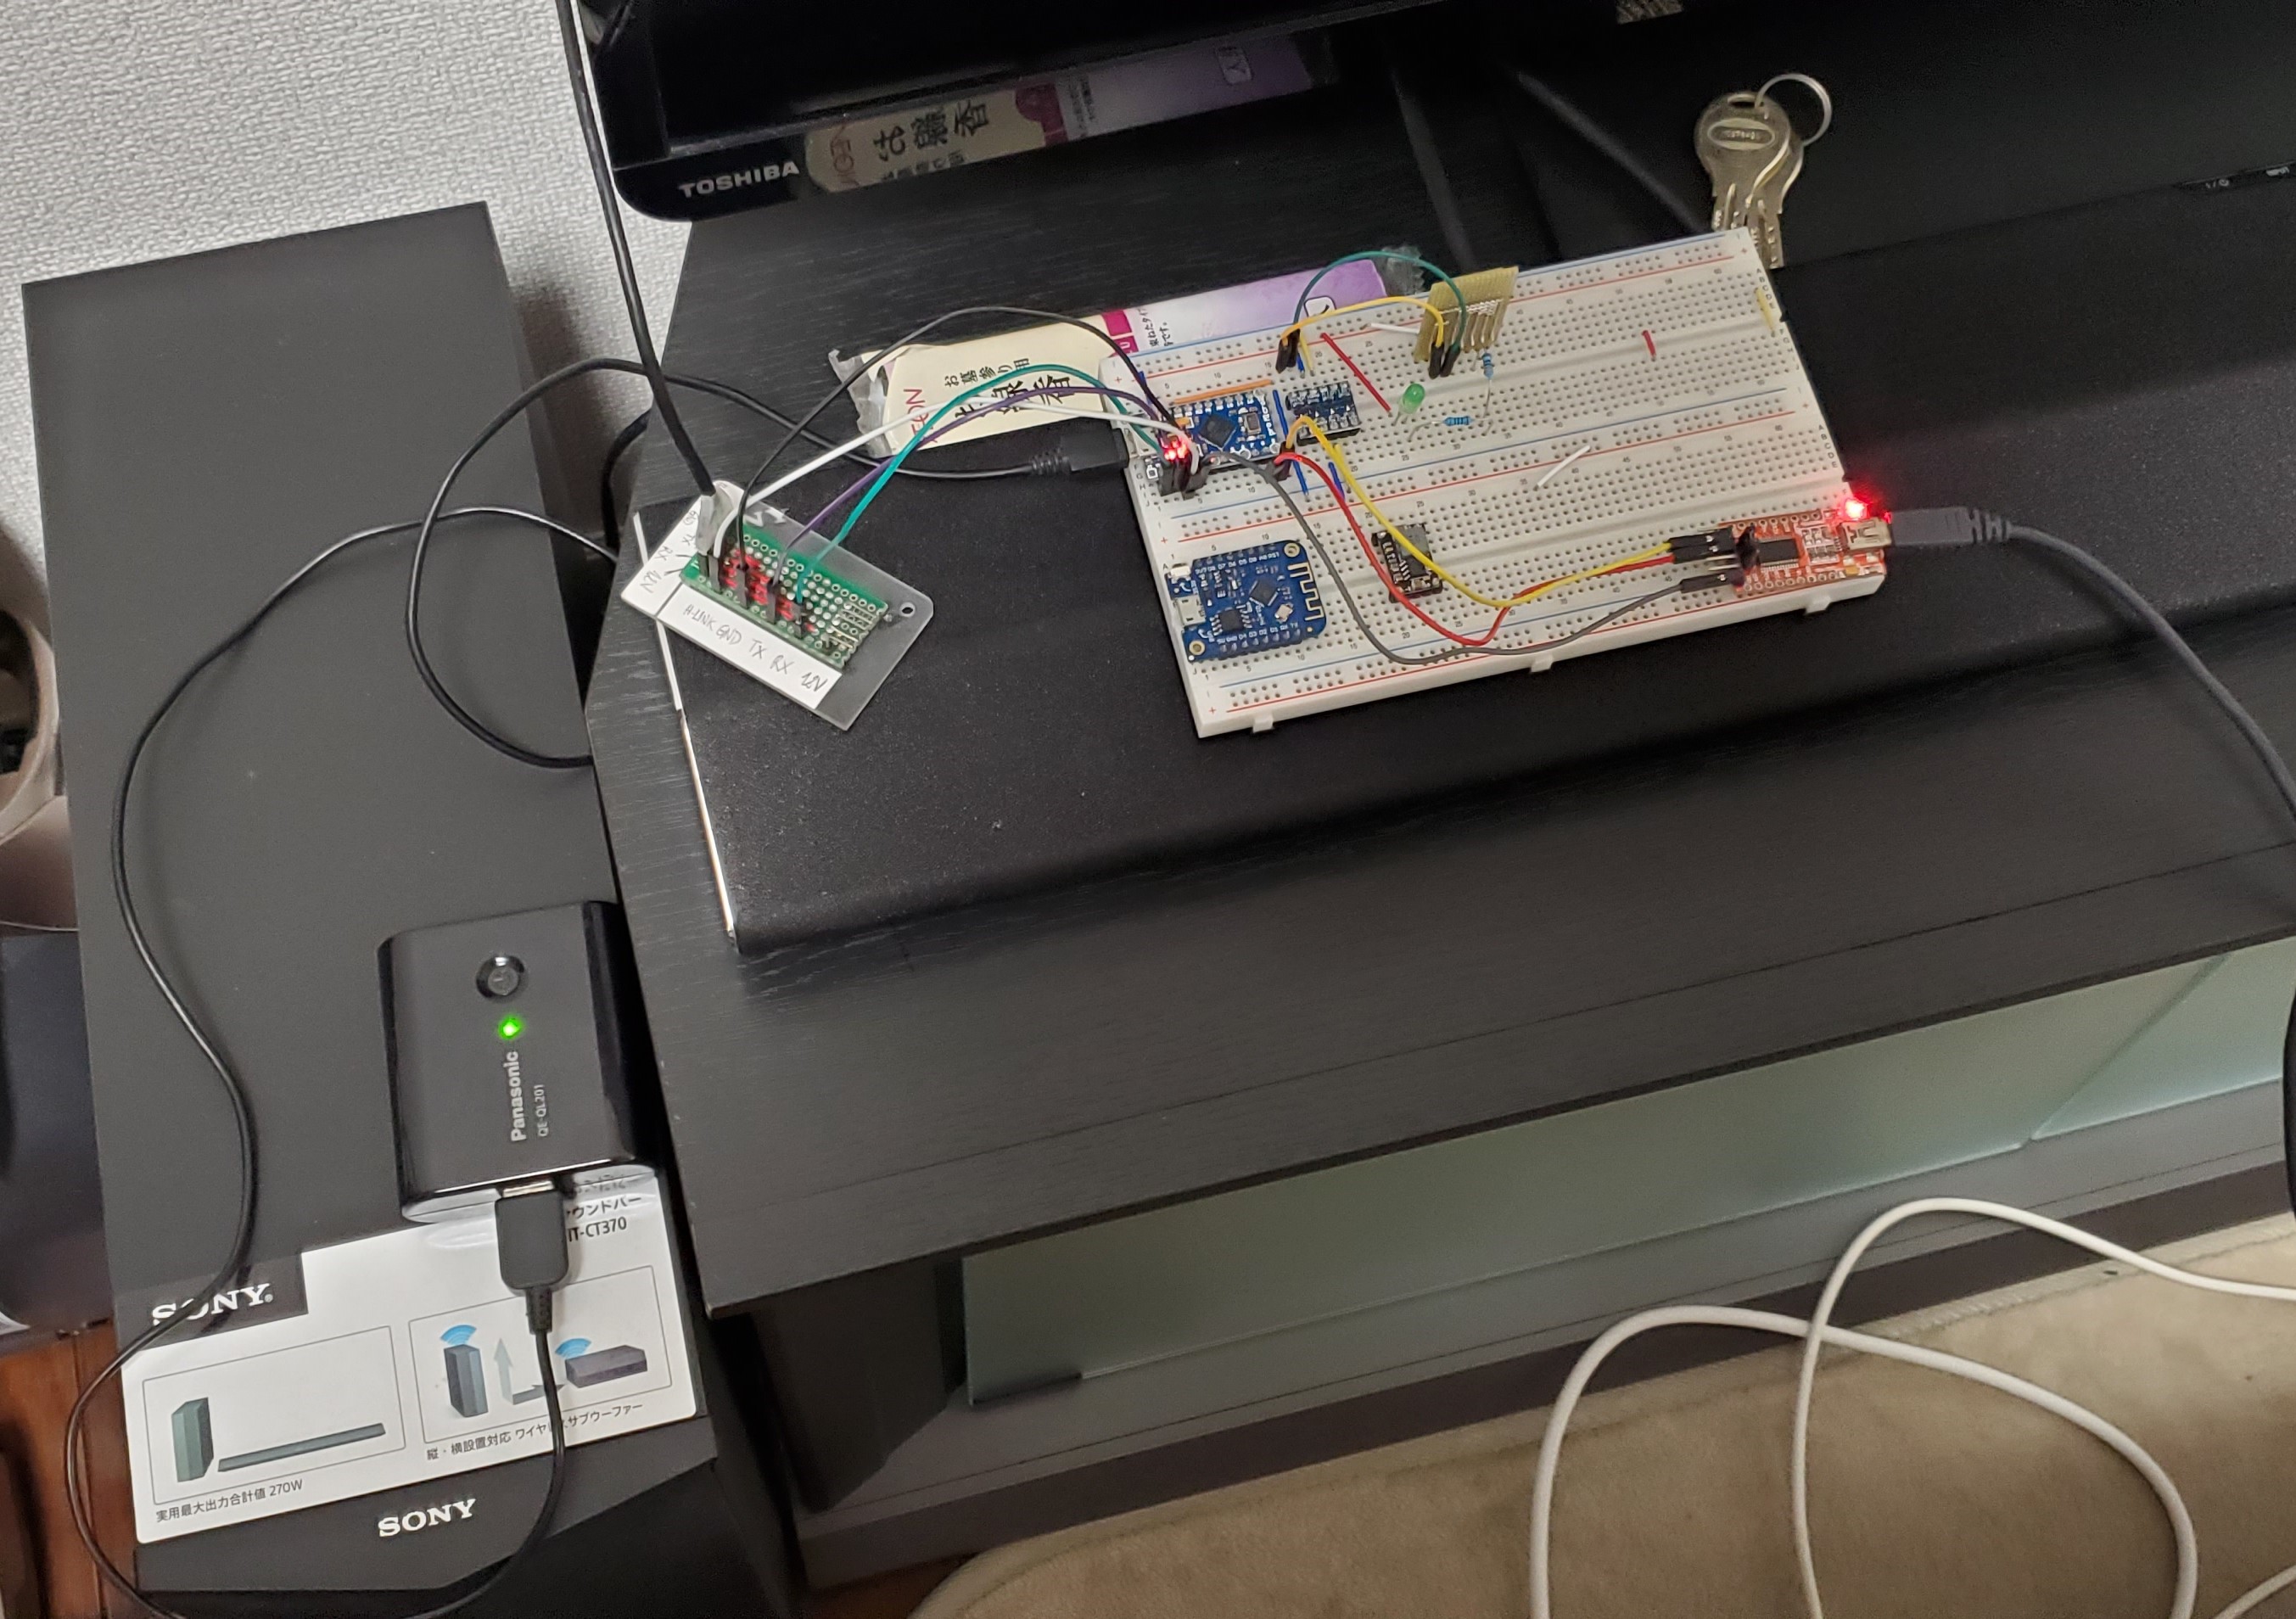
I played a lot with this "Thermostat card", also played a lot with the infrared remote control and so far, everything works flawlessly, everything is in perfect sync. Only problem is how the material solution looks like for the moment...

 Florian
Discussions
Become a Hackaday.io Member
Create an account to leave a comment. Already have an account? Log In.
So what is the point of the Seeduino/Arduino? Does the custom firmware still require an external microprocessor in order to control the CC2530? The flow chart looks like it is just taking in the asynchronous data and making it synchronous for the A/C unit.
Are you sure? yes | no
You, good sir, just made my day.
Are you sure? yes | no
Well done! 👍 Perseverance pays. Give yourself a pat on the back.
Are you sure? yes | no