A20M Multi-Extruders conversion
From a mixing extruder to multiple extruders
From a mixing extruder to multiple extruders
To make the experience fit your profile, pick a username and tell us what interests you.
We found and based on your interests.
Common problem to the A20M, A10M and other 3D printers using this extruder: I fried the A9 (T0) input of the micro-controller.
After reassembling the hot end the temp was stuck on 93C cold. With everything disconnected or only the daughter board connected the temp should be -14C. (if I remember correctly)
After researching online i found that the cause was one of the leads or more from the temp sensor coming in contact with the heat block and the heat block being energized from the cartridge's leads. Maybe from cranking too much on the screw holding the sensor or having the glass of the sensor breaking and so on.
My solution was to isolate the heat block with silicon tape i had laying around (rated for 280C).
- the side with the leads of the heating element (cartridge) should protrude 1 mm off the heat block.
- Make 2 pin holes in the tape so the leads can go trough.
- Go around the heat block one time with the tape. The tape only glues to itself.
- Make another pin hole in the tape so only the glass of the temp sensor can come in contact with the heat block. I don't use the original holding method for the sensor anymore.
- Tape again one time around the heat block to retain the sensor in place.
- Check the continuity between the heat block and the 4 leads before reconnecting the leads to the board, there should be none. (assumption)
- Change the white wire (temp sensor) from one molex (T0) to the other (T1).
- In the Arduino software open the pin file for the board and go to the section "temperature sensors" change TEMP_0_PIN 9 to 11(switch the two or whatever) then upload the firmware.
- reconnect everything.
Old vs new

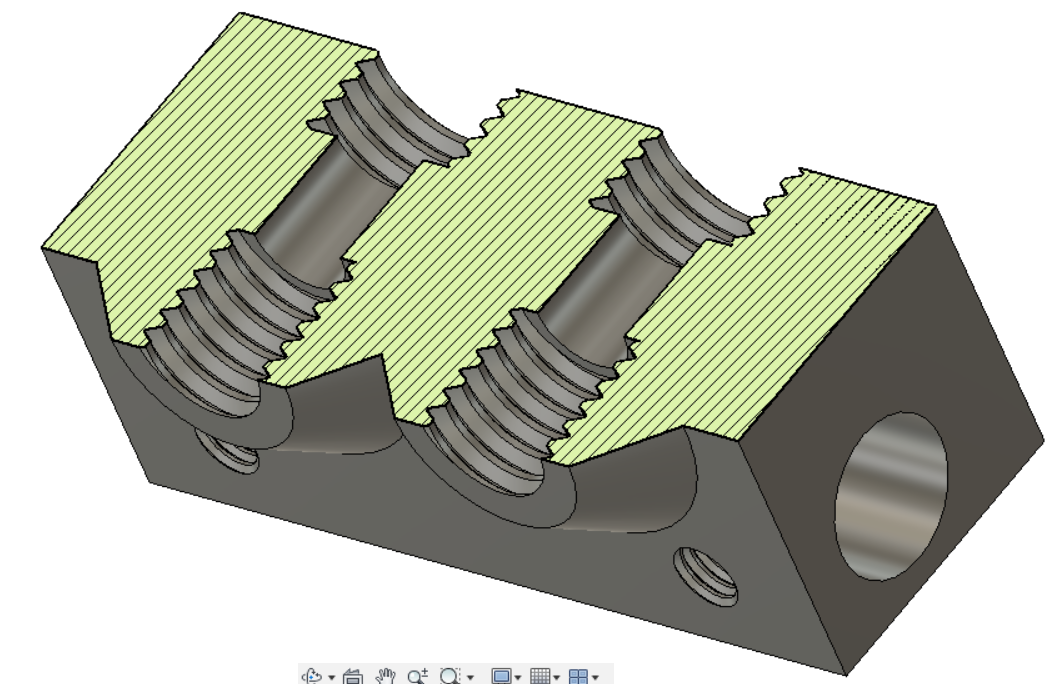
I had to machine one side and then the other. The work piece is secured from the bottom trough the M6 threaded holes of the nozzle.
Create an account to leave a comment. Already have an account? Log In.
Become a member to follow this project and never miss any updates