Imagine you're me: A broke grad student with dreams of turning his scanning microscopy hobby into something more. You scrimped and saved until you could afford old blu-ray players and a 12 dollar USB microscope, then sold plasma until you could upgrade to a broken 3D printer. You produced images that could always be described as "surprisingly good for being made of trash".
So then imagine you were offered the newest version of the only name brand USB microscope for free. How many microseconds would it to you to respond and go "yesyesyesomgplease"?

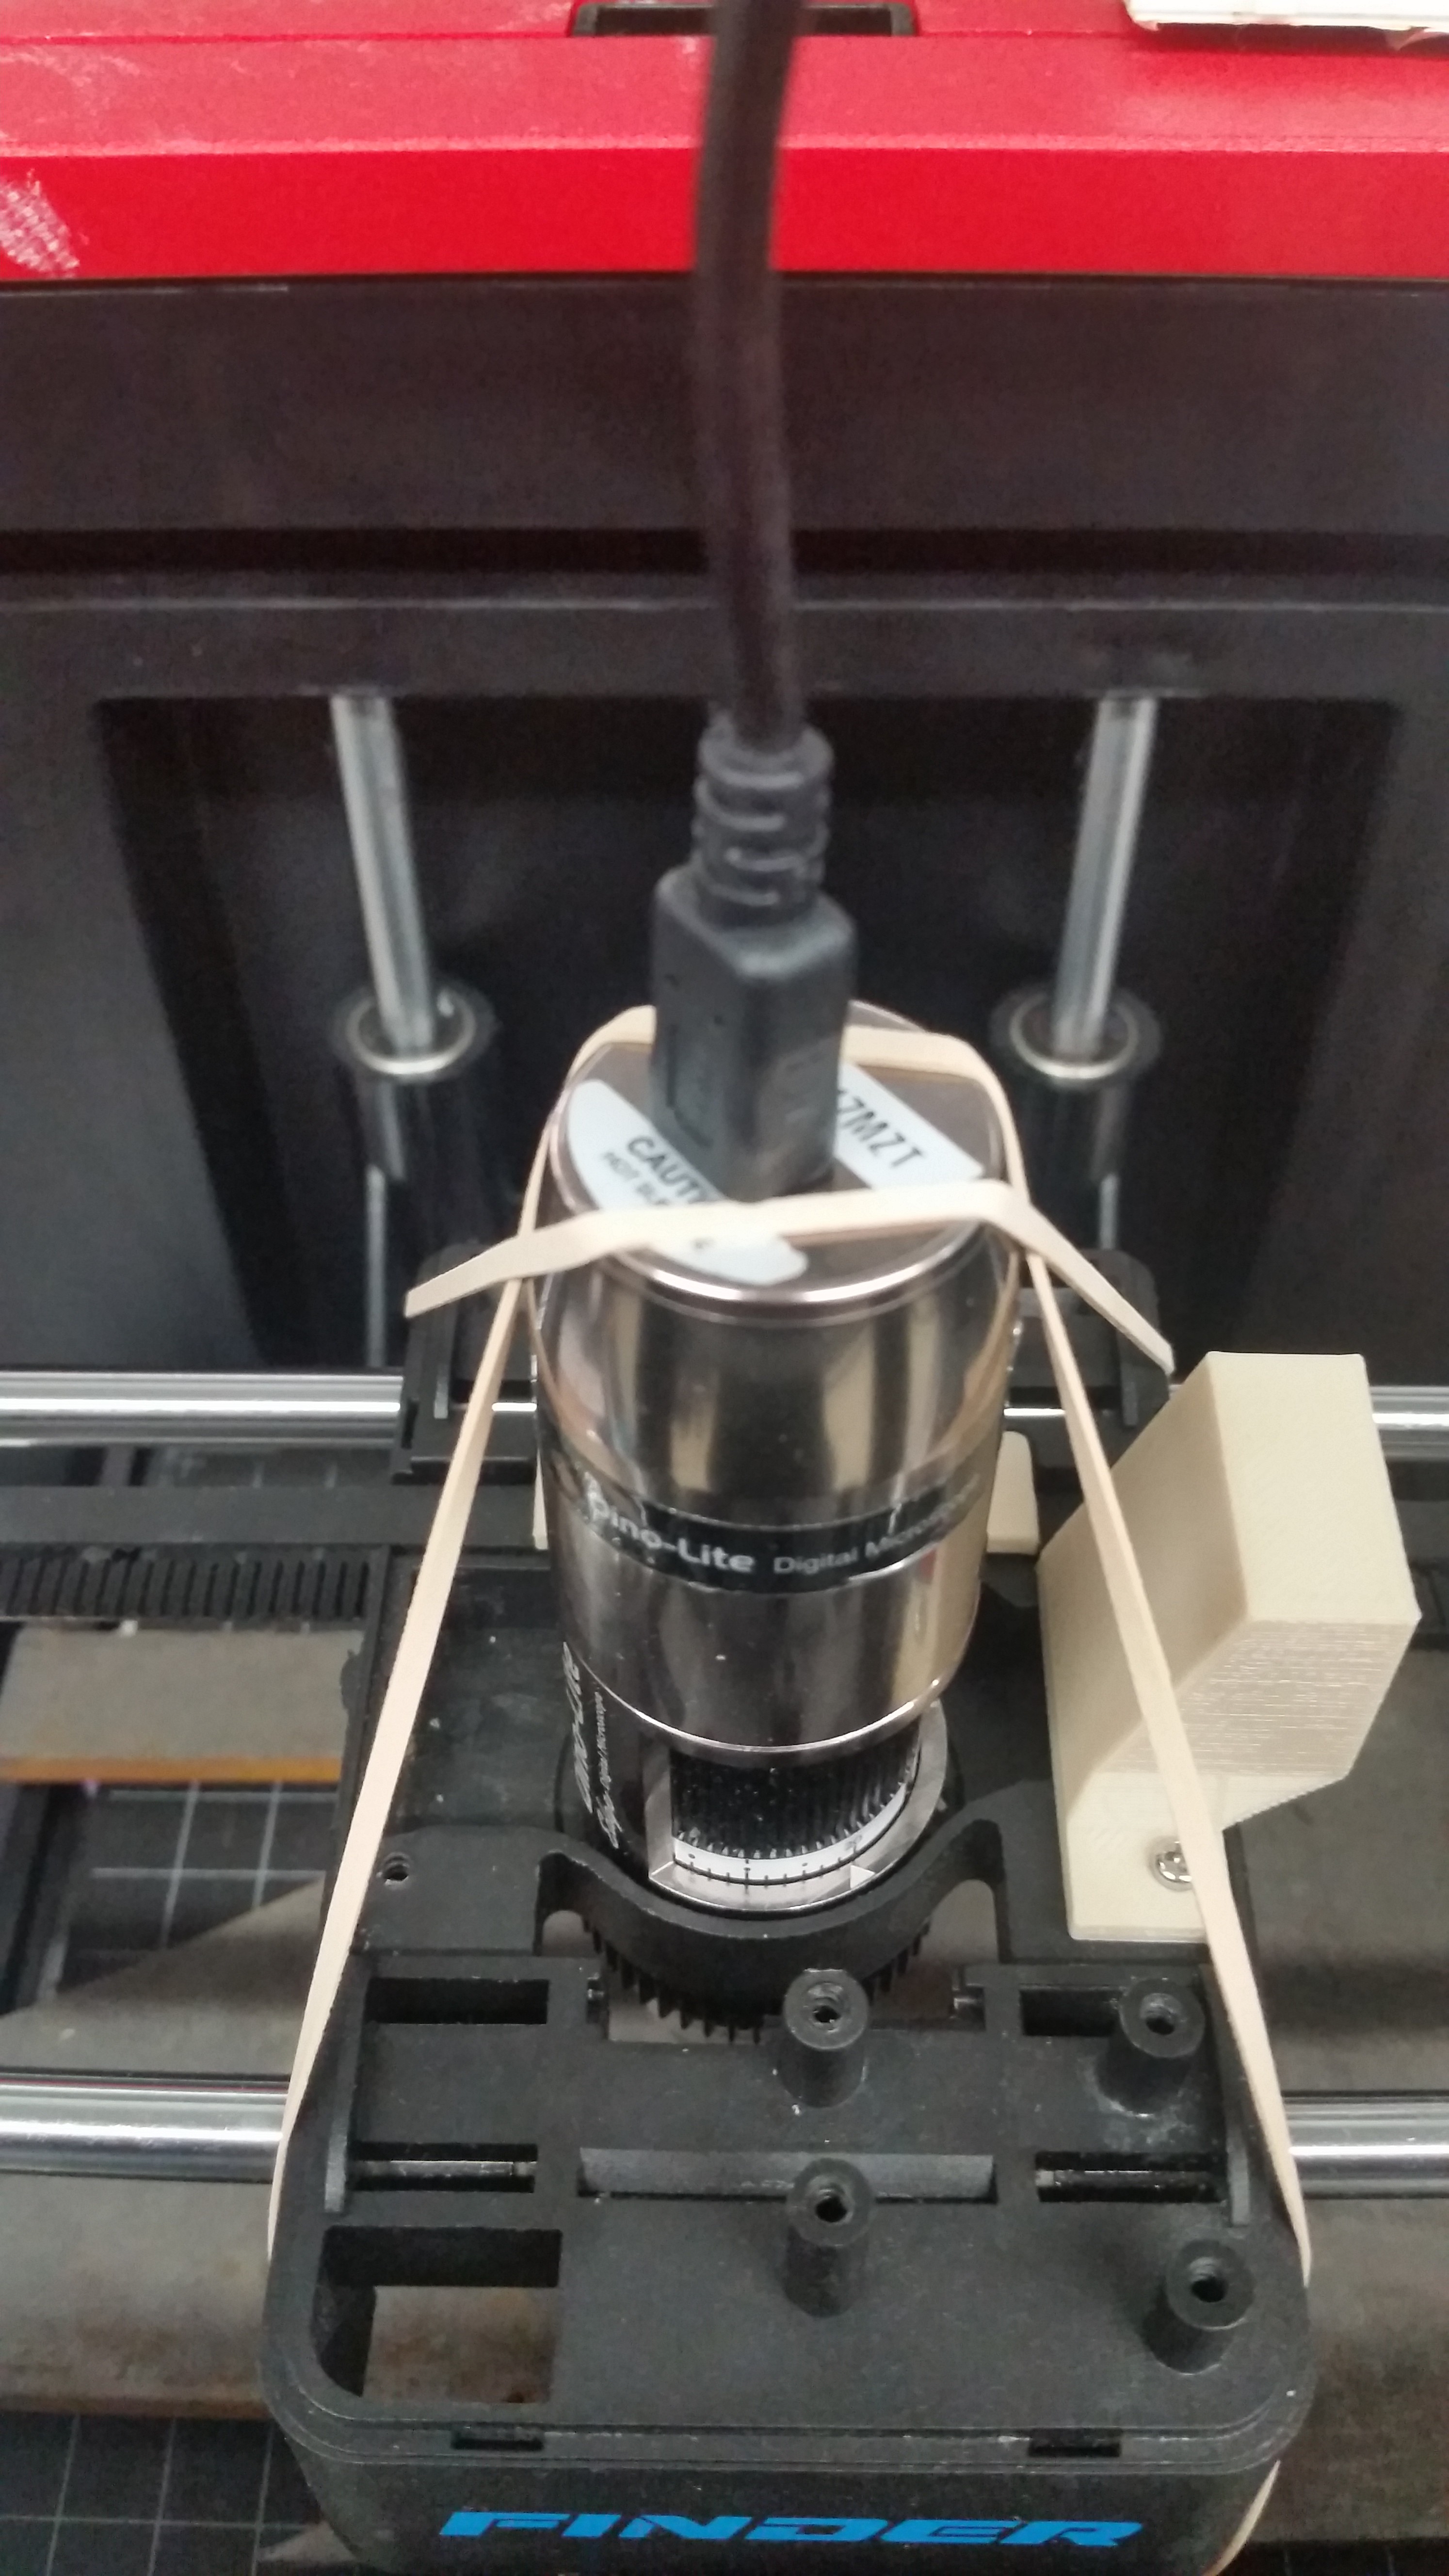
Of course the first thing you do is try to smoosh it into your current broken printer hole. You use a file (!) to cut away a few choice bits of material because the microscope has some pokey bits that get in the way. then, it turns out the plastic on the old one was actually helping it squeeze in and stay put, and aluminum just doesn't want to bend like that. So... straps?

I like stopgaps as much as the next guy, but this was starting to get ridiculous. Along with tons of dumb problems with the scope in the pi --- along with ahem, the coronavirus, a system I could work with from home (like on a laptop?) started sounding attractive.
So that's why everything is different now, because my 3D printer is now one that didn't start off with an exploded mainboard. One of these guys basically.

Pros: bigger build plate while being less huge in general, solid metal frame, easy mounting points to the build plate. Con: The build plate moves in X axis, rather than just Z or none at all. This means you can't just plonk some objects on without fixation.
Anyway I have gcode control now and run it from a windows machine through pyserial! Getting it connected at all turned out to be the easiest process. Most of working with gcodes and such is just stringing, and then it is amazing to be able to just, for instance, home everything with a single line. Let the 3D printing nerds handle all the backend, like proper acceleration profiles --- I cannot believe I suffered this long listening to my system go kachunk kathunk kathunk for hours at a time. And then combine that with a much faster frame rate with a proper computer and open cv, and scans are at least three times faster now. Actually, twelve because the camera has four times the areal field of view without loss of pixel density! It really is fun to watch it go now.
Also I implemented a brute autofocus, which is basically what I was doing before after the scan but which you can now just do in real time.
And with all that I'd like to present the new system's first image, of a Canadian Toonie.

The scope has a polarized light knob which makes a HUGE difference for reflective surfaces like this. But beyond that, I was astonished at how normal the image looked. With just about any scan I've taken, I can find some flaw that gives it away --- a speckled pattern if you squint, mismatches and odd warping, a marked color gradient. This has almost none of that.
If you zoom in you'll spot some stuff --- mostly around the coinedge as a consequence of autofocus. But it turns out that a lot of what I complained of microsoft ICE was not really its fault --- it worked so hard, the poor thing! In the end, if you give it better images it begin with, it will reciprocate.
 Ahron Wayne
Discussions
Become a Hackaday.io Member
Create an account to leave a comment. Already have an account? Log In.
Man, definitely was not expecting a number that high when I looked up the microscope in question on Amazon. Hell of a score there, congratulations.
Are you sure? yes | no
Definitely, and thank you. Bit of a story there for sure.
Are you sure? yes | no