Actually I wanted to use a thin carbon steel sheet clamped on the buildplate as surface material which can be swapped out if it's damaged from printing. But the 2mm steel plate that I used got heavily deformed during testing due to the heat.
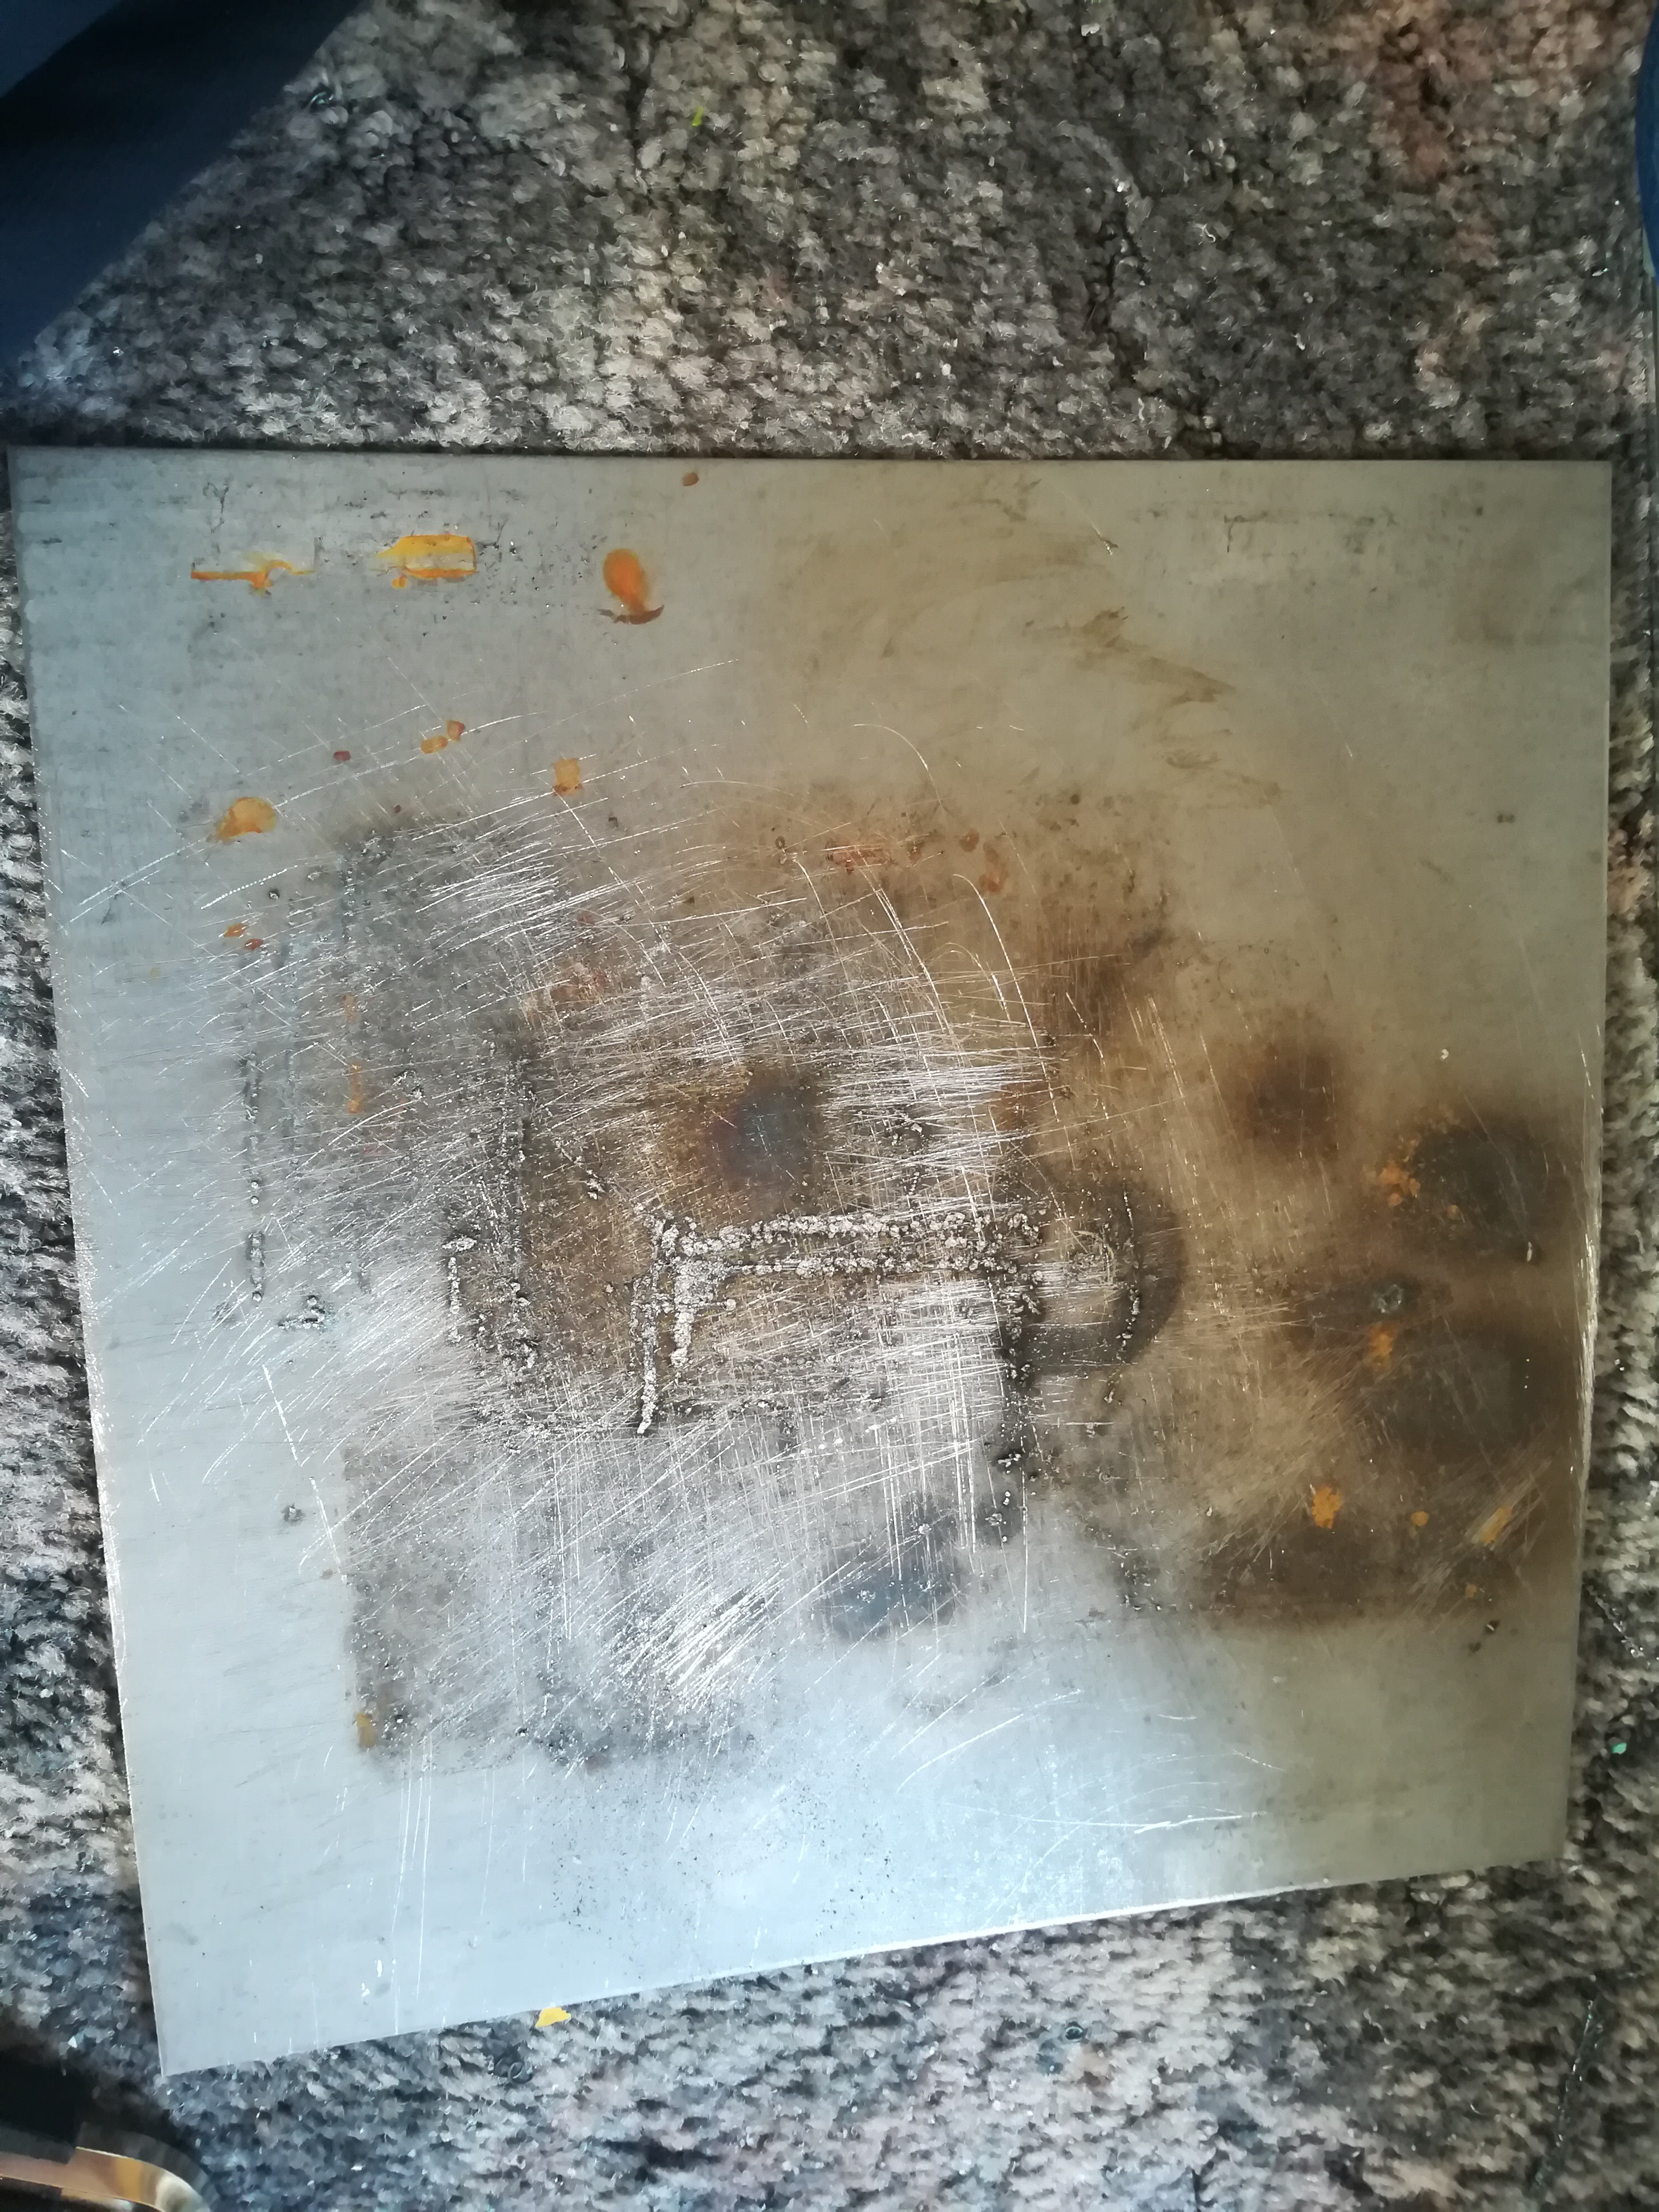
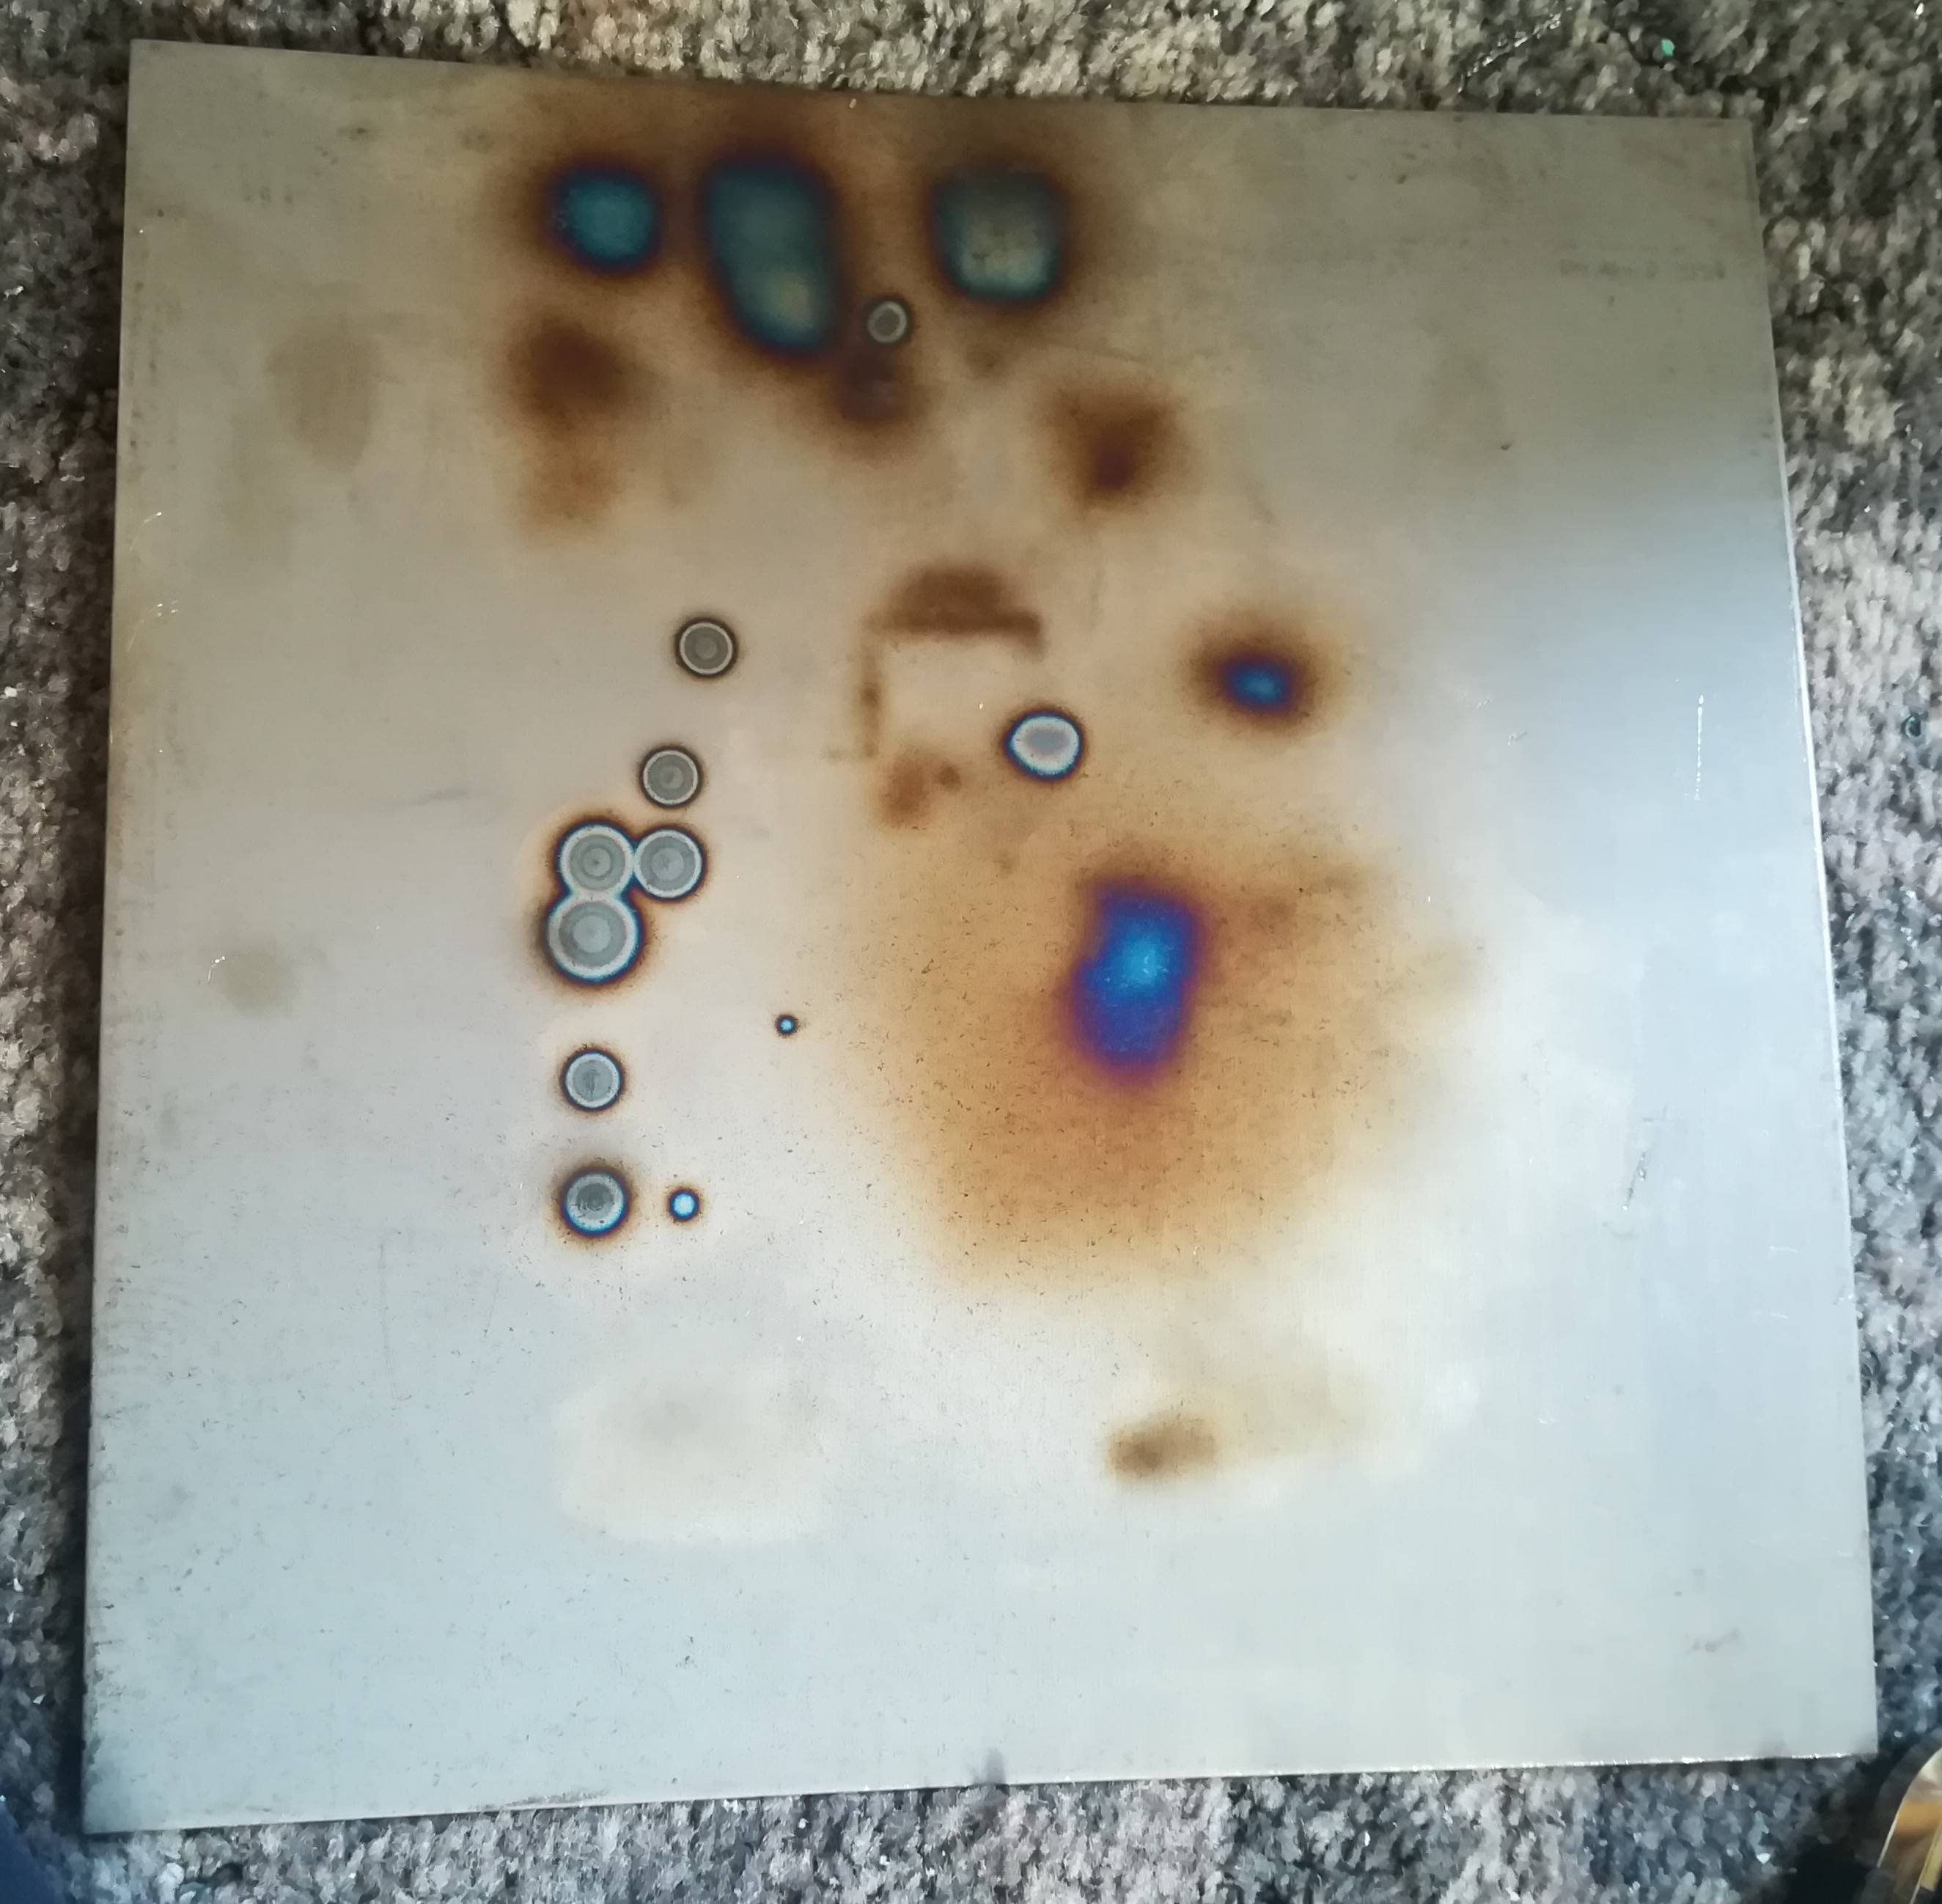
The colorful dots on the backside came from circuit breaker stress tests and welding tests. There is also the shape of the 20*20mm test cube on the backside.
It seems like 2mm sheet metal is too thin for the heat, and so I ordered a 5mm 250*250mm steel plate for using as buildplate.
The material is relatively cheap so if after several prints the buildplate got damaged you can swap out the entire buildplate and continue printing.
The new buildplate should get delivered in the next few days or weeks.
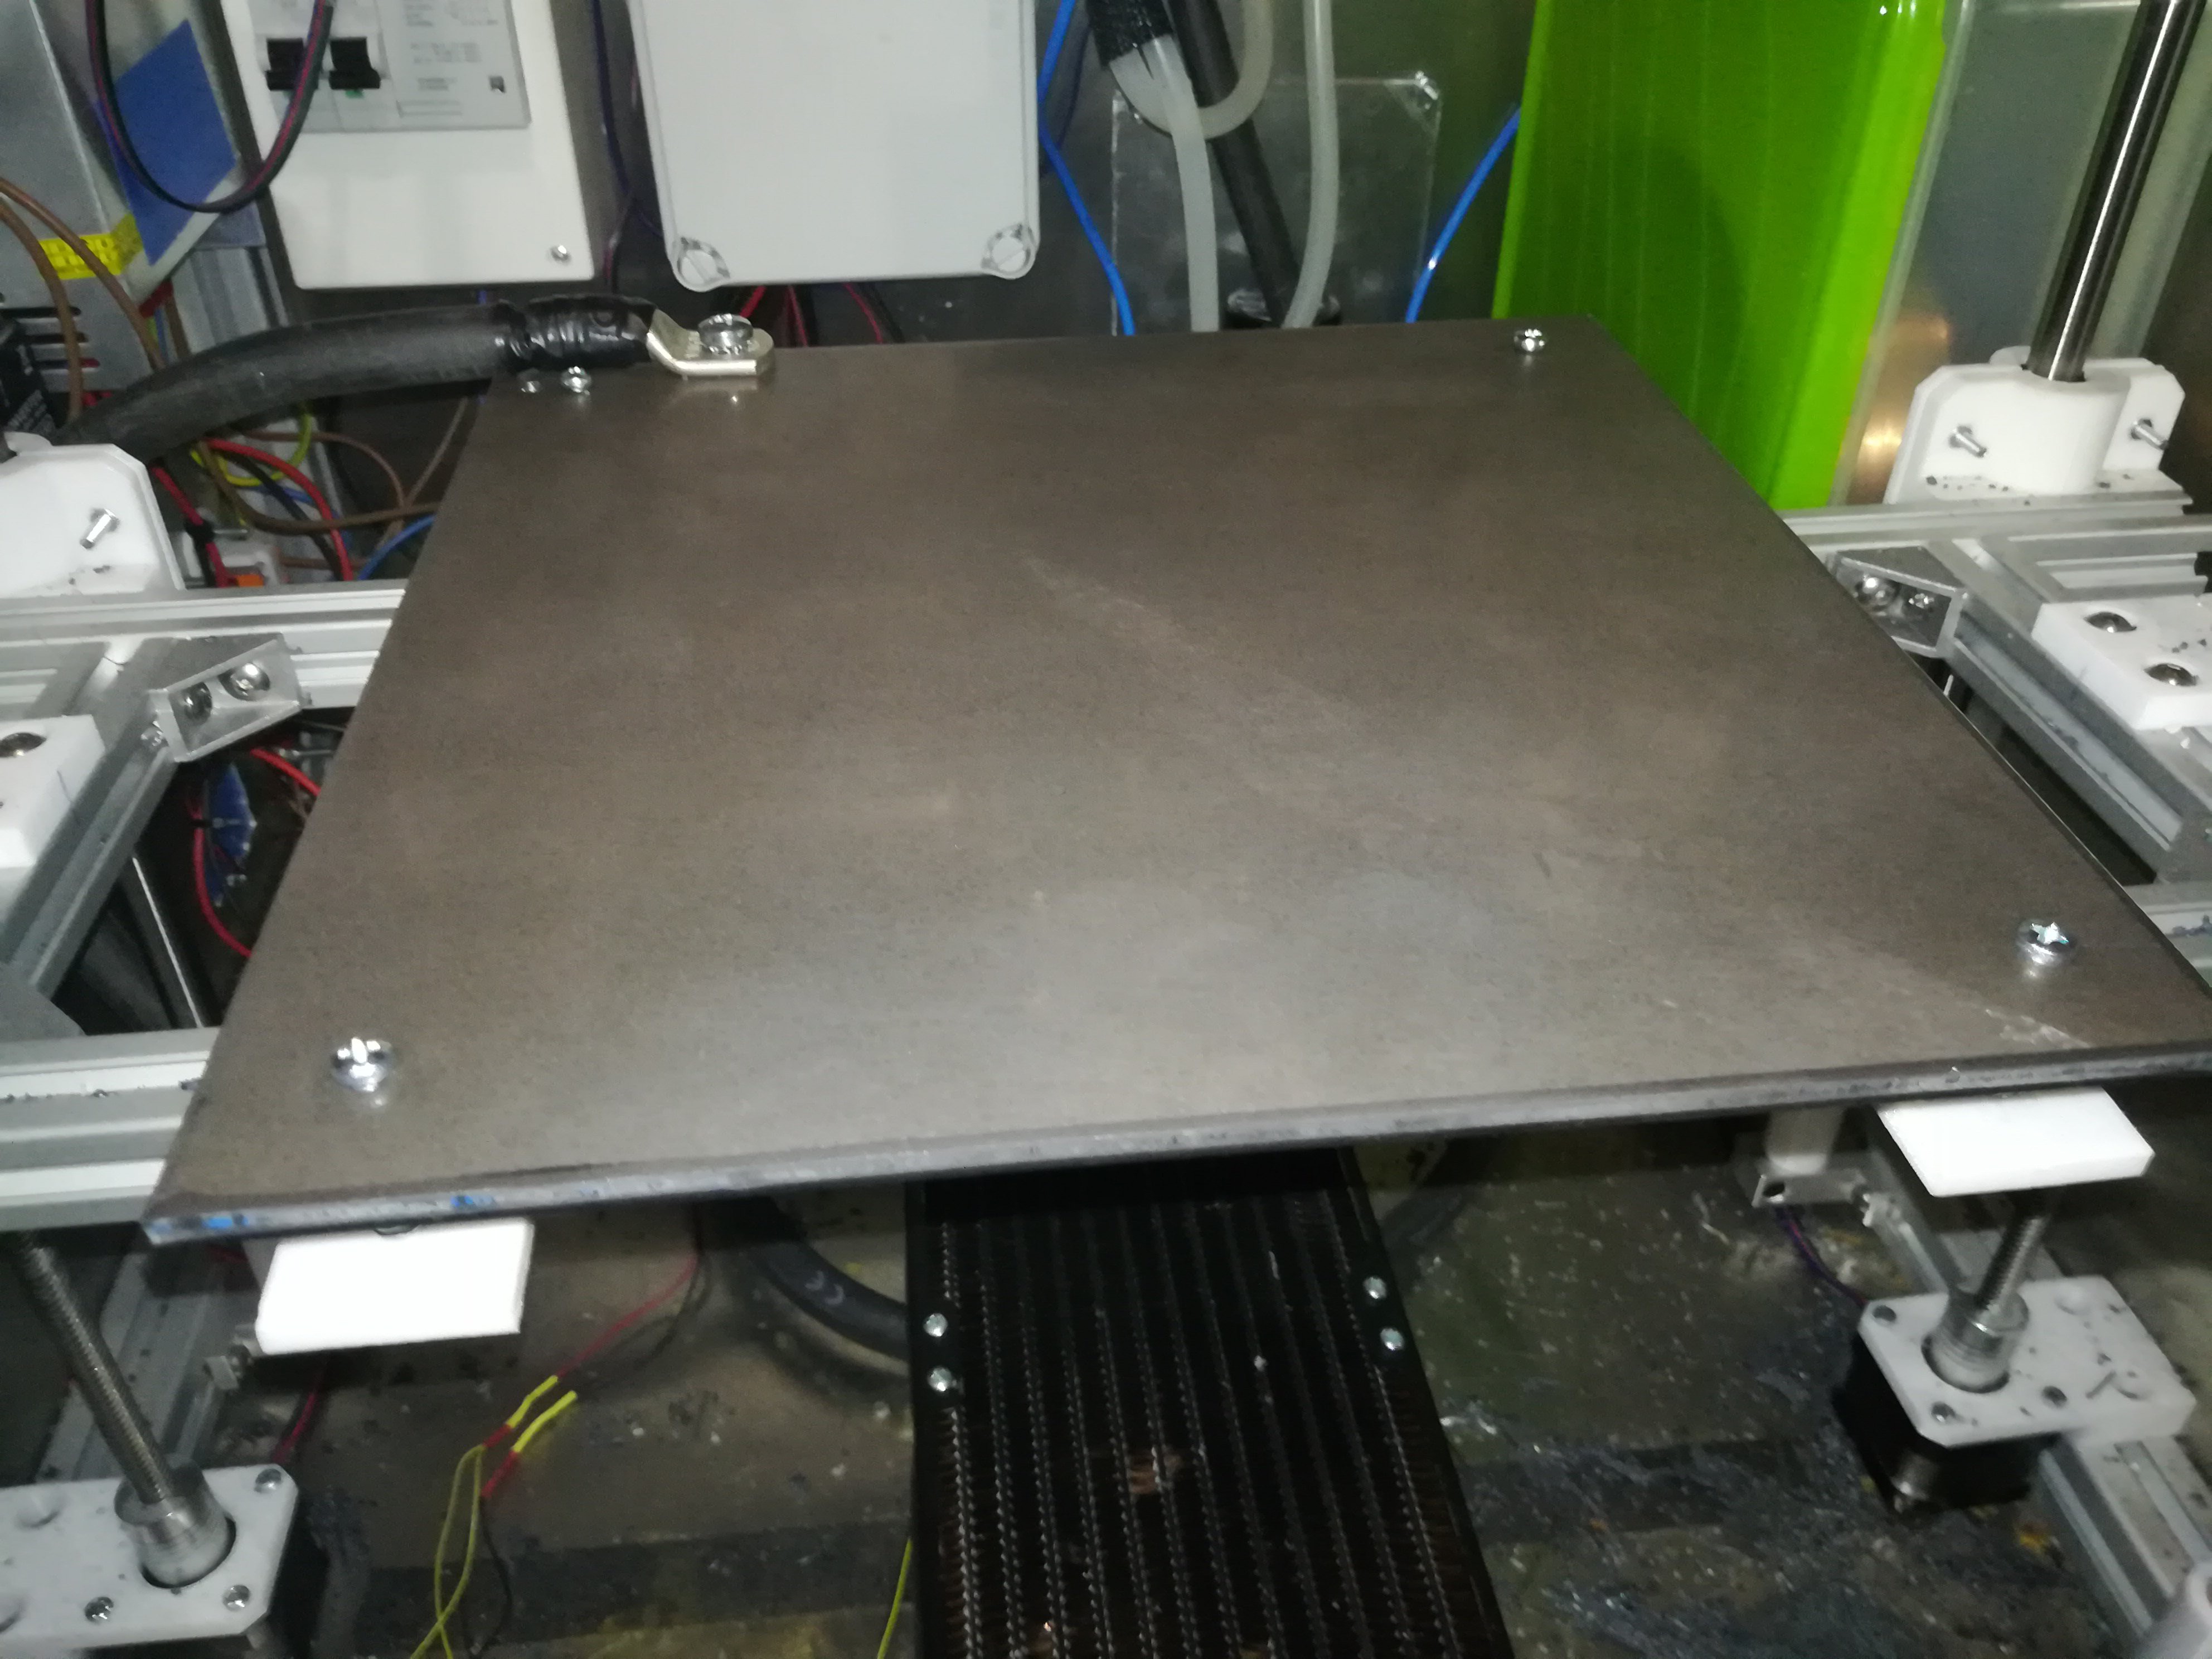
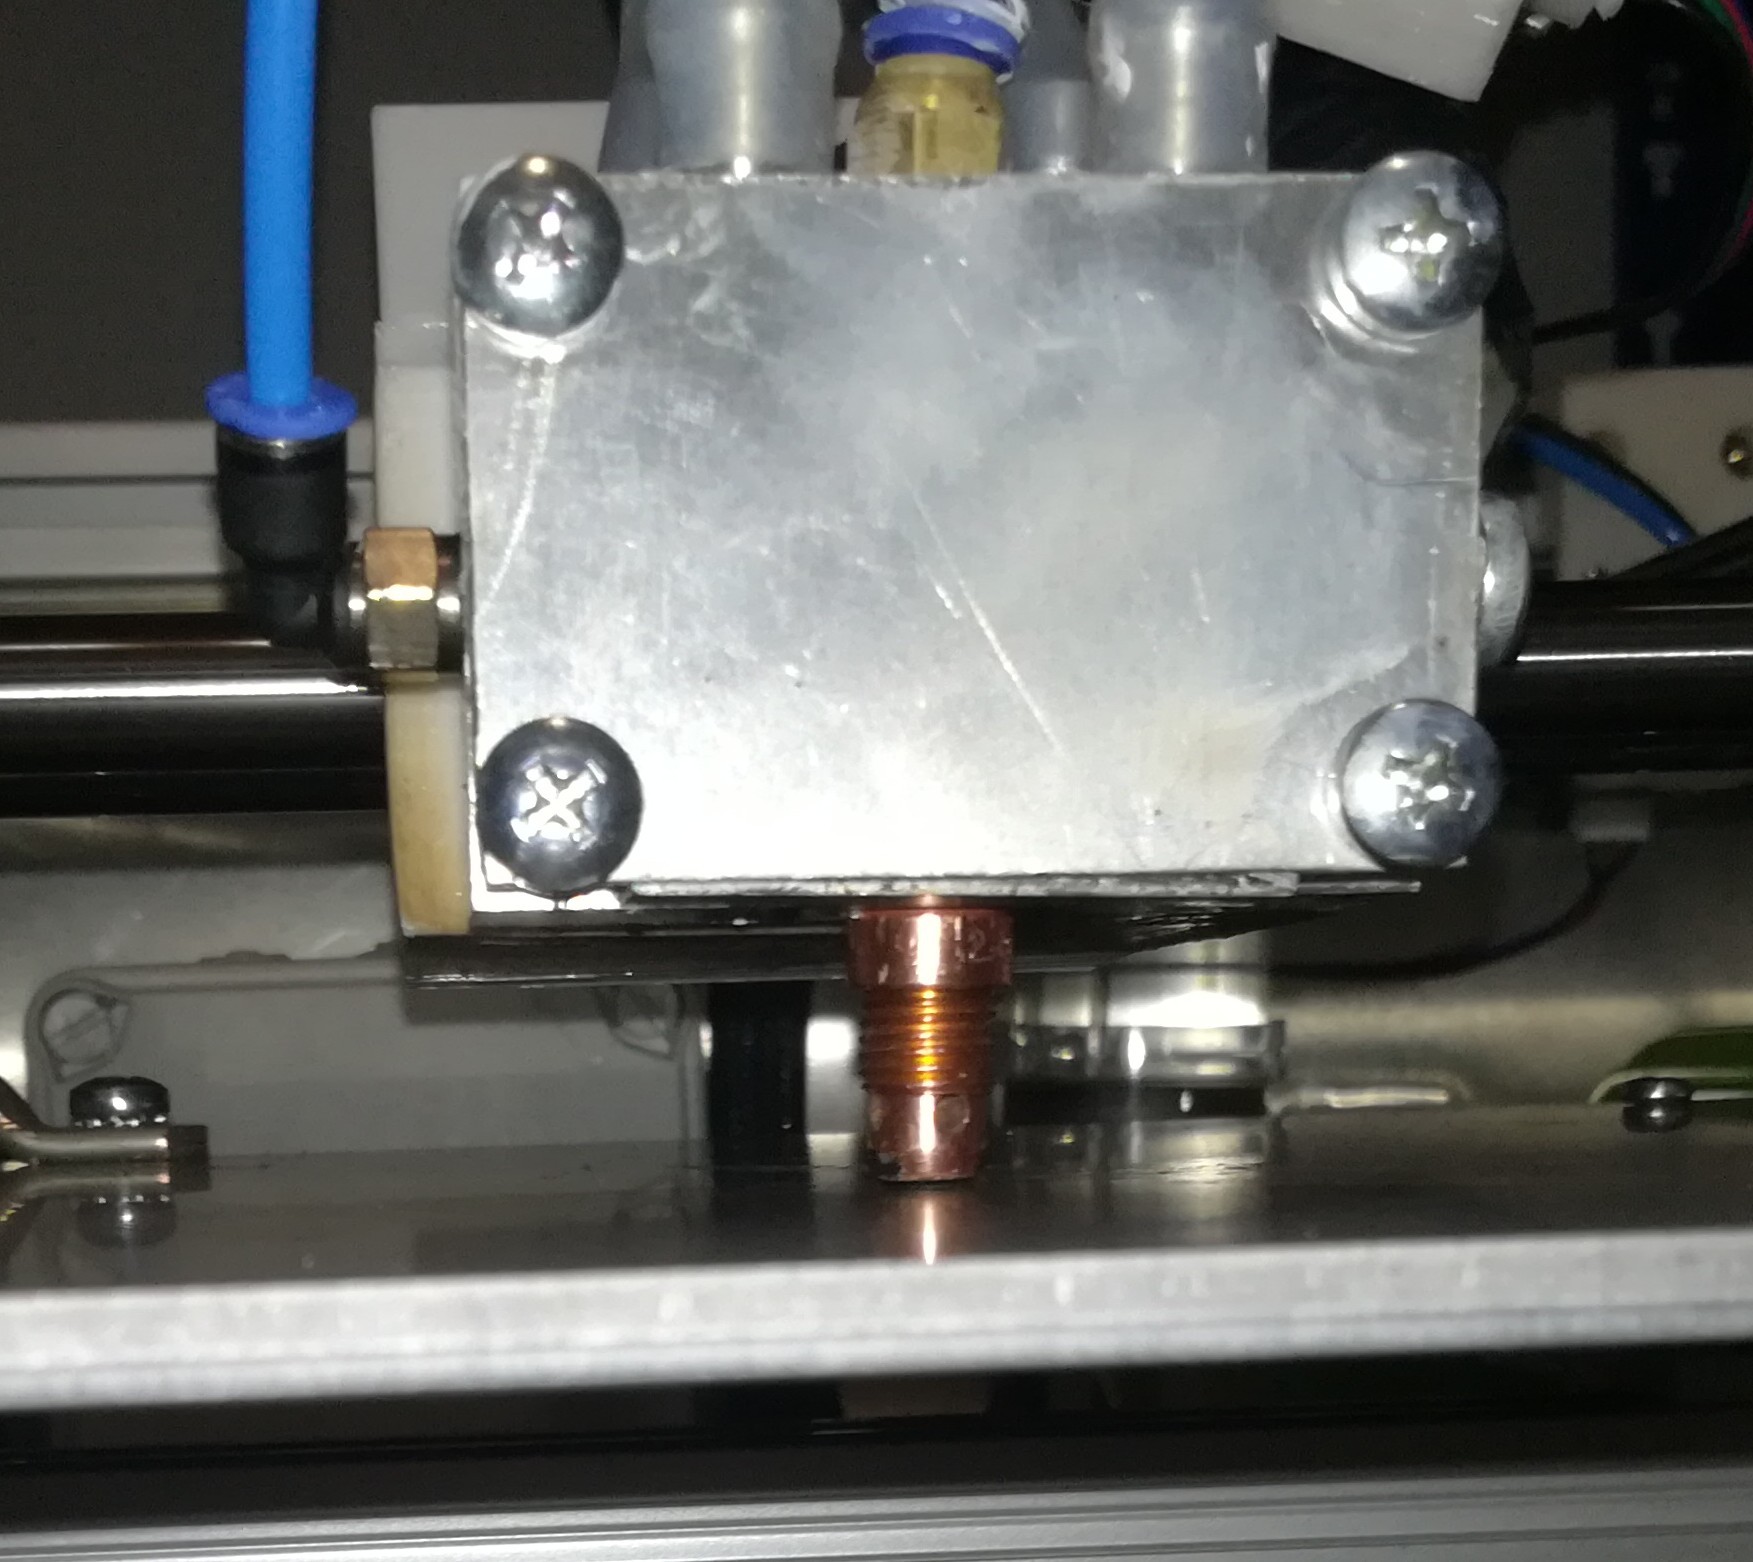
The new buildplate got delivered and with it probing works again :)
With the old buildplate it failed almost every time so I couldn't use it.
So the clearance should be the same now across the whole buildplate.
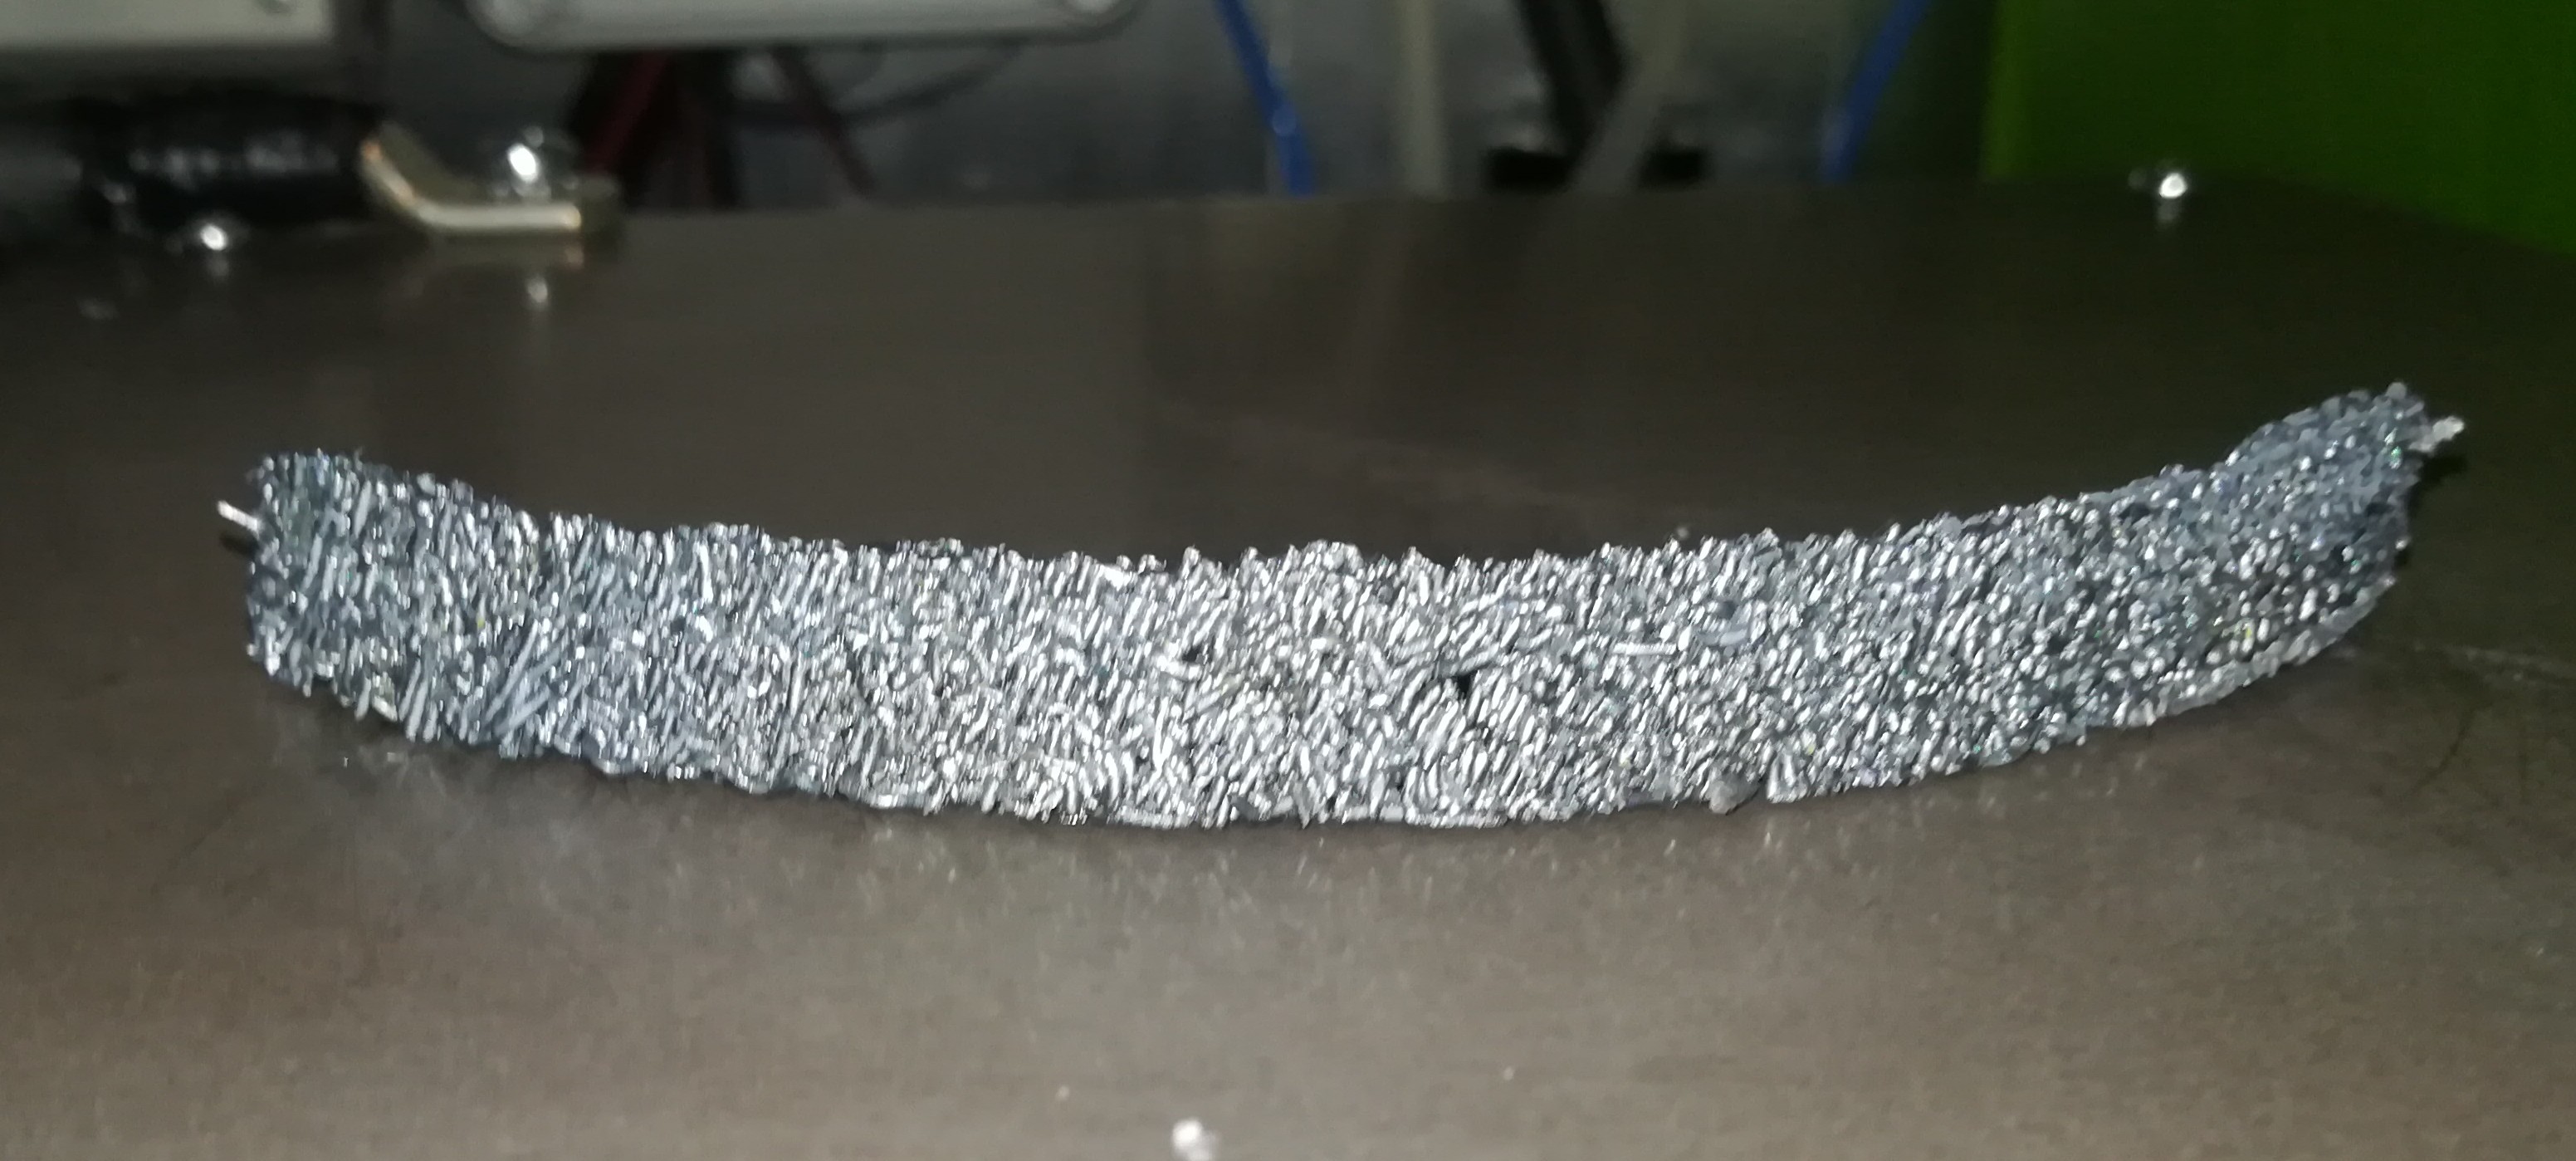
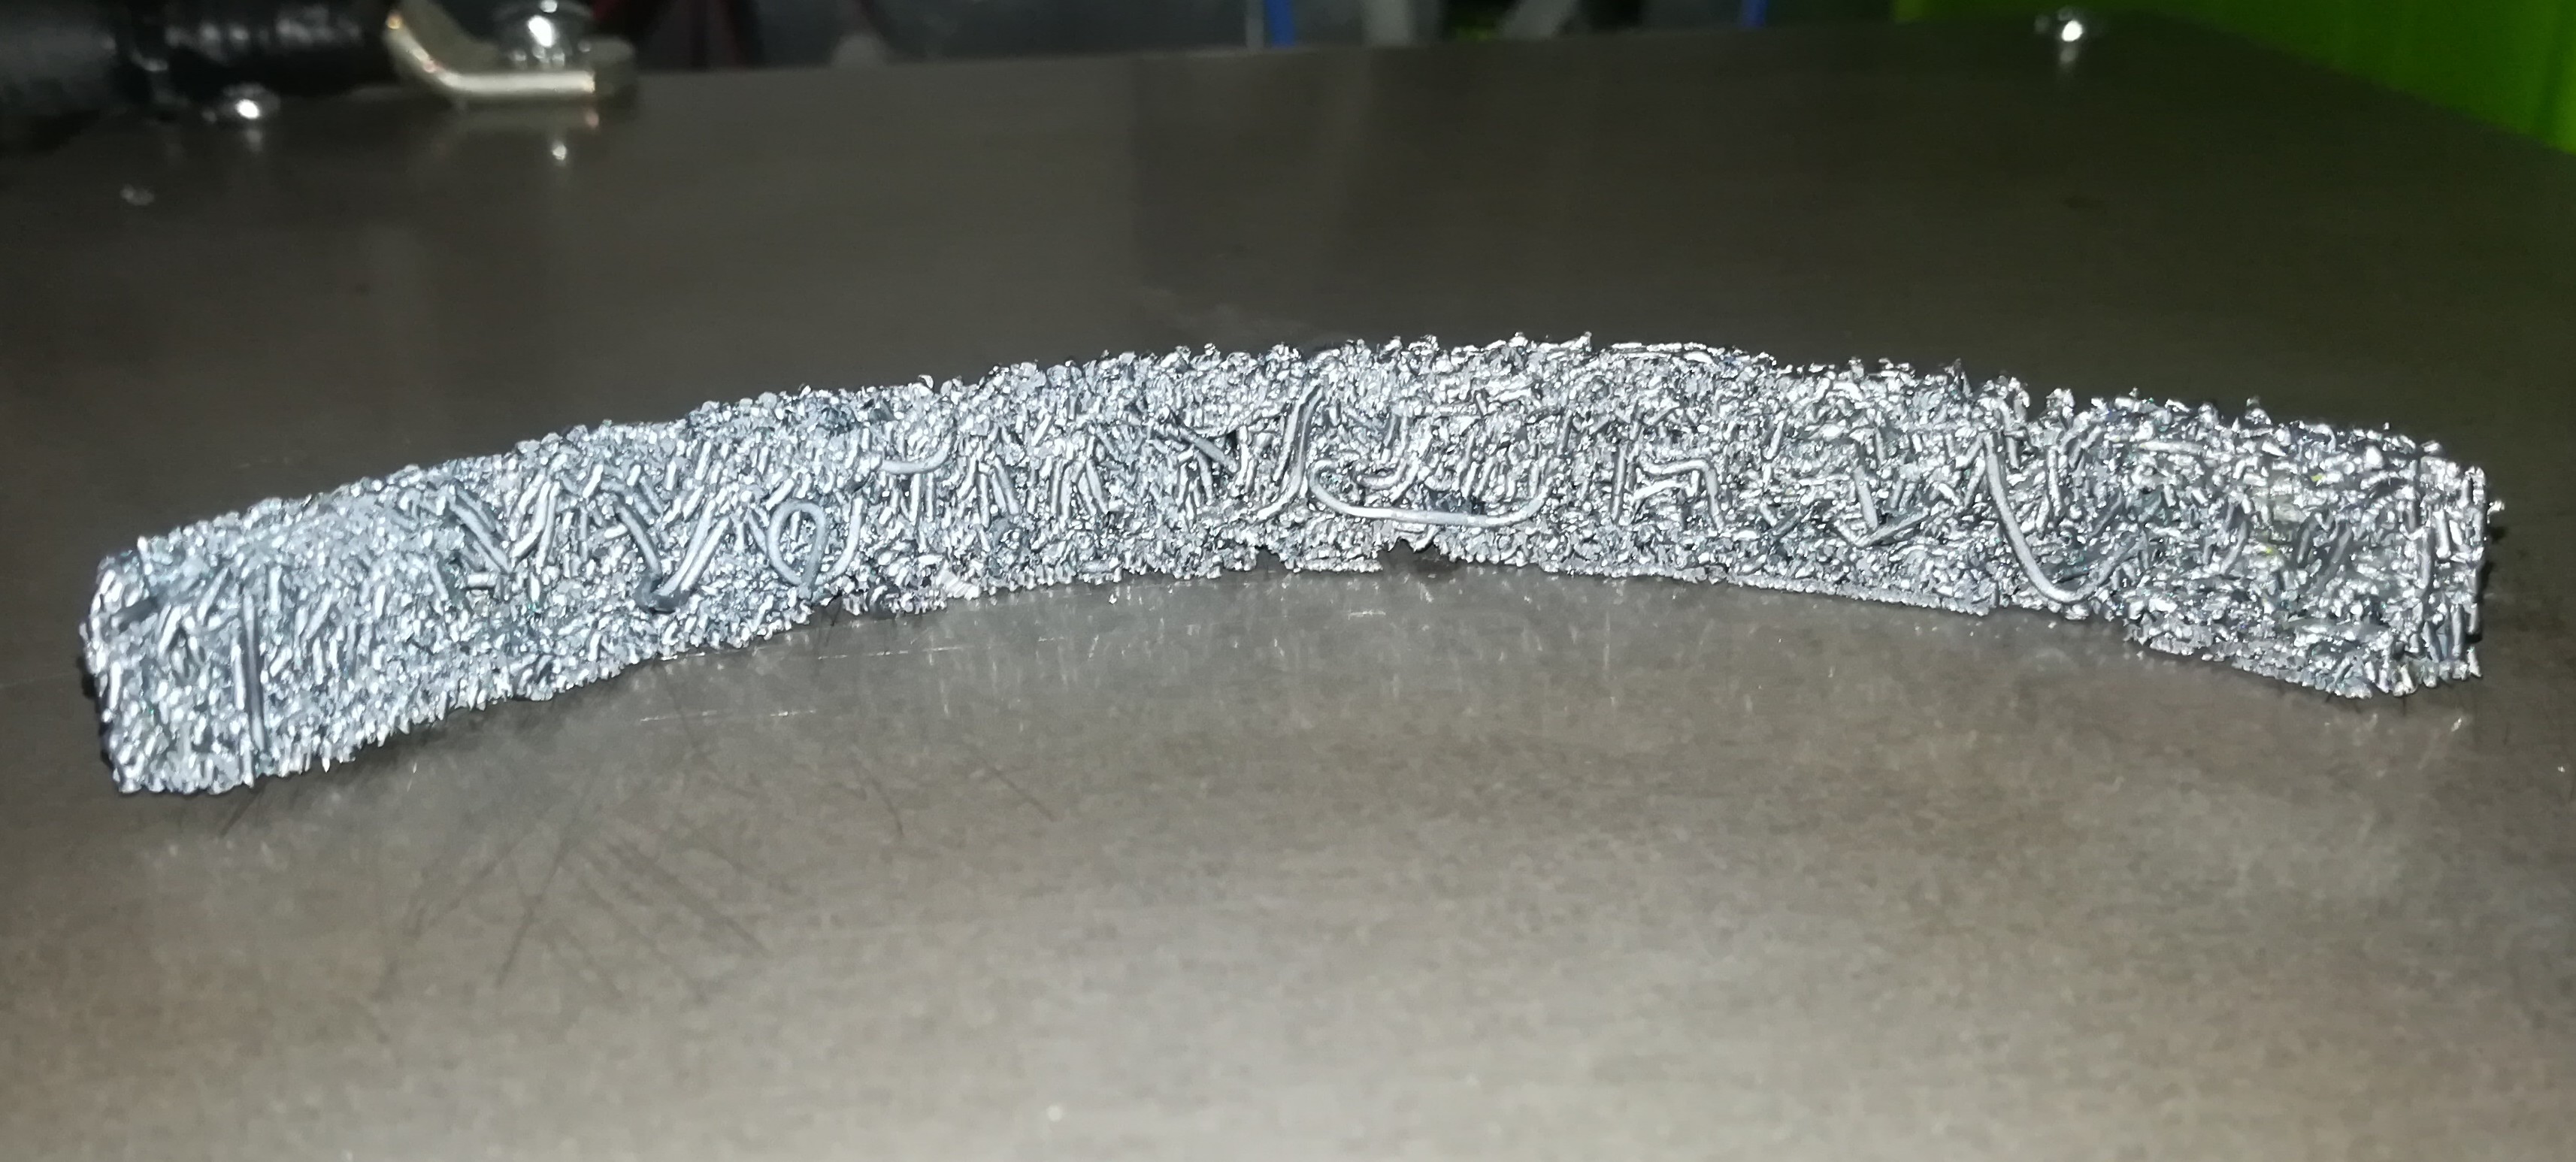
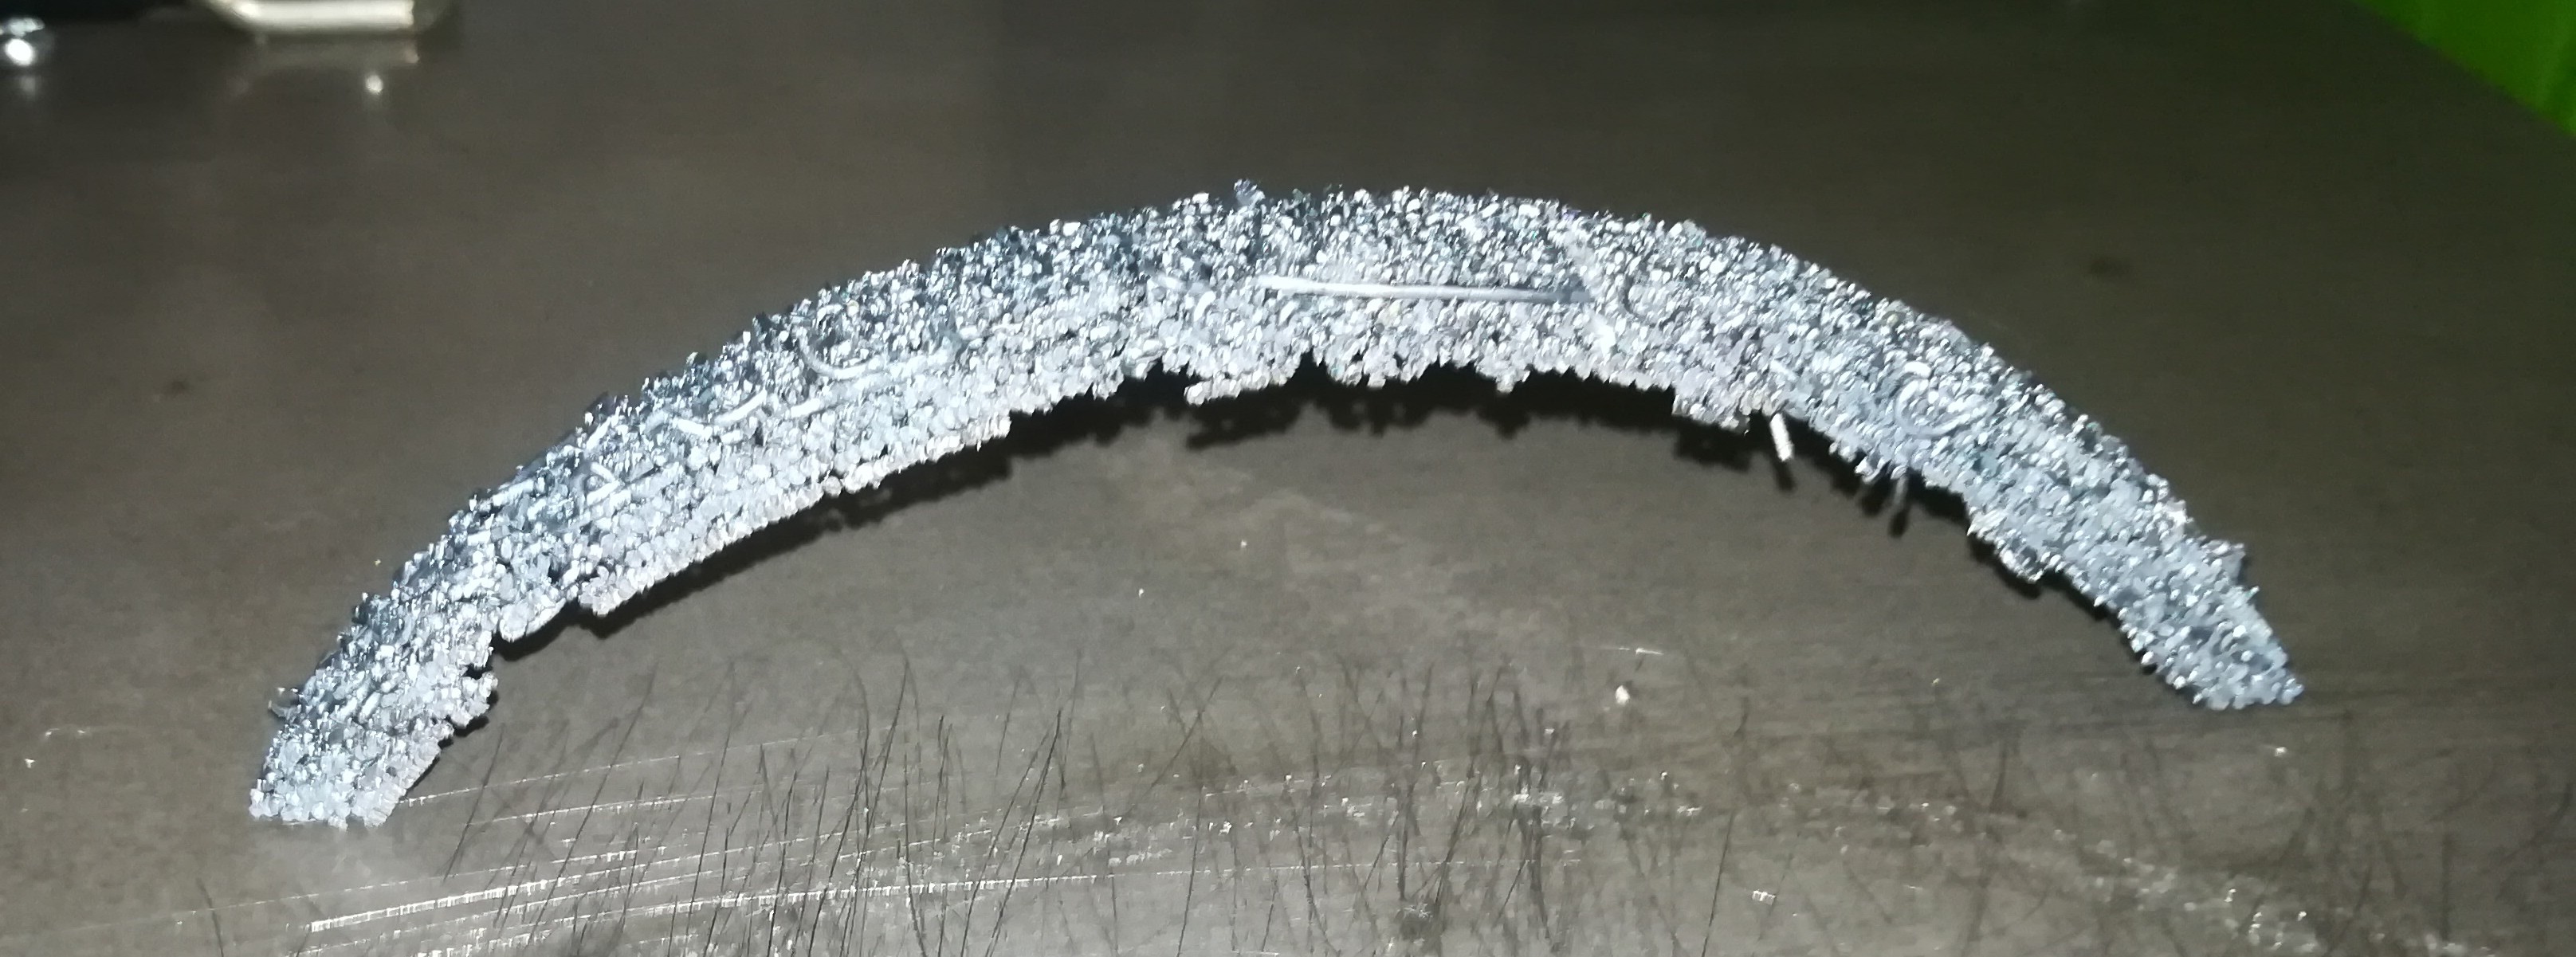
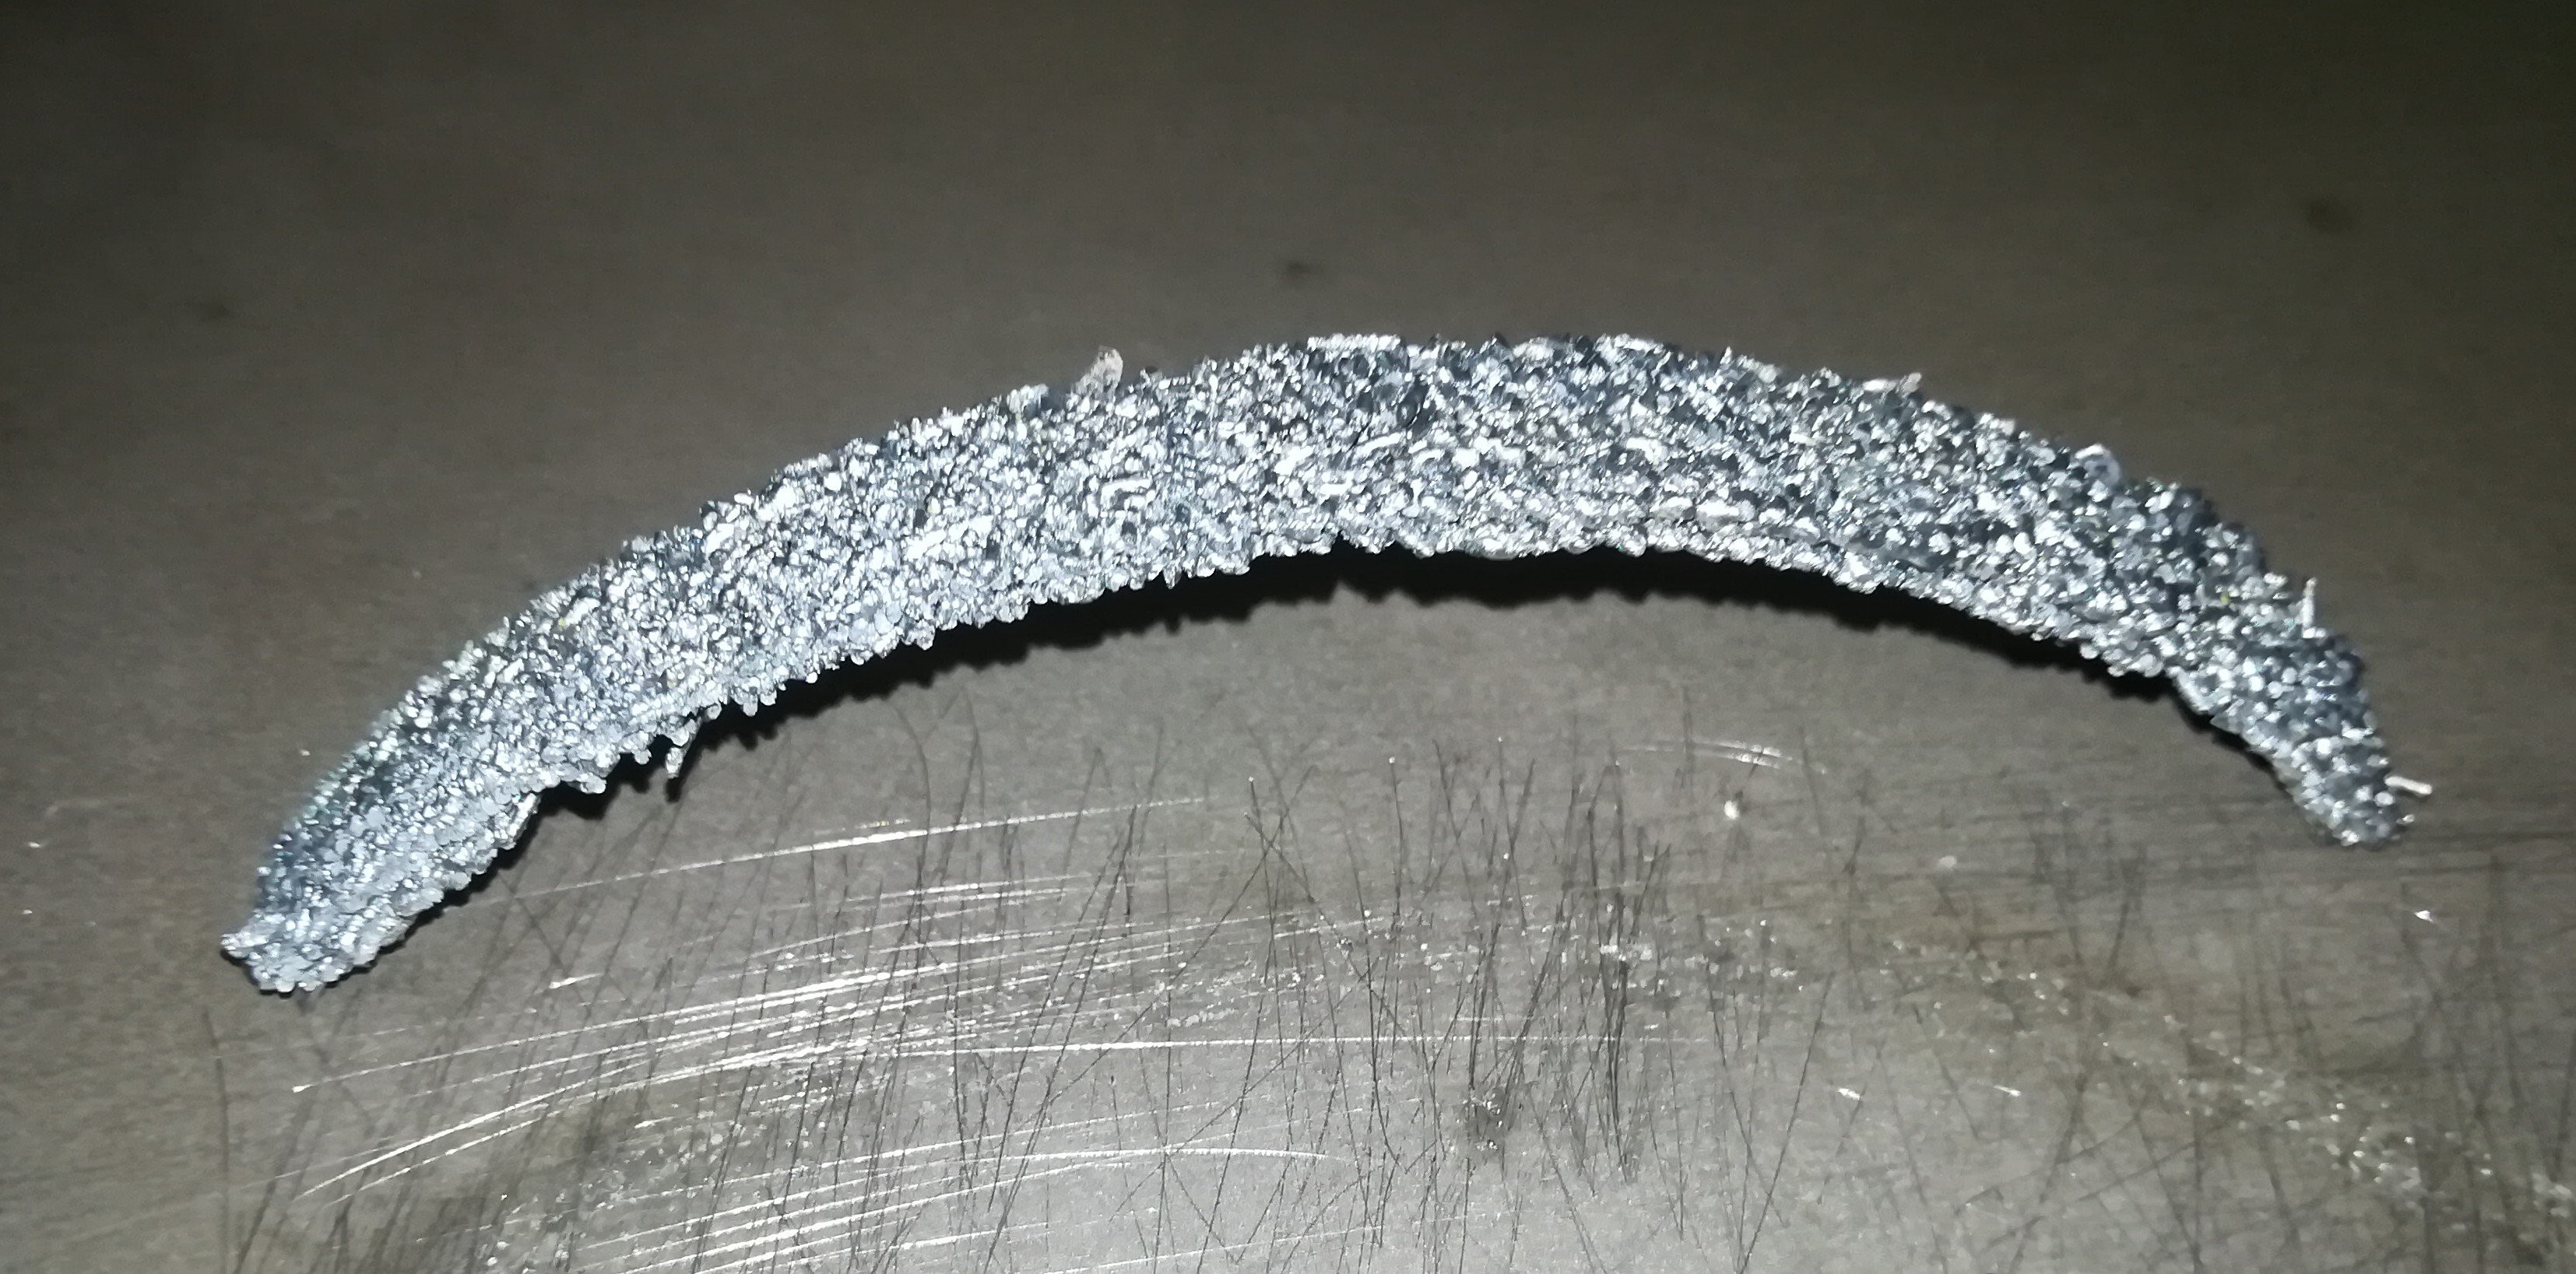
First I set the clearance to 1mm - what was too less because I had a lot of arcing between the nozzle + wire and the buildplate. I set another mm of clearance in the slicer software which seemed to work better, but because of some other wrong settings the result was very brittle.
 Dominik Meffert
Discussions
Become a Hackaday.io Member
Create an account to leave a comment. Already have an account? Log In.
Arcing - try less power. Your wire is melting instantly, forms a drop which falls down, breaks contact and that contact breaking means sparks. Then that drop, when fallls down it cools very quickly (very quick cooling is called hardening) and next drop can form above it, only loosely coupled to previous one. You want to have gooey extrusion which means lower temperature which means lower power.
Are you sure? yes | no
This is a very good explanation of whats going on, but the problem is... When I lower the power on the first layer the wire doesn't stick to the surface. With the second layer and above the wire sticks good to itself, but then I have the problem that the underlaying layer is too far away from the nozzle.
I think if I could print the first layer nice and with the same hight at every location the following layers would work, too. But without the clearance I got the arcs and the wire get stuck in the nozzle and with the clearance the distance from the first to the second layer is too large....
Are you sure? yes | no
In that case, I still think you are printing too slow. Metal conducts heat several times faster than plastic. So you need to print several times faster. And here several is >4 :( . If you want to go slow, you need more control over heating, probably you will need to tune power really carefully so that your wire still sticks, but doesn't melt too much. Also, when you are printing first layer, your buildplate is cold. When you are printing second layer, your print is a little hotter, so probably that's why it sticks. Maybe try preheating plate with some propane burner?
Are you sure? yes | no
Ok I will try faster printing and preheating. Hope that the new buildplate not deformes while preheating like the last one did.
Are you sure? yes | no
Hi, I could attach multiple water cooling heatsinks to the bottom of the new buildplate and connect them to the water cooling system of the toolhead. Maybe this could act as a sort of heat conducting part cooling system...
But at the moment I hope that using just a thicker buildplate solves the bending/warping problem.
Are you sure? yes | no
Do you have any active cooling at all? Maybe affix some huge copper heatsinks to the bottom that you can spray water at. It sounds like you're dealing with some crazy temperatures...
Are you sure? yes | no
This won't help with deformation but will greatly increase unsticking of parts. Probably bed would just crack in such situation. Heating the bed and chamber to around 500-800*C would help a little but is not practical (yet).
Are you sure? yes | no