 Jarrett
Everything was 3D printed to test fit. Surprisingly enough, threads worked pretty well. There was a ton of stringing in the internal threads, though.
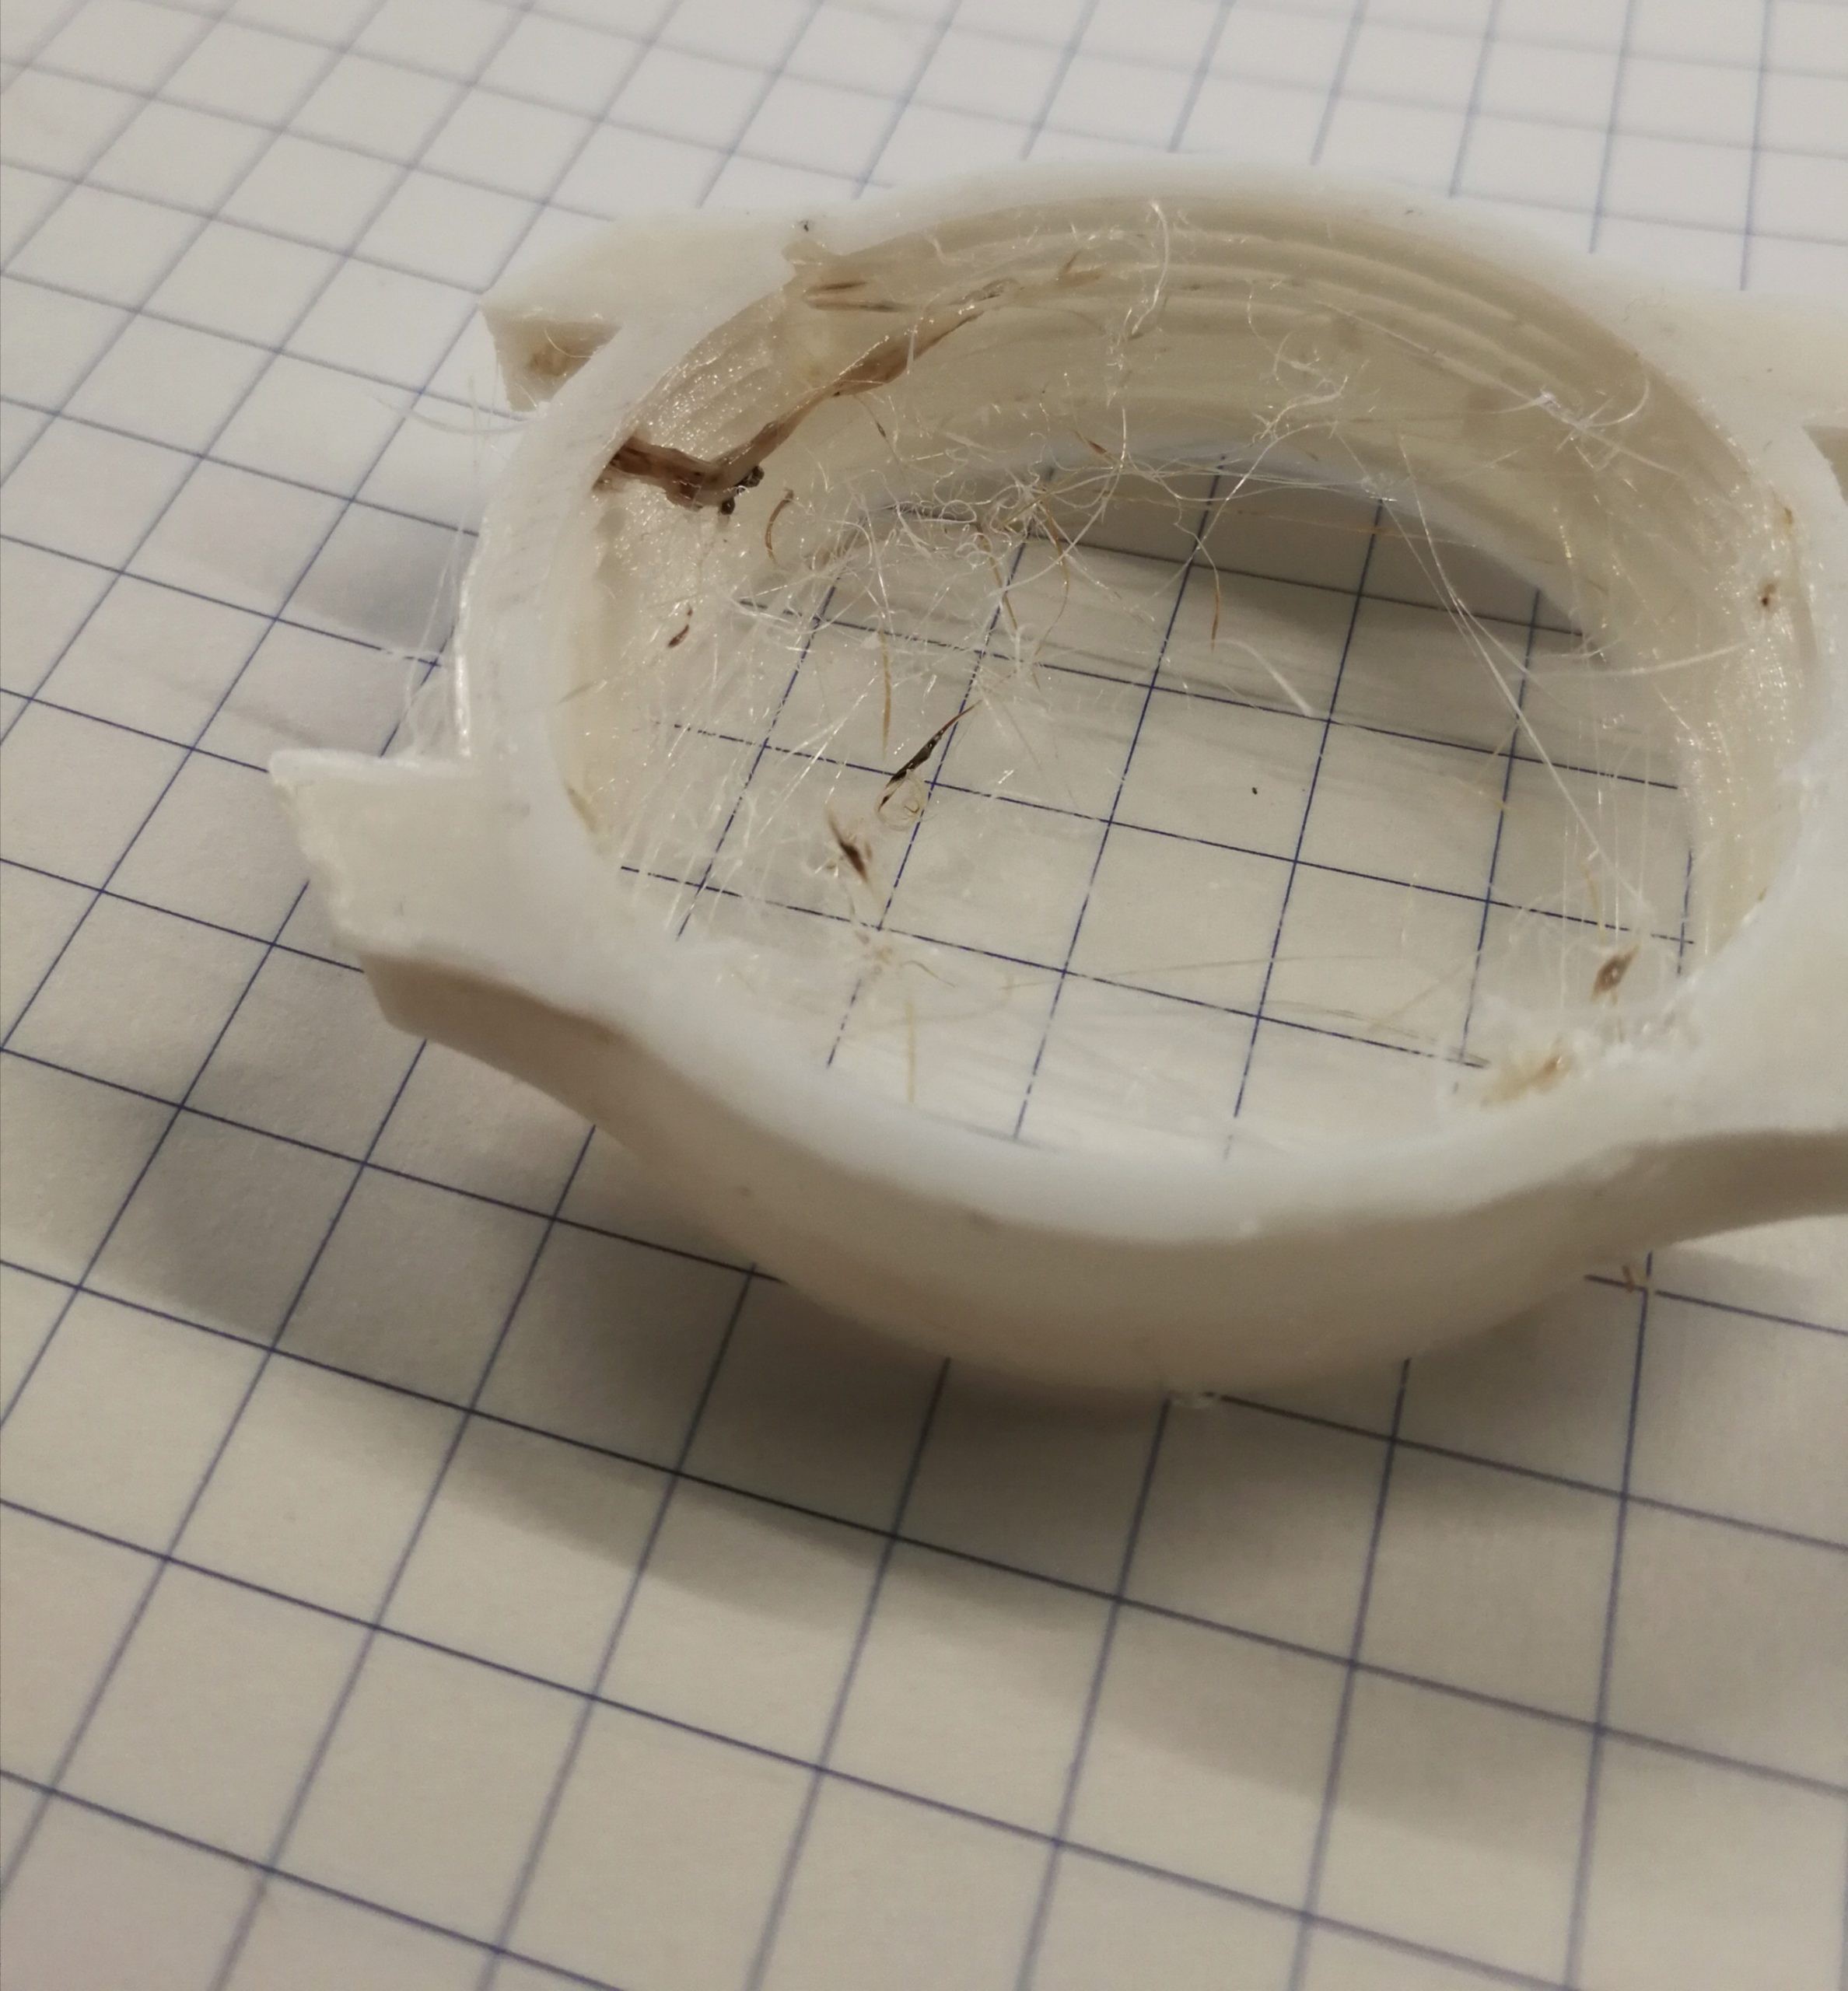
Initially, I was using a knife to clean those up, but that got old quick. Additionally, oozing from the print of the outer threads made it a little tough to mate for the first few cycles. So I printed a tap. You can see the taper on the leading threads, and the notch to clear out the chips.
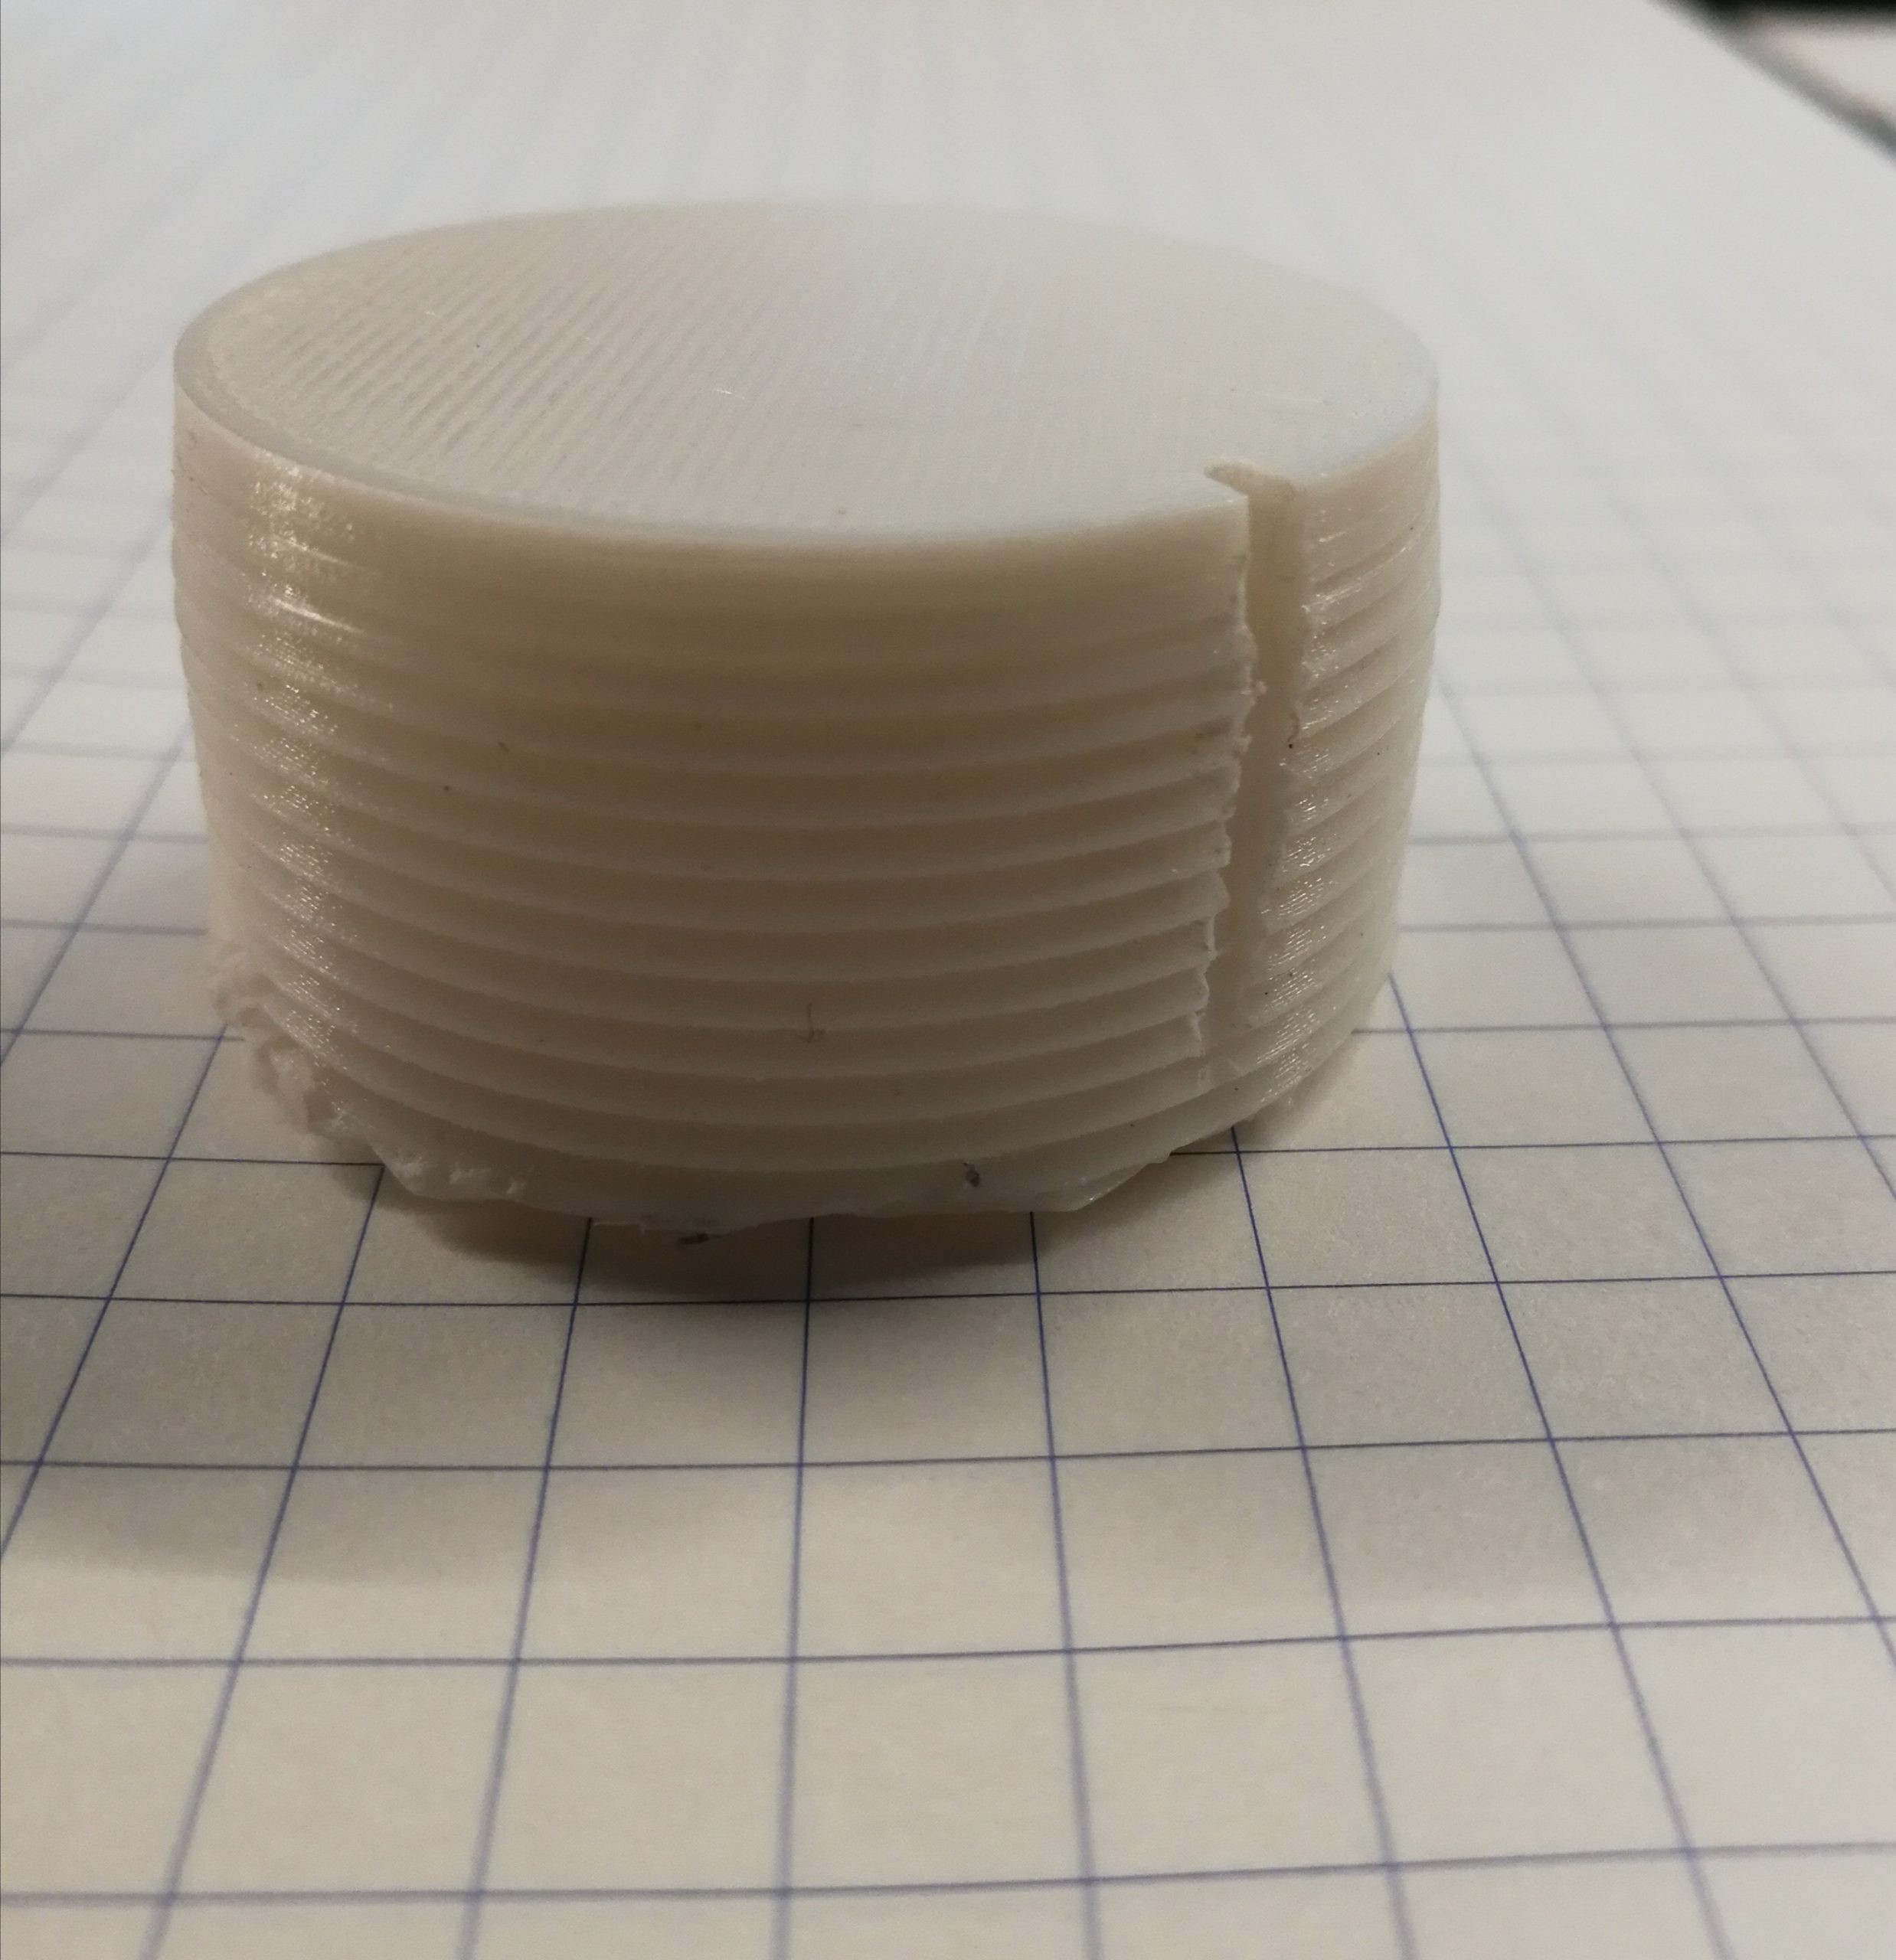
That worked great! Passing it through the system a couple times made the threads work easily.
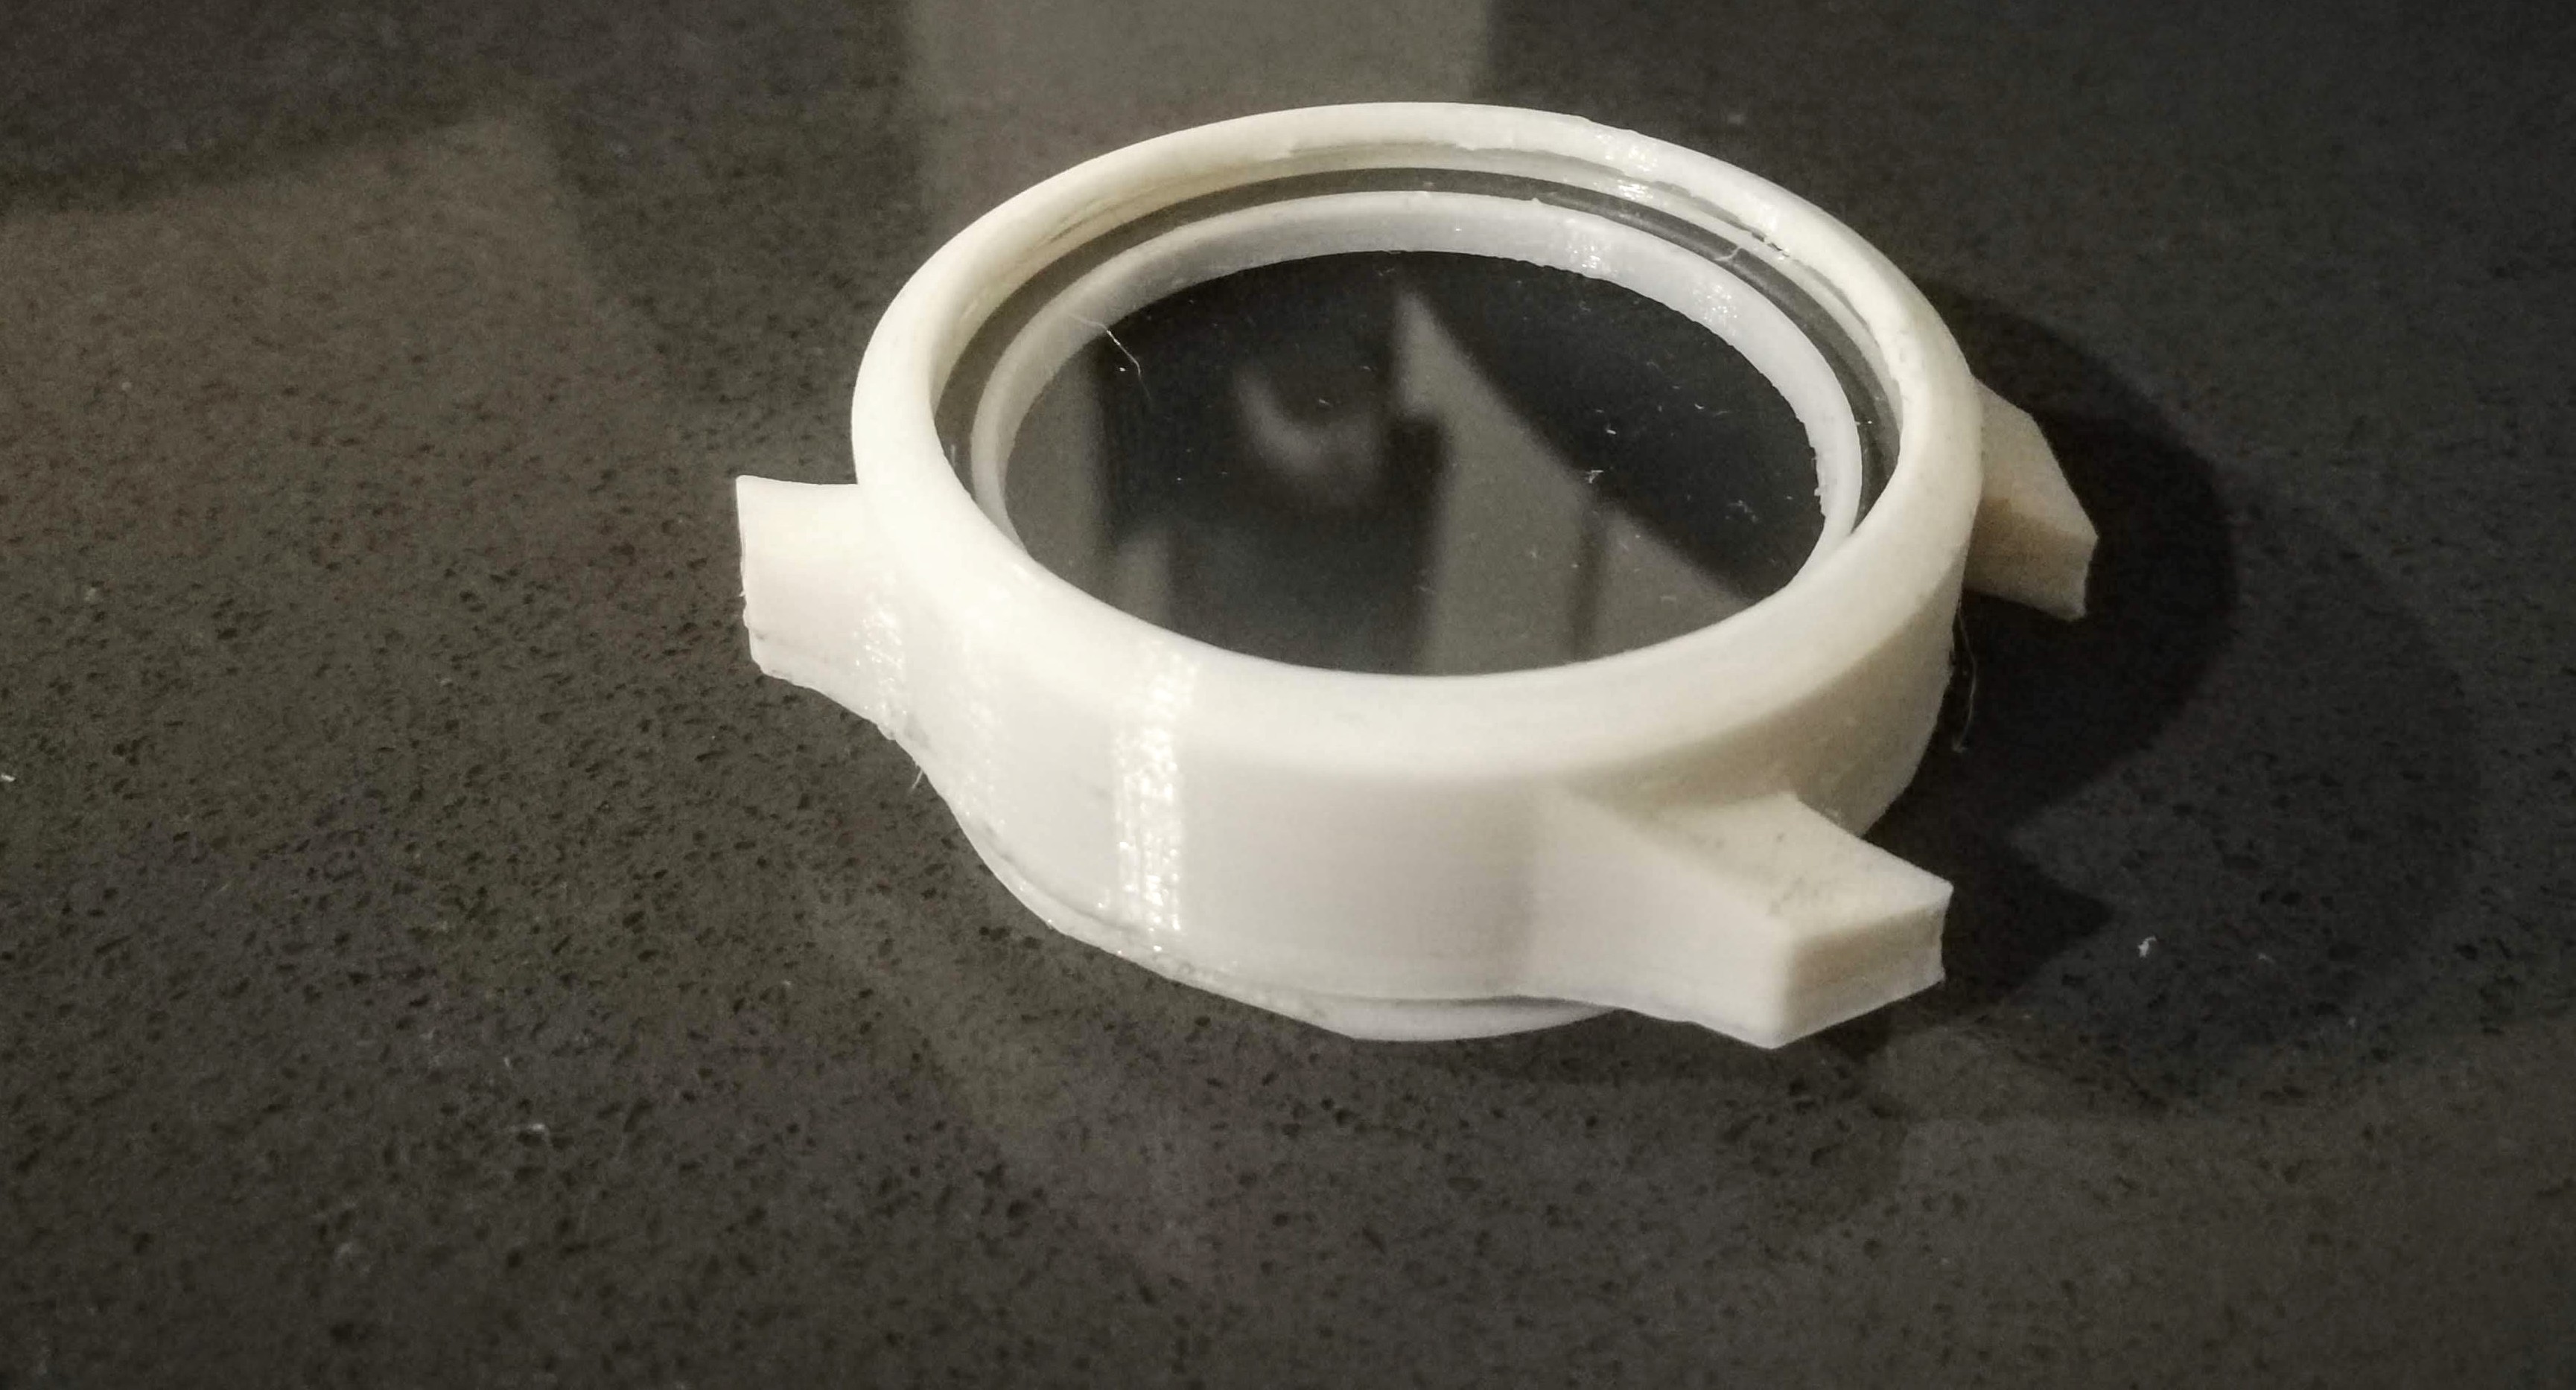
Here are all the components:
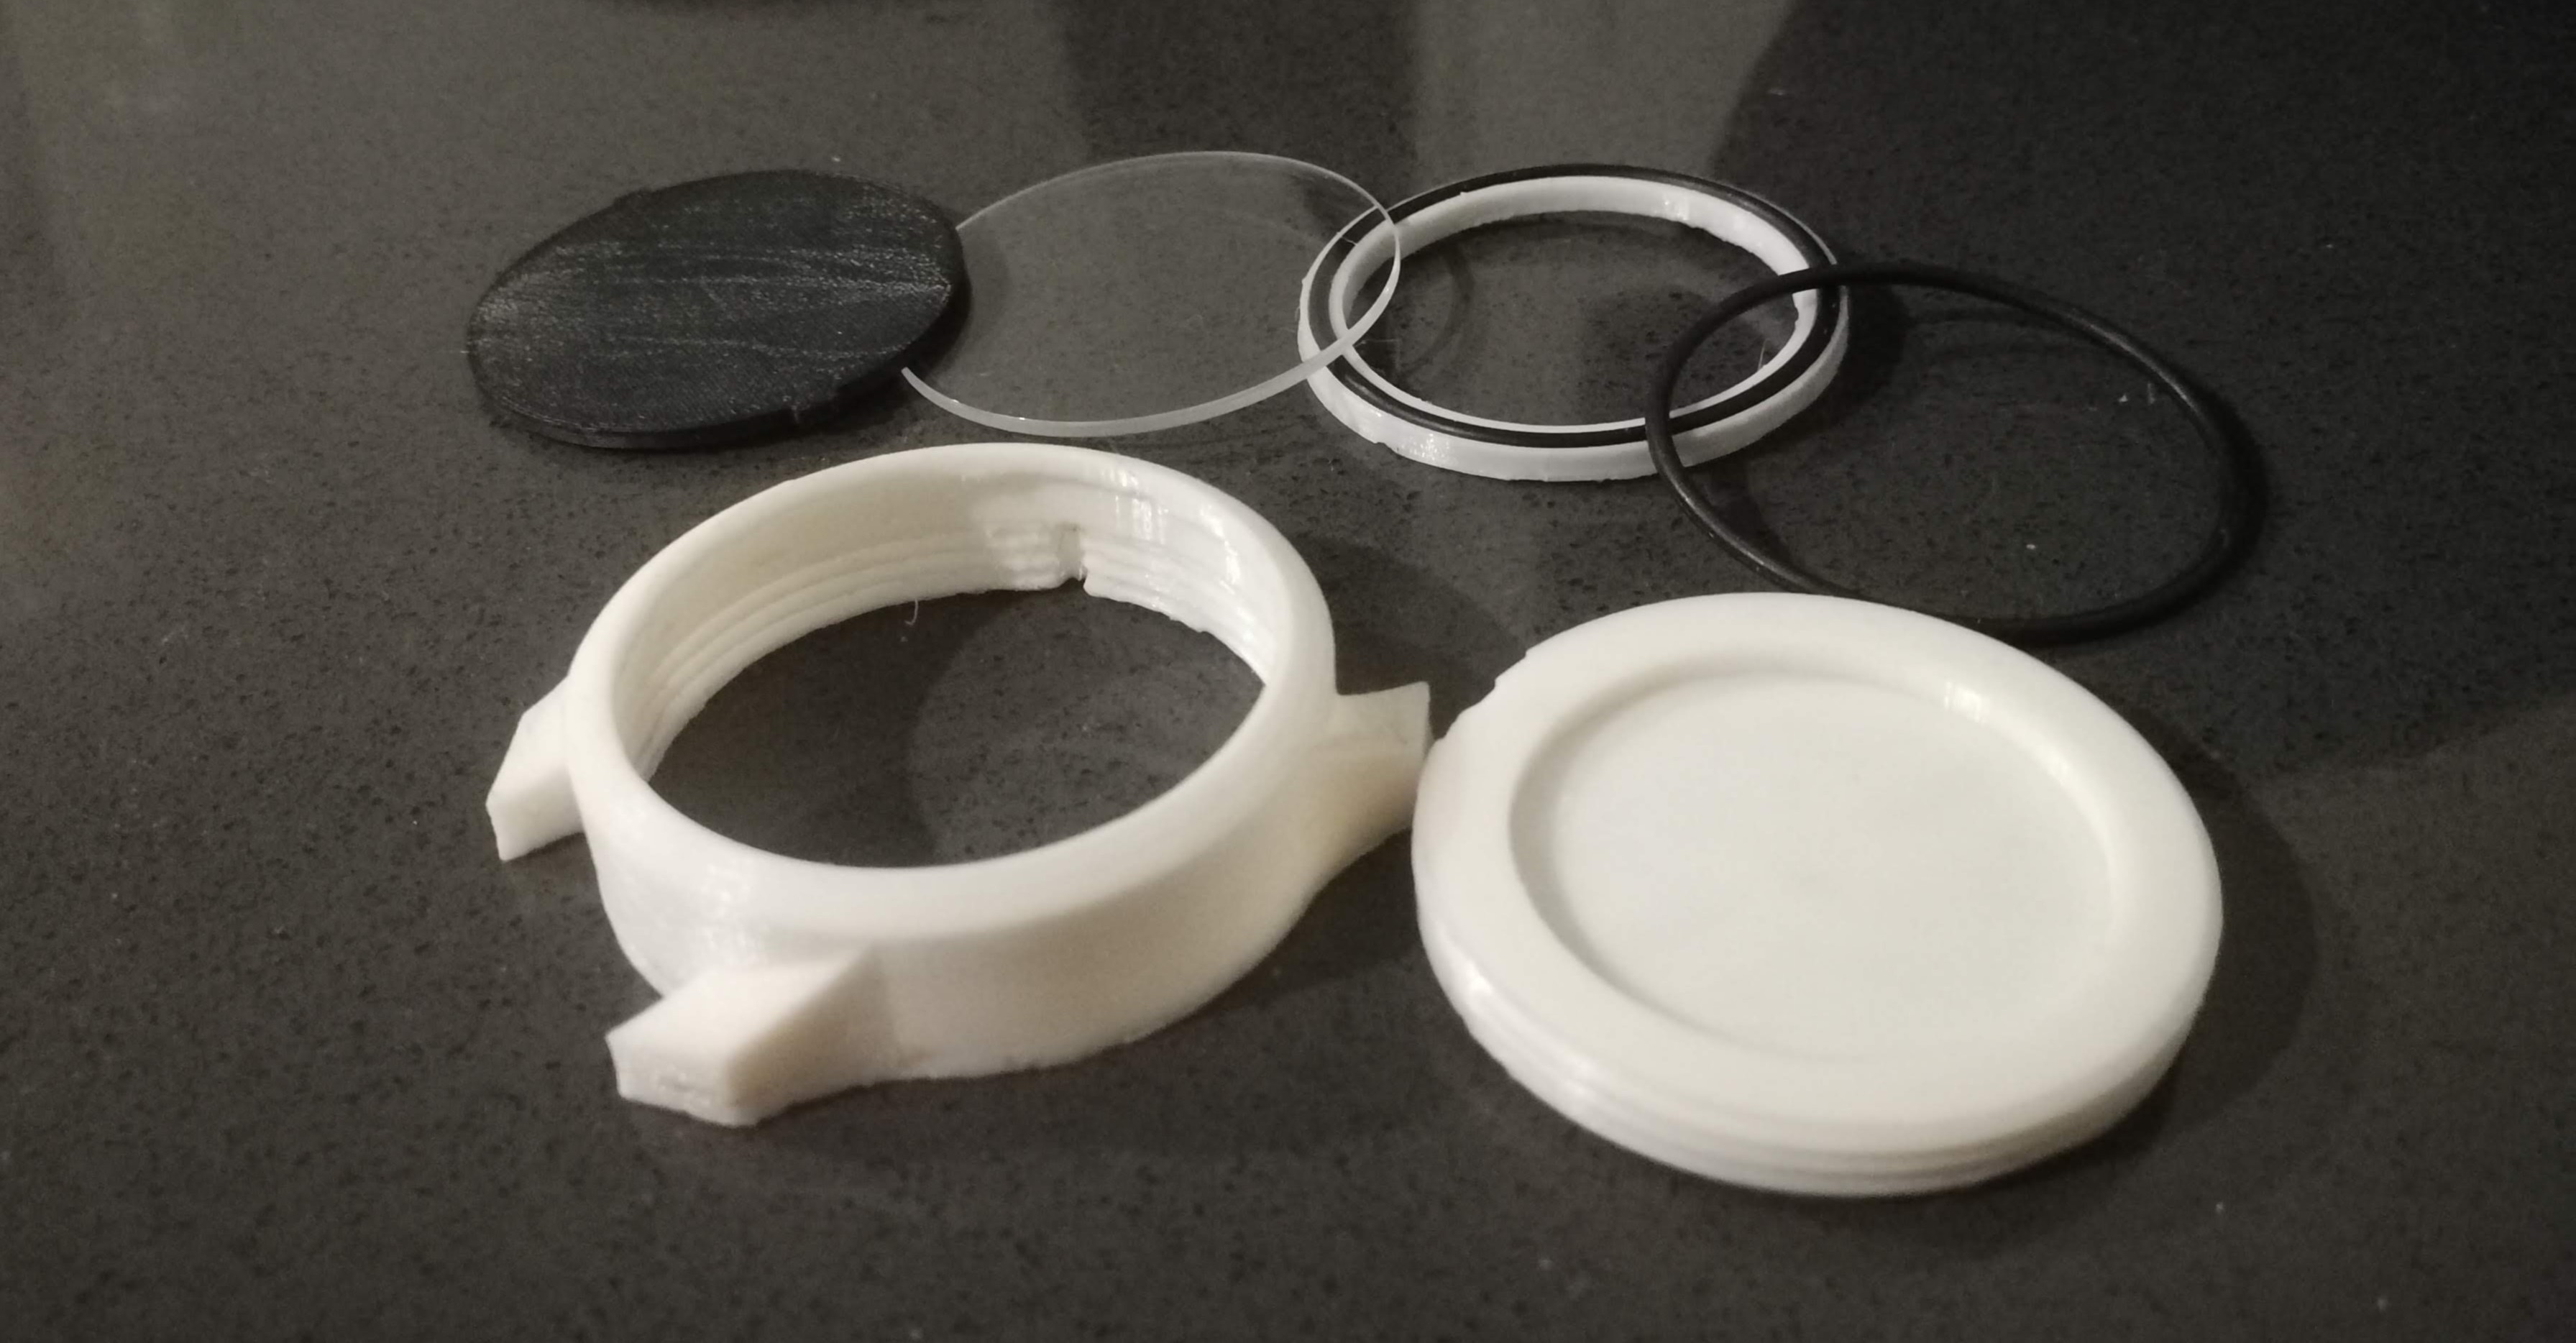
The black plate on the left is a stand-in for the faceplate PCB. More on that in a bit.
Discussions
Become a Hackaday.io Member
Create an account to leave a comment. Already have an account? Log In.