Here are some more photos of construction details of the Indicator Clock.
The material I had lying around included solid oak plank flooring, about 0.7 inch thick and 1/8 inch thick Plexiglas sheet. So that's what I used.
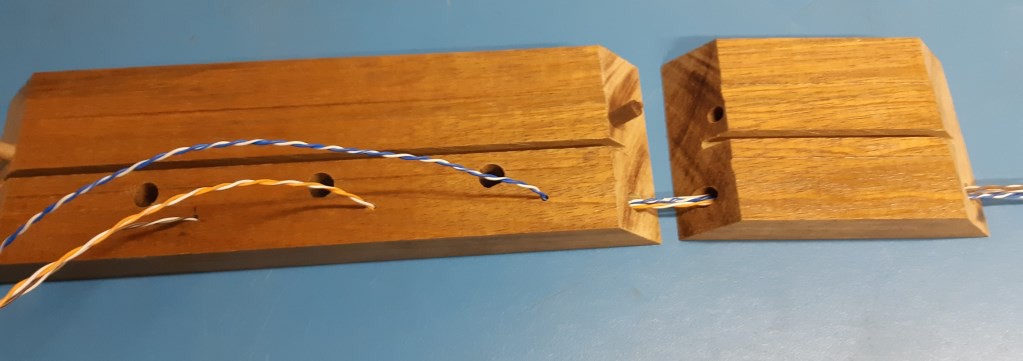
Threading wires through the frame
In order to neatly route the limit switch wires, I chose to thread them through holes drilled in the frame. Cat 5 twisted pairs were stiff enough to push through. A dowel pin increases joint sturdiness. The kerf from the saw 'nicely' matches the Plexiglas thickness.
========================================================
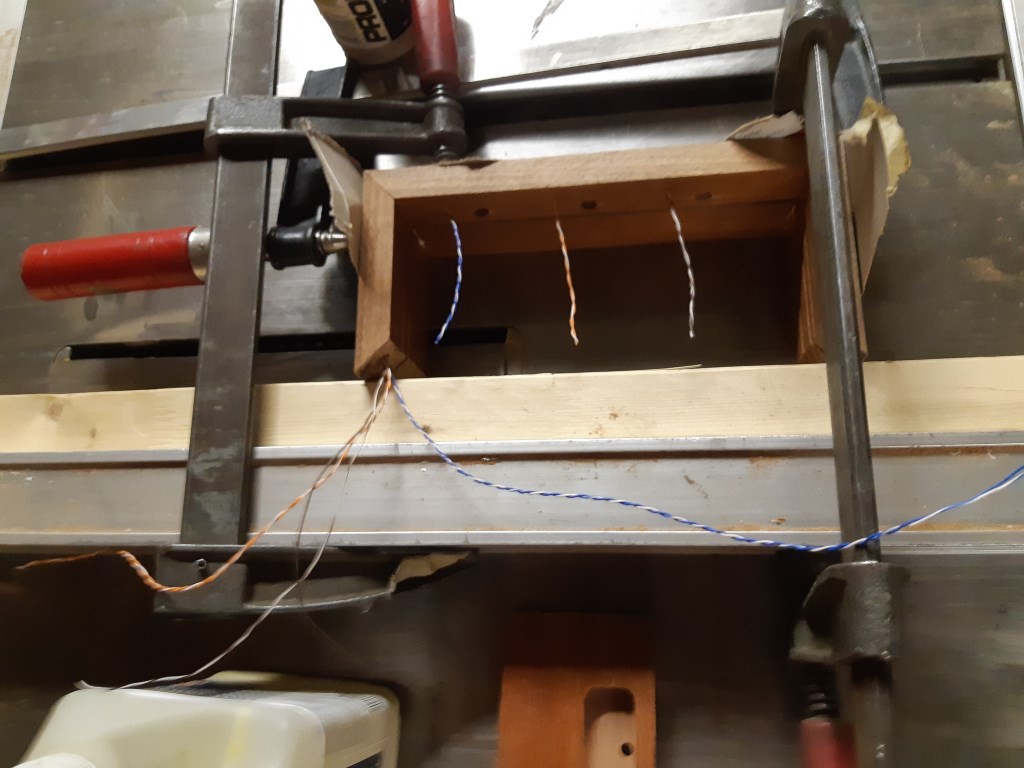
Gluing the frame together
With the wires in, I glued the top and sides together. Servicing those wires in the future will be ... not an option. No room for mistakes or trimming too much wire.
========================================================
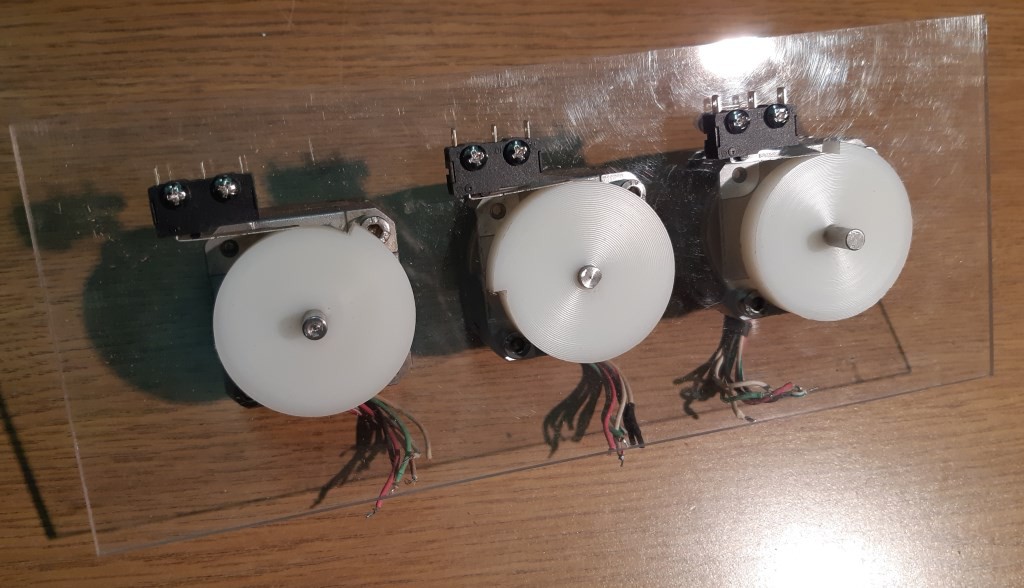
Front view of the motor assembly
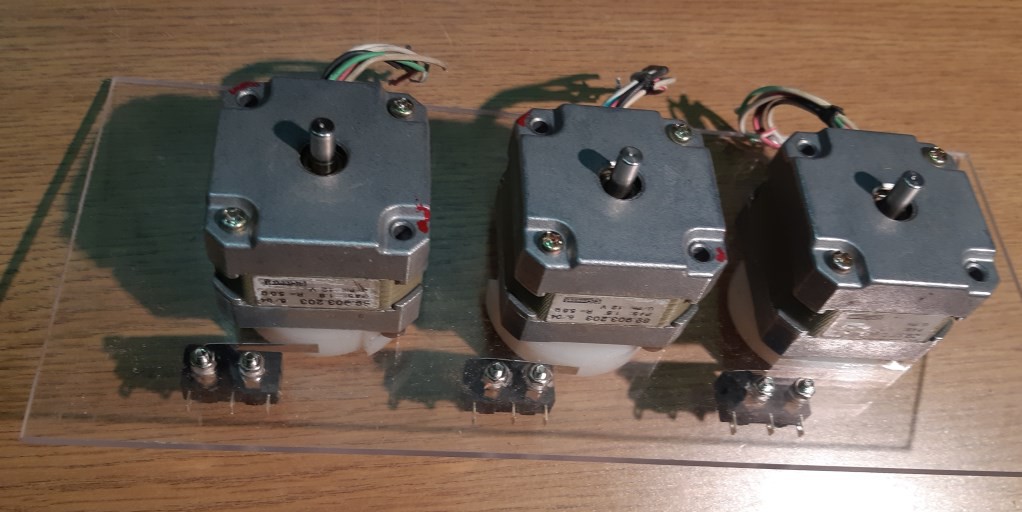
Rear view of the motor assembly
A piece of Plexiglas sheet serves as a nice mount for the three stepper motors, as well as the cam sensing limit switches. Stand-offs hold the limit switches out from the sheet a bit so they line up with the cams, which are just pressed onto the motor shafts. Time will tell if the cams will stay in place. Curiously, my collection of 1/8" thick Plexiglas sheet was not exactly all the same thickness so I tested a few different pieces to find the best fit in the kerf. Most of it was slightly thinner.
========================================================
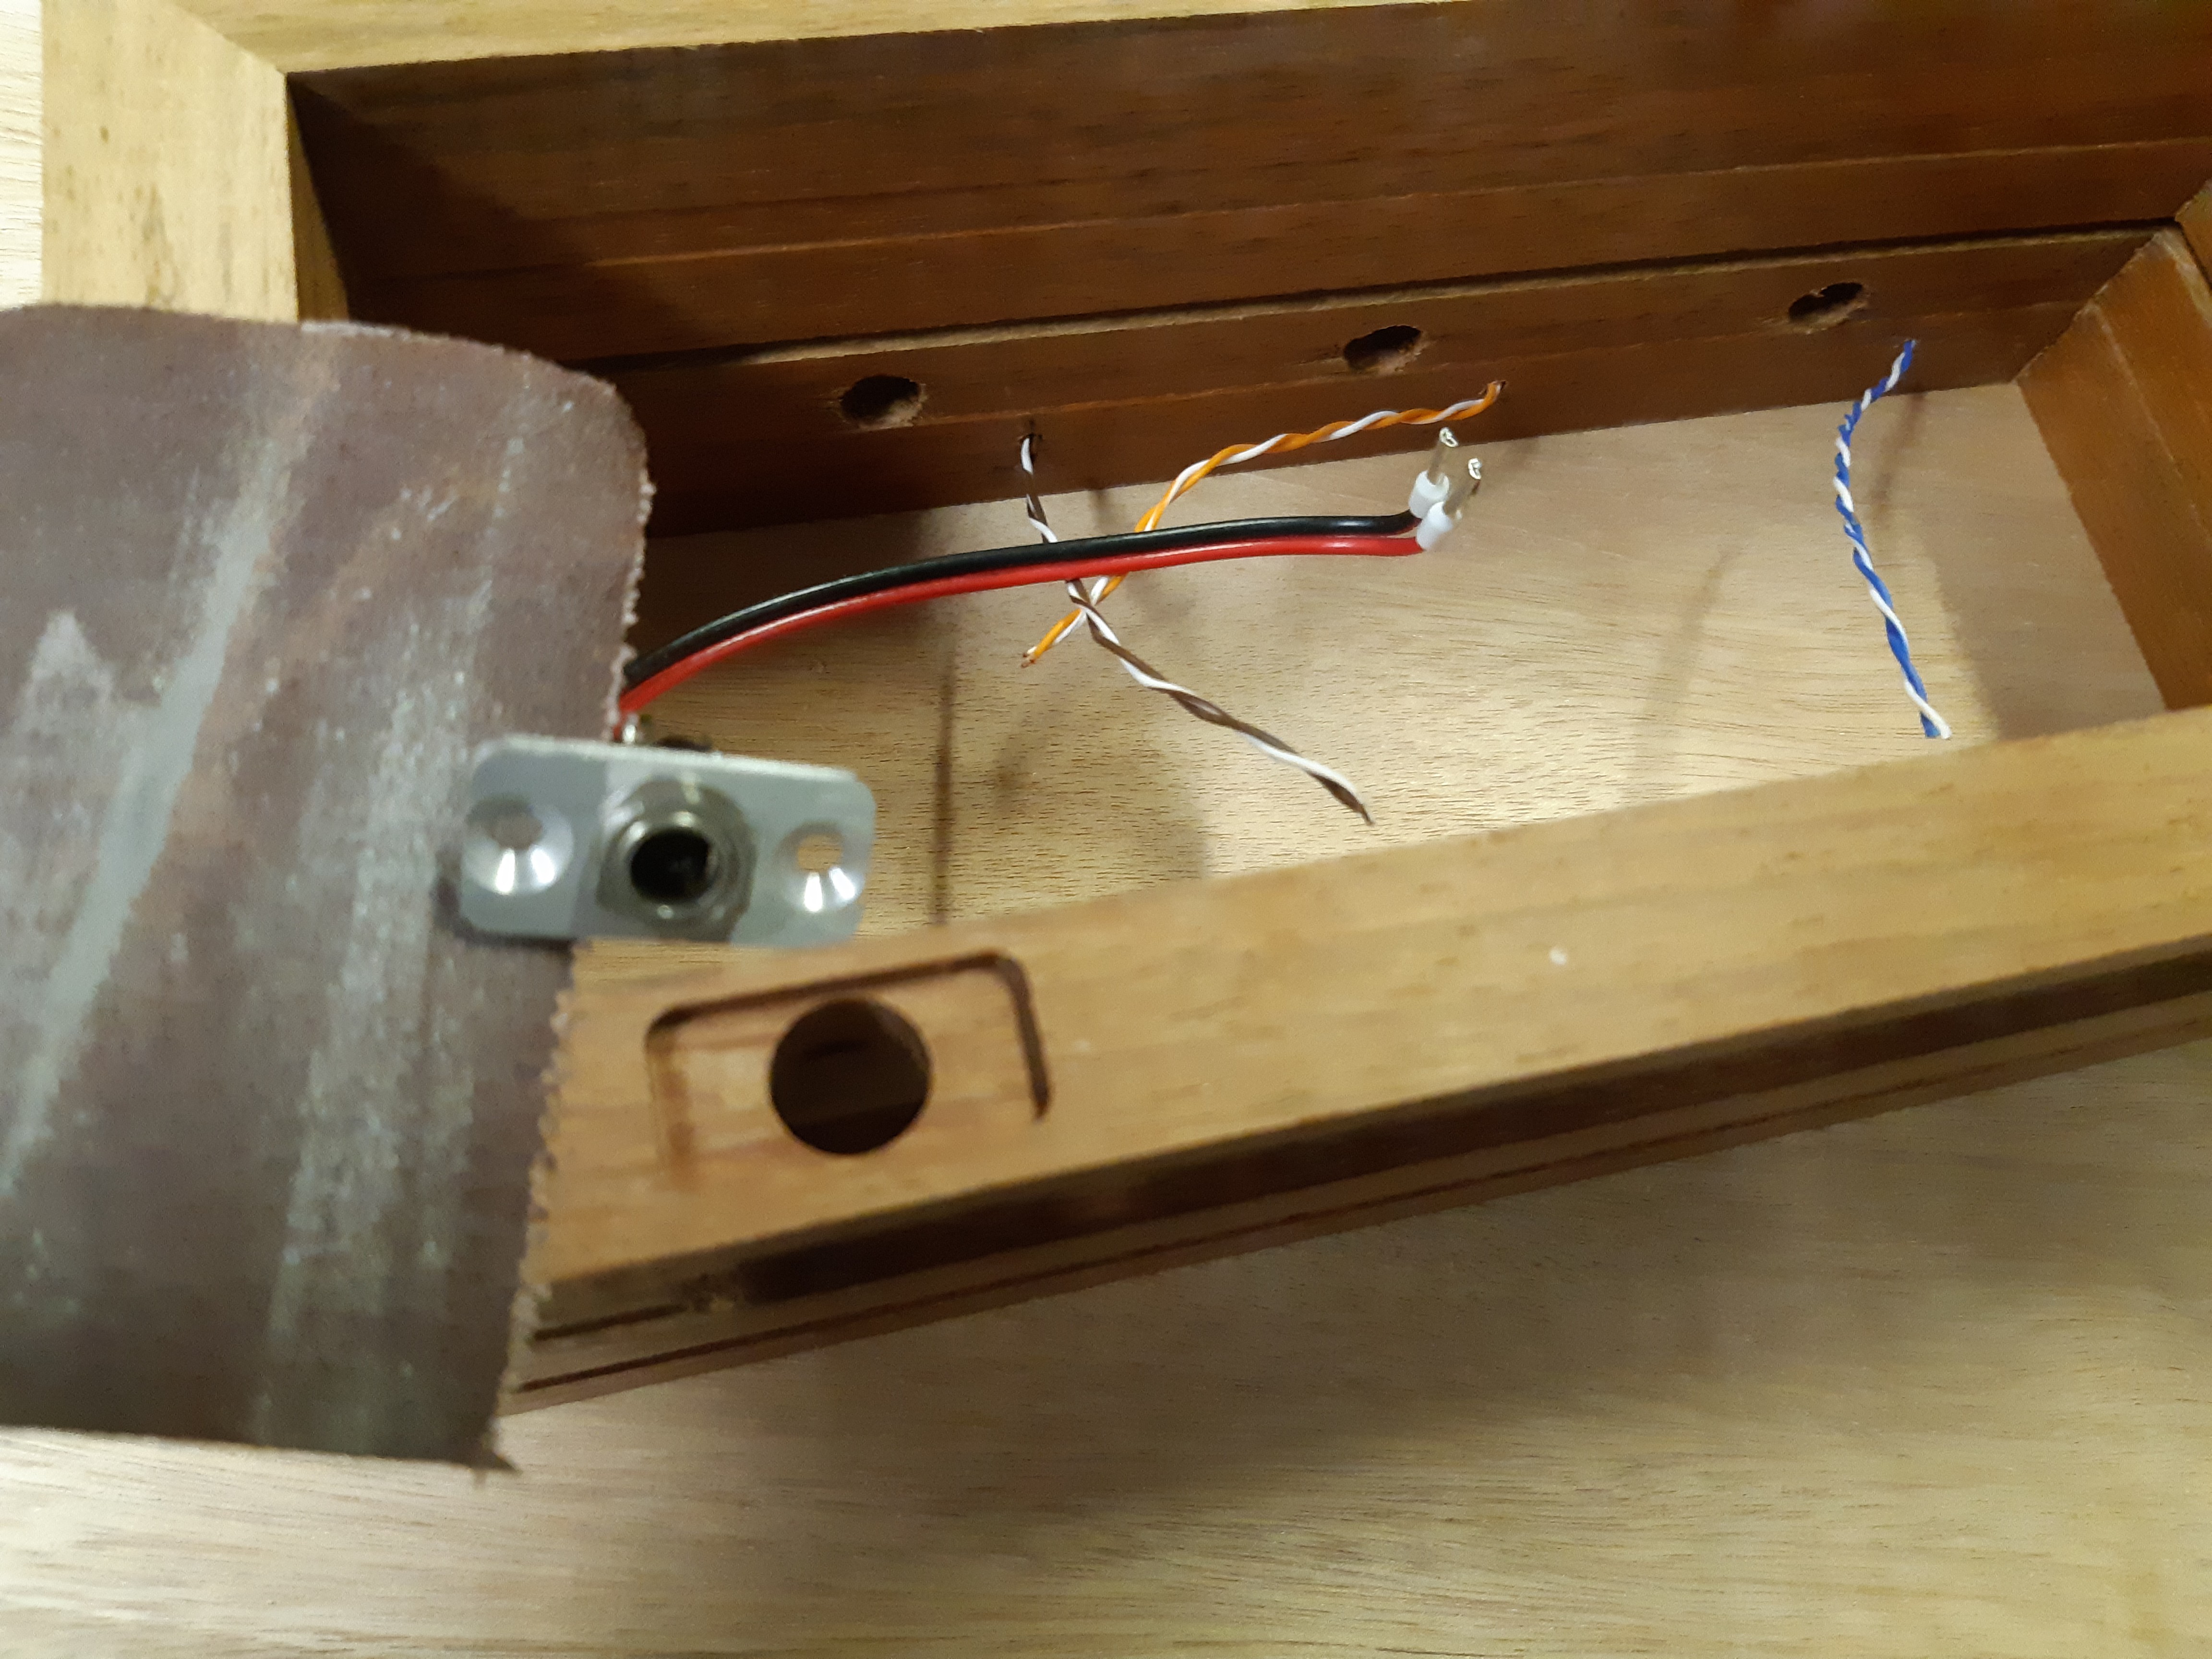
Fitting the power jack
The wood frame is too thick to directly screw the power jack I had in place. The solution? A small aluminum plate. A matching pocket in the wood, two little screws and some time carefully sanding and in goes the power jack.
========================================================
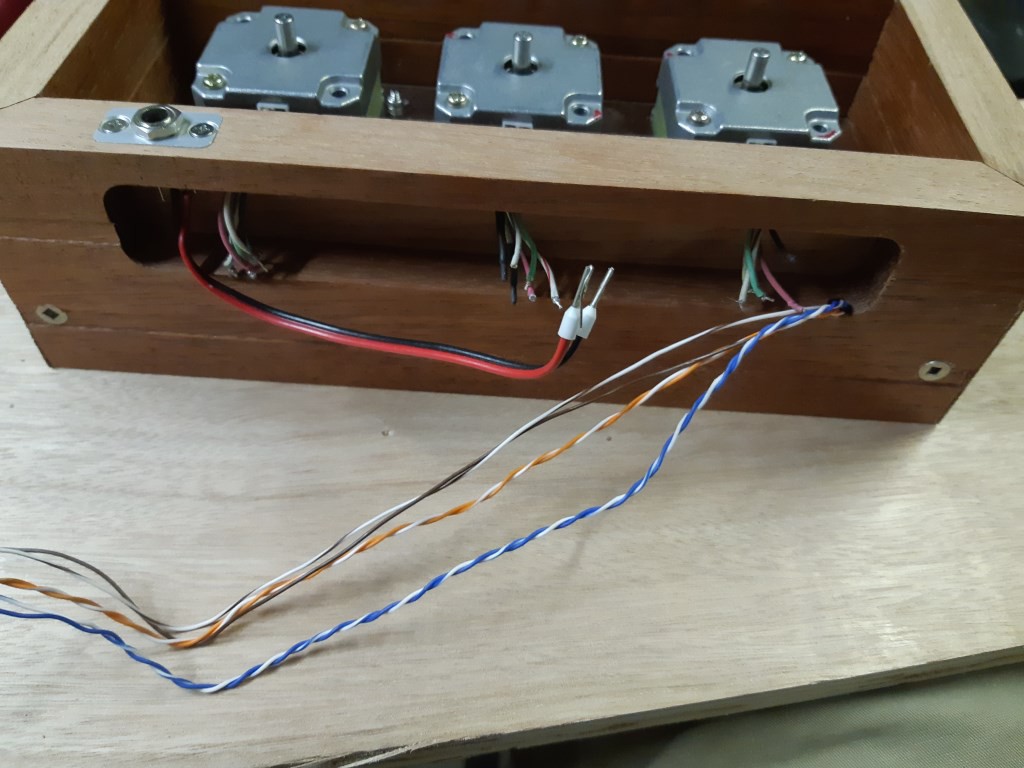
The control pocket
A pocket milled into the base allows the electronics to be neatly tucked away. If it ain't neat and tidy, [SWMBO] will not tolerate this clock in the living room. Then again, she doesn't tolerate the rest of the machine tools in the living room so the point is perhaps moot. The base is held on with two screws (Robertson, can you tell I'm Canadian?) so there is a chance of some disassembly, providing I leave enough surplus limit switch wire to pull it apart.
Discussions
Become a Hackaday.io Member
Create an account to leave a comment. Already have an account? Log In.