 George Gardner
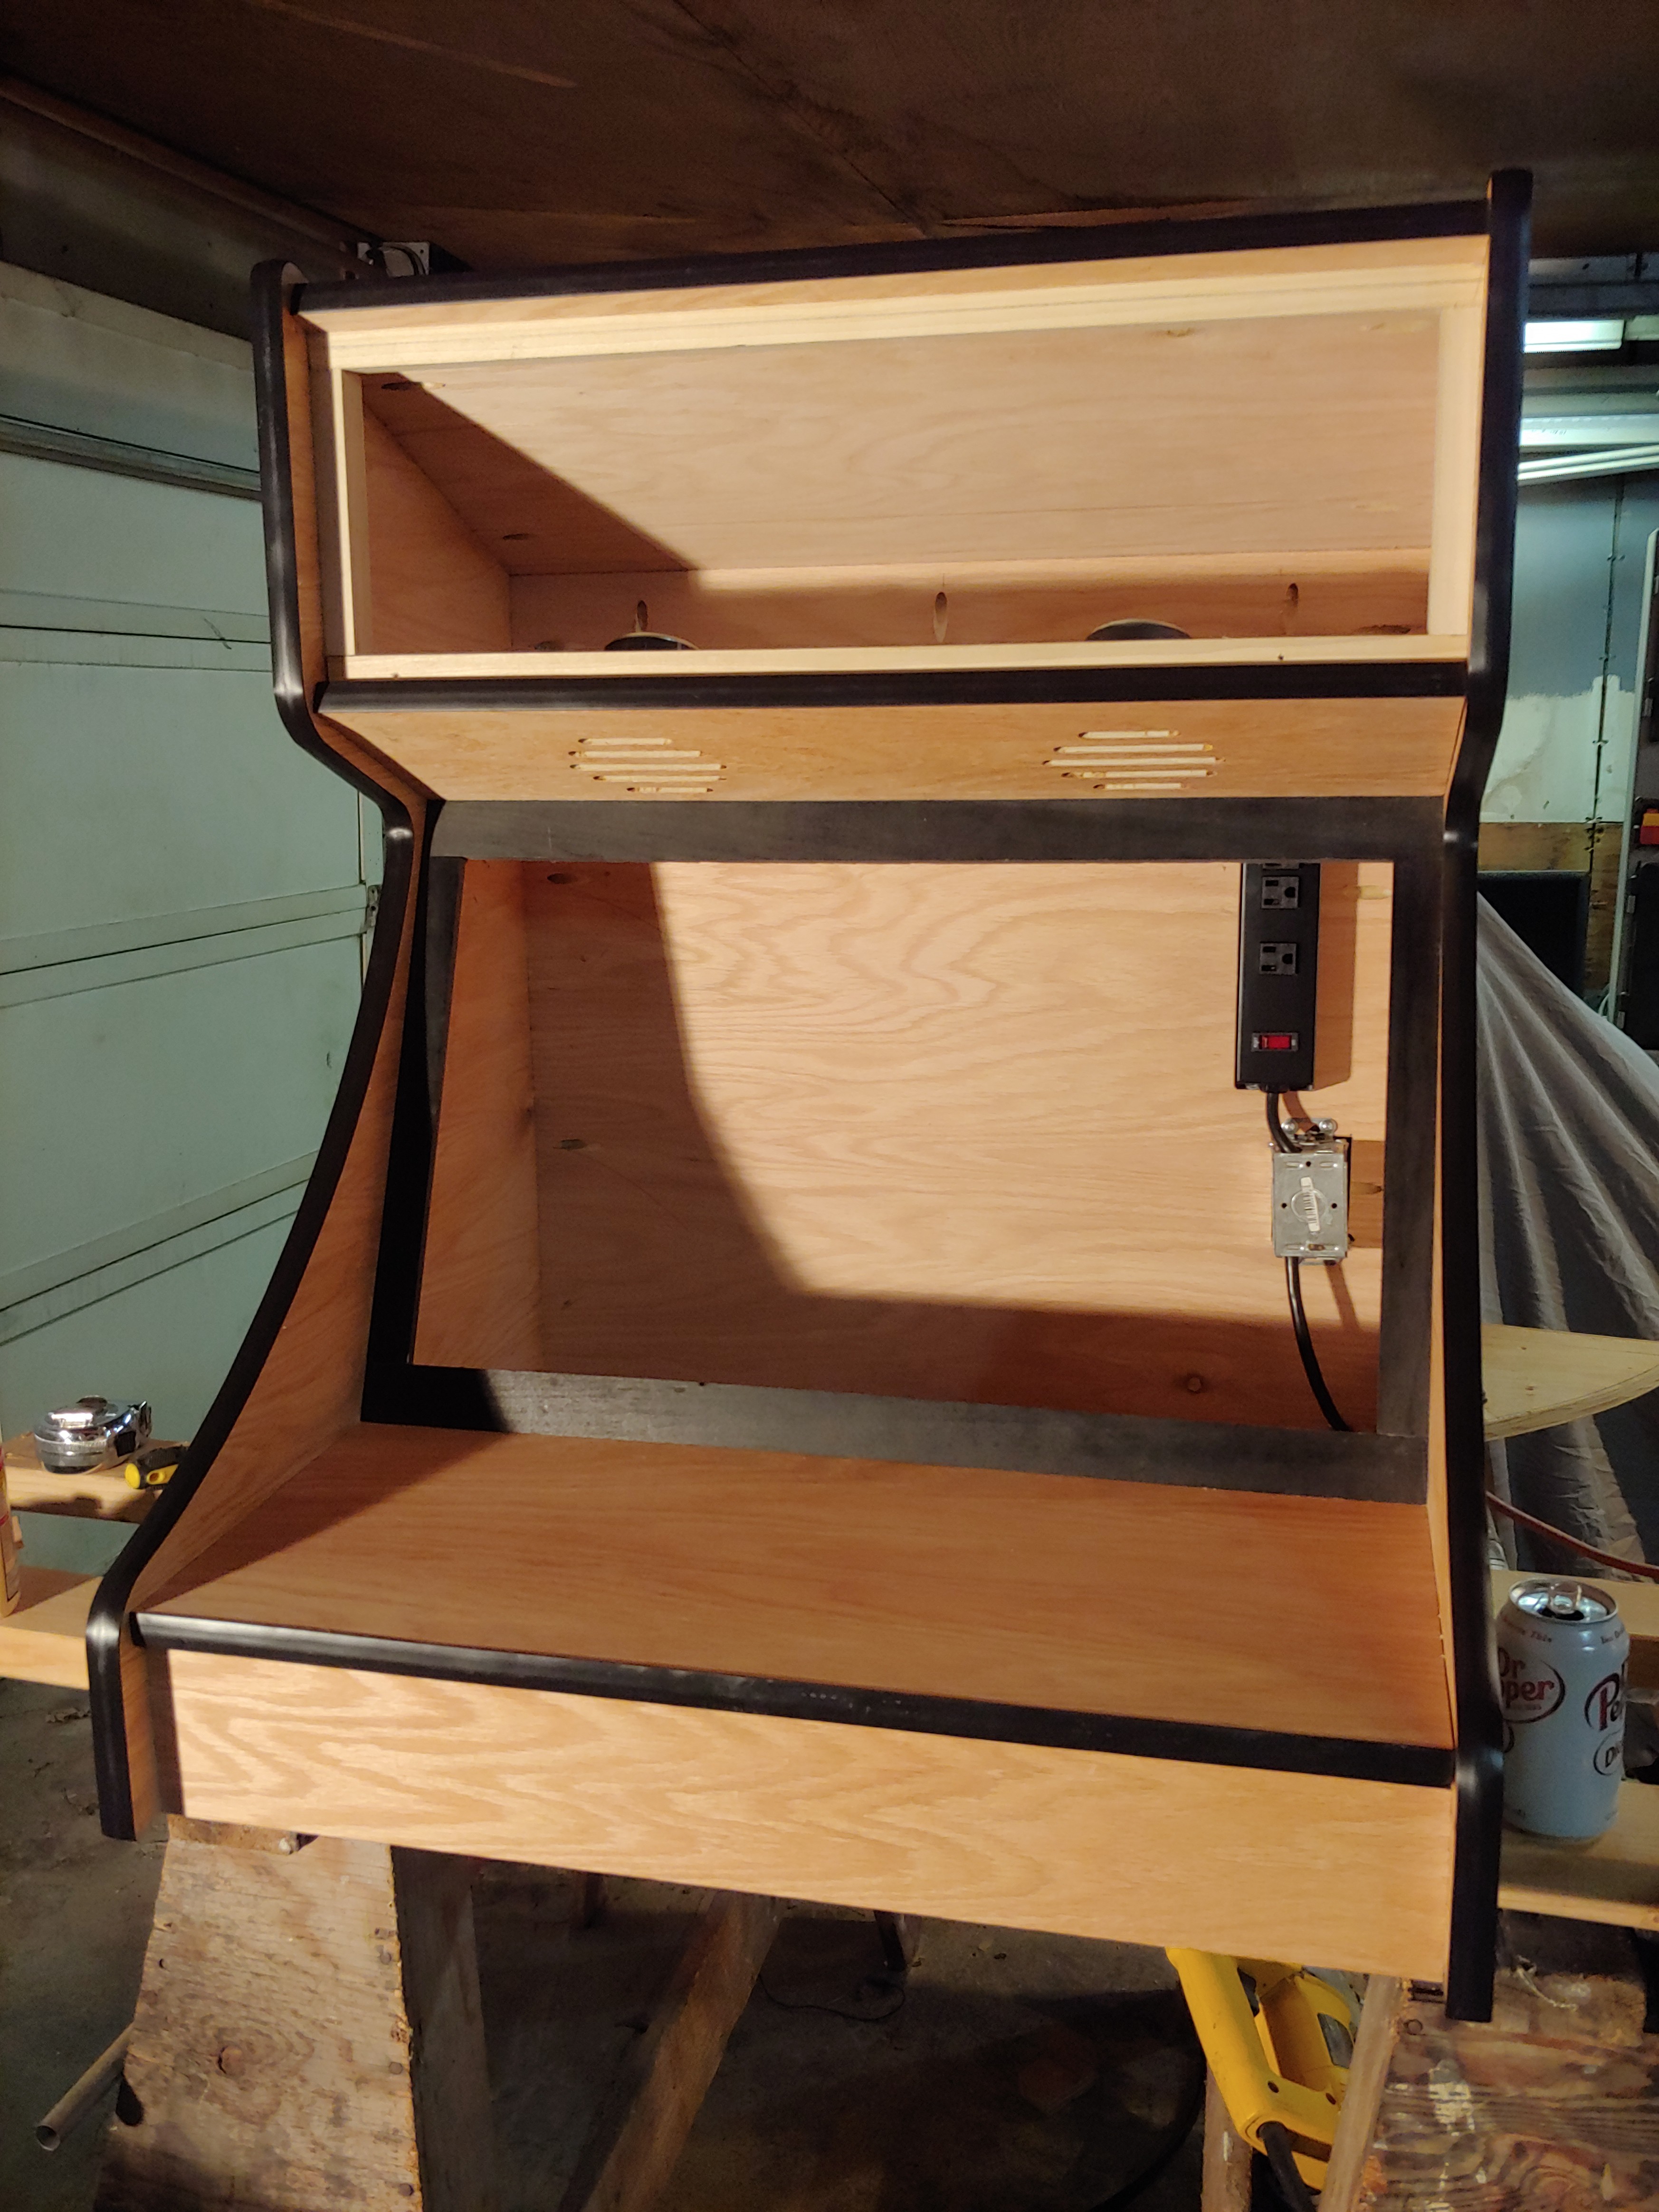
After the whole upper part of the assembly was completed, I then installed the (2) notched side pieces for the monitor, and proceeded to mount the controls board and the front face.
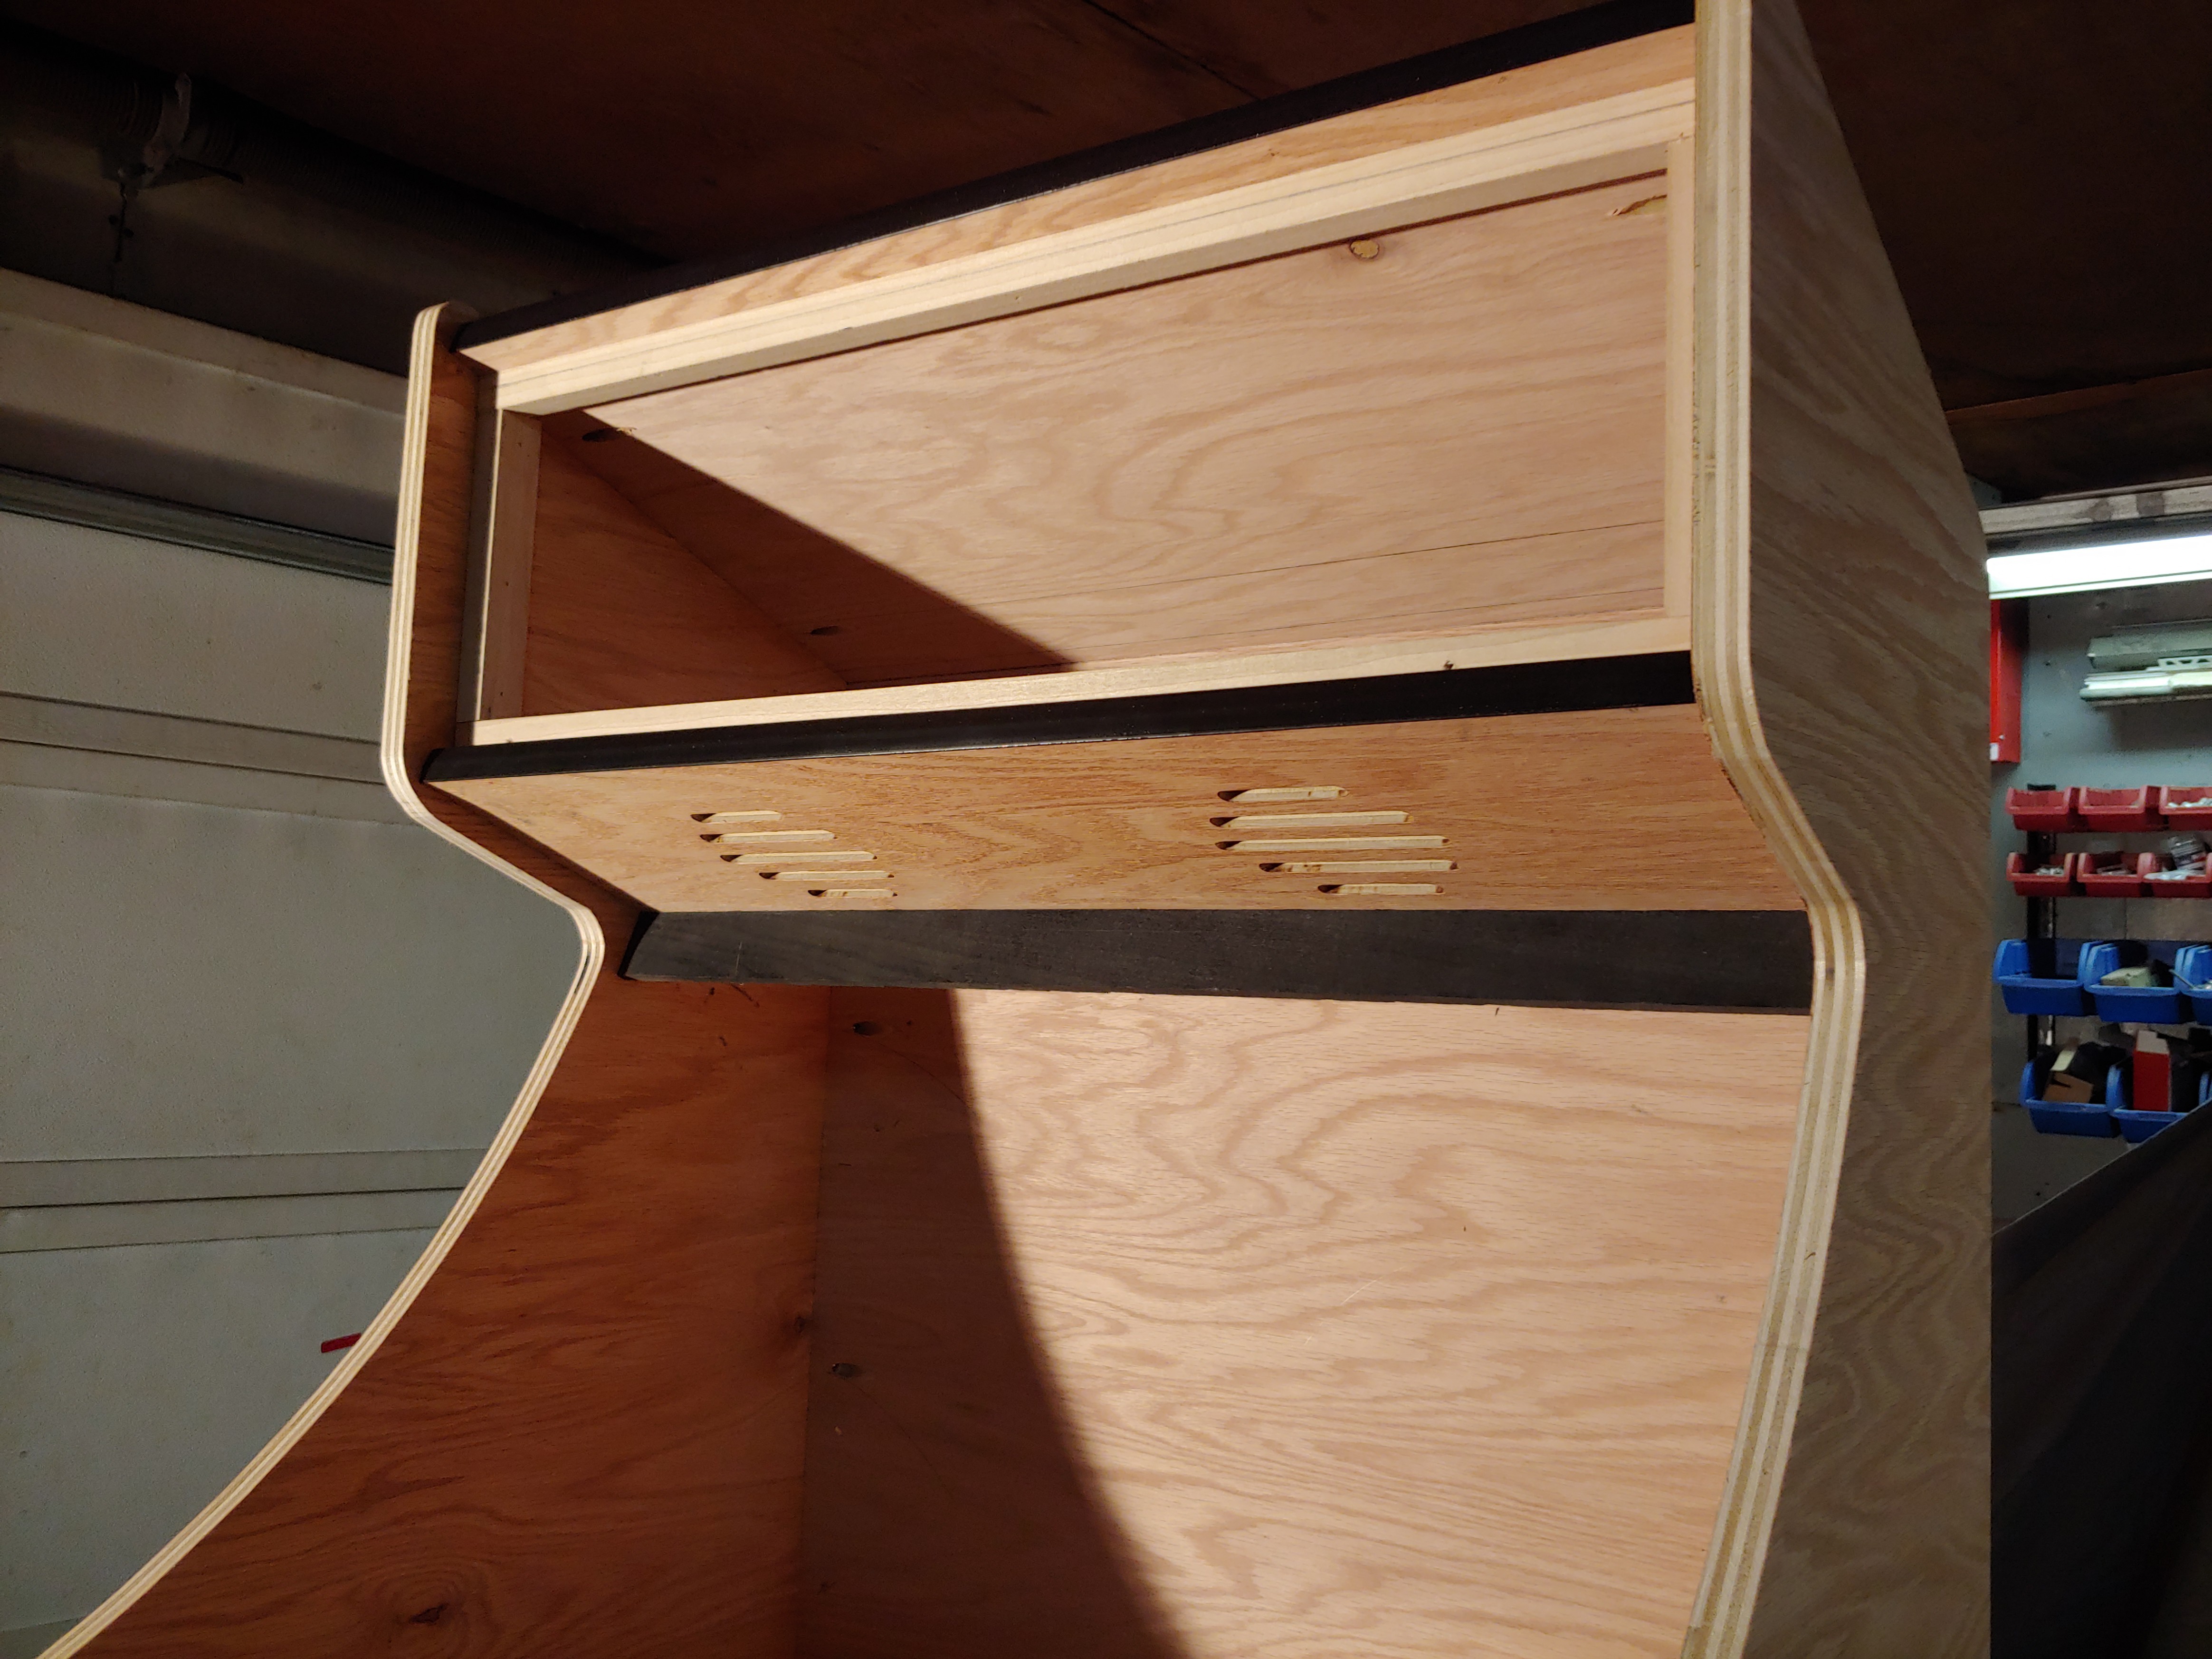
I did have to install the t-moulding on the face of the control board prior to installation. I cut out a piece for the bottom, but opted to leave it out for accessibility.
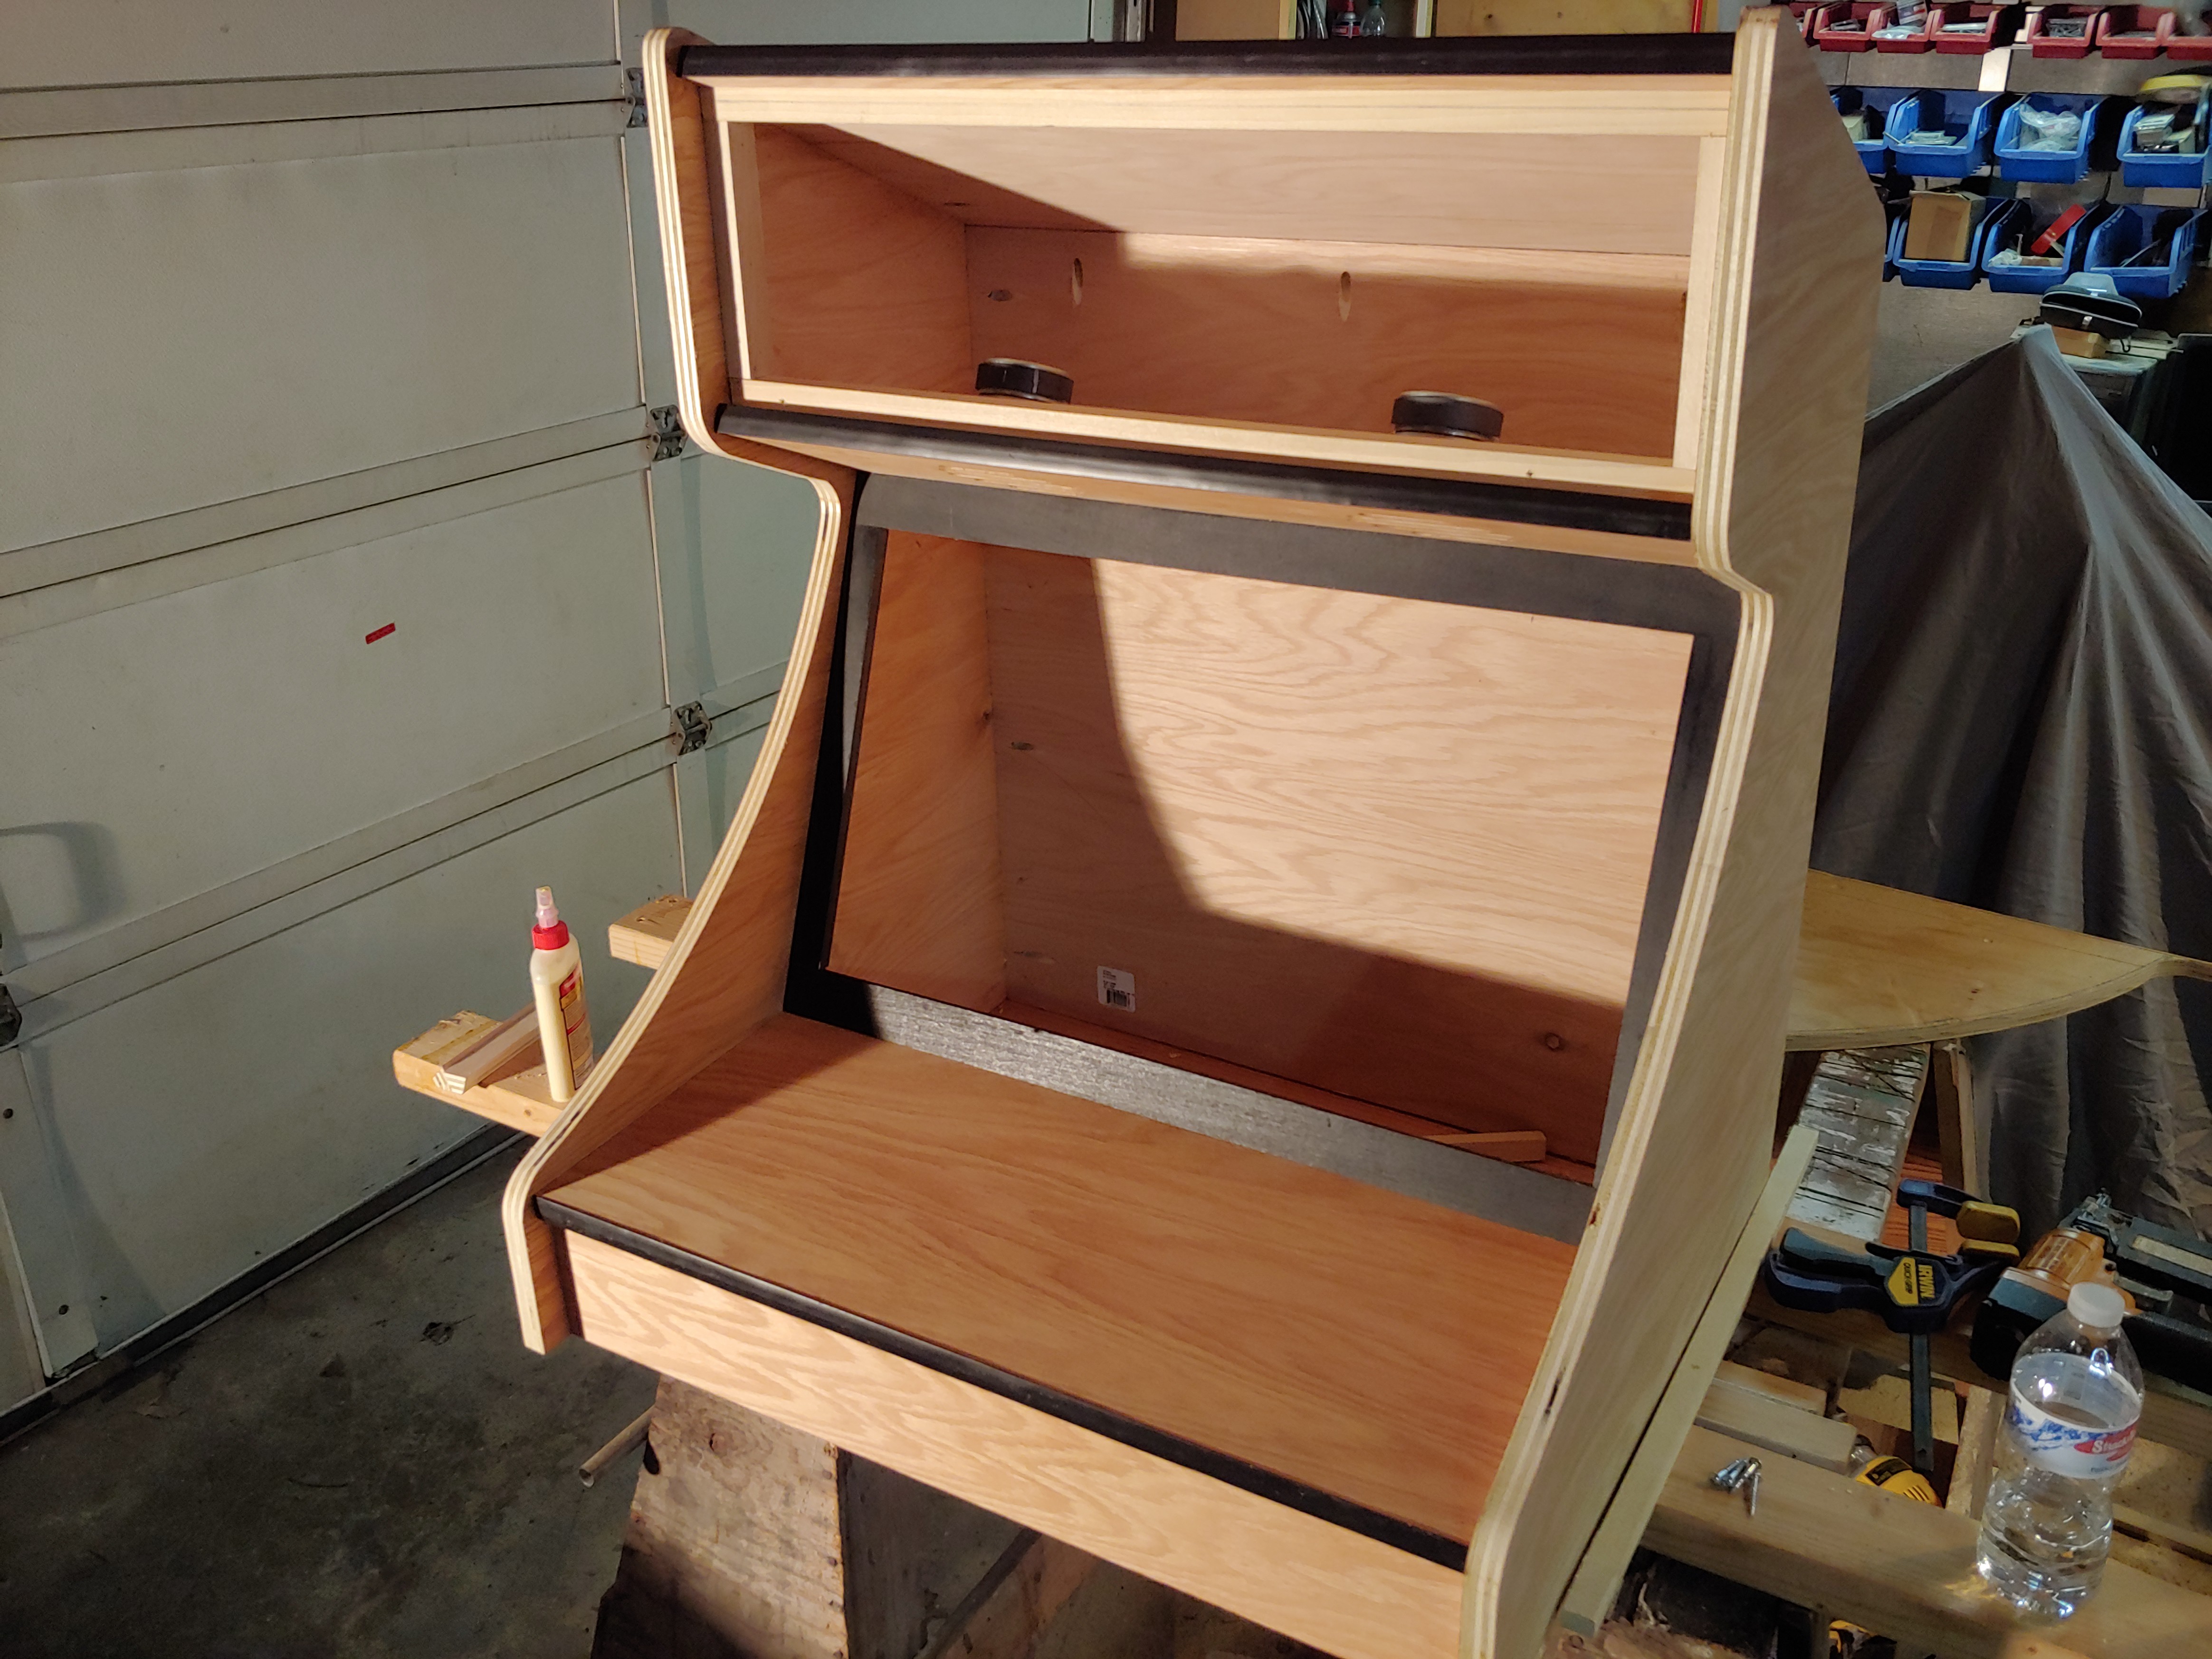
After all the pieces were in place, I used the router with the t-moulding bit on the edges of the side pieces, and installed the t-moulding on the edges.
For the outside curved areas, I cut a triangle 'v' shape out of the back of the t-moulding to allow it to curve around without bunching up in the routered slot. For the inside curved edges, I cut 3 slits in the back of the t-moulding to allow the same curve.
Discussions
Become a Hackaday.io Member
Create an account to leave a comment. Already have an account? Log In.