 George Gardner
The next step was to insert the monitor.

I used 2 rips of plywood to secure the monitor into the routed channels that it sat in. Then, I proceeded to make all the connections (power supply, hdmi, 1/8" stereo jack, usb interface for controls, etc) into the Raspberry Pi.
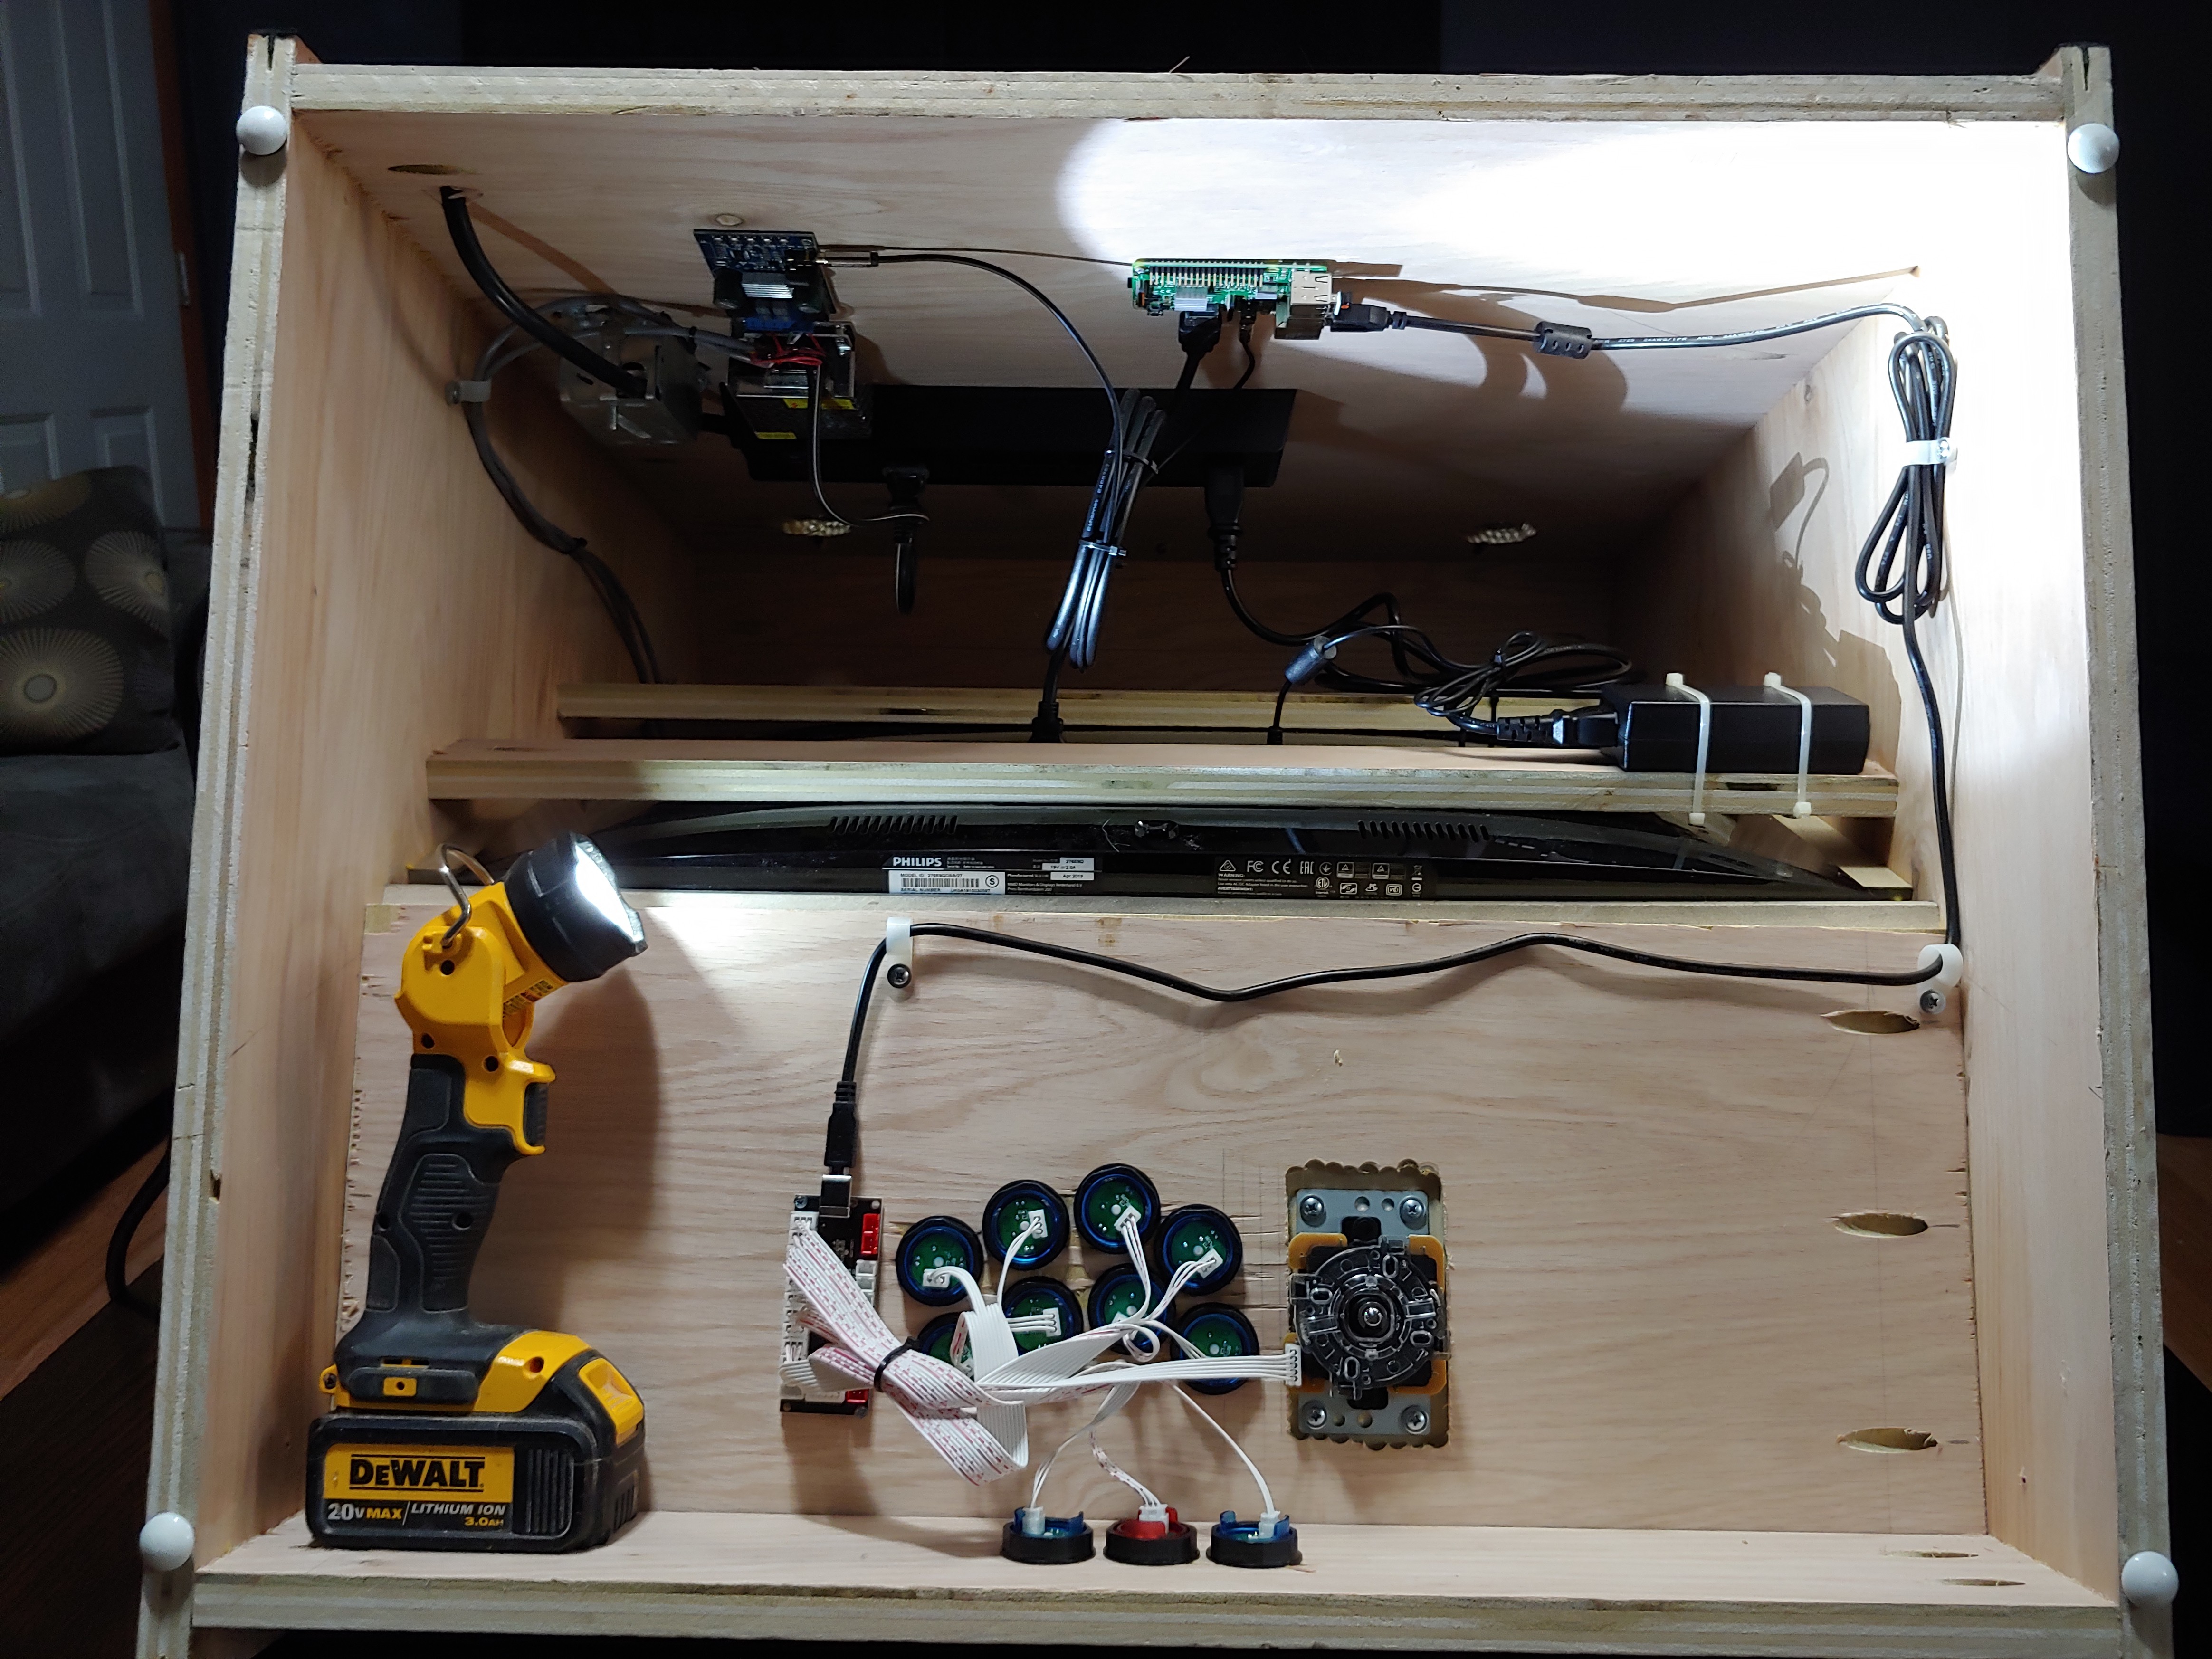
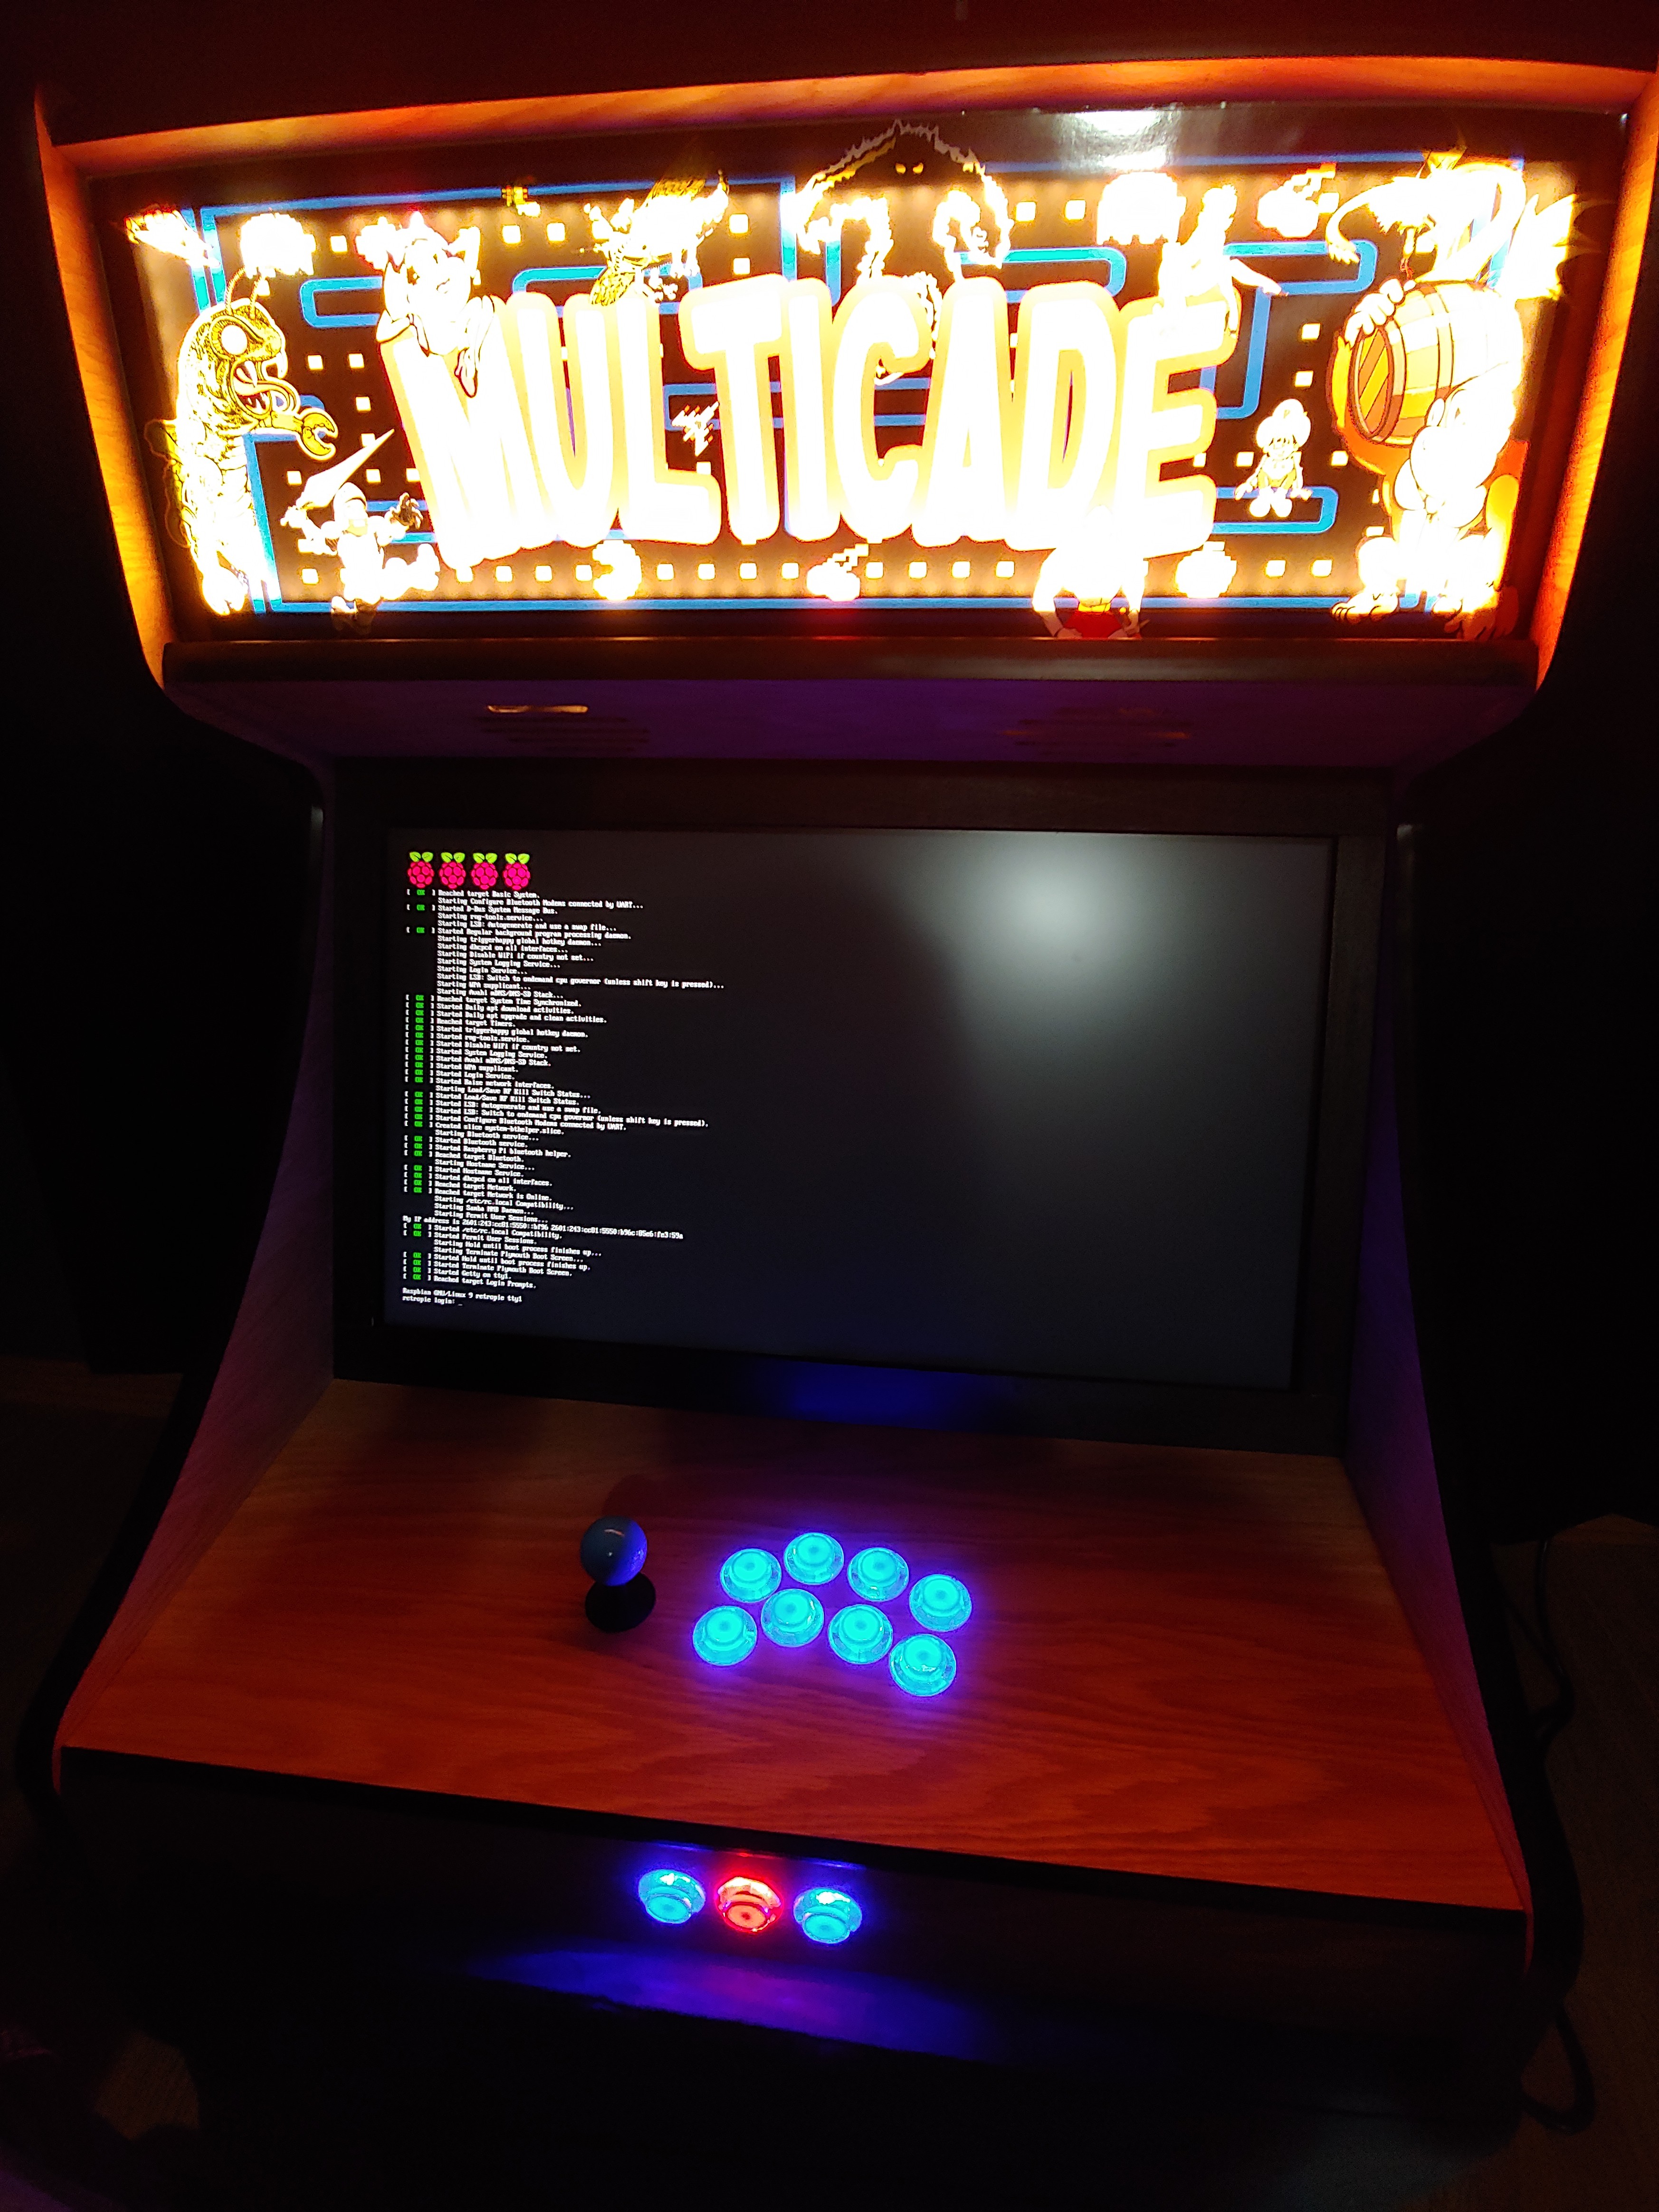
I was then ready to power up the raspberry pi!
Discussions
Become a Hackaday.io Member
Create an account to leave a comment. Already have an account? Log In.