Three technologies have been investigated:
Real Time Clocks
Real Time Clocks are low power components. Some only consume 45nA on a 3V power supply. They also provide a clock output which could be used to trigger the LED pulses.
Let's investigate the RV-3028-C7 32.768KHZ 1PPM-TA-QC
- 40nA @ 3V
- 1 ppm @ 25°C, 20ppm from 0°C to 50°C, 140ppm from -40°C to 85°C (nope, this won't be used for industrial applications)
- 64Hz clock output
- €2.47/pce
The idea would be to use an MCU that sets up the RTC and then goes to deep sleep forever. The RTC then functions as a very stable, but expensive 64Hz oscillator. As the clock setting in the RTC is stored in EEPROM, it only needs to be written once in the lifetime of the product. The MCU is not even necessary on the finished product!
Remark that neither the ATtiny4, nor the ATtiny13A have built-in I²C-support. After implementing a bit banged I²C library, I realized that it wasn't needed after all. I'd better used an FT232H, RPi or STM32 to program the RTC. I ended up doing it with an Adafruit Protrinket 3V.
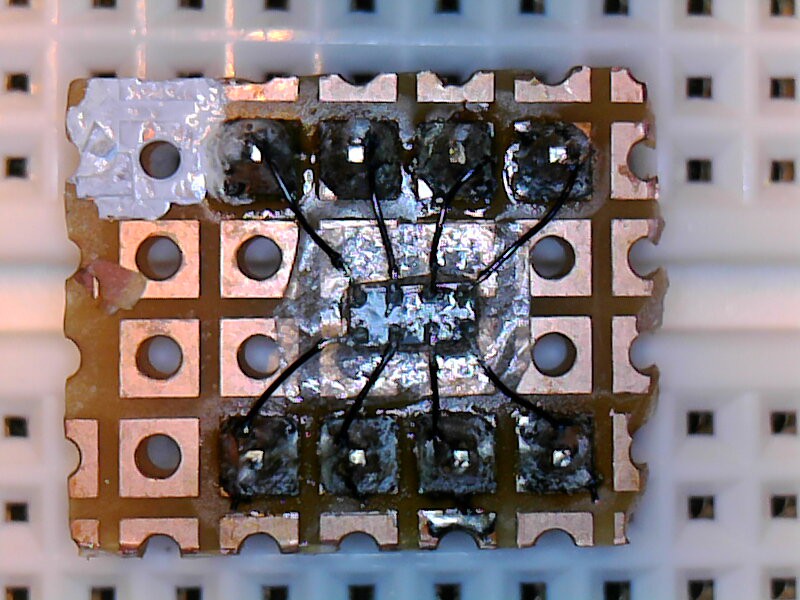
To measure the current consumption of the RV-3028-C7, a 1Mohm sense resistor has been put in series with the GND connection. Short-circuit the sense resistor on power up. Once the square wave is output, you can open the short circuit over the sense resistor and start measuring.
Be sure to take the internal resistance of your DMM into account. If you have no clue what it is, put a 1Mohm resistor in series with your DMM and connect it to 3V3, while the COM-lead of your DMM is connected to GND. If your DMM had an ideal infinite resistance, you'd still be measuring 3.3V. In my case the voltage dropped to 3V0. So my DMM has an internal resistance of 10Mohm. This makes that the actual value of the sense resistor is 1Mohm in parallel with 10Mohm = 909Kohm.
Current consumption was 46nA at a supply voltage of 3.3V and an ambient temperature of about 20°C. Nothing was connected to CLKOUT. Remember that connecting even your 10x scope probe will load the CLKOUT with 10Mohm, resulting in an extra current consumption of about 120nA.

Instead of breadboarding this yourself, you could buy the breakout board from Pimoroni or the breakout board from Sparkfun instead. Remark that the Sparkfun board is a breakout to banana plugs, not to 0.1" pin headers. Don't be mistaken by its size.
Power up problem
When connecting the battery, the LED flashes very brightly, as such wasting the energy we're trying to save so eagerly.

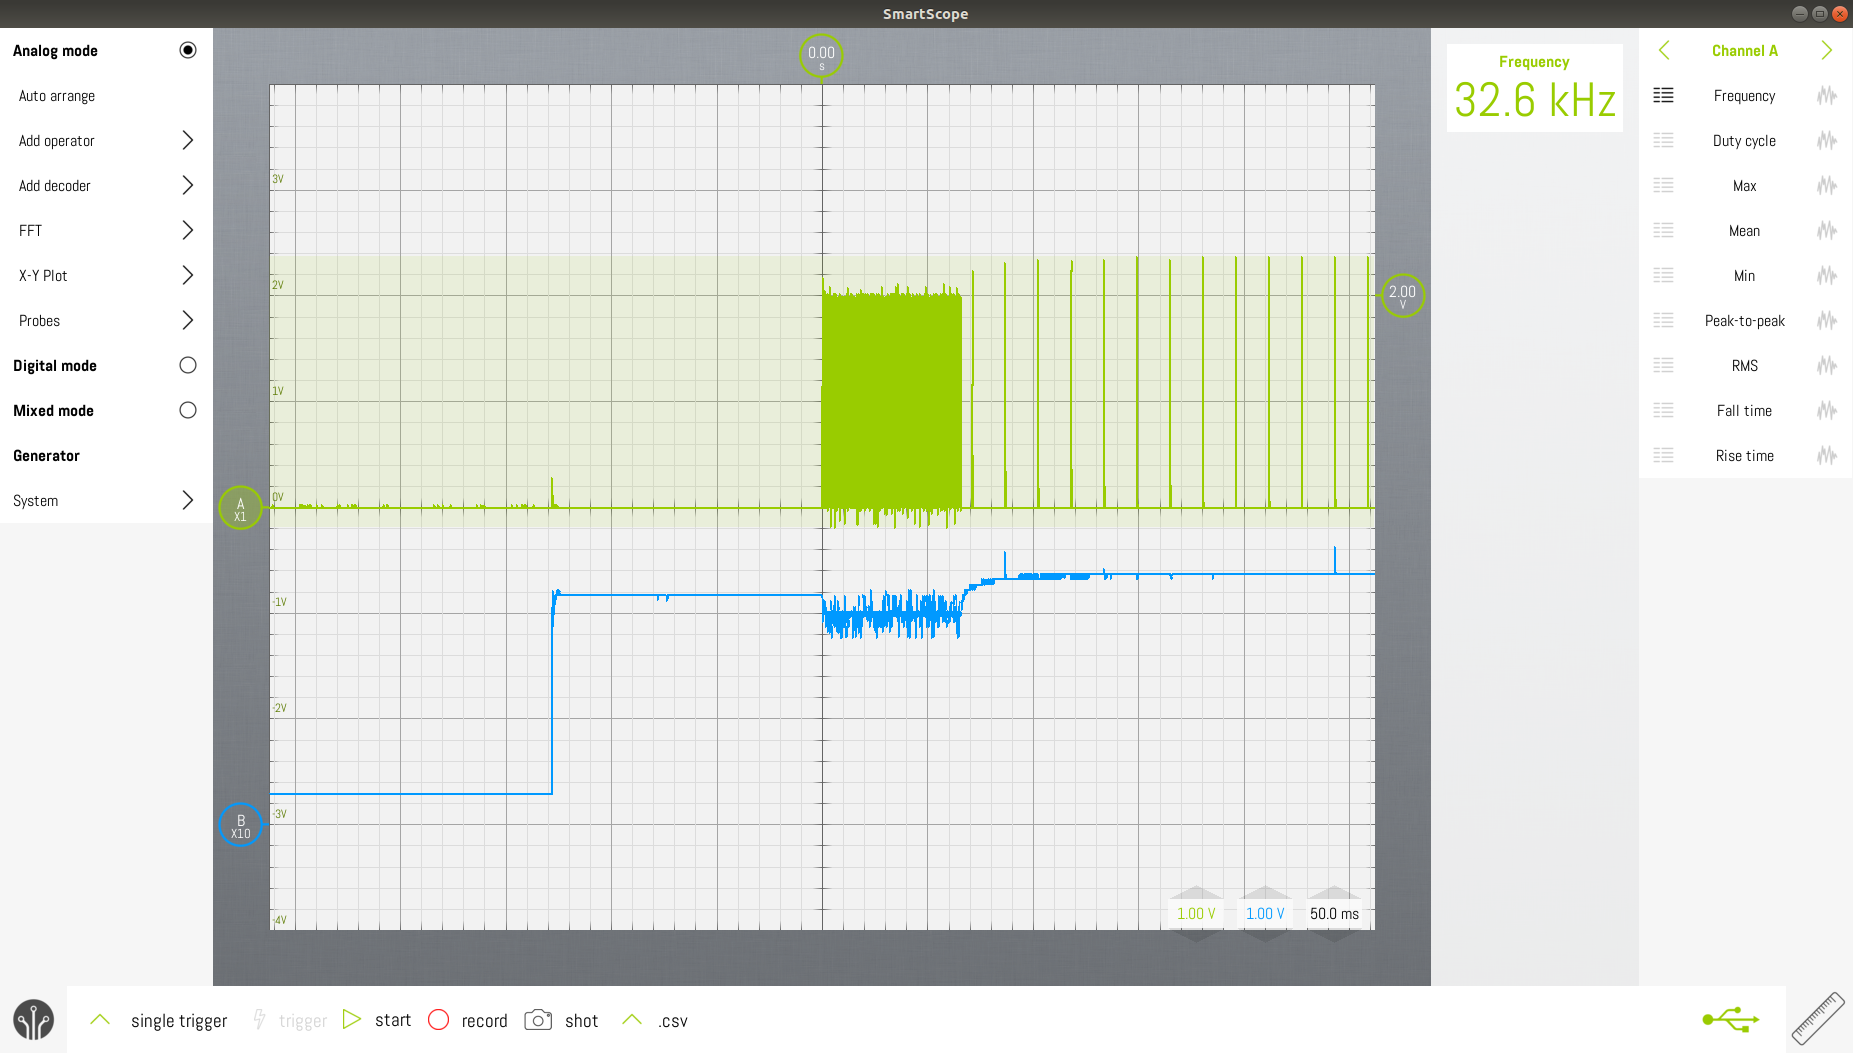
Upon startup, the RV-3028, first outputs 32kHz pulses for about 65ms, only afterwards it creates the programmed 64Hz pulses. The monostable shouldn't drive the MOSFET as long as the pulse frequency is different from 64Hz.
This means that the monostable must be disabled during the first 250ms after power up.
It also means that the RTC must be always on. The flashing circuit must control an input of the one-shot timer.
Microcontrollers
The Attiny13A is the preferred part in the AVR-family. Attiny4 could have been possible as well.
| ATTINY4 | ATTINY13A | |
| Active @ 3V | 32KHz : 15µA 100KHz : 50µA 1MHz : 280µA 8MHz : 1.2mA | 32KHz : 10µA 100KHz : 50µA 1MHz : 350µA 8MHz : 2mA |
| Idle @ 3V (PWM keeps running) | 32KHz : 1.8 to 2.1µA 100KHz : 5µA 1MHz : 40µA 8MHz : 300µA | |
| Power down @ 3V WDT enabled | 5.5µA (@ -40°C) | 5µA (@ -40°C) |
| Power down @ 3V WDT disabled | 25°C : 120nA 85°C : 310nA | 25°C : 130nA 85°C : 290nA |
- Remark that the ATTINY13A consumes less current when idle at 32KHz, than at power down with the WDT enabled.
- can be programmed with PlatformIO.
- The ATtiny13A, as well as ATtiny4 can't be clocked by a crystal. If operation on <100KHz is desired, an oscillator is needed. For 32.768KHz, the 2195-OM-7604-C7-32.768KHZ-20PPM-TA-QCCT-ND can be used. It consumes only 500nA. Of course, RV-3028 could be used for this purpose as well, which should save you some extra current.
When lower power is desired : PIC XLP : PIC16LF15313T-I/SN
- to be programmed with MPLAB, no open source solution
- 32KHz oscillator inside.
- max. 5.5µA in sleep mode, typically (25°C) : 0.78µA (measured 1.13µA)
- PWM can continue running in sleep mode if it runs from the internal 32KHz oscillator.
- #TritiLED : PIC12LF1571 @ 31kHz, running 2 PWM's while sleeping + monostable = only 2µA @ 3V.
Discrete implementation
I tried a few circuits, but with disappointing results. The current consumption, cost and PCB space is much higher than what would be expected when using an MCU.
Circuit 1
A classic schmitt trigger input inverter doesn't yield really low power. With a power supply of 2V, and a 10K resistor in series with GND and VCC leads yielded a current of about 25µA.
The SN74AUP1G14DBVT costs €0.61/pce, while an ATtiny13A only costs €0.52/pce and offers many times more functionality.
Circuit 2
Relaxation oscillator with low power comparator LPV7215. Hmm, it costs more than double the price of an ATtiny13A.
 Christoph Tack
Discussions
Become a Hackaday.io Member
Create an account to leave a comment. Already have an account? Log In.