 Michael Gardi
Background
Well rocker switches is actually the reason that I ended up working on this project. At the end of my Mostly 3D Printed Rocker Switch project I posted the following:
With a workable and customizable rocker switch in my tool kit now, I'm looking at you PDP-8/I ;-)
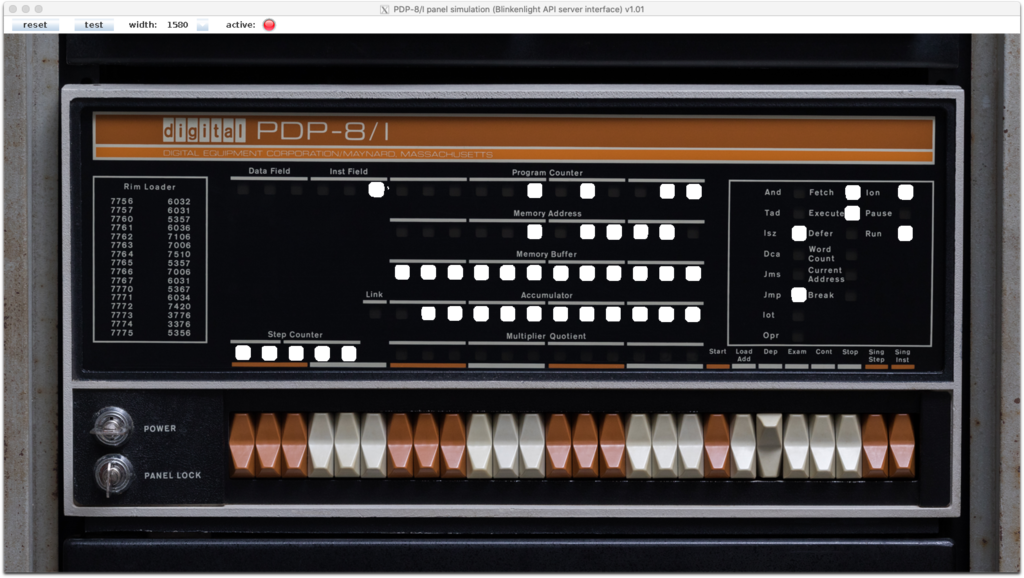 The remark was made somewhat tongue in cheek, but it did get me thinking about it since I love the look of the switches that they used. I actually started researching the possibility of making an 8/I replica. I soon discovered however that Oscarv had already created an awesome 2:3 replica the PiDP-8/I which I am for sure going to buy when budget permits. So not much incentive to duplicate his great work.
A short while later I was looking at the System Source Computer Museum Toy Computers page and I saw the DEC Computer Lab. WOW. This was actually a much better fit for both my interests and skill set. I have made replicas of six of the other computer toys on this page five of which I created myself. And the DEC Computer Lab uses the same rocker switches as the PDP 8/I. Perfect.
Making the Switches
My starting point was an STL version of the PDP 8/I rocker switch that I found at Vince Slyngstad's PDP-8 Stuff page.
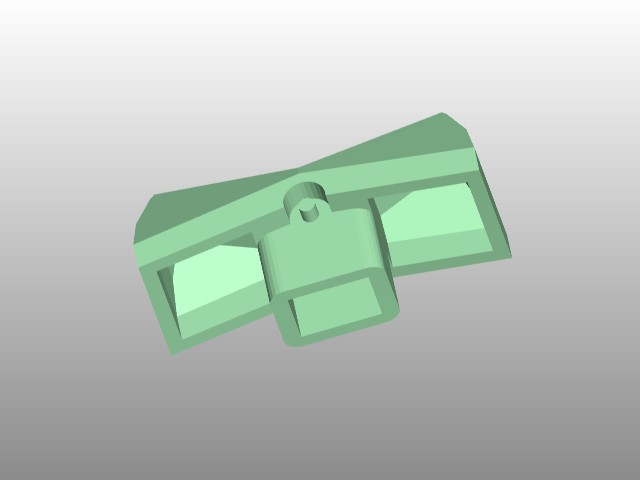
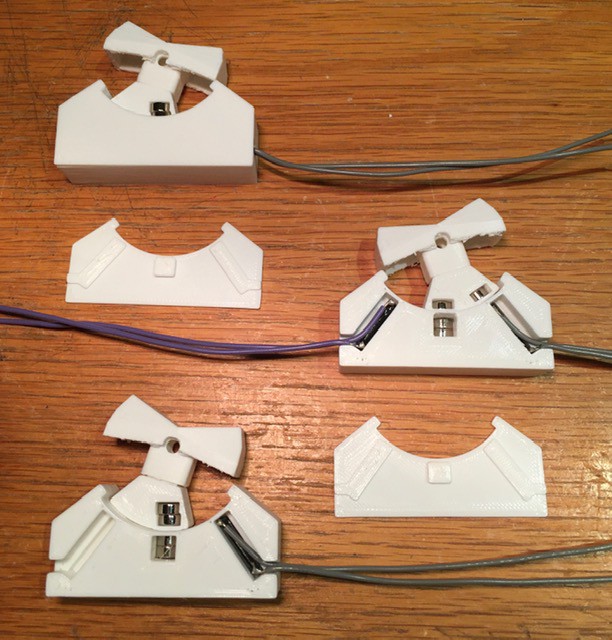
I modified it slightly to have a hole at the pivot point instead of a shaft. Then I modeled a "counter weight" to hold the switch magnets and a corresponding base for the "reciprocating" magnets and the reed switches. You will notice that there are two kinds of counter weights. That's because there are two kinds of rocker switches required, a momentary "spring" return for the three H-500 pulse switches, and an ON-ON variant for the eight input switches.
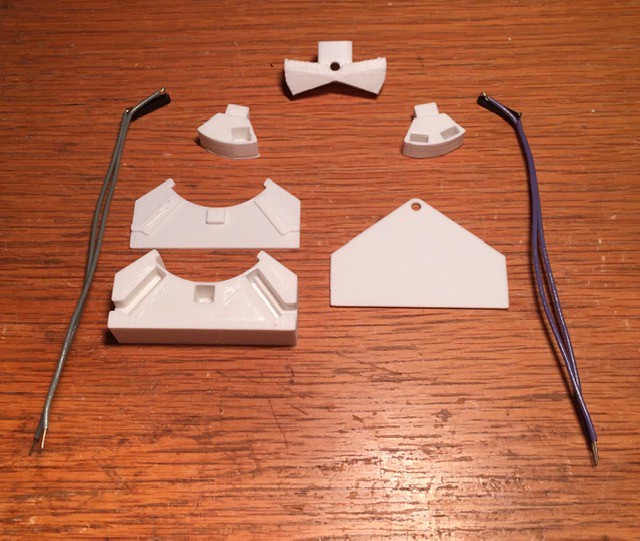
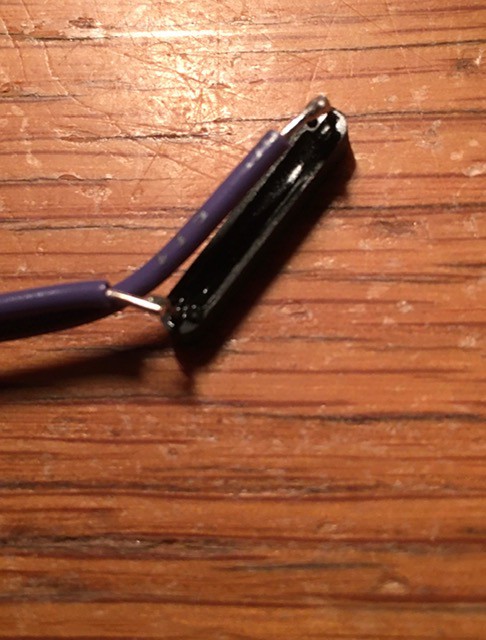
The base has slots and wire guides for each of two magnetic reed switches ( Digi-Key part number 2010-1087-ND). The wires are soldered to the tips of the through hole pins.
Assembly of each switch is pretty straight forward. Insert the reed switches and magnets (making sure that the magnets in the rocker and the base are oriented to attract) then snap on the base end plate. Note that the momentary contact switches only need one magnetic reed switch.
I printed a base and added end pieces to accept a 1/8 inch steel rod to hold the individual switches together for testing. I'm still working on how the switches will be mounted to the bottom panel of the H-500.
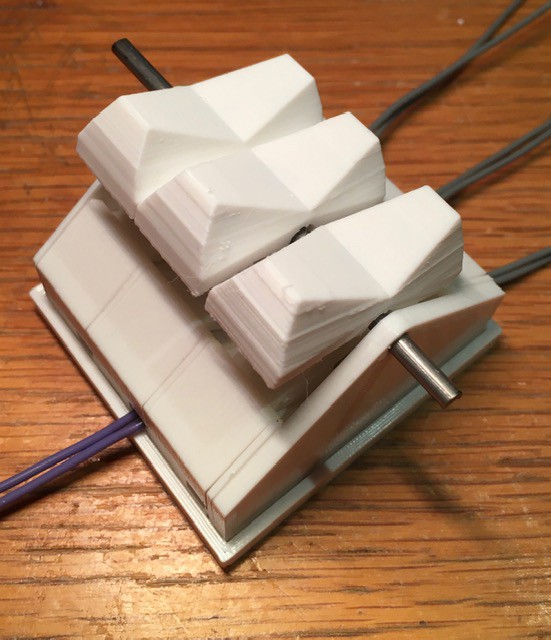
Finally here is a video of my switches in action. The end switches are "spring" return and the middle is ON-ON.
Discussions
Become a Hackaday.io Member
Create an account to leave a comment. Already have an account? Log In.