Well my lumber and stain finally "arrived". It took my local Lowes 17 days to put together my "curbside pickup" order. Sigh. If I had access to my local maker-space (kwartzlab) I probably would have ripped something down to the required 1/2" x 3 1/4" board size that I needed, but I was "lucky" enough to find some "craft board" at Lowes in the required size.
The other maker-space thing that I missed was access to their fine selection of corner clamps to put the frame together, so I had to improvise. I ended up printing some corner guides that worked quite well.
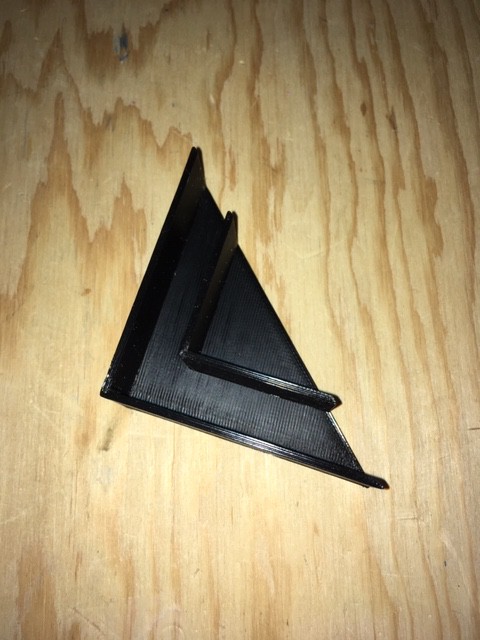
I mitered the corners of the frame and used the guides to align the boards while I glued and popped in a few brads.
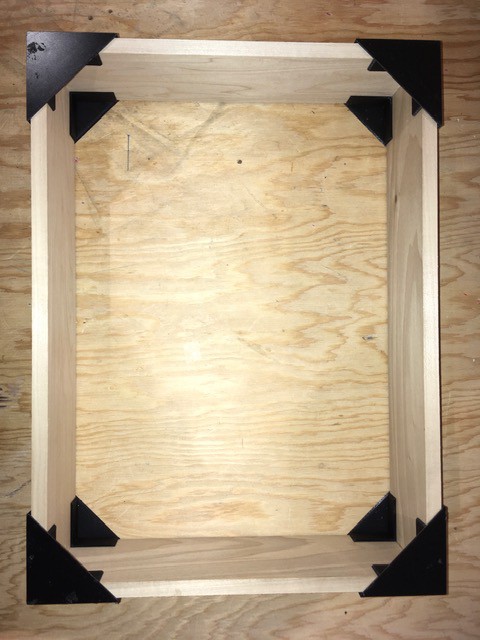 Once dry I stained the boards then applied a few applications of clear coat. I was a little disappointed in the stain as I was expecting it to be a little lighter and redder like the original's "simulated teak". But given how long it took to get the stain I went ahead and used it.
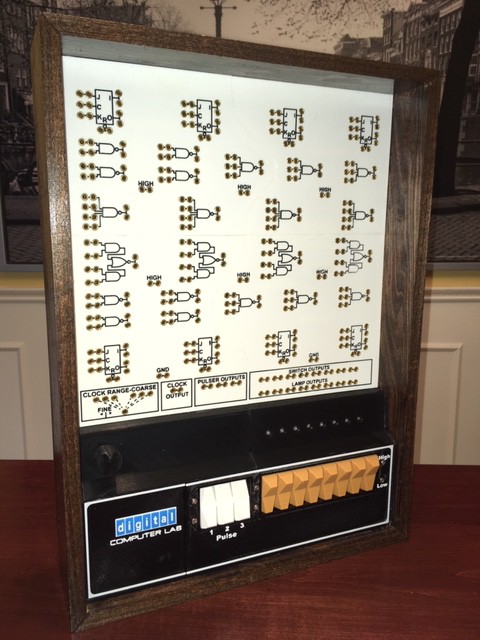
I printed some supports to hold the Plug, Light, and Switch Panels in place at their appropriate depths (1/2" for the Switch Panel and 1 3/4" for the Plug Panel) within the frame and attached them to the inside faces with 1/2" wood screws.
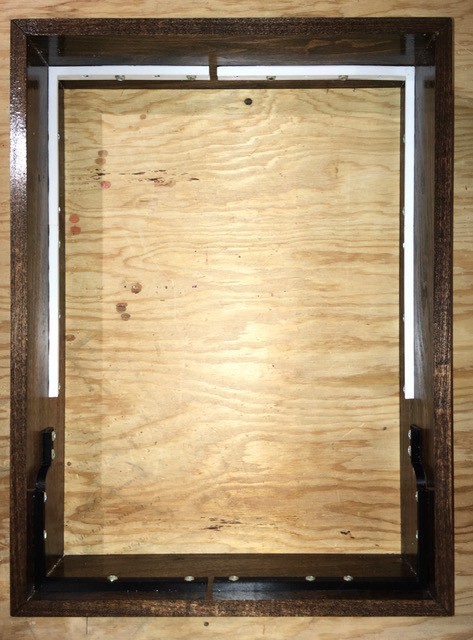
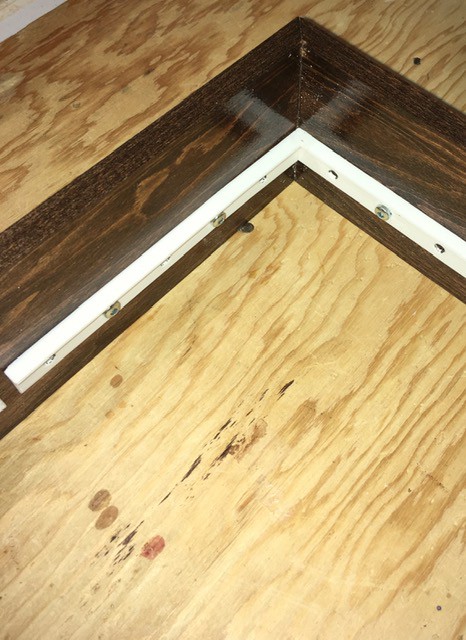
I attached the panels onto the frame supports with some E6000 Adhesive.
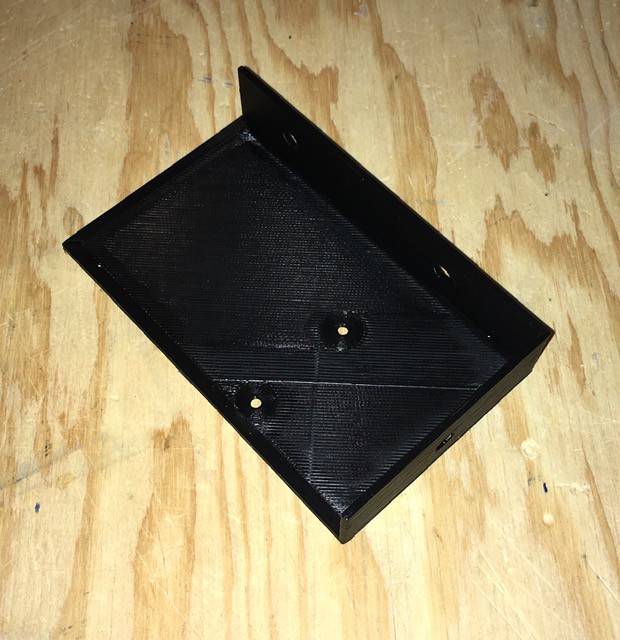
Finally I printed a mount for the Arduino Mega...
...and installed it in the corner of the frame underneath the potentiometer.
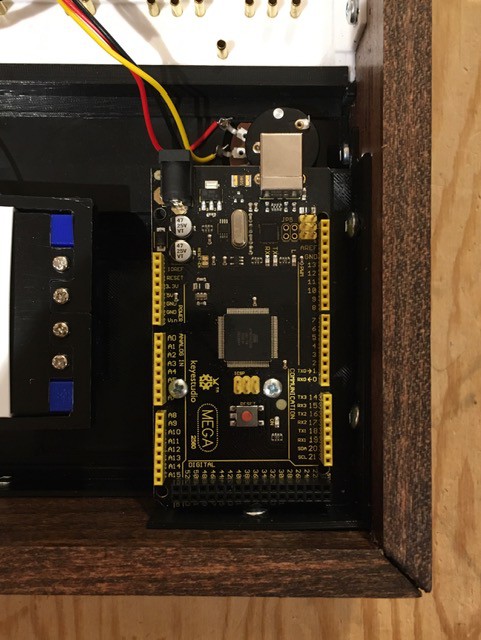
This feels like a major milestone to me. I basically just have to do the "integration" wiring and make a back panel for the box. For sure I can now see the light at the end of the tunnel for this project.
 Michael Gardi
Discussions
Become a Hackaday.io Member
Create an account to leave a comment. Already have an account? Log In.