 Grant Stankaitis
Mosquitto background and helpful links
The previous students used Mosquitto to allow message passing between the ESP32 and a PC. Mosquitto is an open source MQTT server developed by Eclipse. Mosquitto is lightweight message broker and runs using the MQTT protocol. MQTT is a lightweight message passing protocol, best suited for small devices, like IoT devices. Below are some helpful links that allowed me to gain a better understanding of Mosquitto and networking with the ESP32.
MicroPython networking documentation
MQTT tutorial (this is what the previous students used)
Set up Mosquitto on PC
Here is the process that helped me successfully set up Mosquitto on my PC. I followed the last link above ('MQTT tutorial') to set up my environment. I followed this tutorial to help me set up Mosquitto- follow the steps in the section titled 'Manual Install Windows.' The download link for Mosquitto is in the article, but in case anything changes, the download can be found on the Mosquitto download page. Be sure to install Mosquitto as a service while using the installer.
Launching Mosquitto
There are two ways to launch Mosquitto. One way is via Windows Task Manager, another is via command line. I prefer to use the command line because it allows me to see when messages are being sent. If you start it using Task Manager, there is no way to see when messages are sent/received.
To start Mosquitto from Windows Task Manager, launch task manager (via Ctrl + Alt + Del). When the Task Manager window pops up, click on the tab labeled 'Services.' Then, search for 'mosquitto' in the services (the quickest way is to click on a random service, then type 'm' on the keyboard to jump to the services that start with 'm'). When you find mosquitto, then you can right-click and click 'Start,' The service status should then change to running.
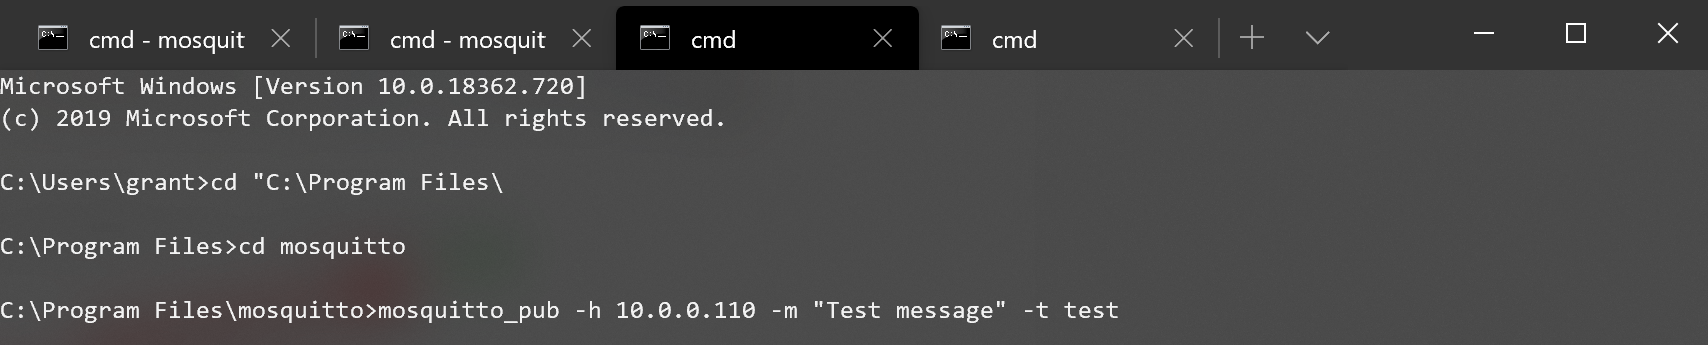
Preferred method: To start Mosquitto from the command line, open a new Windows Command Prompt (shortcut: hit the Windows key, then type 'cmd'). Once the command prompt opens, you need to change to the install directory of Mosquitto. Mine was found under "C:\Program Files\mosquitto". It should have installed in your Program Files under a folder named 'mosquitto.' Once you are in this directory,
you can type 'mosquitto' to launch mosquitto. 'mosquitto -h' can be used for help. Every time I start mosquitto, I start it in verbose mode so that I can see console messages, and all of the messages that are being sent/received. To start mosquitto in verbose mode, type 'mosquitto -v'. You can verify that your mosquitto instance is running by running a quick netstat command. In a separate command prompt window, run 'netstat -a'. Netstat provides information and statistics about protocols in use and current TCP/IP network connections. As you can see from the screenshot from this tutorial used above, your mosquitto instance should be listening on port 1883. To stop mosquitto, use Ctrl + C.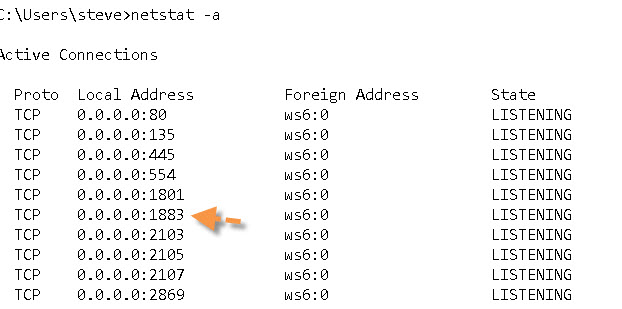
Testing Mosquitto
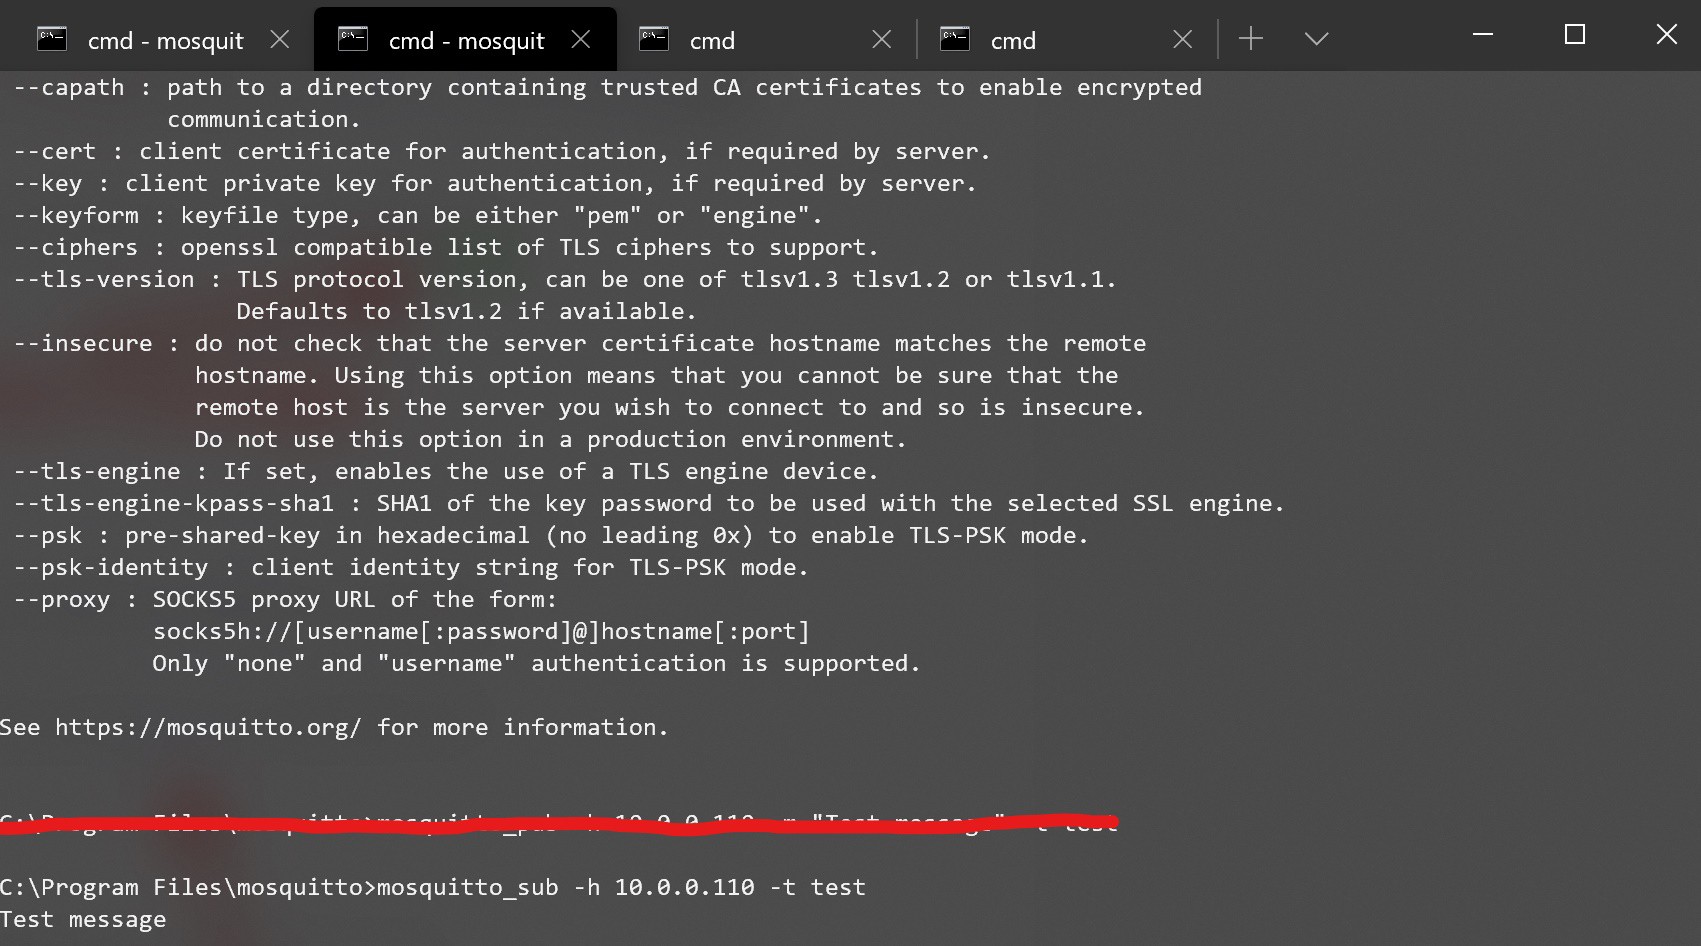
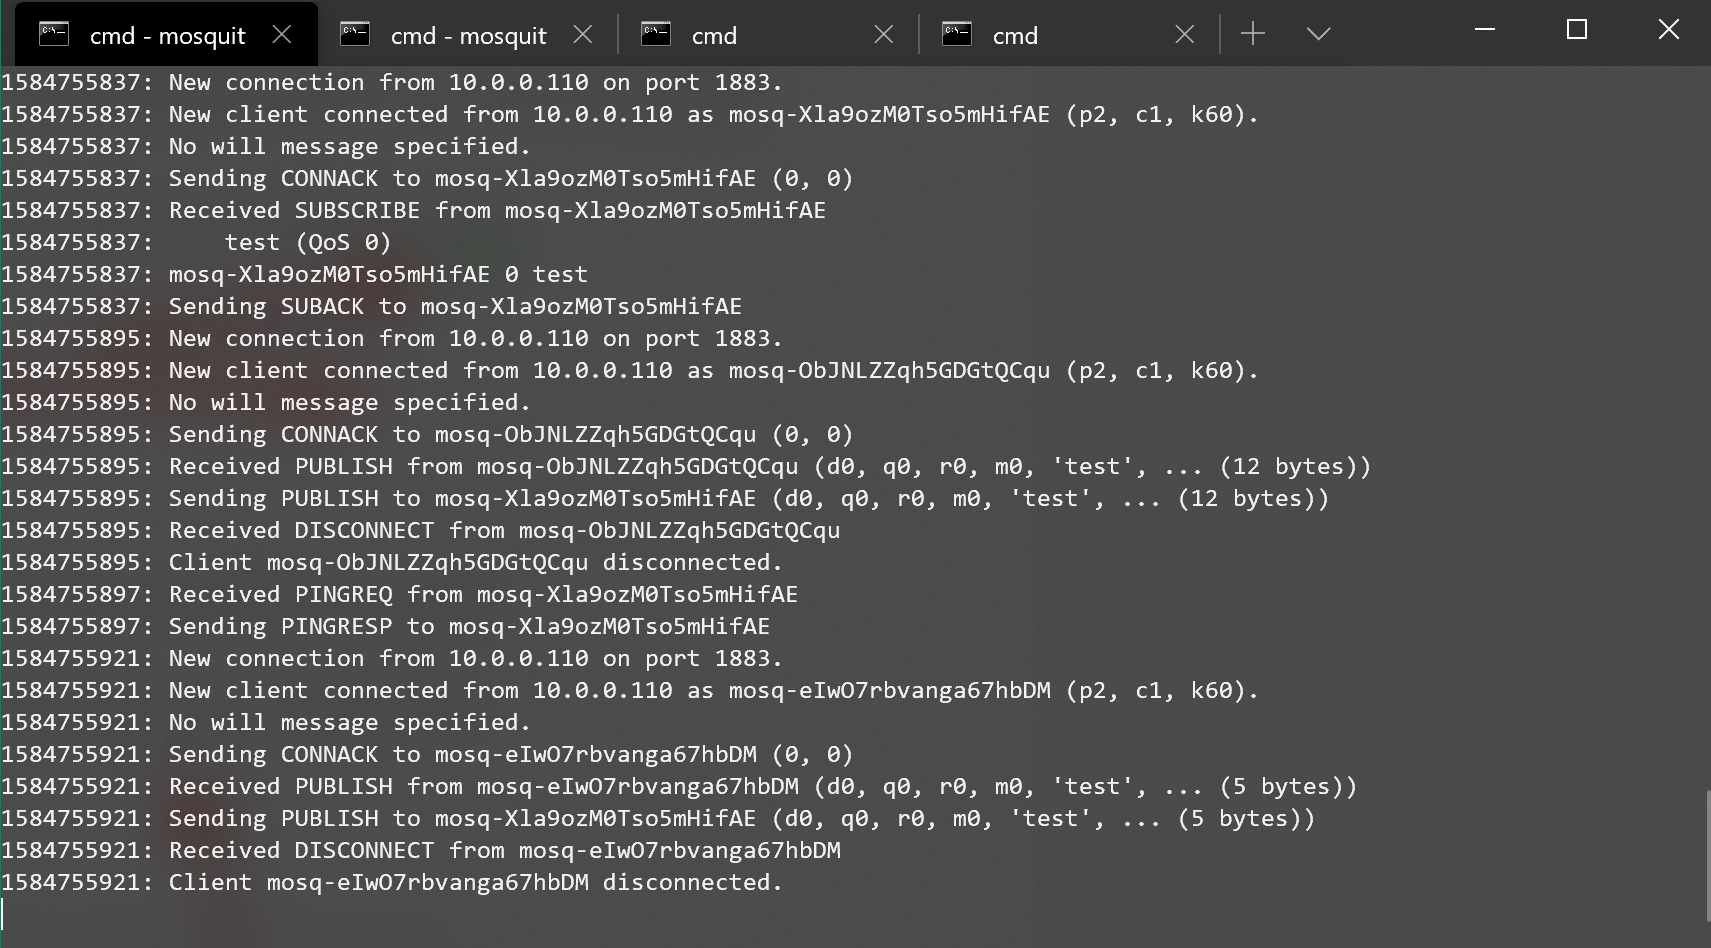
The easiest way to test Mosquitto is by launching multiple command prompt windows, then subscribing them to the same topic. See the screenshots below of successfully sending a message!
Below, I subscribed to 'test' topic, then a message shows up when sent by other client!
Since this log has become long, I will detail my ESP32 communicating with Mosquitto in the next log!
Discussions
Become a Hackaday.io Member
Create an account to leave a comment. Already have an account? Log In.