 TheGrim
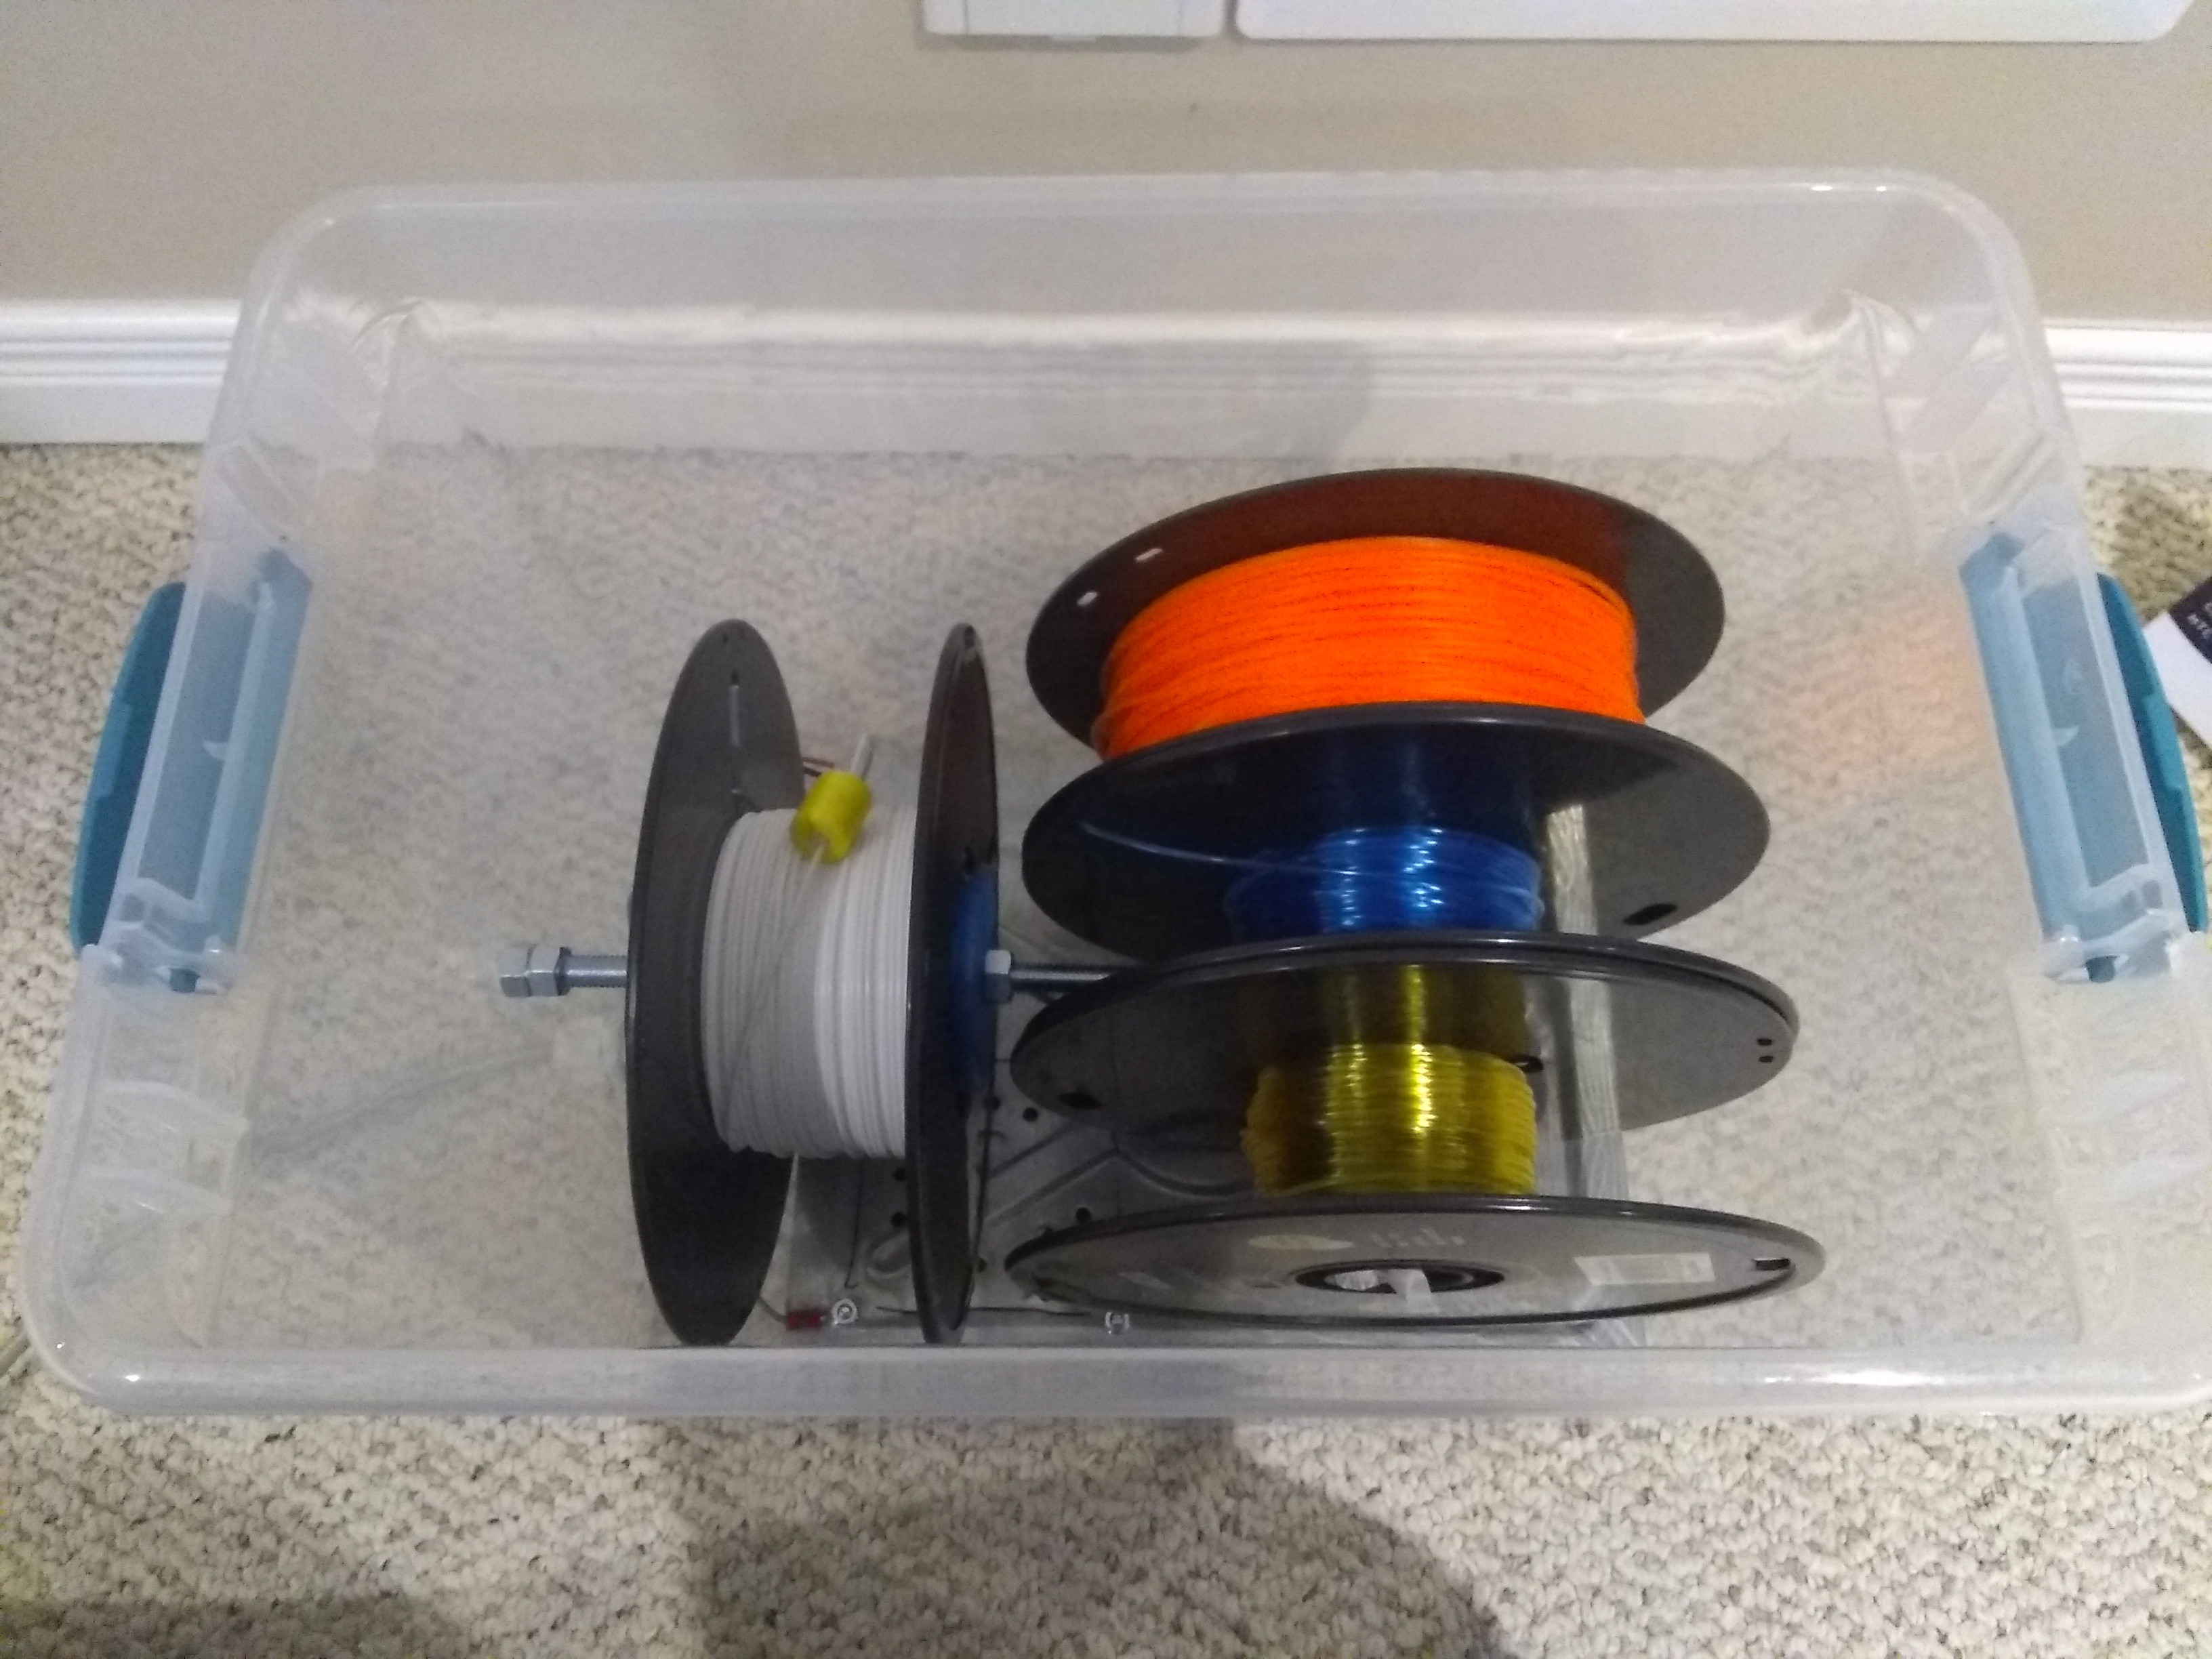
Now, being satisfied that nothing will melt into a ball of ooze, it's time to put the filament in. Dropped a few rolls in (not my best ones) and plugged it in. On top of the rolls I added a desiccant pack from the hardware store. They are usually sold for reducing humidity in camper trailers (during storage season) and boats. Cost for this was around $4.
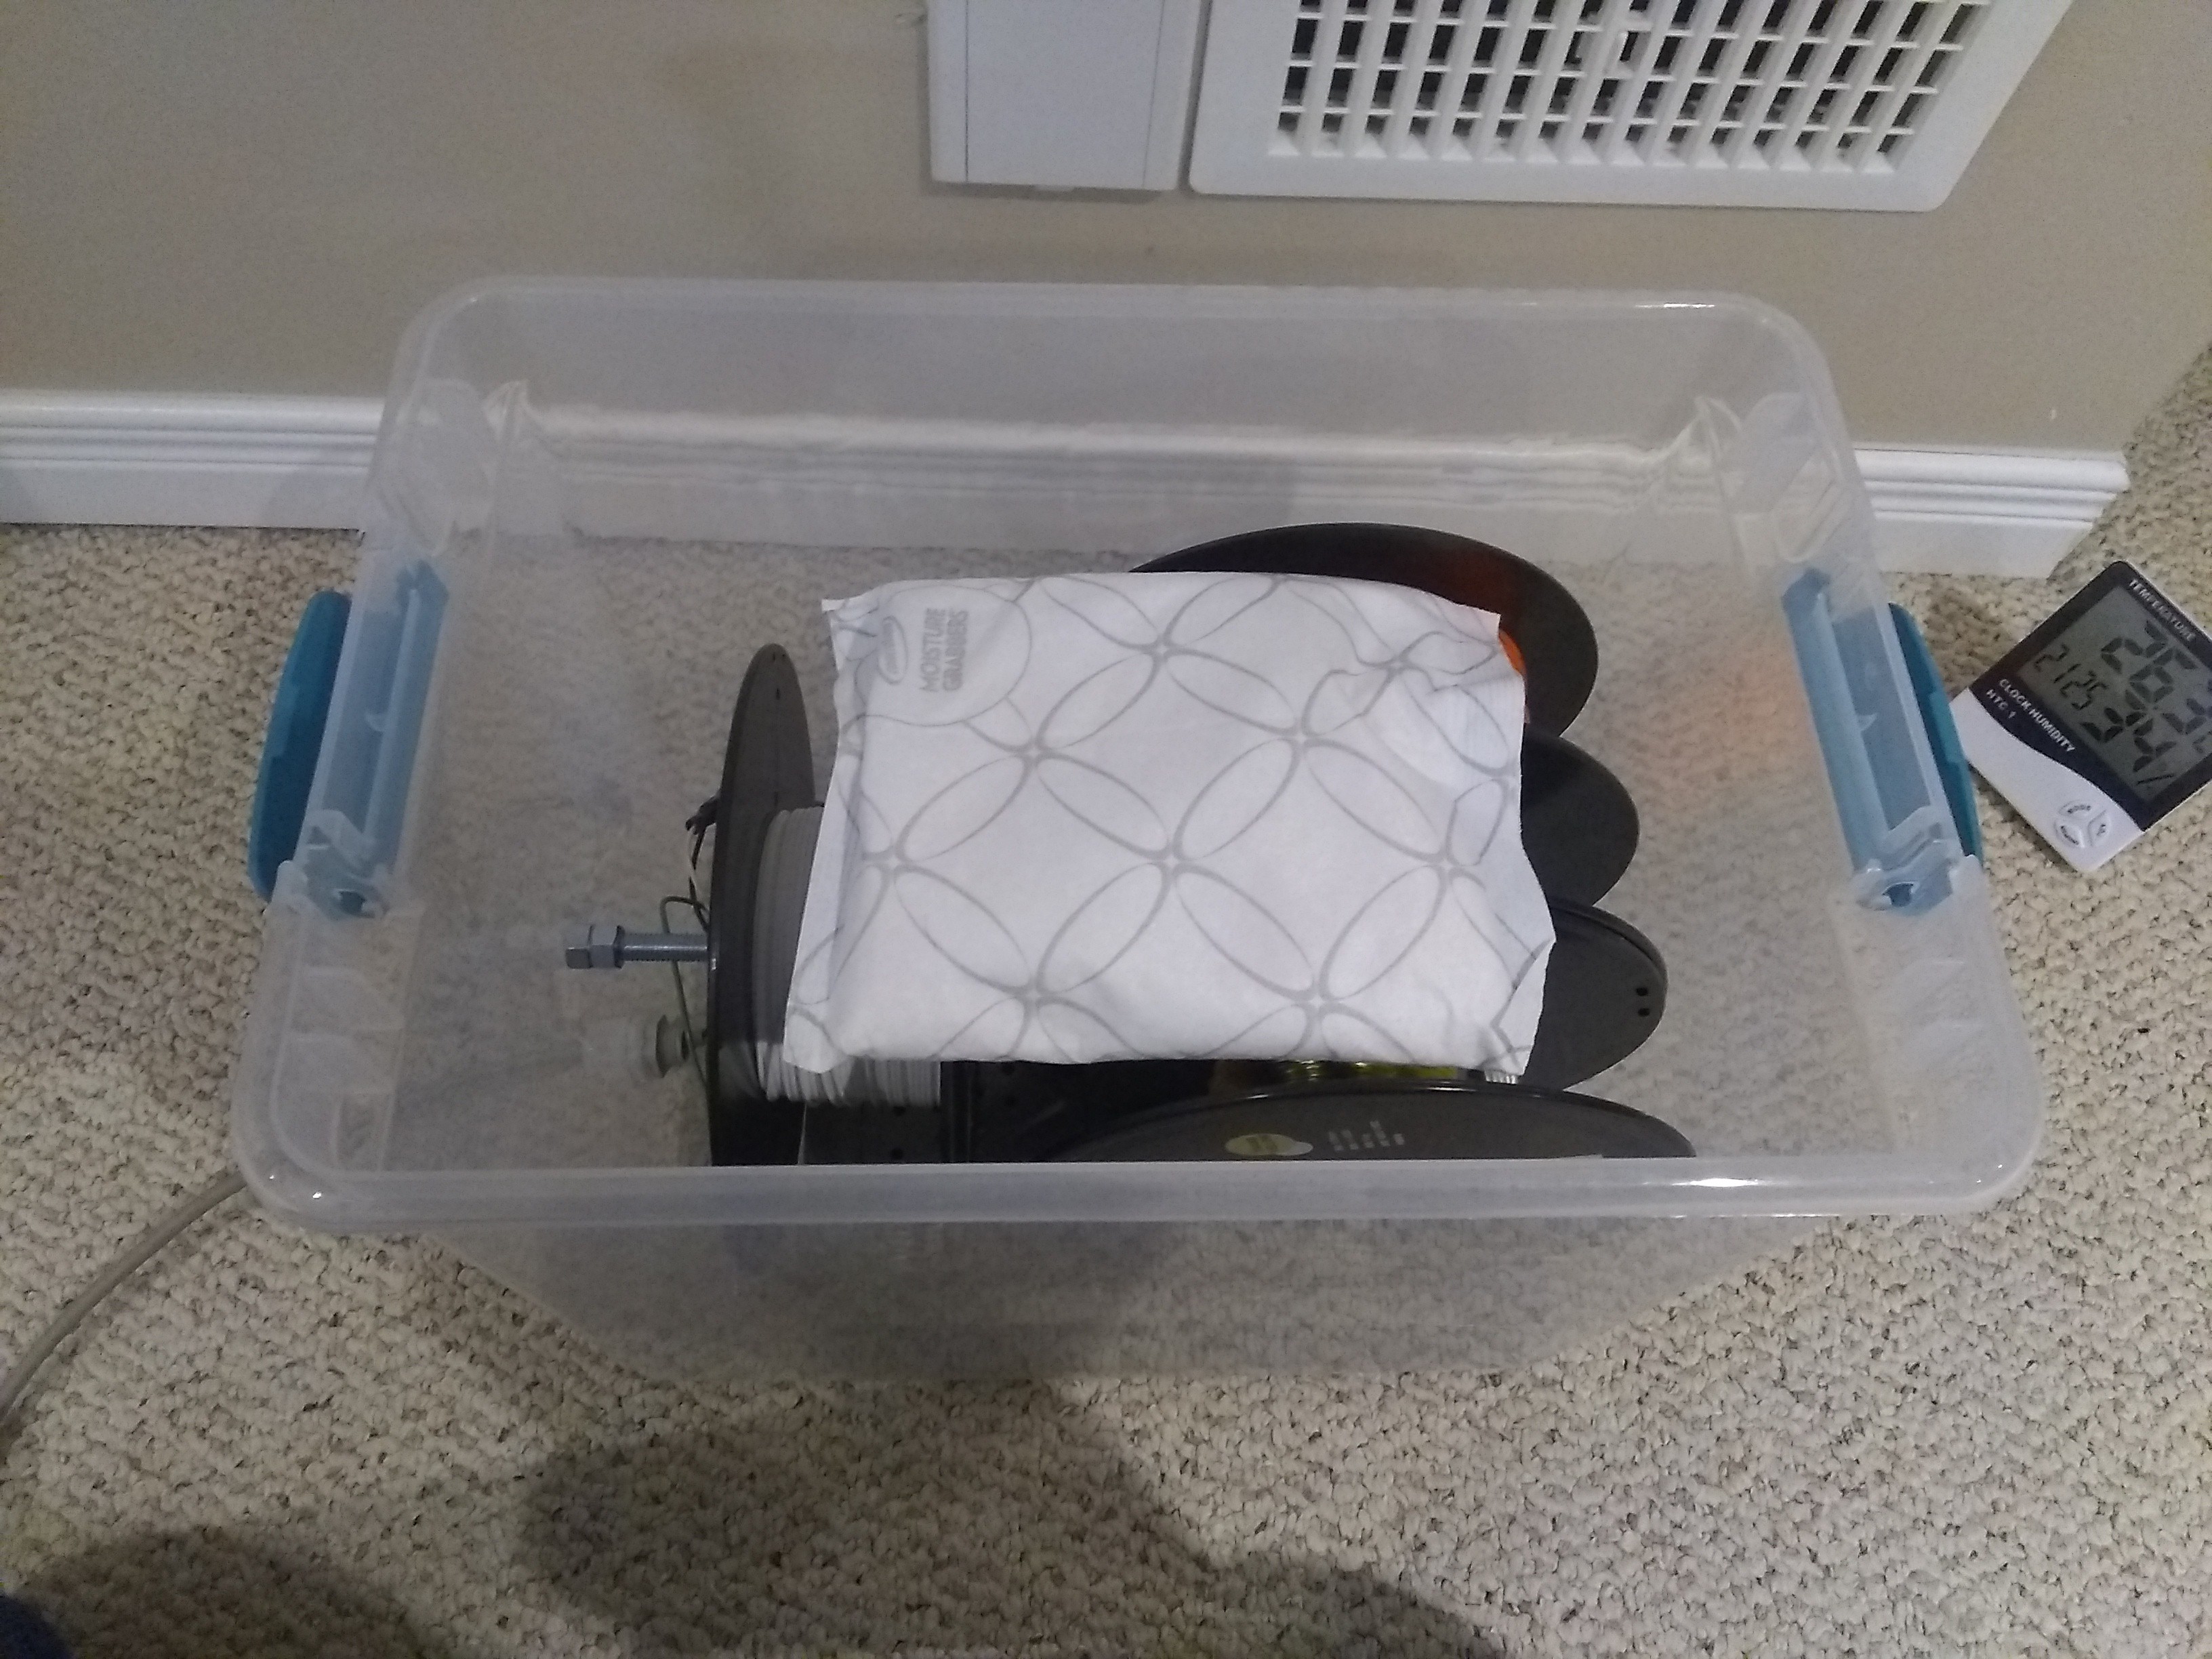
I put the lid on and plugged it in. We'll see how it does.
A check a couple of hours later, it was sitting a 28C and 32%RH.
I will provide an update at a later date on the long-term efficiency of this unit.
Some drawbacks at first glance:
1. The strange humming of constantly running fans.
2. Not grade-A electrical safety to do things like this.
3. The bi-metal switch has a limited number of cycles before it fails.
4. I would not leave this plugged in if I wasn't around.
Improvement ideas for next iteration:
1. Replace bi-metal switch with TRIAC.
2. Integrate a safety relay to stop a thermal run-away.
3. Control the heat and safety of the system with an Arduino.
Discussions
Become a Hackaday.io Member
Create an account to leave a comment. Already have an account? Log In.