 Cees Meijer
(Nice: this design was even featured here on Hackaday to celebrate the 40th anniversary of the ZX-80 !)
When starting this project I first considered building a full replica, using Grant Searle's detailed description and PCB design. But I knew I did not have the time to complete this so I decided to take shortcut and use a Raspberry Pi to emulate it and just make sure the housing looked as good as possible.
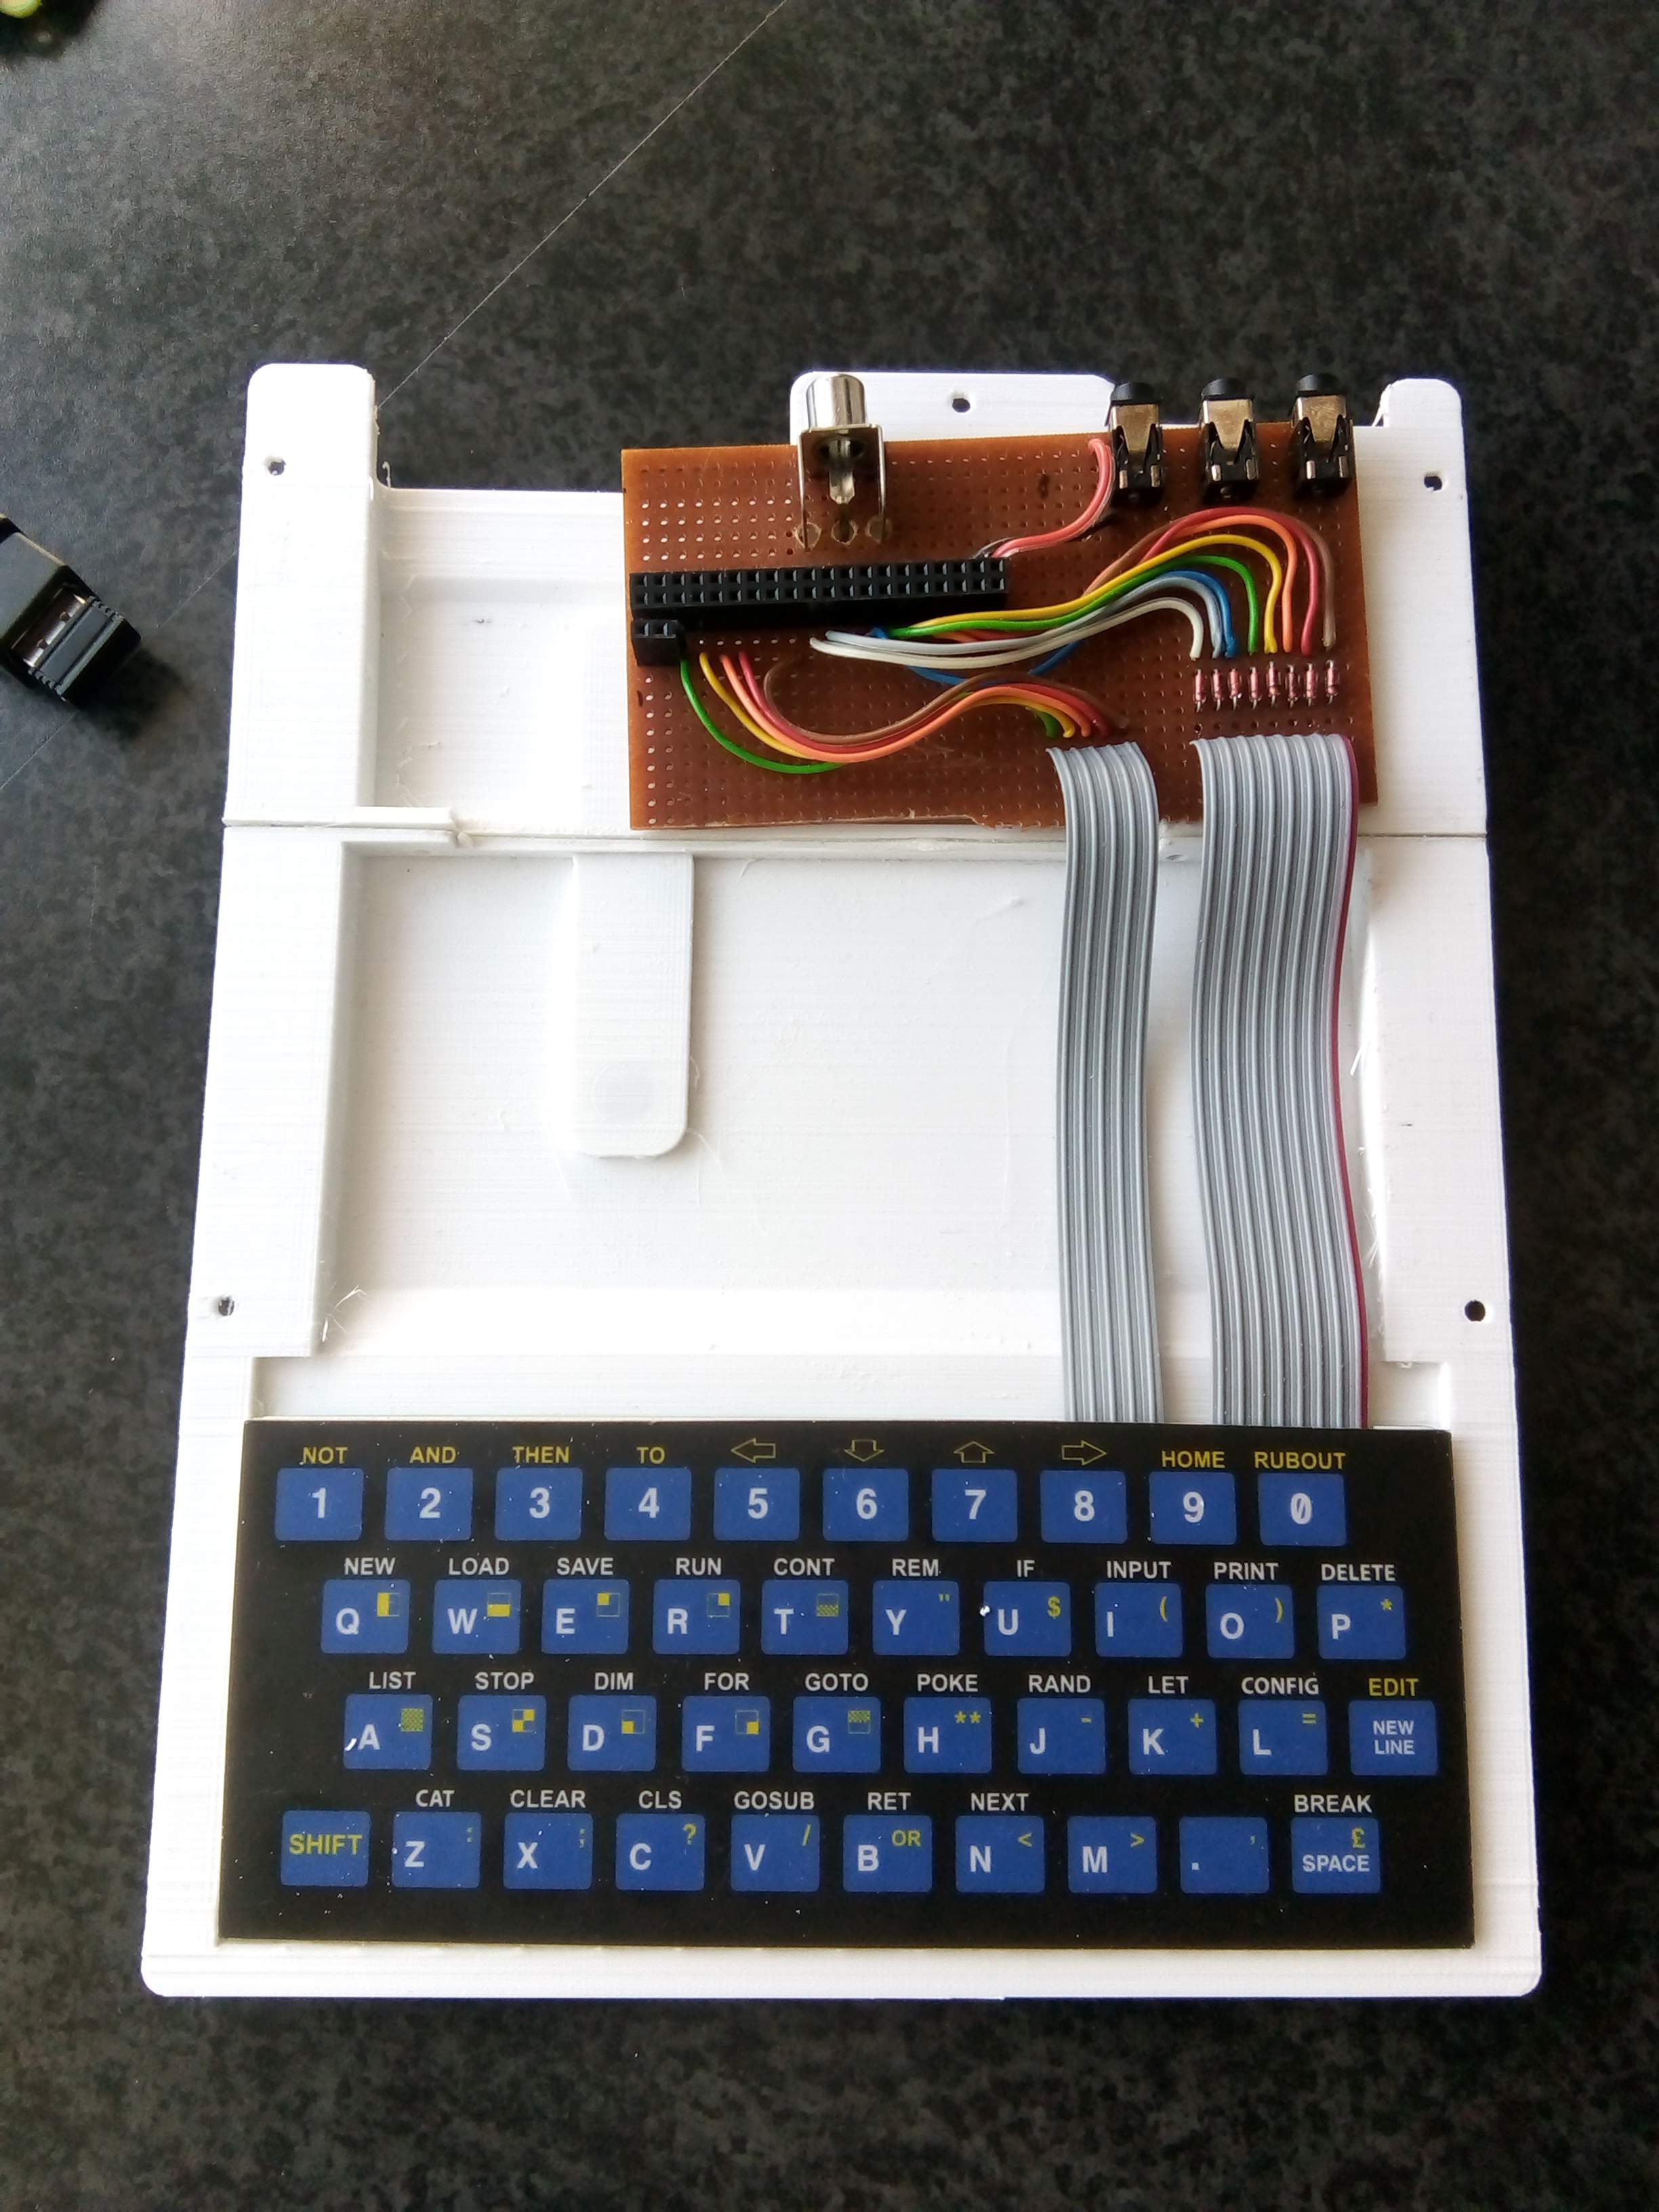
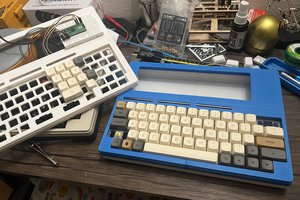
Fortunately, thanks to the current retro computing revival, there are a lot of resources.First there is the ZX80 replacement keyboard on Sell My Retro. This is an excellent keyboard, with actual tactile switches, which makes it much easier to type on than the original. Also available:
original rivets, again on Sell my Retro.
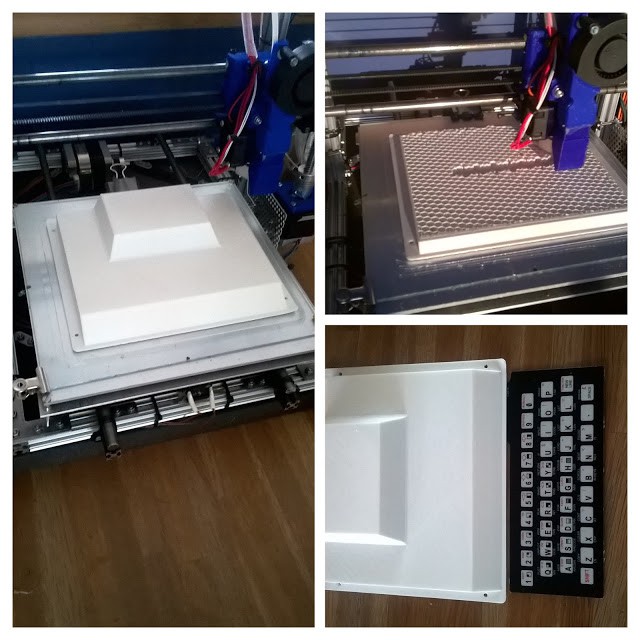
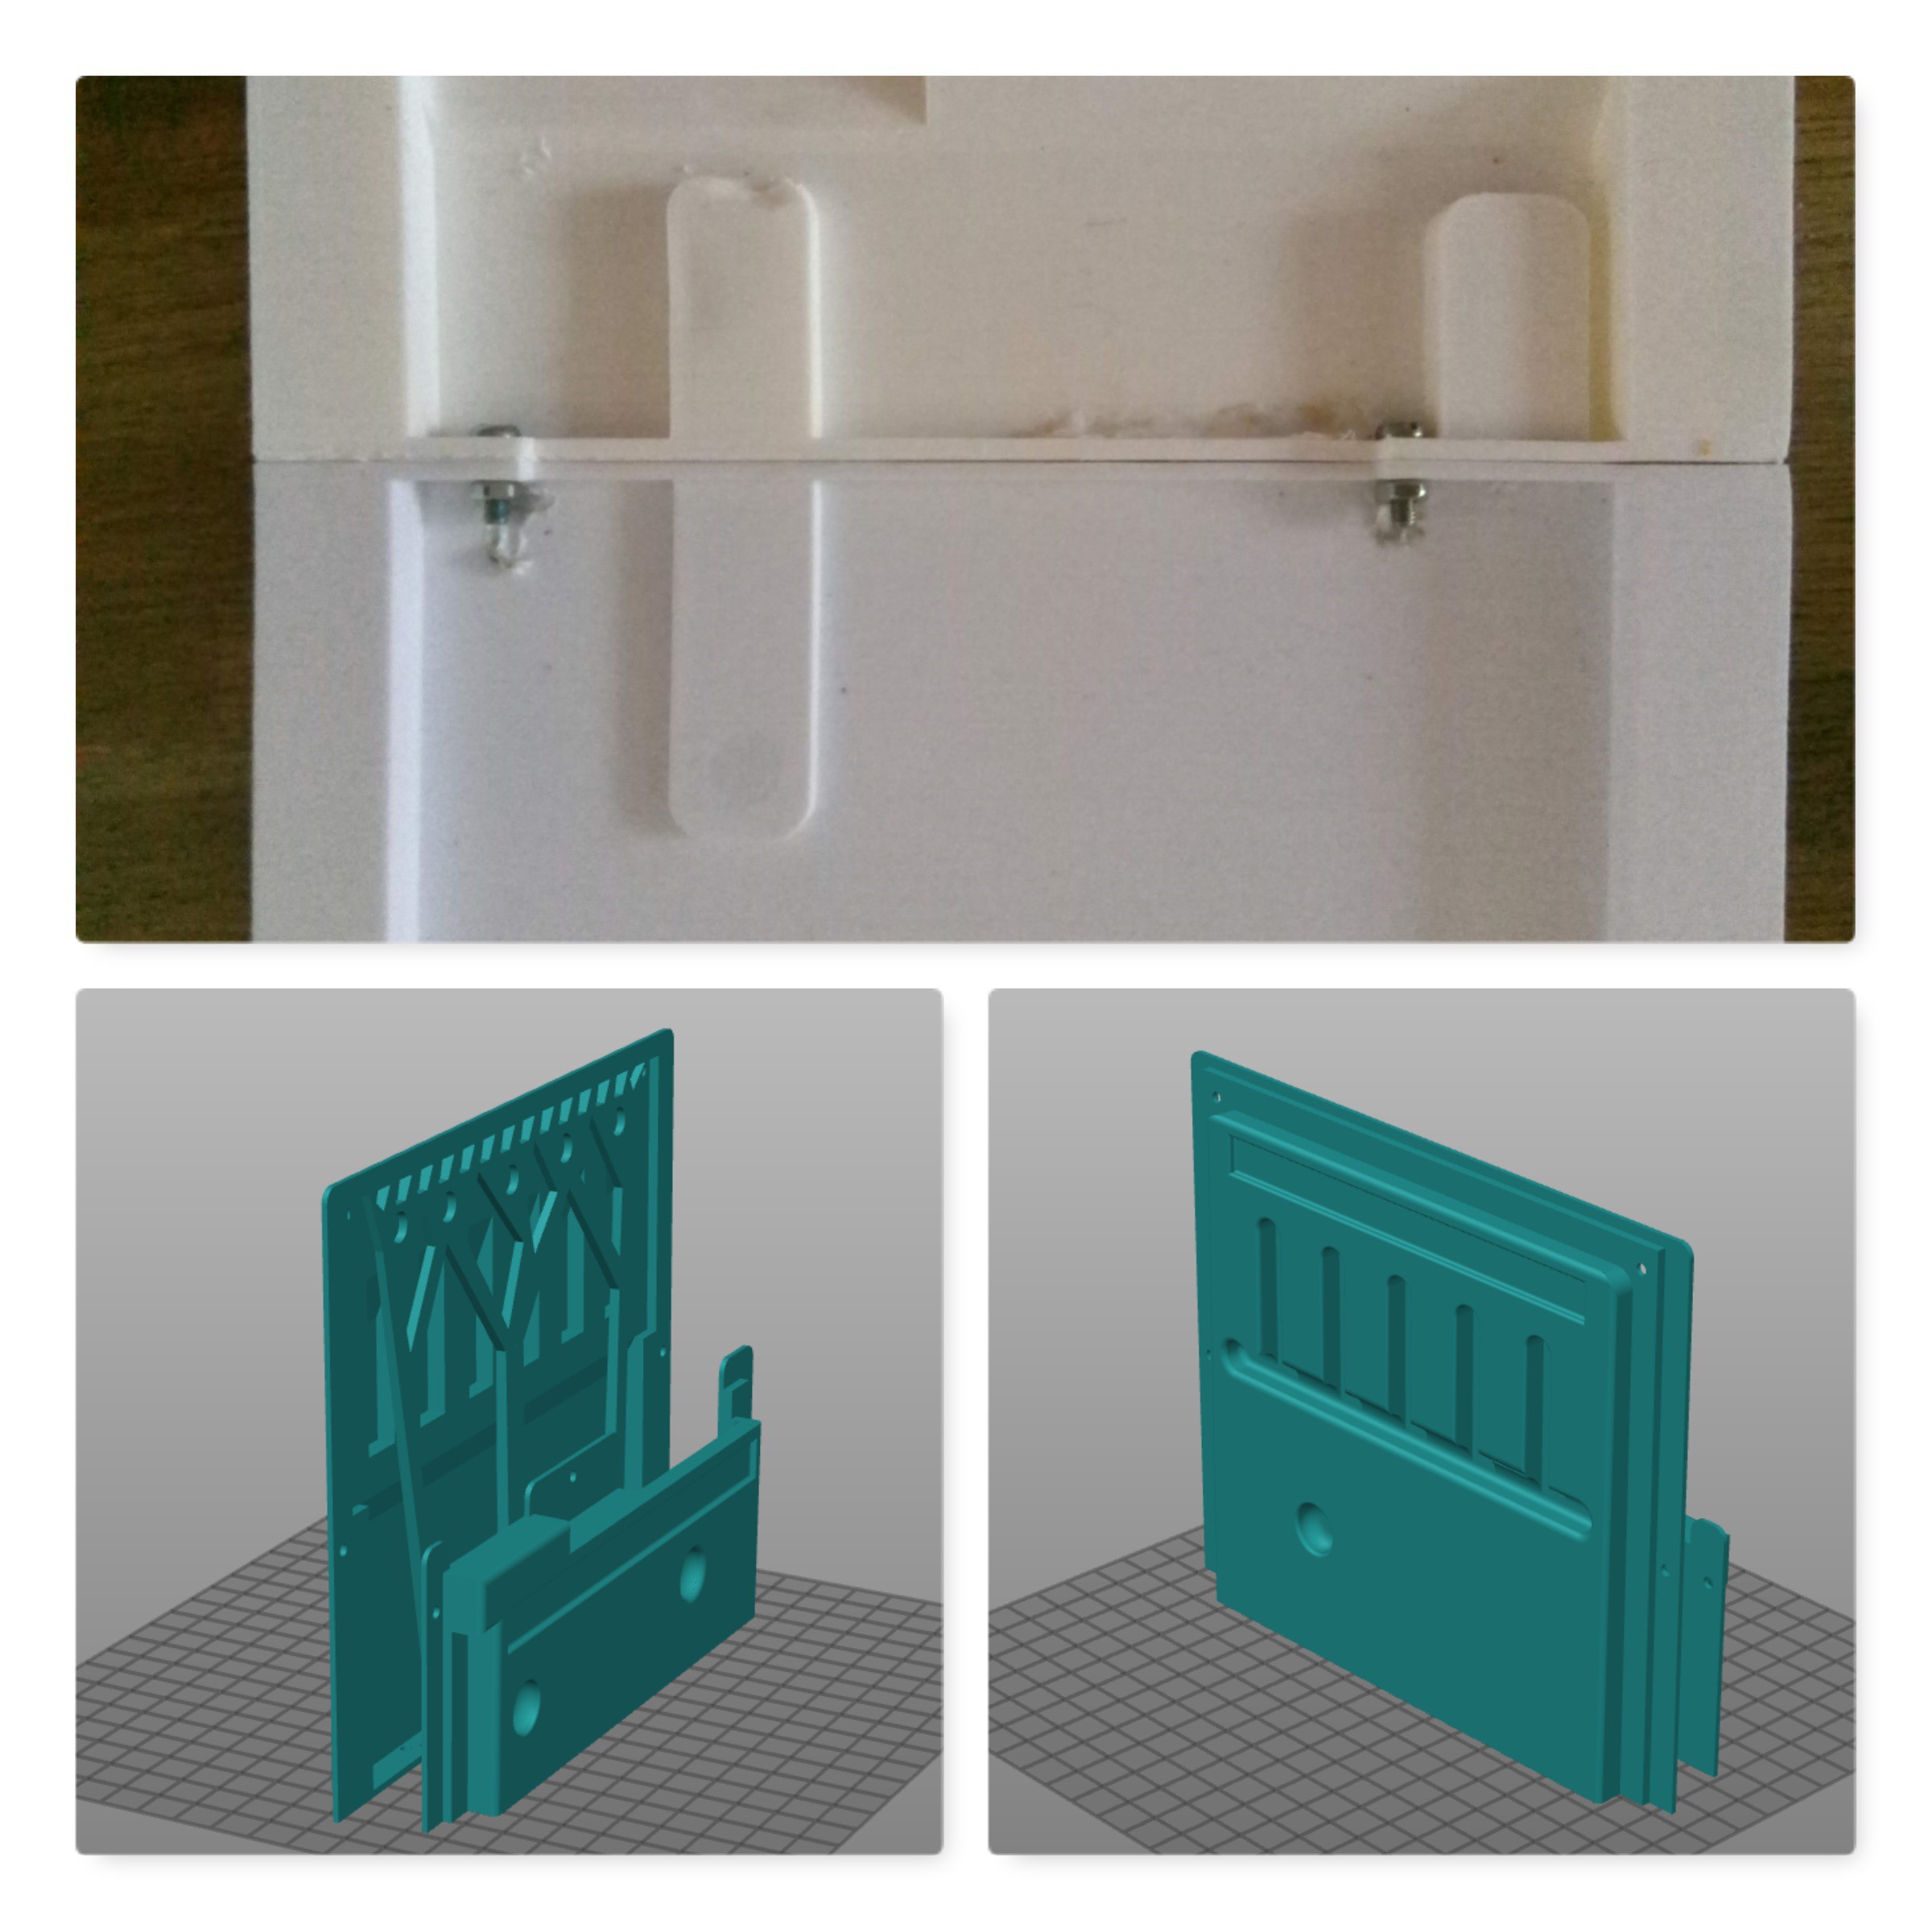
And the design files are on Thingiverse. These were not exactly to my liking, so I made quite some changes. Mainly to make them easier to print, and to make sure that the new keyboard would fit.
There are a lot of images available, but most are just showing the complete computer from the front or side. There are lots of images on this site that also show the rear, bottom and inside. I used these to refine my 3D design, which is now available on Thingiverse.
And if you don't want or cannot print the case yourself, it is also available as a complete printed part on Shapeways. It's not cheap (about € 140,- for the set) but it obviously has a smoother finish, and the bottom part is in one piece.
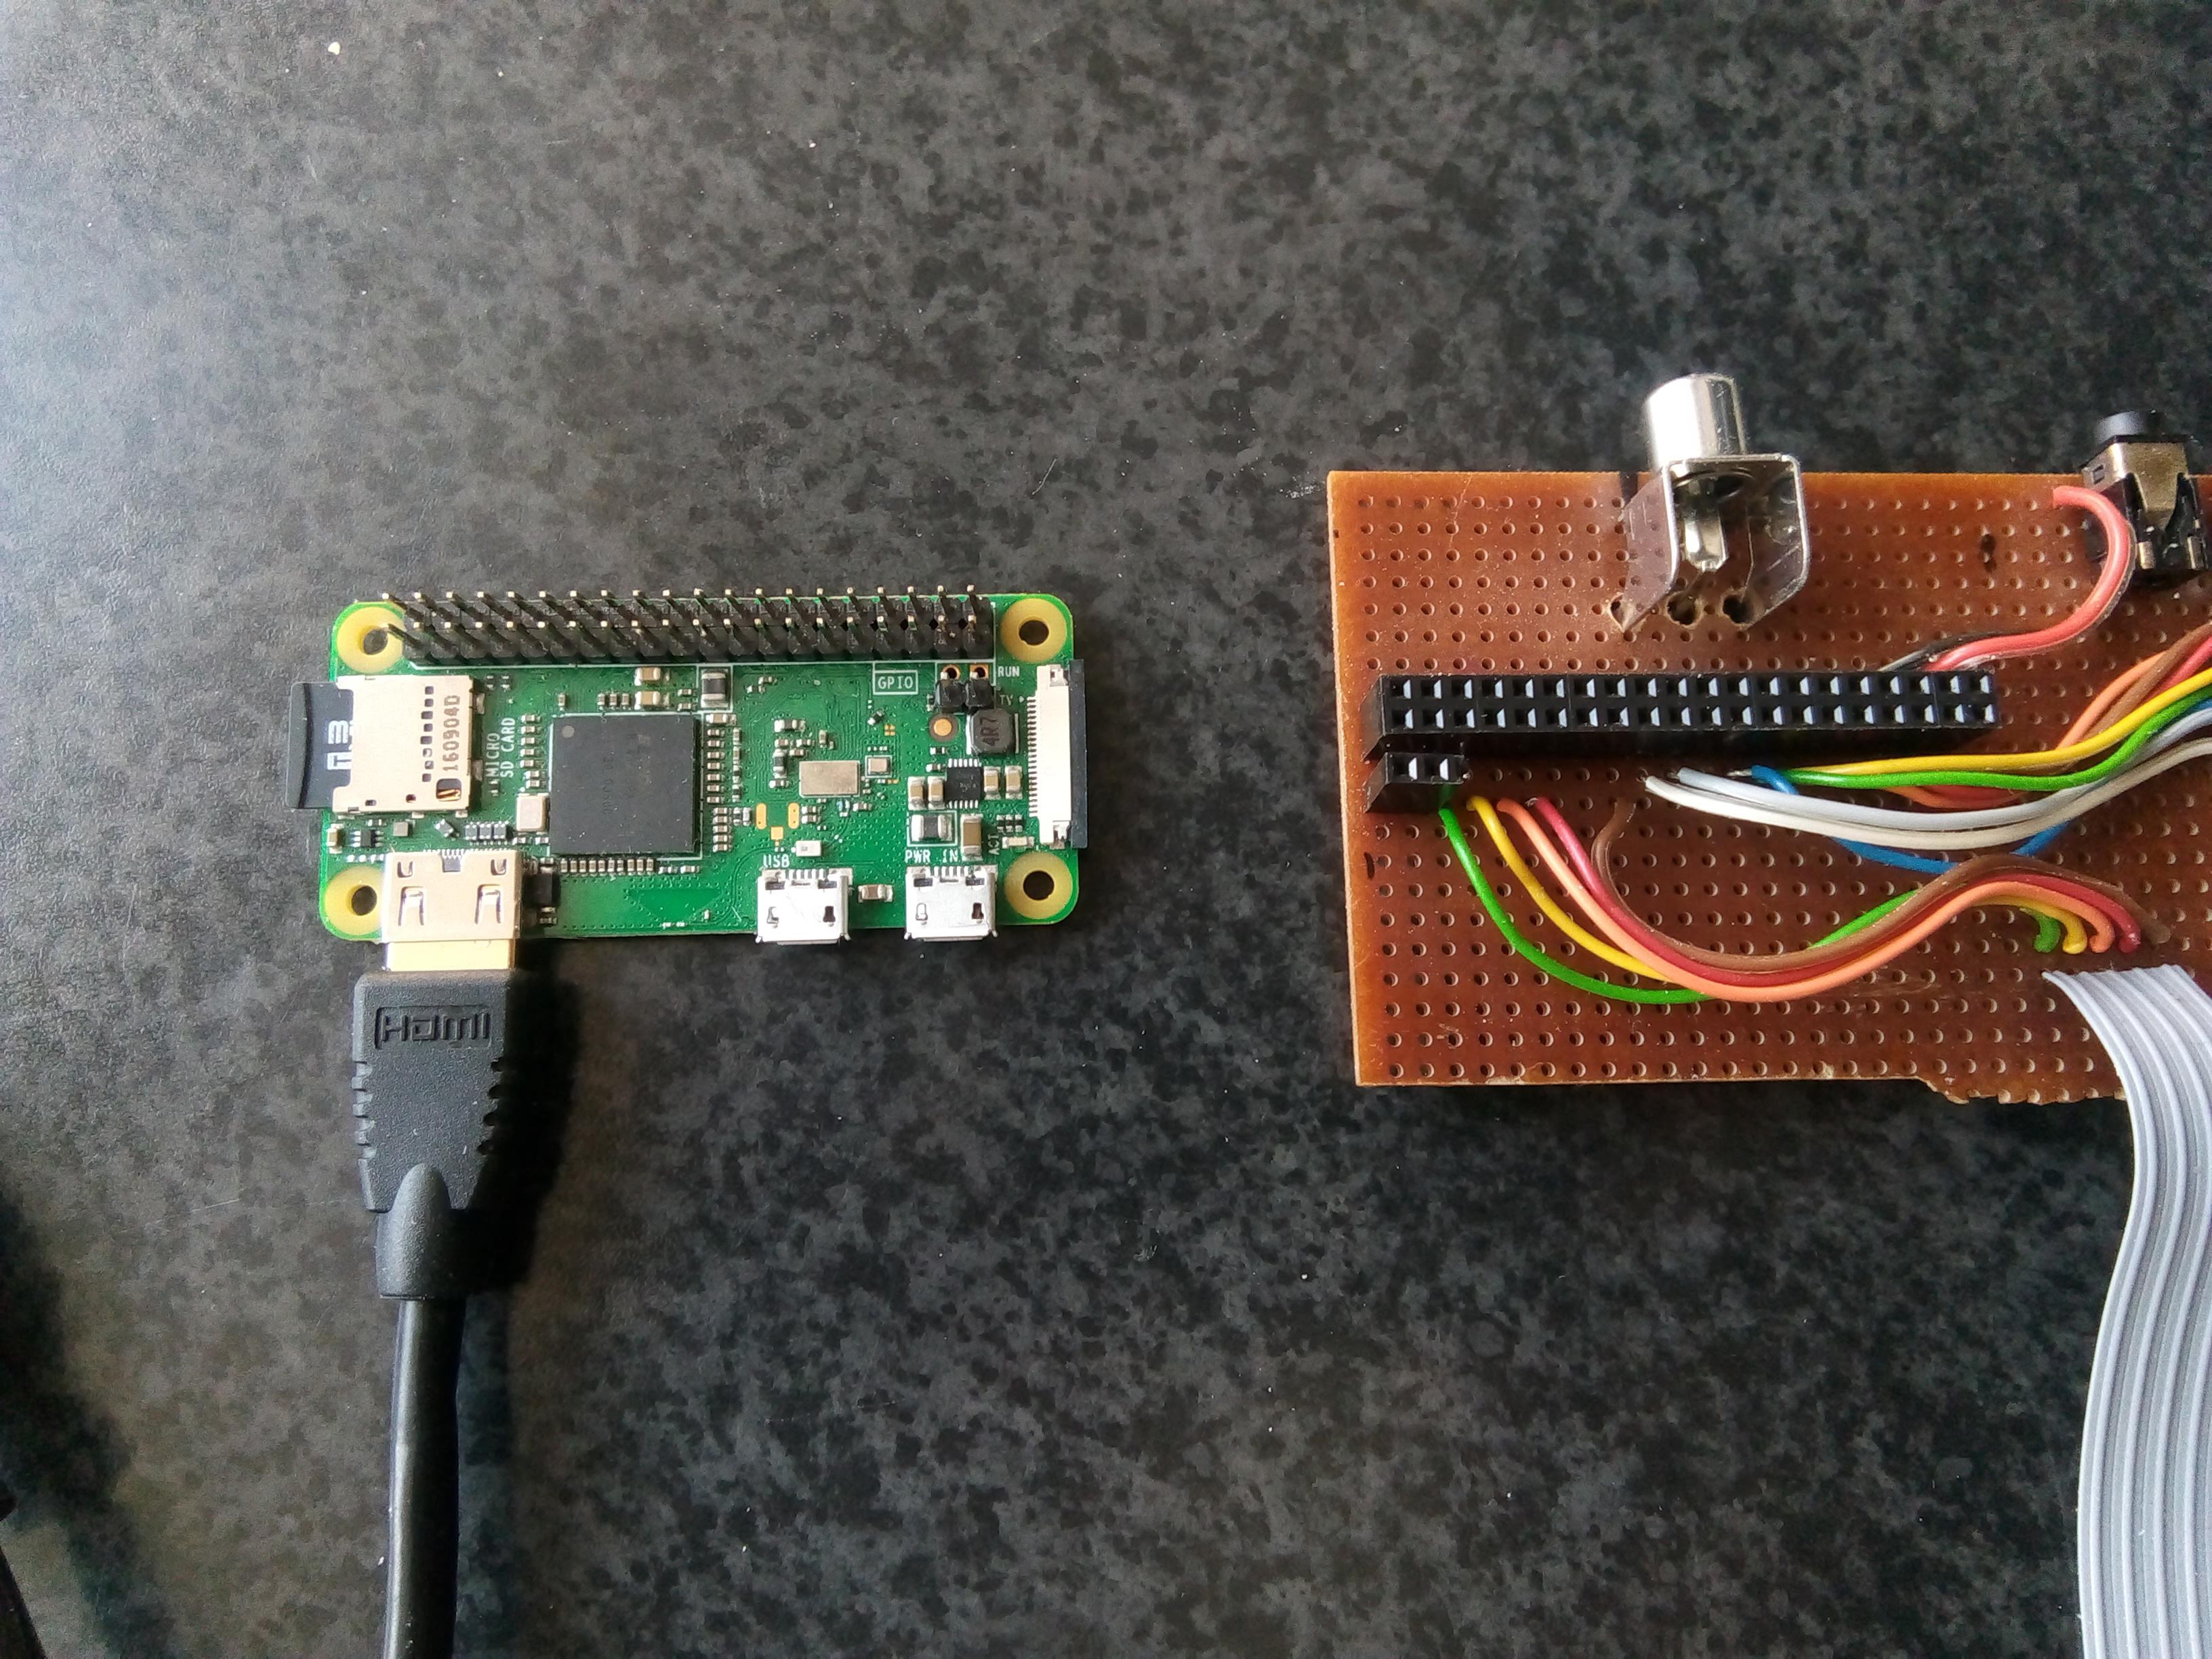
For the emulation I chose the Raspberry Pi Zero W. Apart from being cheap, it has the option to output composite video. Now I can connect an actual video monitor to it and get even closer to the original retro feeling. It also comes with WiFi which makes it easy to control and modify the software if necessary using a remote console. So I did not have to add the connections for a standard keyboard and monitor.

 Evan Scheel
 Tim
Tim
 jdelbe
It's necessary a PiZeroW? Its not enough a PiZero?
Thanks and congrats!
ps - I just understand... to communications :) By the way The keyboards are gone on SellMyRetro :(