This week I focused on installing all three potentiometers into one arm and testing that they work as expected, and then getting the other arms ready for pot installation next (see last log for the final pot choice).
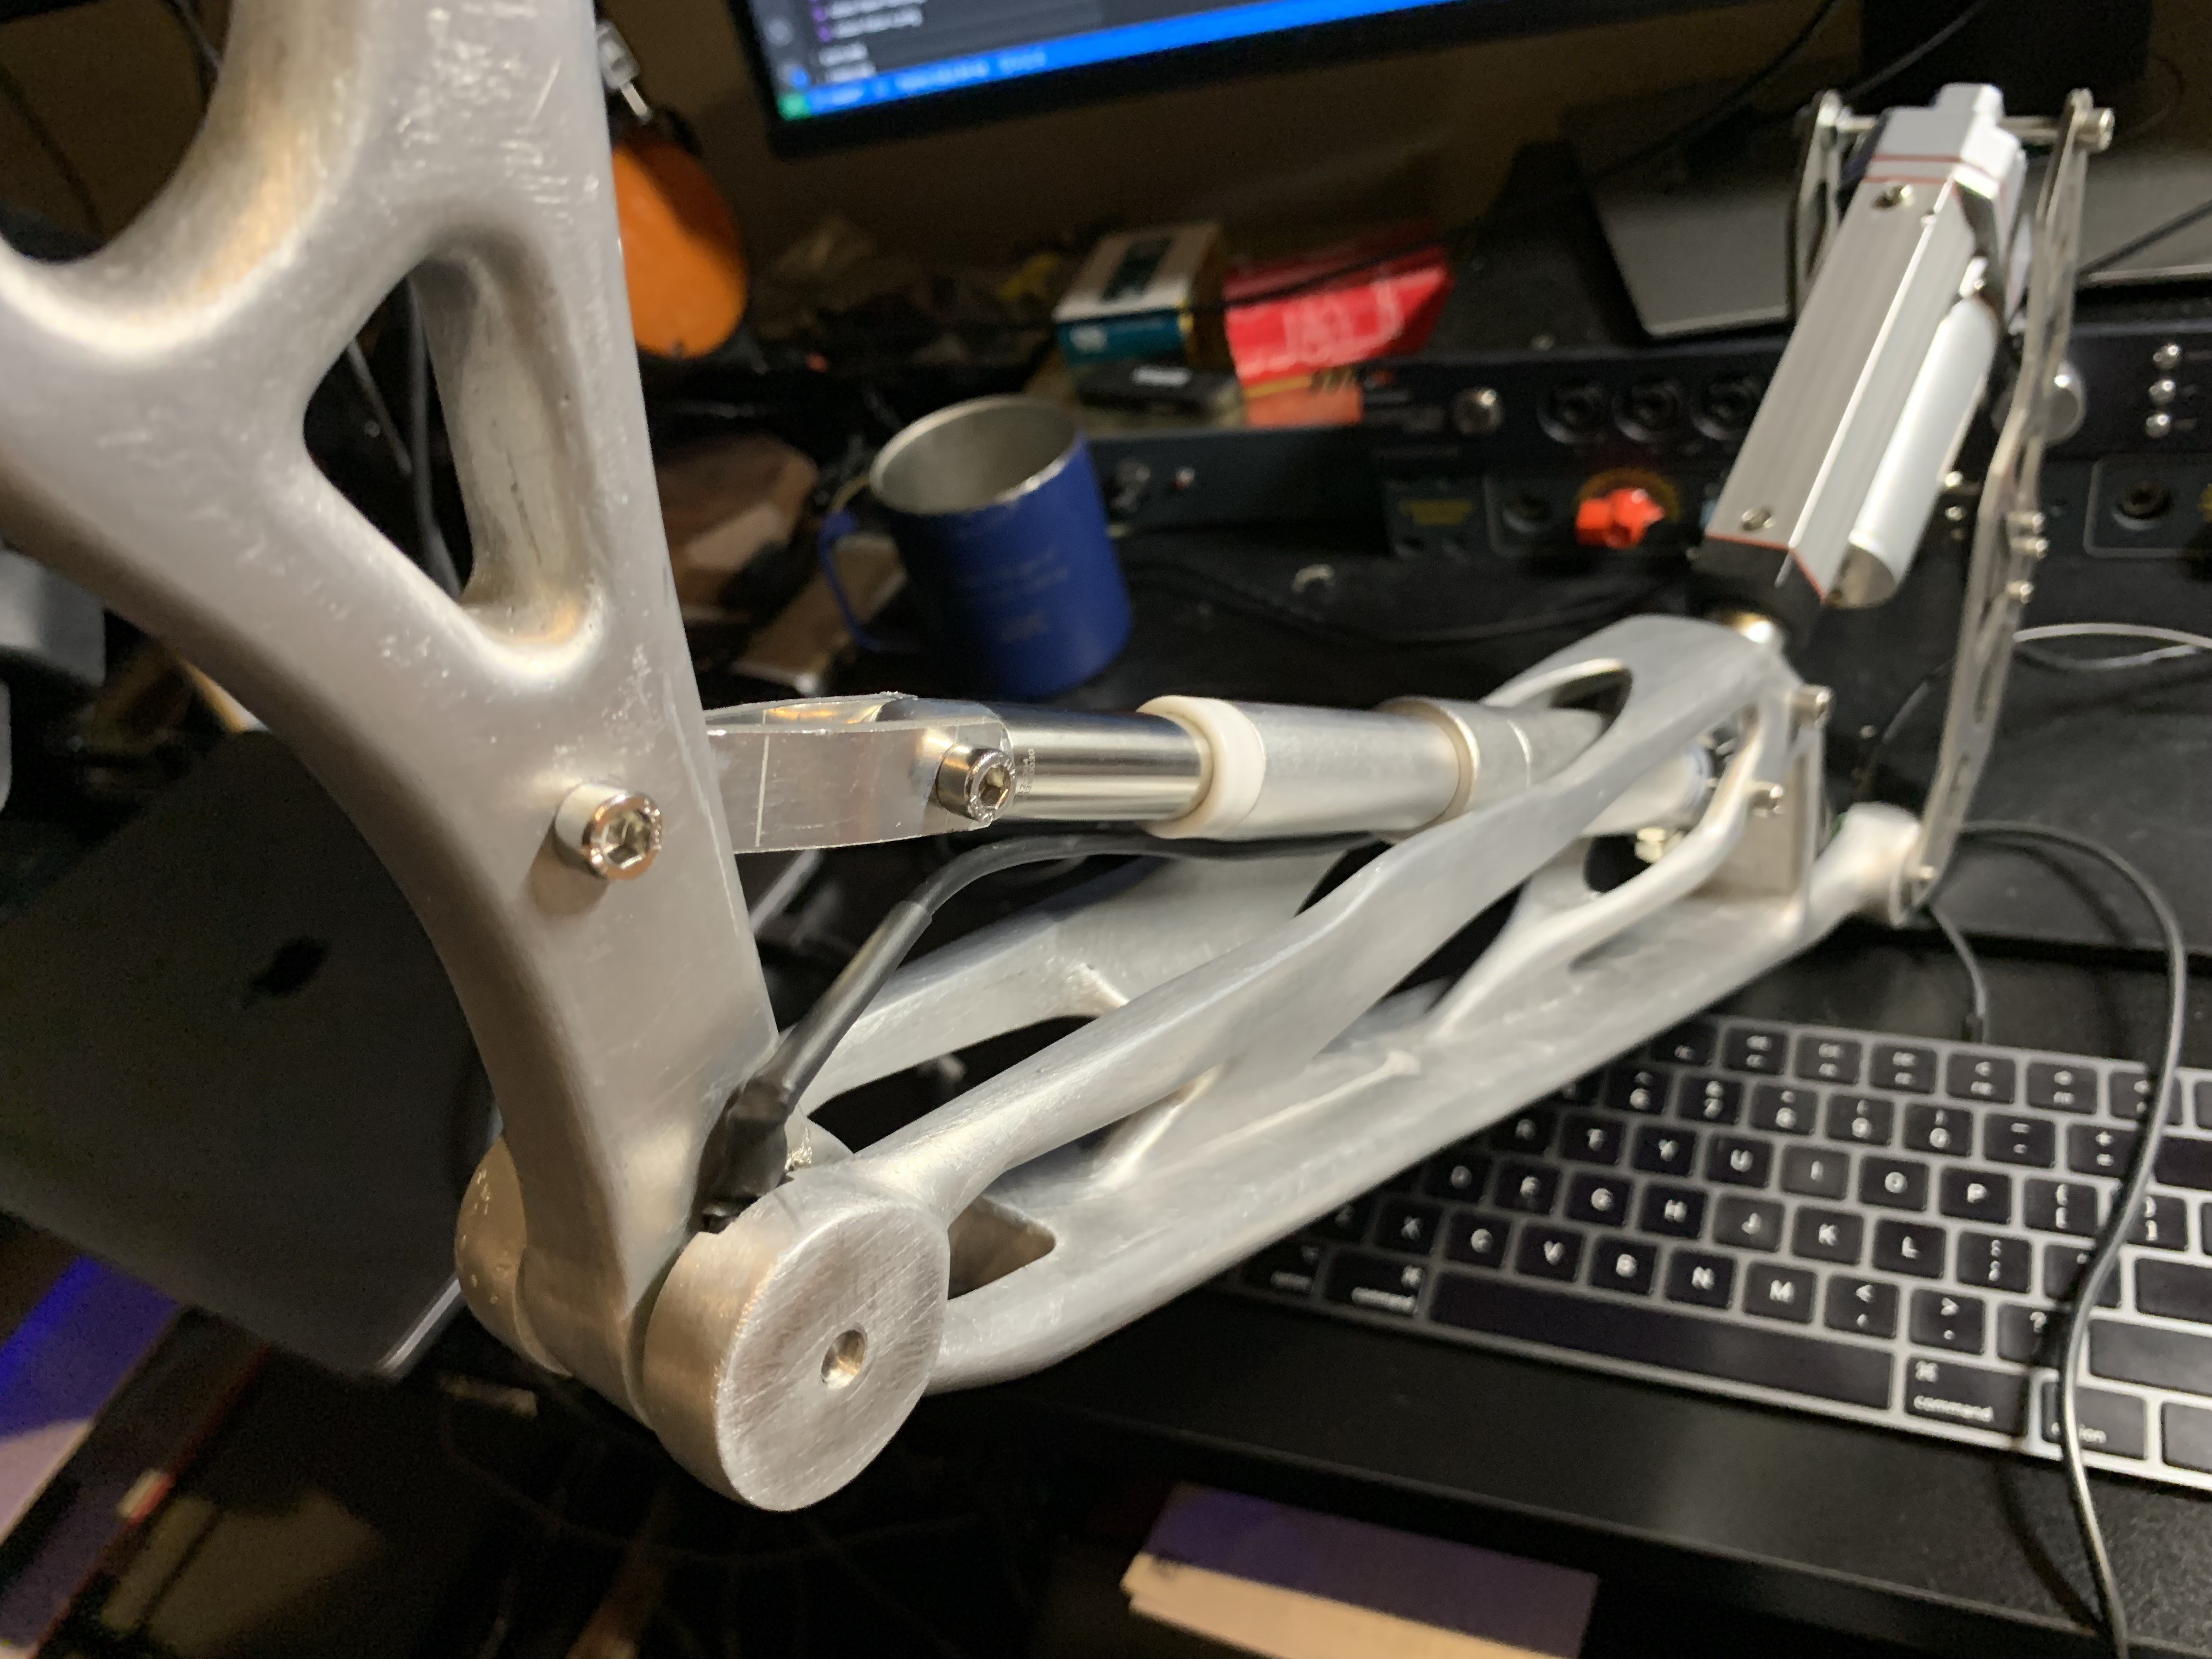
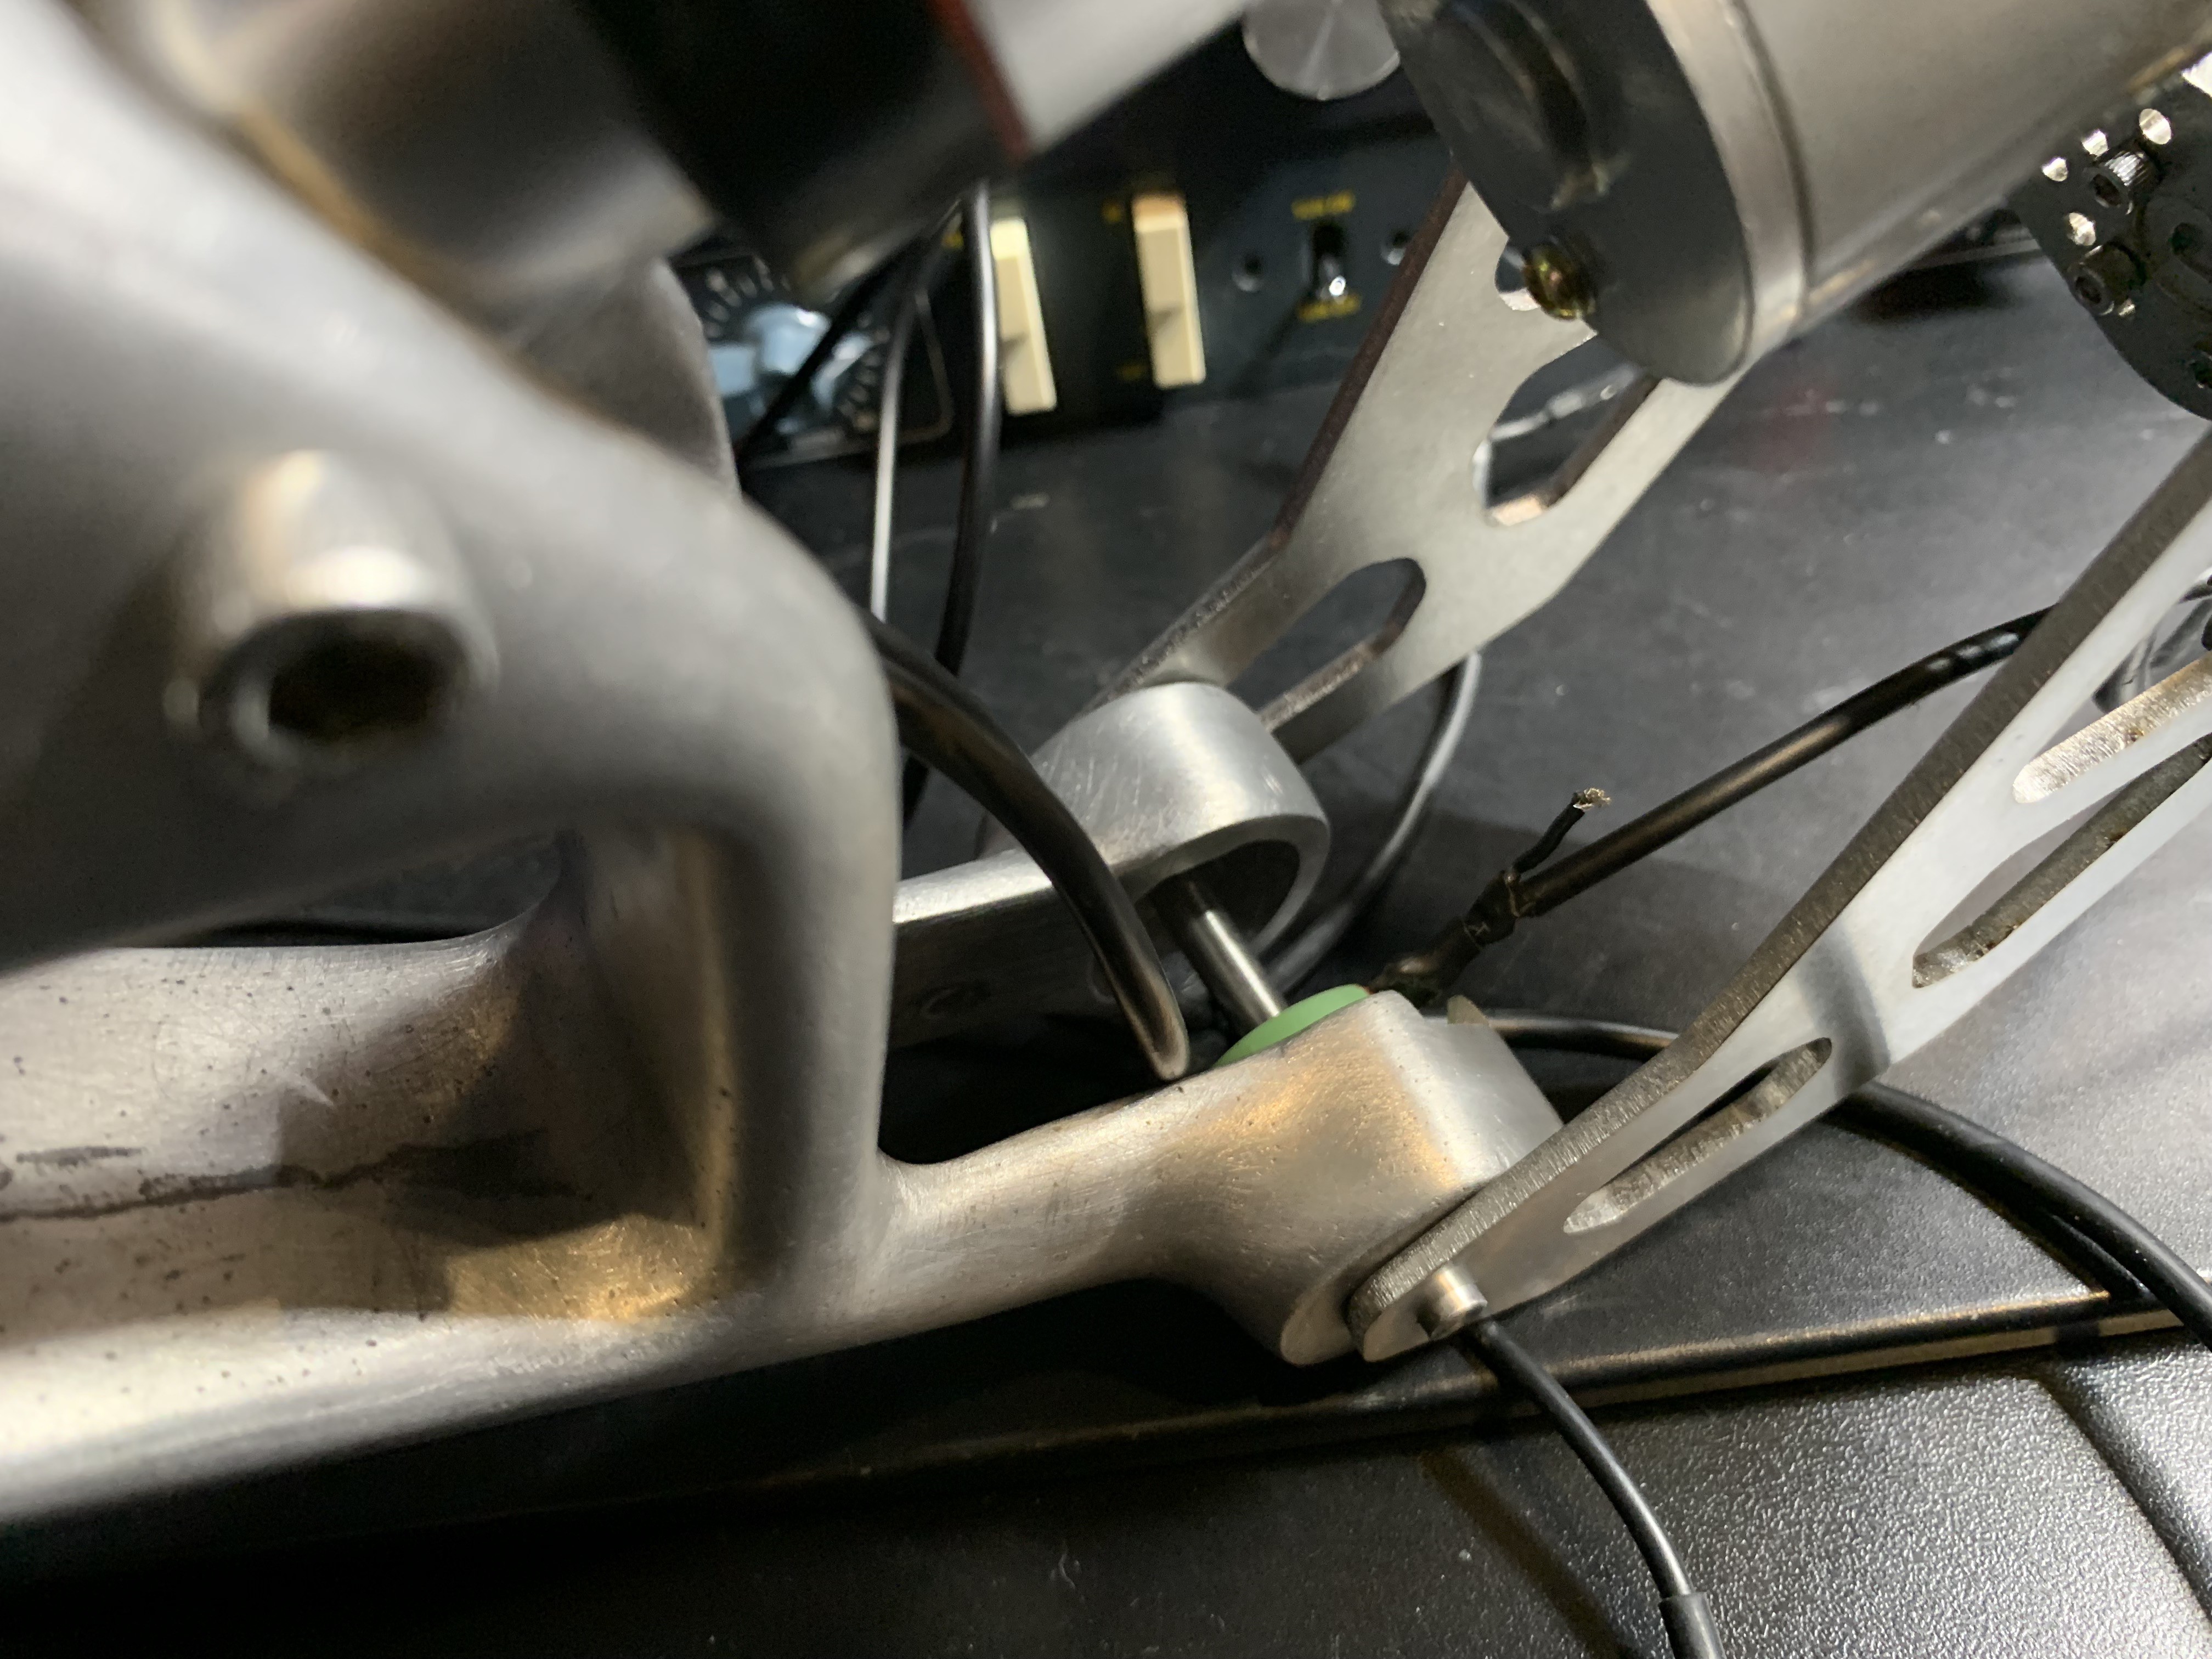
When I designed the arms last year, there were a lot of unknowns, not the least of which determining how to track the arm positions and how to install the pots. As a result, even though I did leave spaces for the hollow shaft pots in the arm joints, I didn't know if I would be using 6mm round shafts, 6mm D-shafts, 6-32 screws, or even bearings. I ended up modeling a 6mm hole in the forearms (since metal casting the arms had a 7-month lead time) in hopes that I can always expand the hole if needed.
So, now I know I need 6mm D-shafts, and to lock a D-shaft into a round hole basically you have to counter-sink the hole and mount a hub with a D-opening. Shown here is the Irwin #9 counter-sink.
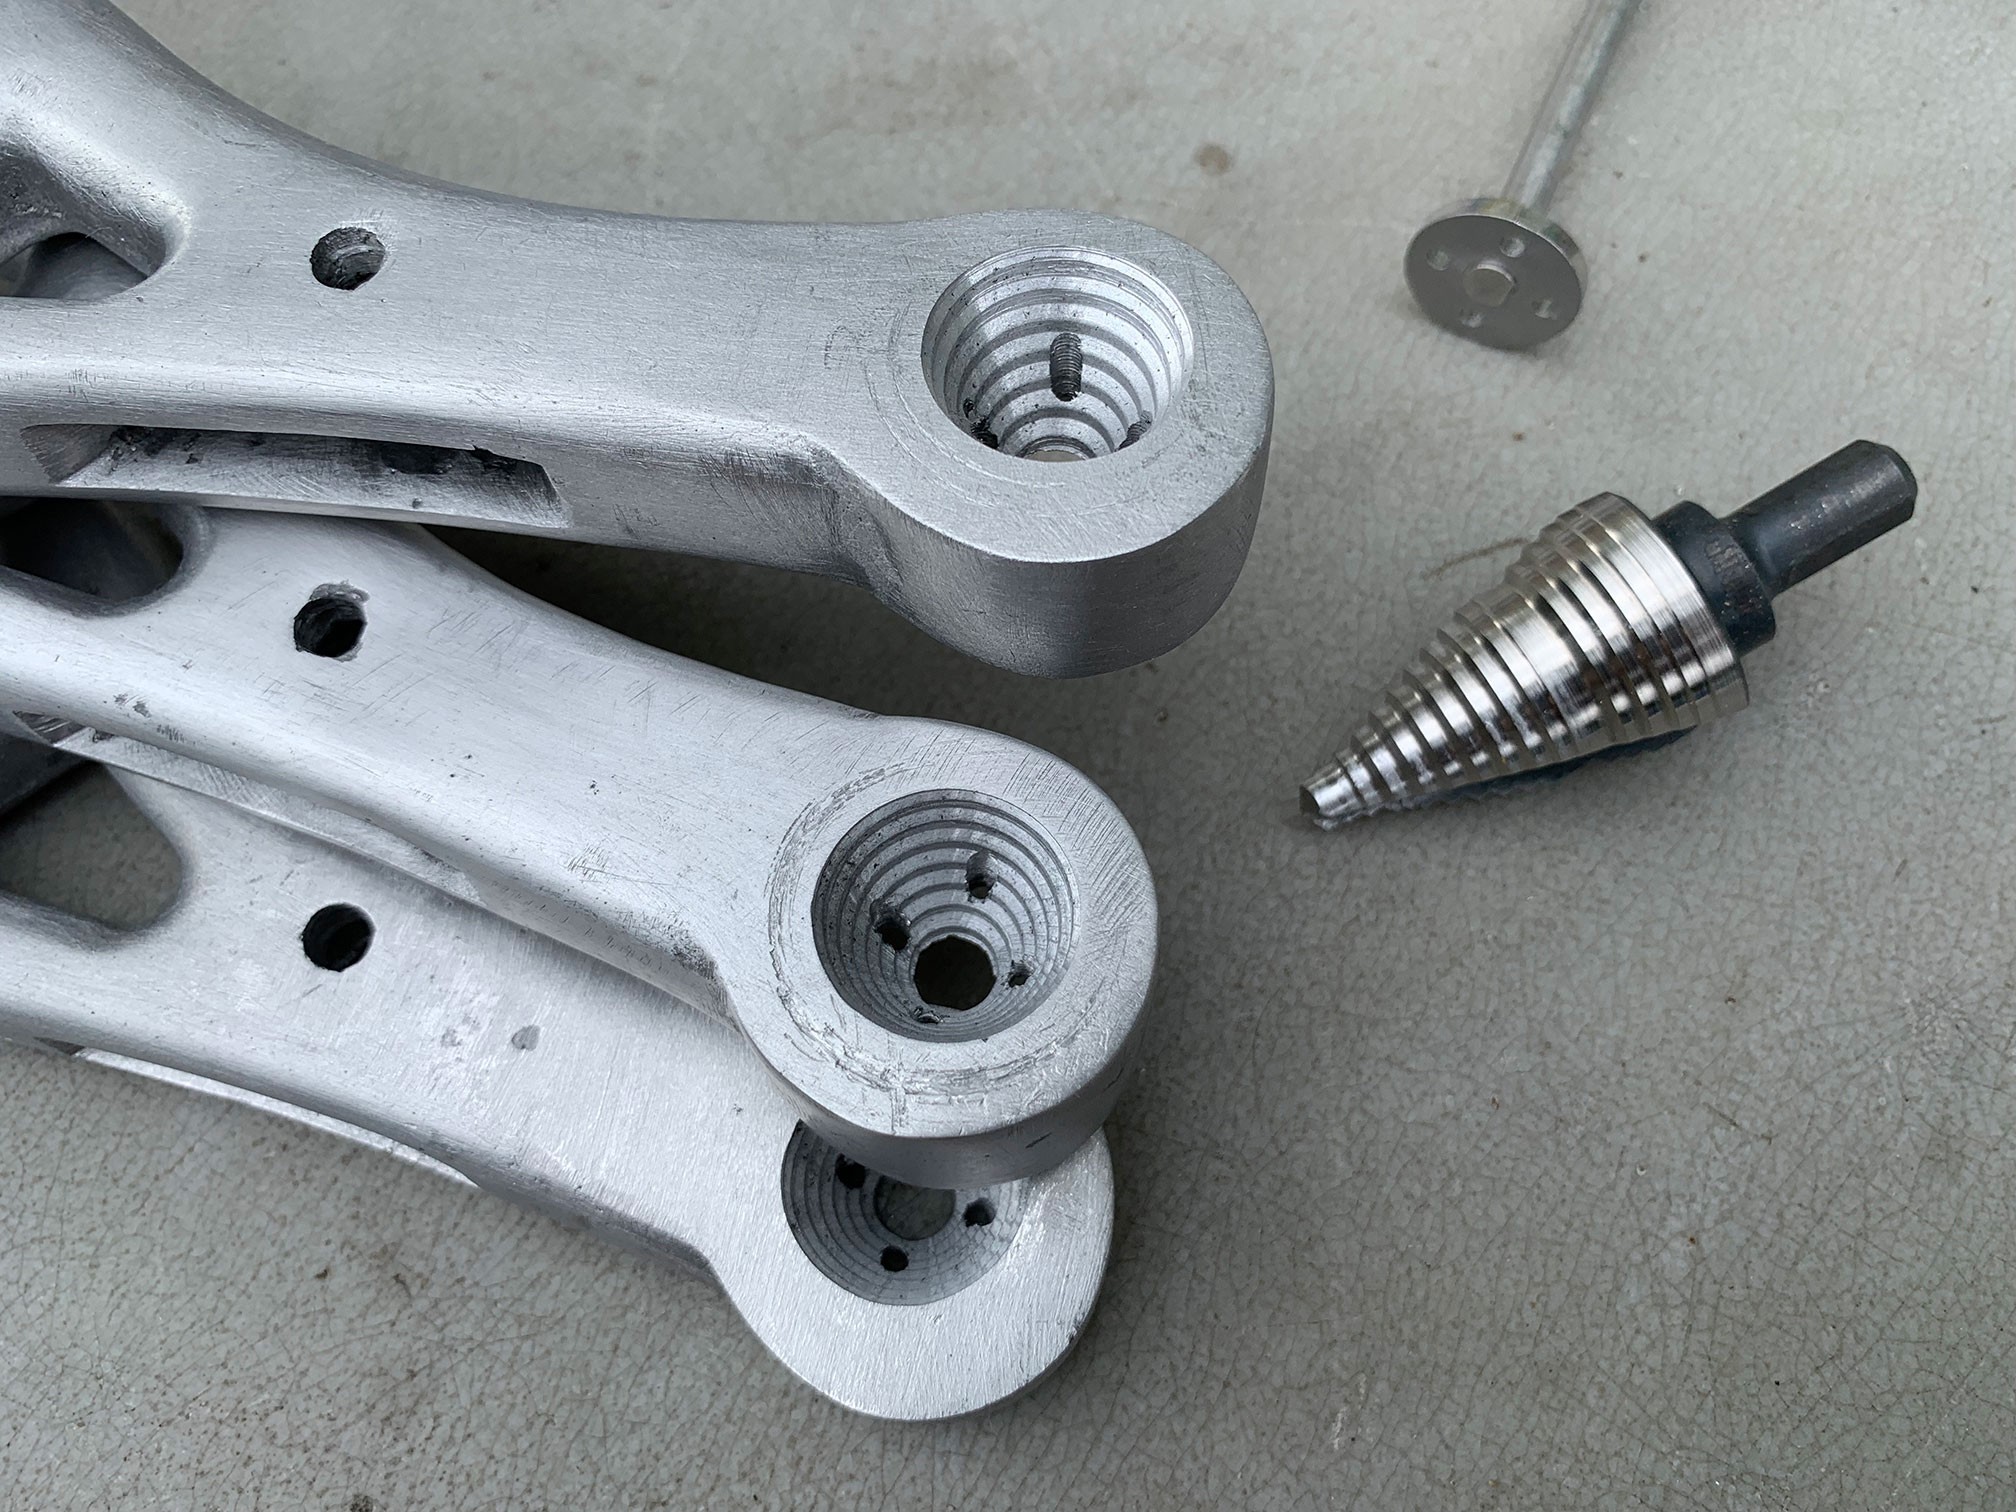 The easiest way to do this would have been to design these parts with counter-sinks baked into the 3D model, as drilling them with this monster bit was really nerve-racking (is there a word for a phobia of drilling counter-sinks?)
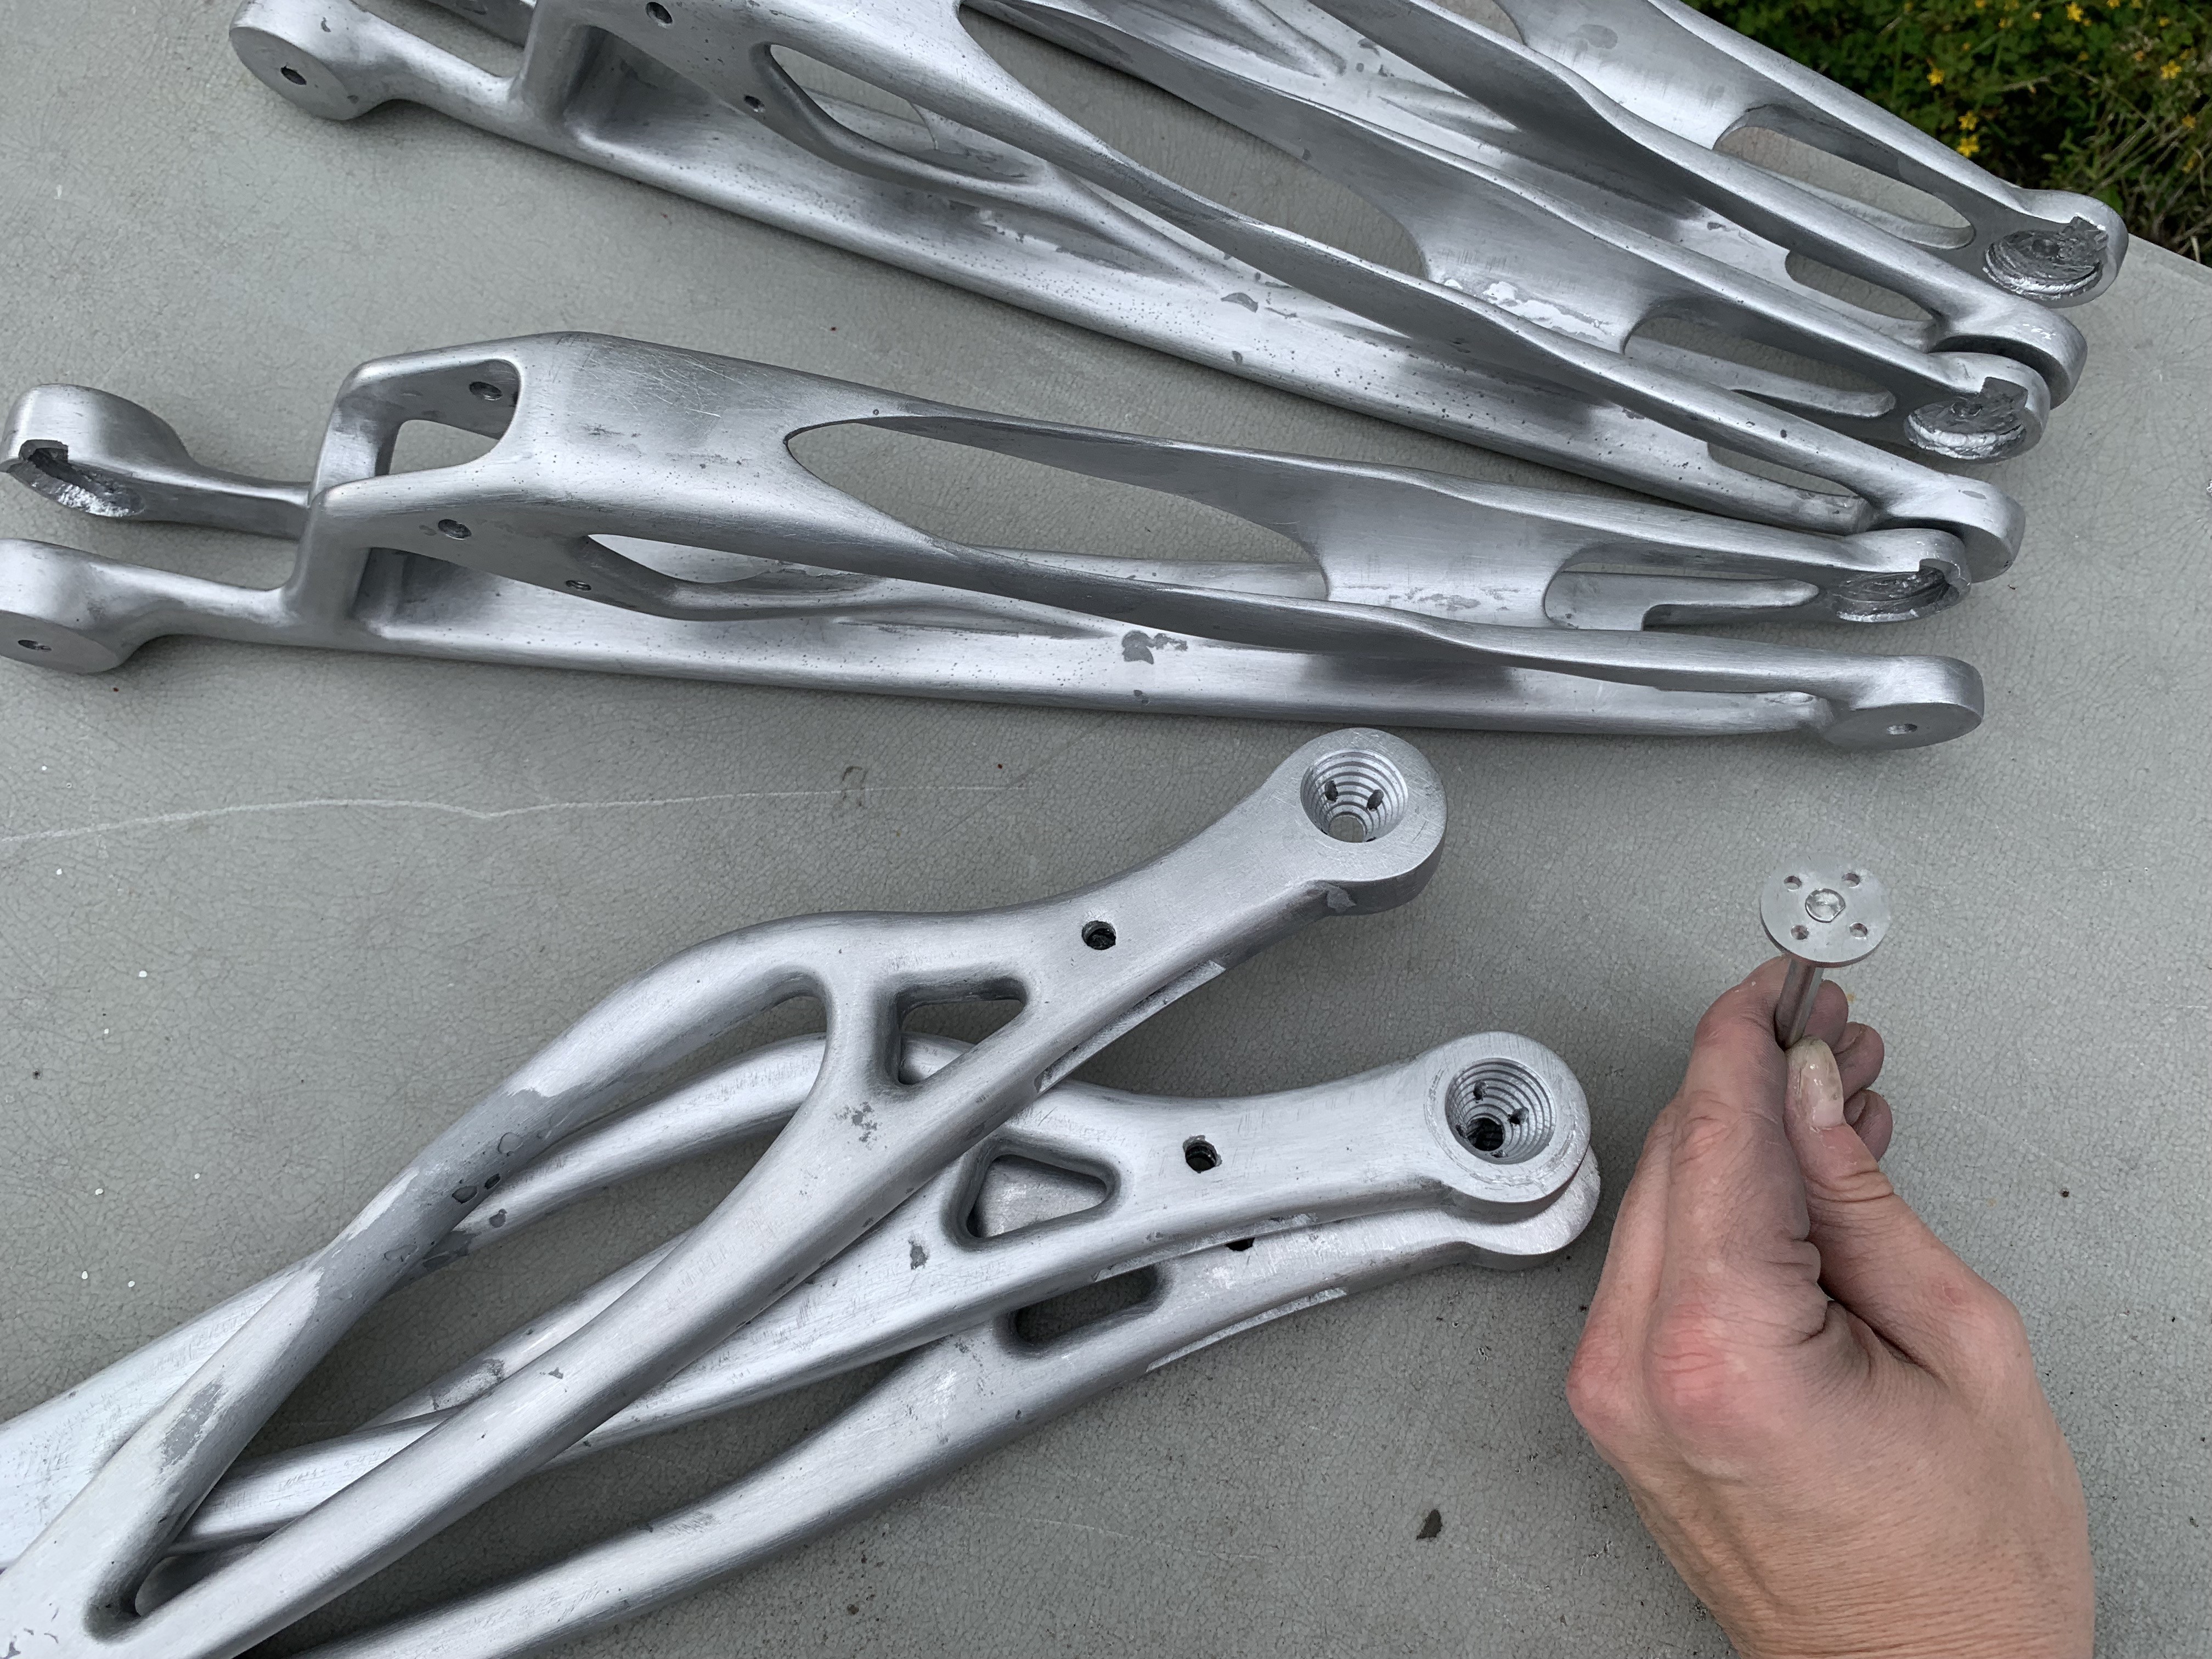 First I tried these miniature robotics hubs, but even these were too big, more fit for projects where you have a lot of extra space:
https://www.robotshop.com/en/lynxmotion-hub-02-universal-hub.html
https://www.pololu.com/product/1994
I ended up submitting a laser-cutting order to OSHCut to make flat circle pieces out of stainless steel, each with a 6mm D-shaft hole in the middle and four 3mm holes. Then I spent about 10 hours tapping the holes and breaking 7 taps.
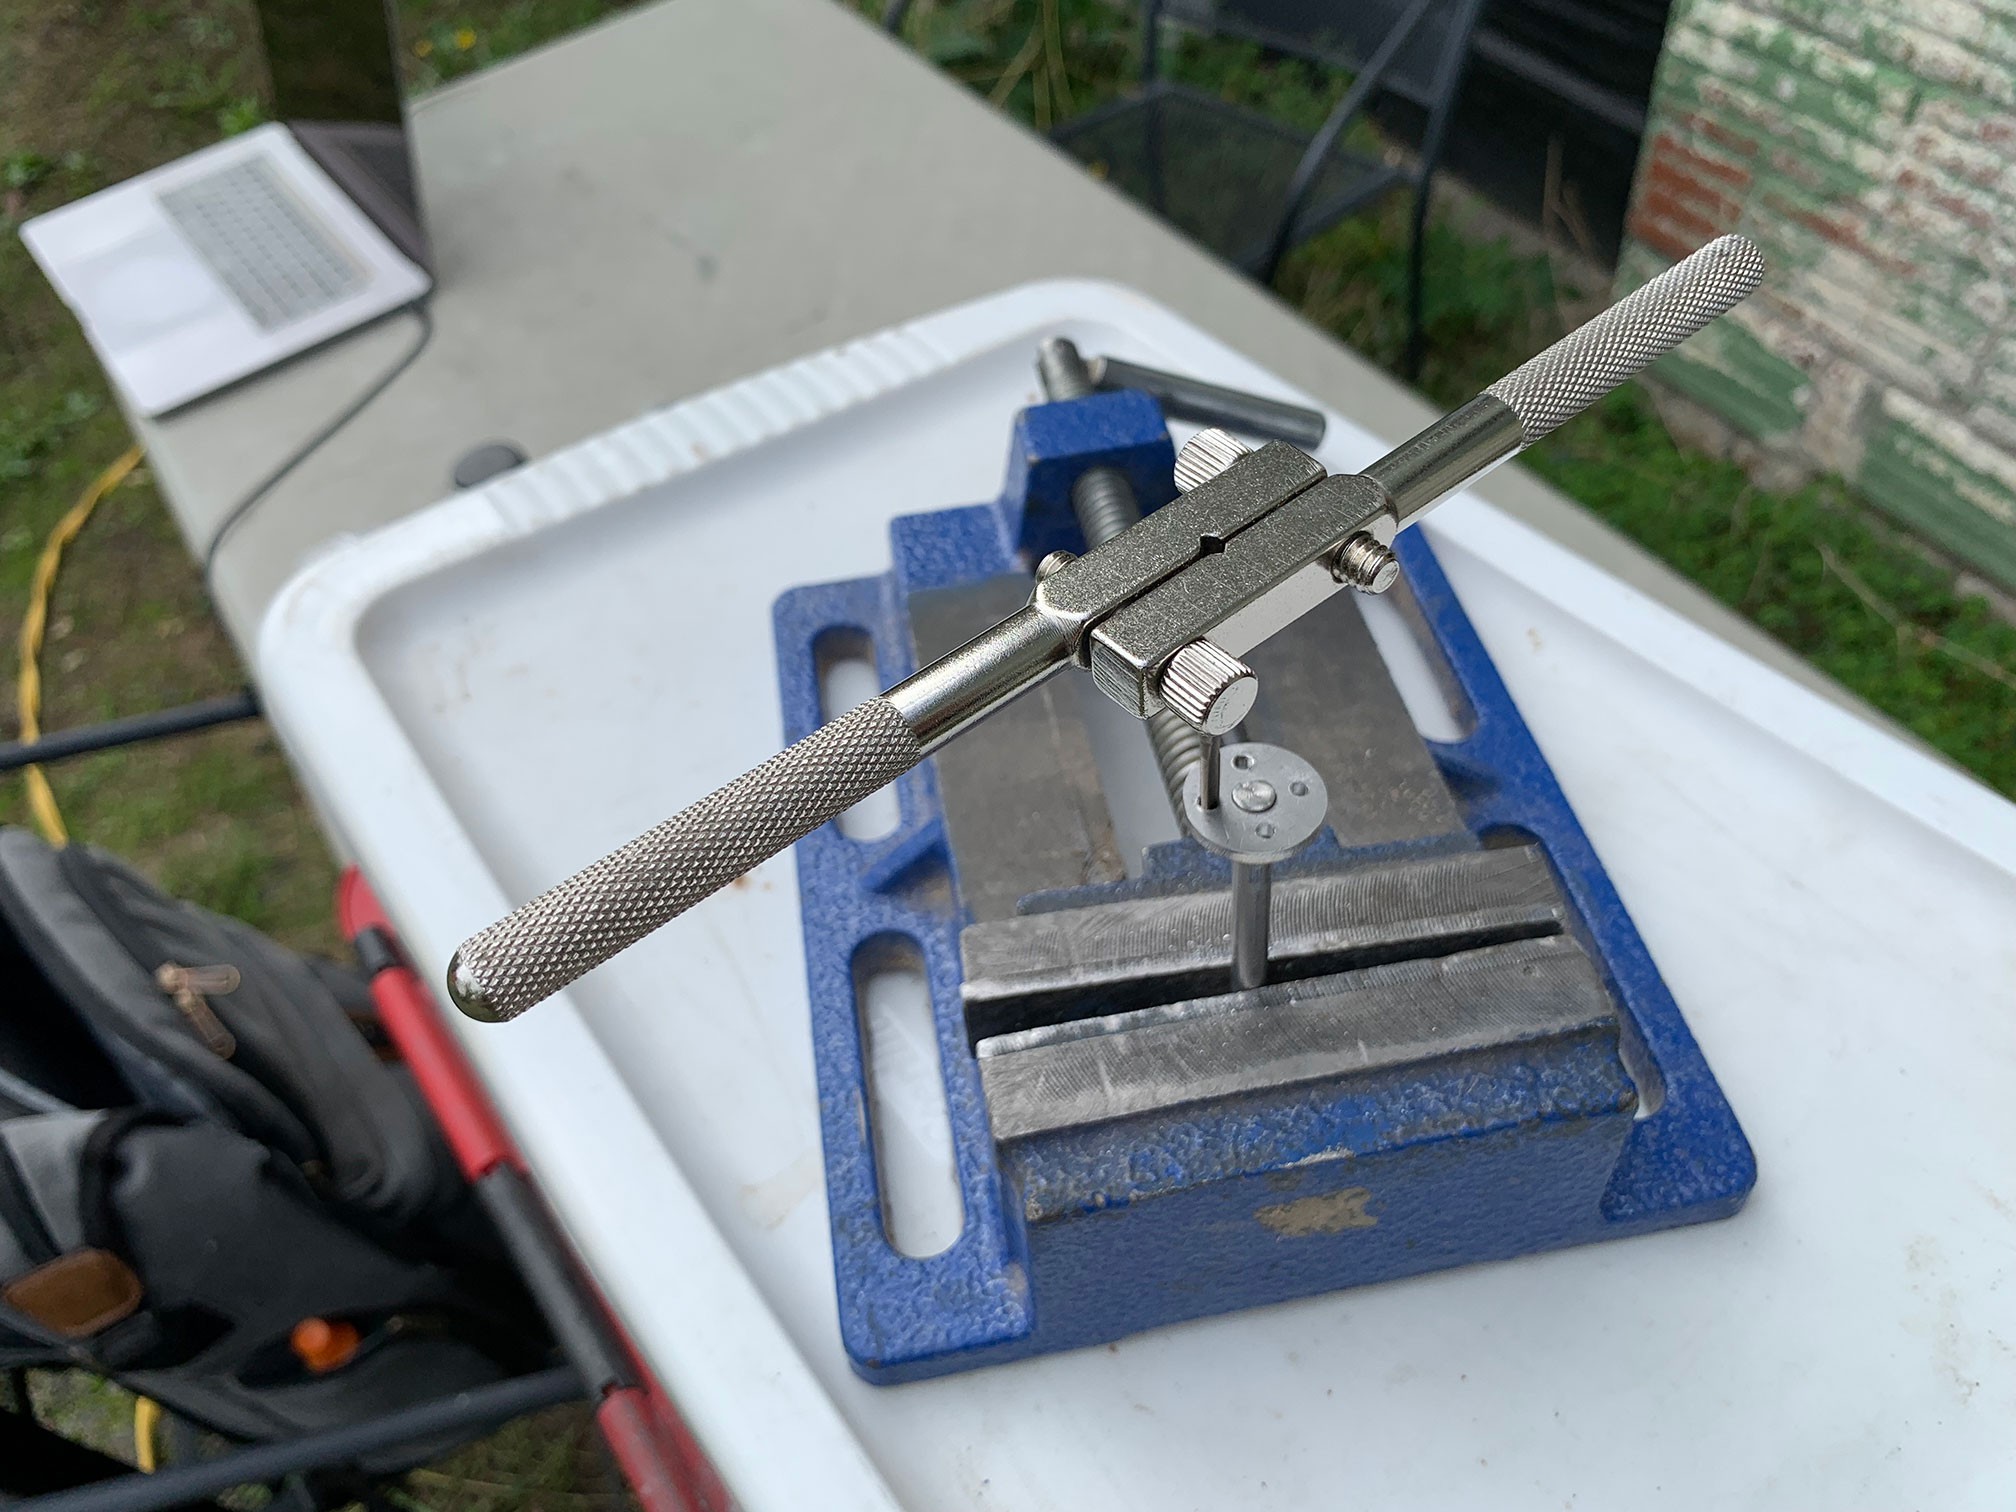
Finally, I screwed in the custom hubs, so now it's possible to lock the D-shaft in one piece of the arm joint while it rotates through the other piece, and since it's inserted into a hollow D-shaft potentiometer it will spin the potentiometer to keep advertising the arm joint position.
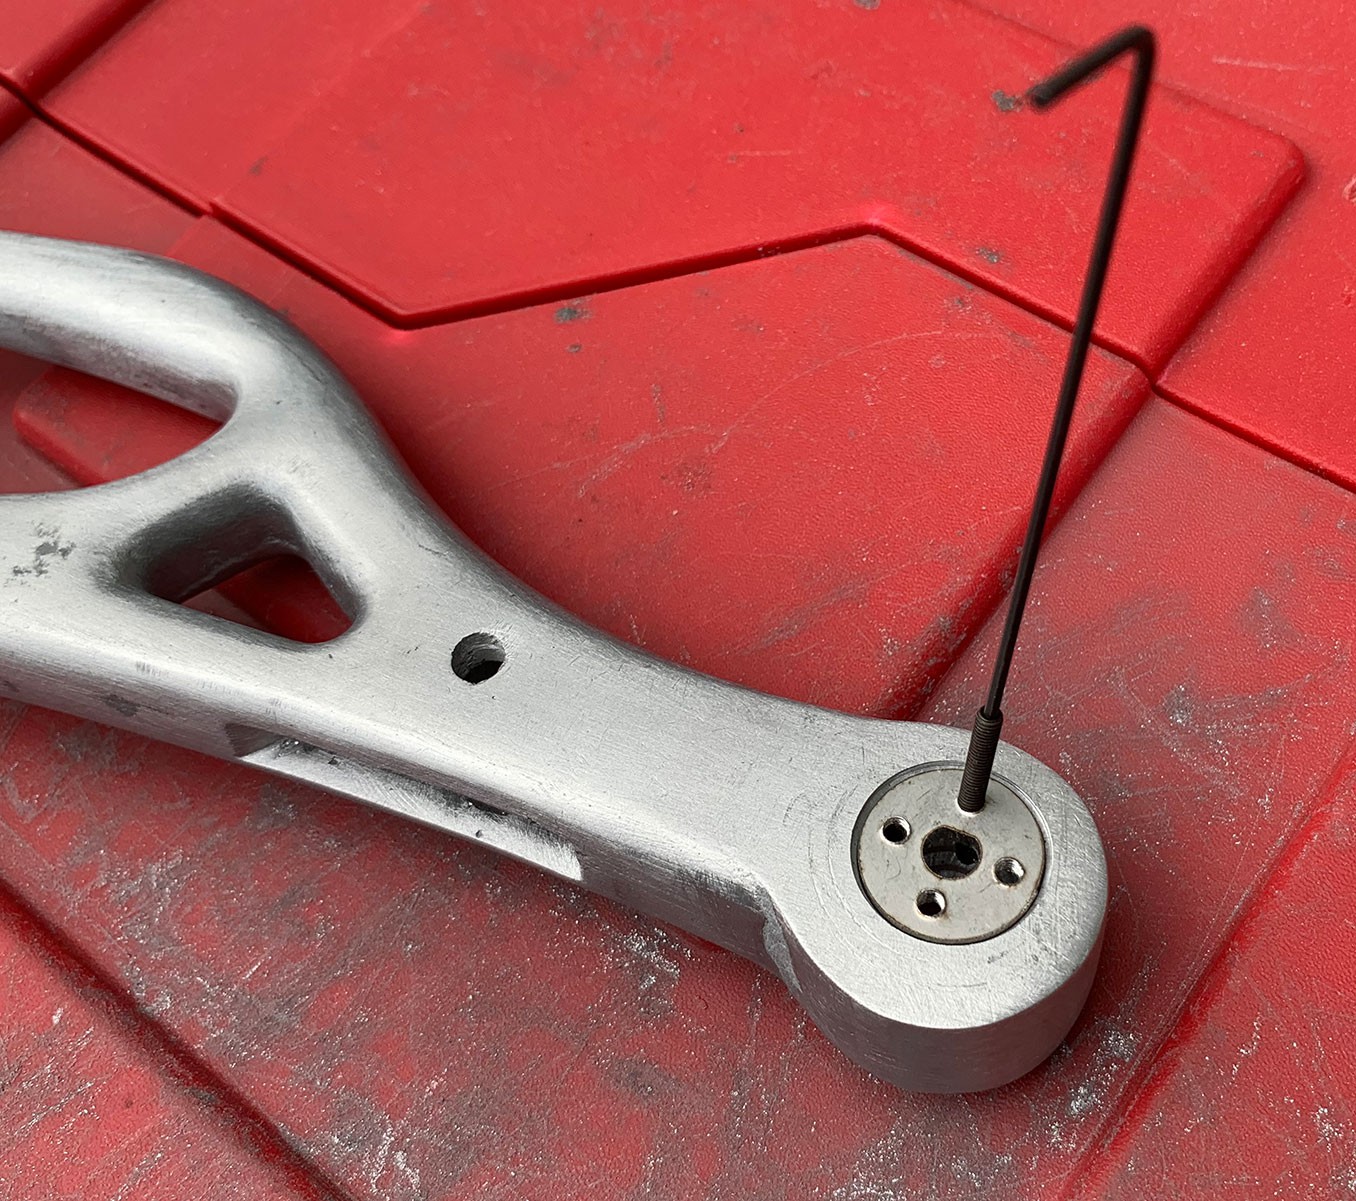
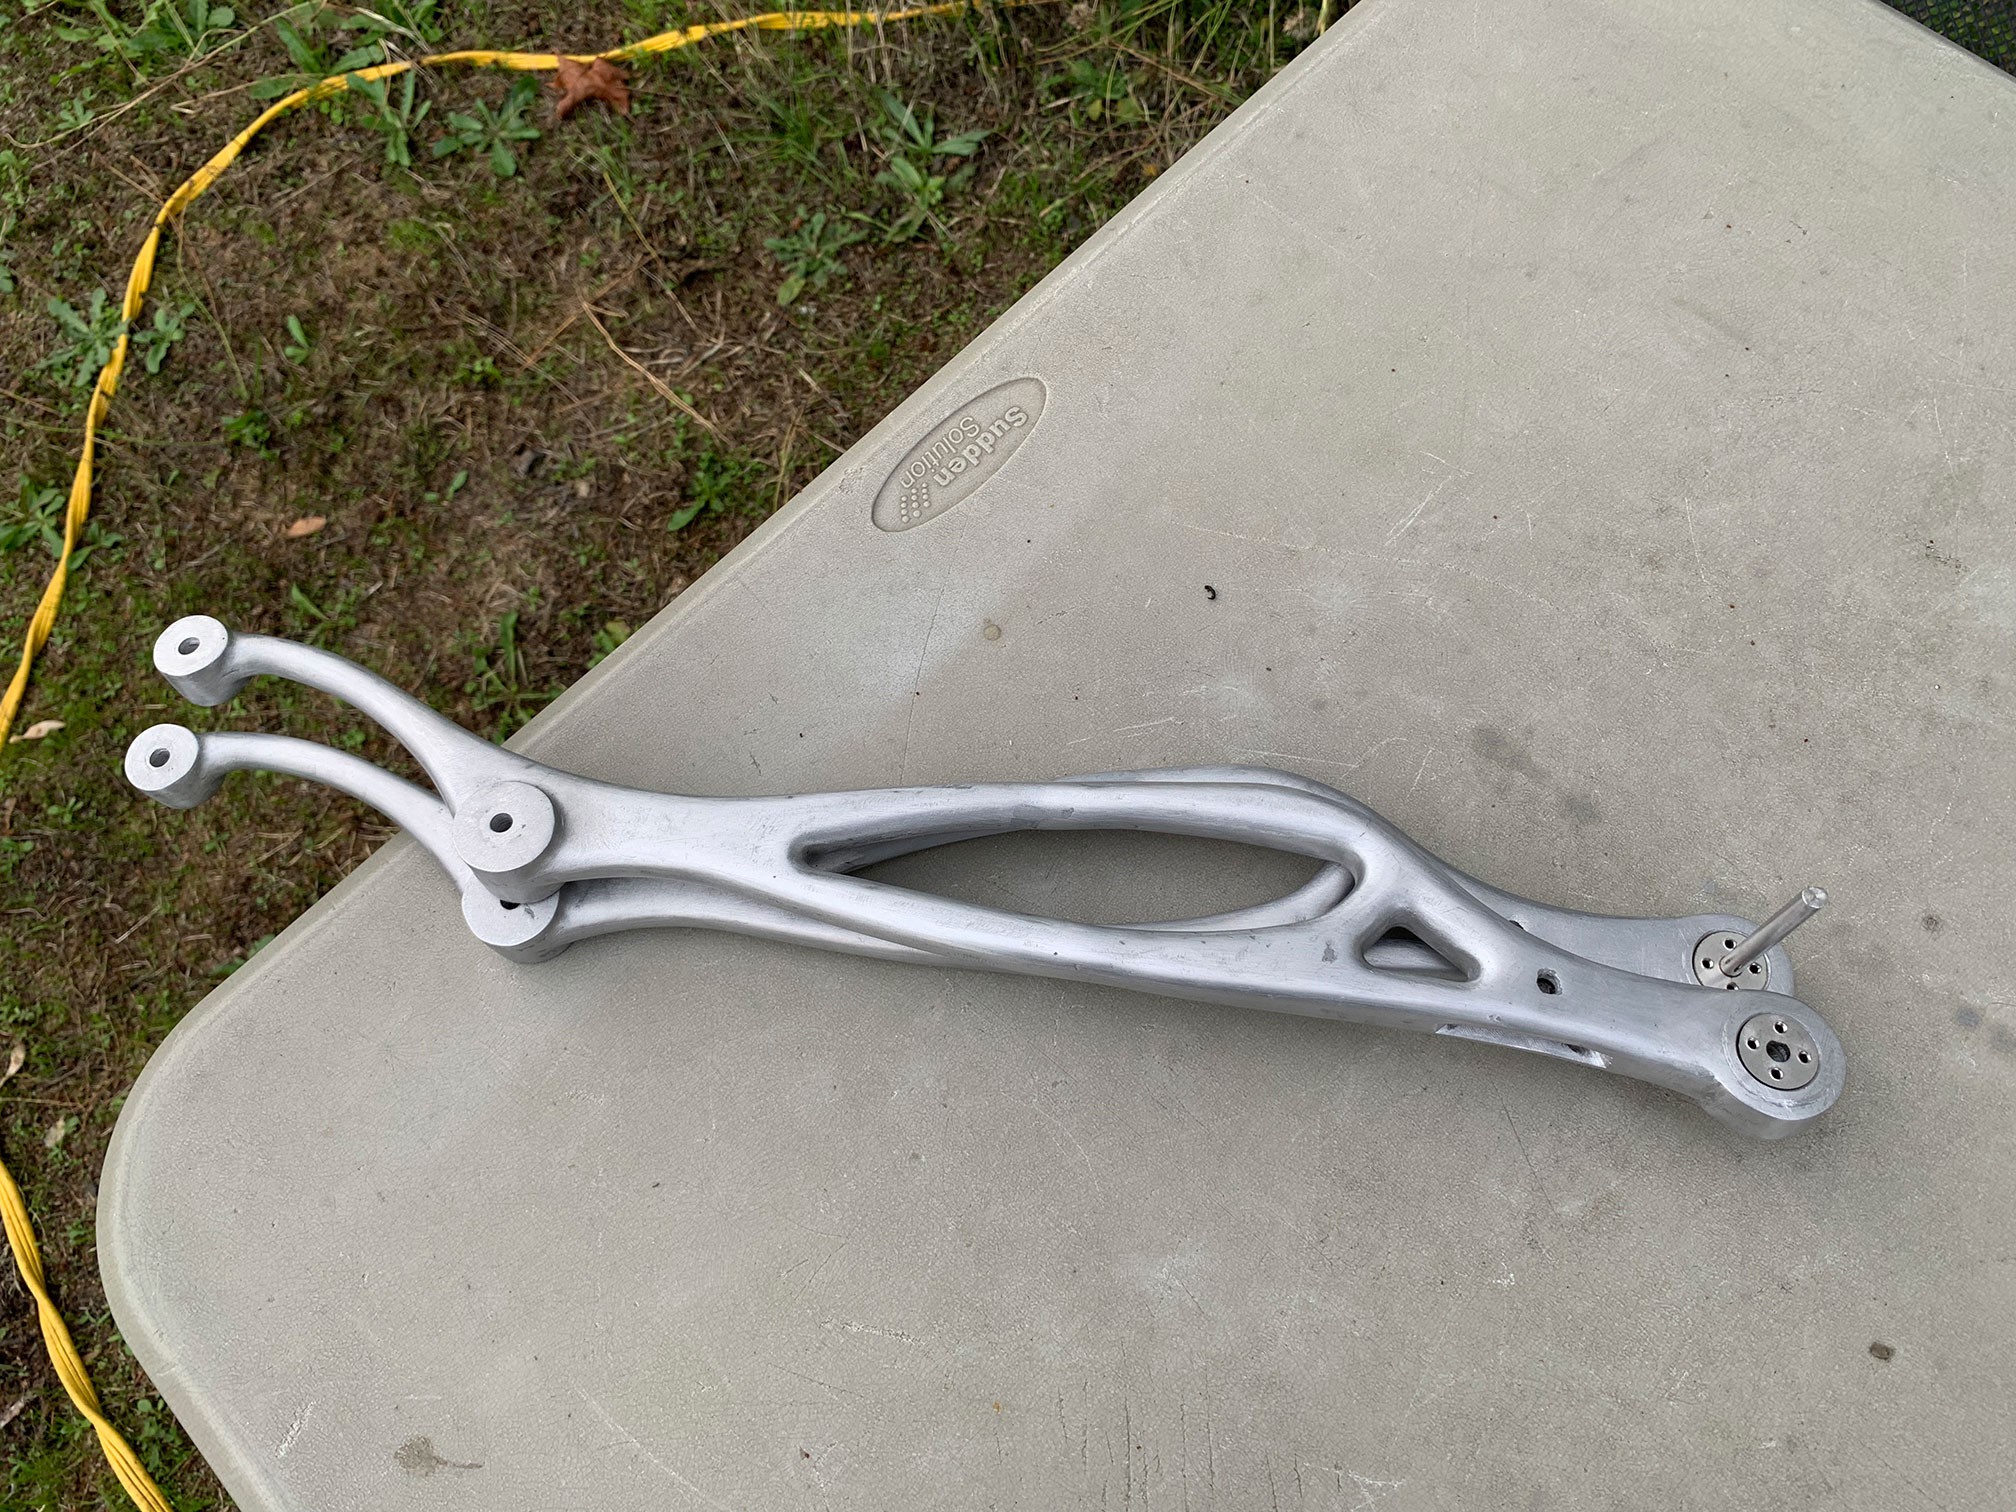
I think most people install potentiometers into their robot arms in a few hours, but I guess it took me a few months to get here because all the parts are custom, I wanted everything to be hidden, an in addition I made a very bizarre choice of actuator (the slow linear actuators) because sci-fi robots always have linear actuators in concept art.
 Val
Val
Discussions
Become a Hackaday.io Member
Create an account to leave a comment. Already have an account? Log In.