Mechanical Details:
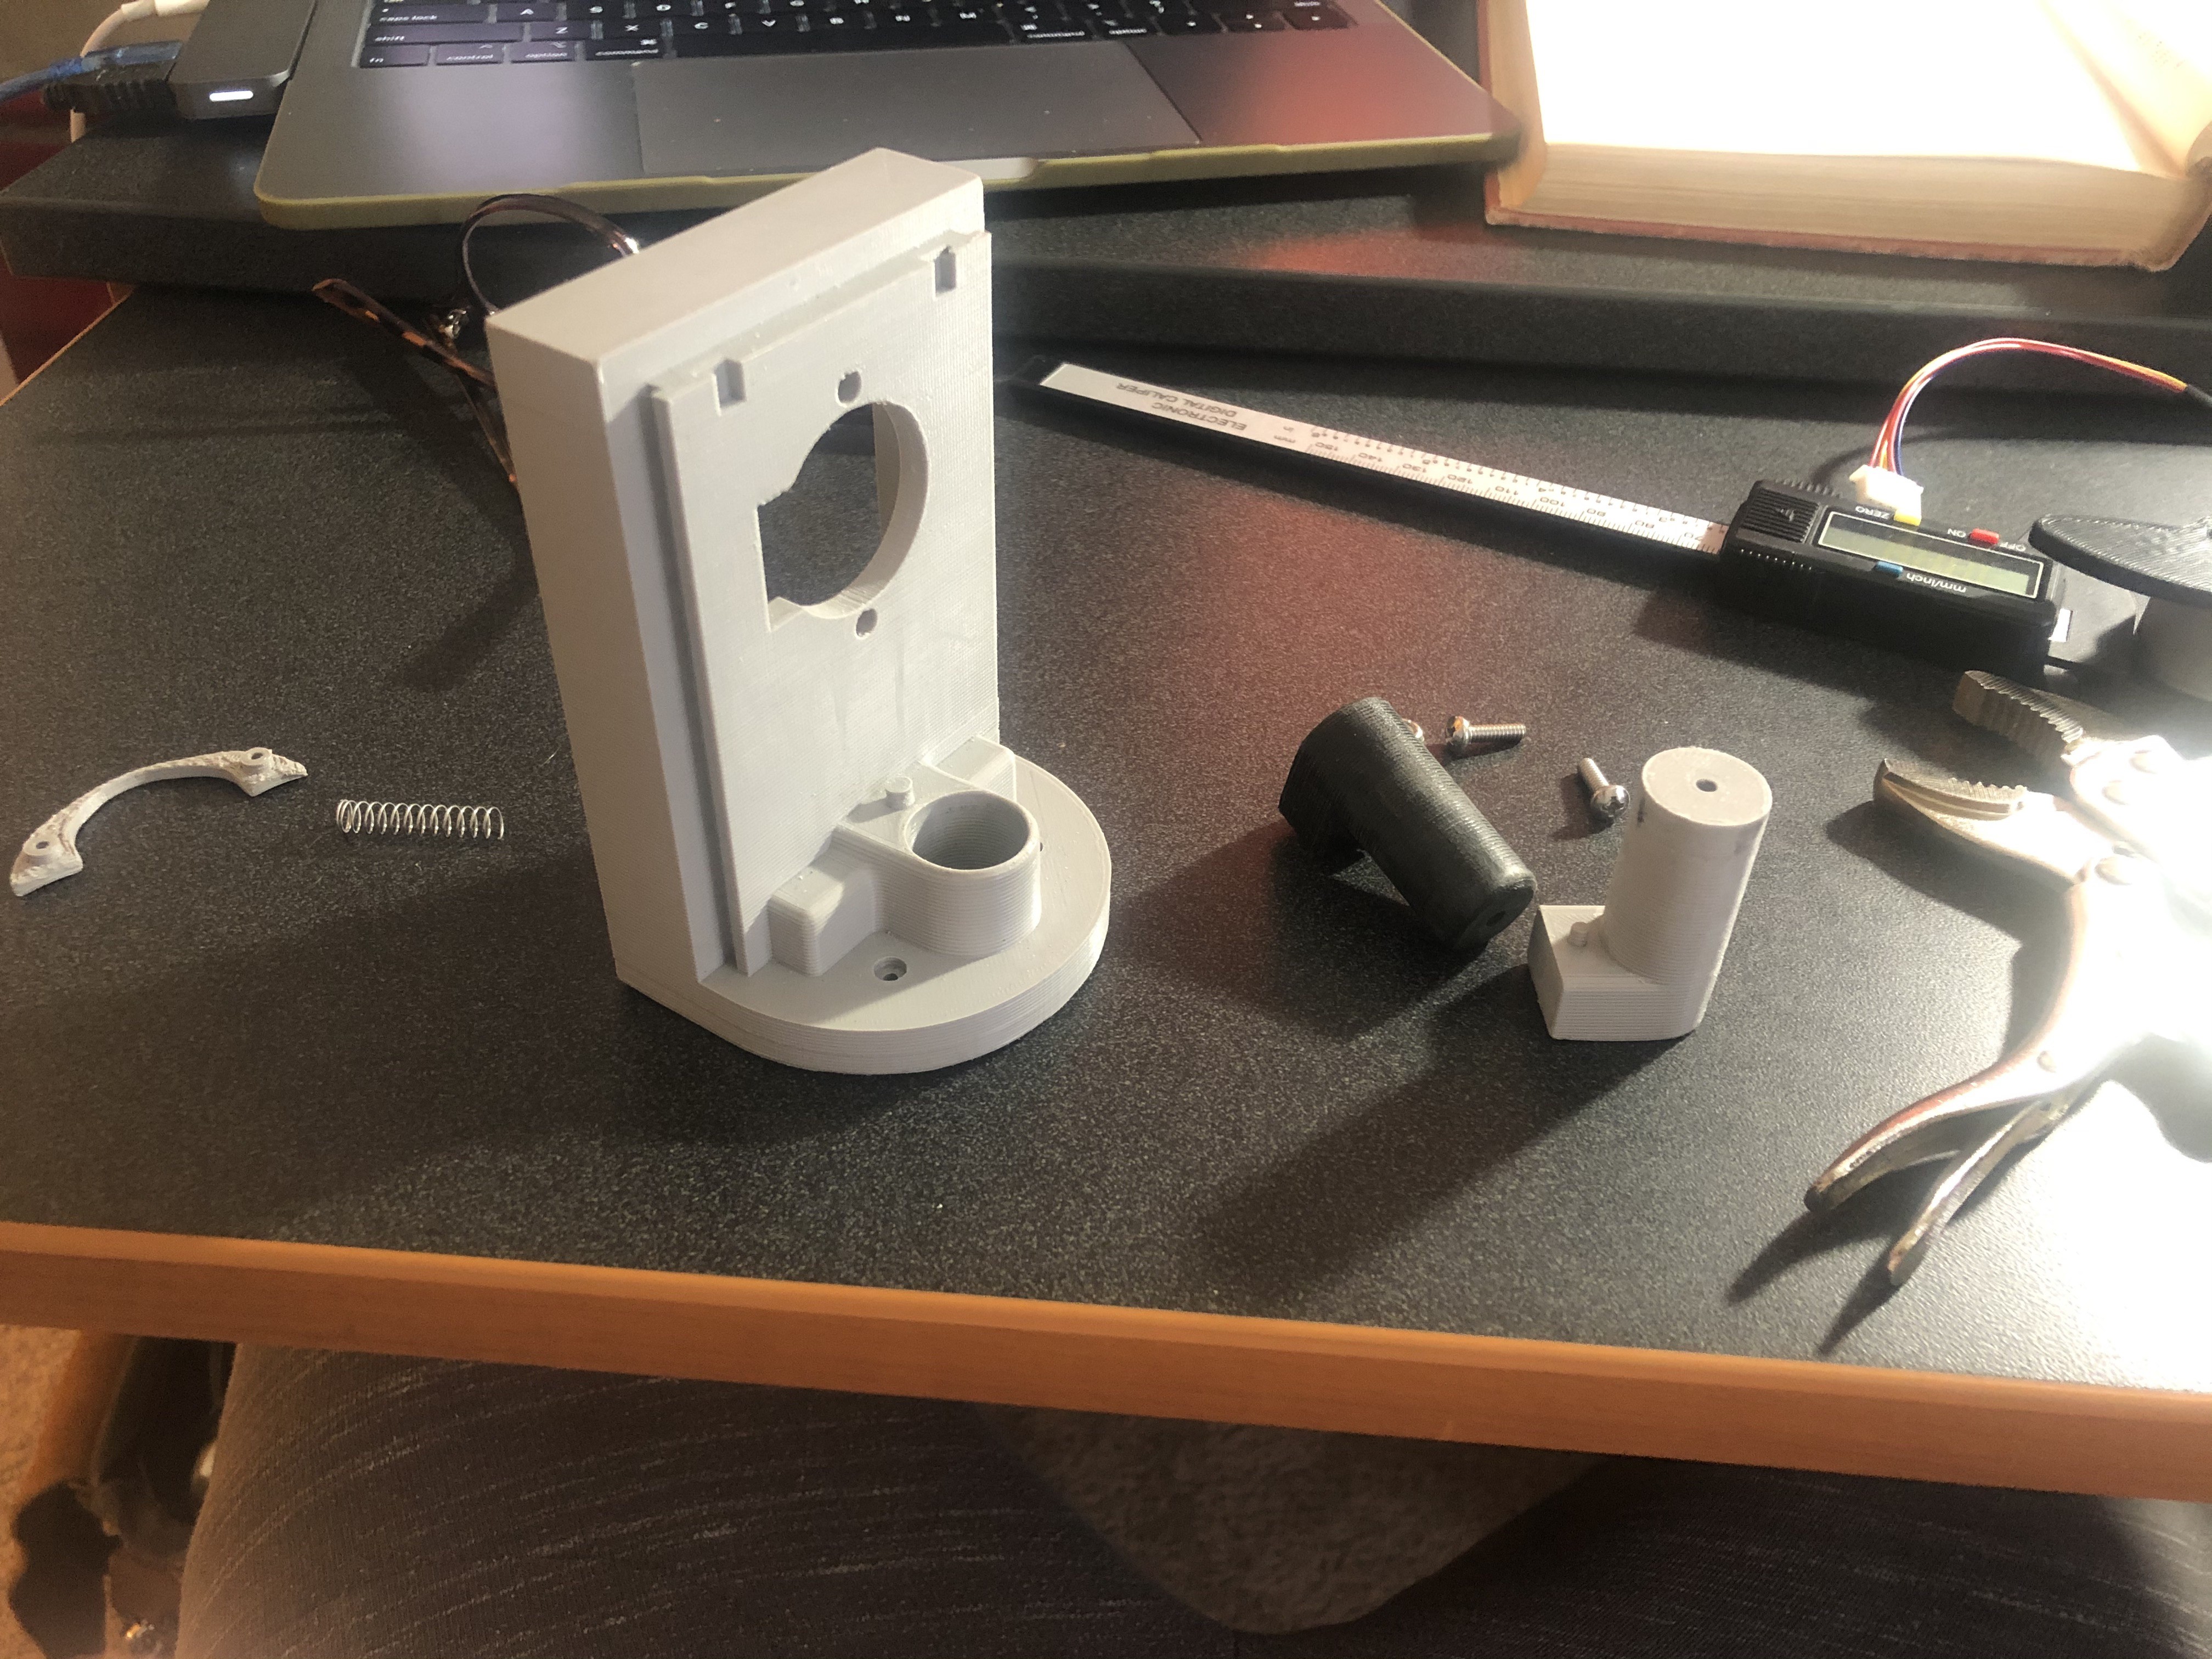
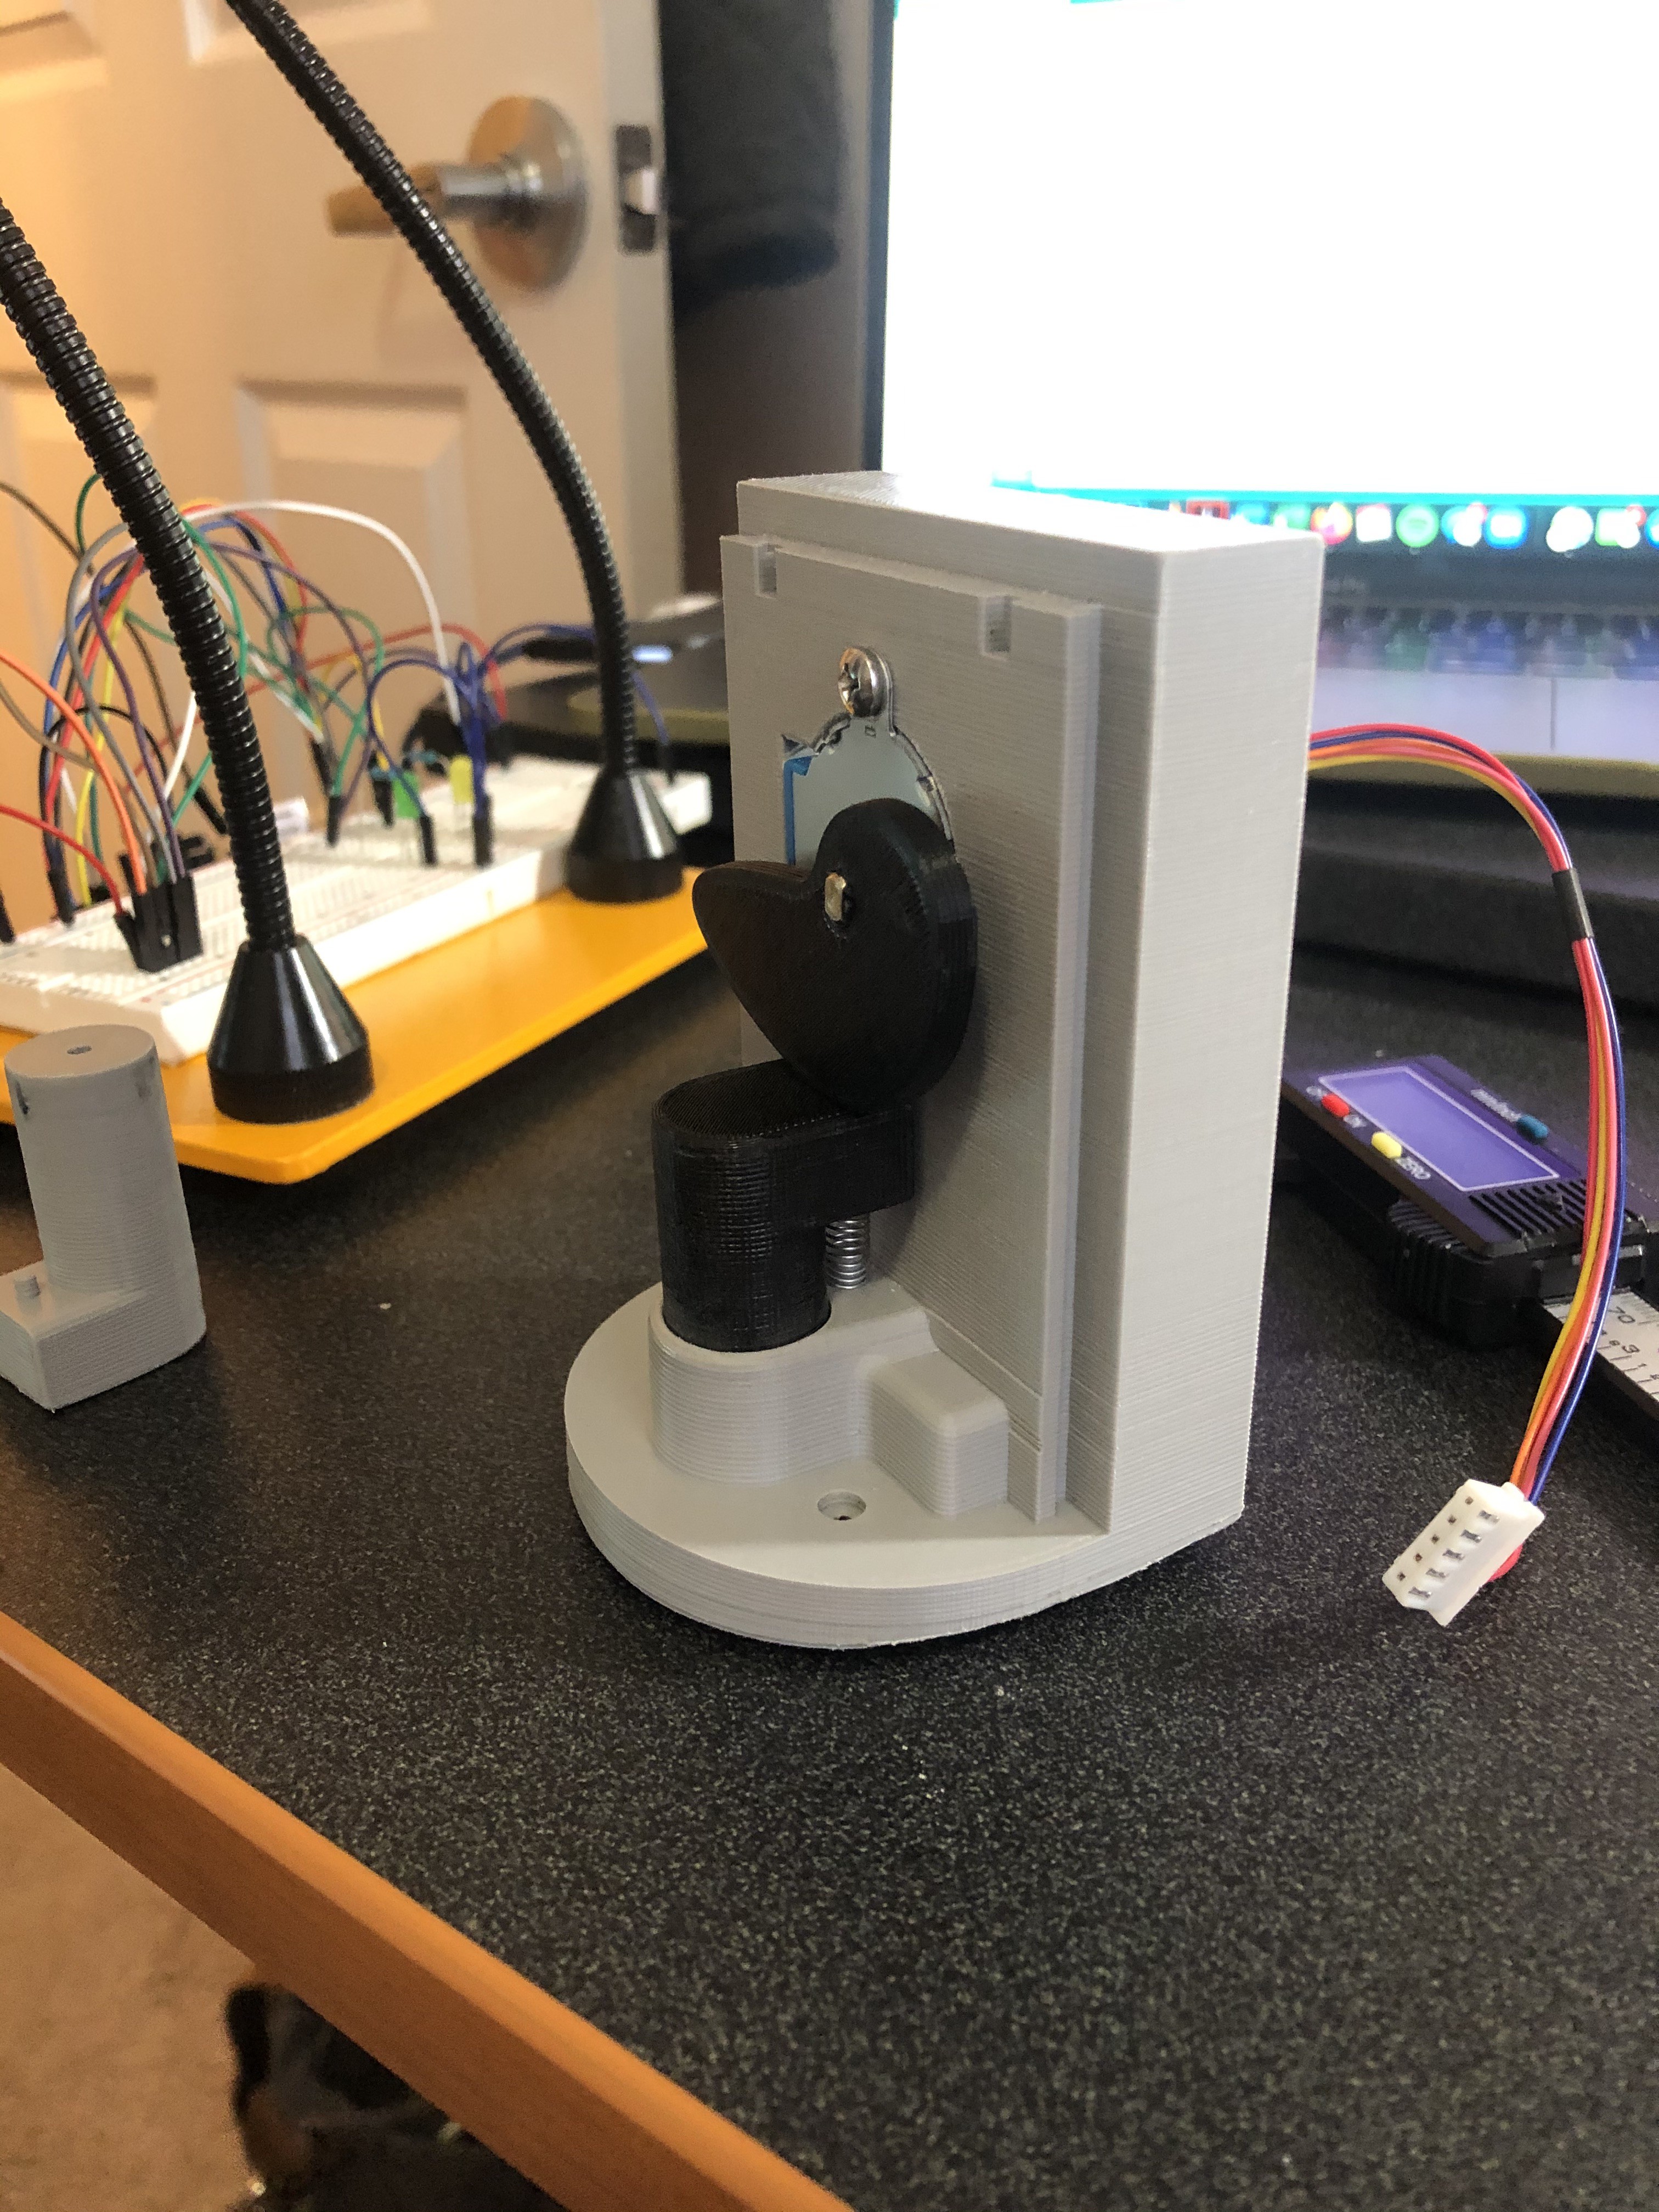
The current mechanical design consists of nine primary components. The centerpiece being the misting mechanism. It utilizes a cam operated piston, which is actuated with a 28BYJ-48 5VDC Stepper Motor. The piston has a return function made possible by a compression spring rated for .15 lbs. It also acts as both a valve (fed sanitizer by the tank) and a fluid syringe. It is normally closed, but when opened, the piston allows sanitizer to enter the cylinder and when compressed it forces the liquid into a small orifice. In this case, the orifice should atomize the liquid such that a fine mist is expelled. Atomization is necessary to get an adequate coating on the handle to increase the efficacy of the device.
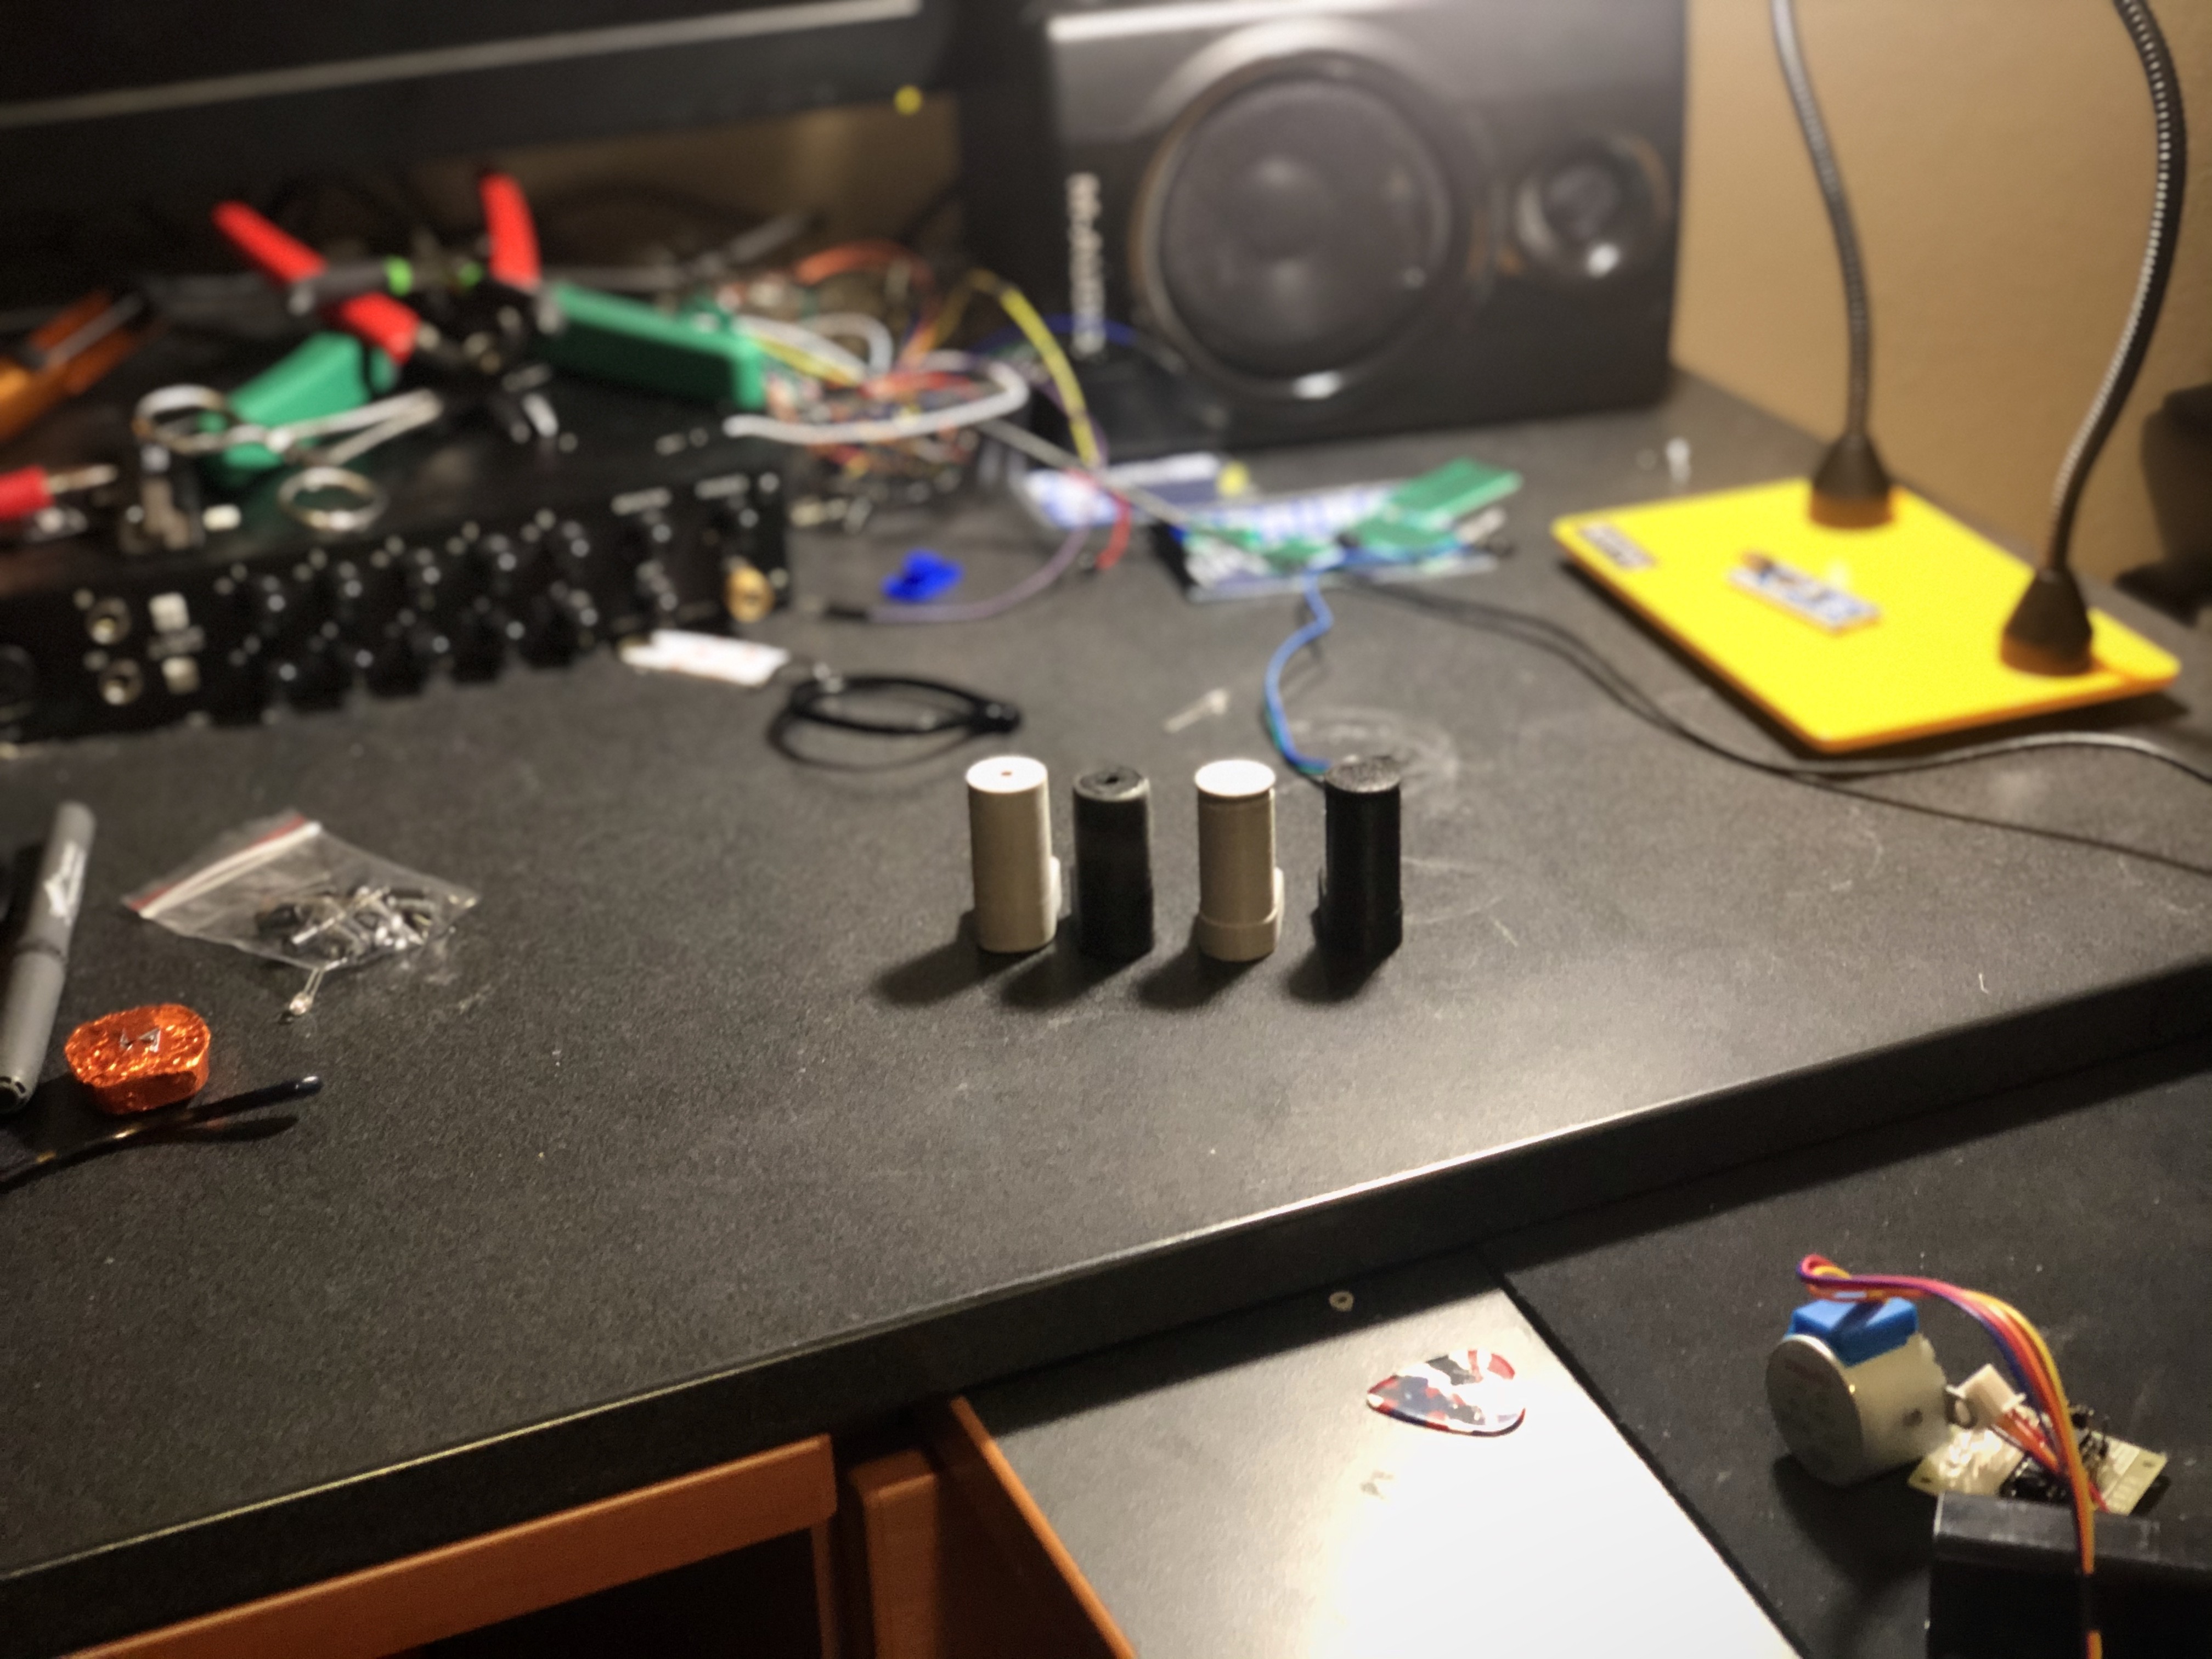
Below are some images of the current design. The next iteration will hopefully fix the piston which does not operate as intended and I have added more space for electronics.


Electrical Details:
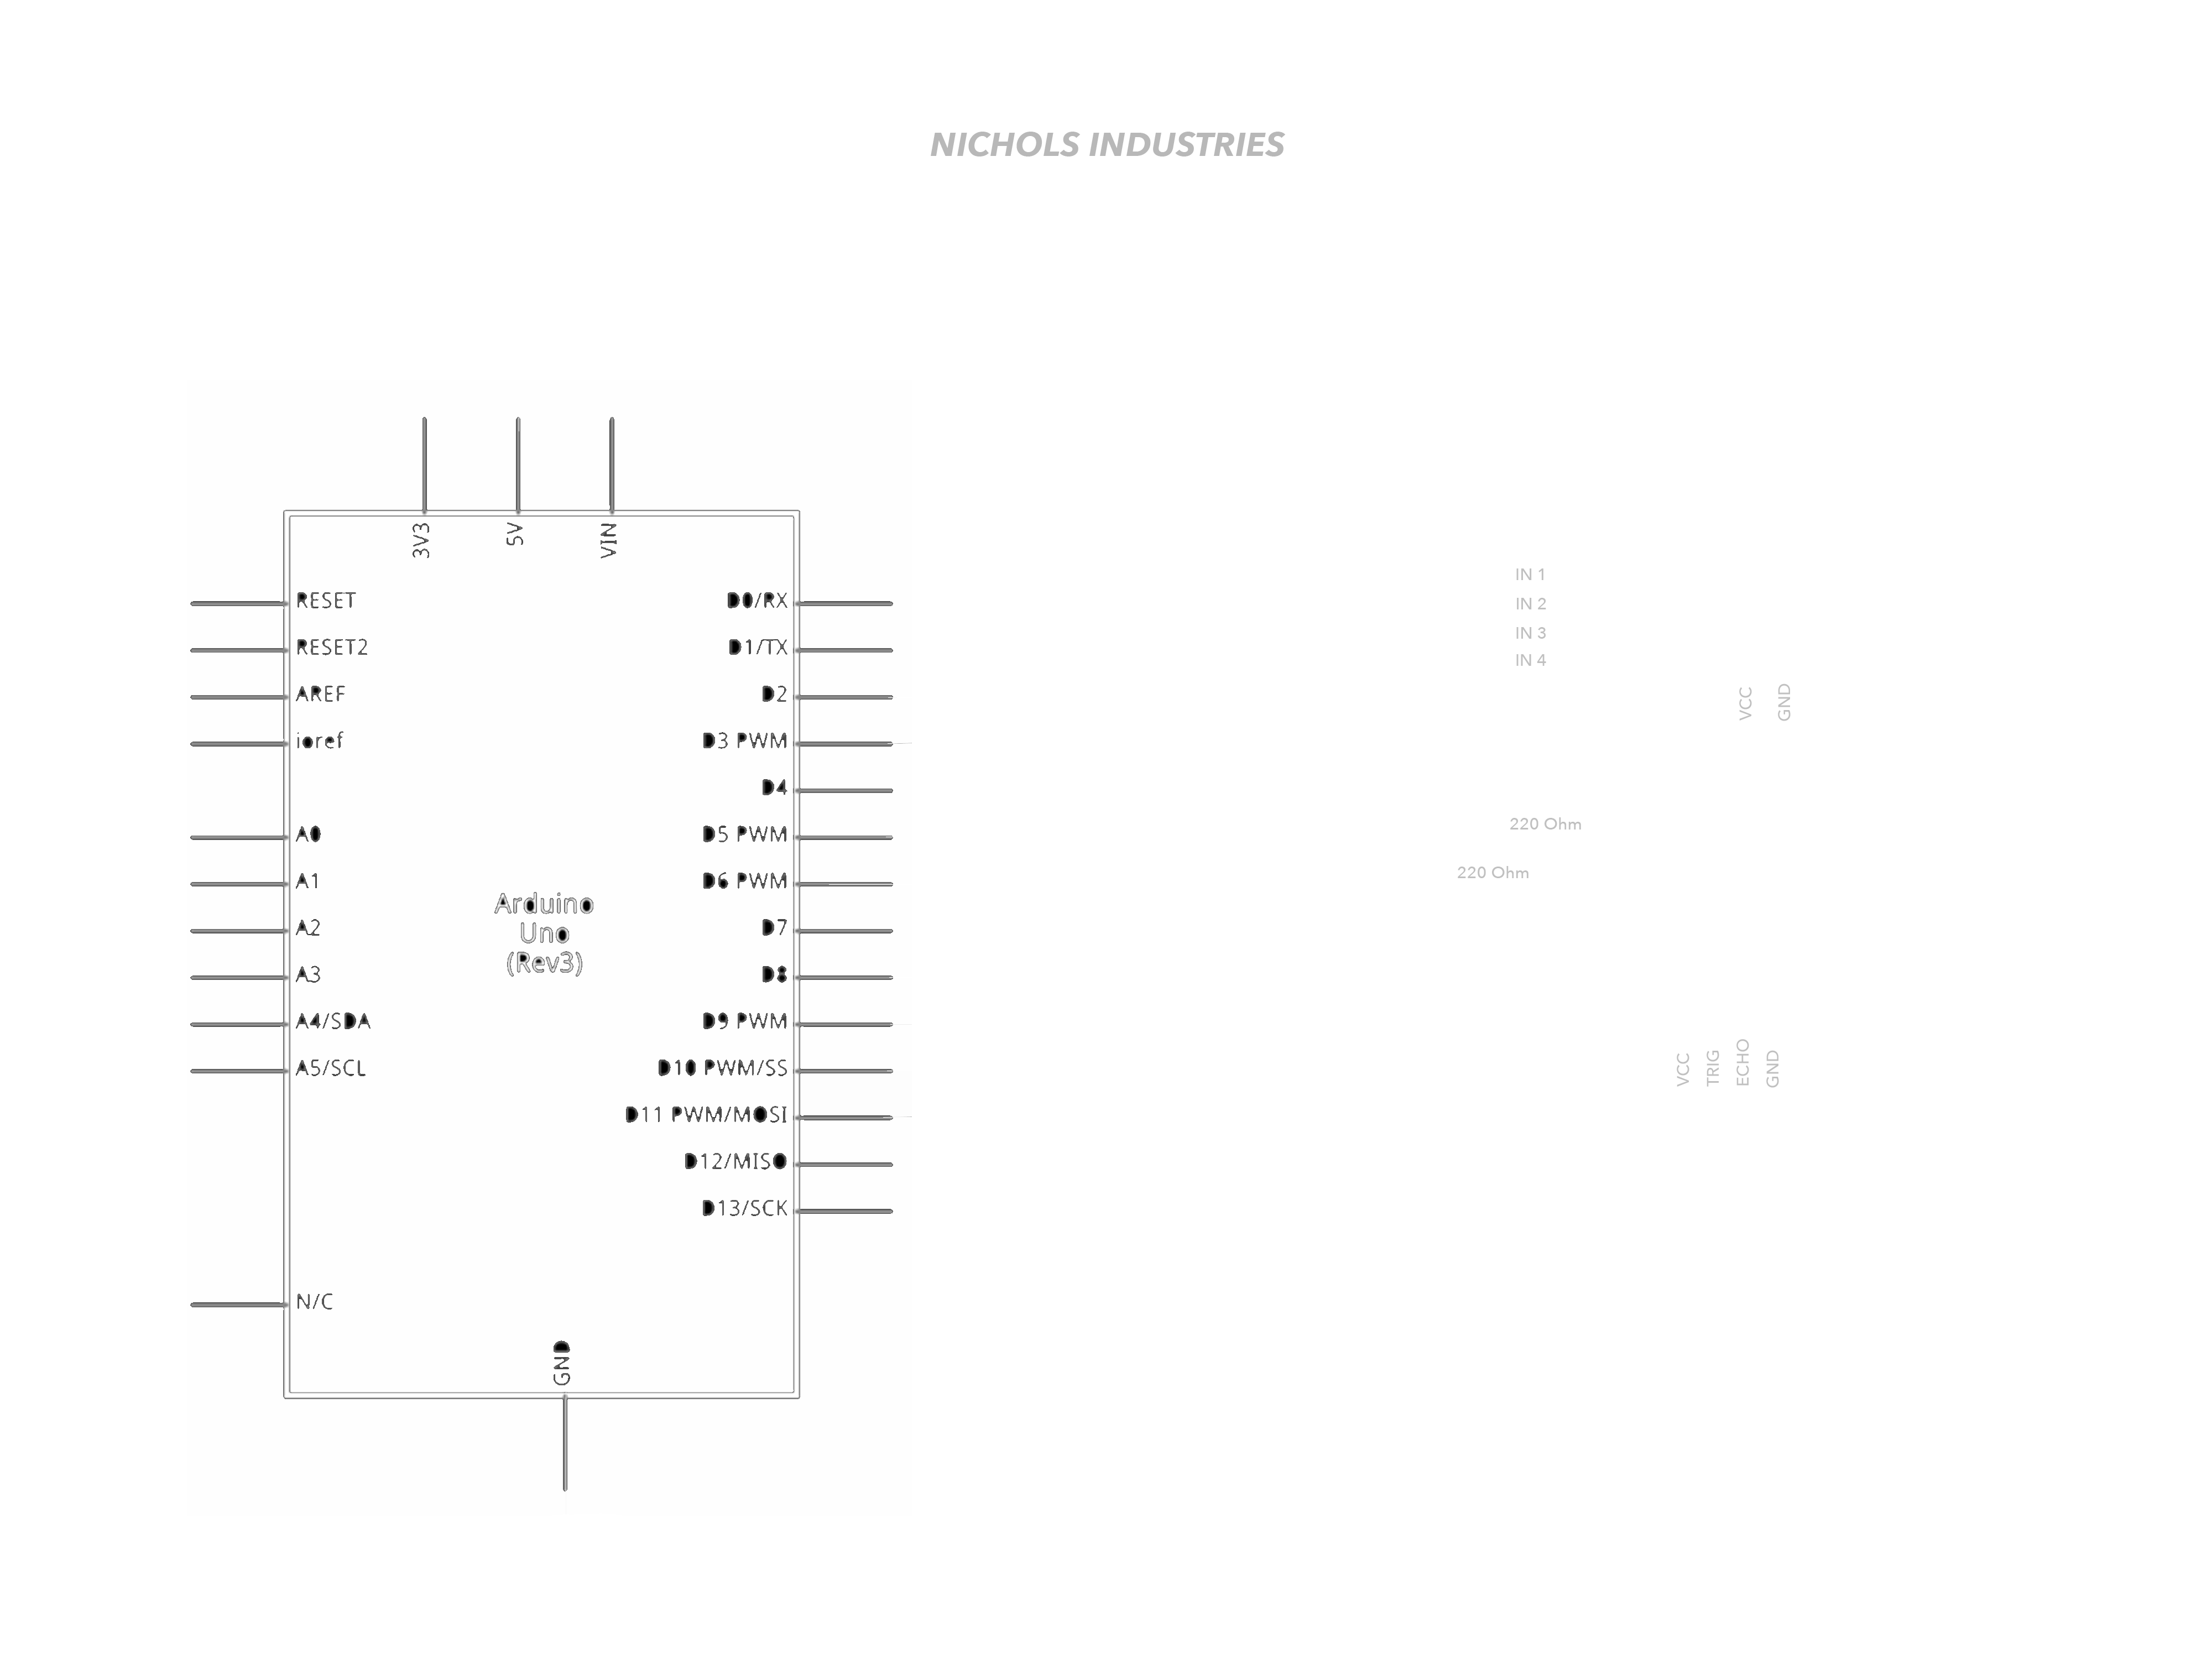
To simplify the electrical prototyping and rapid manufacturability of the device, common components were selected (a detailed schematic has been included below). An Arduino UNO R3 micro-controller was used for prototyping; however, the final device will use an Arduino Nano to minimize cost and required space. The overall purpose of the electrical system is to detect when the handle has been used and execute the commands necessary to dispense the sanitizer. Detection is made possible by the use of an HC-SR04 Ultrasonic Transducer. The HC-SR04 is used to measure distance by emitting a high-frequency (in-audible) soundwave and measuring how long it takes to reflect back to a detector.

When movement is detected within a predefined range, the Arduino executes a routine which is programmed to signal the stepper to actuate the piston with the appropriate timing and order. There are also two LED indicators, which allow the user to see when the device is about to disinfect the handle. The current design uses a 9 volt battery; however, a 9 volt battery is not the optimal choice (9 Volt batteries will drain quickly with this circuit) so other power methods may be explored in the future. Currently there is also no power switch, one can be added quite easily and may be worth adding in the future.
Programming Details:
The Arduino micro-controller was programmed with the Arduino IDE. The full code can be seen below.
NOTE: Two libraries are also required for the code involving the ULN2003 and HC-SR04 to function, both of which will be included in a downloadable file.
#include <Stepper.h>

#include "SR04.h"

#define TRIG_PIN 2
#define ECHO_PIN 3

SR04 sr04 = SR04(ECHO_PIN,TRIG_PIN);

float pingTime;  //Time for ping to travel from the sensor to the target and return
float handDistance; //Distance to hand in centimeters
float speedOfSound = 776.5; //Speed of sound in miles per hour

int in1Pin = 8;
int in2Pin = 9;
int in3Pin = 10;
int in4Pin = 11;
const int stepsPerRevolution = 256;// Number of steps per revolution (2048 steps = 1 full rotation)

//I used a 28BYJ-48 5VDC Stepper Motor, for this motor, you must set wiring sequence to (1-3-2-4) instead of (1-2-3-4)
Stepper motor(stepsPerRevolution, in1Pin, in3Pin, in2Pin, in4Pin);

void setup()
{

  motor.setSpeed(17);  // Set stepper motor speed

  pinMode(5, OUTPUT);  //Yellow LED: Indicates that sanitization will commence in 5 seconds
  pinMode(6, OUTPUT);  //Green LED: Indicates that no handle use has been detected (Handle is clean)
}

void loop()
{
  digitalWrite(TRIG_PIN, LOW); //Set trigger pin low
  delayMicroseconds(2000); //Let signal settle
  digitalWrite(TRIG_PIN, HIGH); //Set trigPin high
  delayMicroseconds(15); //Delay in high state
  digitalWrite(TRIG_PIN, LOW); //Send ping
  delayMicroseconds(10); //Delay in high state

  pingTime = pulseIn(ECHO_PIN, HIGH);  //pingTime in microceconds
  pingTime = pingTime / 1000000; //convert pingTime...
Read more »
 Jacob Nichols


Neat idea. I'd expect you'd want to use a rapidly evaporating carrier fluid for the sanitizer, lest people have to grab a soggy knob.