Josh Starnes
-
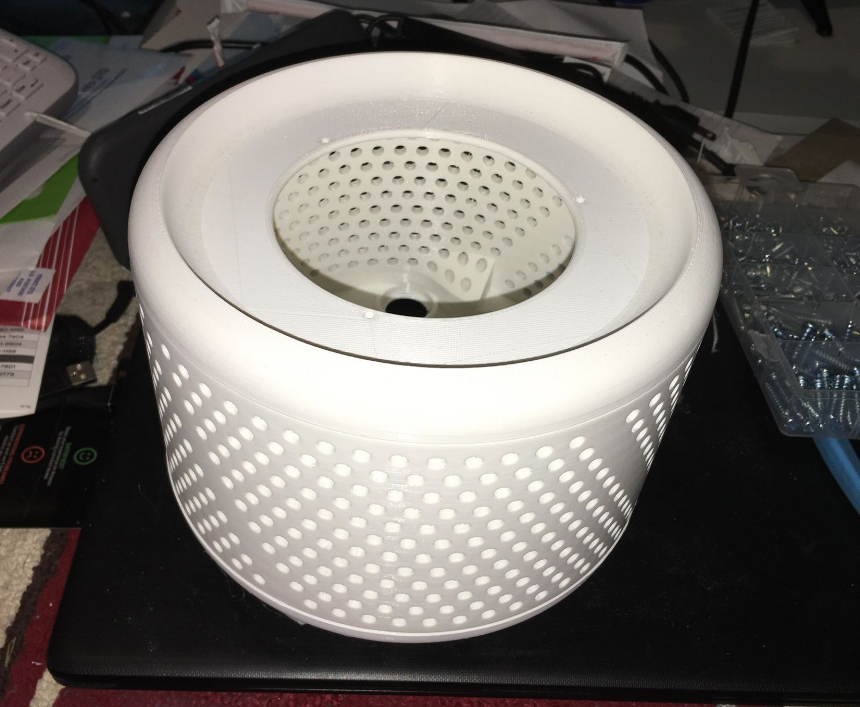
Development Milestone Photoshoot
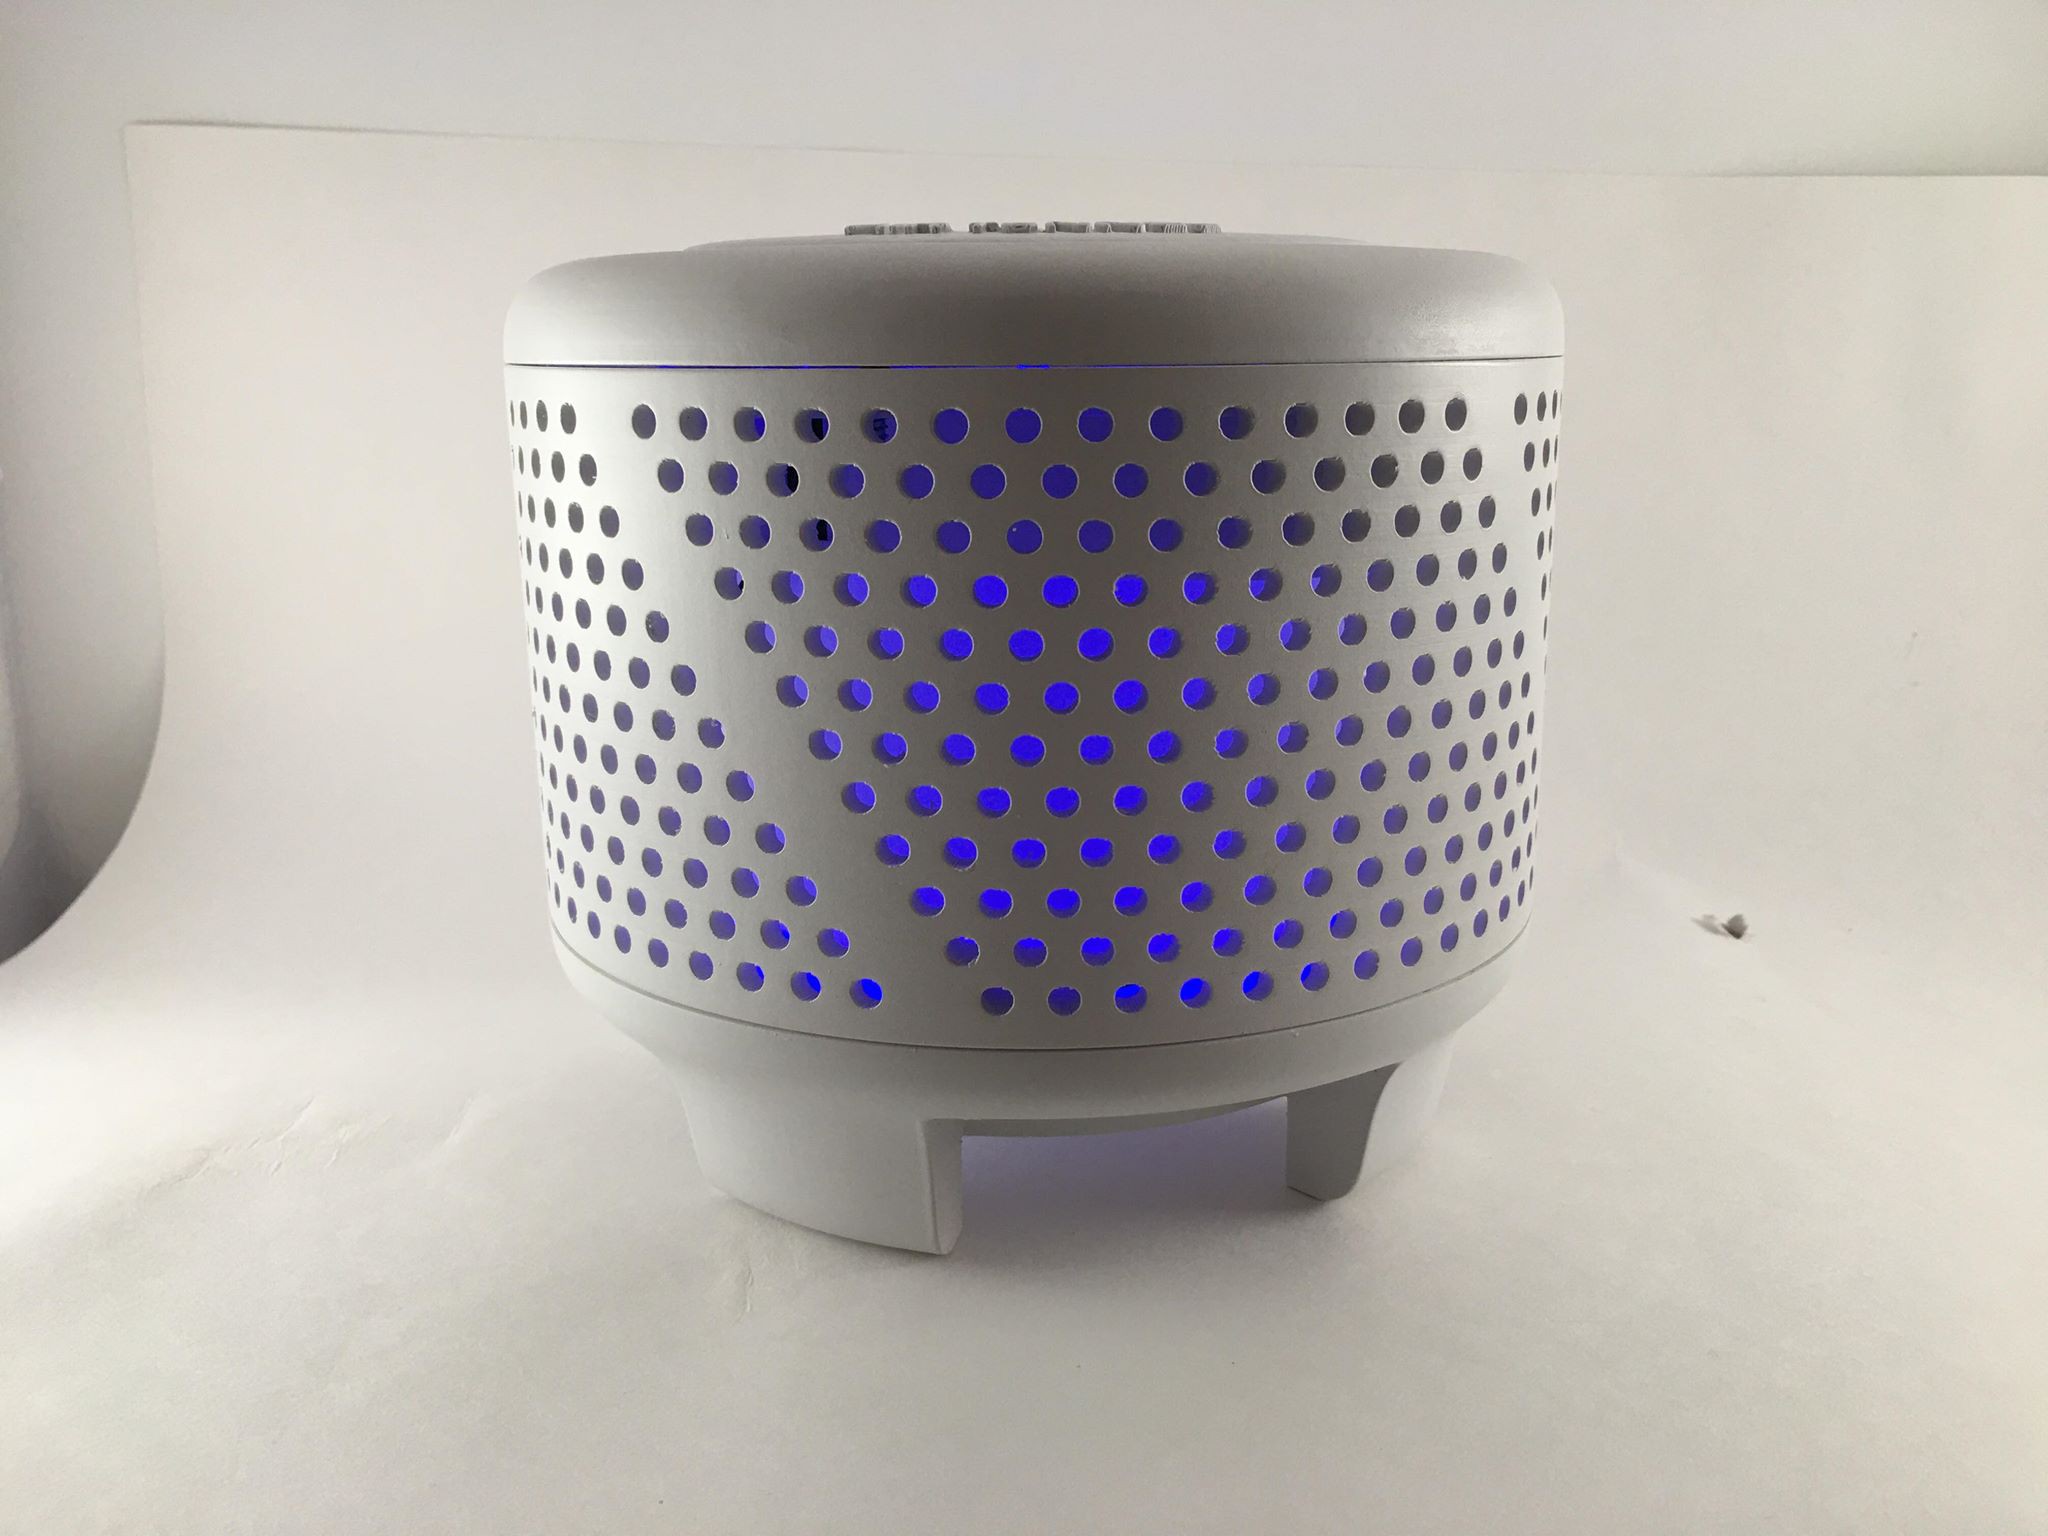
06/11/2020 at 07:25 • 0 commentsWe still need the electronics installed for RGB control , as well as the UVC bulb and driver for it as well. This of course has a manual off switch , but also is utilizes an app for control from a phone or tablet device IOS or Android through Bluetooth. Also it will have a separate remote for those without the app installed on their phones, or just do not want to install another app. You may notice our background is a little beat up while we were experimenting with power connection being ran in a way it is hidden.
![]()
![]()
![]()
![]()
-
First assembly and testing airflow
06/11/2020 at 07:20 • 0 comments![]()
![]()
-
The bottom printed and fitted
06/11/2020 at 07:19 • 0 comments![]()
So far everything goes together great, the standard marine style rocker switch had perfect fitment and there are no hanging edges.
-
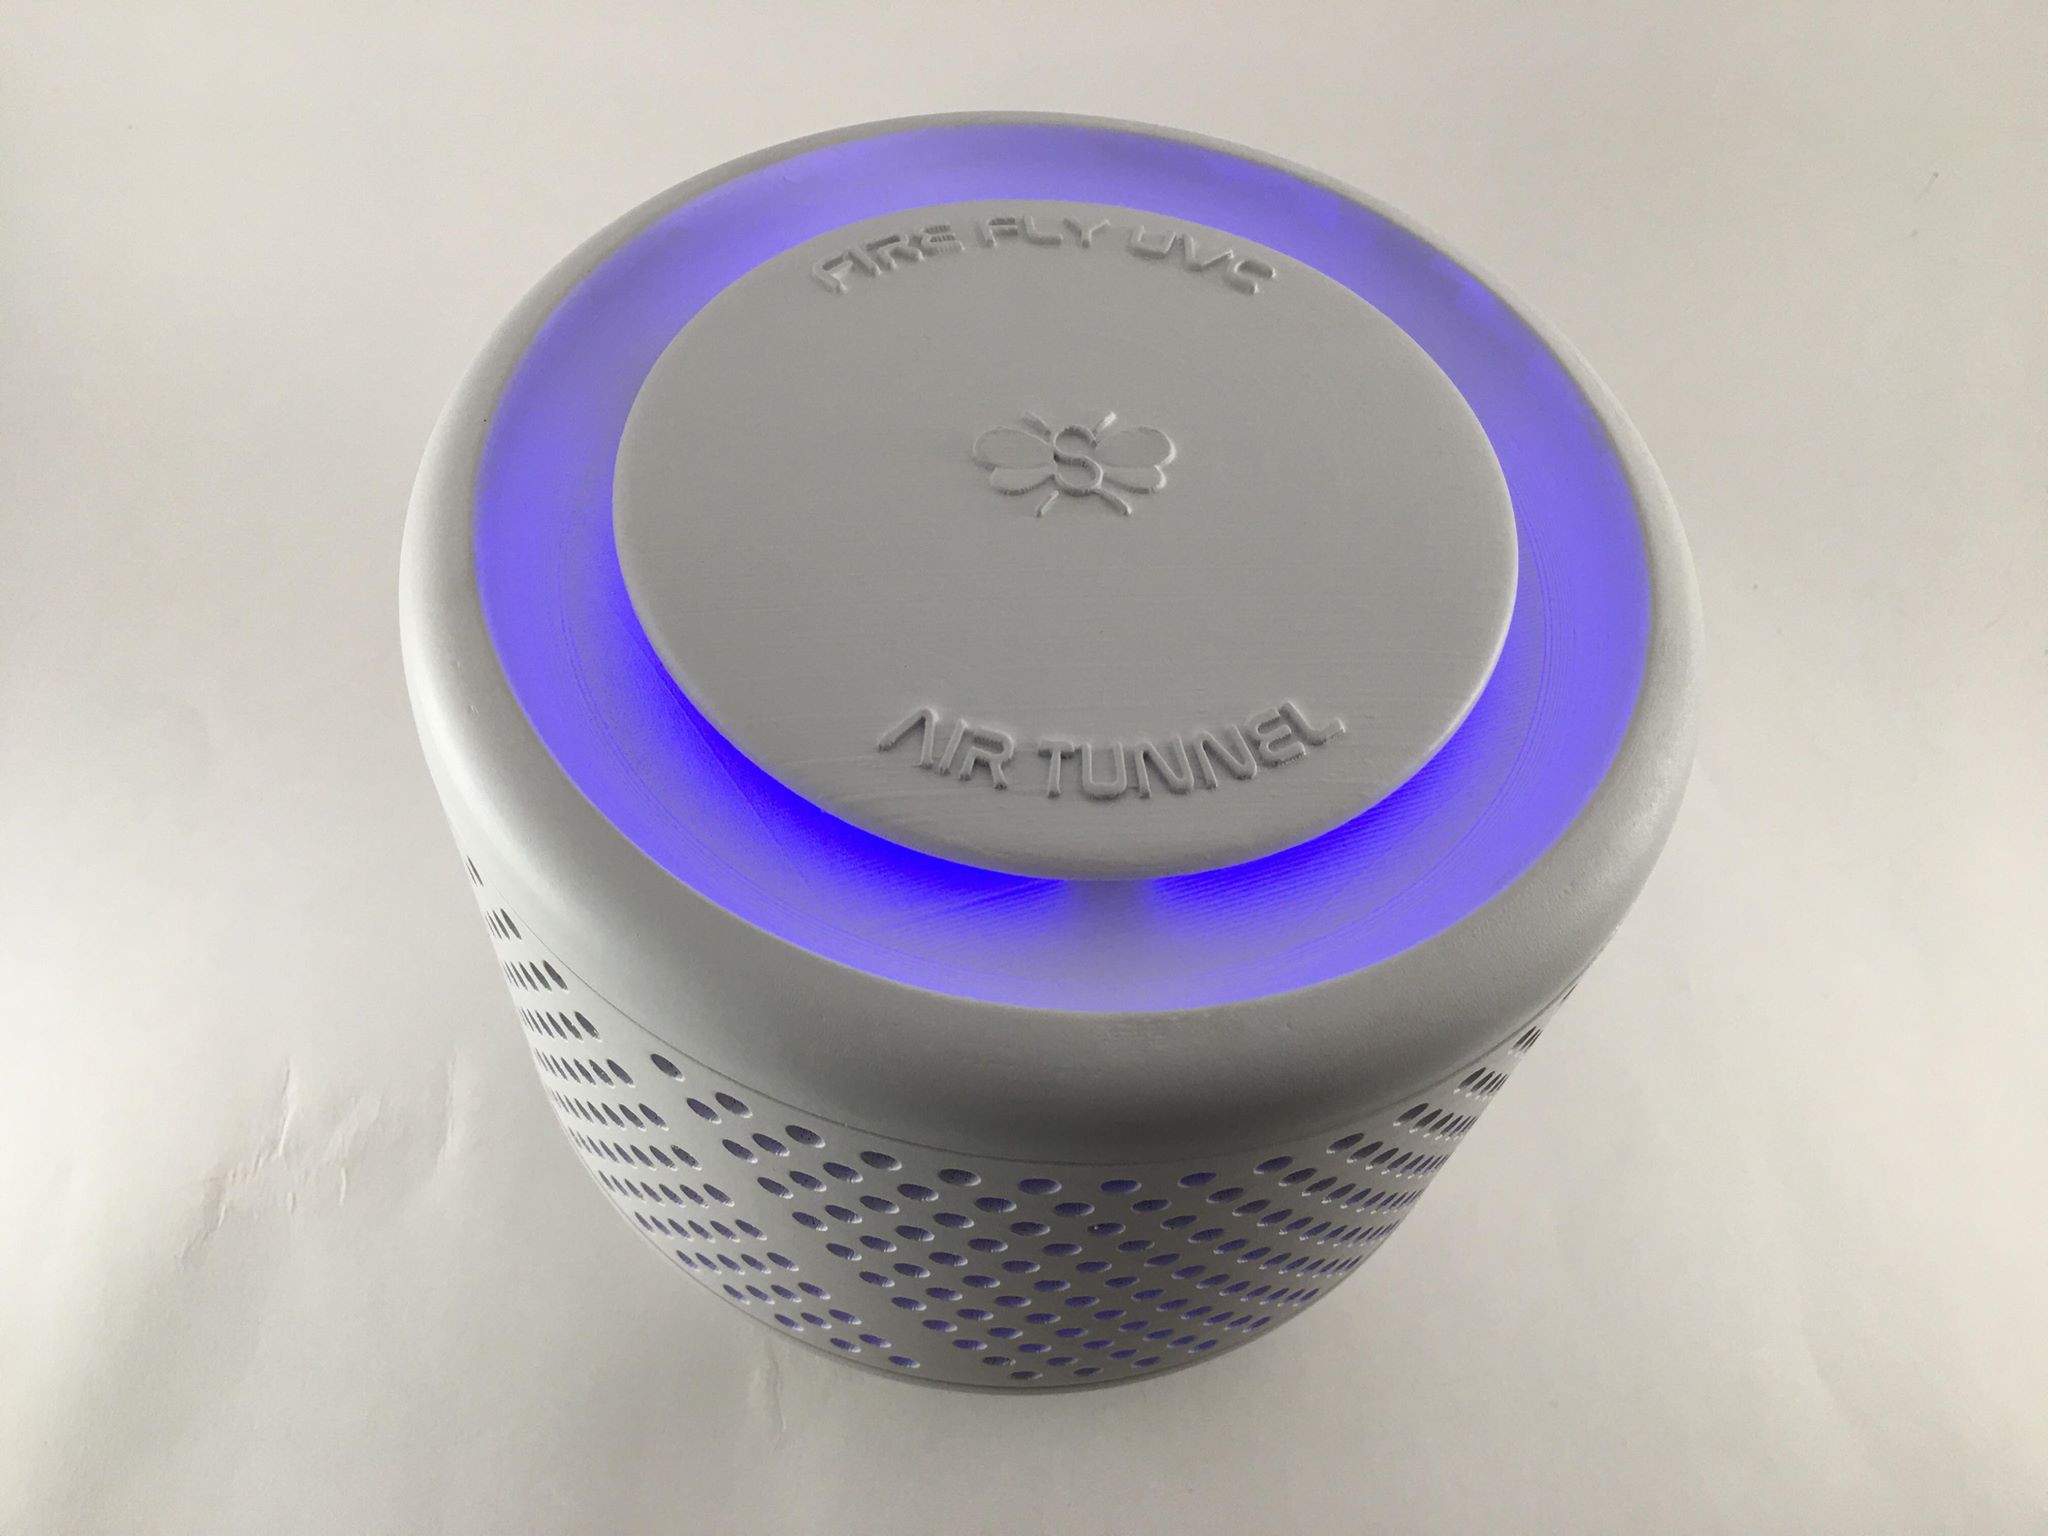
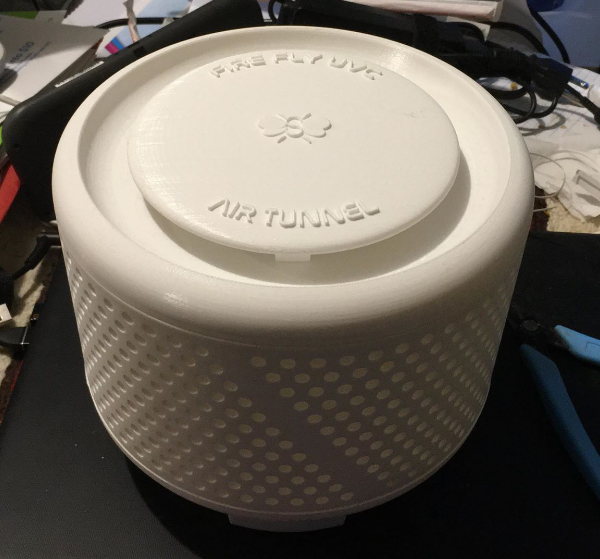
Test Fitting the Top Venturi cap, :) Happy Days
06/11/2020 at 07:17 • 0 comments![]()
-
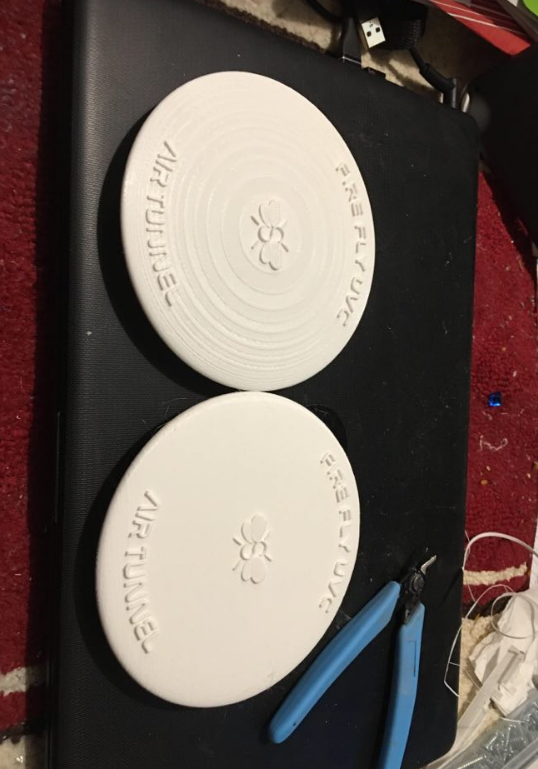
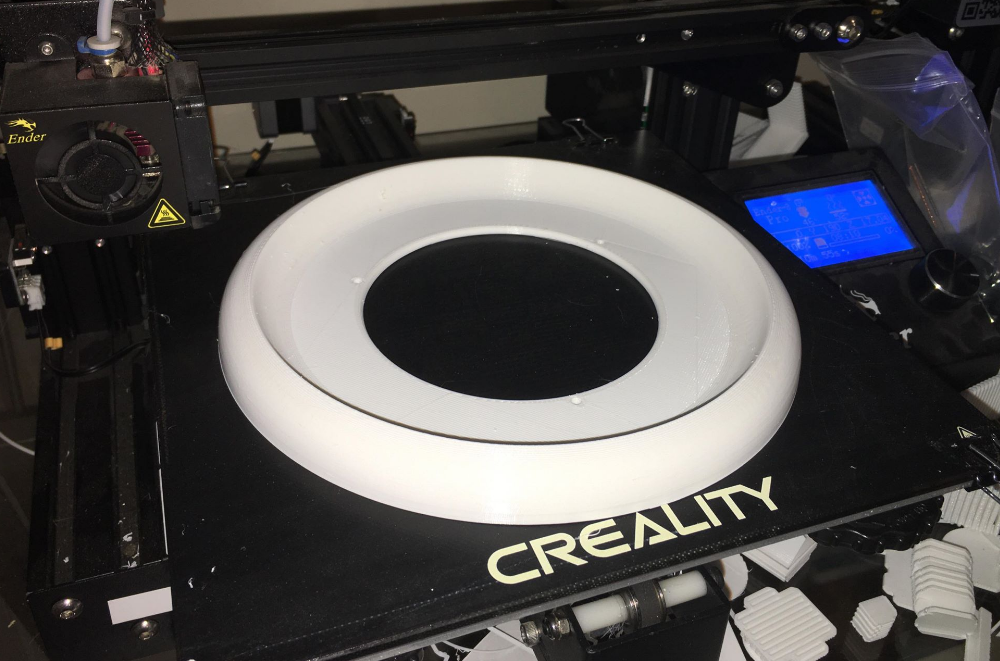
Vertical Printing Smoother Venturi Caps
06/11/2020 at 07:16 • 0 comments![]()
![]()
You can see laying flat you see some serious stepping. However vertical printing seriously helps the resolution of your print with angular tweeking for the prints.
-
Test fit the ring and clean up the hole supports
06/11/2020 at 07:14 • 0 comments![]()
-
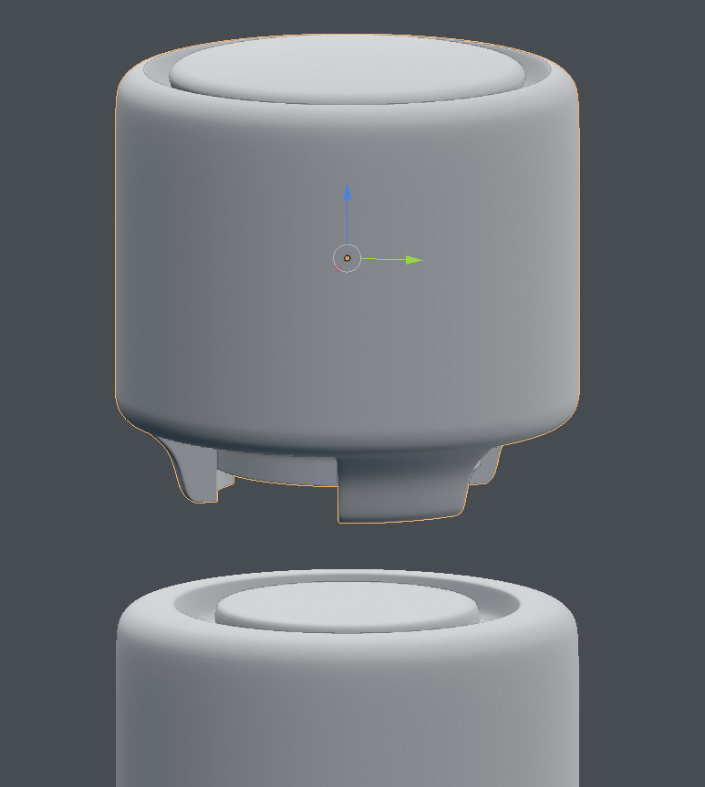
Second Piece 3D Printed, Top Ring
06/11/2020 at 07:13 • 0 comments![]()
-
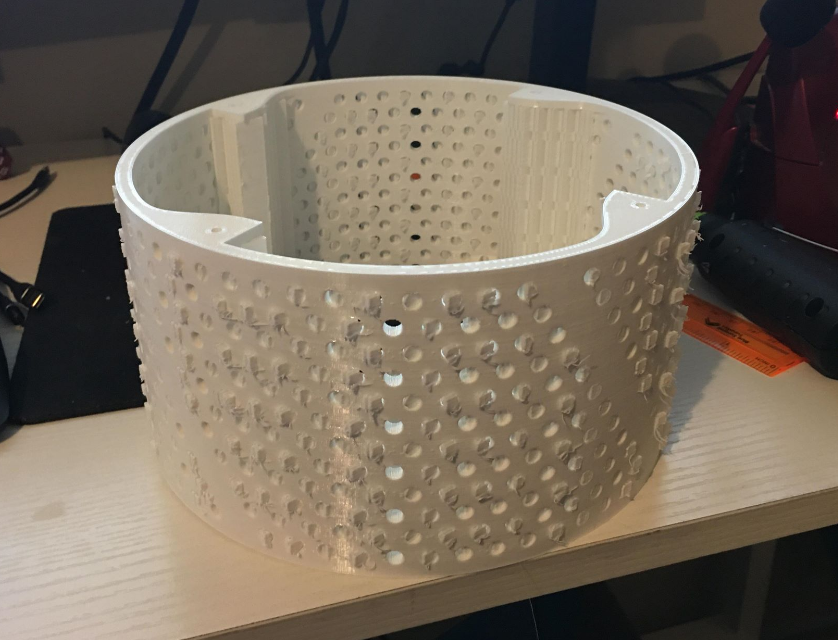
3D Printing the first piece, the body
06/11/2020 at 07:12 • 0 comments![]()
![]()
-
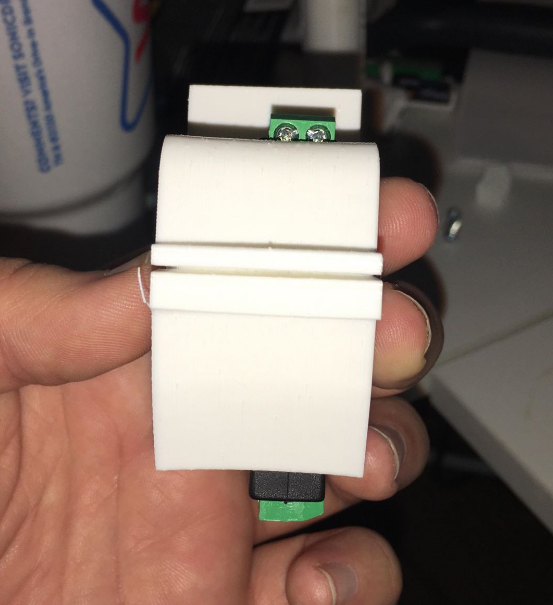
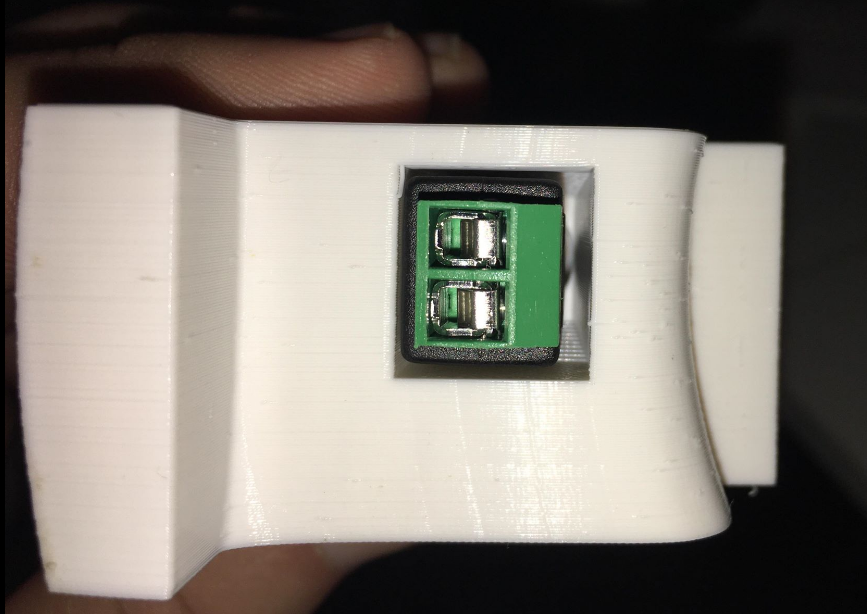
Testing connectors
06/11/2020 at 07:10 • 0 commentsSo each module needs power control, the connectors pass through the core of the feet. The format is a 12v CCTV style connector. Here you see we print a sliced chunk of the model checking fitment without waiting hours for entire pieces to print.
![]()
![]()
![]()
![]()
-
Modeling connecting mechanisms
06/11/2020 at 07:07 • 0 comments![]()
![]()
Wild Card - Fire Fly UVC Air Tunnel, Air Sanitizer
Fire Fly UVC Air Tunnel is an all 3D printed modular design, utilizing UVC Lamps and 120mm fans for silent and rapid air sanitizing.