Parts.
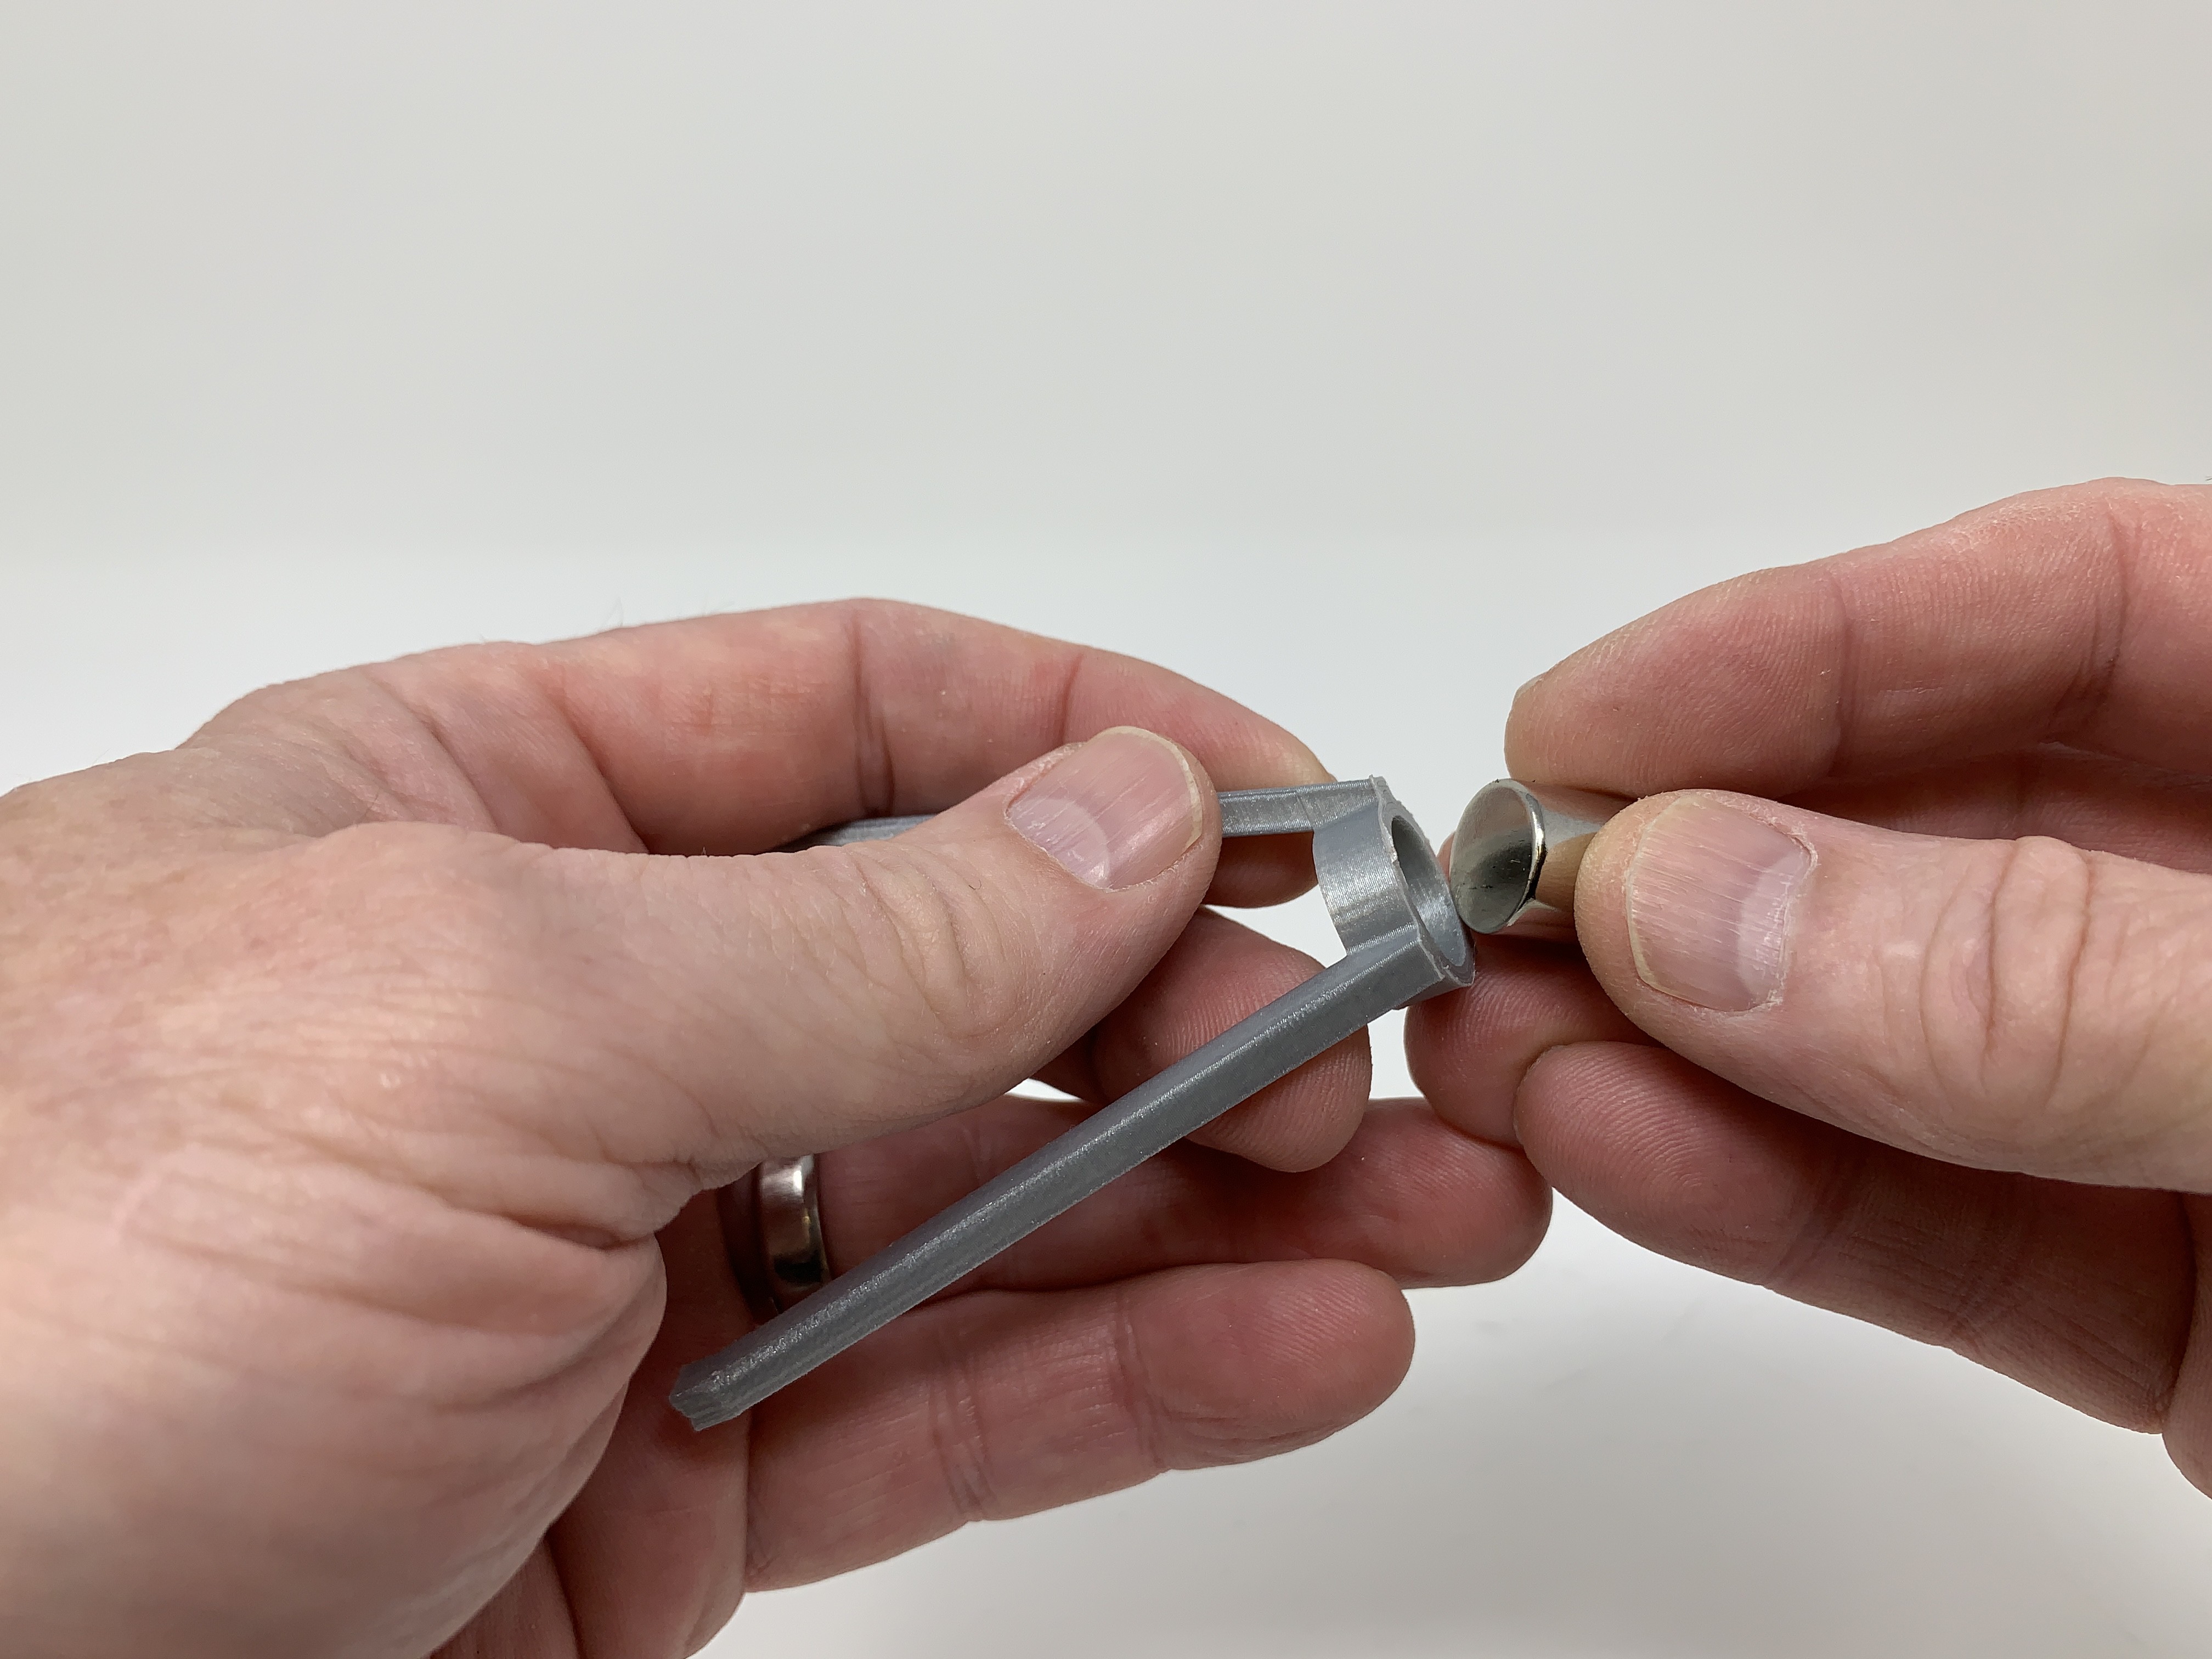
I purchased two 12.8mm diameter by 12.8mm long neodymium magnets at the local hobby shop.
I 3D printed one "Base.stl", three "Chain.stl", two "Holder, Magnet.stl", six "Pin.stl" and one "Top.stl" at .15mm layer height with 100% infill.
Assembly.
To assemble the model, I performed the following steps:
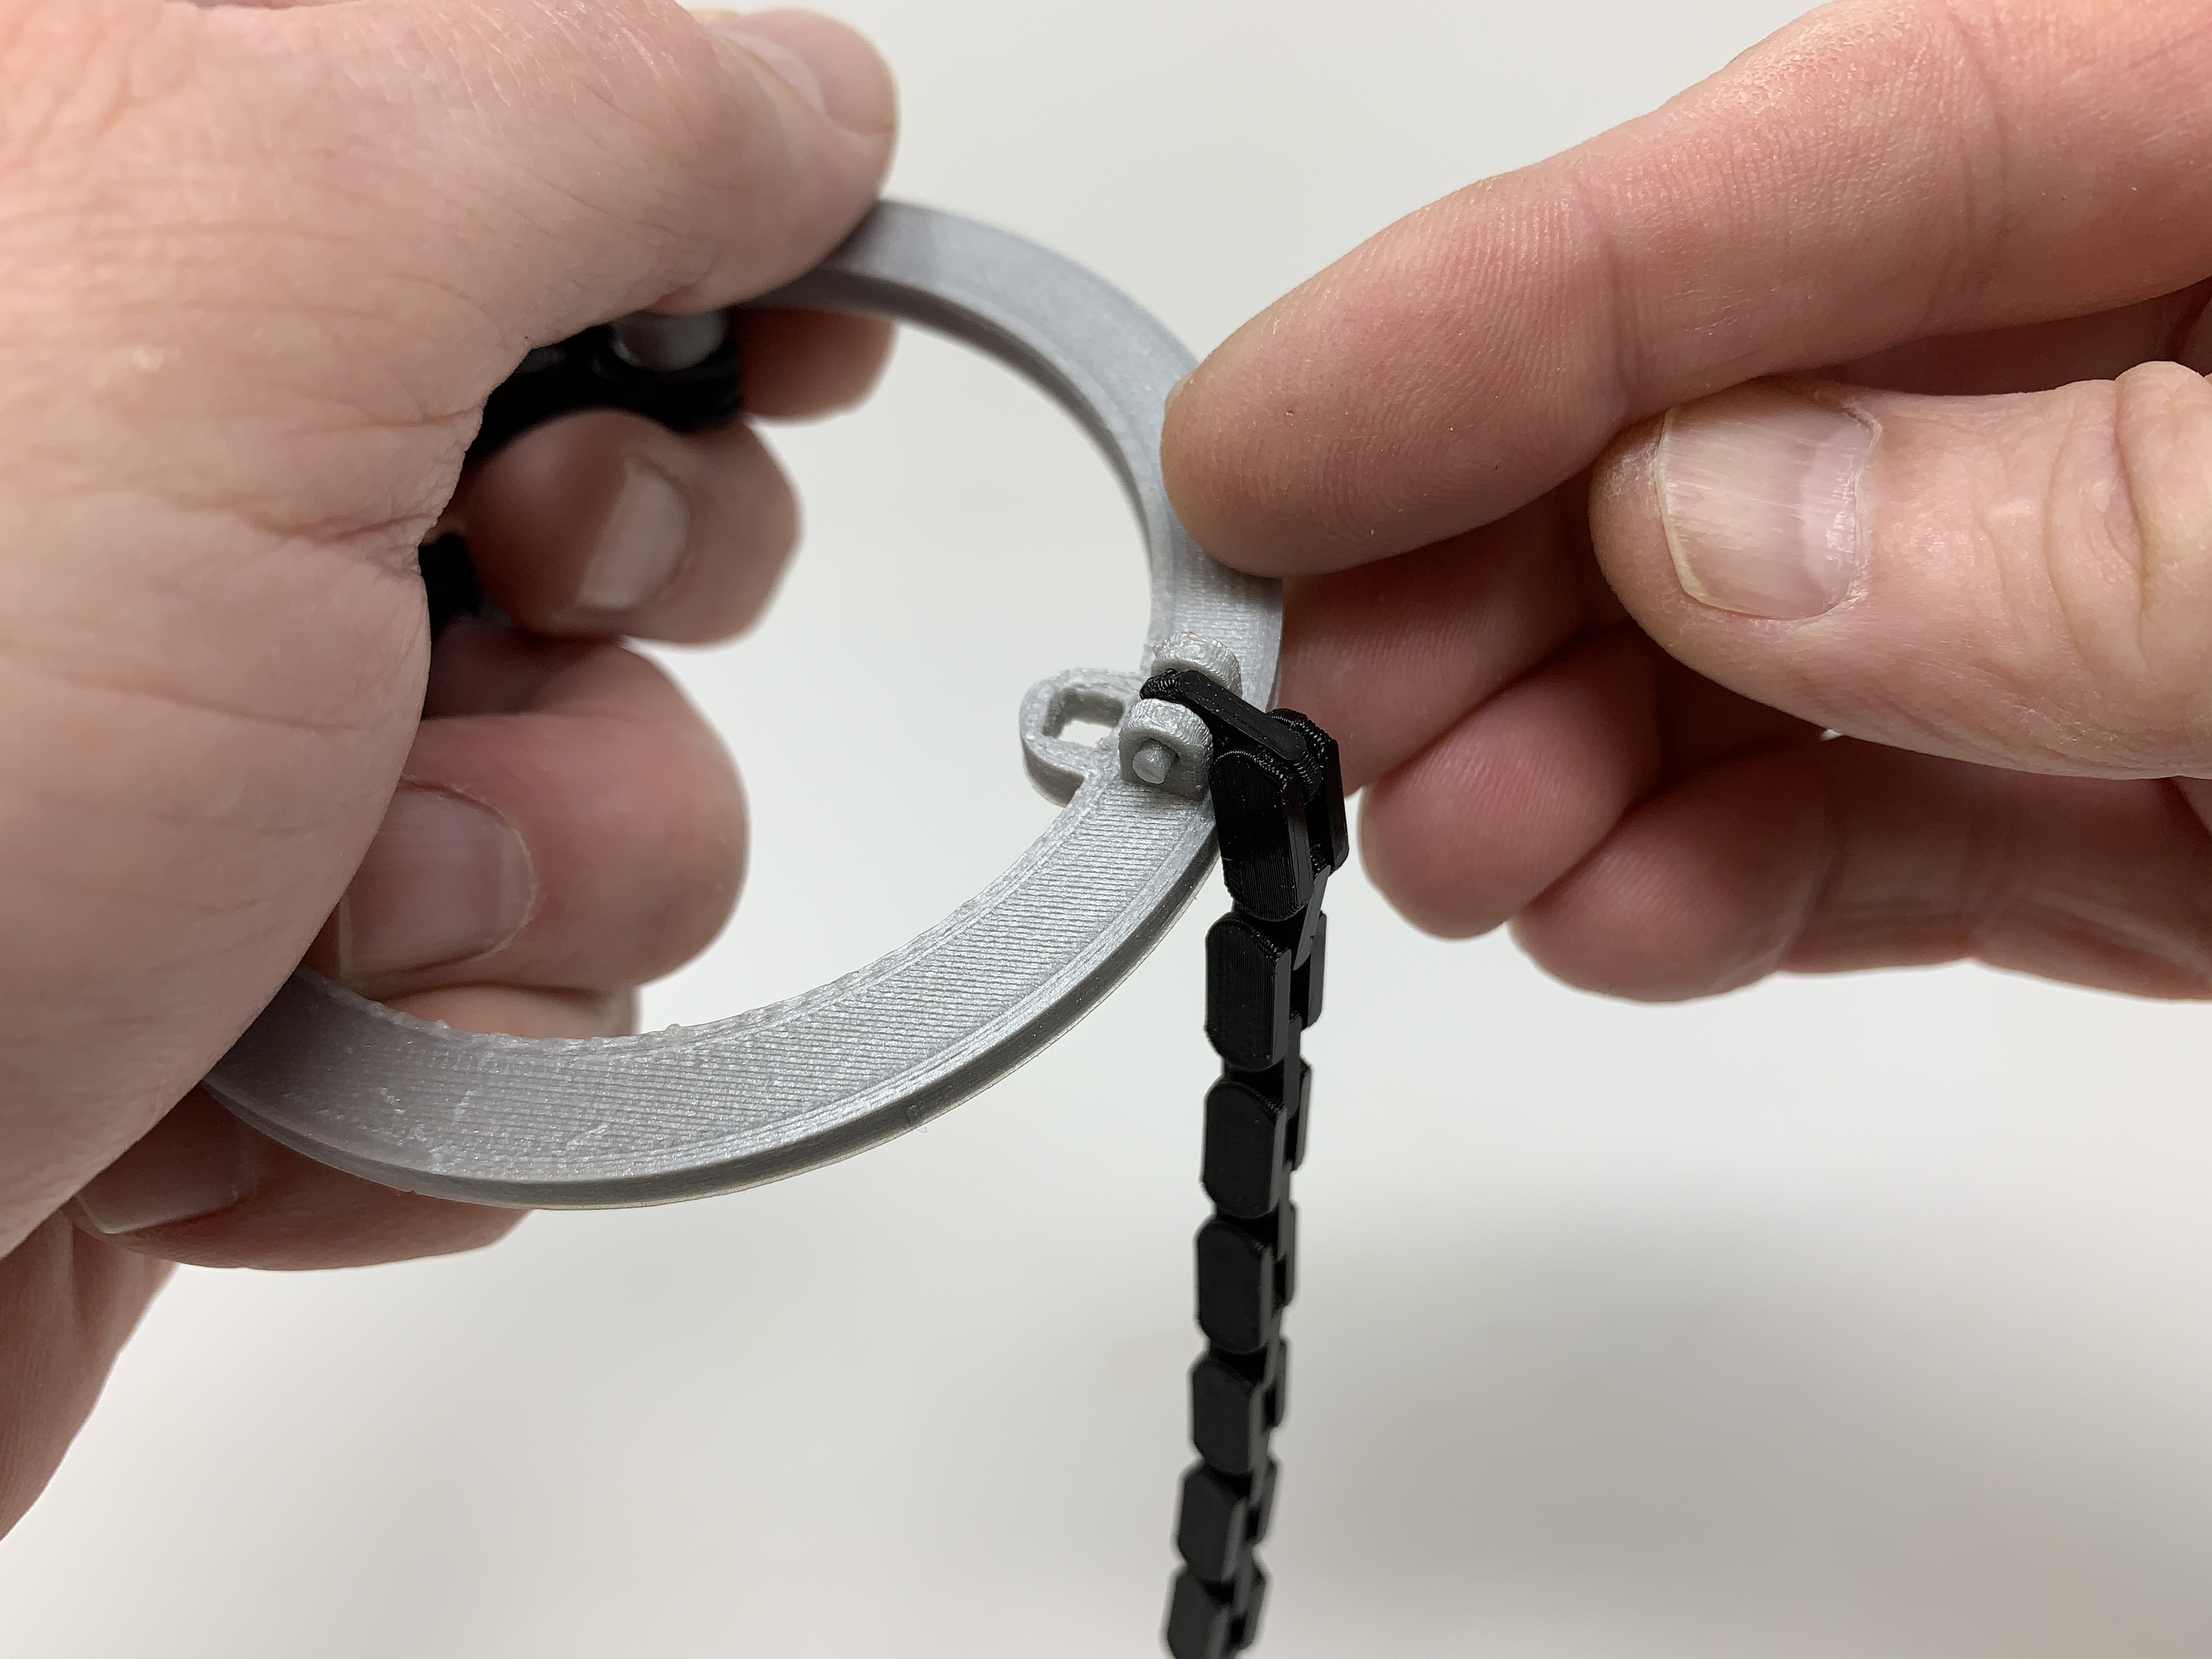
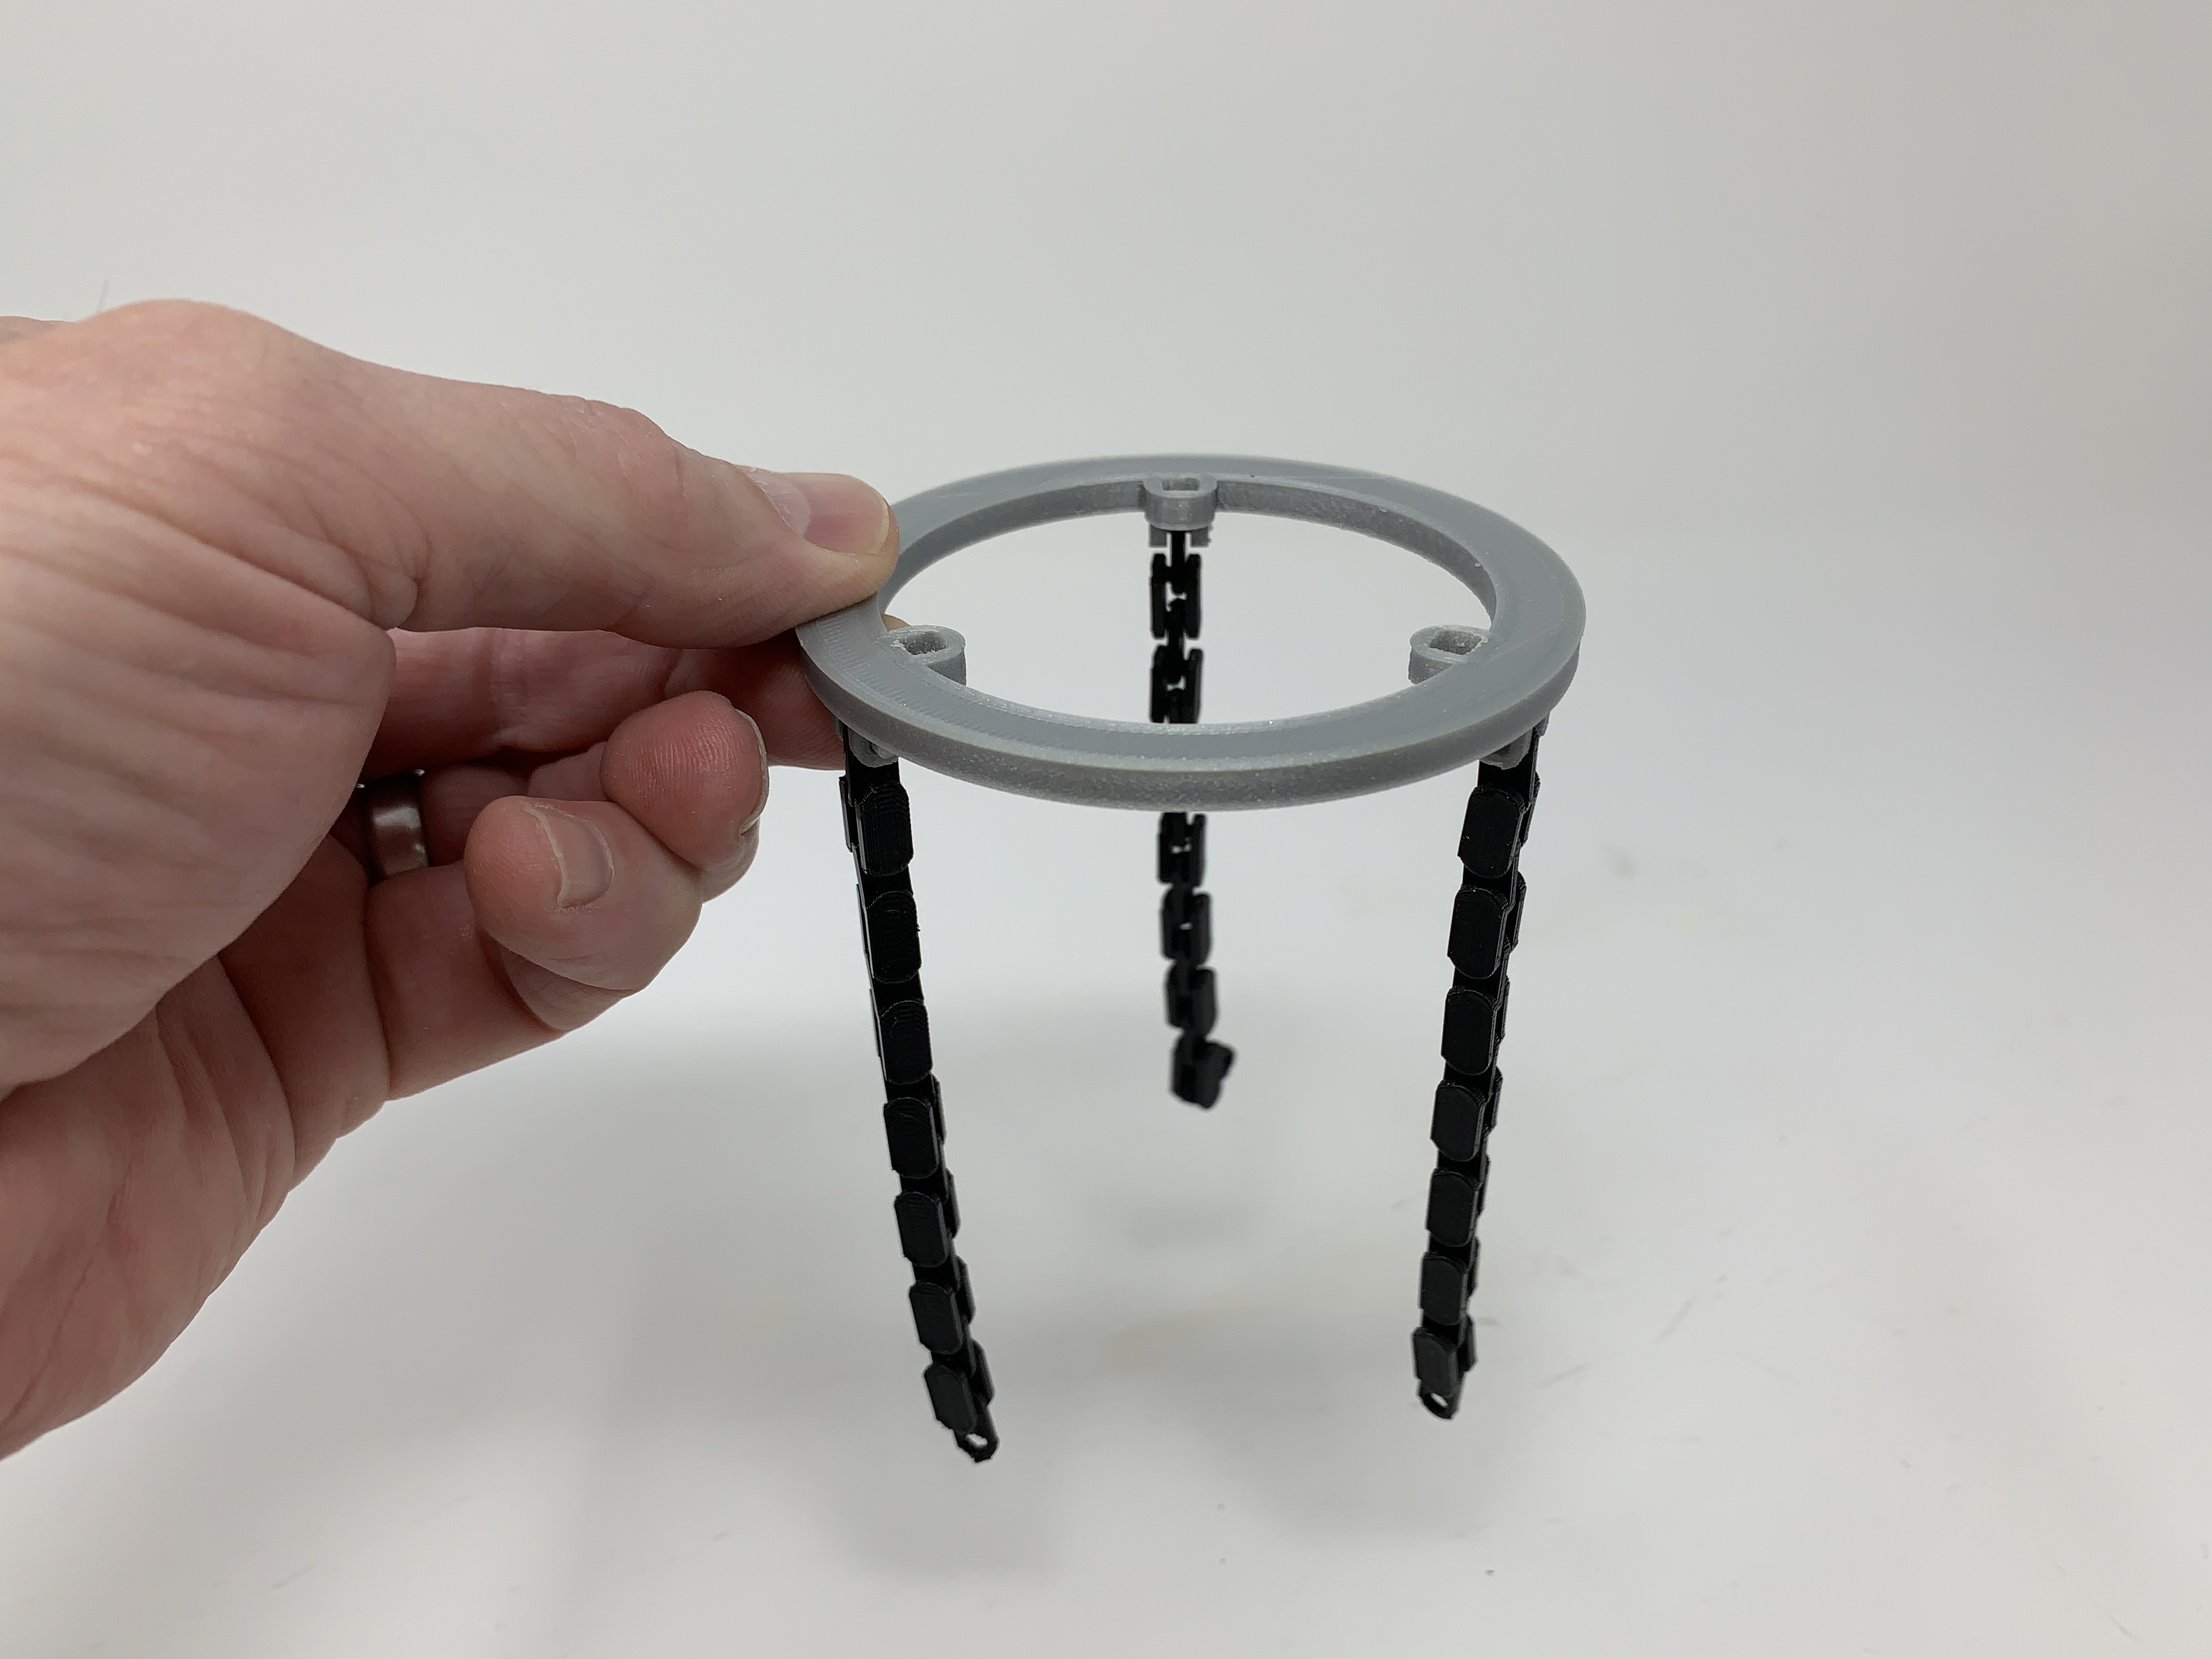
• Attached one "Chain.stl" to "Base.stl" using one "Pin.stl", then repeated the process with the remaining two chains and two more pins.
• Pressed the magnets into the two "Holder, Magnet.stl".
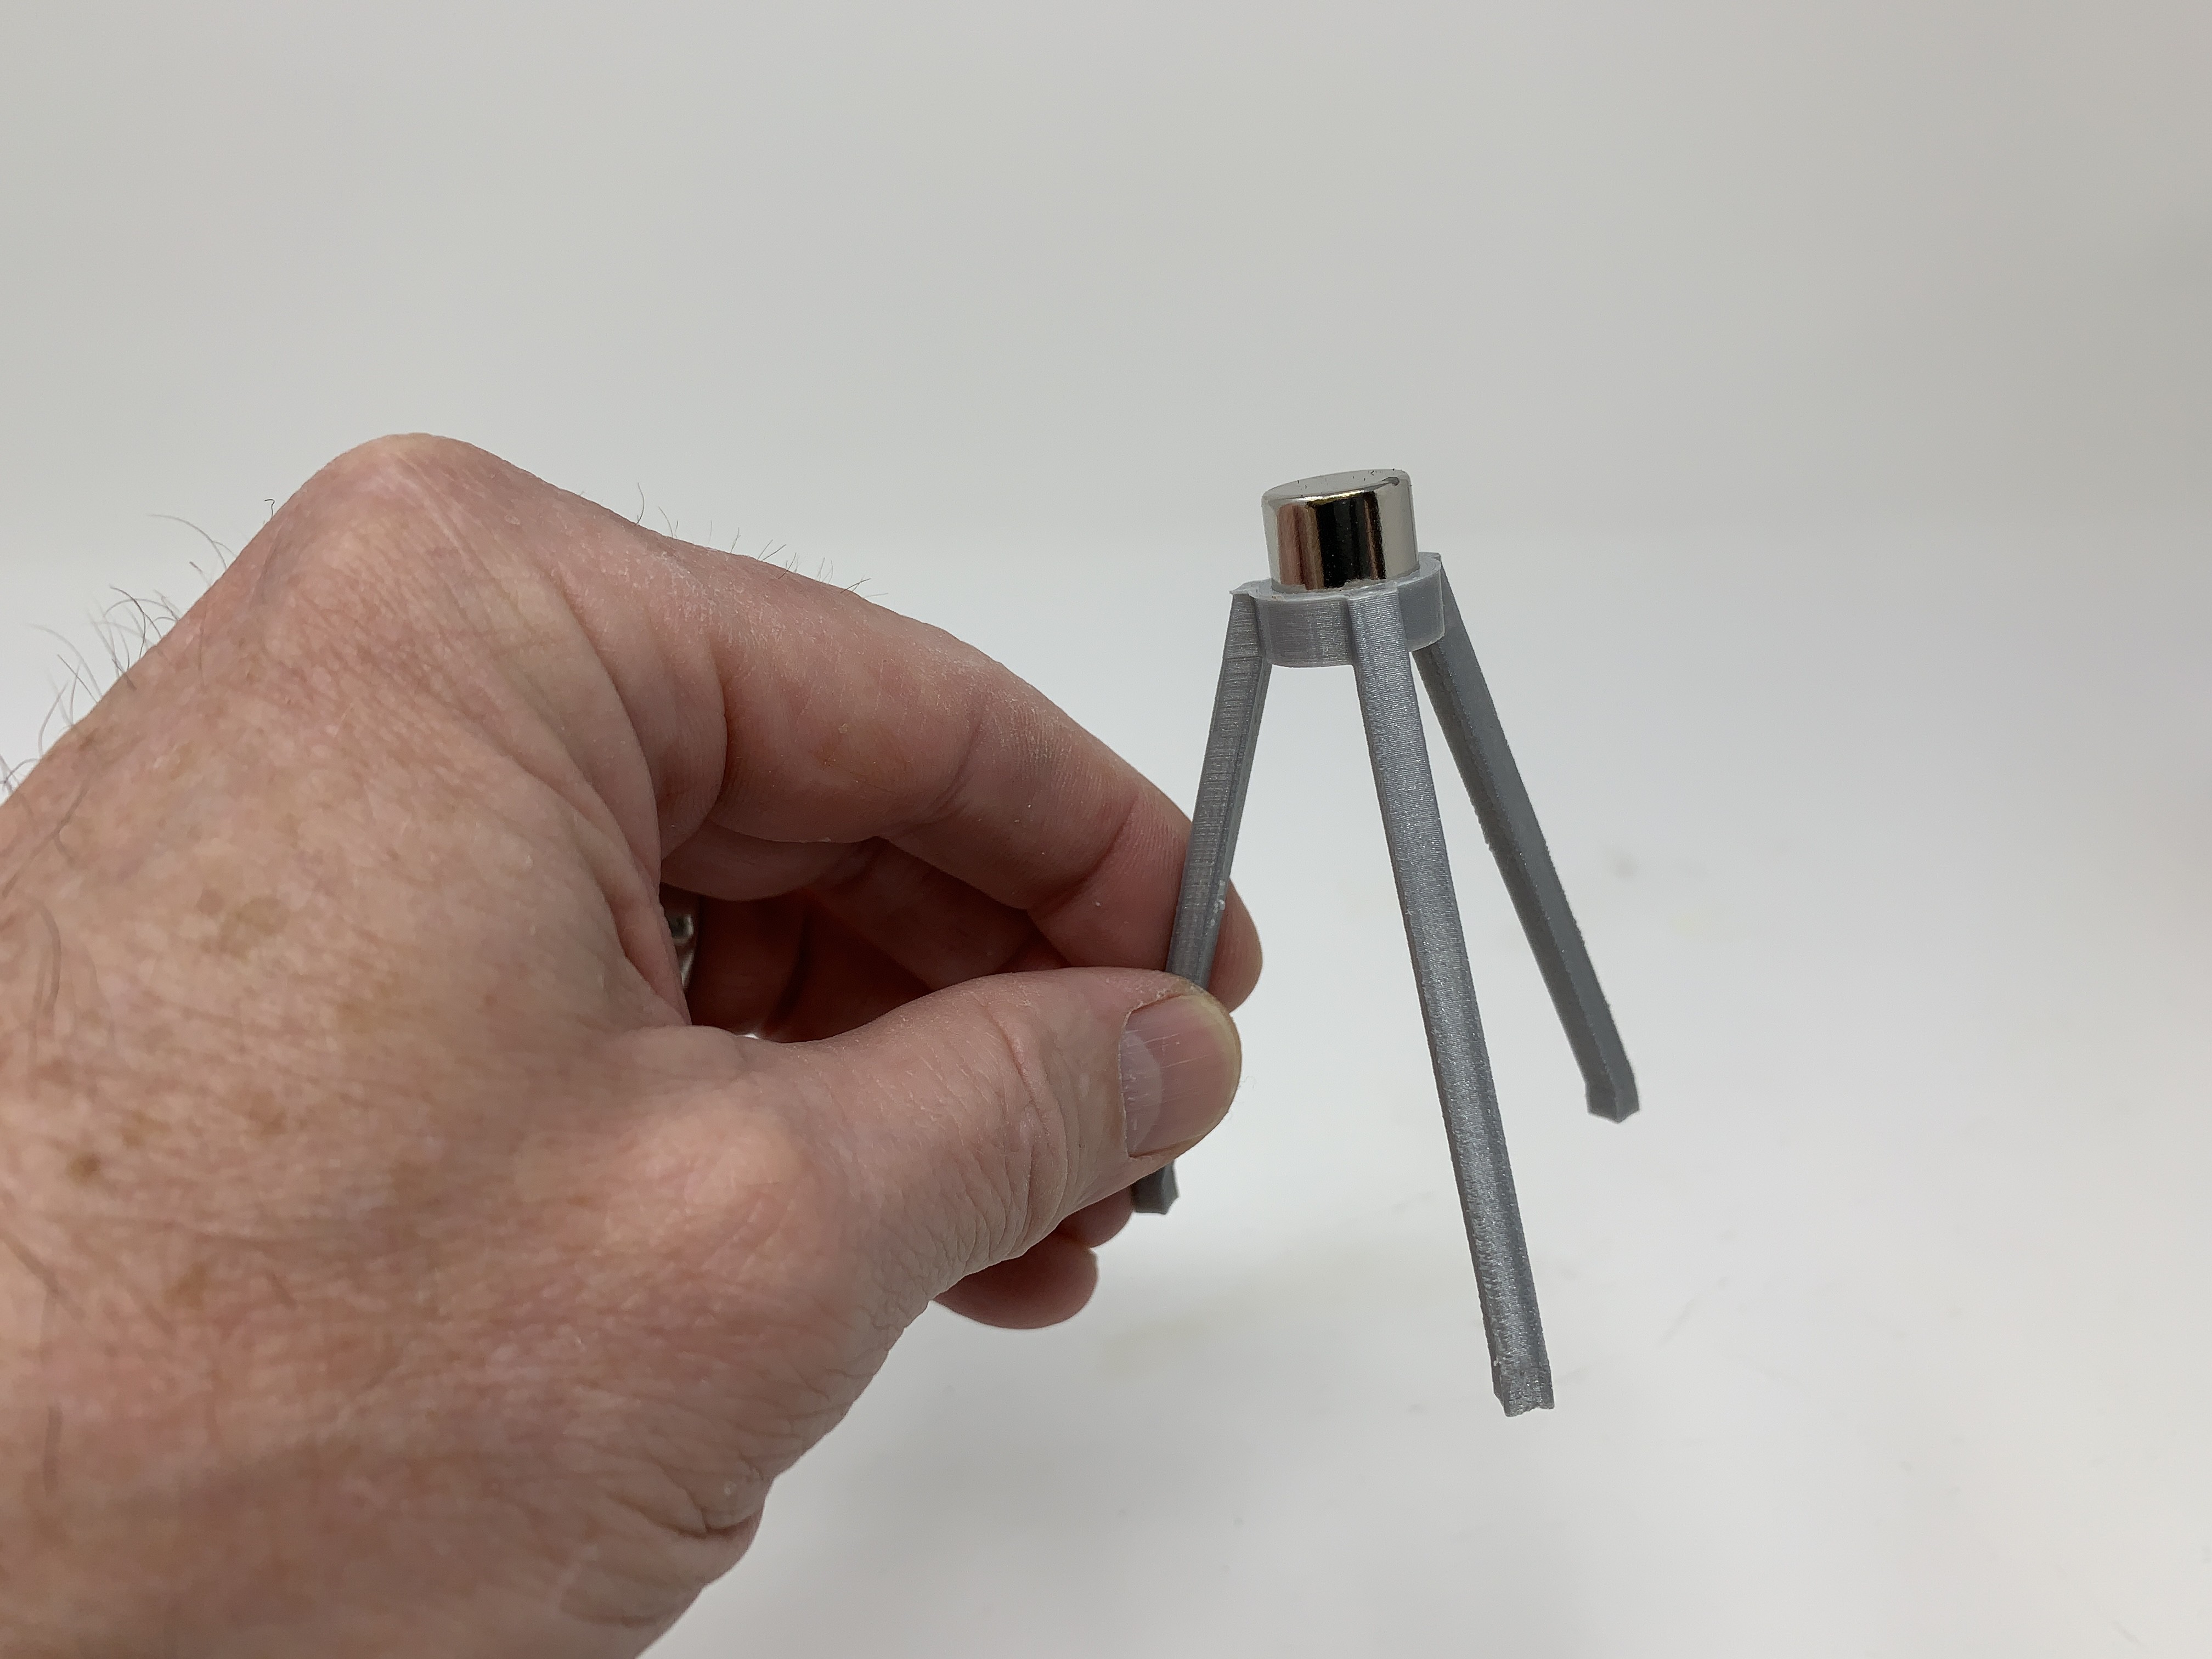
• Pressed one of the magnet holder assemblies into the base assembly.
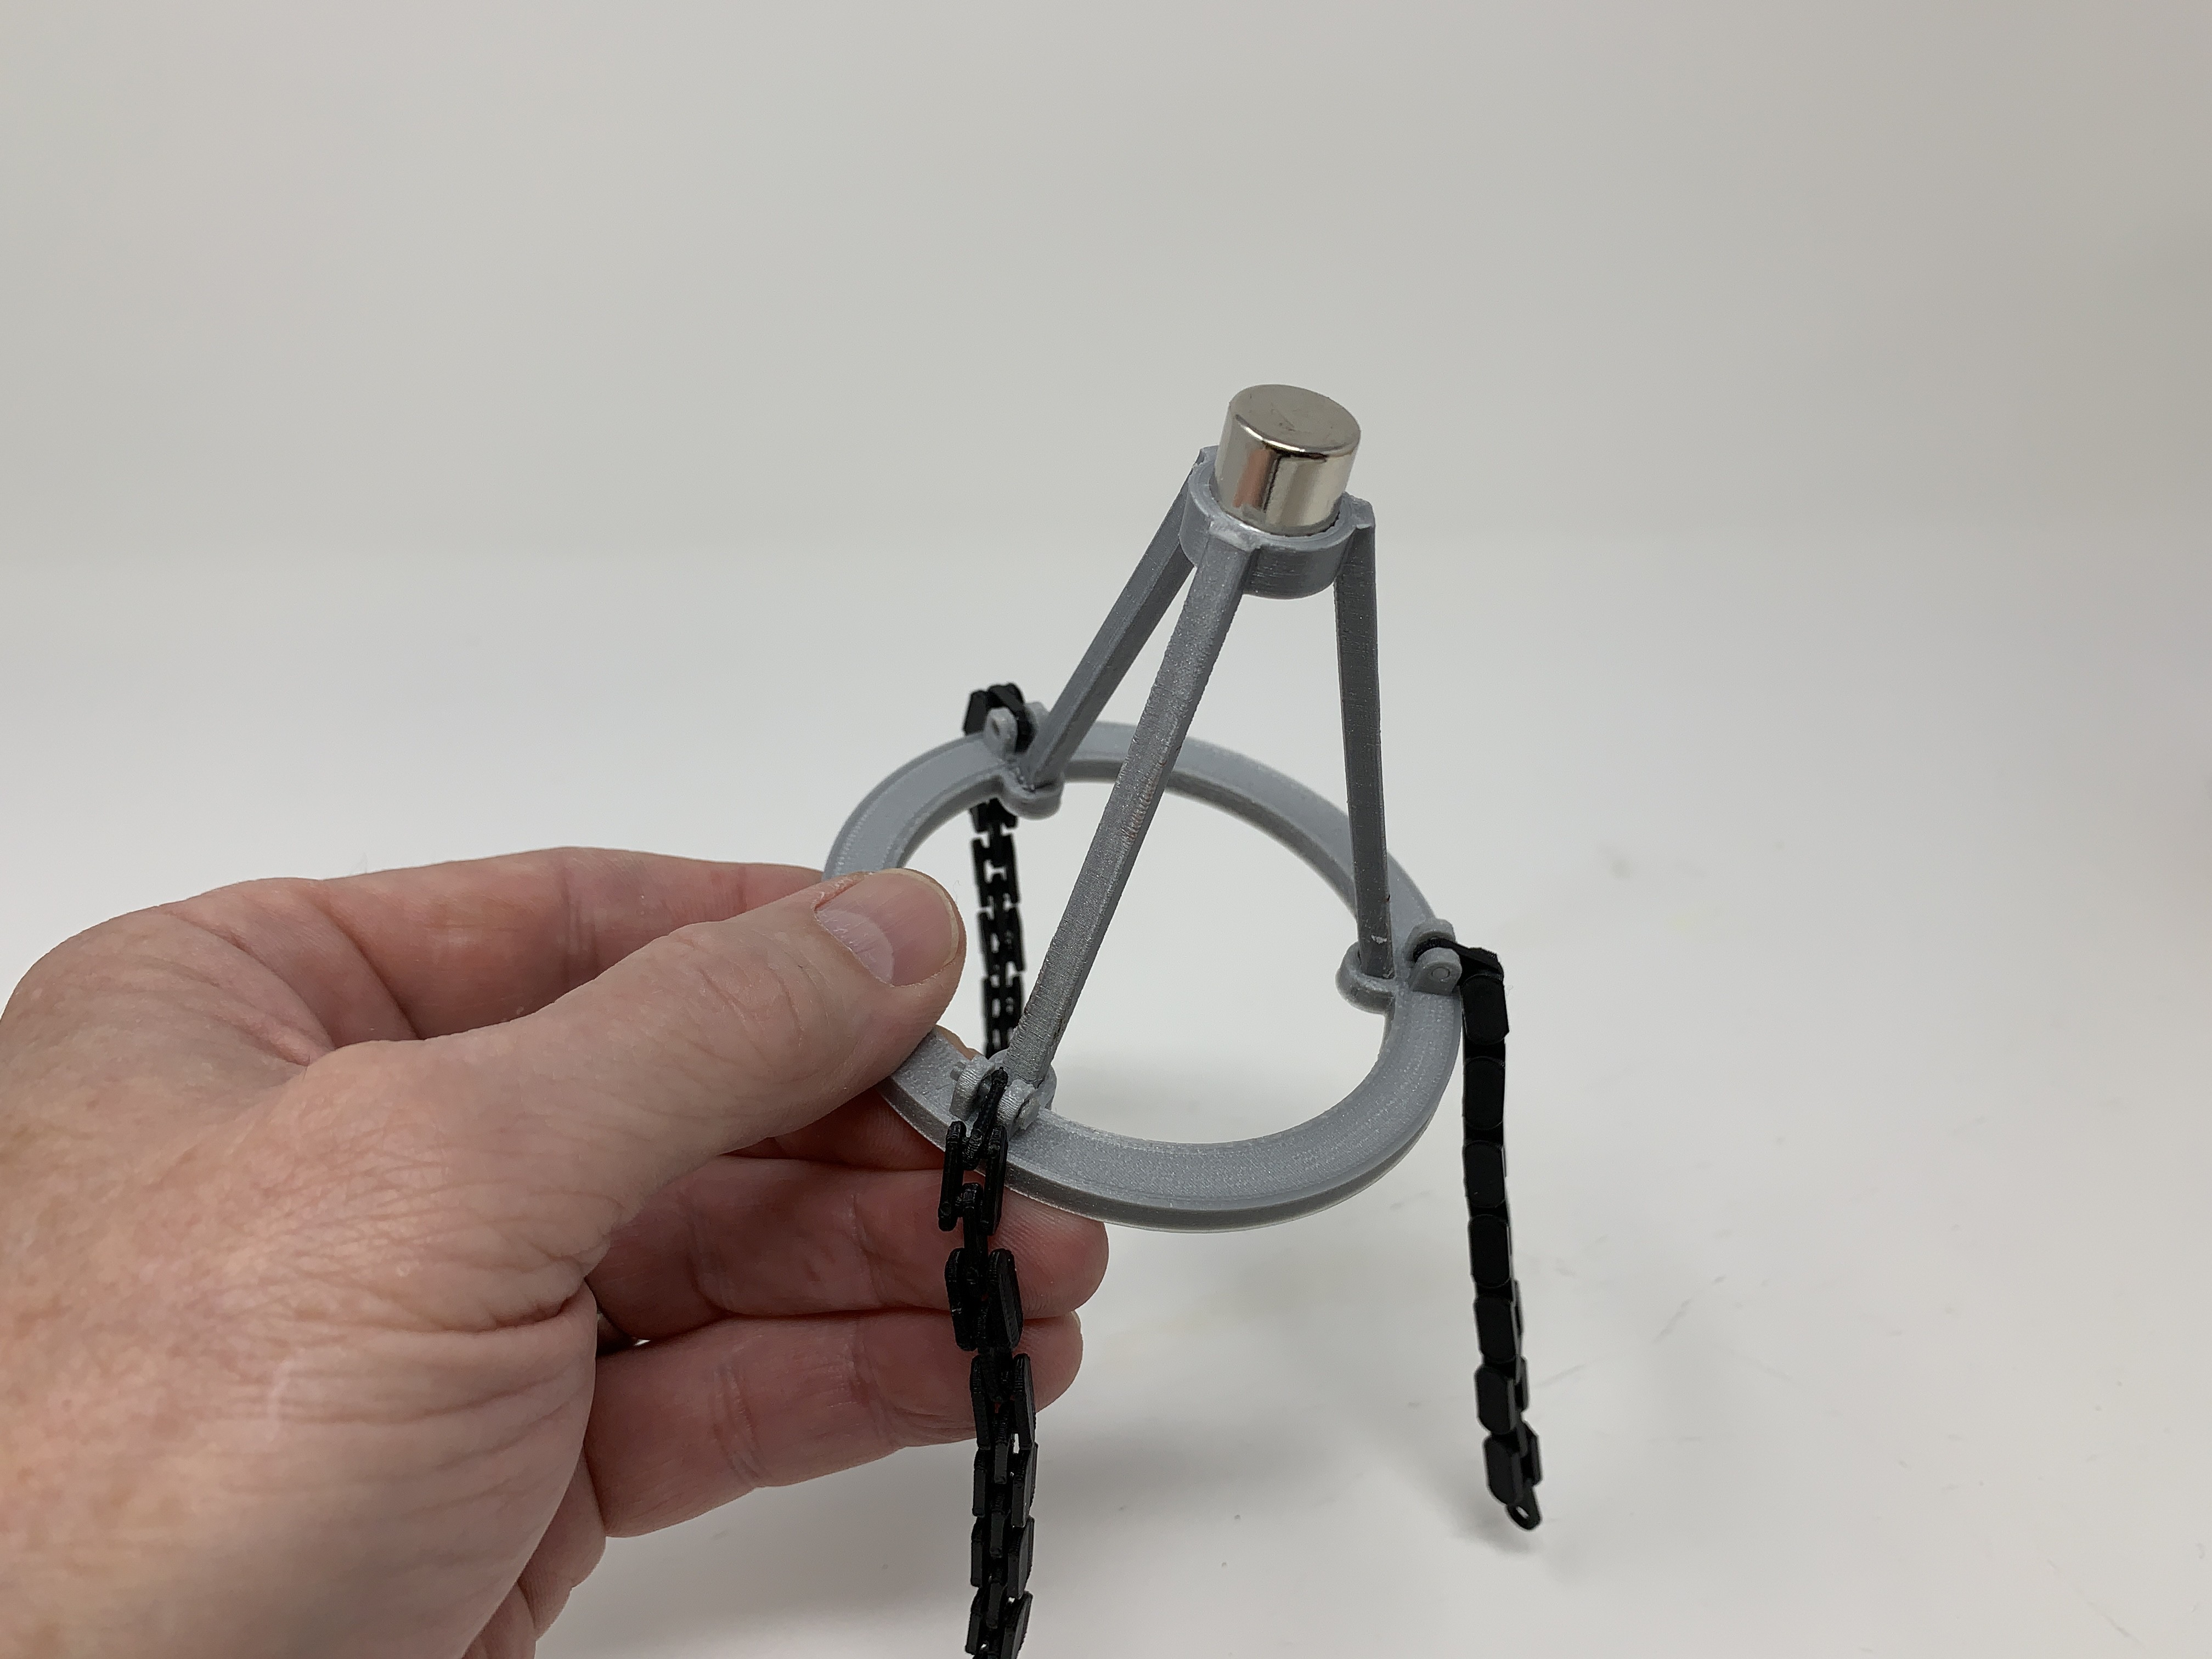
• Threaded the second magnet holder assembly through the base assembly.
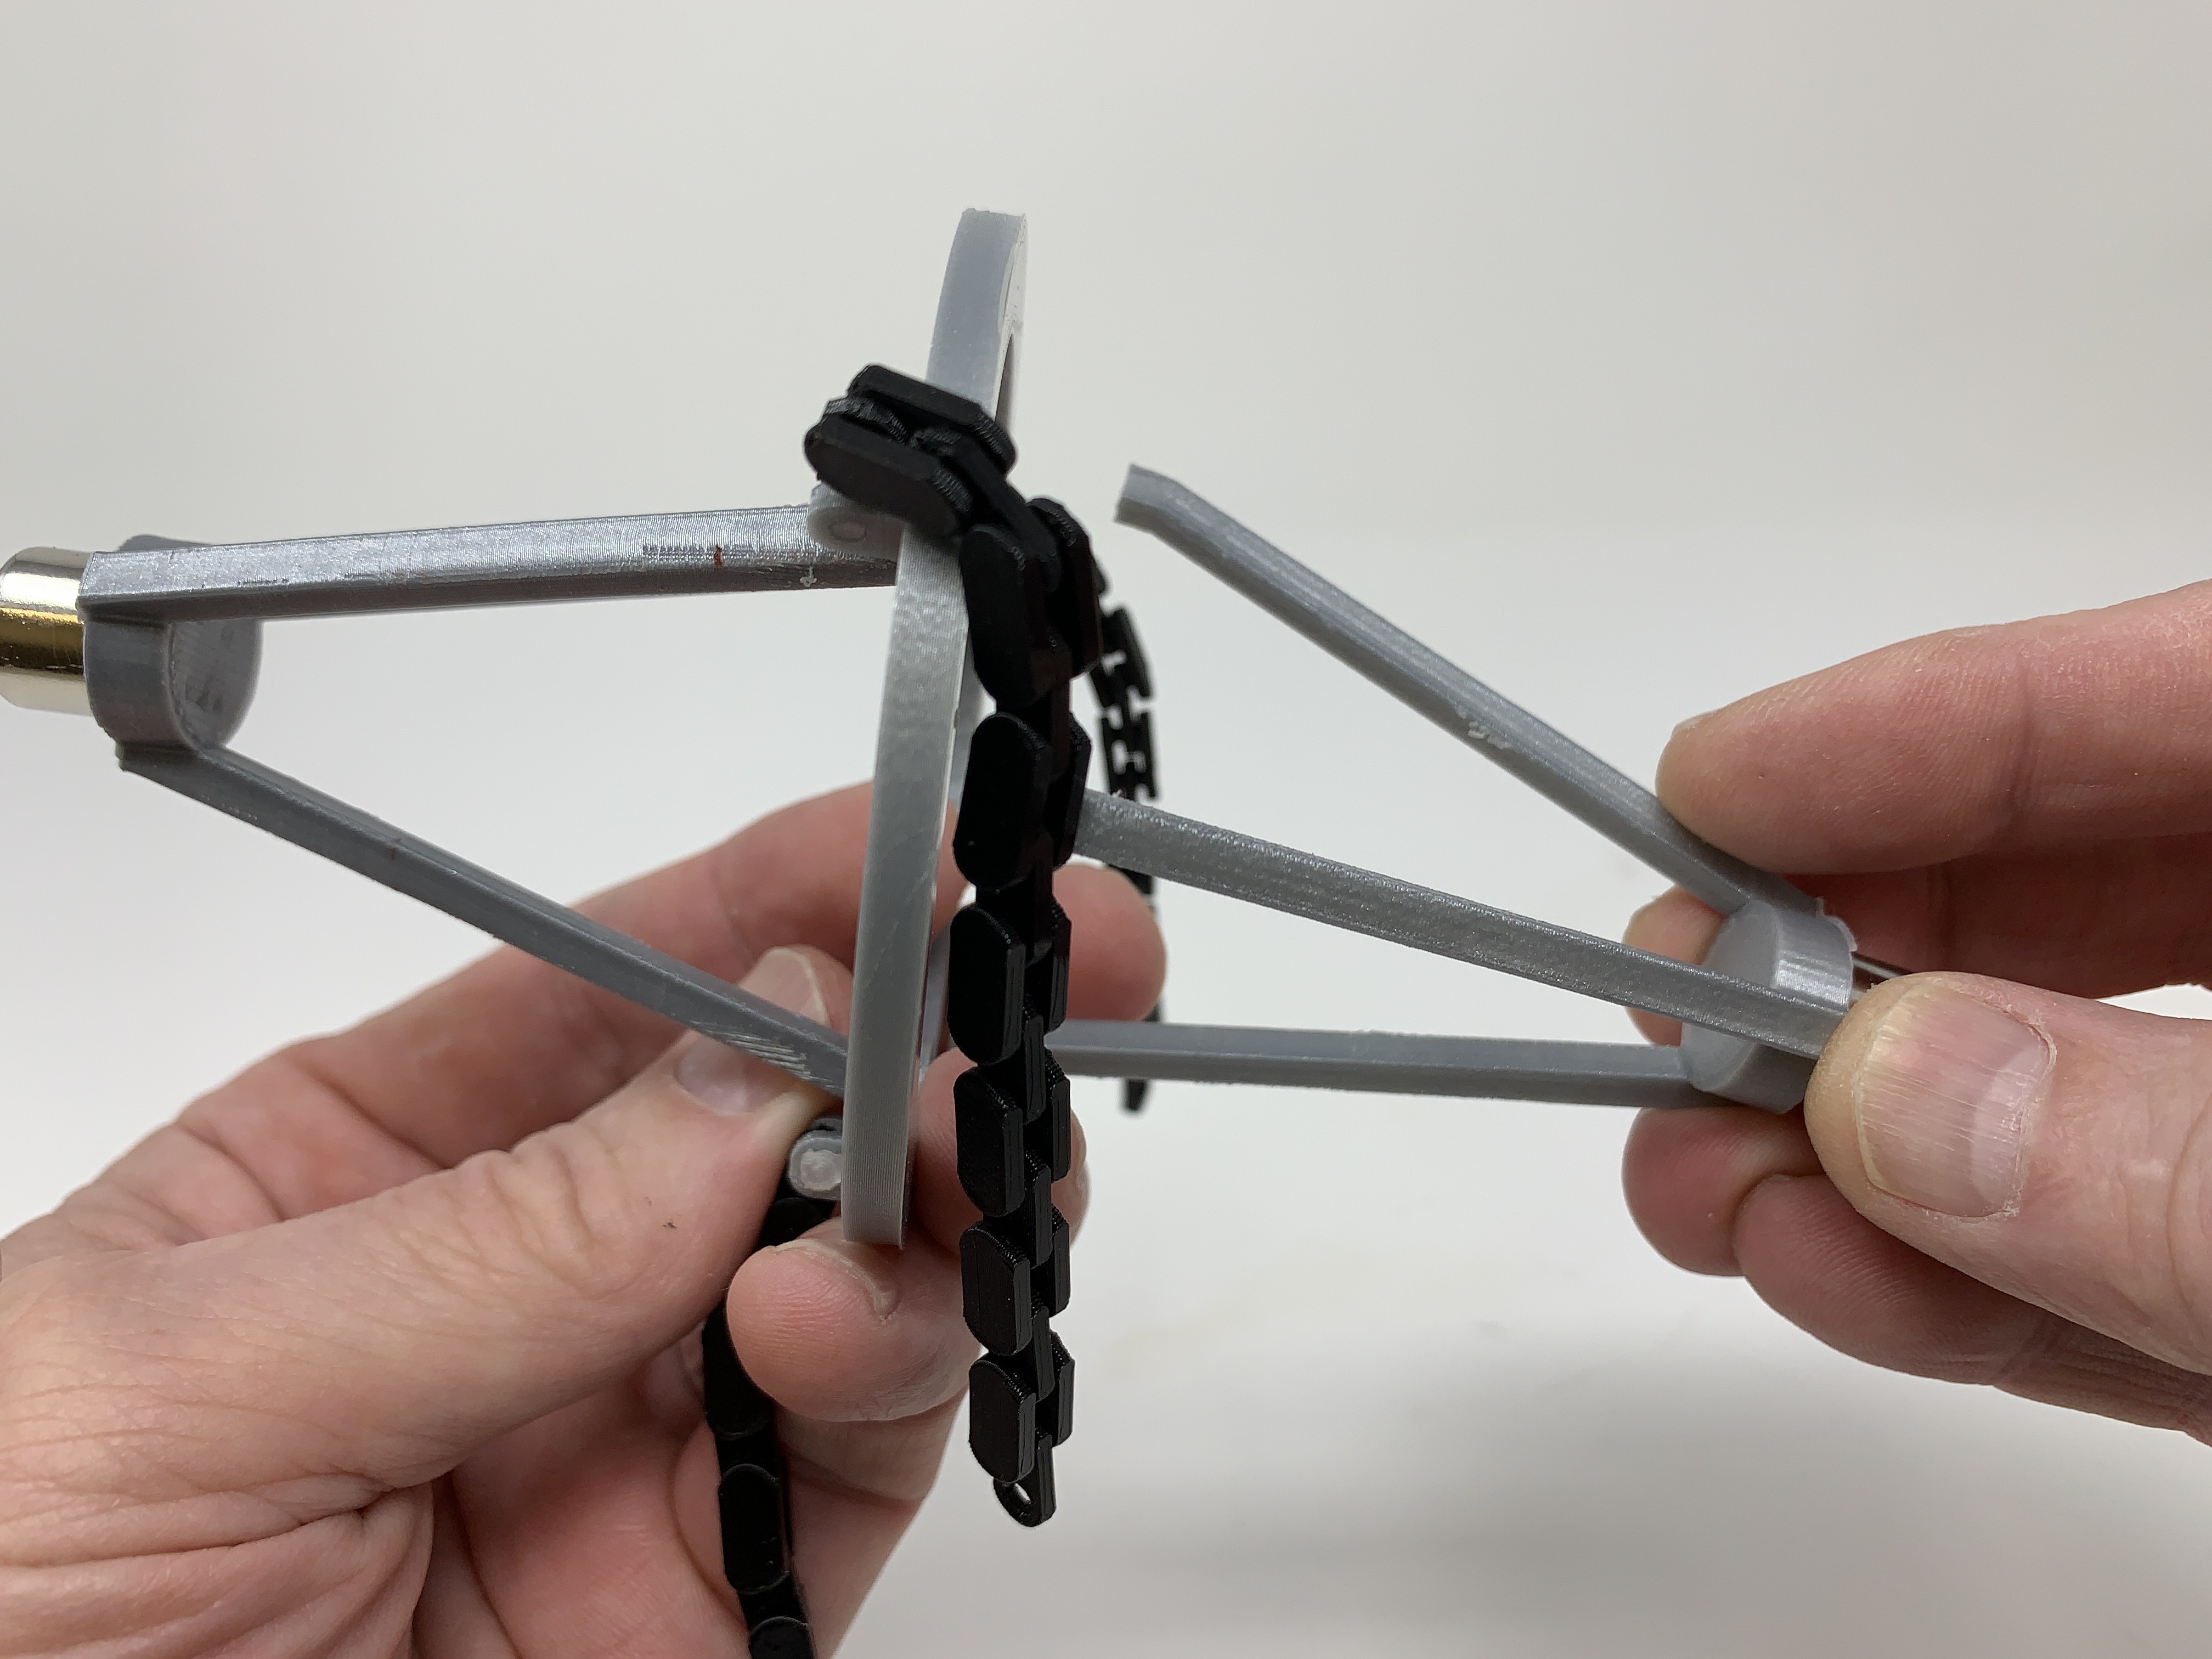
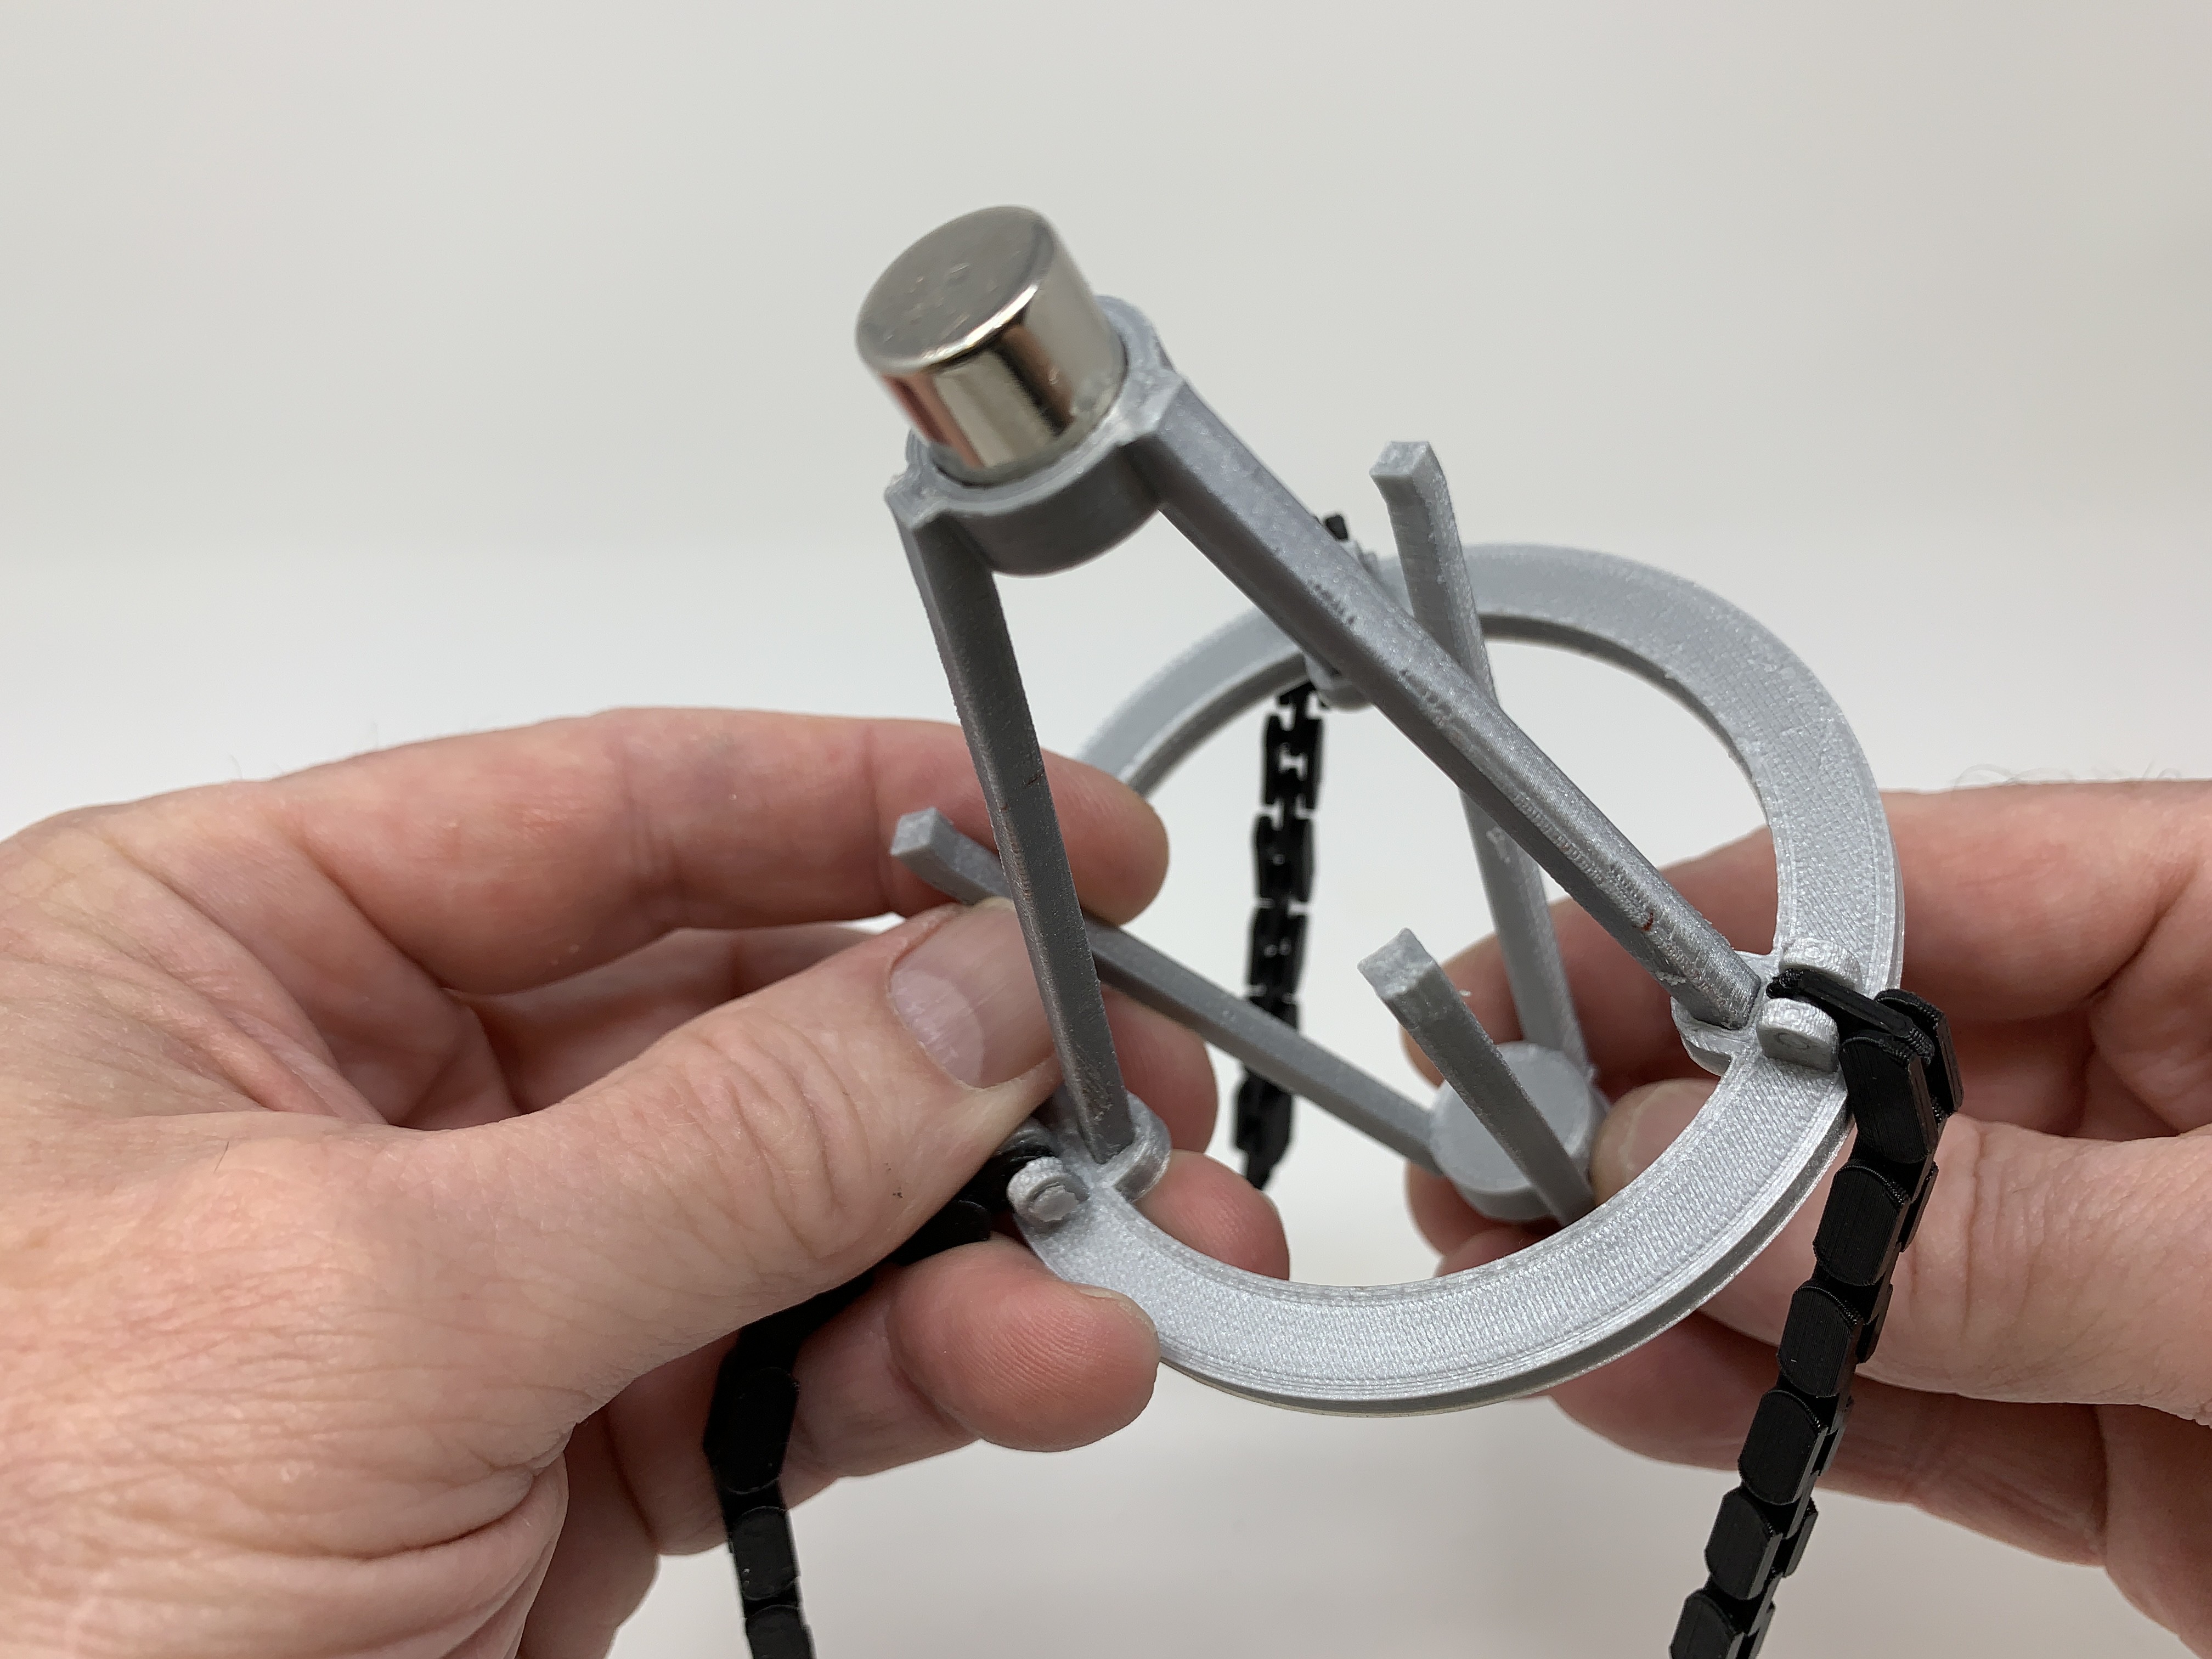
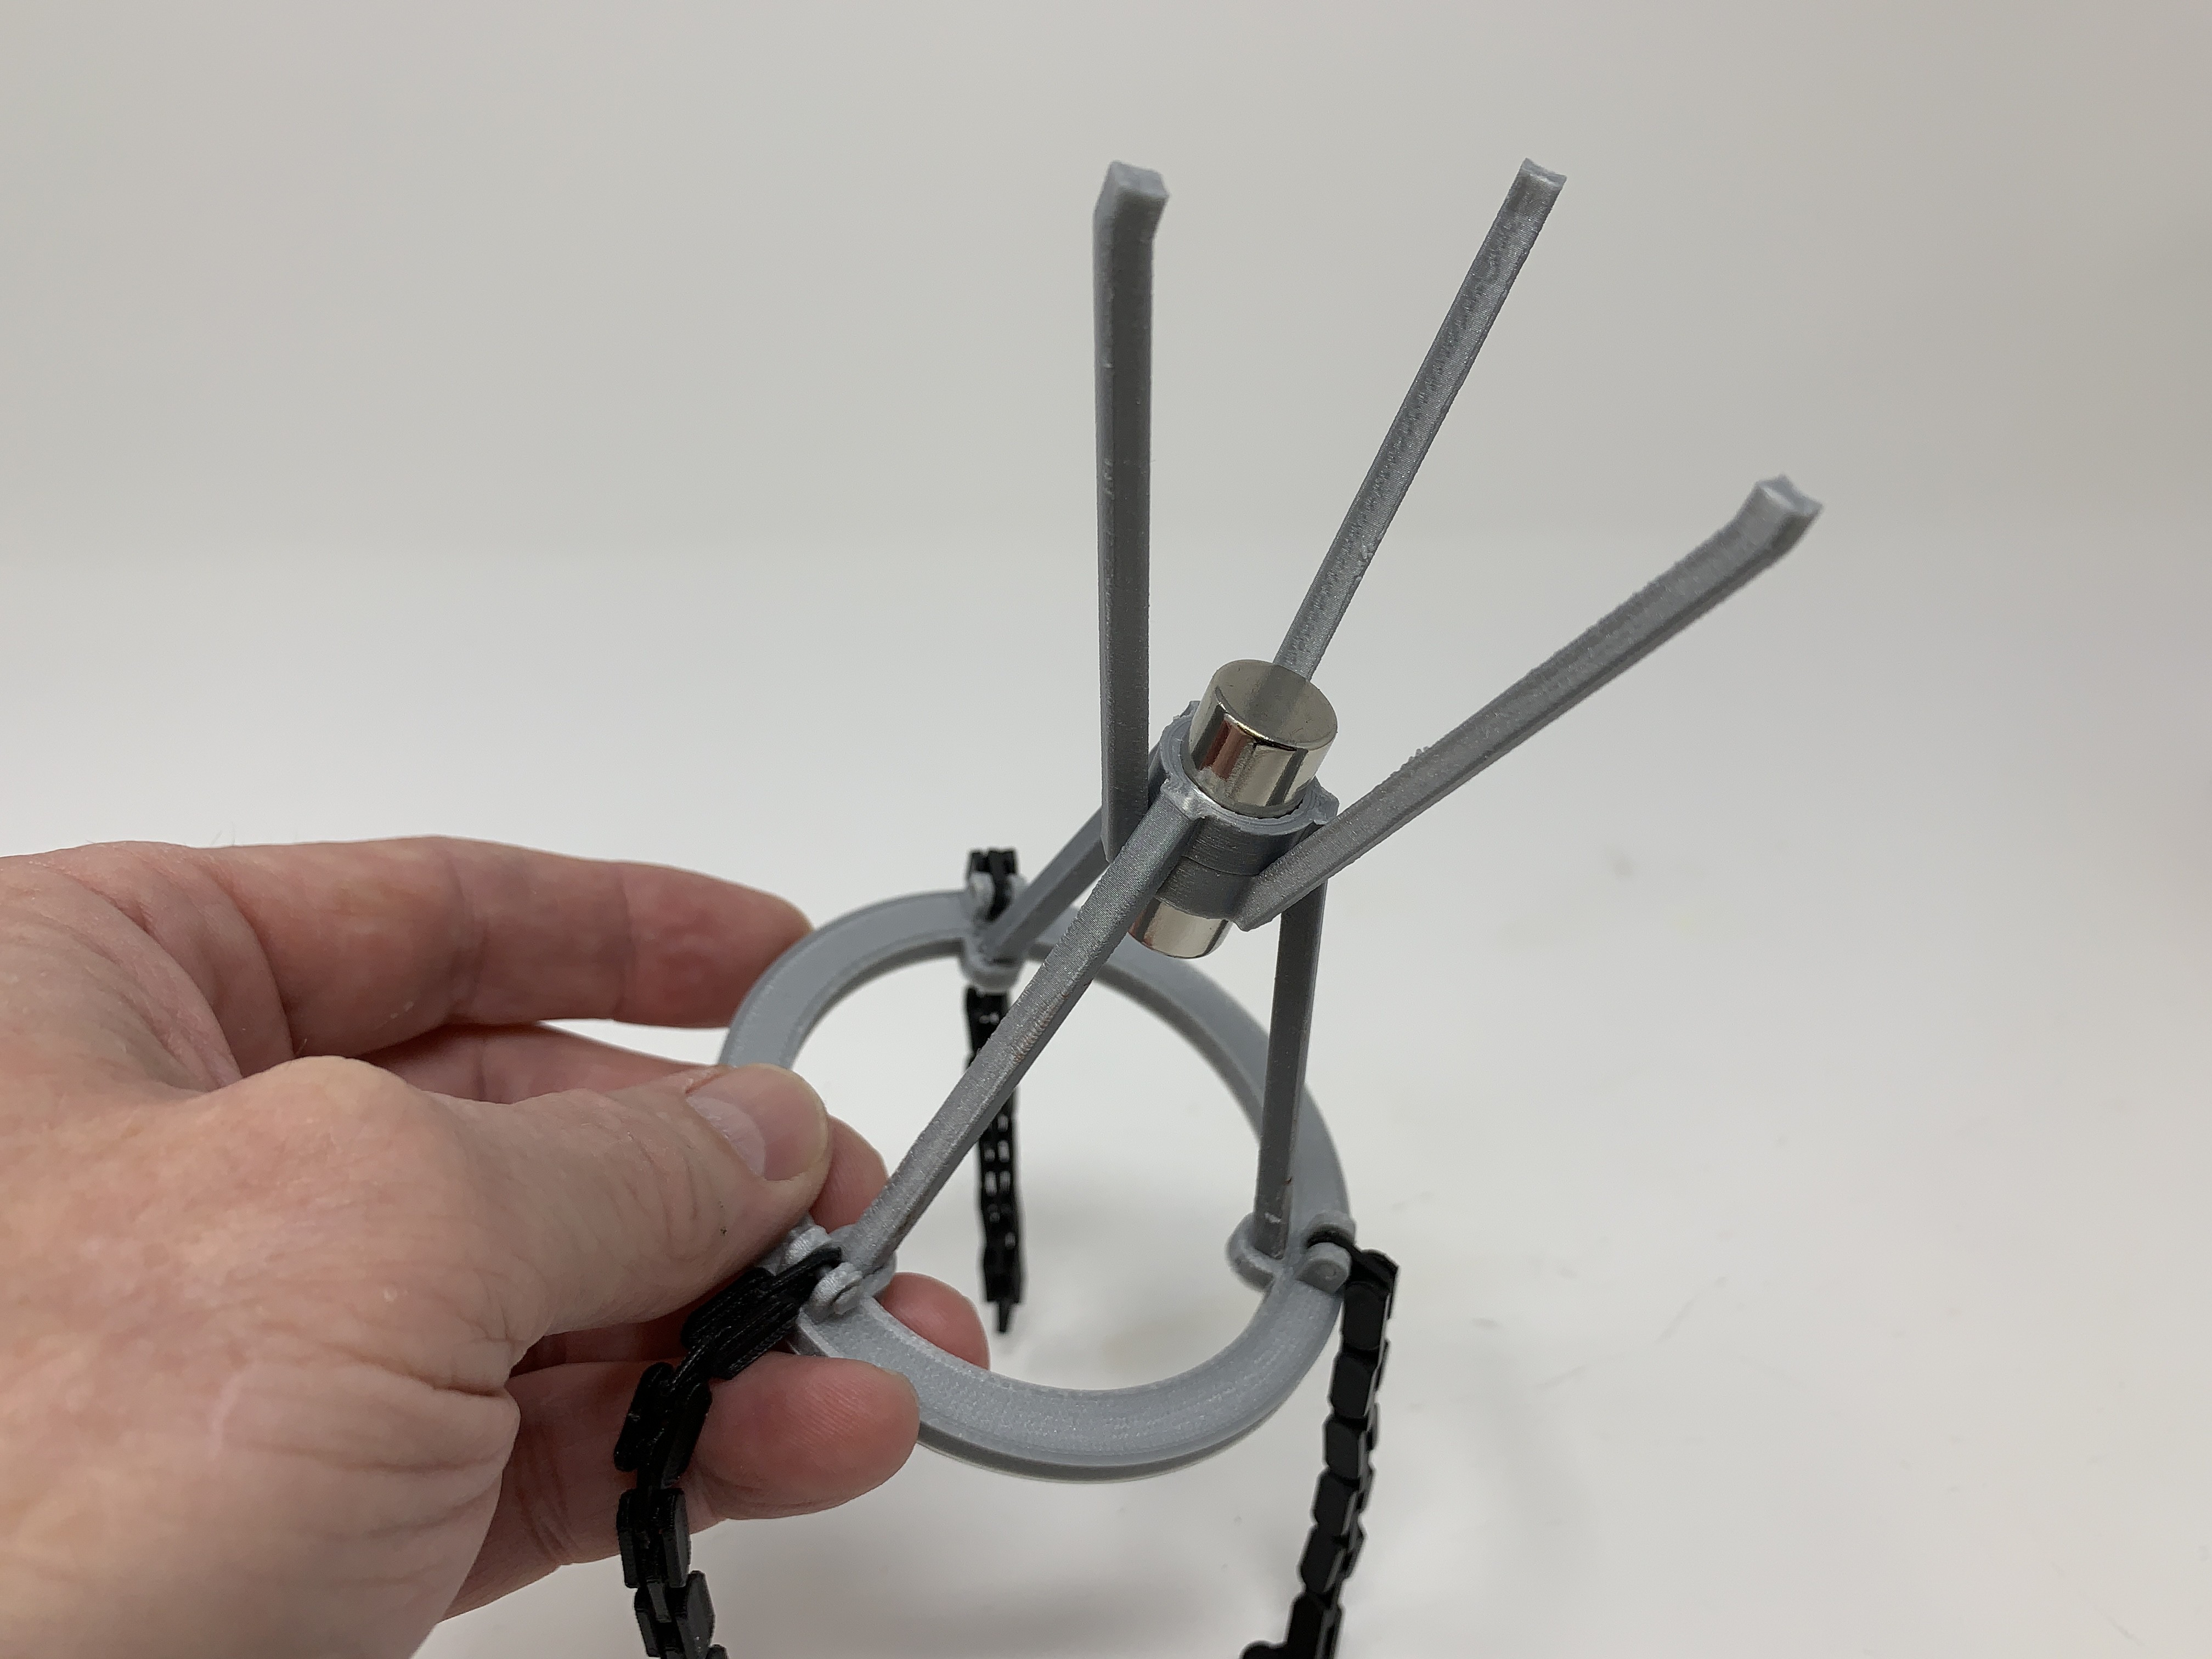
• Pressed "Top.stl" onto the second magnet holder assembly.
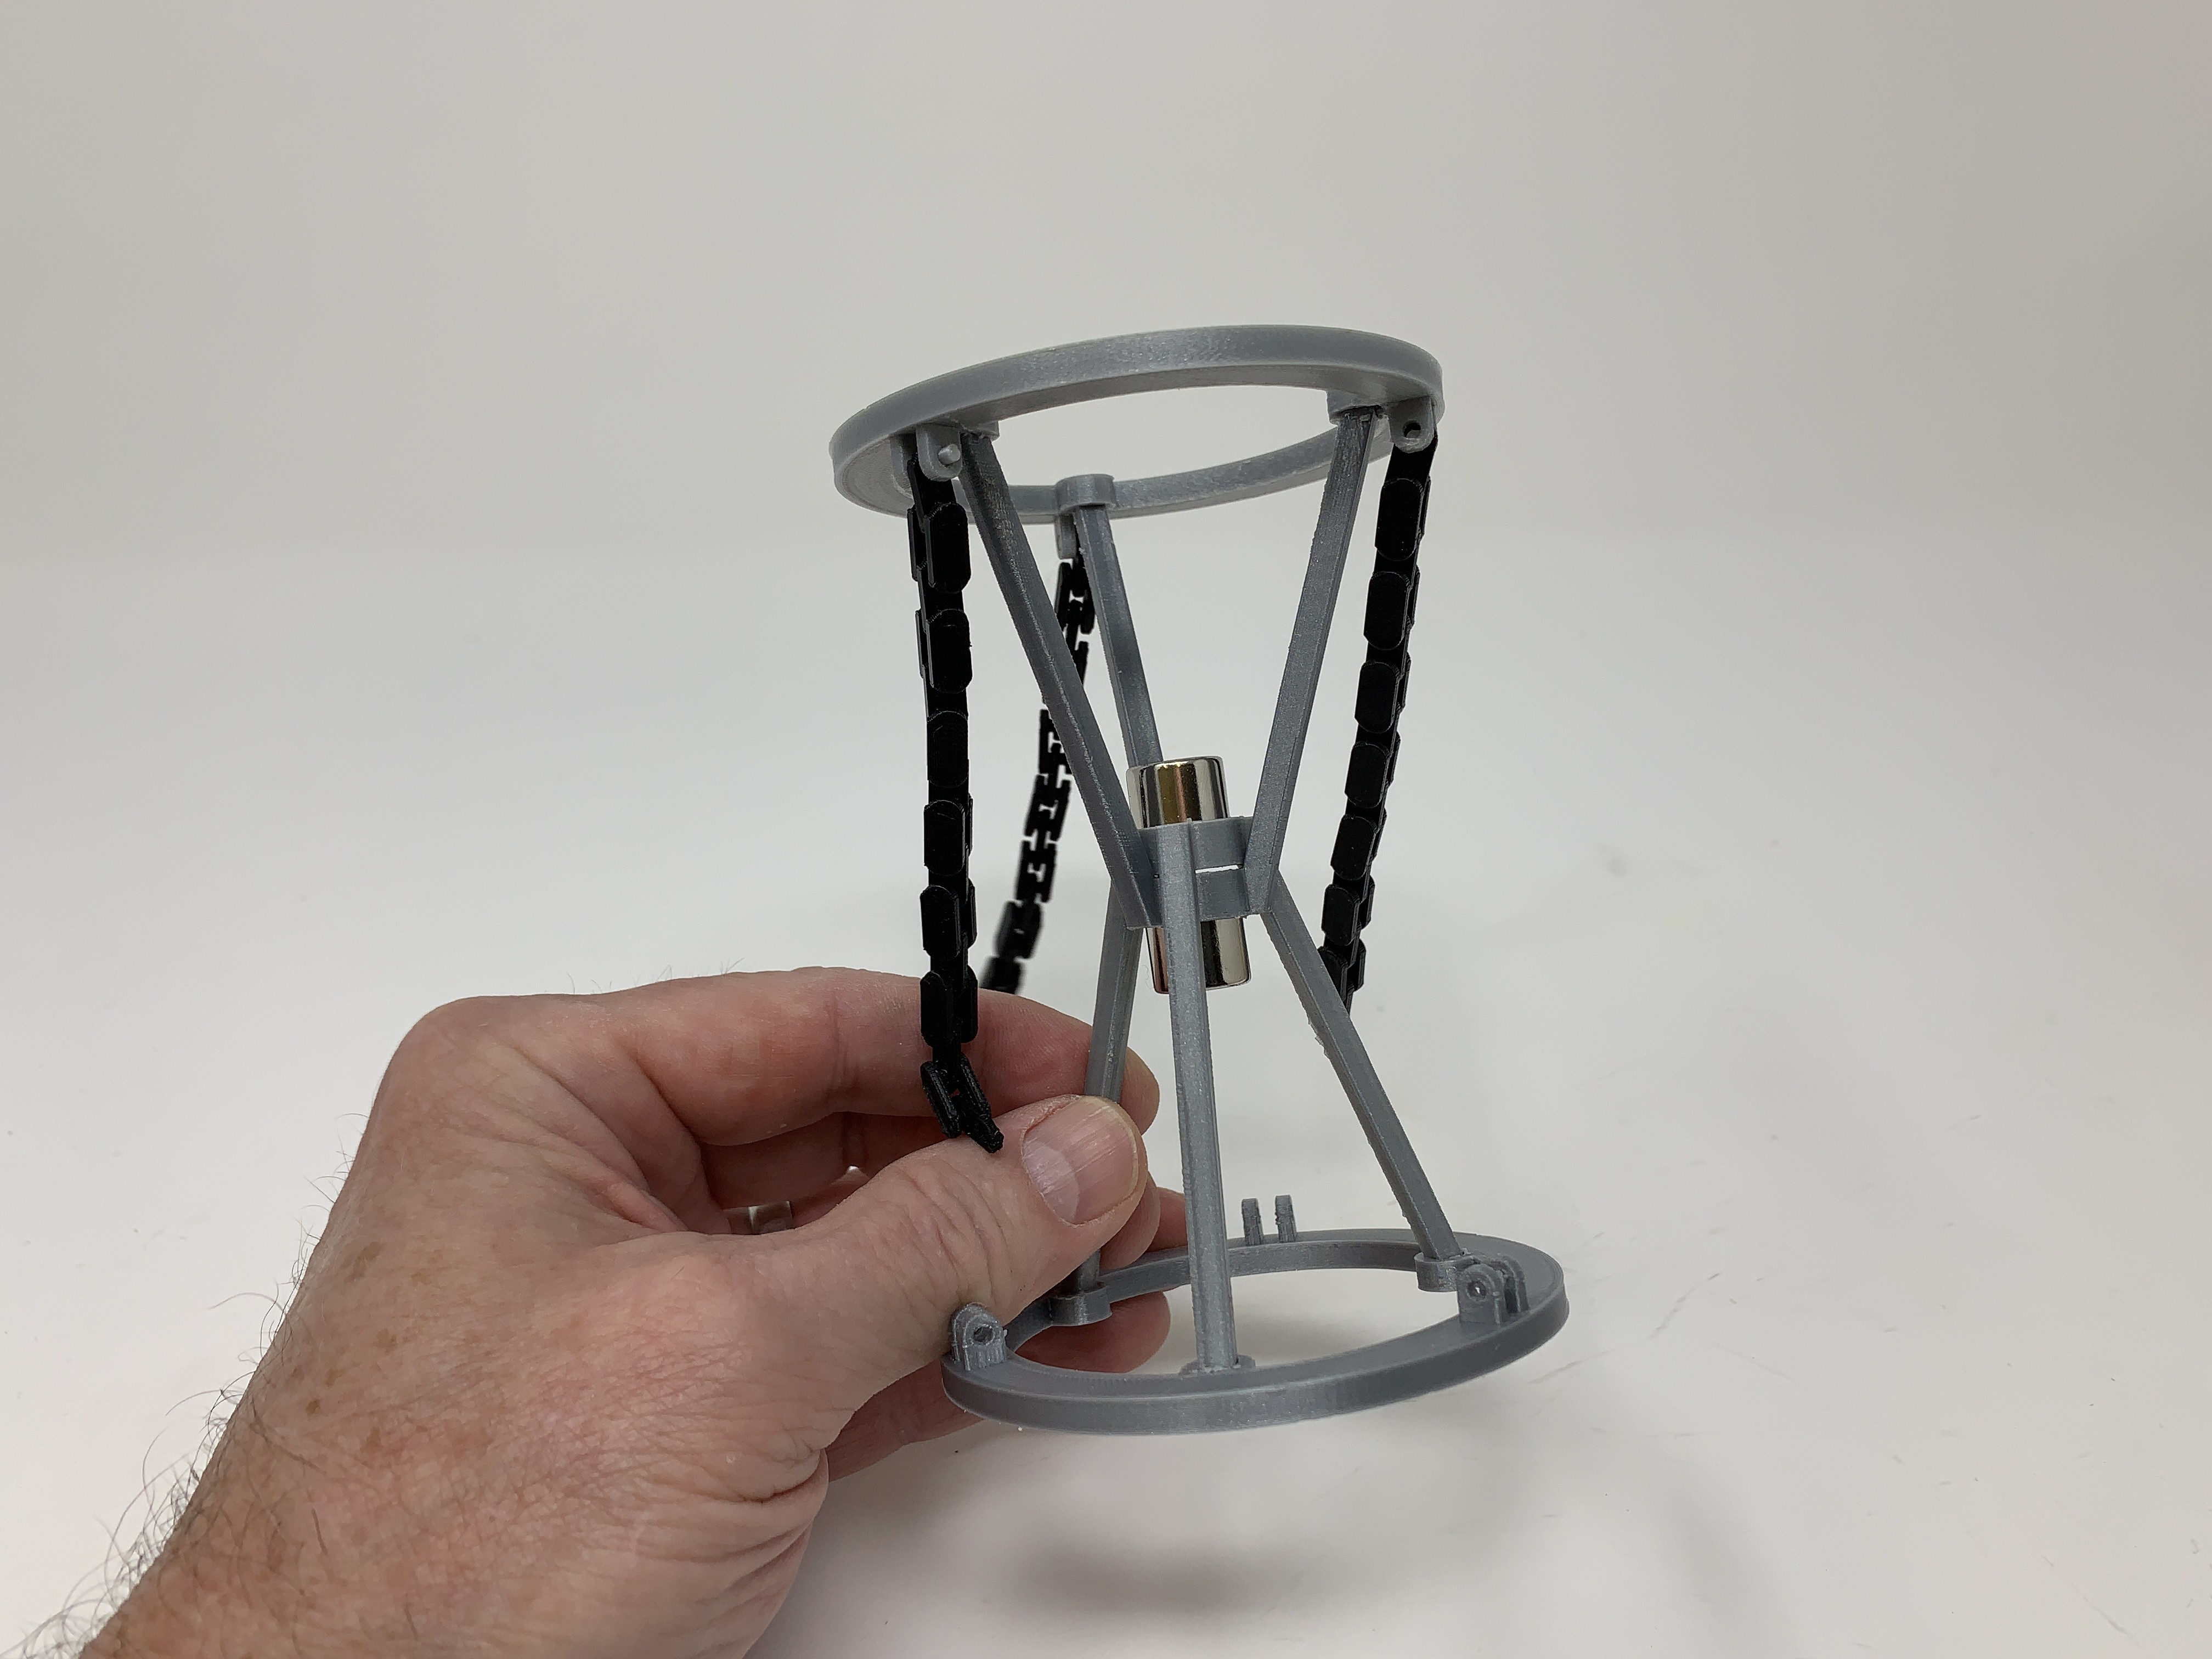
• Attached the free ends of the three chains to the top using the remaining three pins.
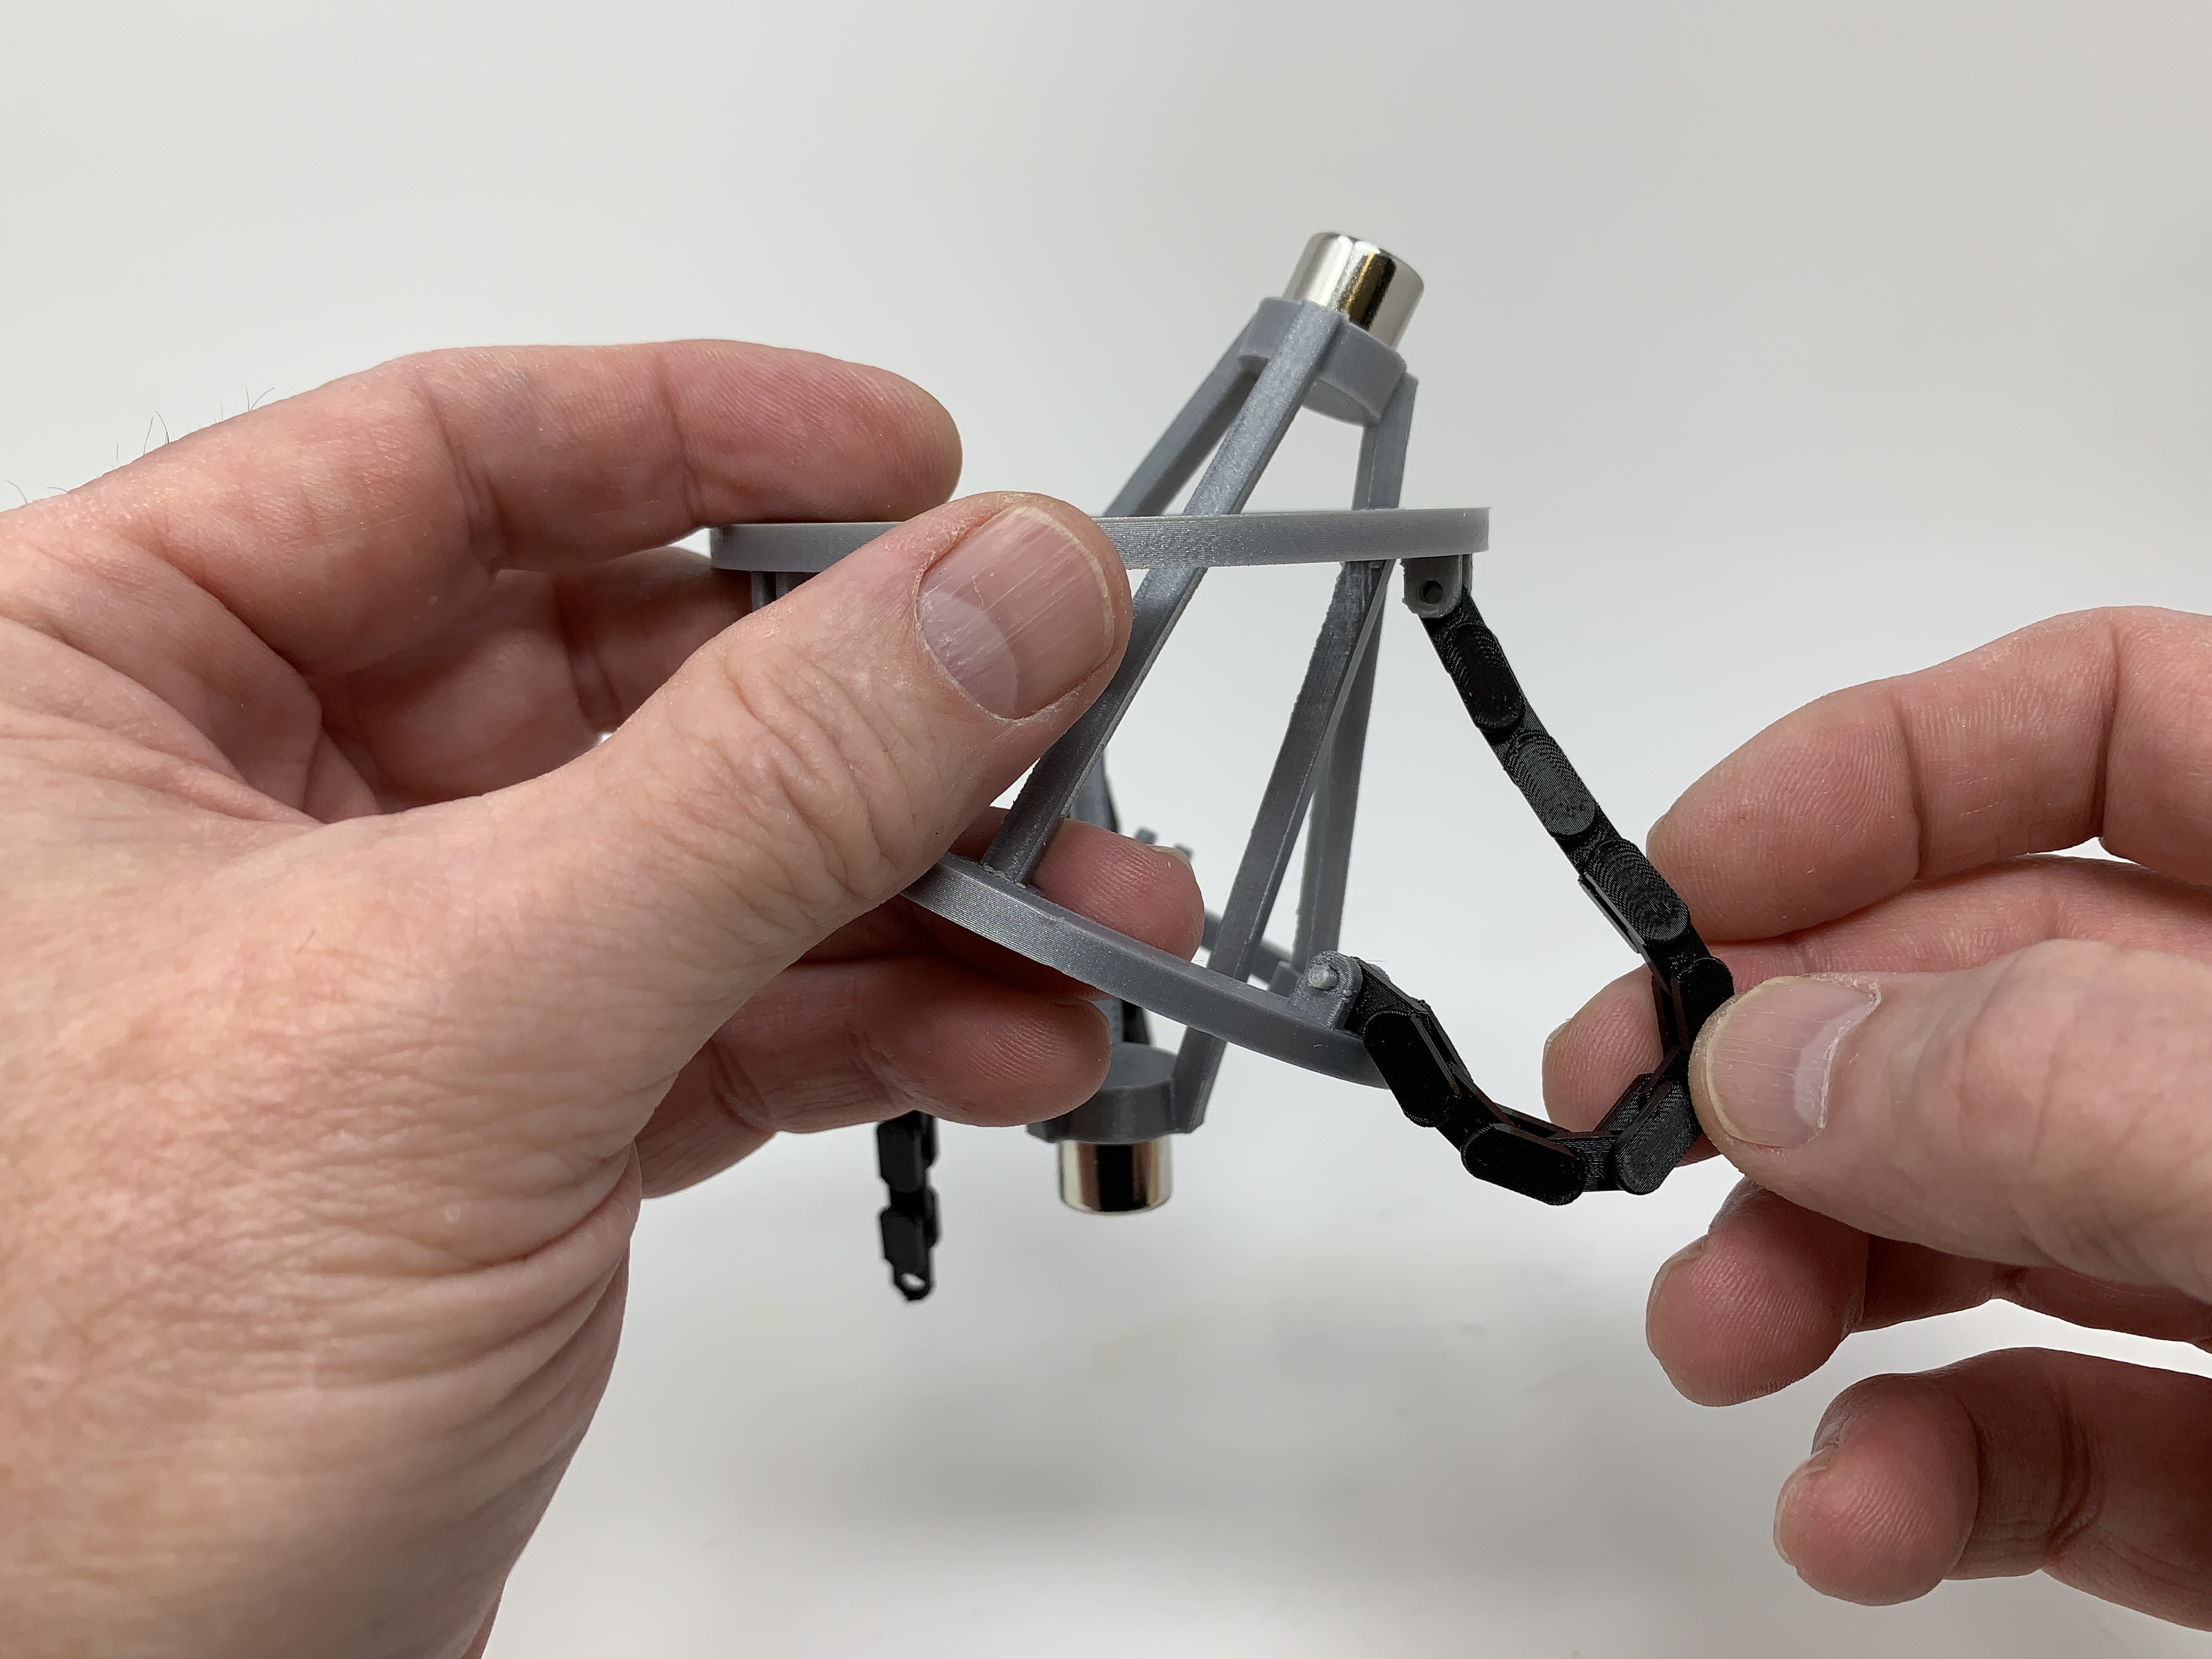
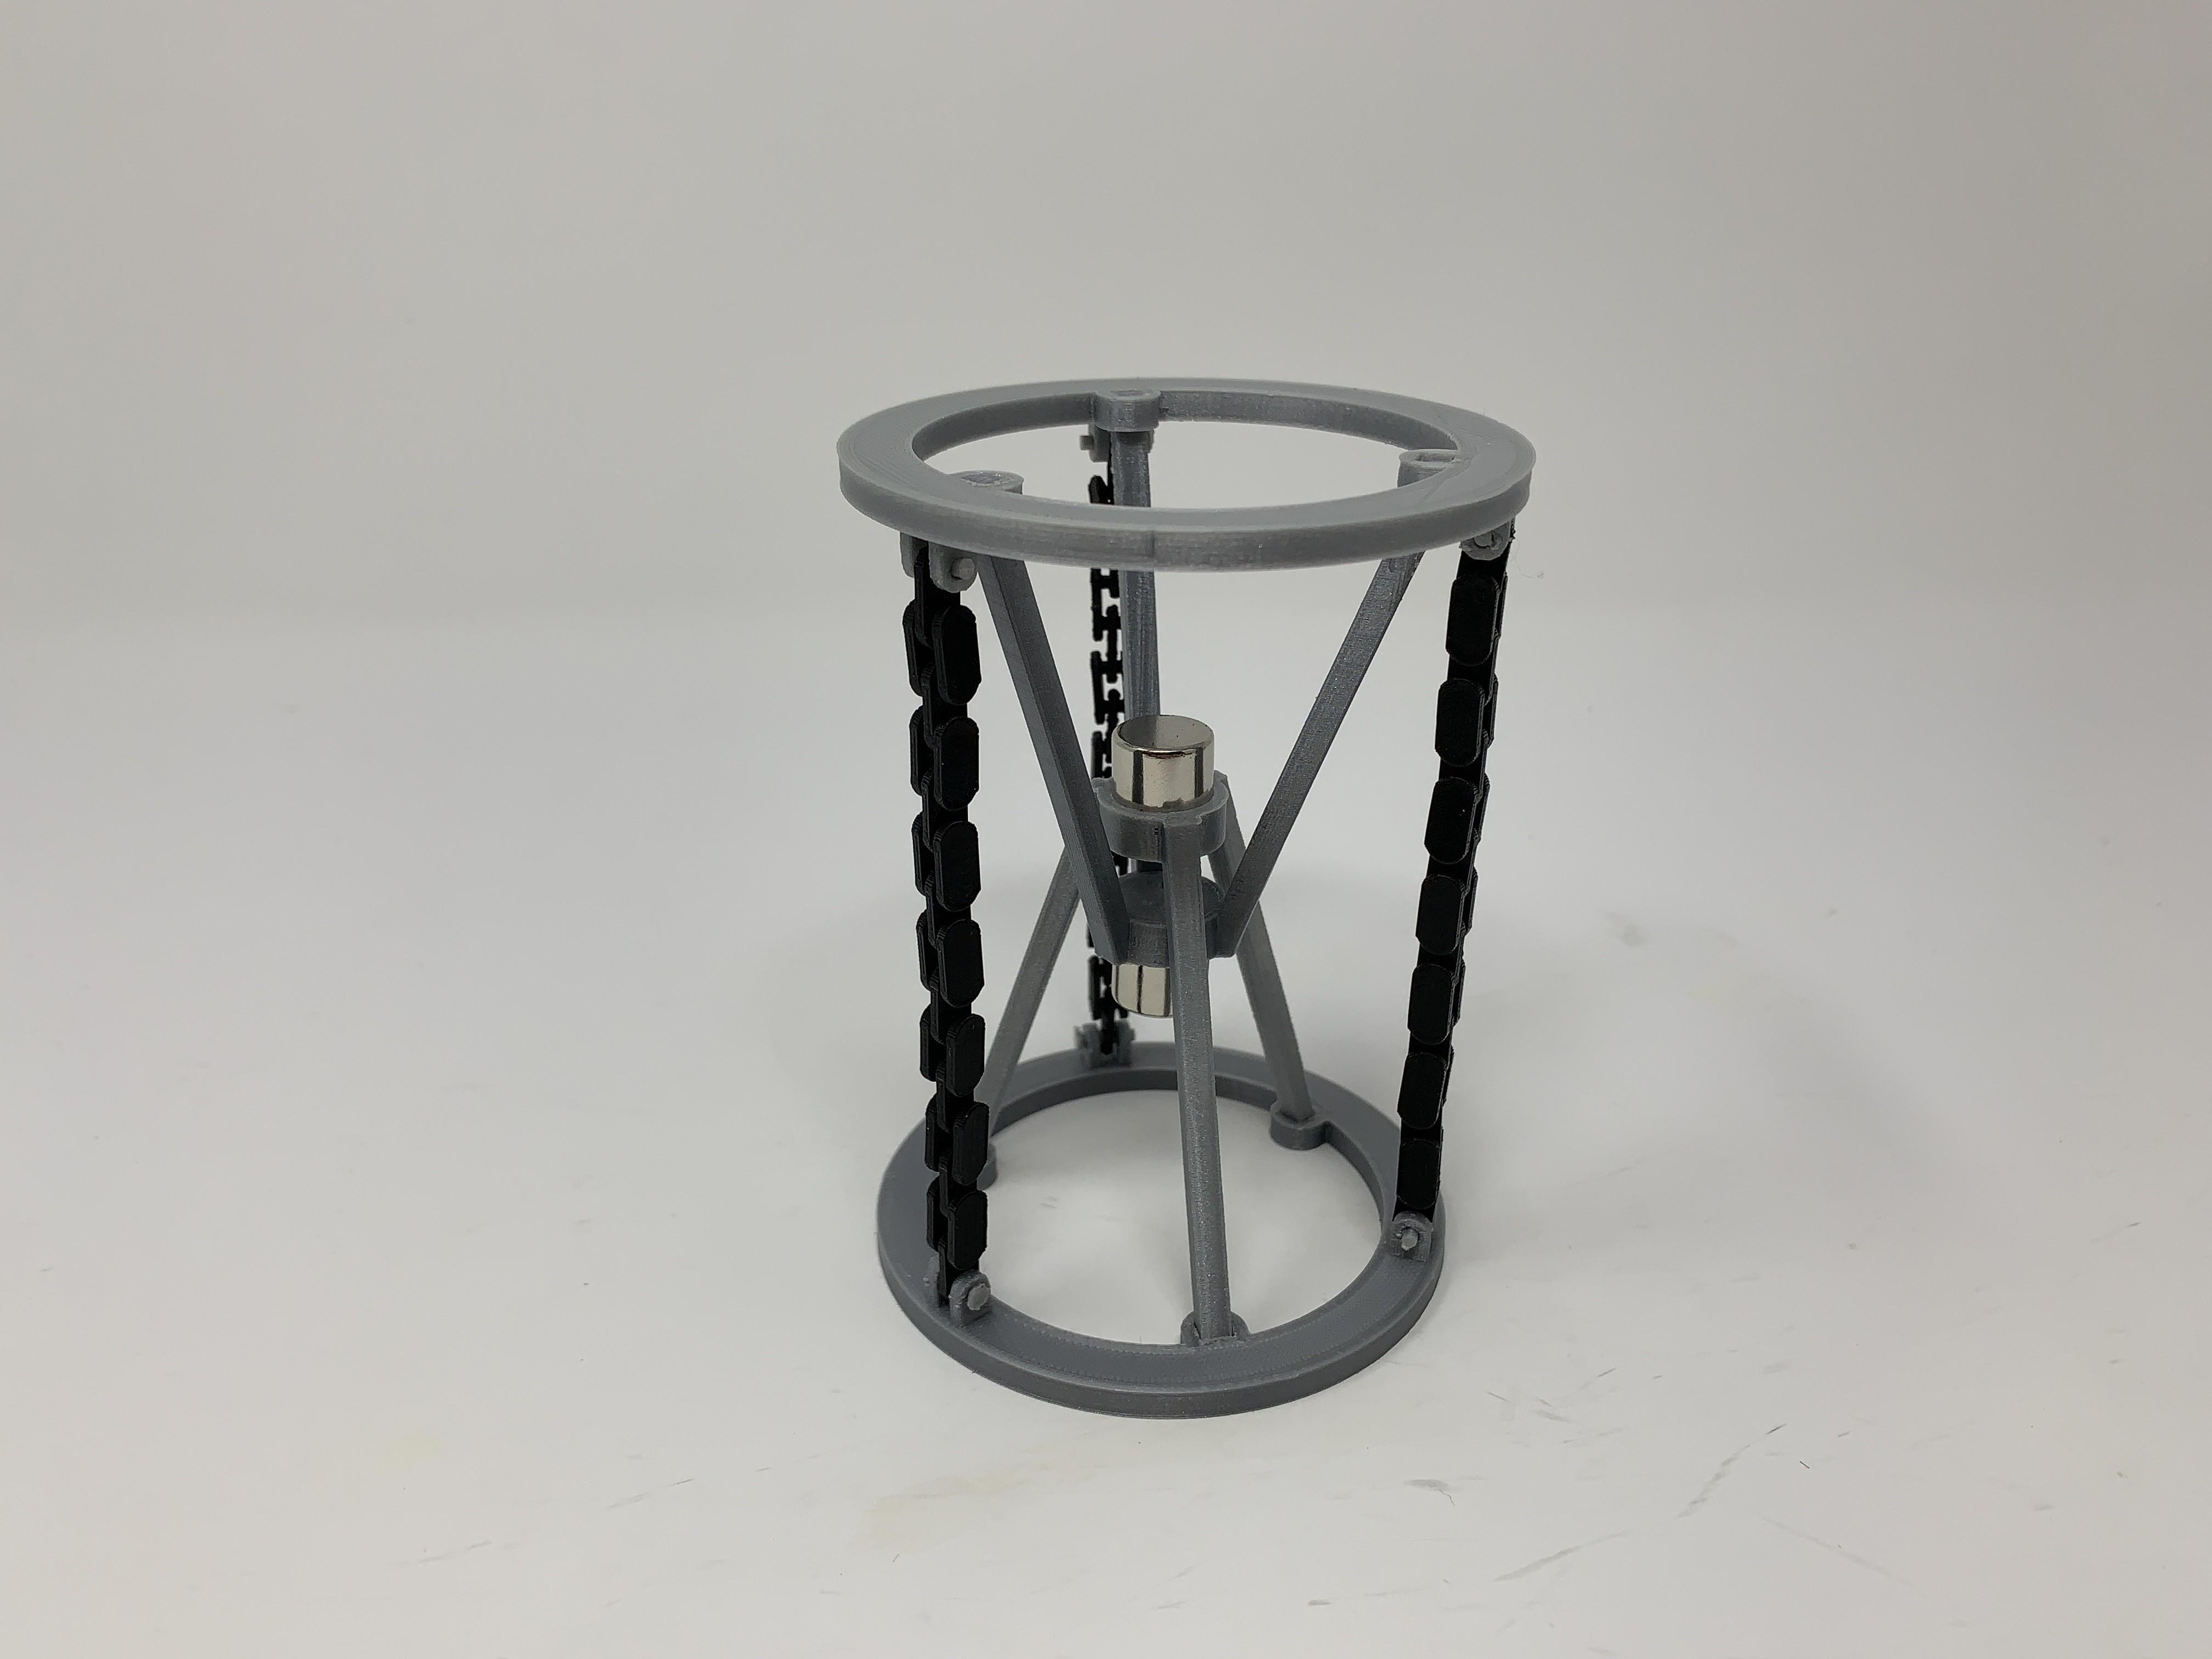
And that is how I 3D printed and assembled "3D Printed Magnetic Tensegrity Model".
I hope you enjoyed it!
 Greg Zumwalt