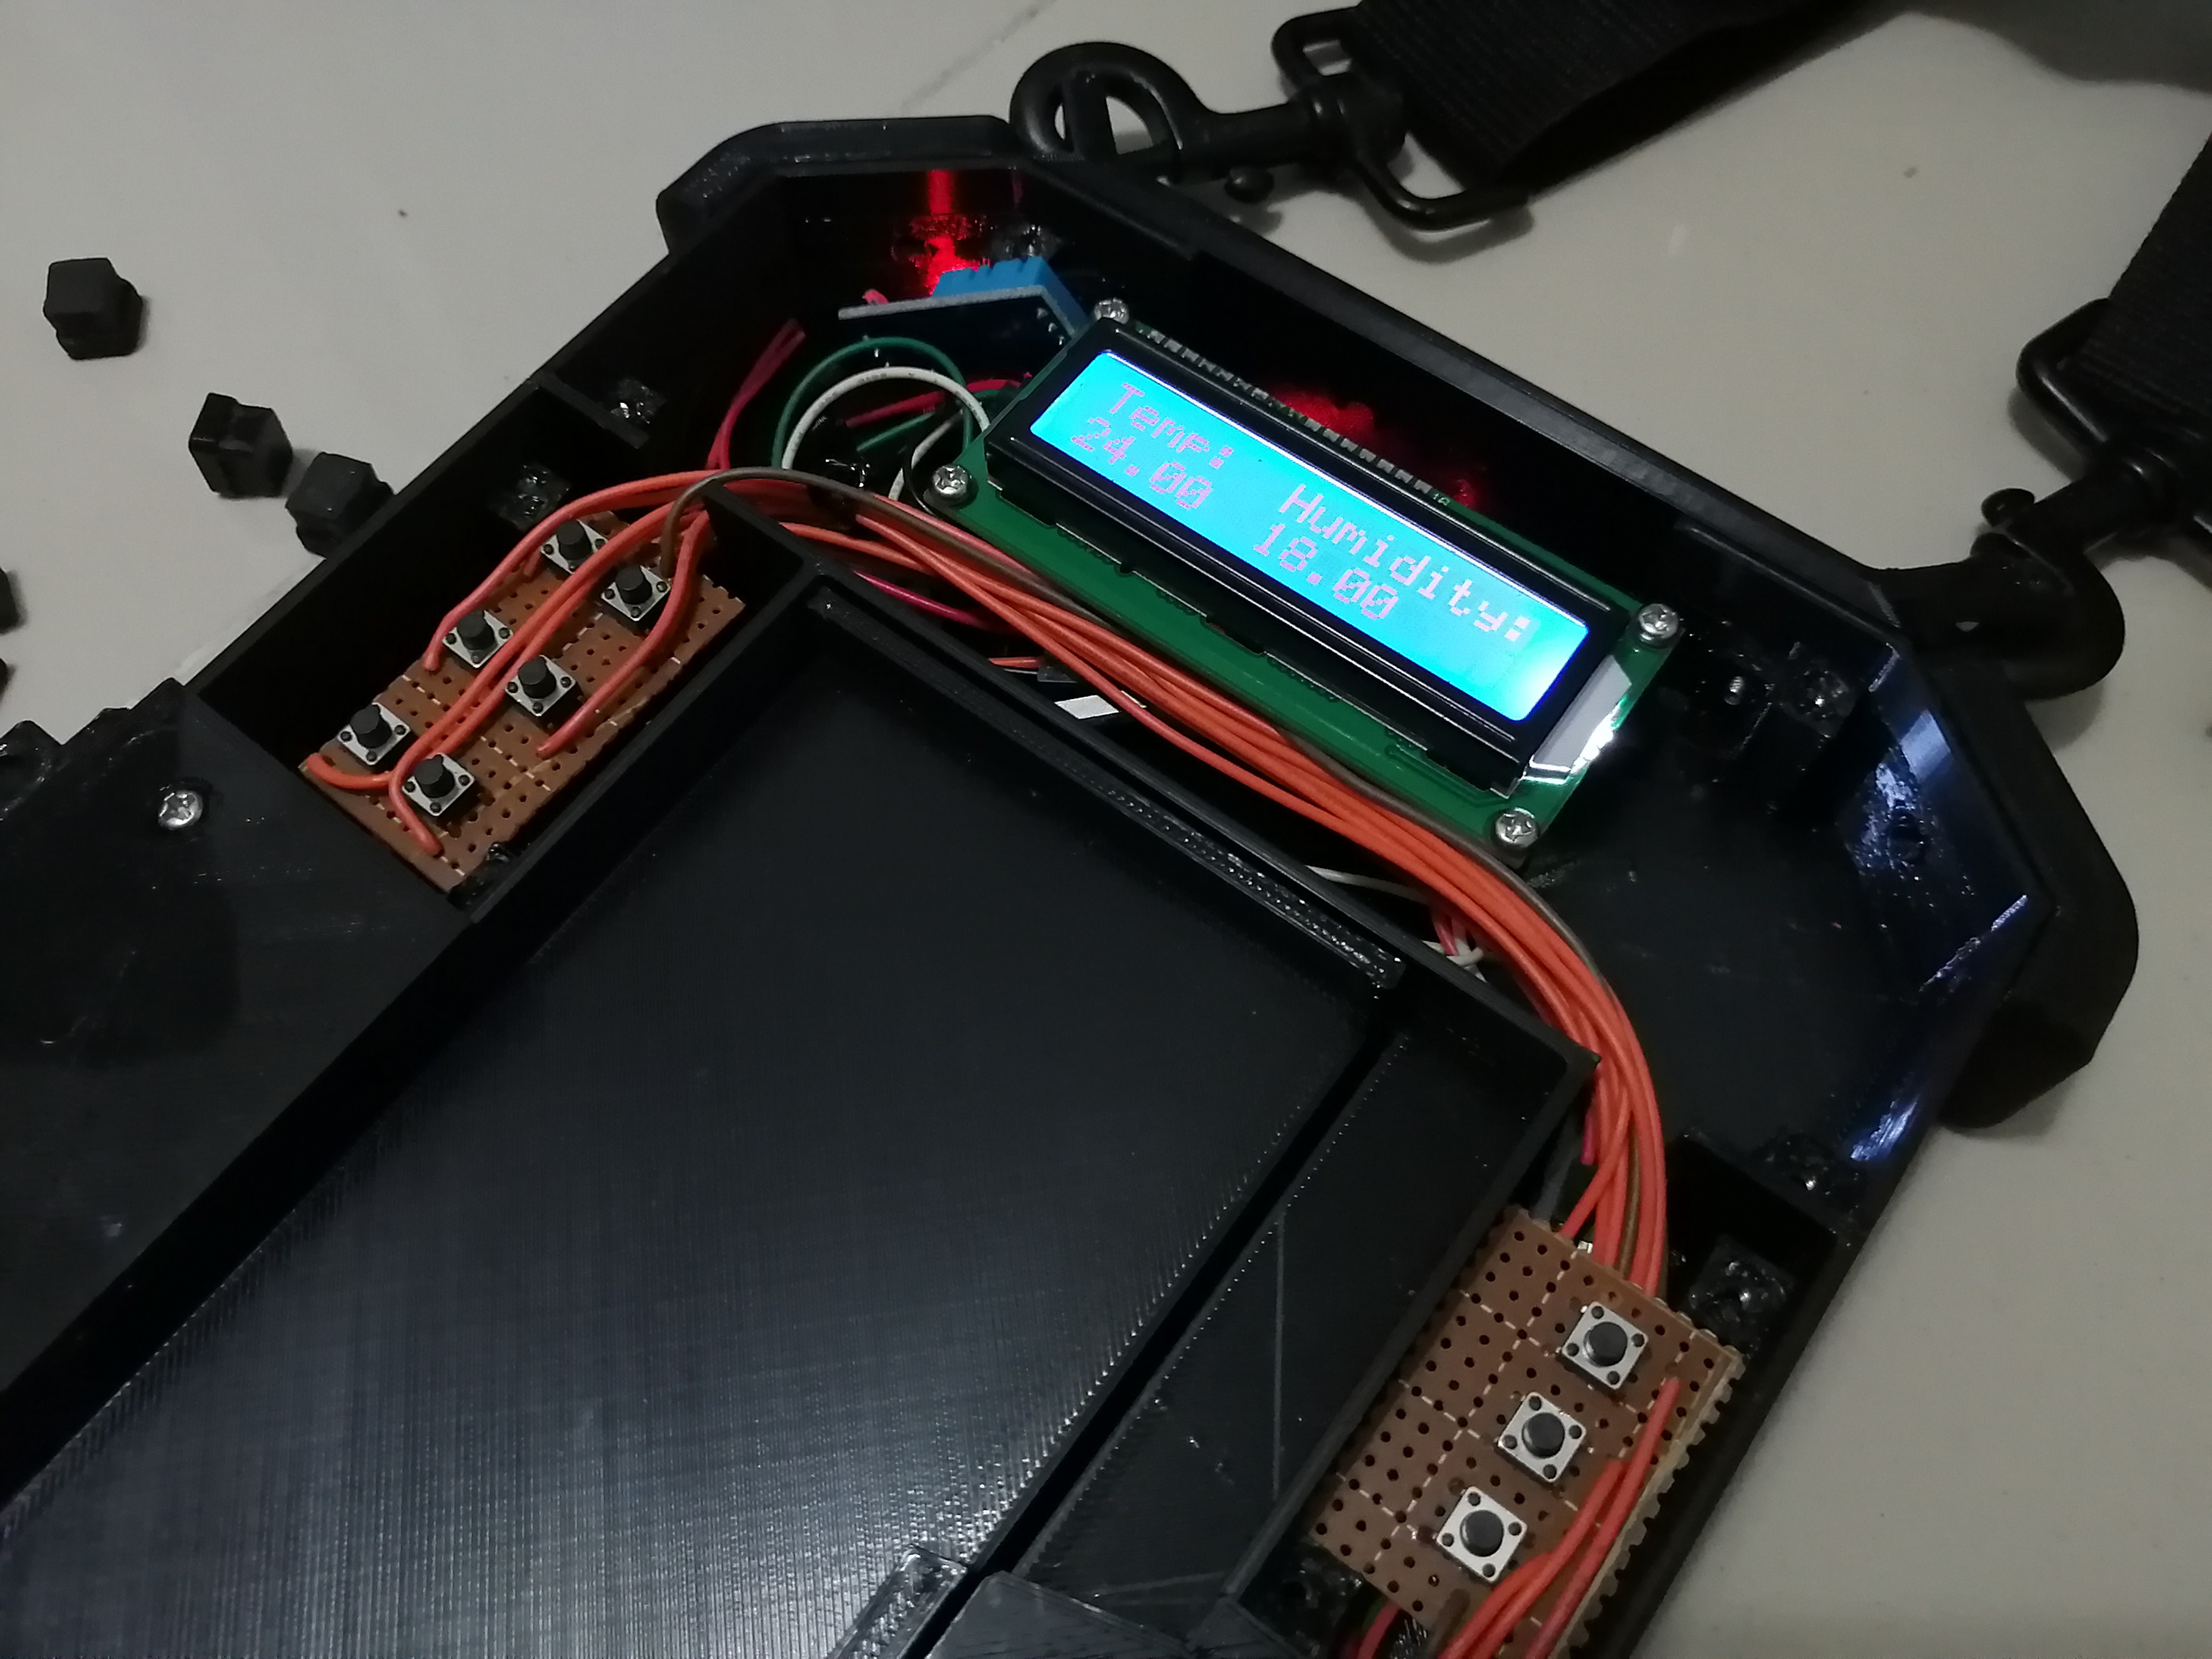
June 3, 2020 | ProgressTH The DHT11 temperature/humidity sensor and an LCD display (and the powerbank powering them) was the original project that the cyberdeck was built around.

Driven by an Arduino Nano, the DHT11 sensor currently resides inside the LCD compartment through which the key wires run through on their way to the Arduino compartment where the DHT11 and LCD both hook up to the Nano as well.
What would be better and what will eventually be done is the DHT11 being given its own small probe housing and connect to the cyberdeck allowing the probe to be placed, say inside a 3D printing enclosure while the cyberdeck with the LCD display can be placed outside for easy reading.
Another idea being looked at is using a WiFi enabled NodeMCU to collect temperature and humidity data, uploading it up to ThingSpeak and being able to connect and display it on the cyberdeck via whatever smartphone or WiFi-enabled Pi is mounted on it at the time.
The code is pasted below for easy copying/pasting into your project if you wish.
// include the library code:
#include <Wire.h>
#include <LiquidCrystal_I2C.h> // Using version 1.2.1

// The LCD constructor - address shown is 0x27 - may or may not be correct for yours
// Also based on YWRobot LCM1602 IIC V1
LiquidCrystal_I2C lcd(0x27, 2, 1, 0, 4, 5, 6, 7, 3, POSITIVE);
#include "DHT.h"

// set the DHT Pin
#define DHTPIN 8

// initialize the library with the numbers of the interface pins
#define DHTTYPE DHT11
DHT dht(DHTPIN, DHTTYPE);

void setup() {
  // set up the LCD's number of columns and rows:
  lcd.begin(16, 2);
  dht.begin();

  // Print a message to the LCD.
  lcd.print("Temp:  Humidity:");
}

void loop() {
  delay(500);
  // set the cursor to column 0, line 1
  // (note: line 1 is the second row, since counting begins with 0):
  lcd.setCursor(0, 1);
  // read humidity
  float h = dht.readHumidity();
  //read temperature in Fahrenheit
  float f = dht.readTemperature(false);

  if (isnan(h) || isnan(f)) {
    lcd.print("ERROR");
    return;
  }

  lcd.print(f);
  lcd.setCursor(7, 1);
  lcd.print(h);
}
 ProgressTH
Discussions
Become a Hackaday.io Member
Create an account to leave a comment. Already have an account? Log In.