LED strip
There are 3 green LEDs, one yellow and one red. The LED bar displays the Engine Load (in %). Value is being polled from OBD2 device in every 200ms.
LCD
Values displayed by LCD are being fetched in every 5 seconds - or whenever we navigate from screen to screen.
I had to replace the blue/white LCD screen to green/yellow, because blue/white was not super visible from the driver's eye's angle. Green/yellow LCD is much better.
Fuel: litres remaining and distance to empty (km). Although "distance to empty" can be found in a menu in my car, it requires too many clicking to get there. It is more convenient to have it displayed on an LCD screen by default.
Engine Coolant: most cars have a built-in gauge on the main dashboard that displays the engine coolant temperature, but there are two problems with them: they tell the driver that the coolant temperature reaches 90 C (nominal) level much earlier than in reality (eg. gauge in my car tells me that the coolant is at 90 C when it is 75 C in reality - read from OBD2). The second problem with built-in gauges is that they are displaying 90 C all the times, even if the real temperature is above 100 C - which is also normal, up to 115 C. In hot weather, when I am driving uphill, the gauge still displays 90 C, but I am reading - around - 107 C from OBD2. I guess the reason behind this is that most car manufacturers do not want to shock the drivers by displaying the real temperature (eg. increasing when driving uphill), 10-15 C ups and downs are considered normal operation.
Battery: voltage reported by the car's computer. If the value is lower than 11.8 V, the battery is no longer reliable - especially in cold weather -, so the battery is about to reach its end of life.
Intake air temperature: temperature of the air that is entering into the engine. Not super useful, because most of the times it is the same as the "Ambient air temperature" (aka. Outside temperature). When the car is not moving, the air is not flowing around the engine, so we might get hotter air entering into the engine. This value is used by the car to calculate how much air should the engine suck in, to make sure that air-fuel ratio is in balance.
Outside air temperature: also called as "Ambient air temperature" in OBD2 terminology. This value is being used by the car to control air conditioning.
Altitude: based on the Outside air temperature (C) and the Barometric pressure readings (kPa), we can calculate the altitude (meters above sea-level). Unfortunately, we can only read barometric pressure in kPa (not a double value but an integer), which is not so accurate. Therefore, altitude calculation can only be done with a +- 30 m precision.
OBD2 device's power supply
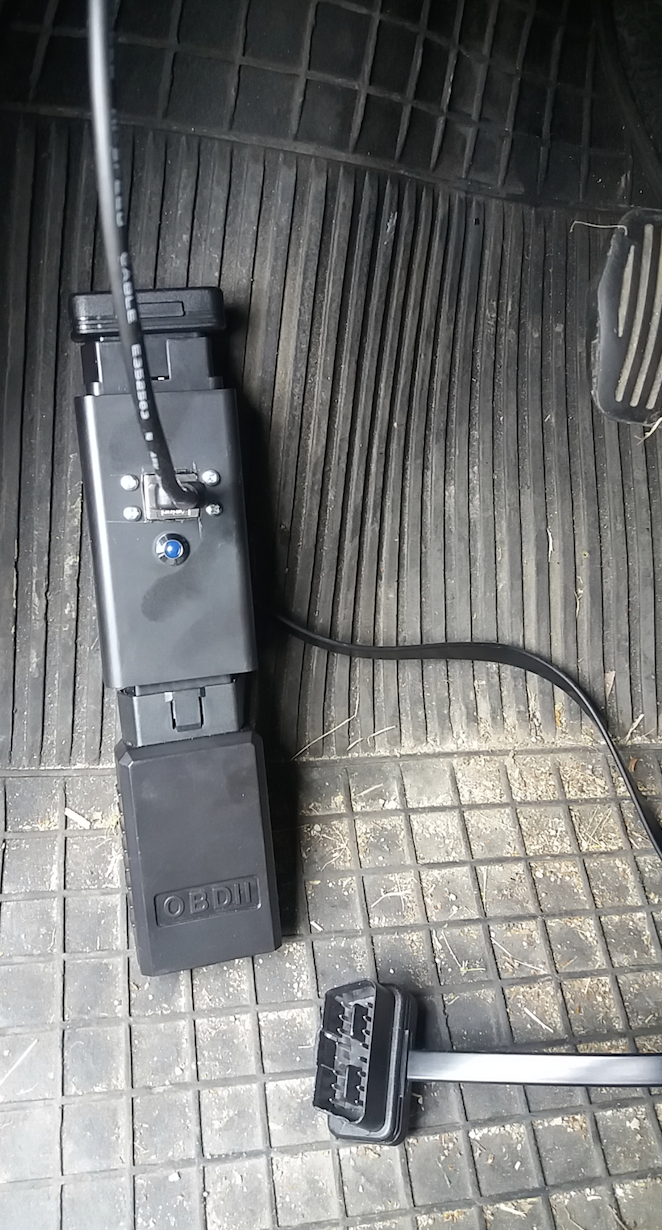
It is dangerous to just plug the OBD2 device to the outlet and leave it there, because it would drain the car's battery. In order to avoid that, I have built an adapter that connects +12 V pin of the OBD2 outlet only if the ignition is ON. The USB outlets in the car are switched on only if the ignition is ON - so there is a relay that is powered by an USB cable's +5 V, and that relay is switching the OBD2 device on and off.
There is a USB cable plugged into the adapter: that USB cable provides the +5V for the electromagnetic relay. On the bottom side of the adapter, you can see the real OBD2 device. The blue LED on the adapter is turned ON when we get power supply from the USB cable (eg. this shows that the OBD2 device should be available via bluetooth).
There is a long OBD2 extension cable as well, I bought it because it is much easier to hide the adapter+OBD2 combo.

Dashboard device's power supply
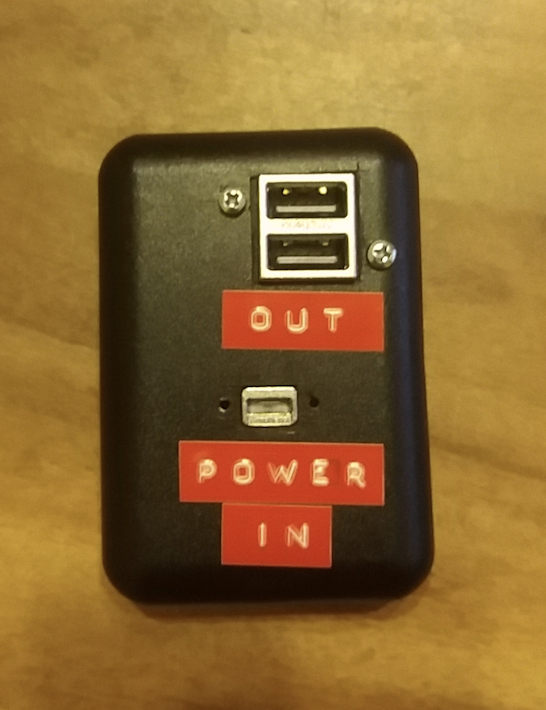
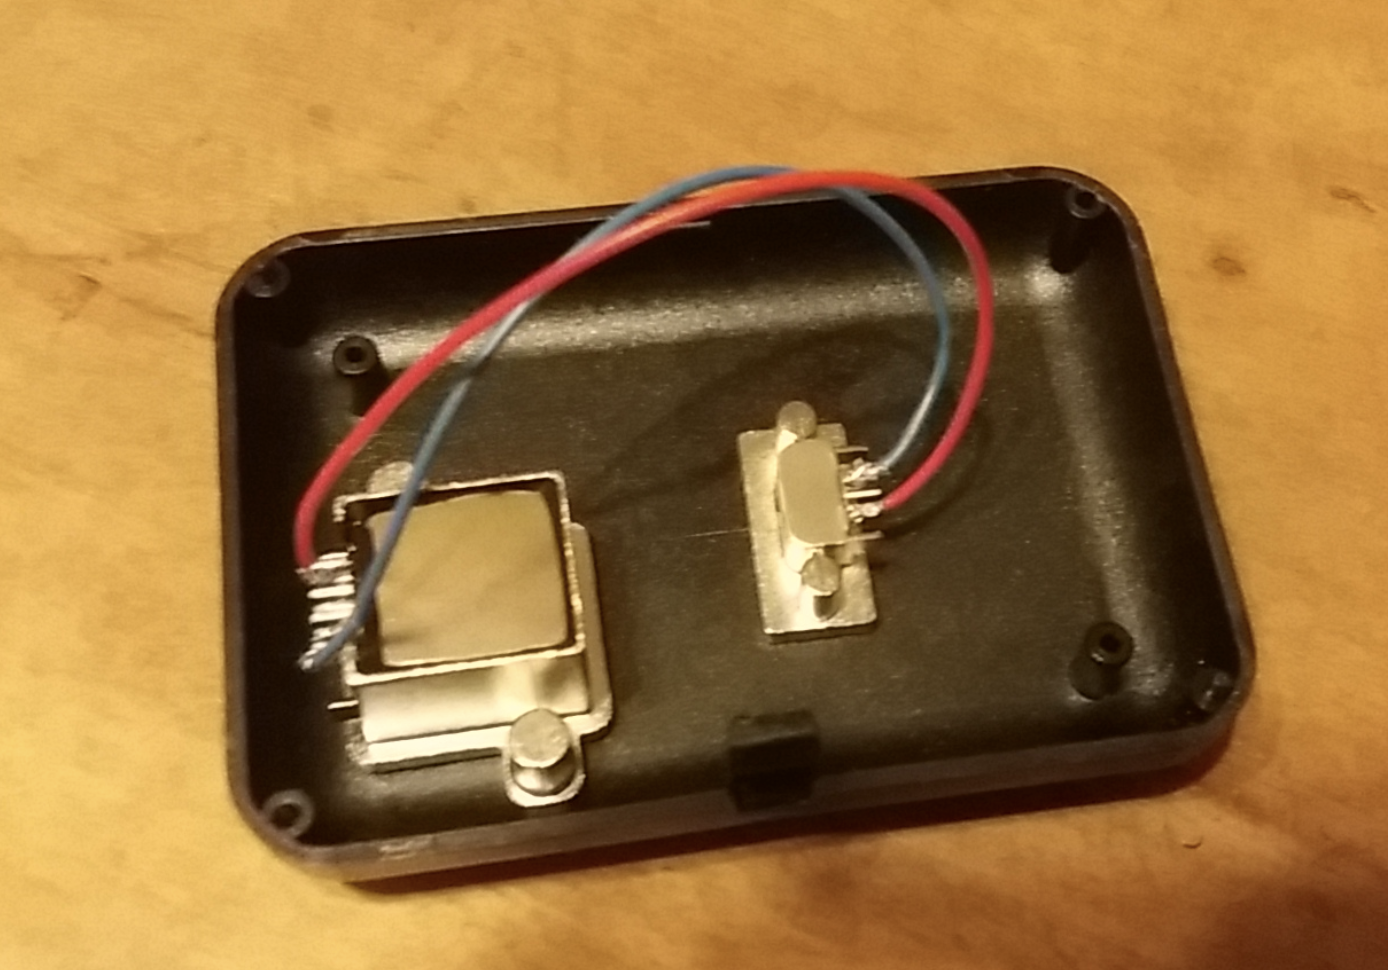
If the dashboard (esp32 microcontroller) was connected directly to the USB outlet of the car, the car would always complain sth like "Unable to detect device, please remove from USB" on the touch screen (I have a mk3.5 Ford Focus, and it complains). In order to avoid that, I only want the GND and the +5V to be connected, so I ordered a micro USB socket (this will be connected directly to the car's USB), and a dual USB type A socket: OBD2 adapter (mentioned above) and ESP32 dashboards are powered from this socket.


Materials used in the project
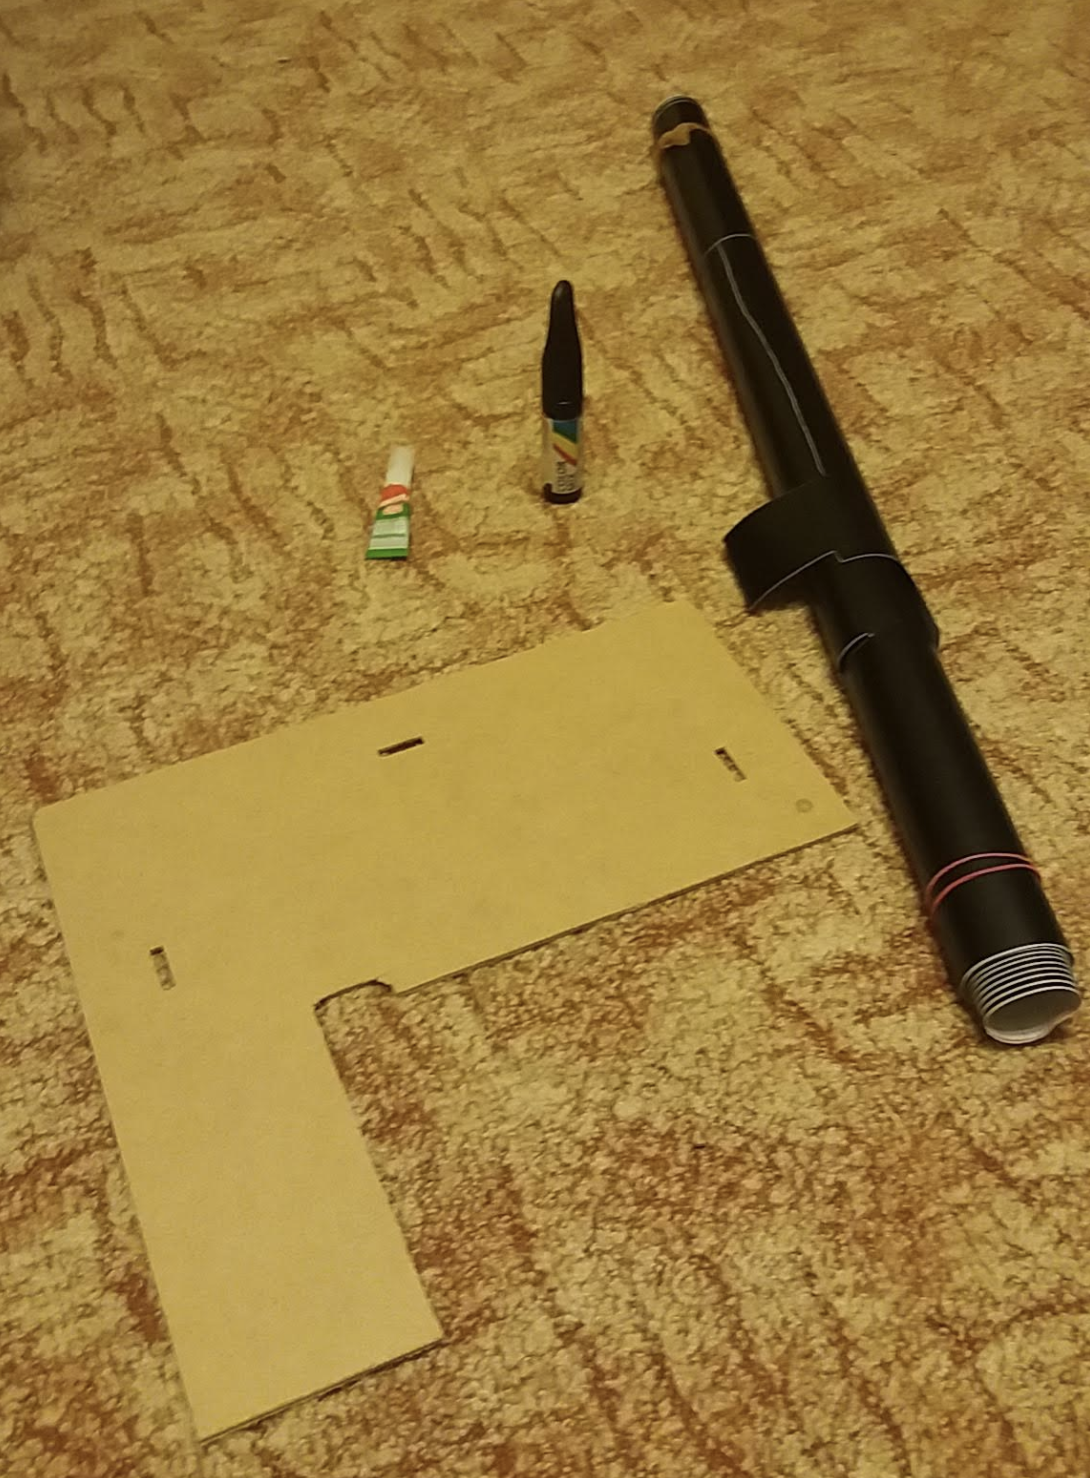
- Cork backing of the picture frame & super glue: to assemble the box for the dashboard. You can cut the cork easily with a knife.
- Black paint that is used to repair scratch on car: I painted the surroundings of the visible parts of the dashboard with this, before covering it with the black plastic film. You can never cut the film properly, and it would be ugly to see brown parts on the edge of the LEDs or the LCD screen / buttons, etc.
- Black plastic film: you can buy things like that in DIY retailers (eg. OBI, Praktiker in Hungary, The Home Depot in the US). This is a plastic film (sticker) that you can apply on the cork's surface. This is the cover of the dashboard device, because the brown cork look ugly in the car.

 Akos Sereg