Close
0%
0%

MegaDebug interposer board

If only you could disconnect that one pin...

Similar projects worth following
8/3/2020: DONE!

Like many of you out there - I've been using Arduino CPU modules in test fixtures and some industrial control projects.

One problem that often comes up is the need to probe a signal - and more importantly - BREAK the connection between the Arduino and the "carrier board" (or a shield, or the rest of my project).

Hence, the MegaDebug "interposer board". Just slip this in-between your Arduino Mega (or an UNO, or any compatible footprint) and your shields. You now have the ability to disconnect any or all Arduino pins from your project. This board also adds a convenient (and stable) header pin for attaching your scope or LA probe.

You can also use this interposer board between different shields. No doubt you've come across a situation where two shields are "supposed" to work OK together, but don't. You can temporarily re-wire a chip-select signal (for example) to a different Arduino pin.

WHY would I need this interposer board?

In my case, I have a particular industrial-control project with a weird behavior. Many generic MEGA2560 CPU boards mysteriously self-reset when a certain set of GPIO's are activated.

However, I found one brand of MEGA2560 that doesn't exhibit this behavior (same F/W load!).

Not wanting to leave well enough alone... I really needed to dig into this and figure out why seemingly identical MEGA2560 boards behave differently. Using this interposer board I can now isolate one GPIO at a time (without cutting header pins, or rigging up an insane mess of extension headers), and see if this self-resetting behavior can be prevented.

When using this MegaDebug interposer board:

* Every Mega-2560 (or UNO, or compatible footprint) I/O pin can be disconnected, EXCEPT for Ground.

* Use standard shunts to make the "top" to "bottom" connections.

* Remove one or more shunts to effectively isolate Arduino I/O signals.

* Depending on your project's physical packaging, you may want to use the shorting-jumpers on one side or the other.  Either will work. Wherever you don't have a jumper installed - is where you can now attach a probe wire.

* This is a 4-layer board! Due to the density of signals at the 36-pin header area, getting everything routed as short and direct as possible meant a 4-layer scheme was preferable.

* Other than header connectors - there are no other active or passive components on this board. It should introduce no "problems" or "cures" when using it. However, certainly it does introduce some additional PCB track-length to signals (mostly the SPI port), so you should take that into consideration of you're running very fast, very critical signals (especially the SPI port).

I plan to offer this up on Tindie. Not sure if it will be just a blank board, a parts-kit, or fully assembled. Stay tuned...
ERC_MegaDebugBrd_Rev-01_3DVIEW.PDF

3D-PDF view of the MegaDebug interposer board. NOTE: Best to download and open this PDF using Acrobat directly. The 3D-PDF's don't work for me when downloading inside a browser window.

Adobe Portable Document Format - 1.68 MB - 06/08/2020 at 17:32

Preview

  • MegaDebug Interposer: prototype build

    Ed Caceres06/26/2020 at 05:37 0 comments

    Status 8/3/2020: DONE AT LAST!

    I finally received the remaining headers I needed! Just in time too - as I have another Mega2560-based industrial control project that I need to debug.

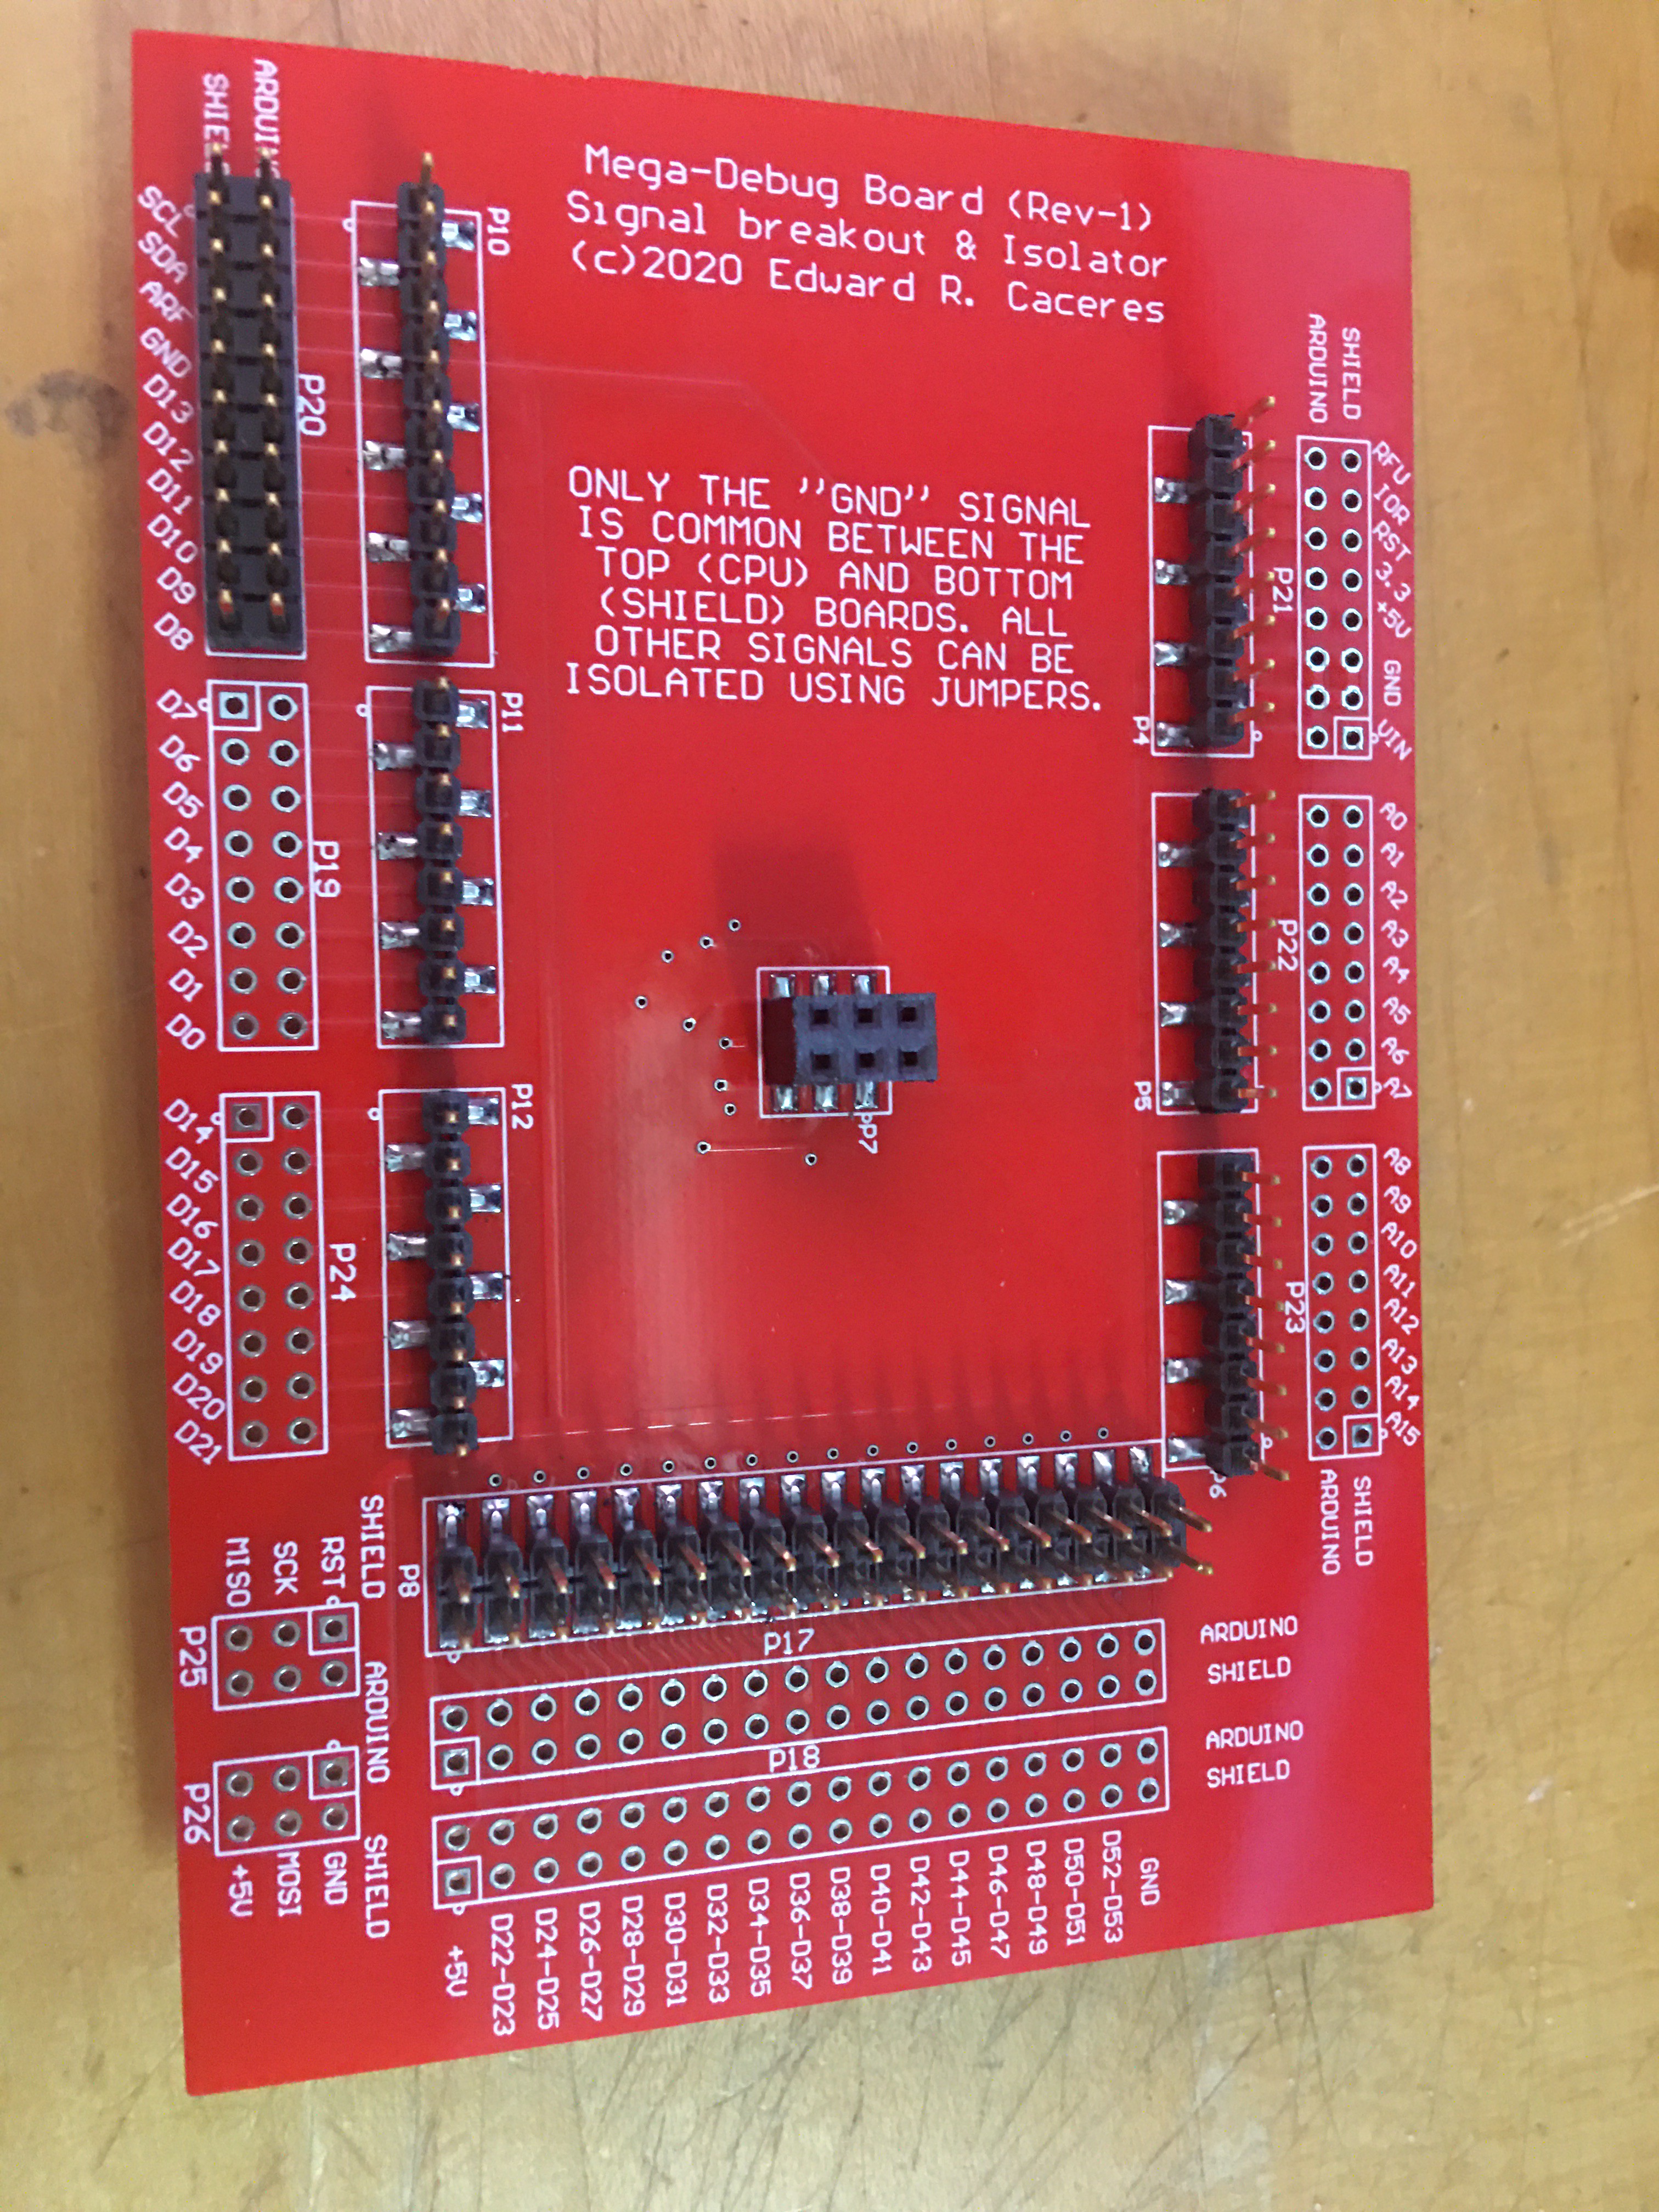
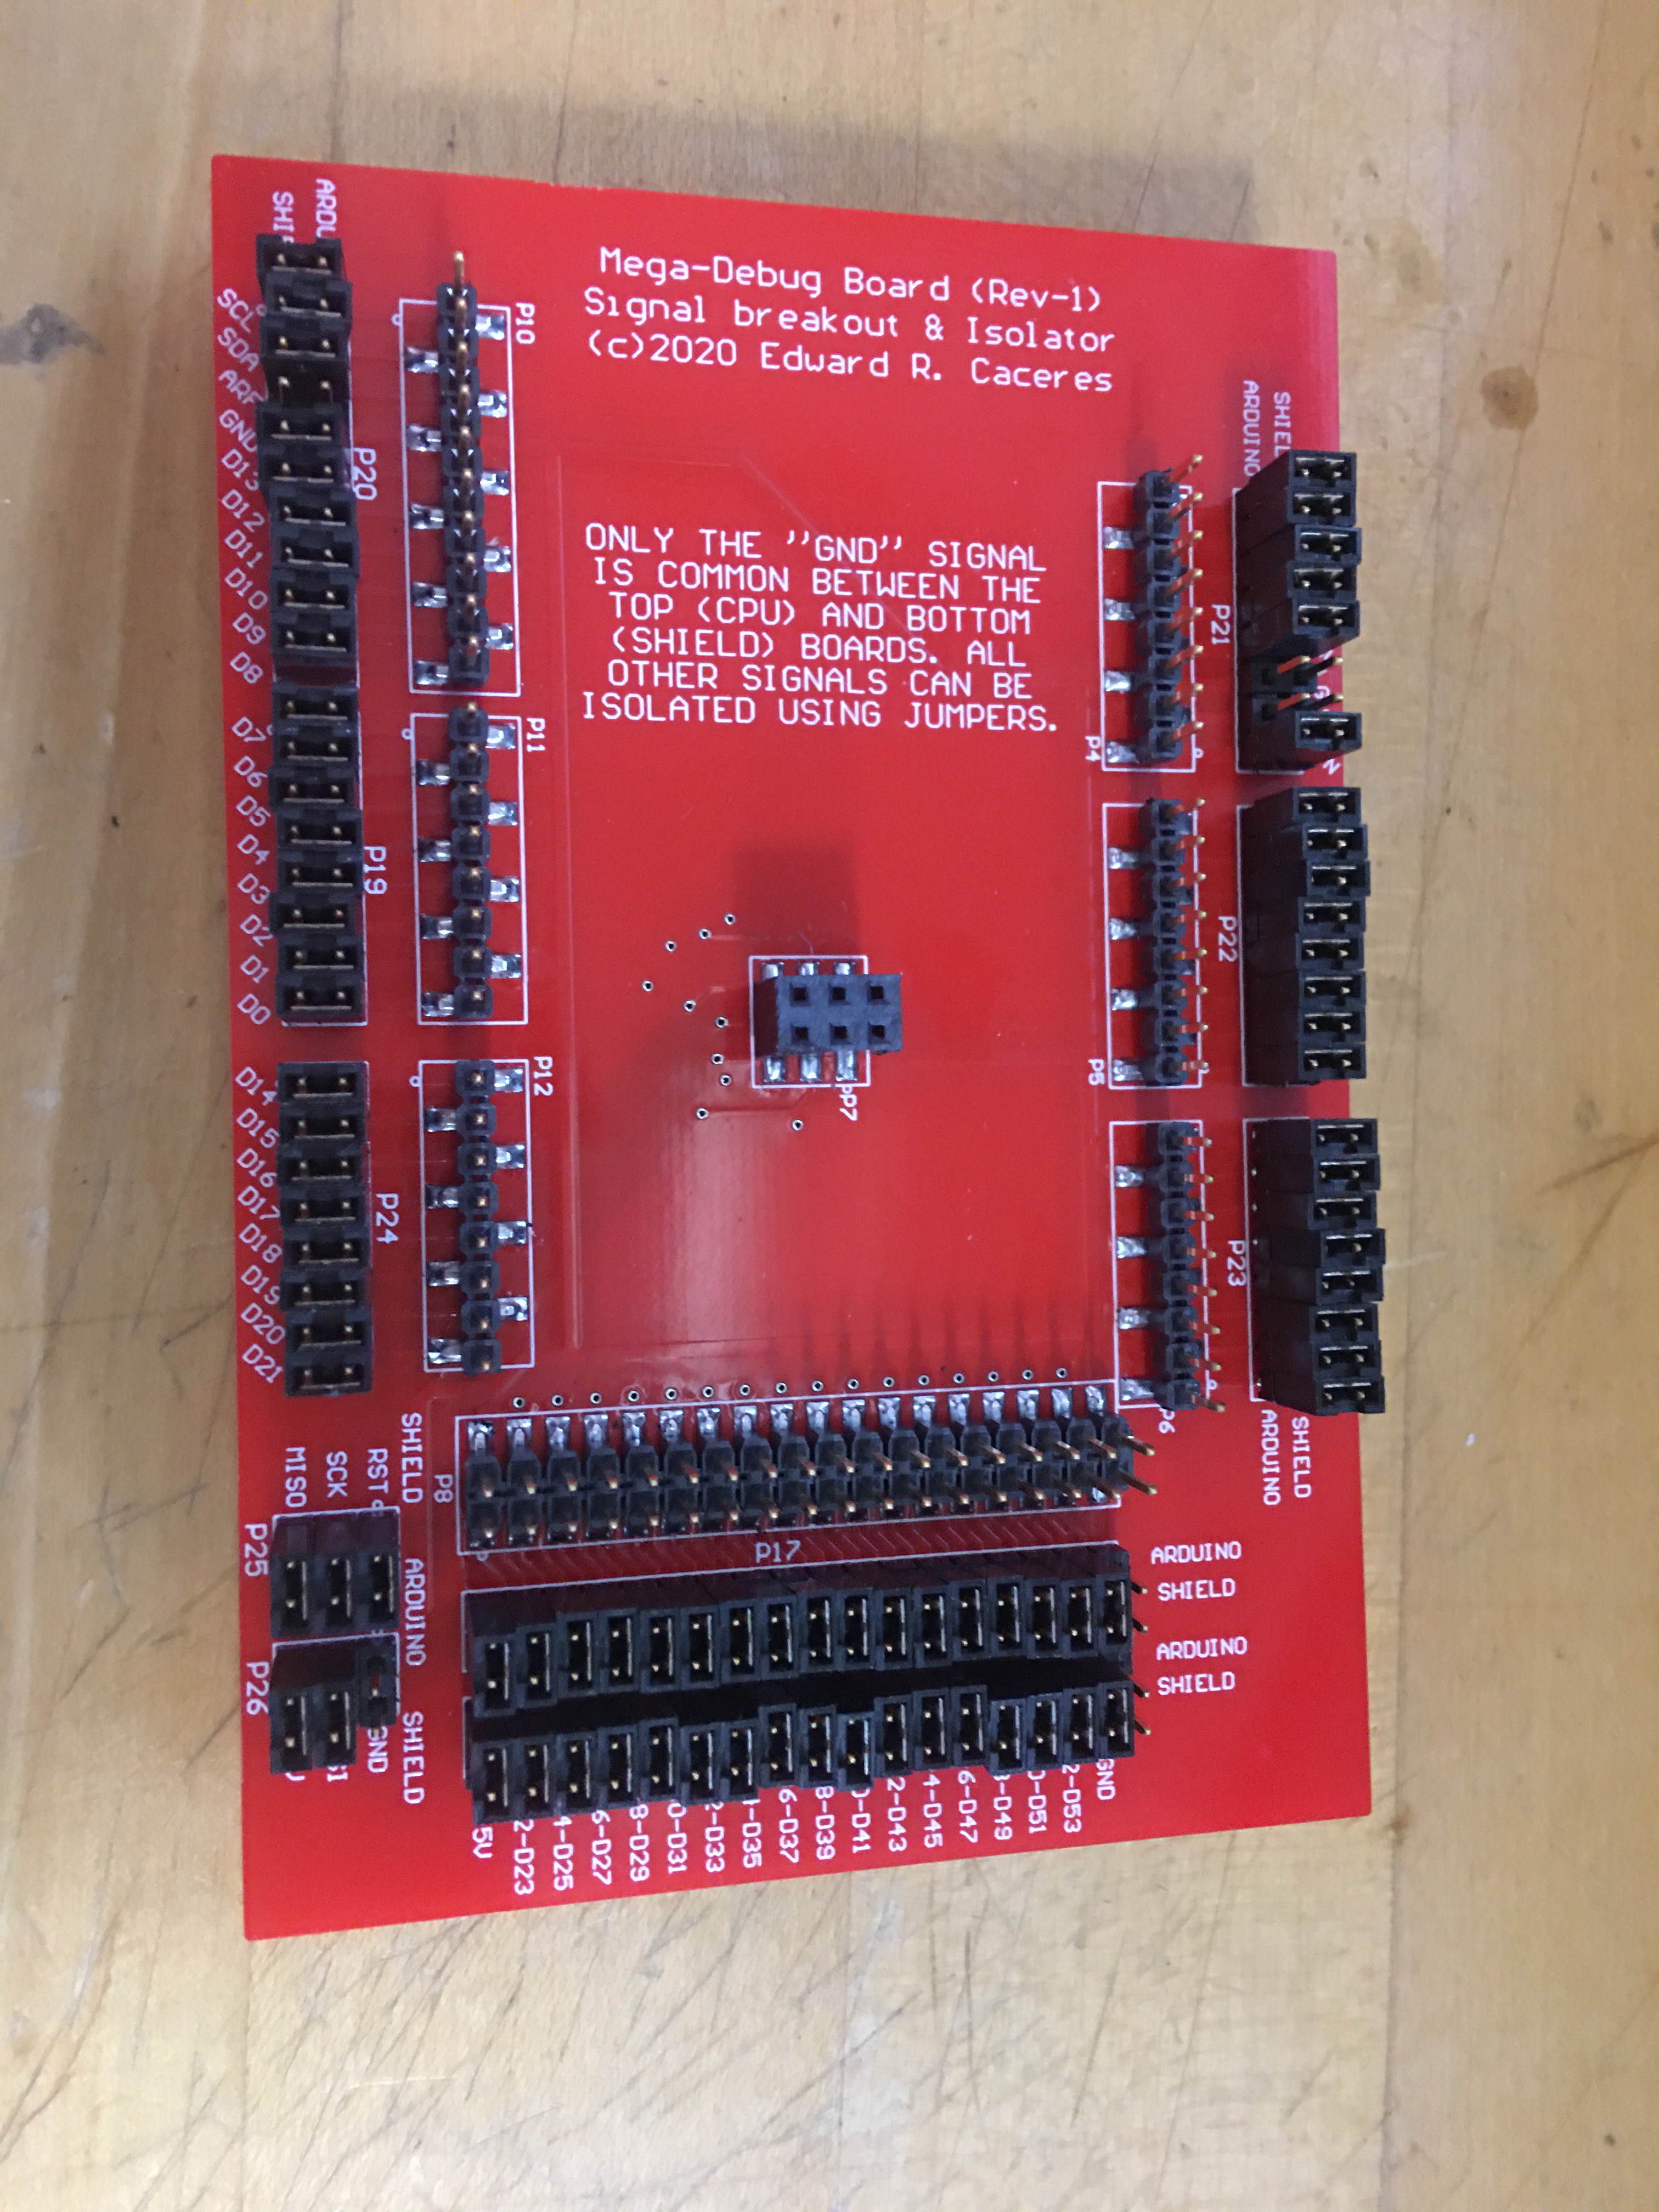
    Here's the finished board:

    Note that I have all the little jumpers installed (except GND, not necessary). In this configuration (as shown), all the Arduino-CPU pins (example, a Mega2560) are connected through to whatever shield board is plugged in underneath (example, an ethernet board).

    When you need to isolate a particular signal, just take out a jumper!

    You COULD also install the jumpers on the bottom of the board, if you prefer to use the top-side for connecting scope/LA probe wires.

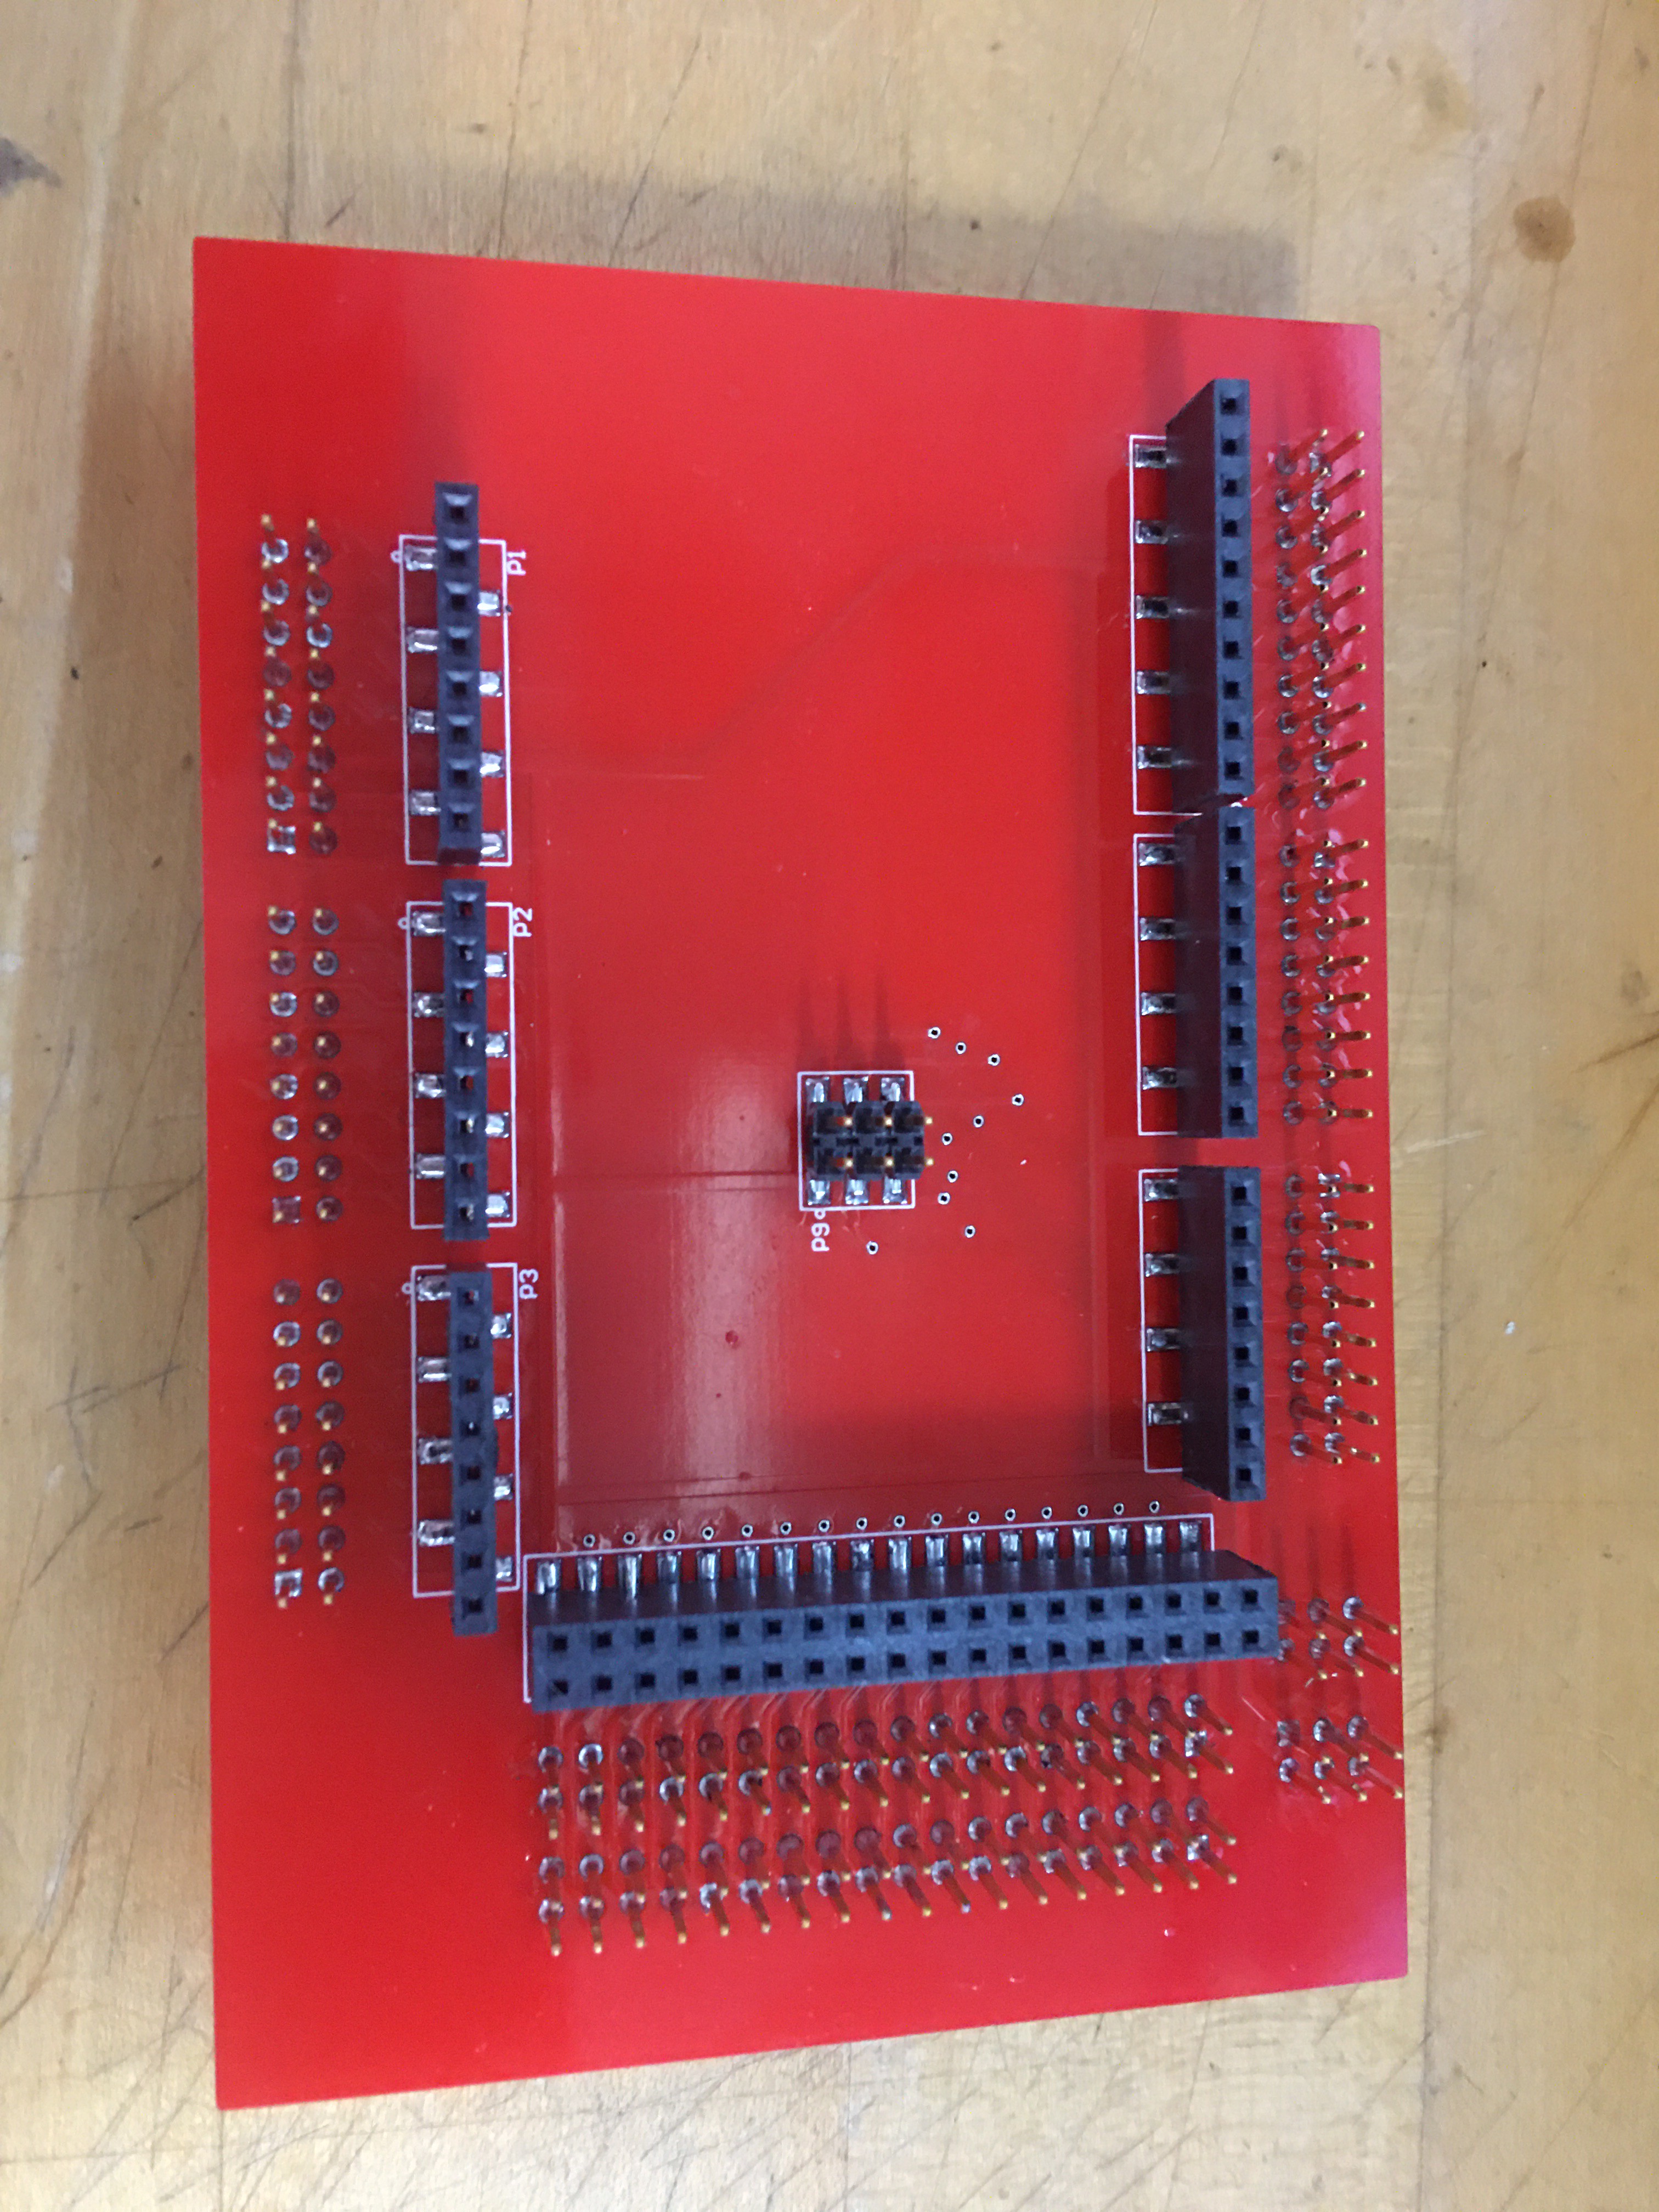
    Here's the bottom side (where a shield(s) would attach):

    You can see on the bottom side that all the headers have tails sufficiently long enough to accept a jumper-plug if you so desire.

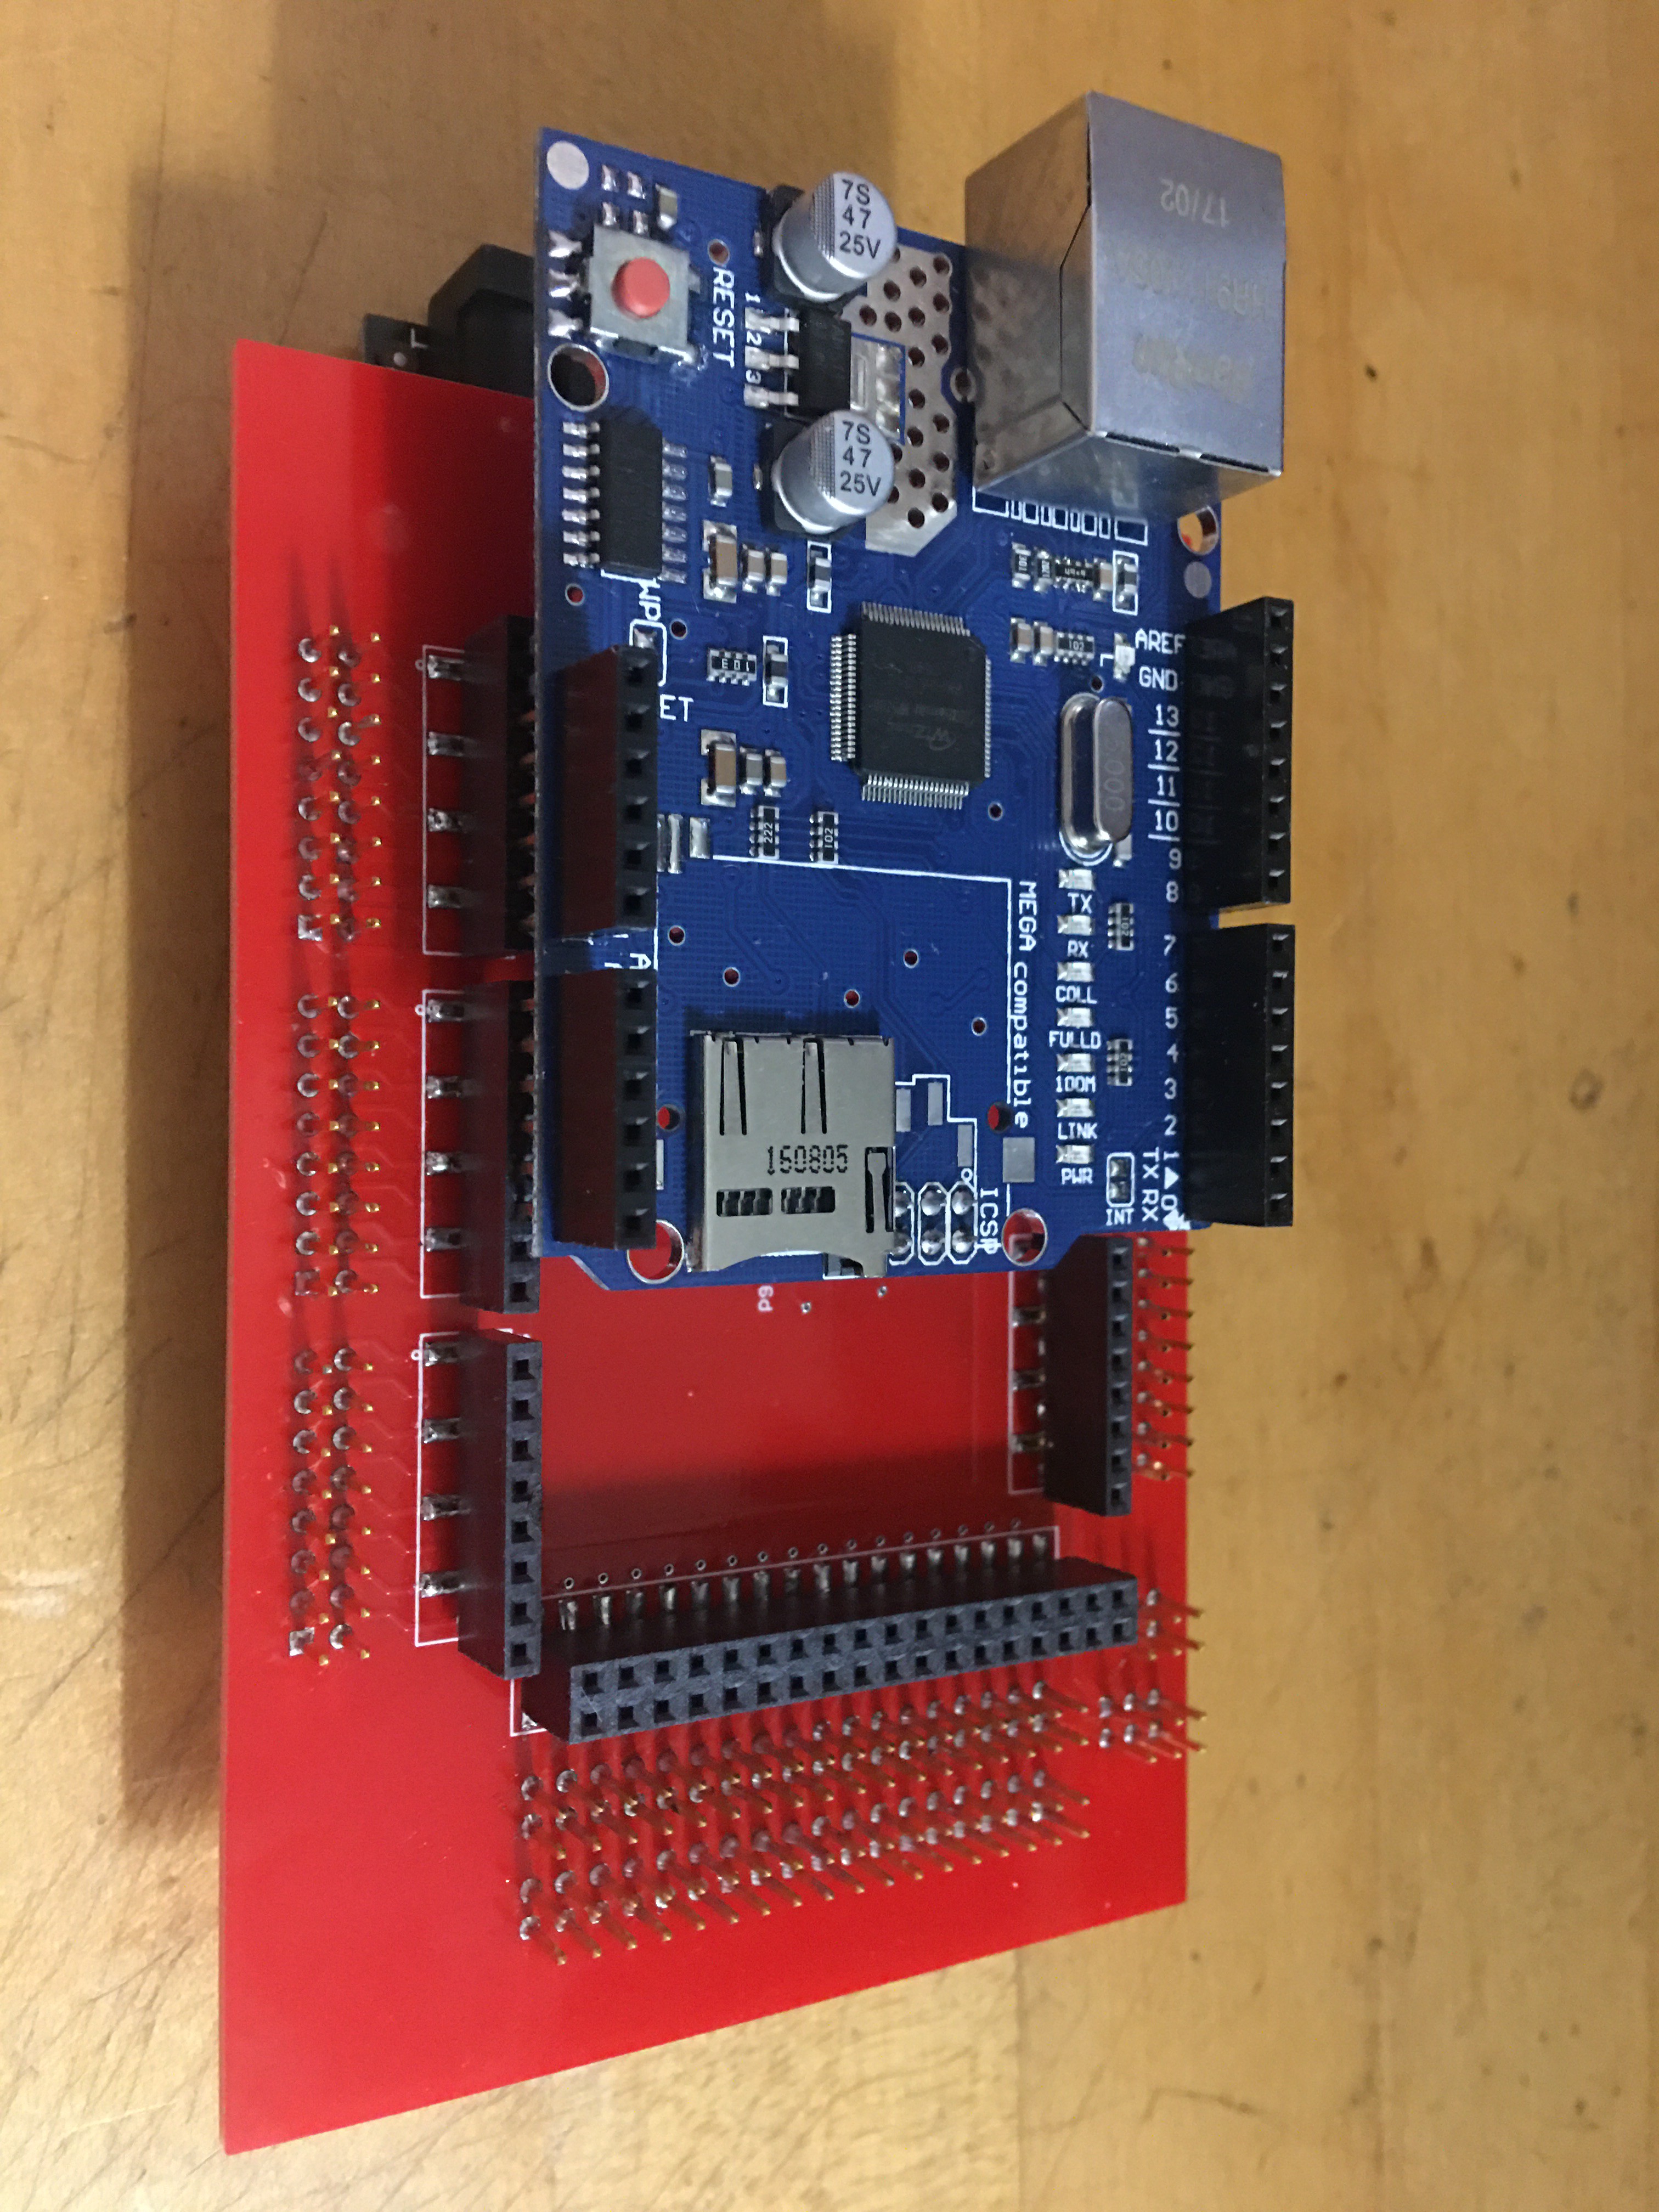
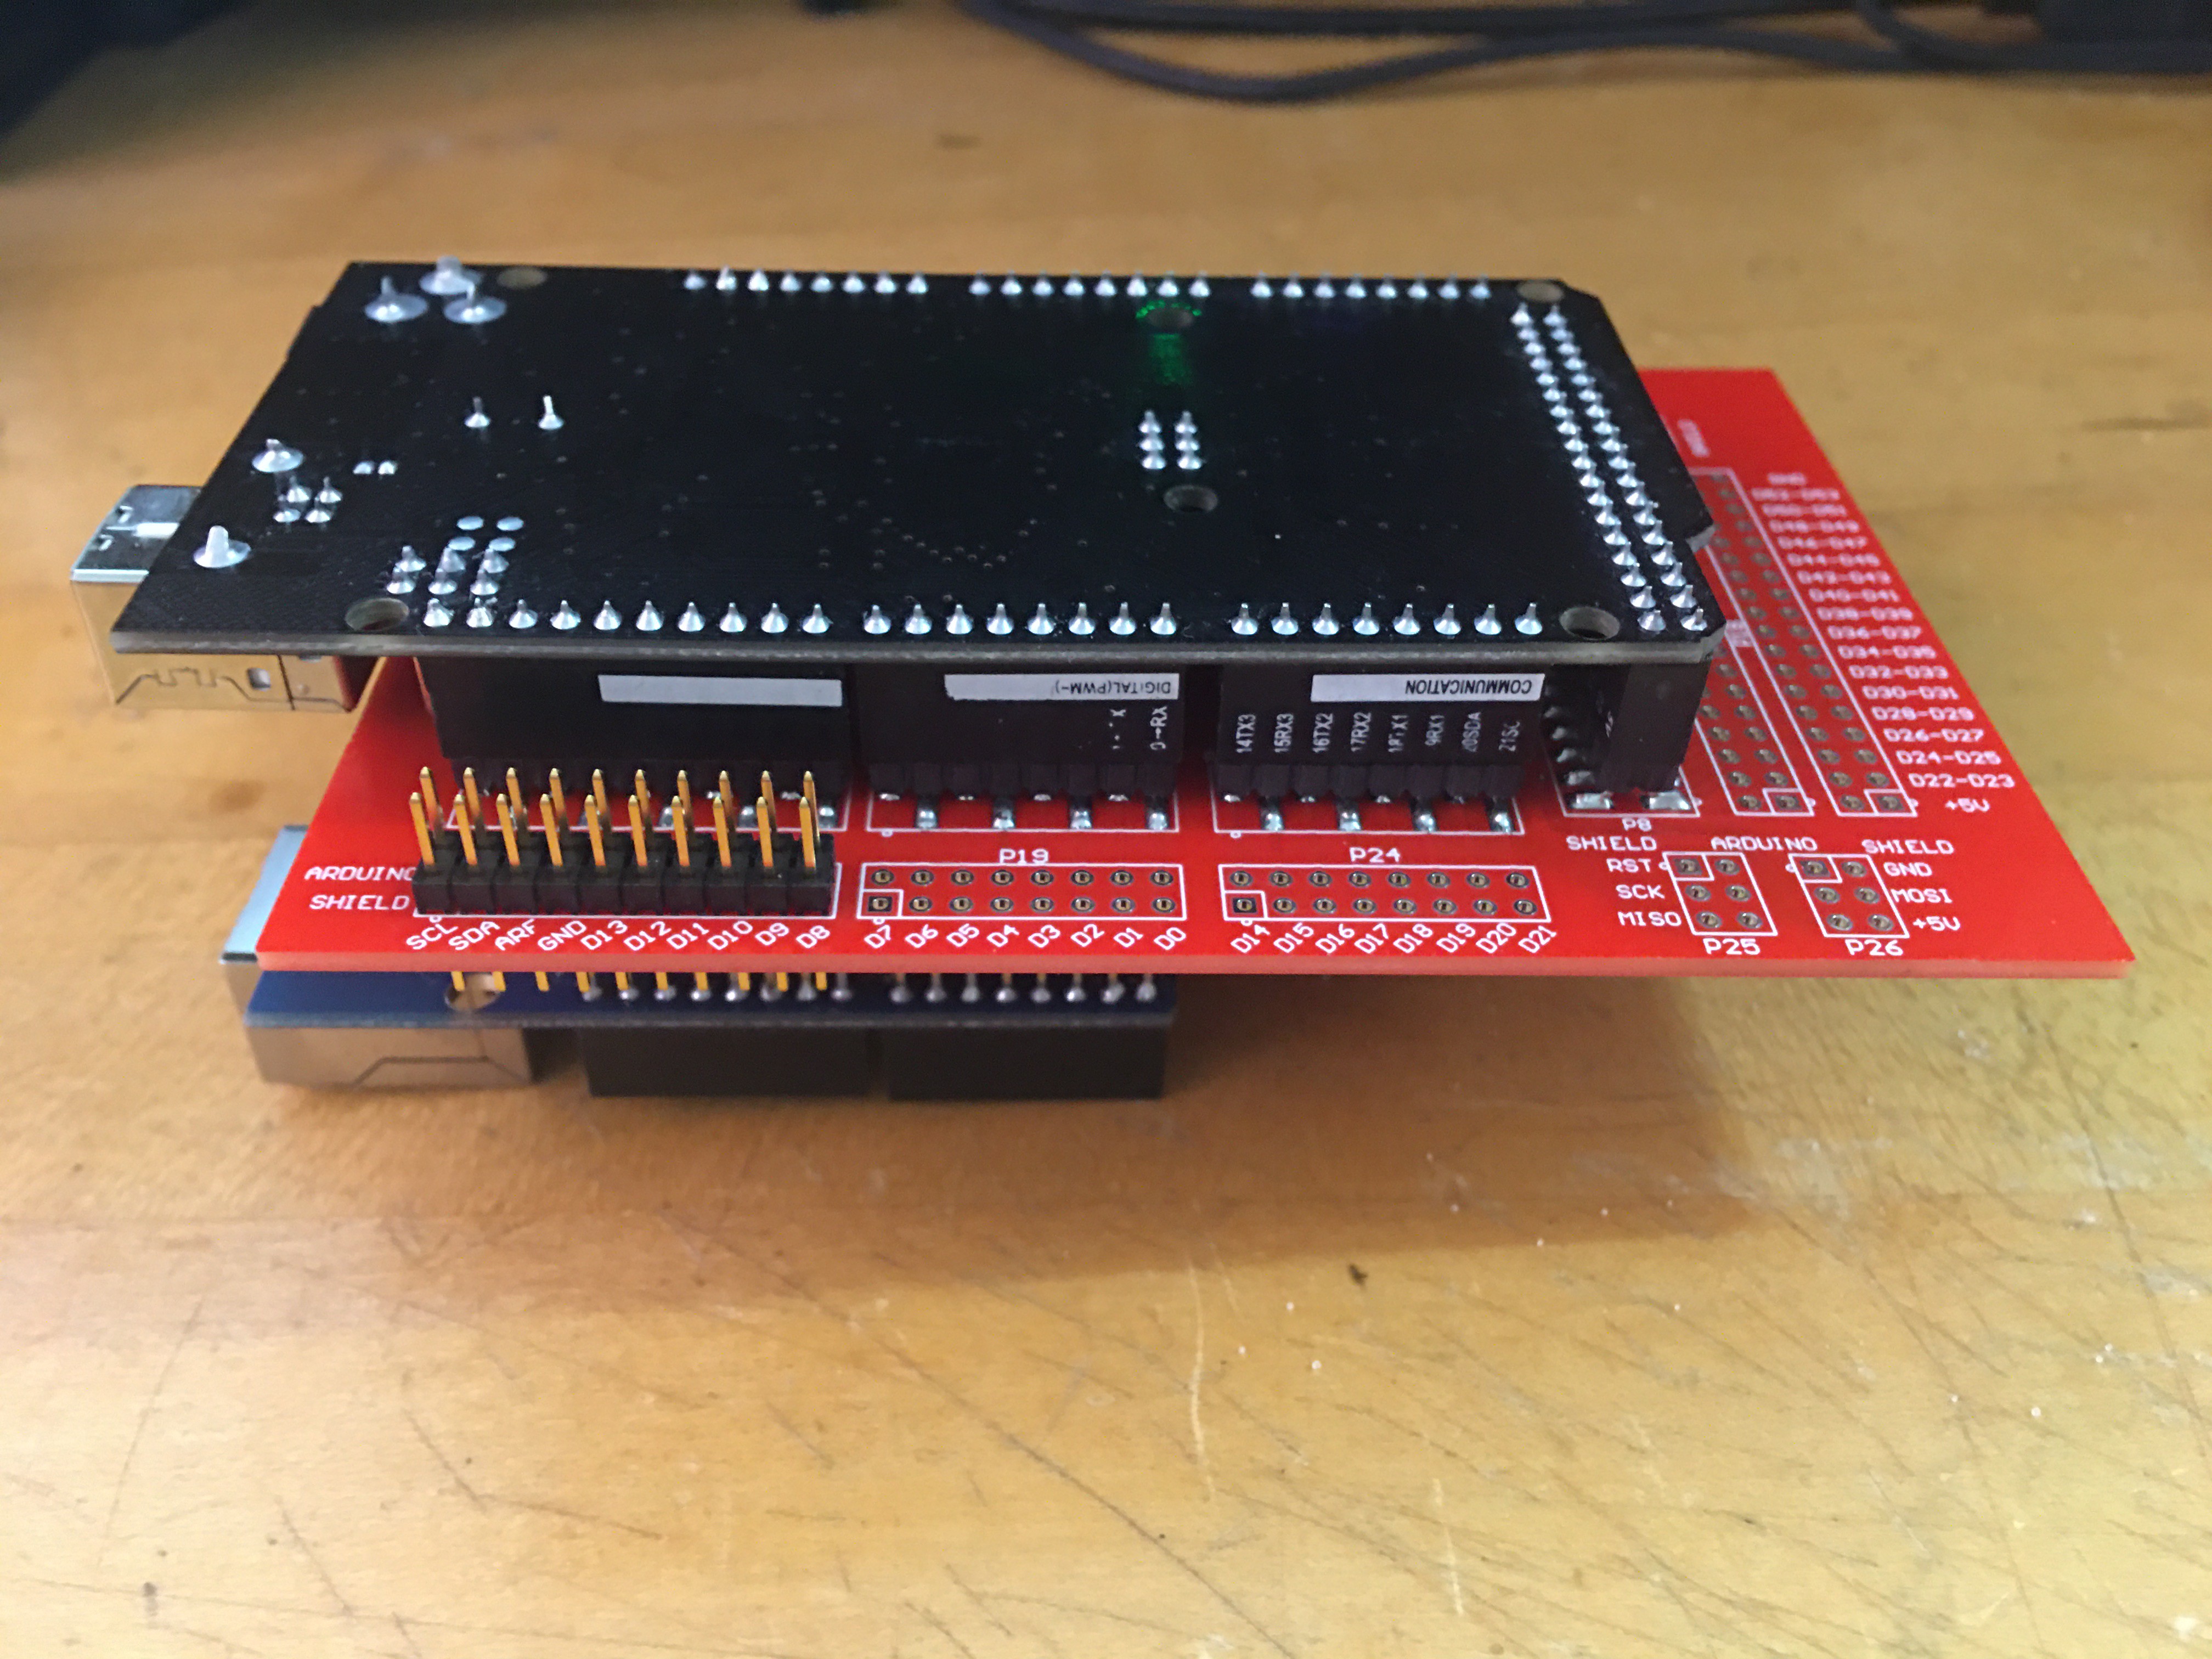
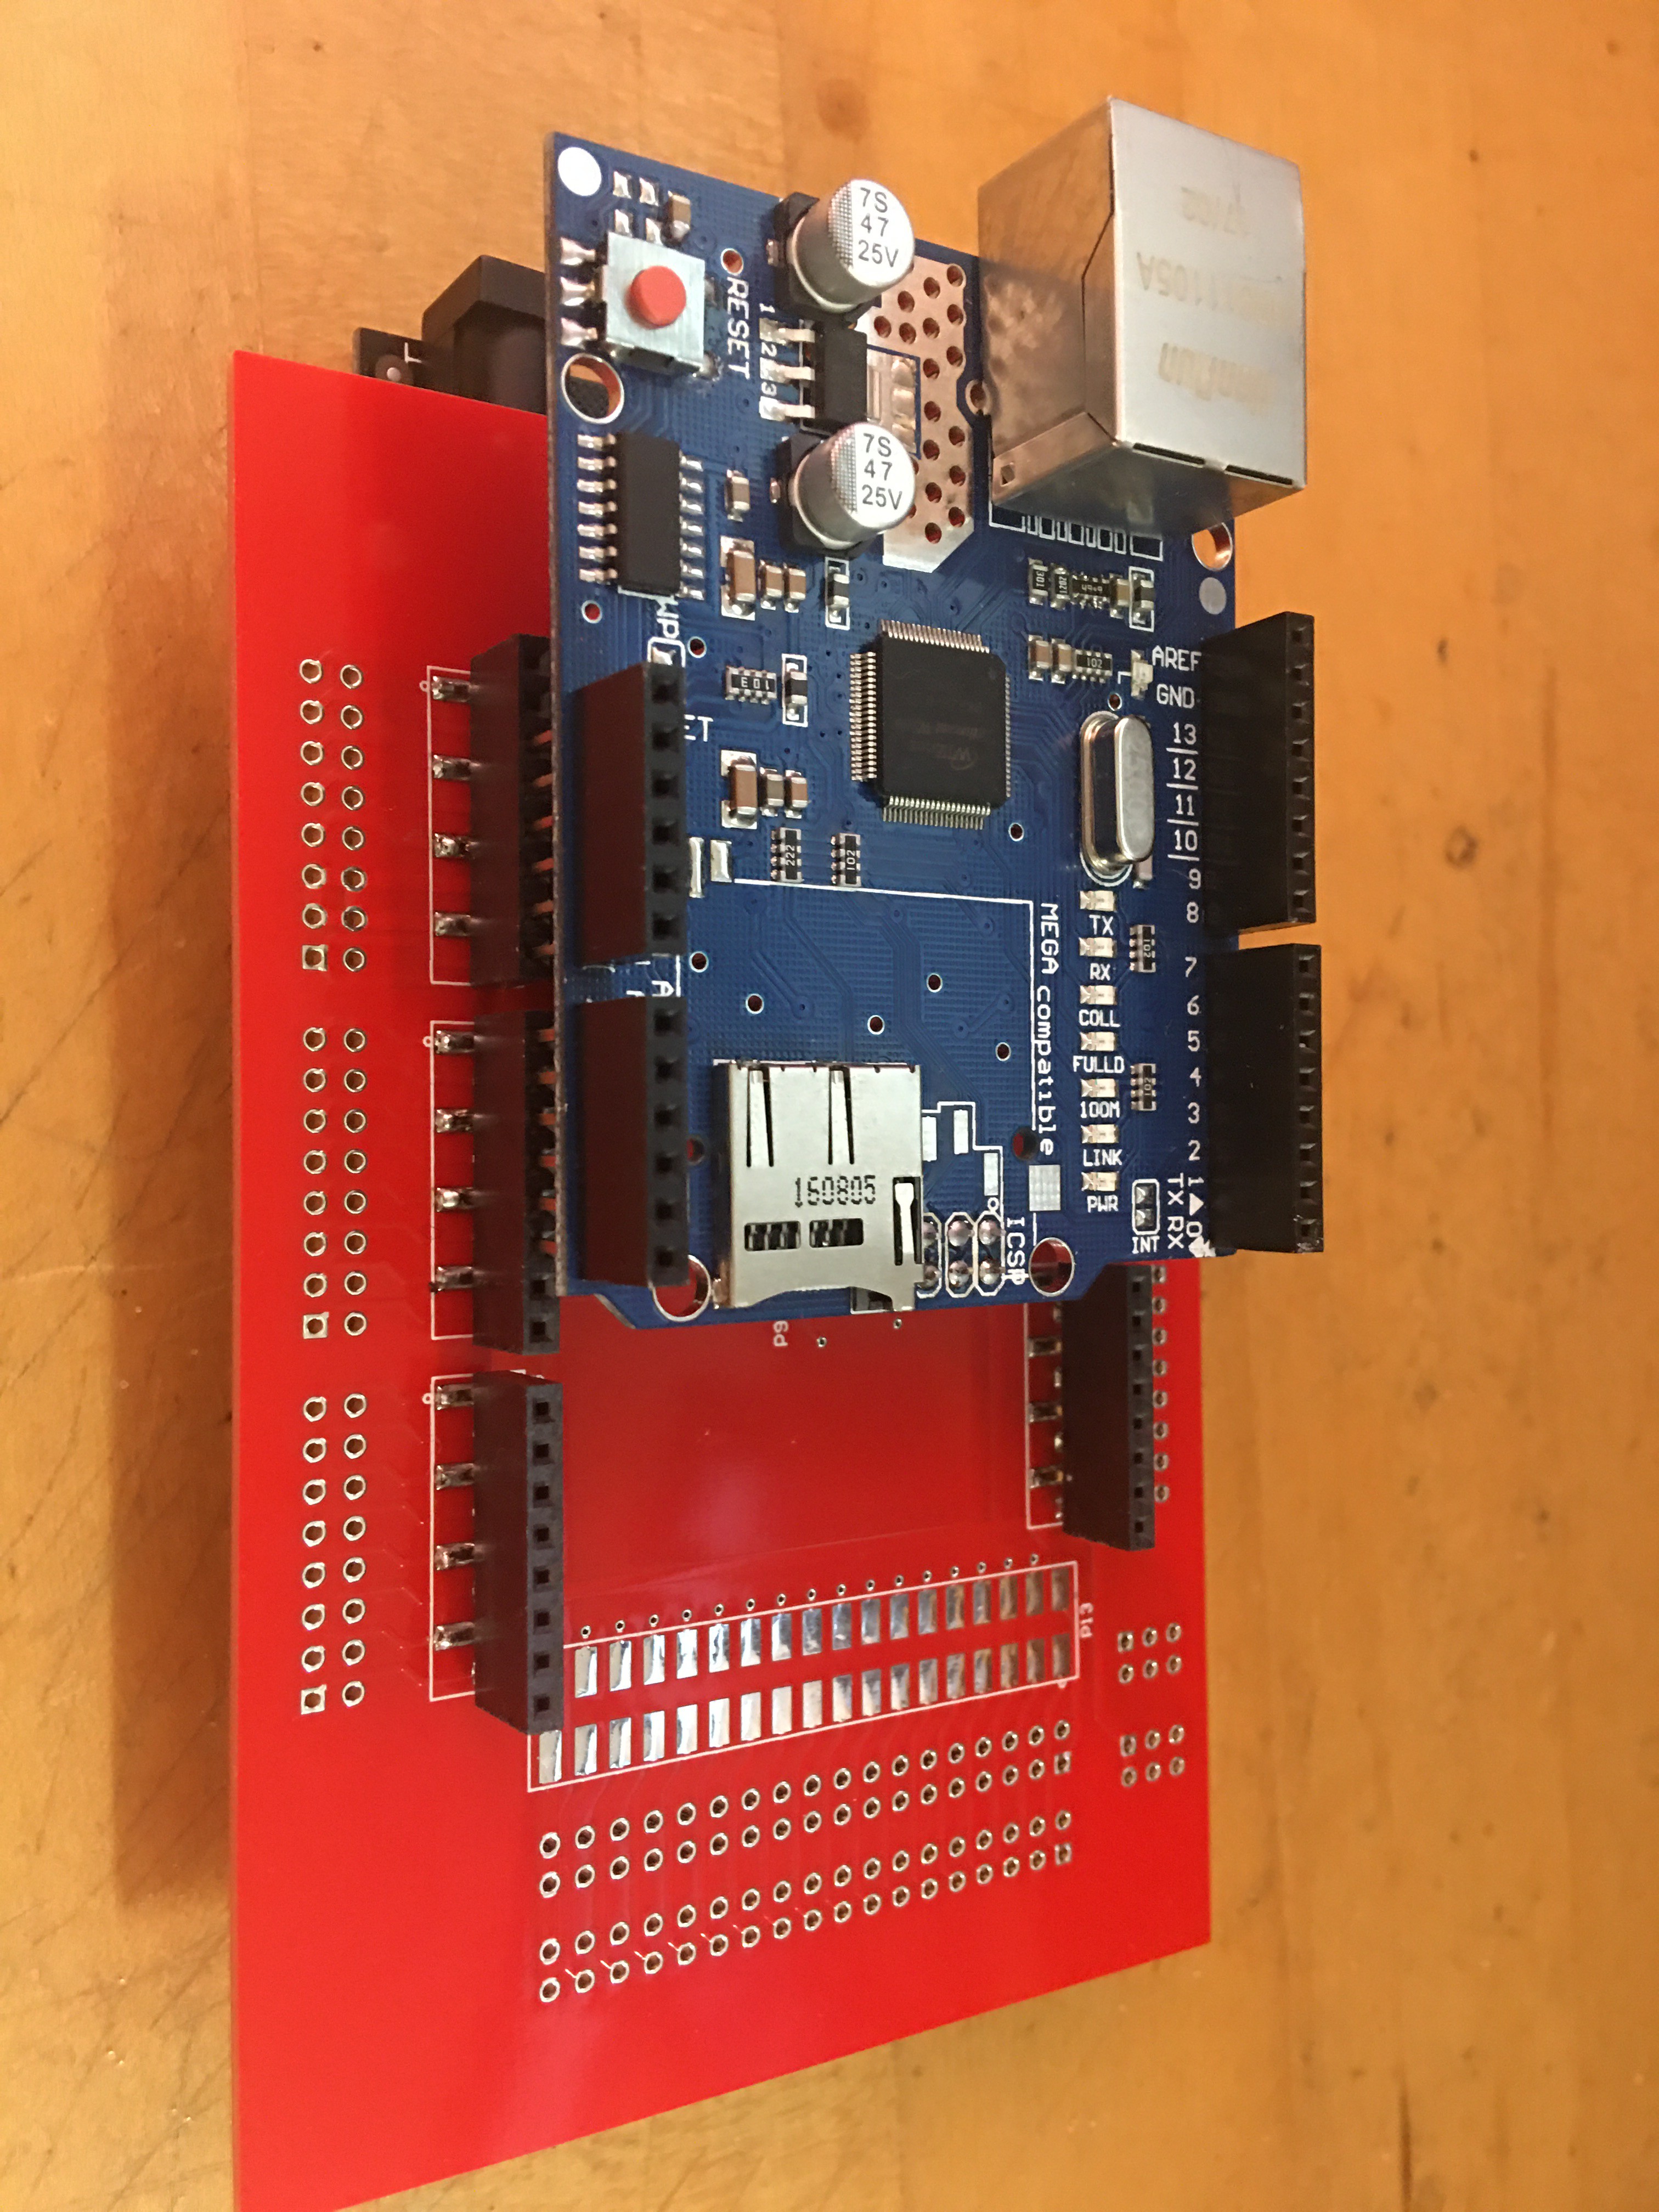
    Here's a typical stackup of a Mega2560 and a common Arduino-Ethernet board:

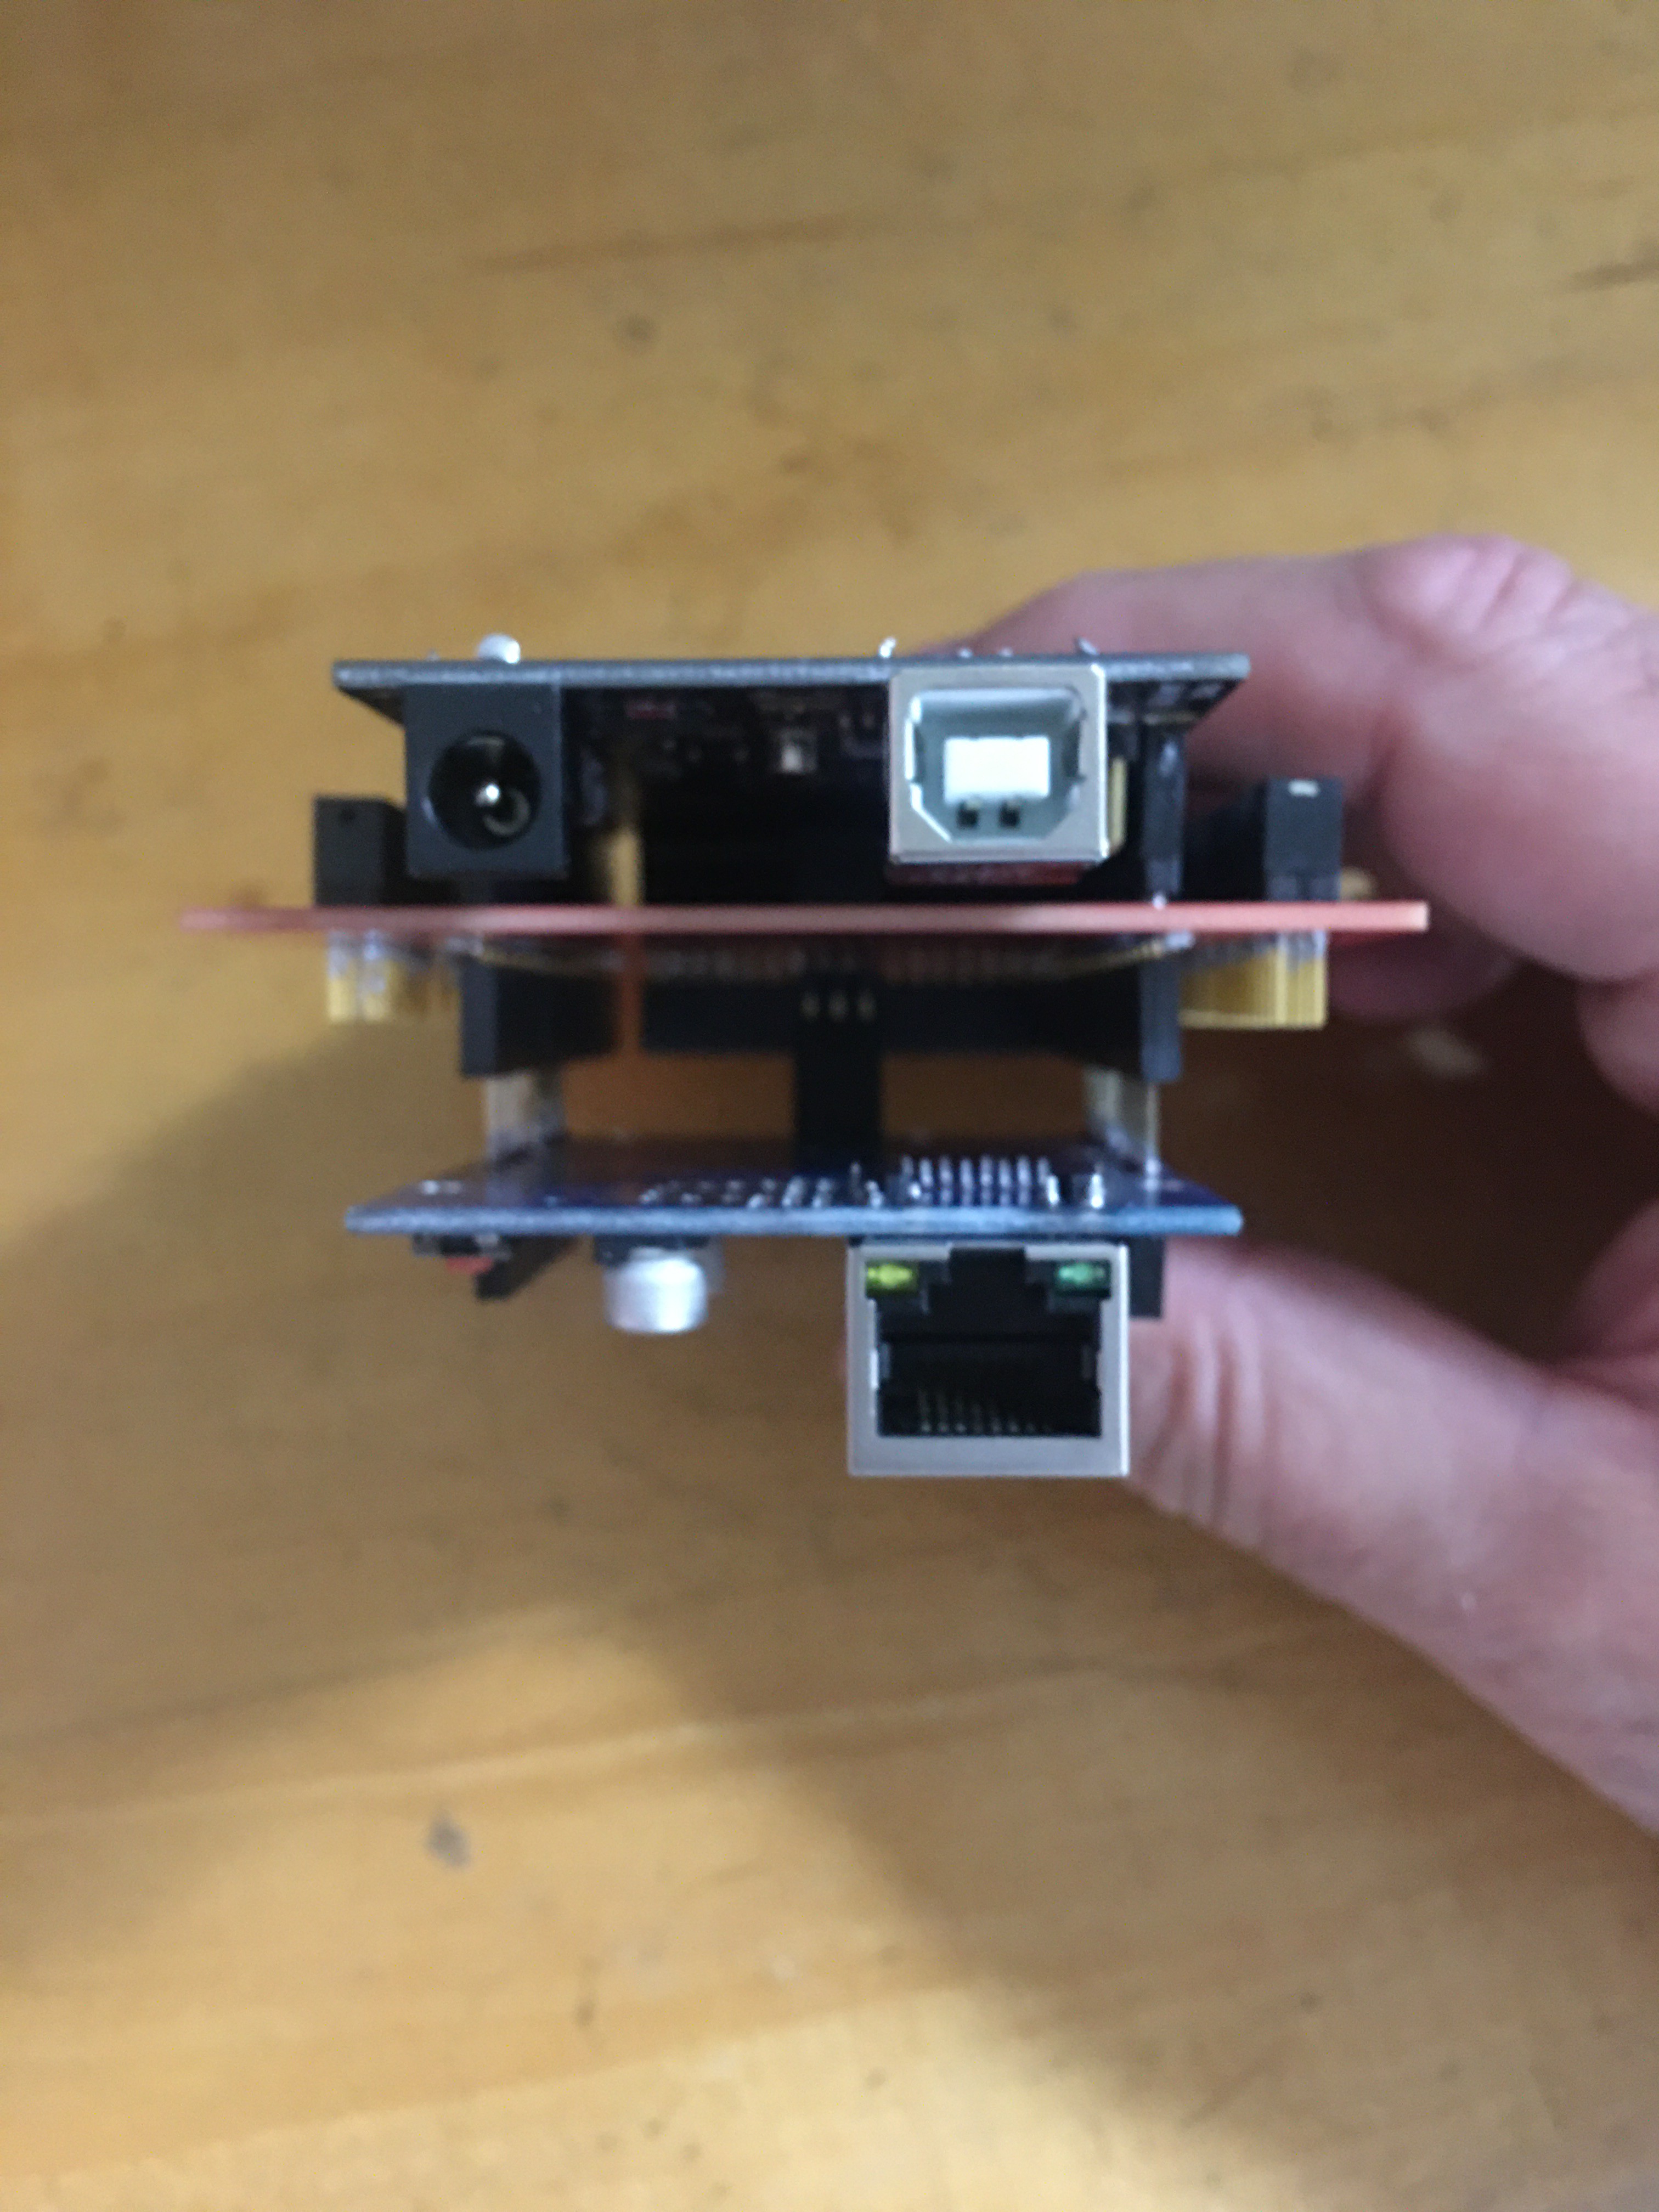
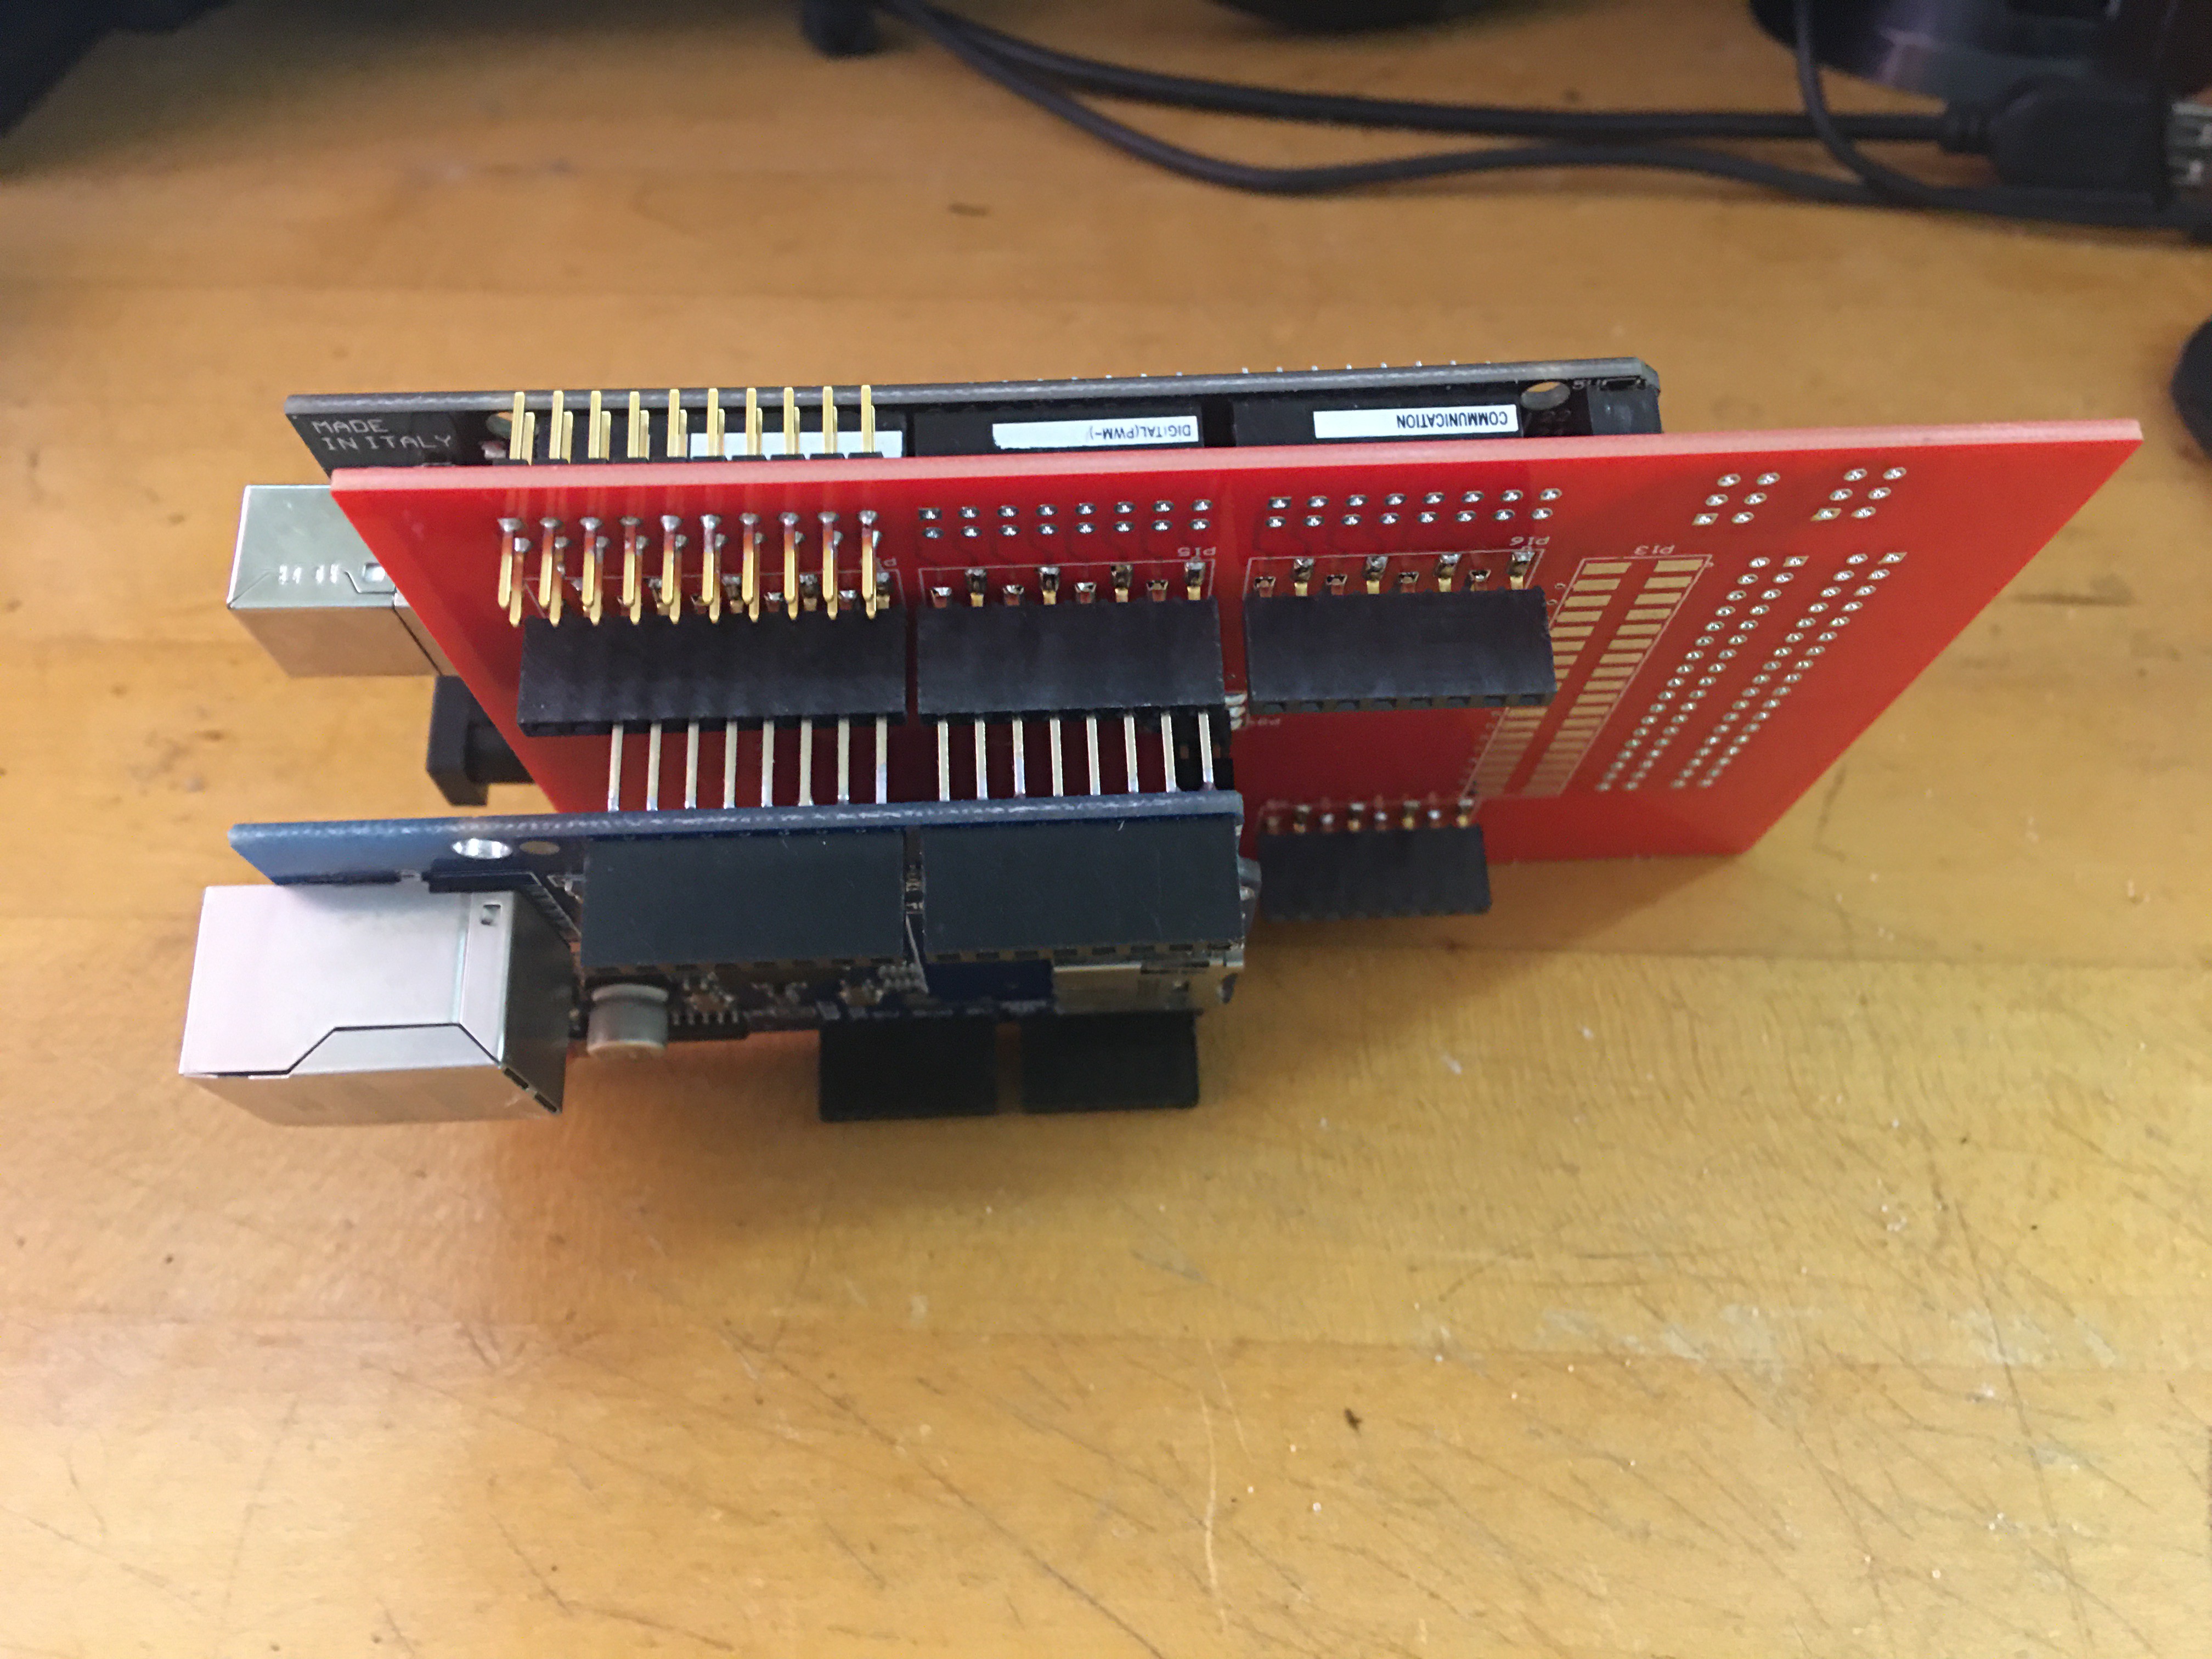
    And a side view, for completeness:


    Status 7/27/2020: Waiting...

    Still waiting on some crucial headers to arrive from Mouser. I knew they were made-to-order items... but it's been quite a while now. I recently placed a sample-order at Samtec directly. At some point I really need to find a less expensive alternative supplier for these headers! Any suggestions?

    Status 7/4/2020: Partial build...

    Most of the Samtec headers arrived (courtesy Mouser). A few are still on back-order (probably built-to-order). However, I have enough parts to make a partial assembly and check the fit... So far, looks great!

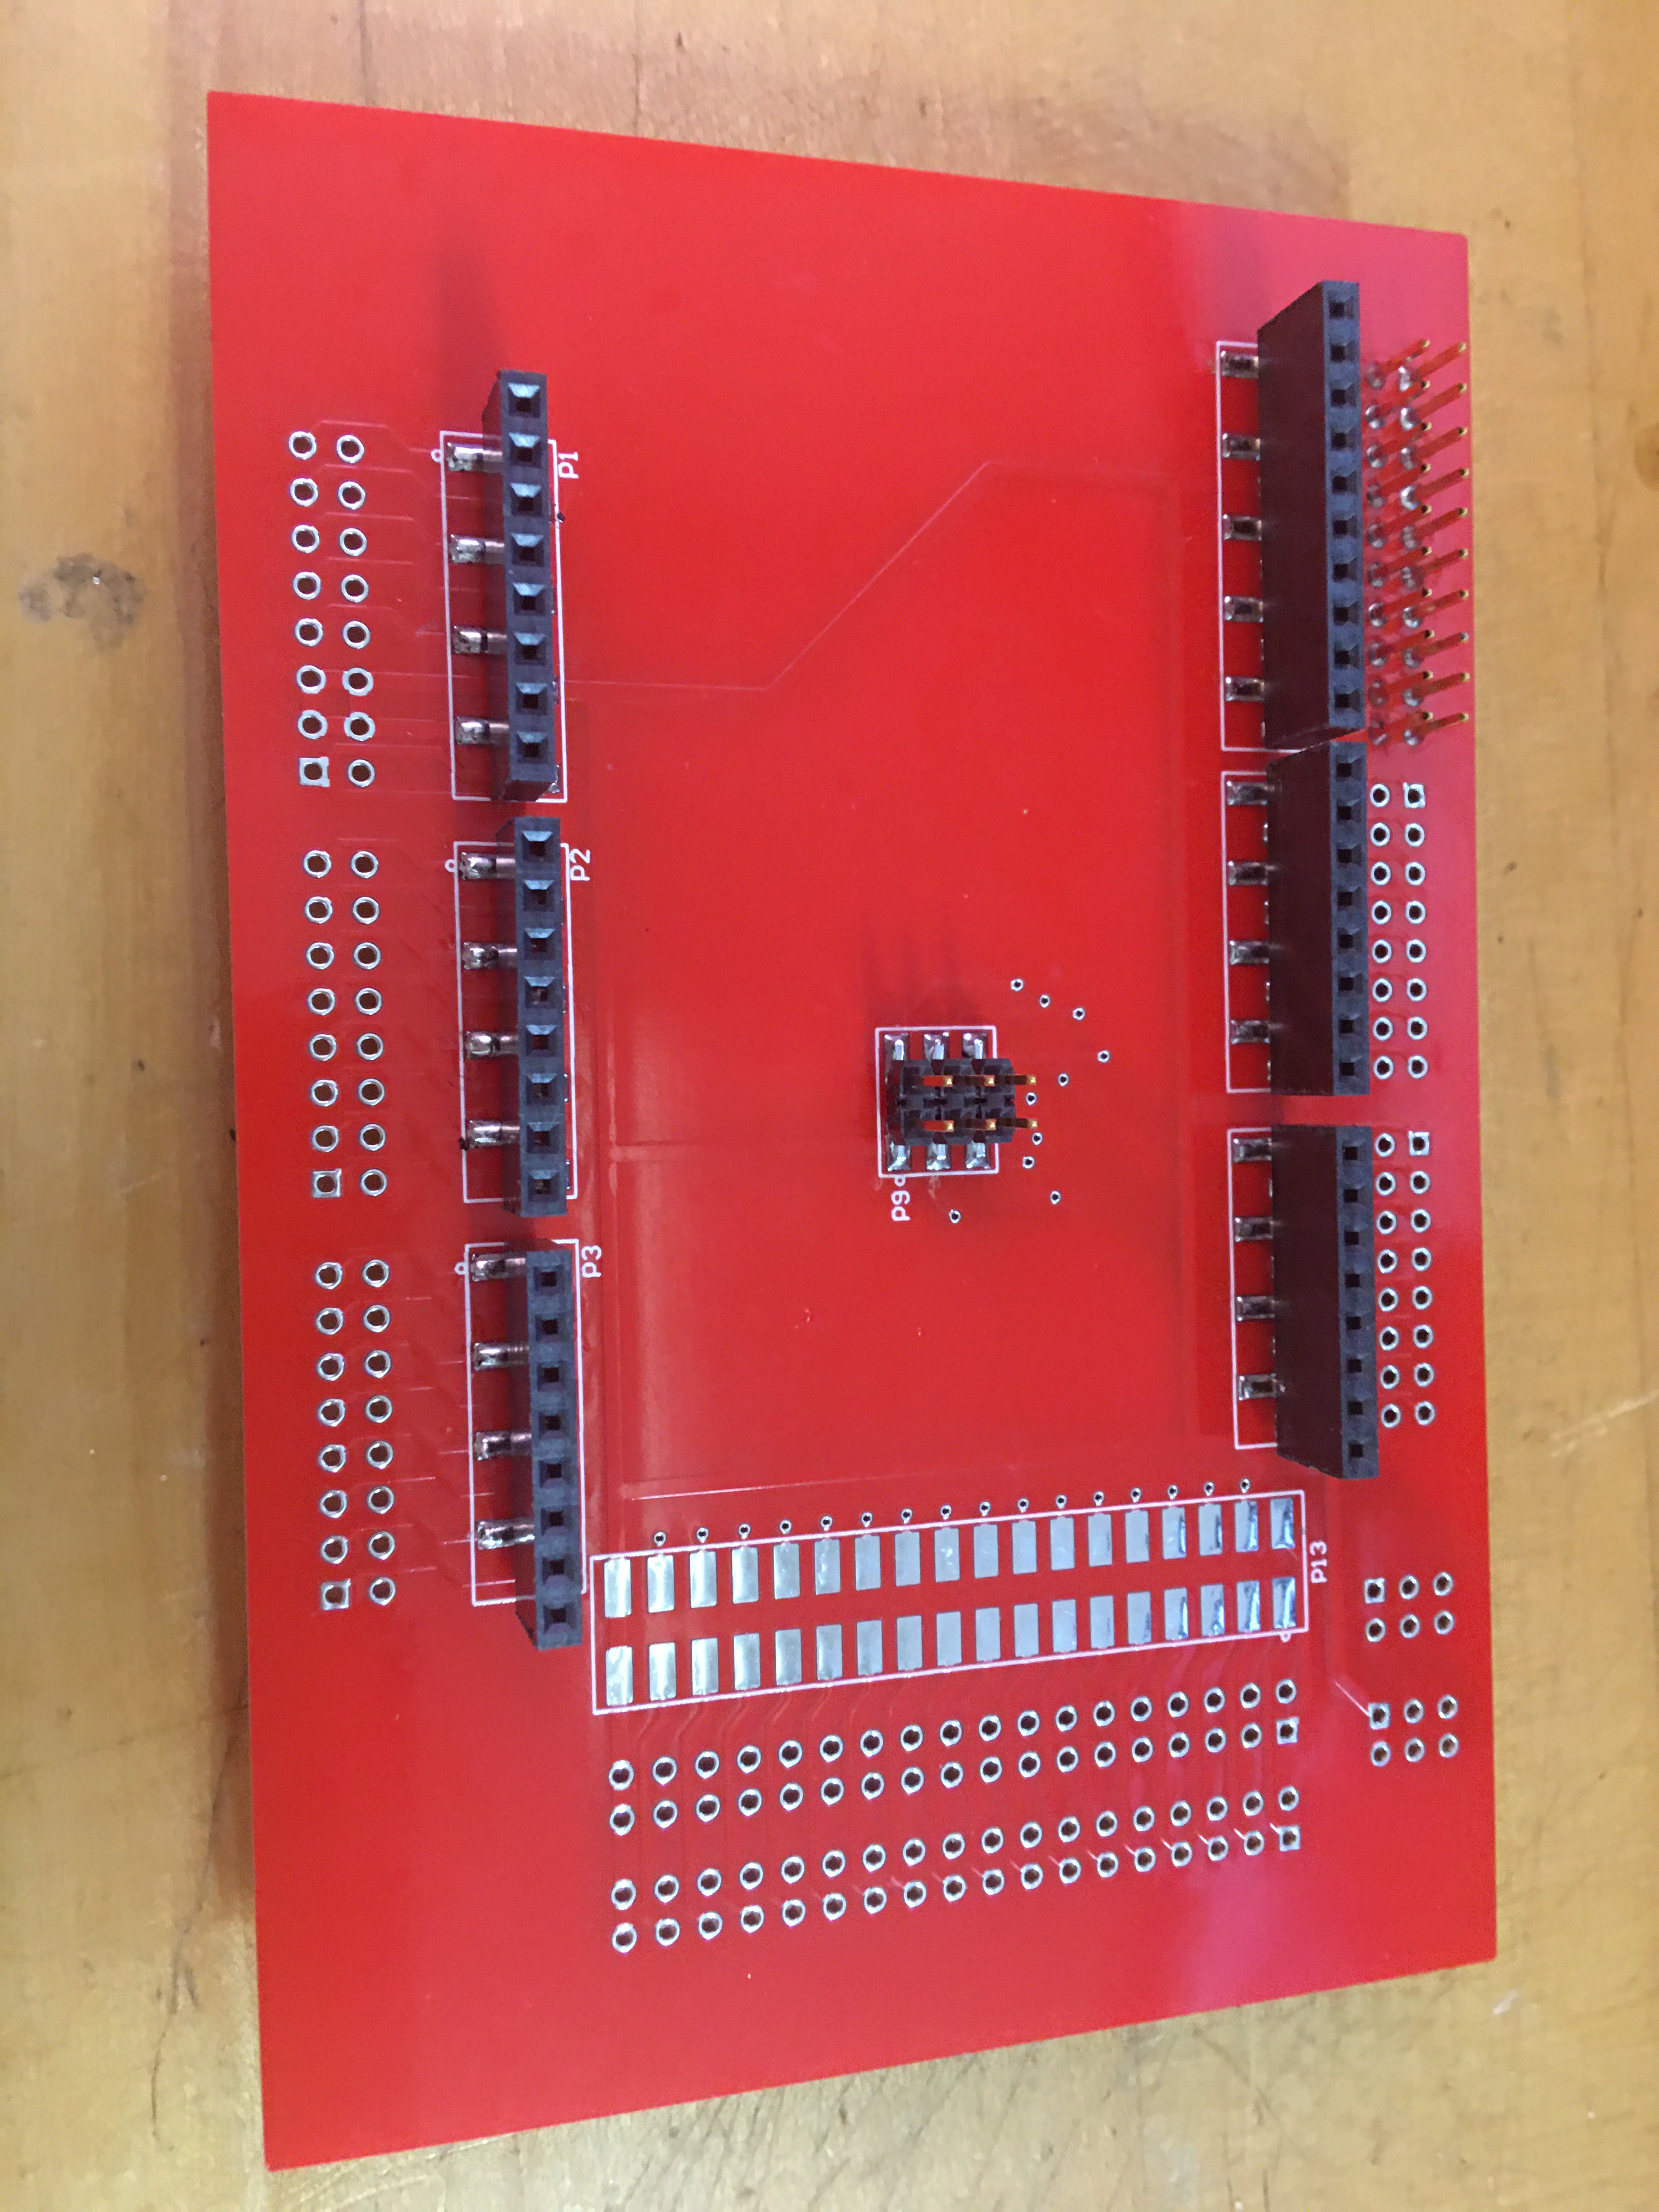
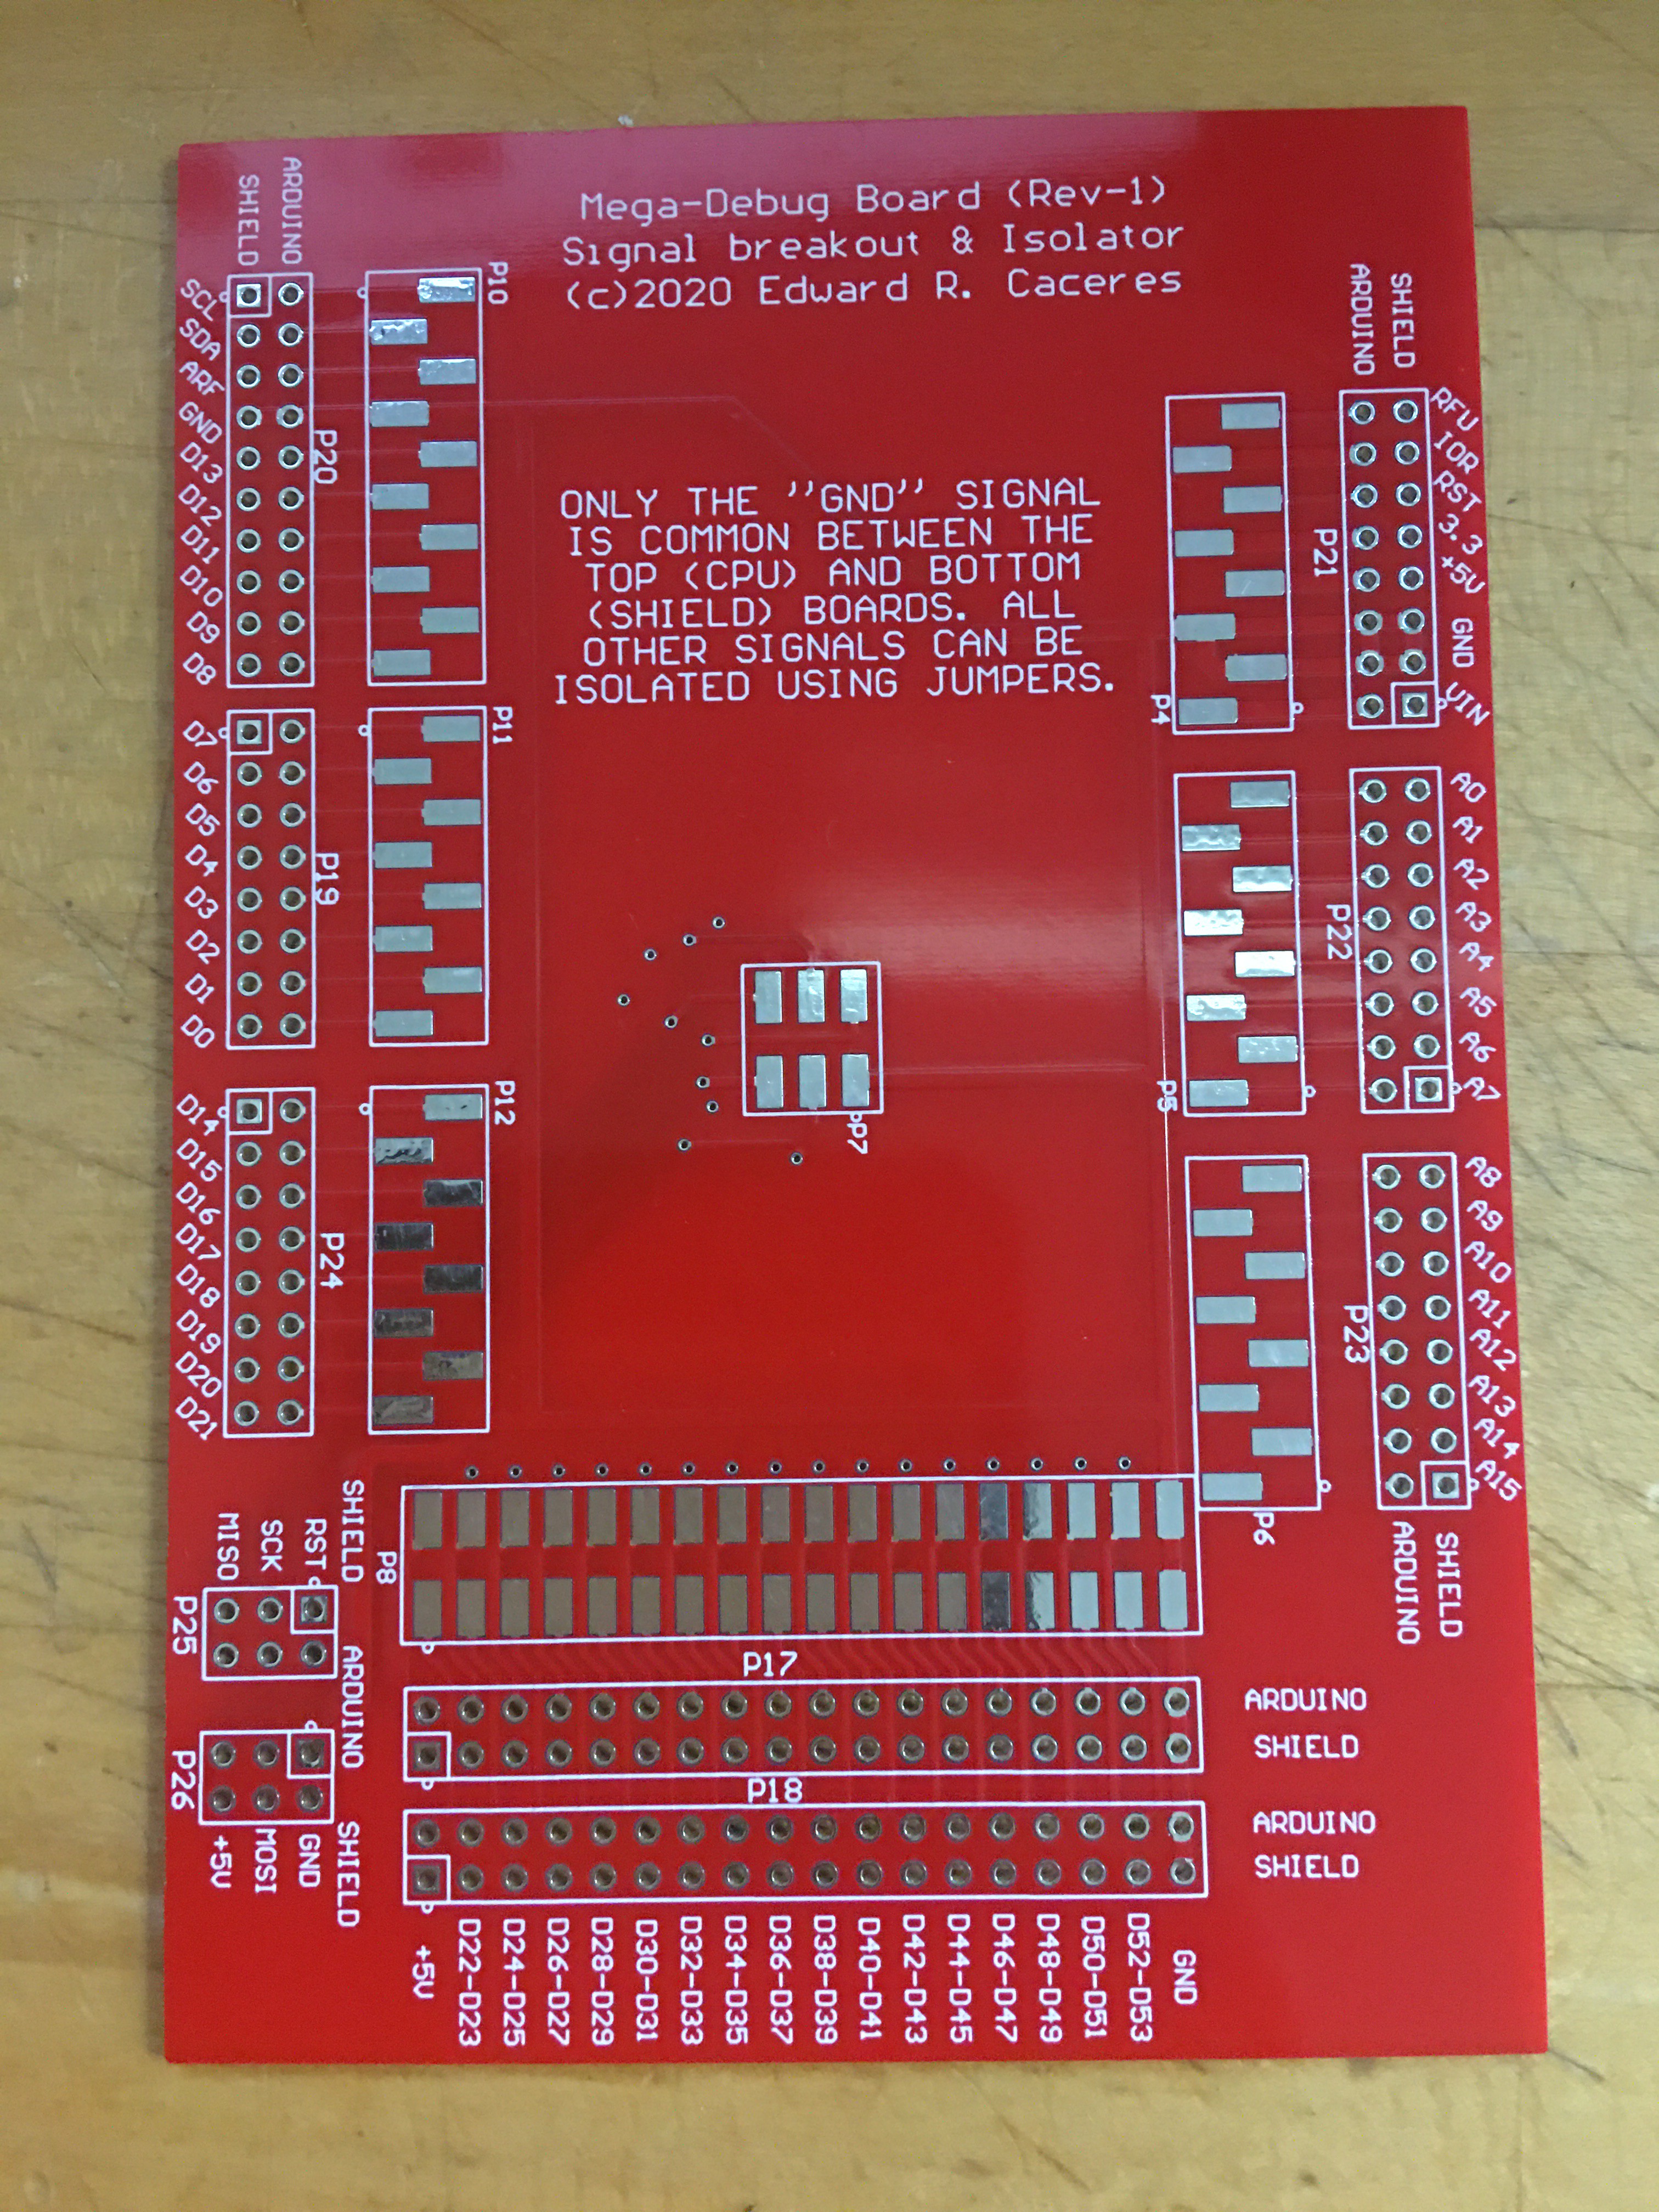
    Top side (Arduino CPU plugs in on this side):

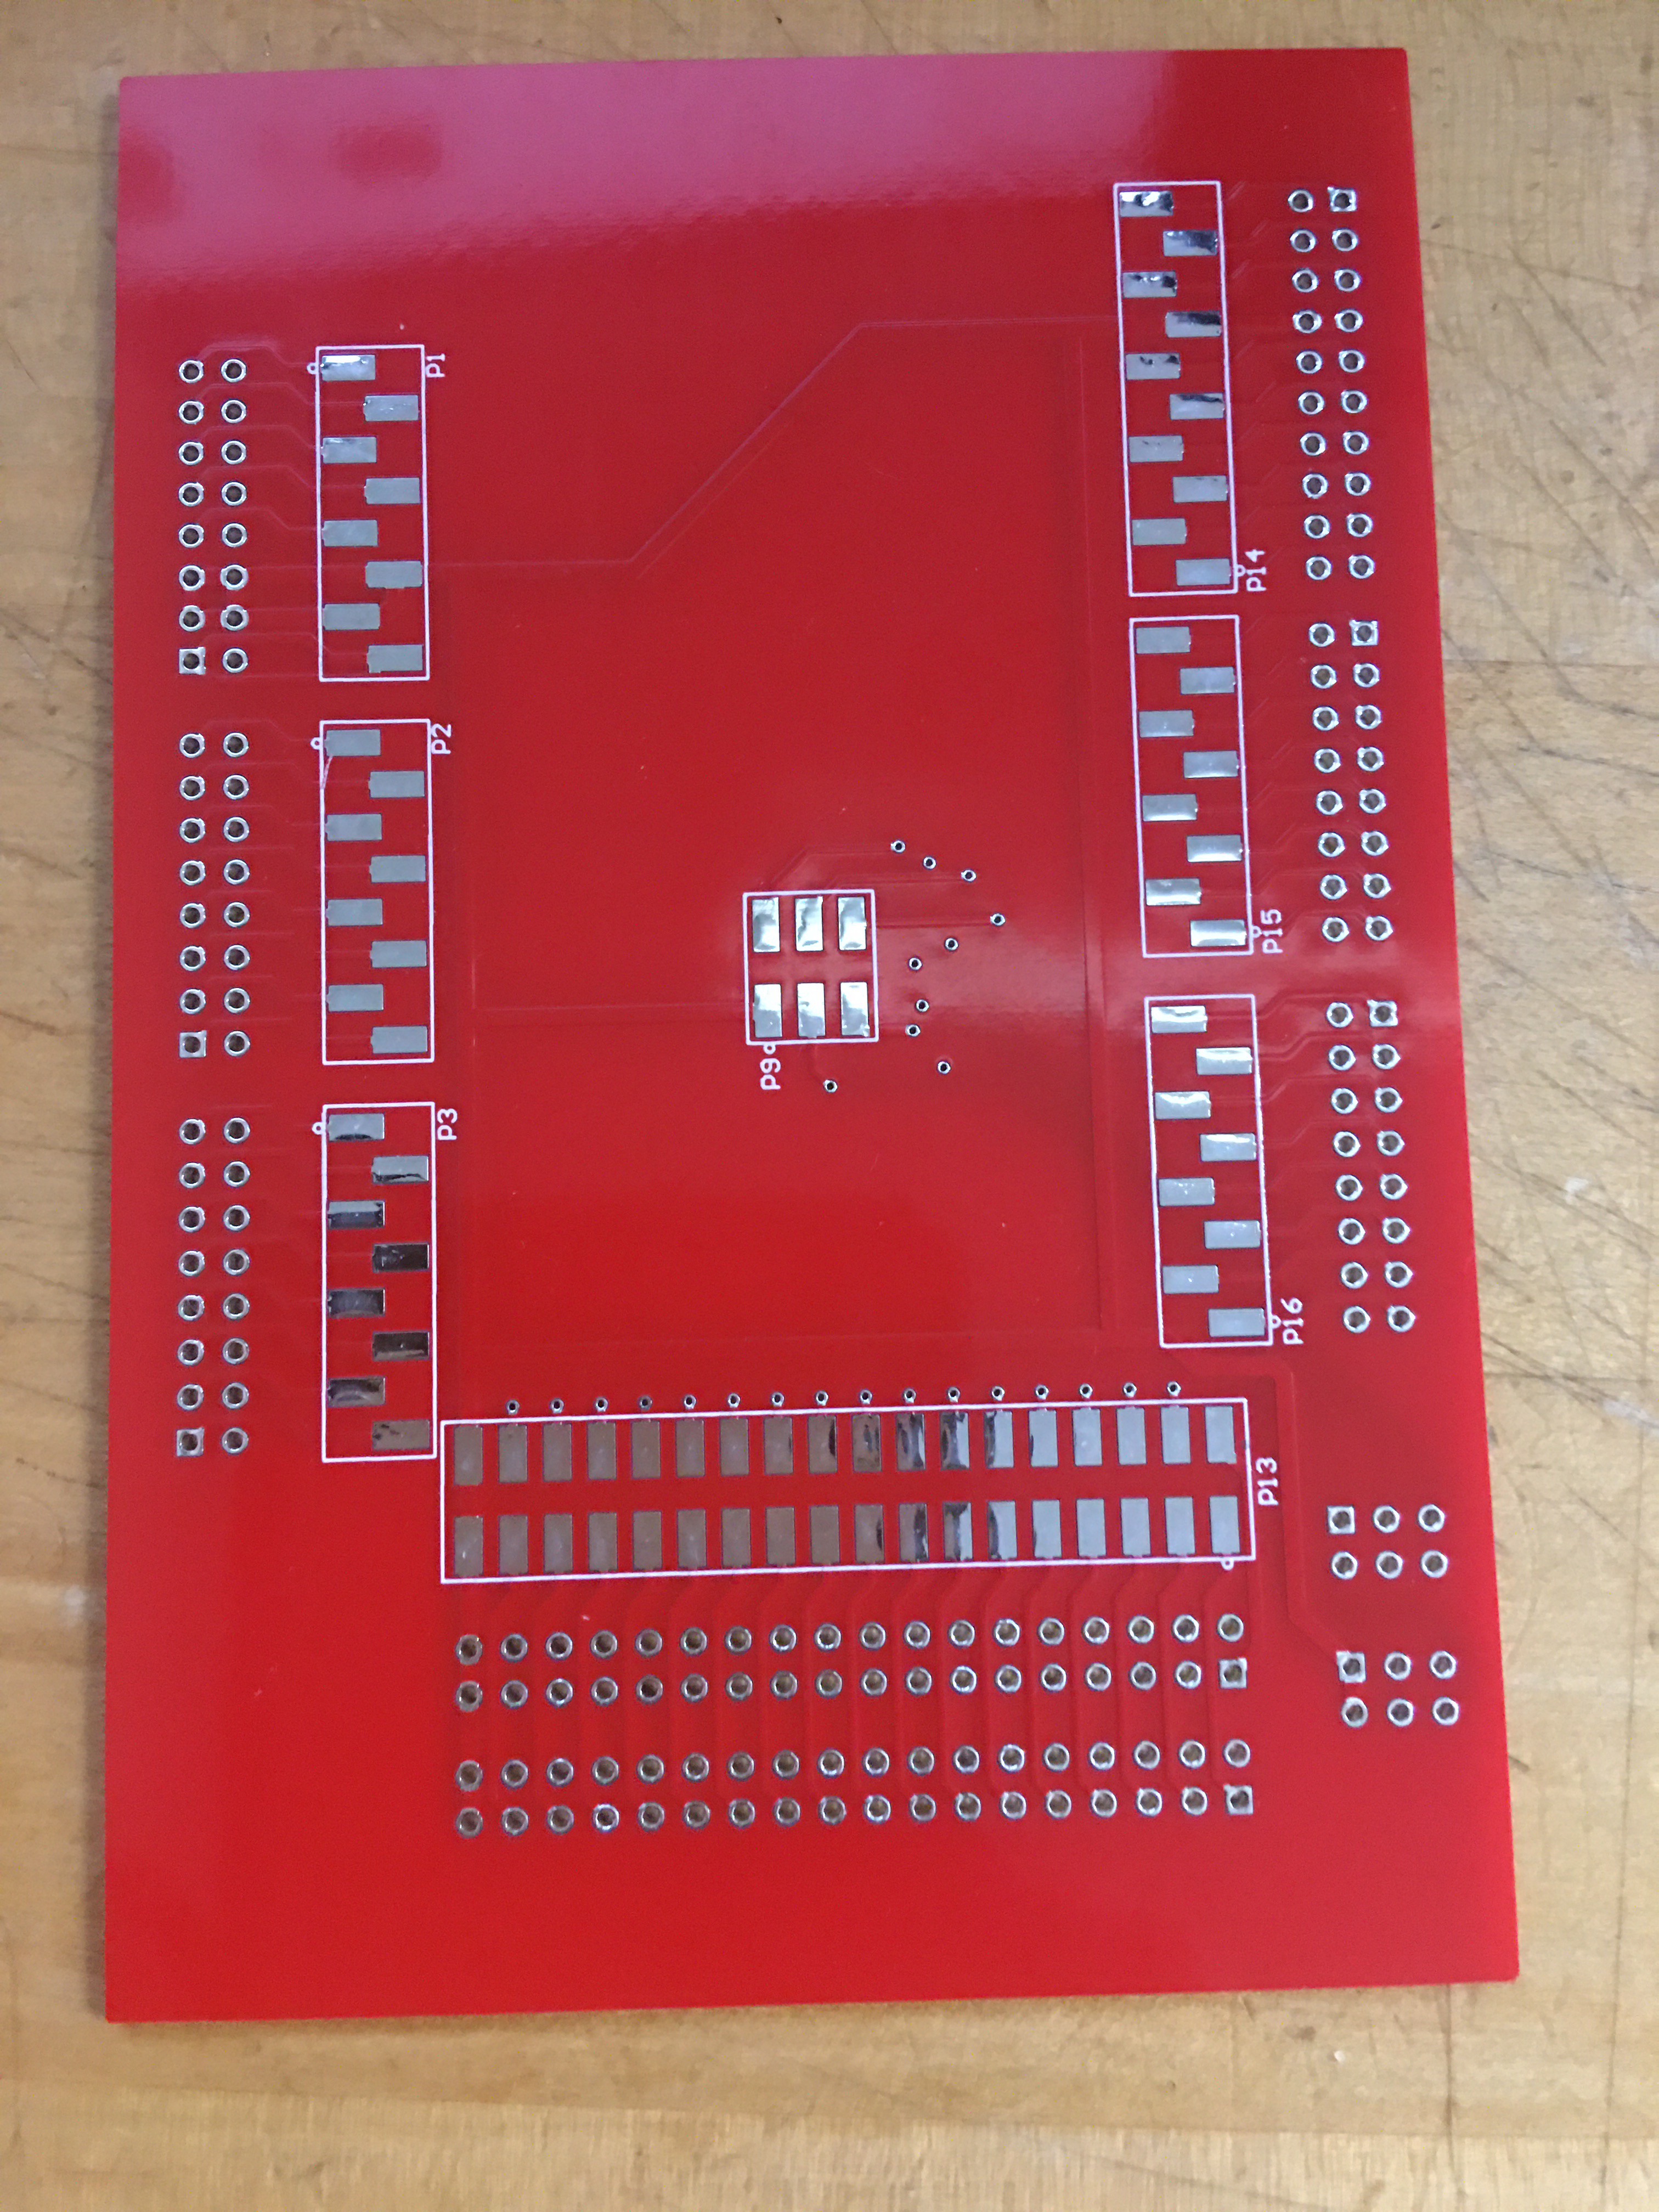
    Bottom side (Arduino shield(s) plug in on this side):

    Here's an Arduino Mega-2560 attached:

    You can see the 2x10 header there... that's where you install a little jumper across pin-pairs - thus connecting the CPU pins to the SHIELD pins. When you need to diagnose a problem and disconnect a signal - just remove the jumper!

    And the bottom side, all I had handy was an Ethernet shield, but you get the idea:

    Another view of the whole assembly:

    Status 6/28/2020: Ordered parts from Digikey!

    So pricey these $amtec headers! I've got to find a less expensive solution (but mechanically identical). For now, I just want to build a couple of boards to prove that everything fits together nicely when stacking together with a Mega-2560 and an appropriate Mega-sized shield board. One of my new industrial-control boards is arriving in a few days - and having this interposer board would really help with debugging (which is why I designed it!).

    Status 6/26/2020: Blank PCB fabs arrived!

    See below. All I need now are a handful of headers!


    Status 6/8/2020: Blank PCB fabs are on order!

View project log

Enjoy this project?

Share

Discussions

Ken Yap wrote 08/07/2020 at 05:19 point

Dang! Why didn't I think of this? Well done! 👍

  Are you sure? yes | no

Similar Projects

Does this project spark your interest?

Become a member to follow this project and never miss any updates