 Norbert Heinz
My first step in upcycling plastic waste was worth a blog entry on Hackaday.
The new design that grew during this years Hackaday Prize is a lot more reliable and worth going in (at least small scale) production.
Build CNC machines from scratch and learn how to write the code that moves their axes.
Already have an account? Log in.
To make the experience fit your profile, pick a username and tell us what interests you.
My first step in upcycling plastic waste was worth a blog entry on Hackaday.
The new design that grew during this years Hackaday Prize is a lot more reliable and worth going in (at least small scale) production.
Extruder-V2.zipZip Archive - 3.95 MB - 08/31/2020 at 12:48 |
|
Extremely close to the end of this years Hacakay Prize I made my direct granules extruder work. See it running in a first video:
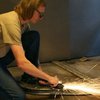
The idea is to shred waste plastics and turn the granules into something useful:
Even though I did not post many logs (something that would have eaten too much time), I definitely spend hours/week/days/months with trying things out and improving my design step by step:
...let's see what the jury thinks, if I get some extra time in the final round ;-)
In the previous log I mentioned to create a plasma printer and here it is:
As can be seen in the video, the print quality isn't overwhelming but it is a nice machine to explain how things work in general when electricity destroys paper in a hacker's way ;-)
It's no breakthrough in printing technology which is why development of this machine won't go on for my this year's Hackaday price entry, however the build instruction is available on my pages:
https://homofaciens.de/technics-machines-plasma-printer_en.htm
Part of the Hackaday Prize are mentor sessions which is why I had an interesting talk with Sophi Kravitz. She told me to focus on less projects to make clear what path I try to go (something I am sometimes in doubt of...) As a conclusion I will continue working on my filament extruder (details coming soon) and my CNC without ball bearings for the rest of the time (August 31st is getting closer...).
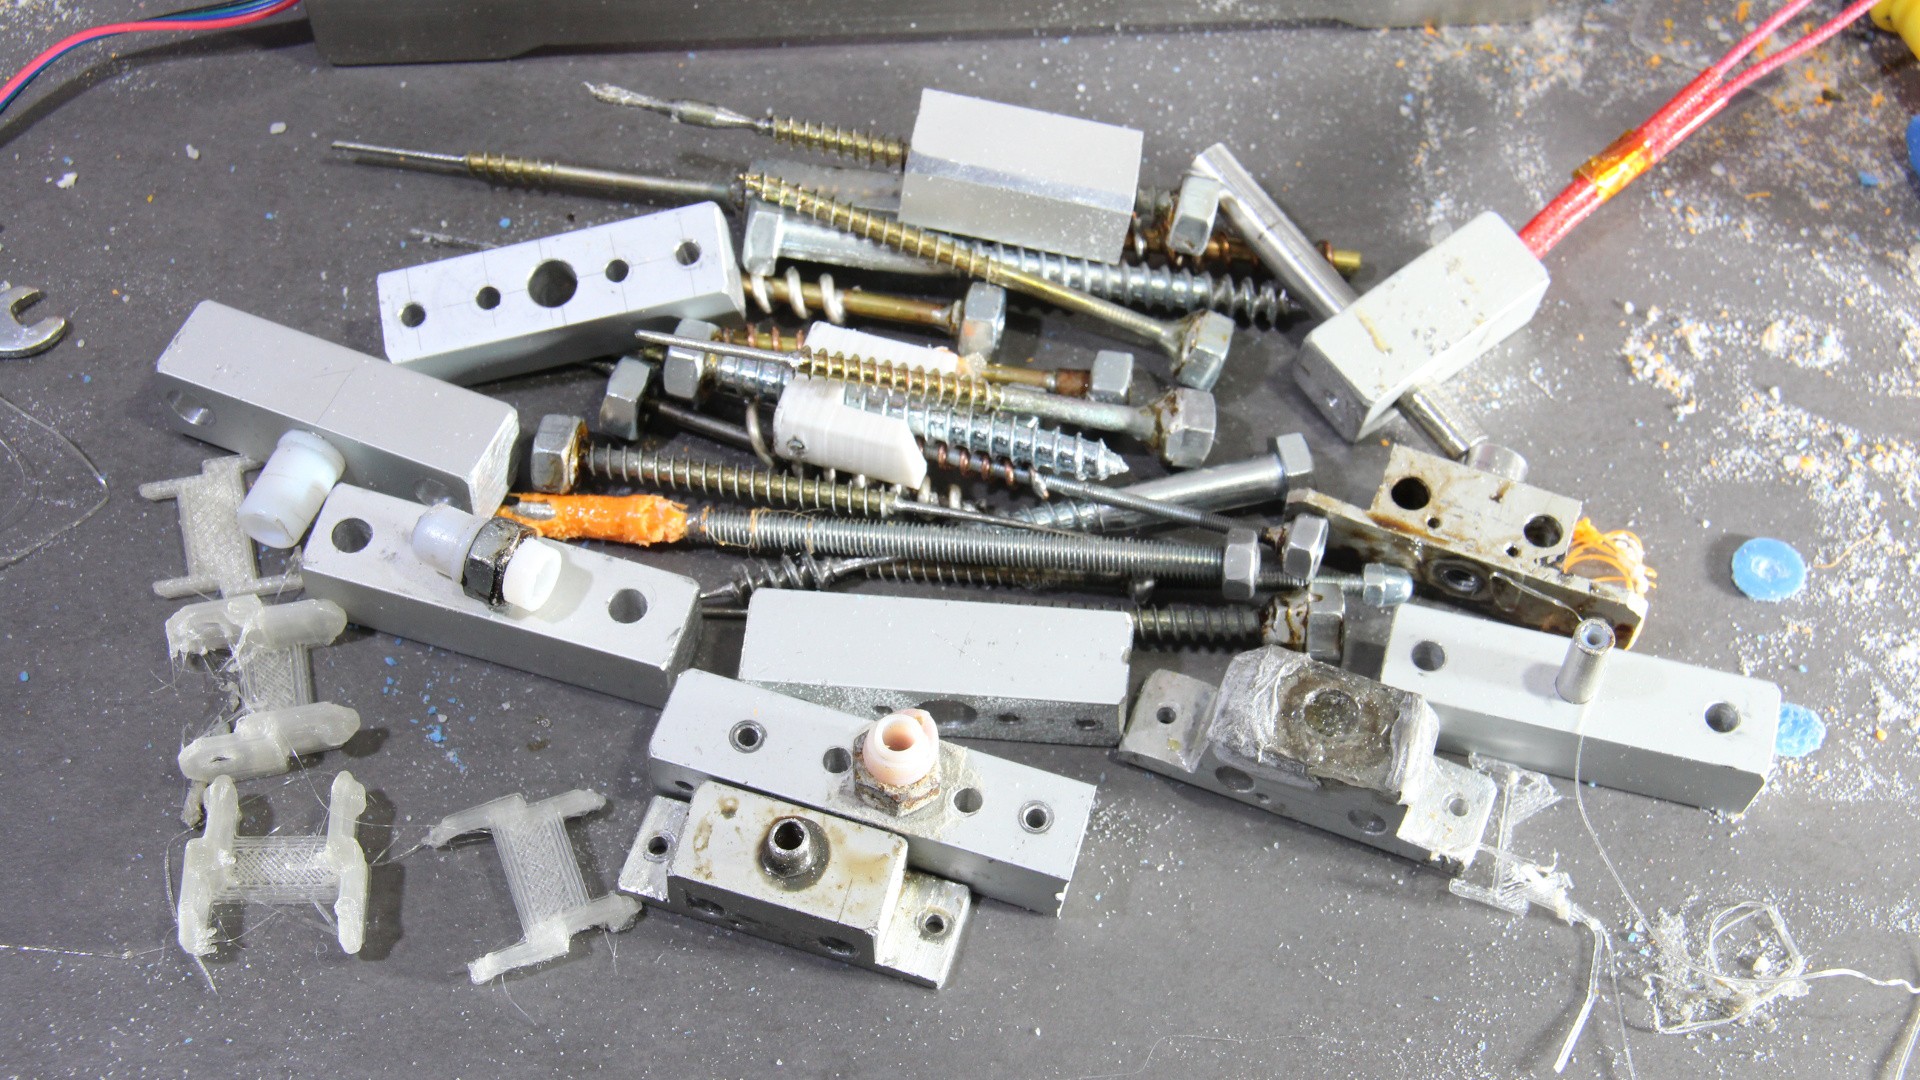
My interest in 2D printing has been reignited by Theo Deutinger, an Artist looking for an extremely slow, but continuously working printer (see Hackaday post for details). Using an old commercial print head will work for this purpose, but part of the deal with the artist is to look for a more DIY style printing technique. One idea is to build an ink jet nozzle from scratch. To get a suitable print resolution, you need a tiny, tiny nozzle. Electrical discharge machining (EDM) is a way to engrave tiny structures or to "drill" tiny holes. My DIY approach is to do something like that with a plasma lighter:
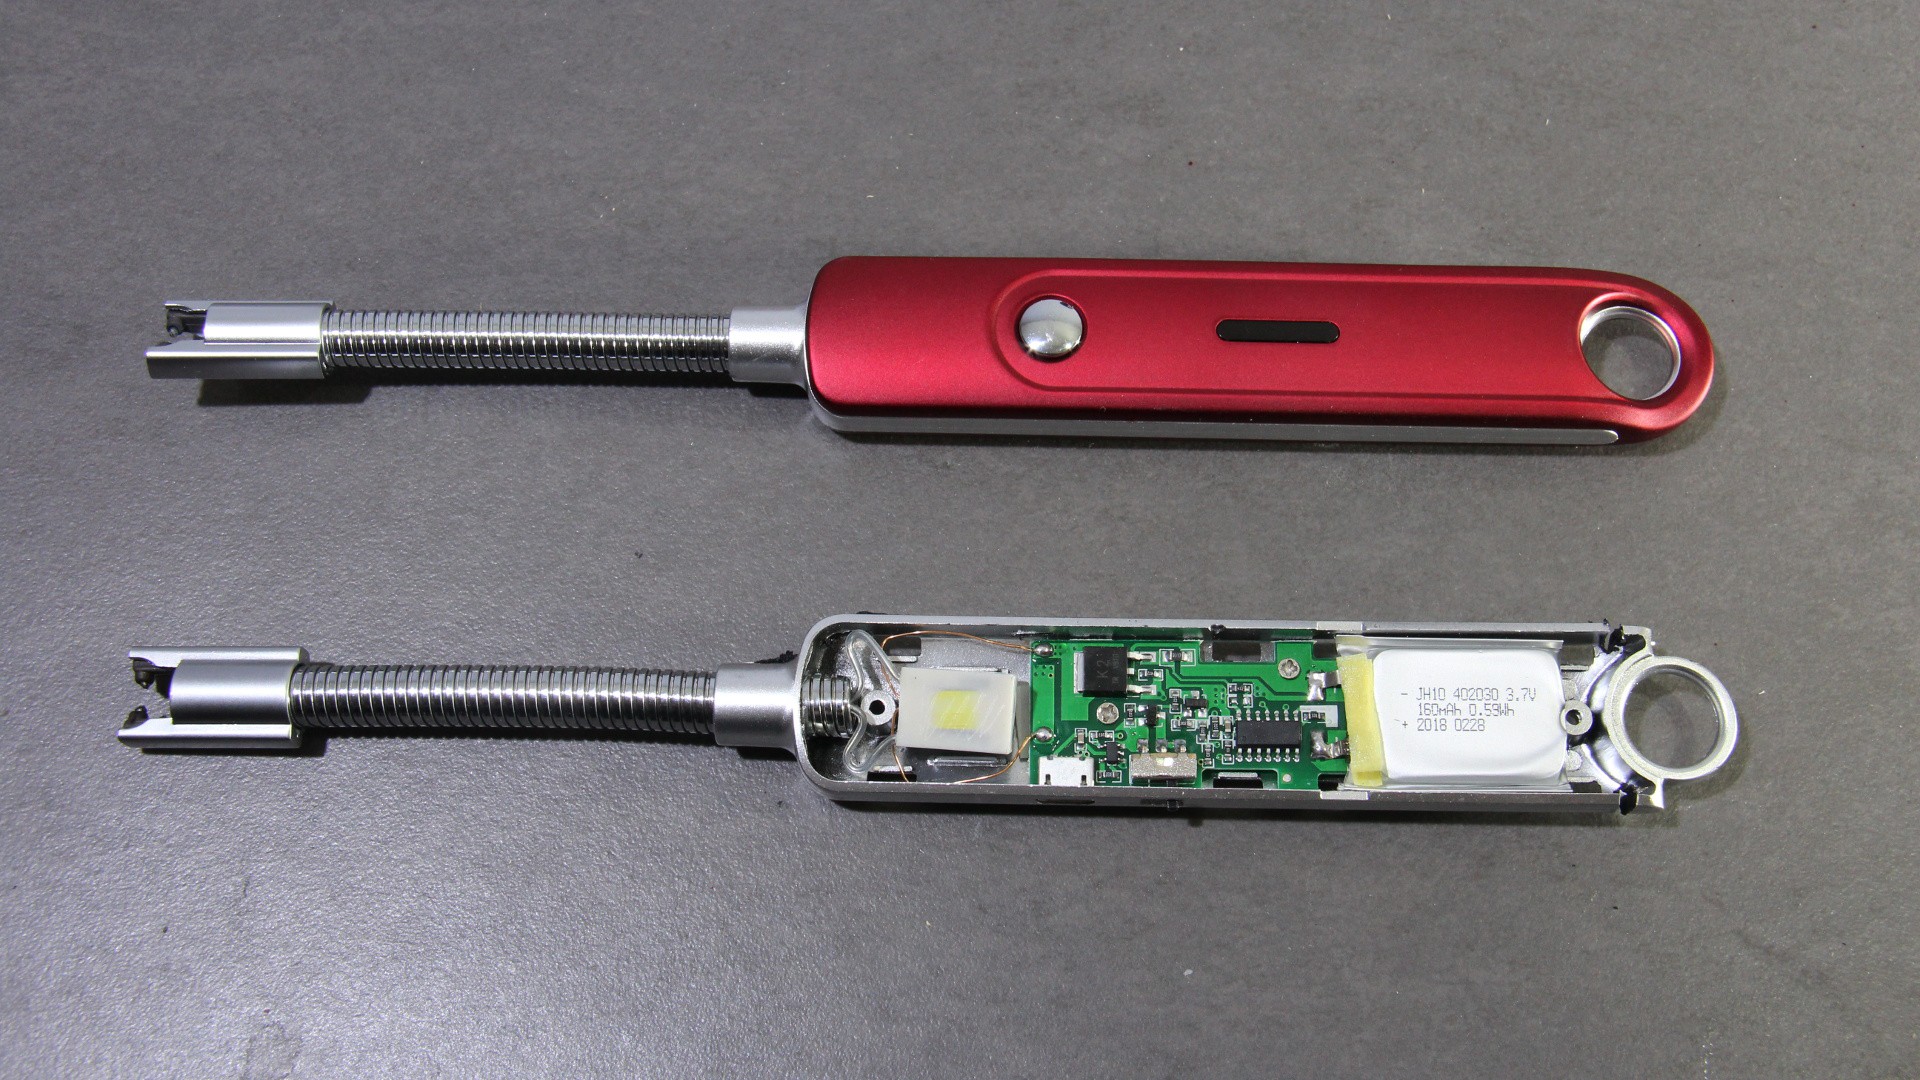
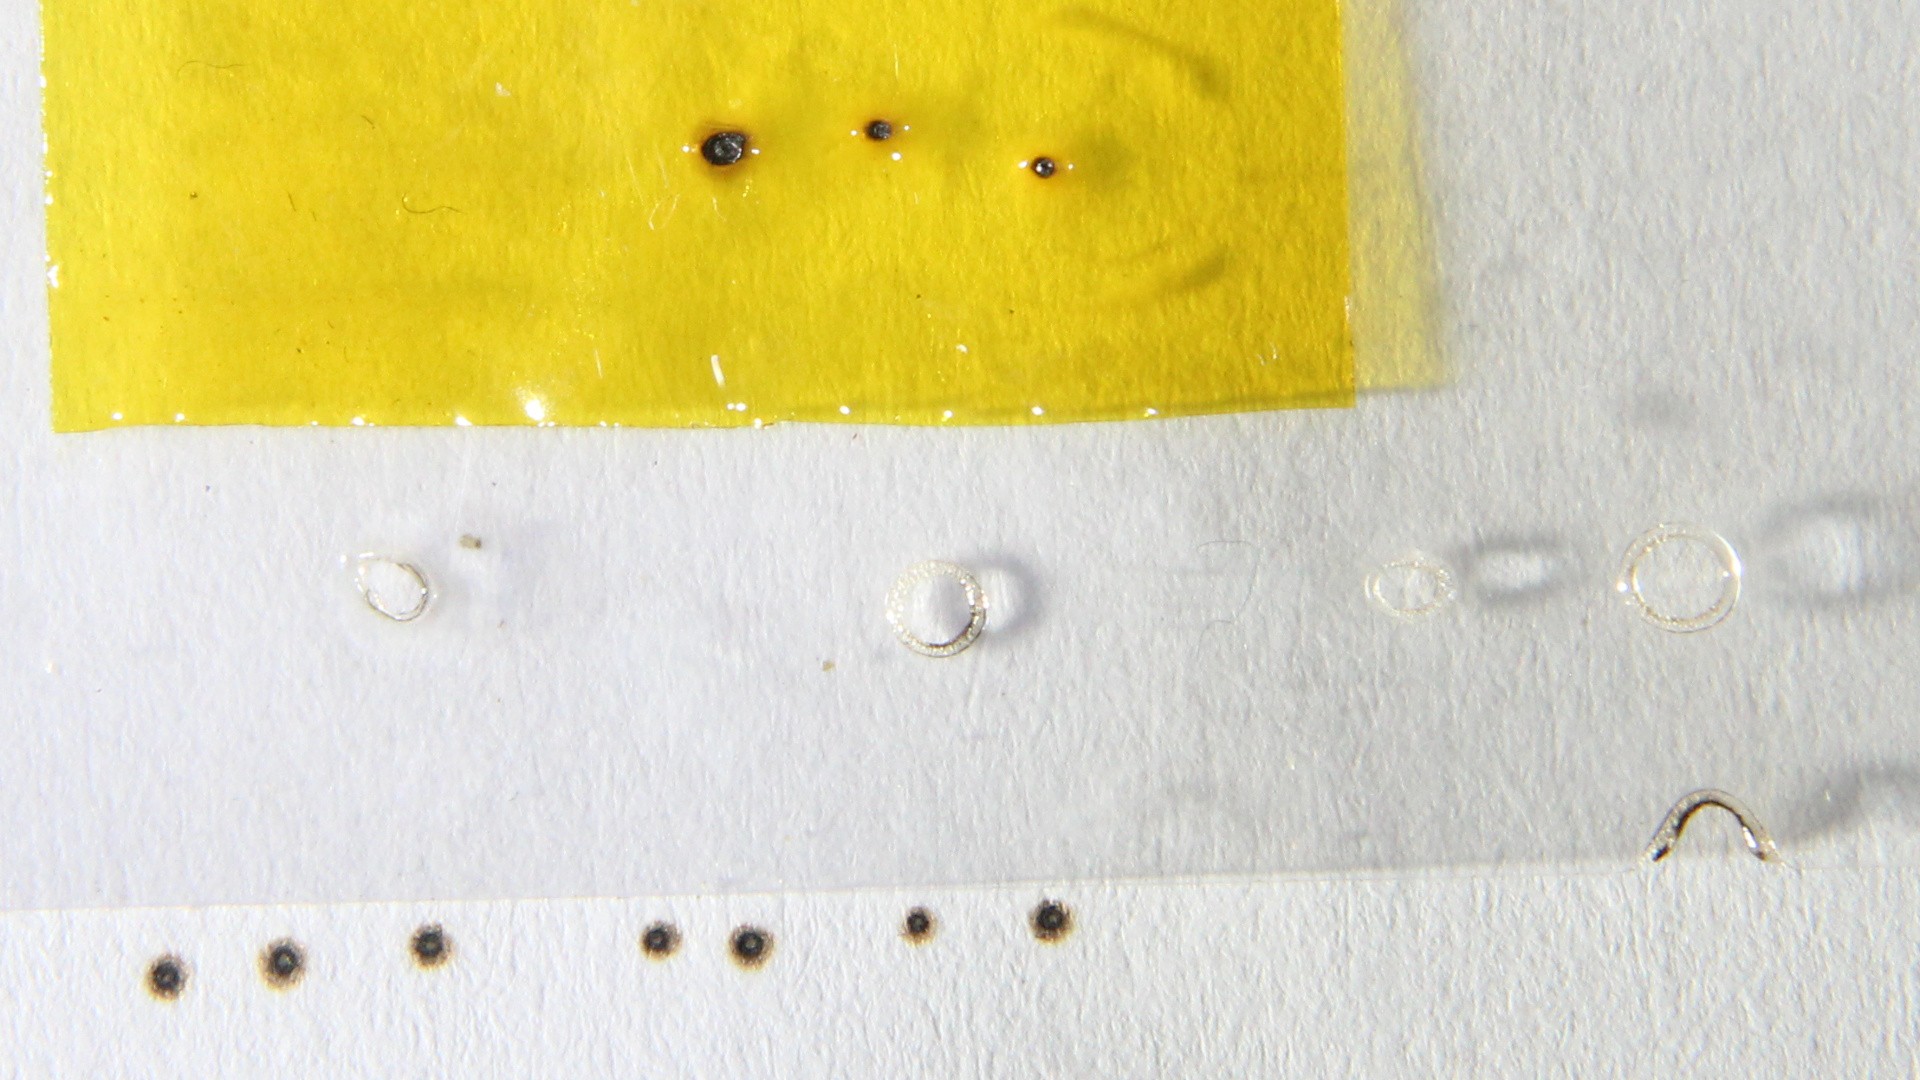
3 of them arrived today and I did a couple of quick experiments to see if "drilling" holes works in general:
First results show that drilling holes through Kapton tape (top) works fine and you get holes of approximately 0.5mm even when firing the high voltage circuit manually through the push button and holding the tape in the other hand. In thicker plastics (overhead projector film) the results are 2mm holes. Next step is to connect the high voltage circuit to an Arduino in order to shoot well defined pulses of plasma on various materials to see what this technique is capable of. Also needed is a simple mechanics to get a well defined air gap, different electrode geometries, air cooling etcetera, etcetera. Lots of interesting experiments ahead to get tiny holes!
The bottom row shows what happens to paper when being between the electrodes. Paper is no suitable material for an inkjet nozzle, but what about a plasma printer? I am curious what dot size and print speed I can get while reducing the "fire time". It will be a thermal printer with no need for special thermal paper.
Anybody with a bit of sense for environment and owning a filament printer will sooner or later look for ways to reuse failed prints or upcycle plastic bottles. My first approach is to shred plastics and print the granule with a direct extruder. That result already has been published on Hackaday (thanks, Dan).
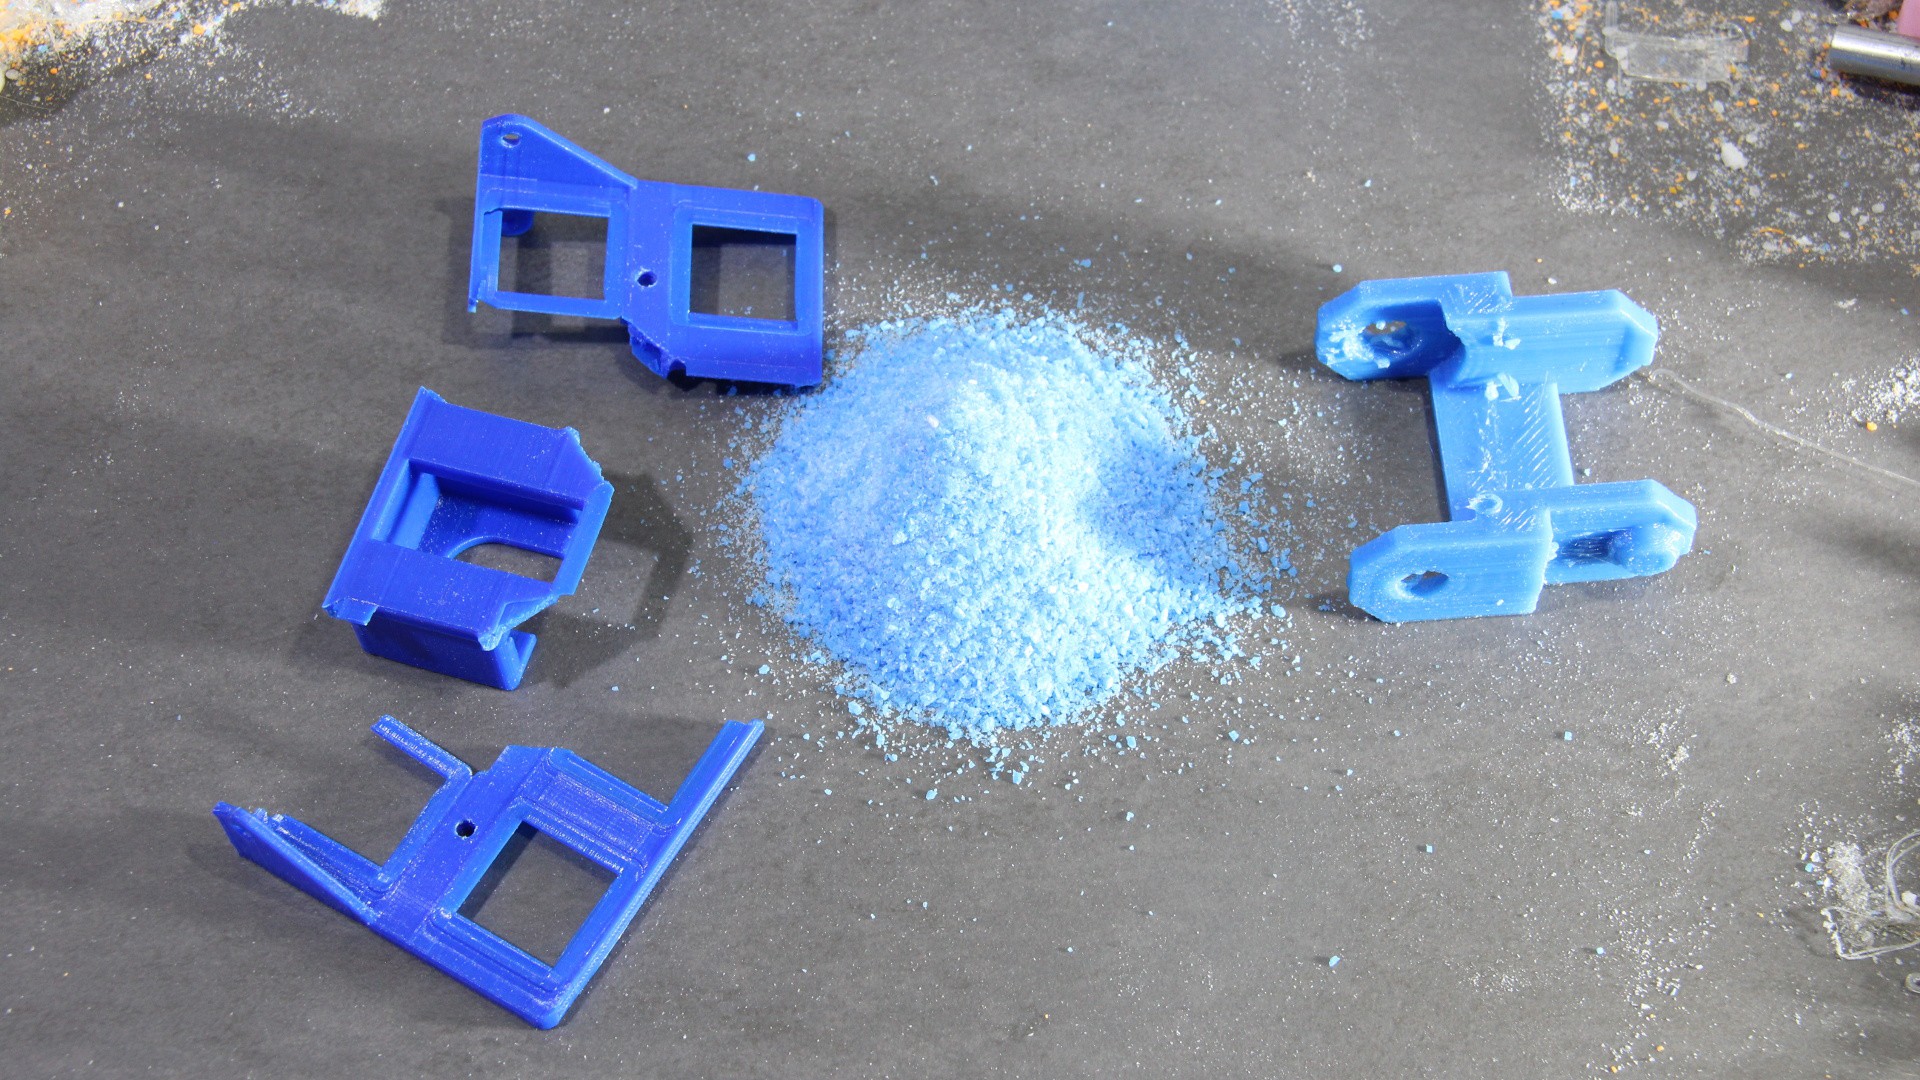
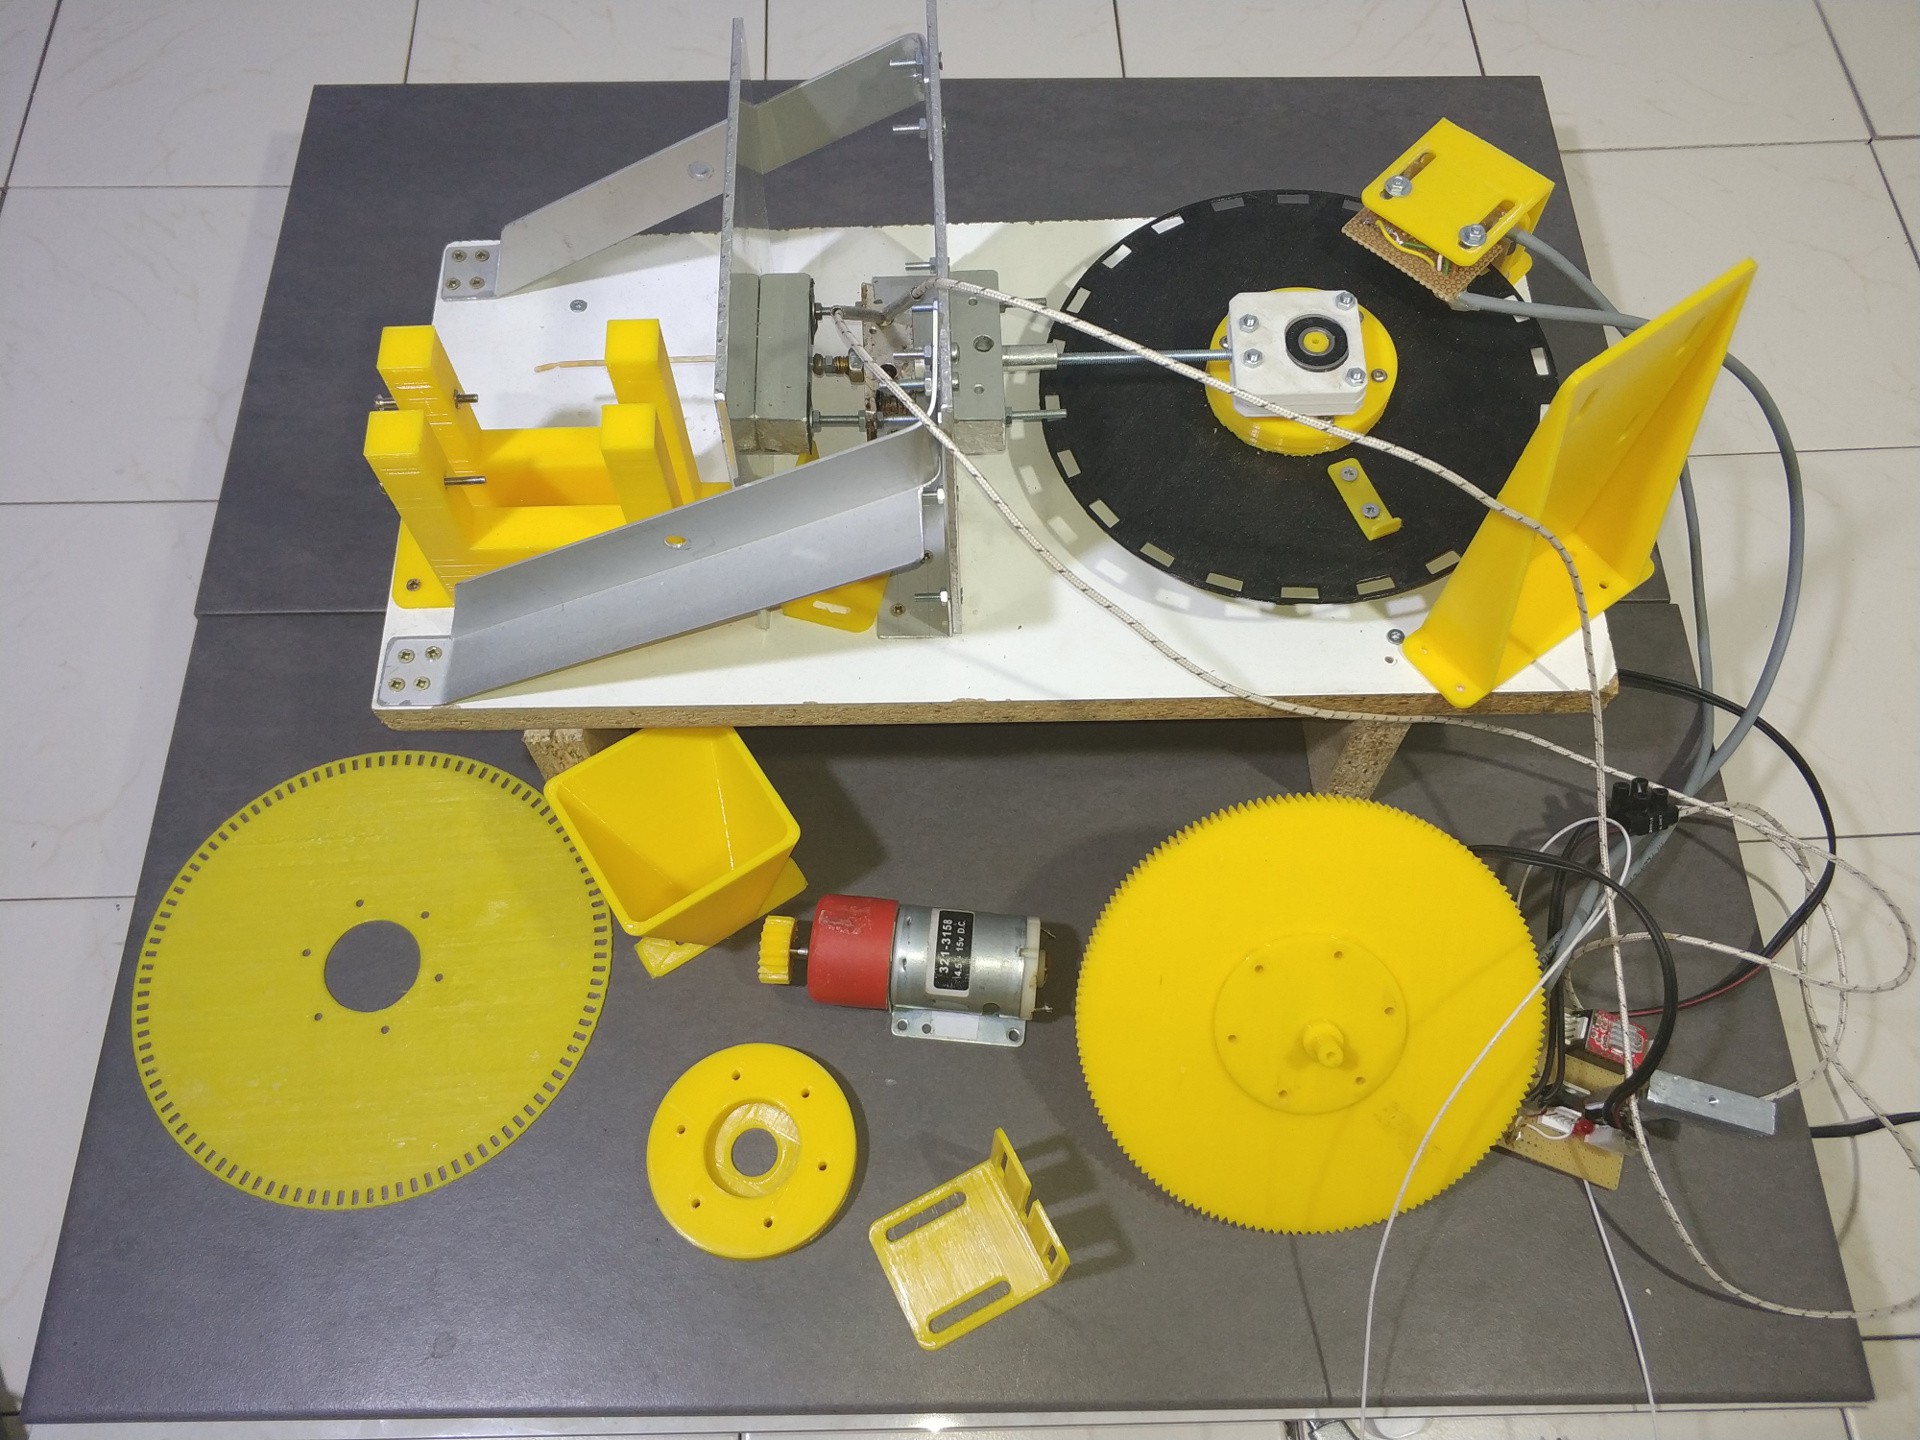
My next step is to build a filament extruder:
This one won't be a continuously working extruder. The raw material is pressed into a hotend by a piston that is driven by a crank shaft. The non continuous forwarding of raw material means the filament is extruded in intervals. That in turn requires the plastics to be solidified before exiting the extruder. This is achieved by a Teflon tube that is long enough to cool down the plastics. The problem with traditional filament extruders is that they are very sensible to extrusion parameters. That's what my setup can solve. You can extrude filament whenever it is needed, forwarding the plastics wire directly to your 3D printer while it is working. I have gone through a couple of iterations and the hardware has now reached a level that allows to dive into fine tuning...
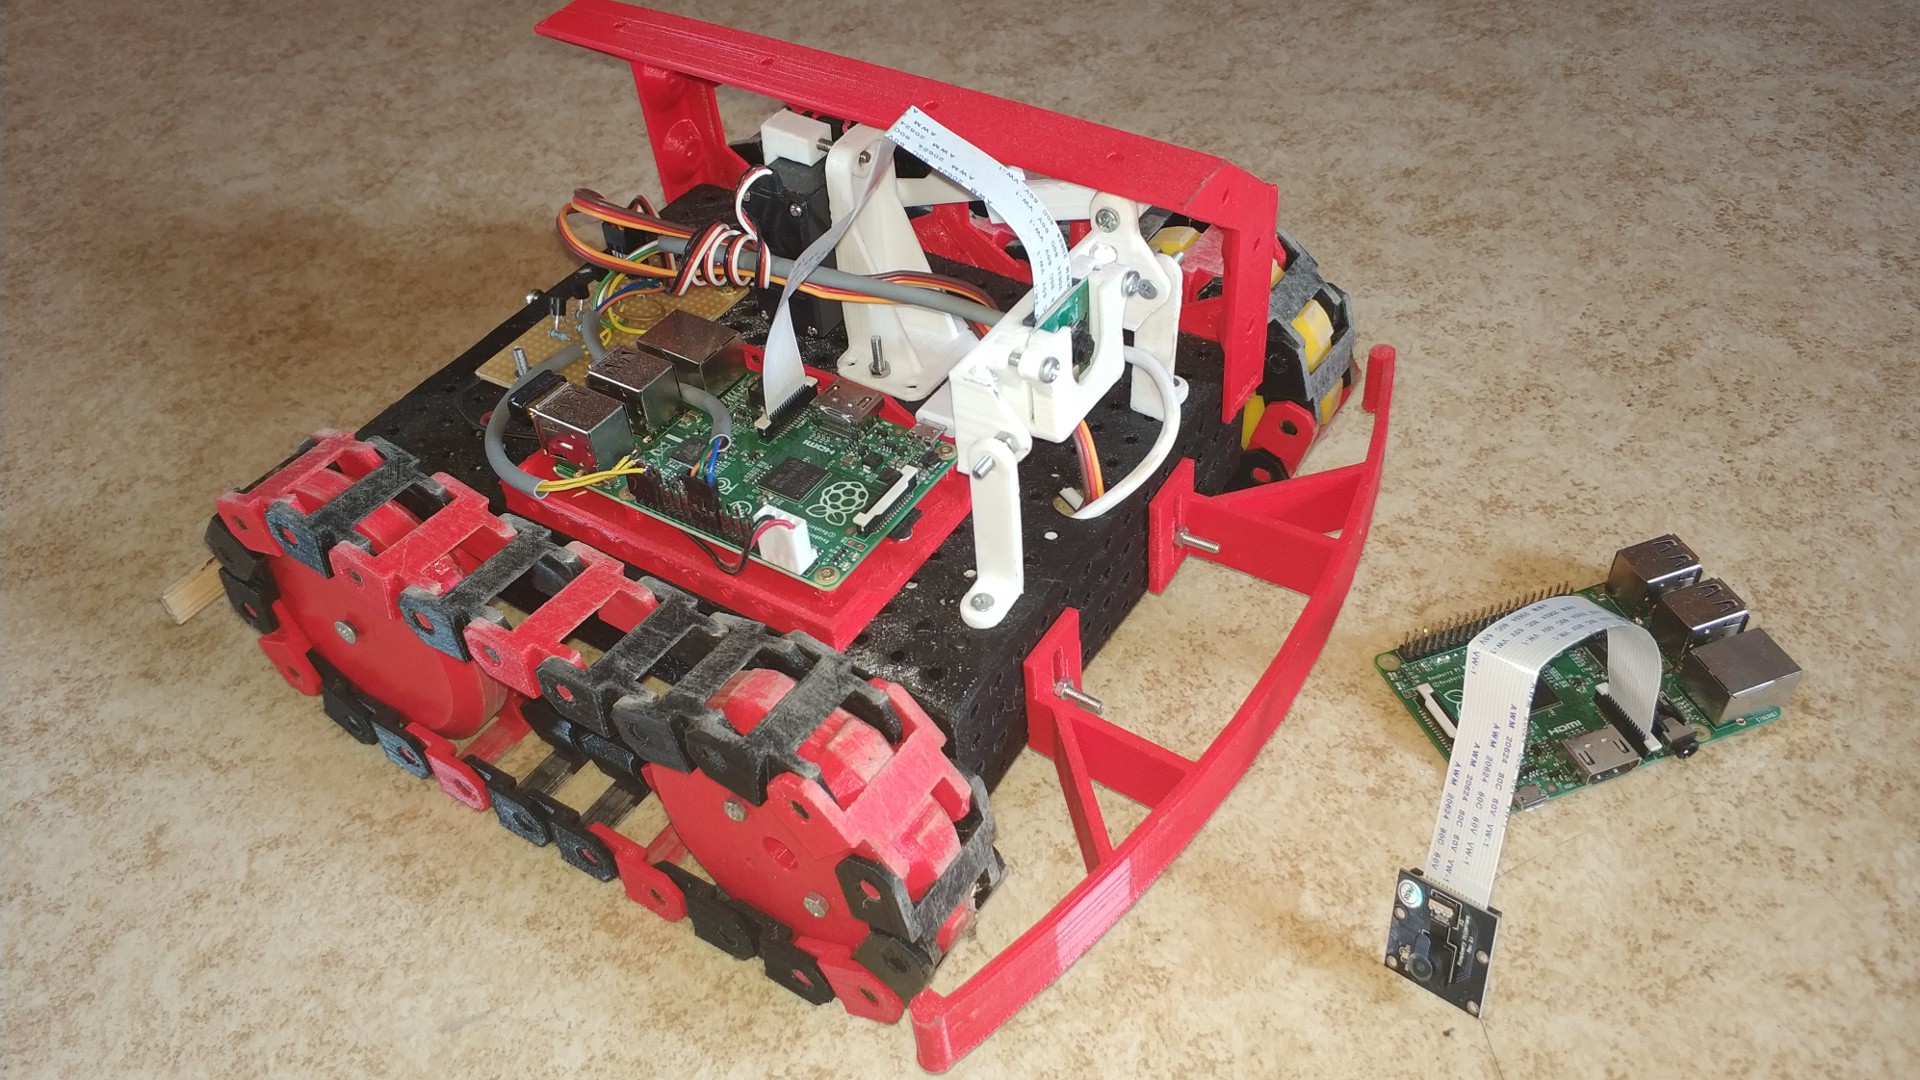
Physical computing is a good way to spark interest in coding. While manipulating bits and bytes is what code is written for, a change from "0" to "1" in RAM isn't that noticeable as a change from 0V to 5V on a GPIO with a piece of electronics being attached to. The disadvantage is that you need to build (or buy) additional hardware to visualize that change in software state. Robots are a common toy (I see it as a tool) to visualize what normally is invisible. My approach is to install another webcam in my www.RoboSpatium.de that points to a robot you can control by code lines e.g. turn the drive motors on for a second or so to make it move into a certain direction. With a Raspberry Pi powered robot and a second Pi controlling a third person view webcam, the needed hardware already exists:
All that's left to be done, is "just" the coding.
The robot seen on the photo is a prototype of my "World Tour Robot", a rover that is meant to be send out to the world in a post parcel to various destinations. With its RC hobby drives, this prototype is too loud and not reliably enough, so I must build a new one with stepper motor drives. Not good enough for one project doesn't mean it has to be scraped. It definitely is good enough for driving on my attic, triggered by code lines.
For this project there is:
Hardware - solved
Software - time needed...
The fewer backlash, the better the results you get with a CNC machine. I have built a couple of simple DIY, adjustable joints.The CNC machine without ball bearings I am working on, will be based on a delta design using the universal joints shown in the video:
The cold end looks like that:
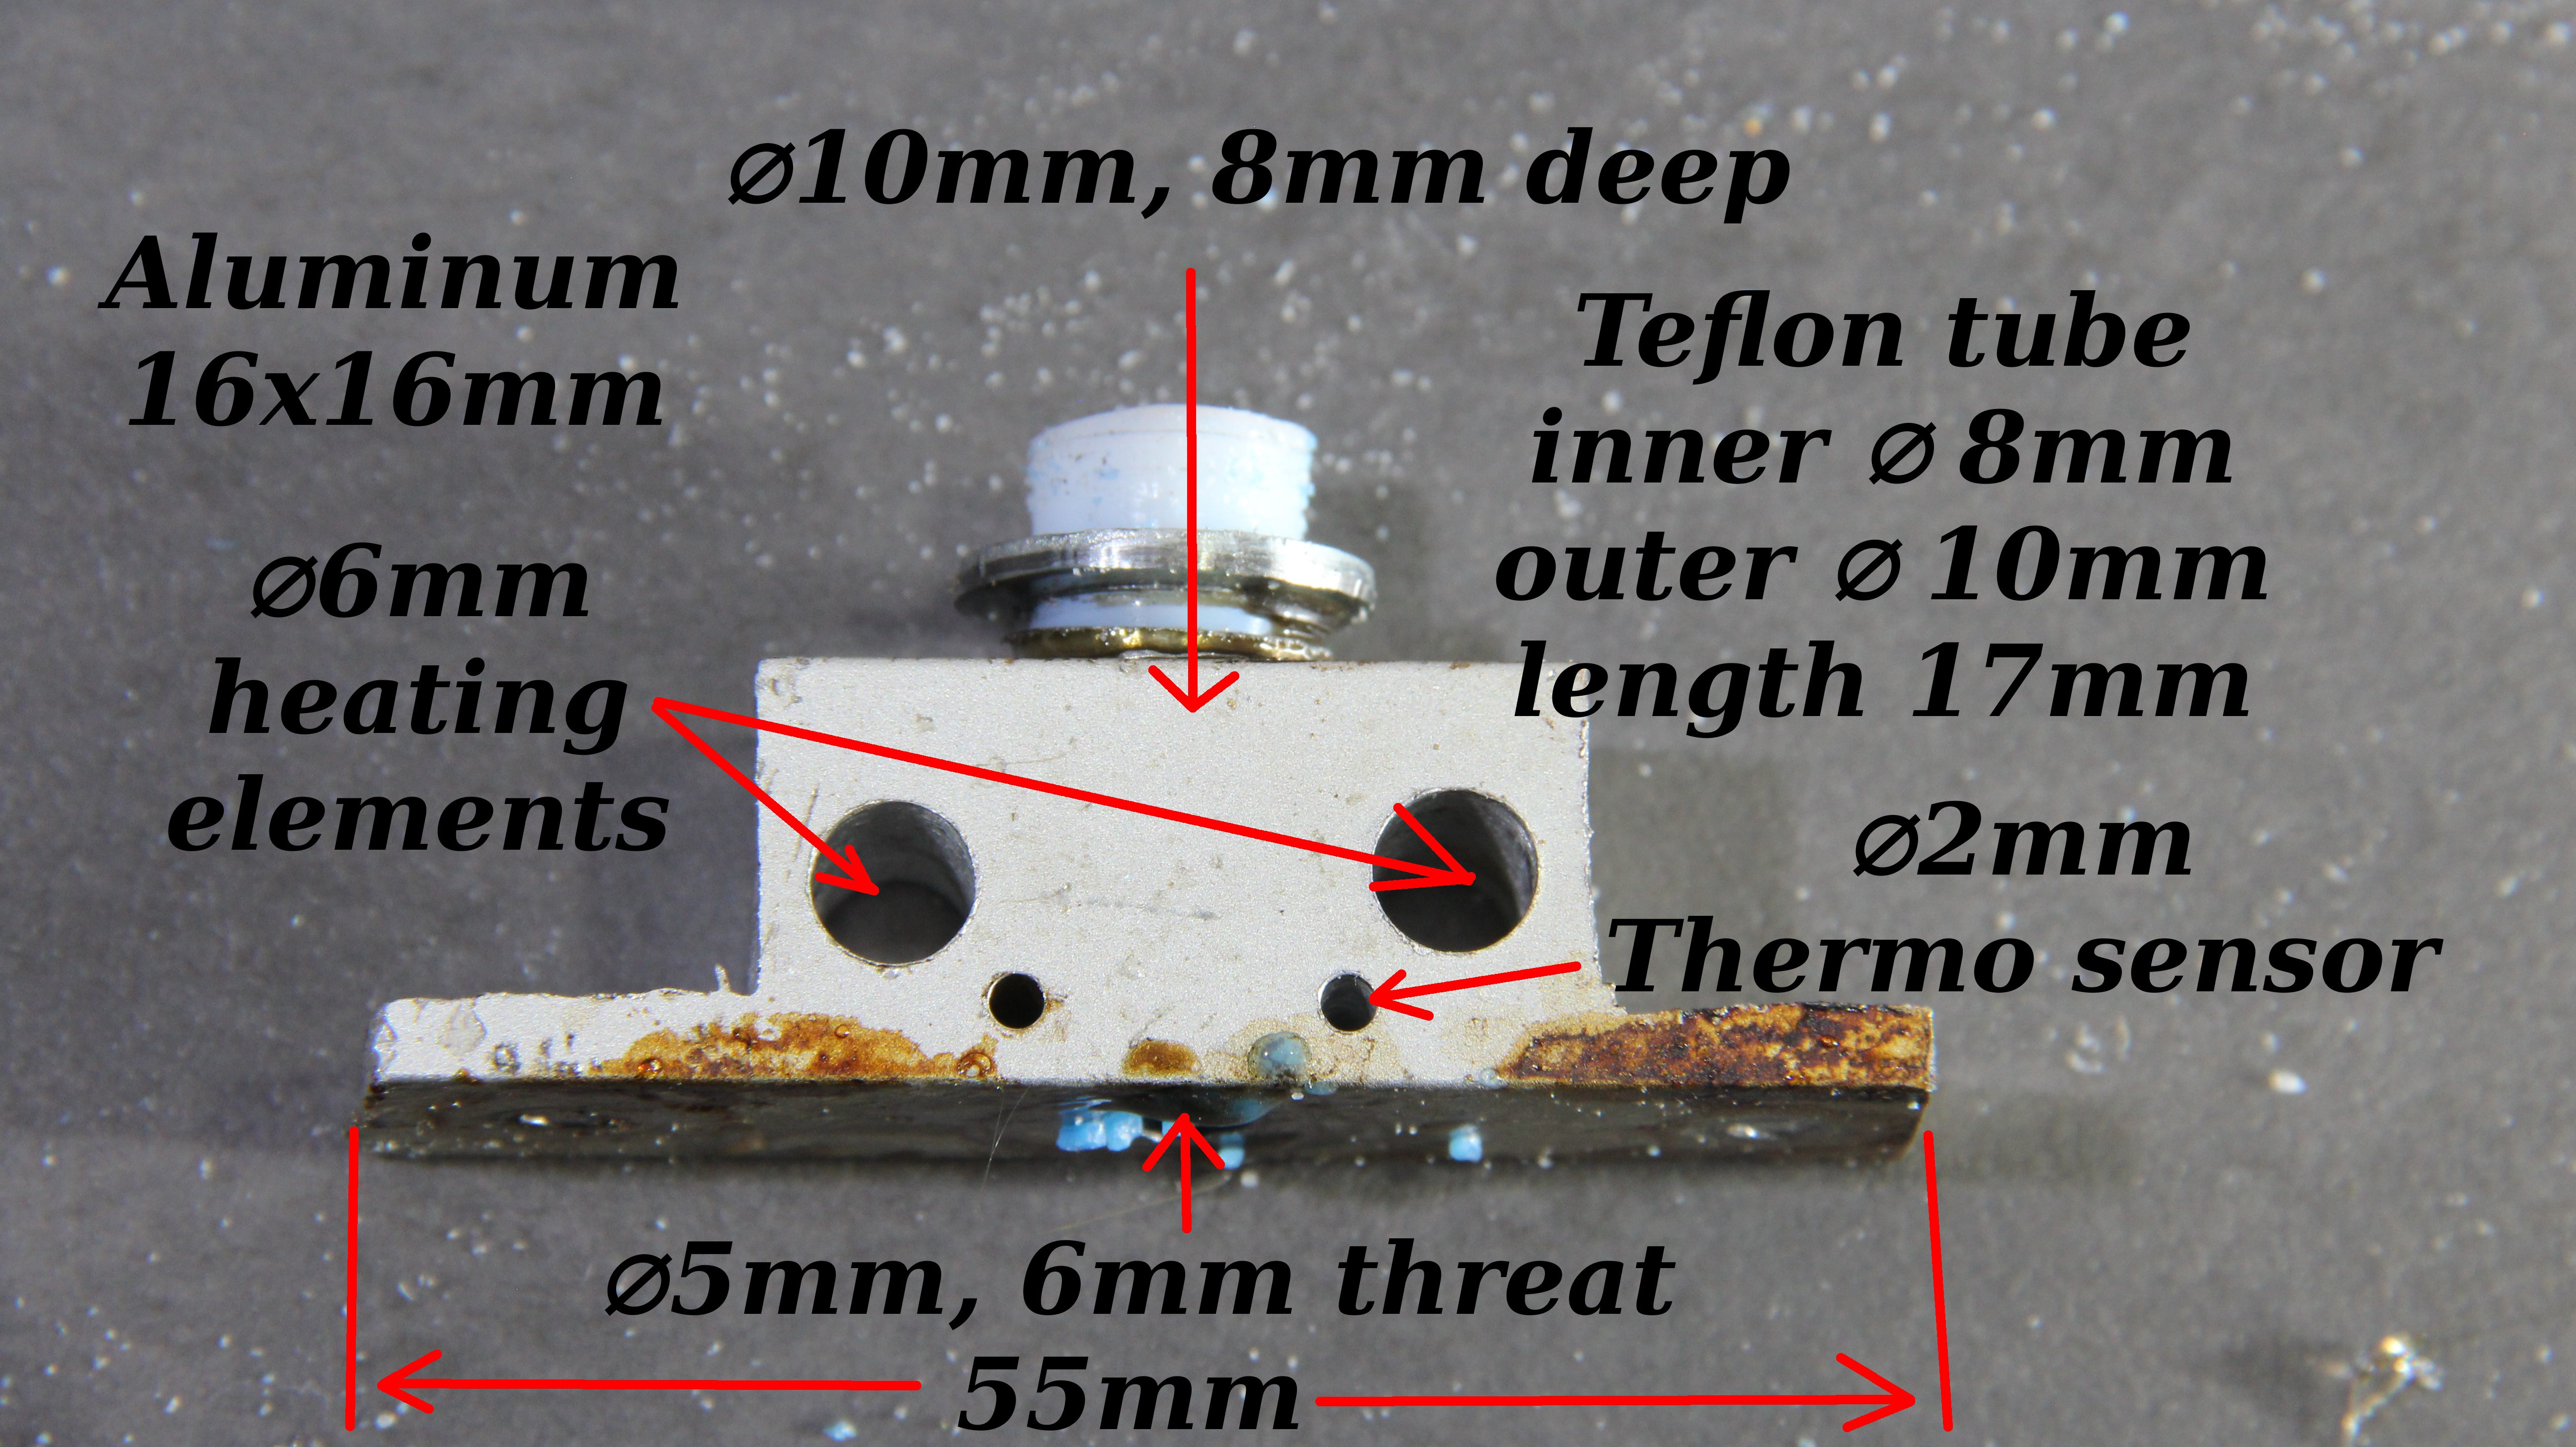
and this is the hotend:

Hooray for last-minute successes! I'm looking forward to the full explanation and all the gory details.
Great looking prints, BTW. It really _does_ look like you've got consistent flow figured out.
Thanks! A large part of constant flow is the raw material I am using. Compared to commercial pellets, the smaller grains and the large variety in grain size result in a larger fill rate of plastics per volume of granules. I will talk about that in coming blogs/videos.
Grüße in den Süden!

The ascetic simplicity of your machines is always refreshing. Especially considering that they are usually durable and unexpectedly accurate.

 Andy Lee
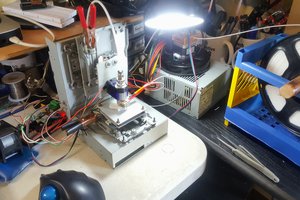
 AccidentalRebel
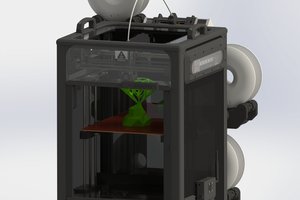
 Michal Wojciechowski
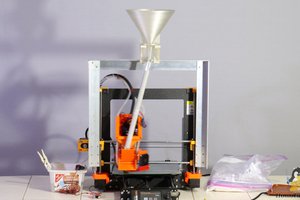
Great Idea, cant wait to see the progress