WinDIYngThing at work
Why build yourself?
Very simple: At the time when I started with WinDIYngThing there were no comparable machines for the small budget. Of course there were professional machines, but they were well above the budget that I wanted to spend. Also, I didn't really understand what has to be so expensive on such a machine? So I started building my own and that's how it came out. :)
The actual state
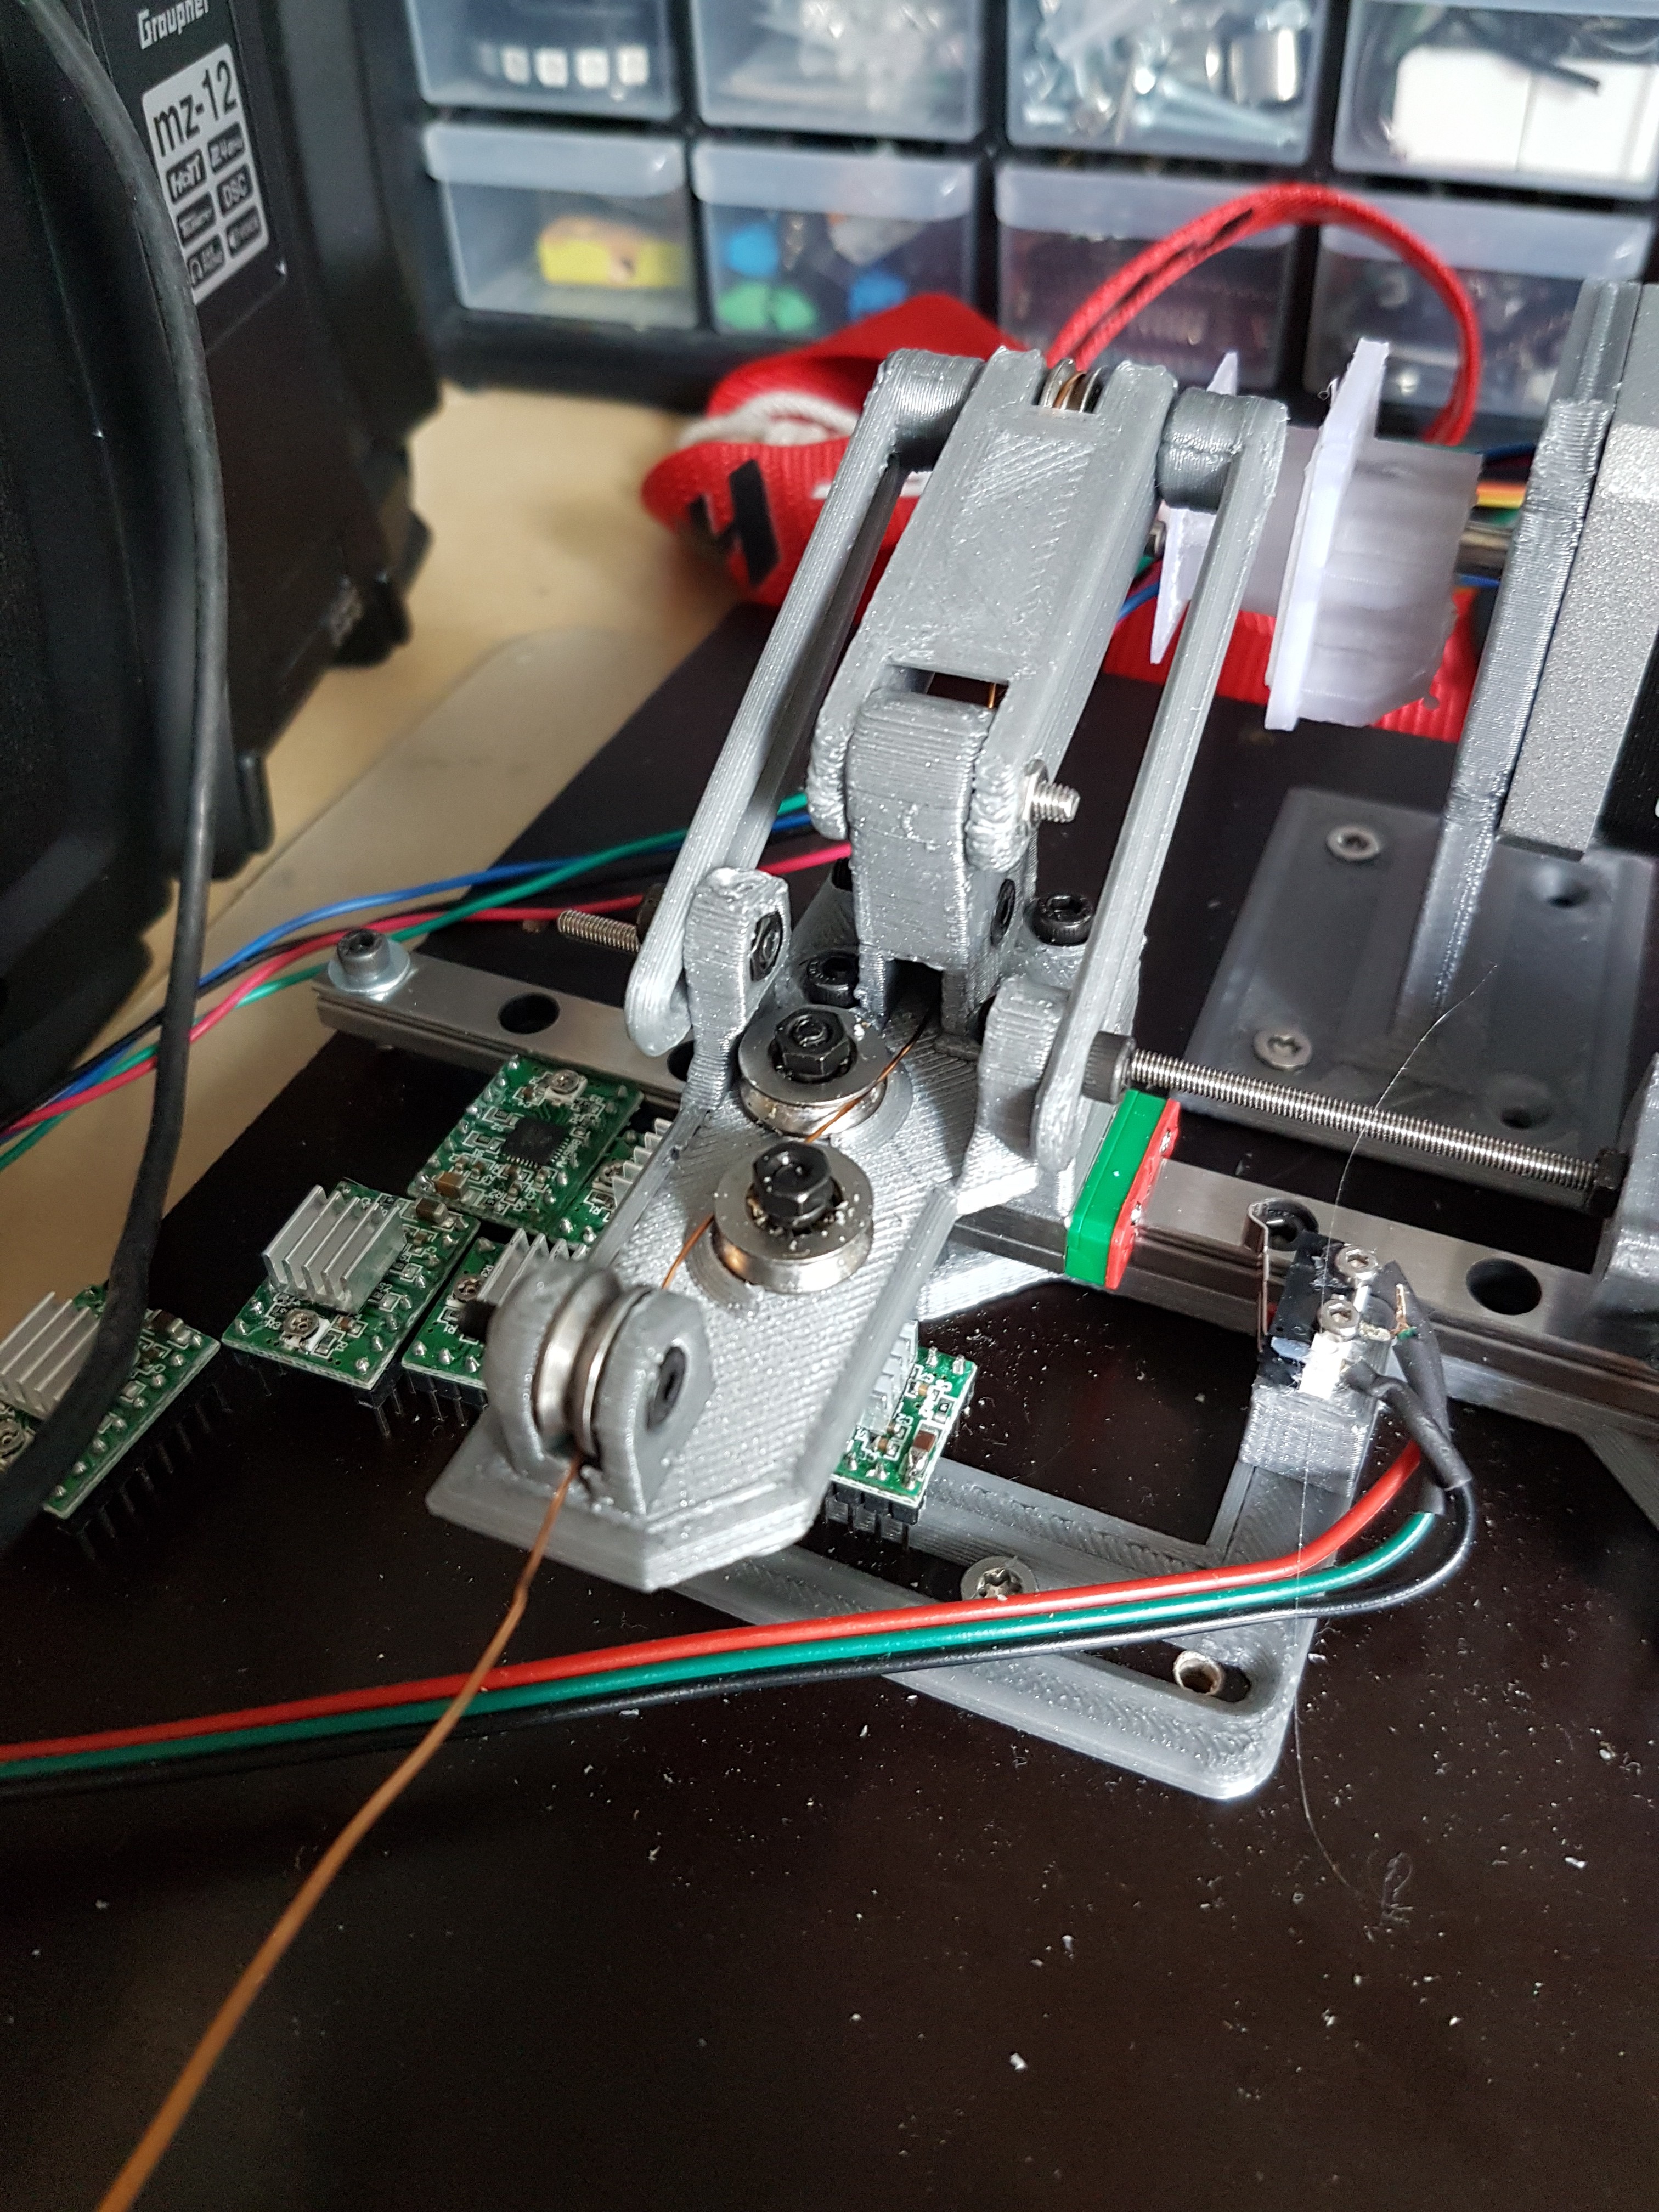
Here you can see the current status. Two NEMA17 stepper motors are installed. One of the stepper motors is responsible for guiding the wire guide to the correct position on the winding. The other stepper motor winds the wire on the screwed winding insert.
Since the "winding stepper motor" sometimes "lost" steps in the past and the number of turns became too small, it is also equipped with an "MKS Servo42" controller. This continuously checks whether the stepper motor has also carried out the "commanded" steps. If it detects a difference, it is adjusted accordingly and, if necessary, the winding current (of the stepper motor) is increased to catch up with the step.
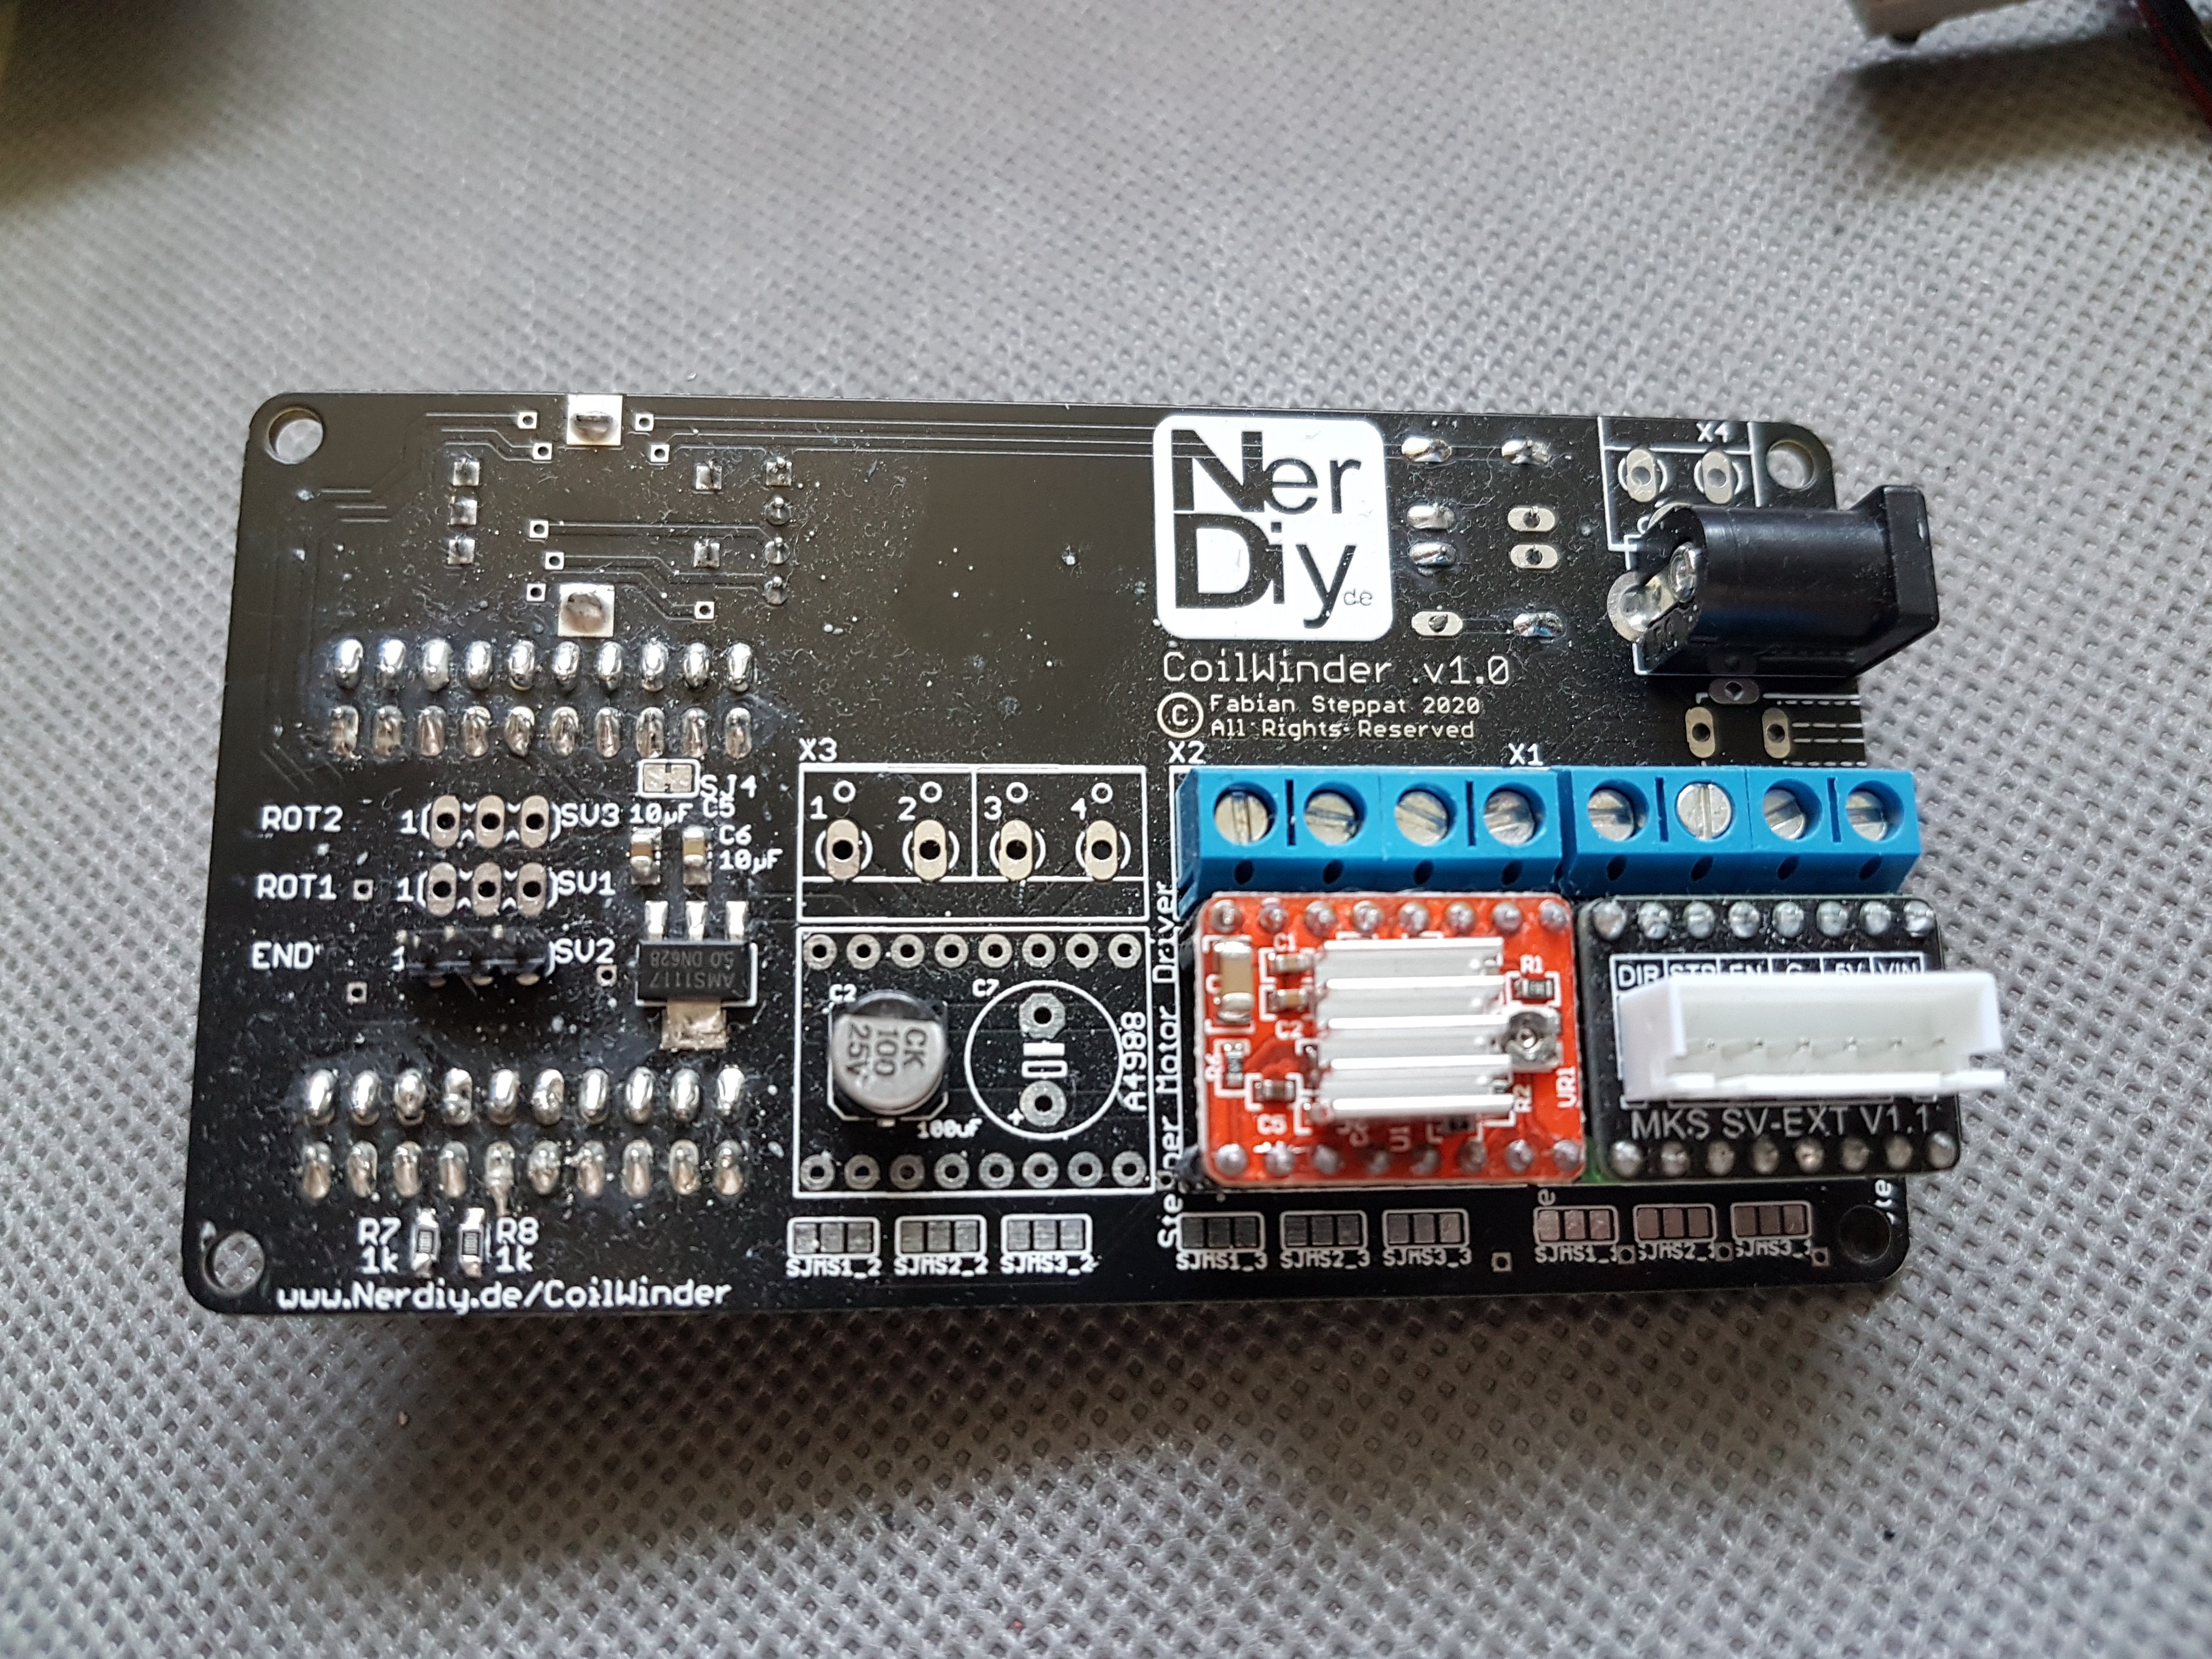
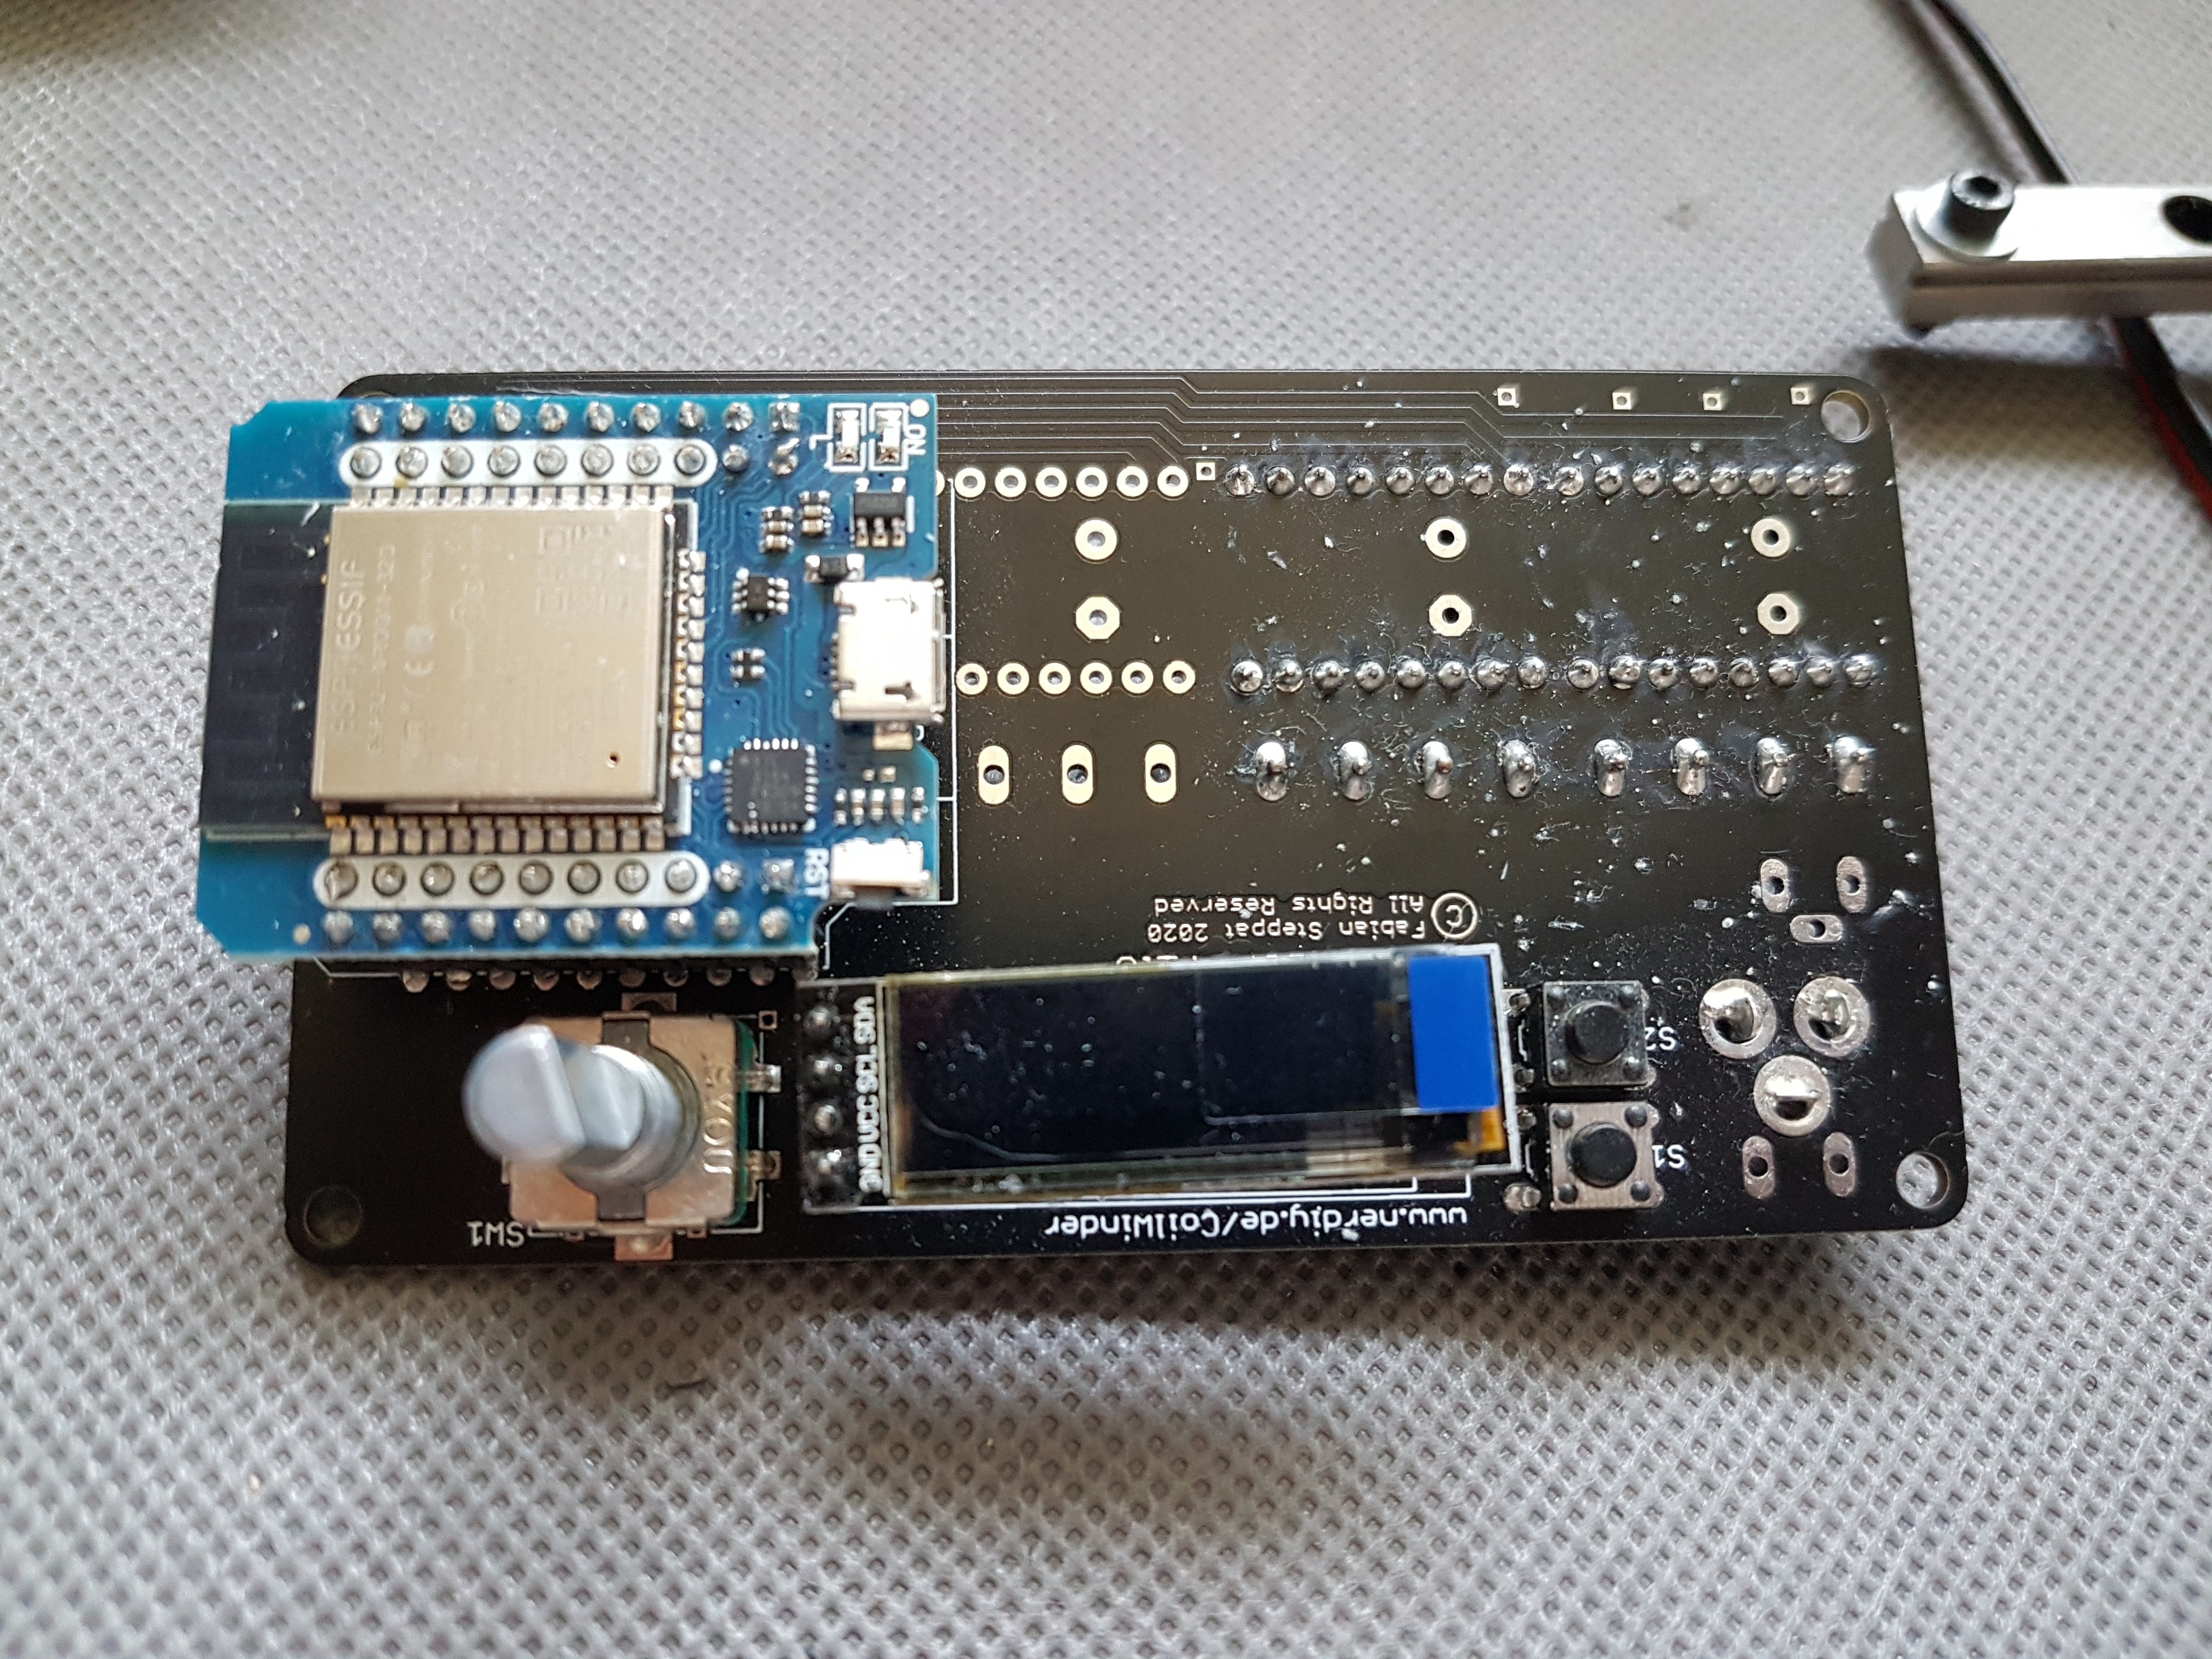
The whole thing is controlled via a small circuit board that I created recently. It includes an ESP32, a stepper motor driver, an OLED, two buttons and a rotary encoder. In the final version, all parameters should be set and started automatically.
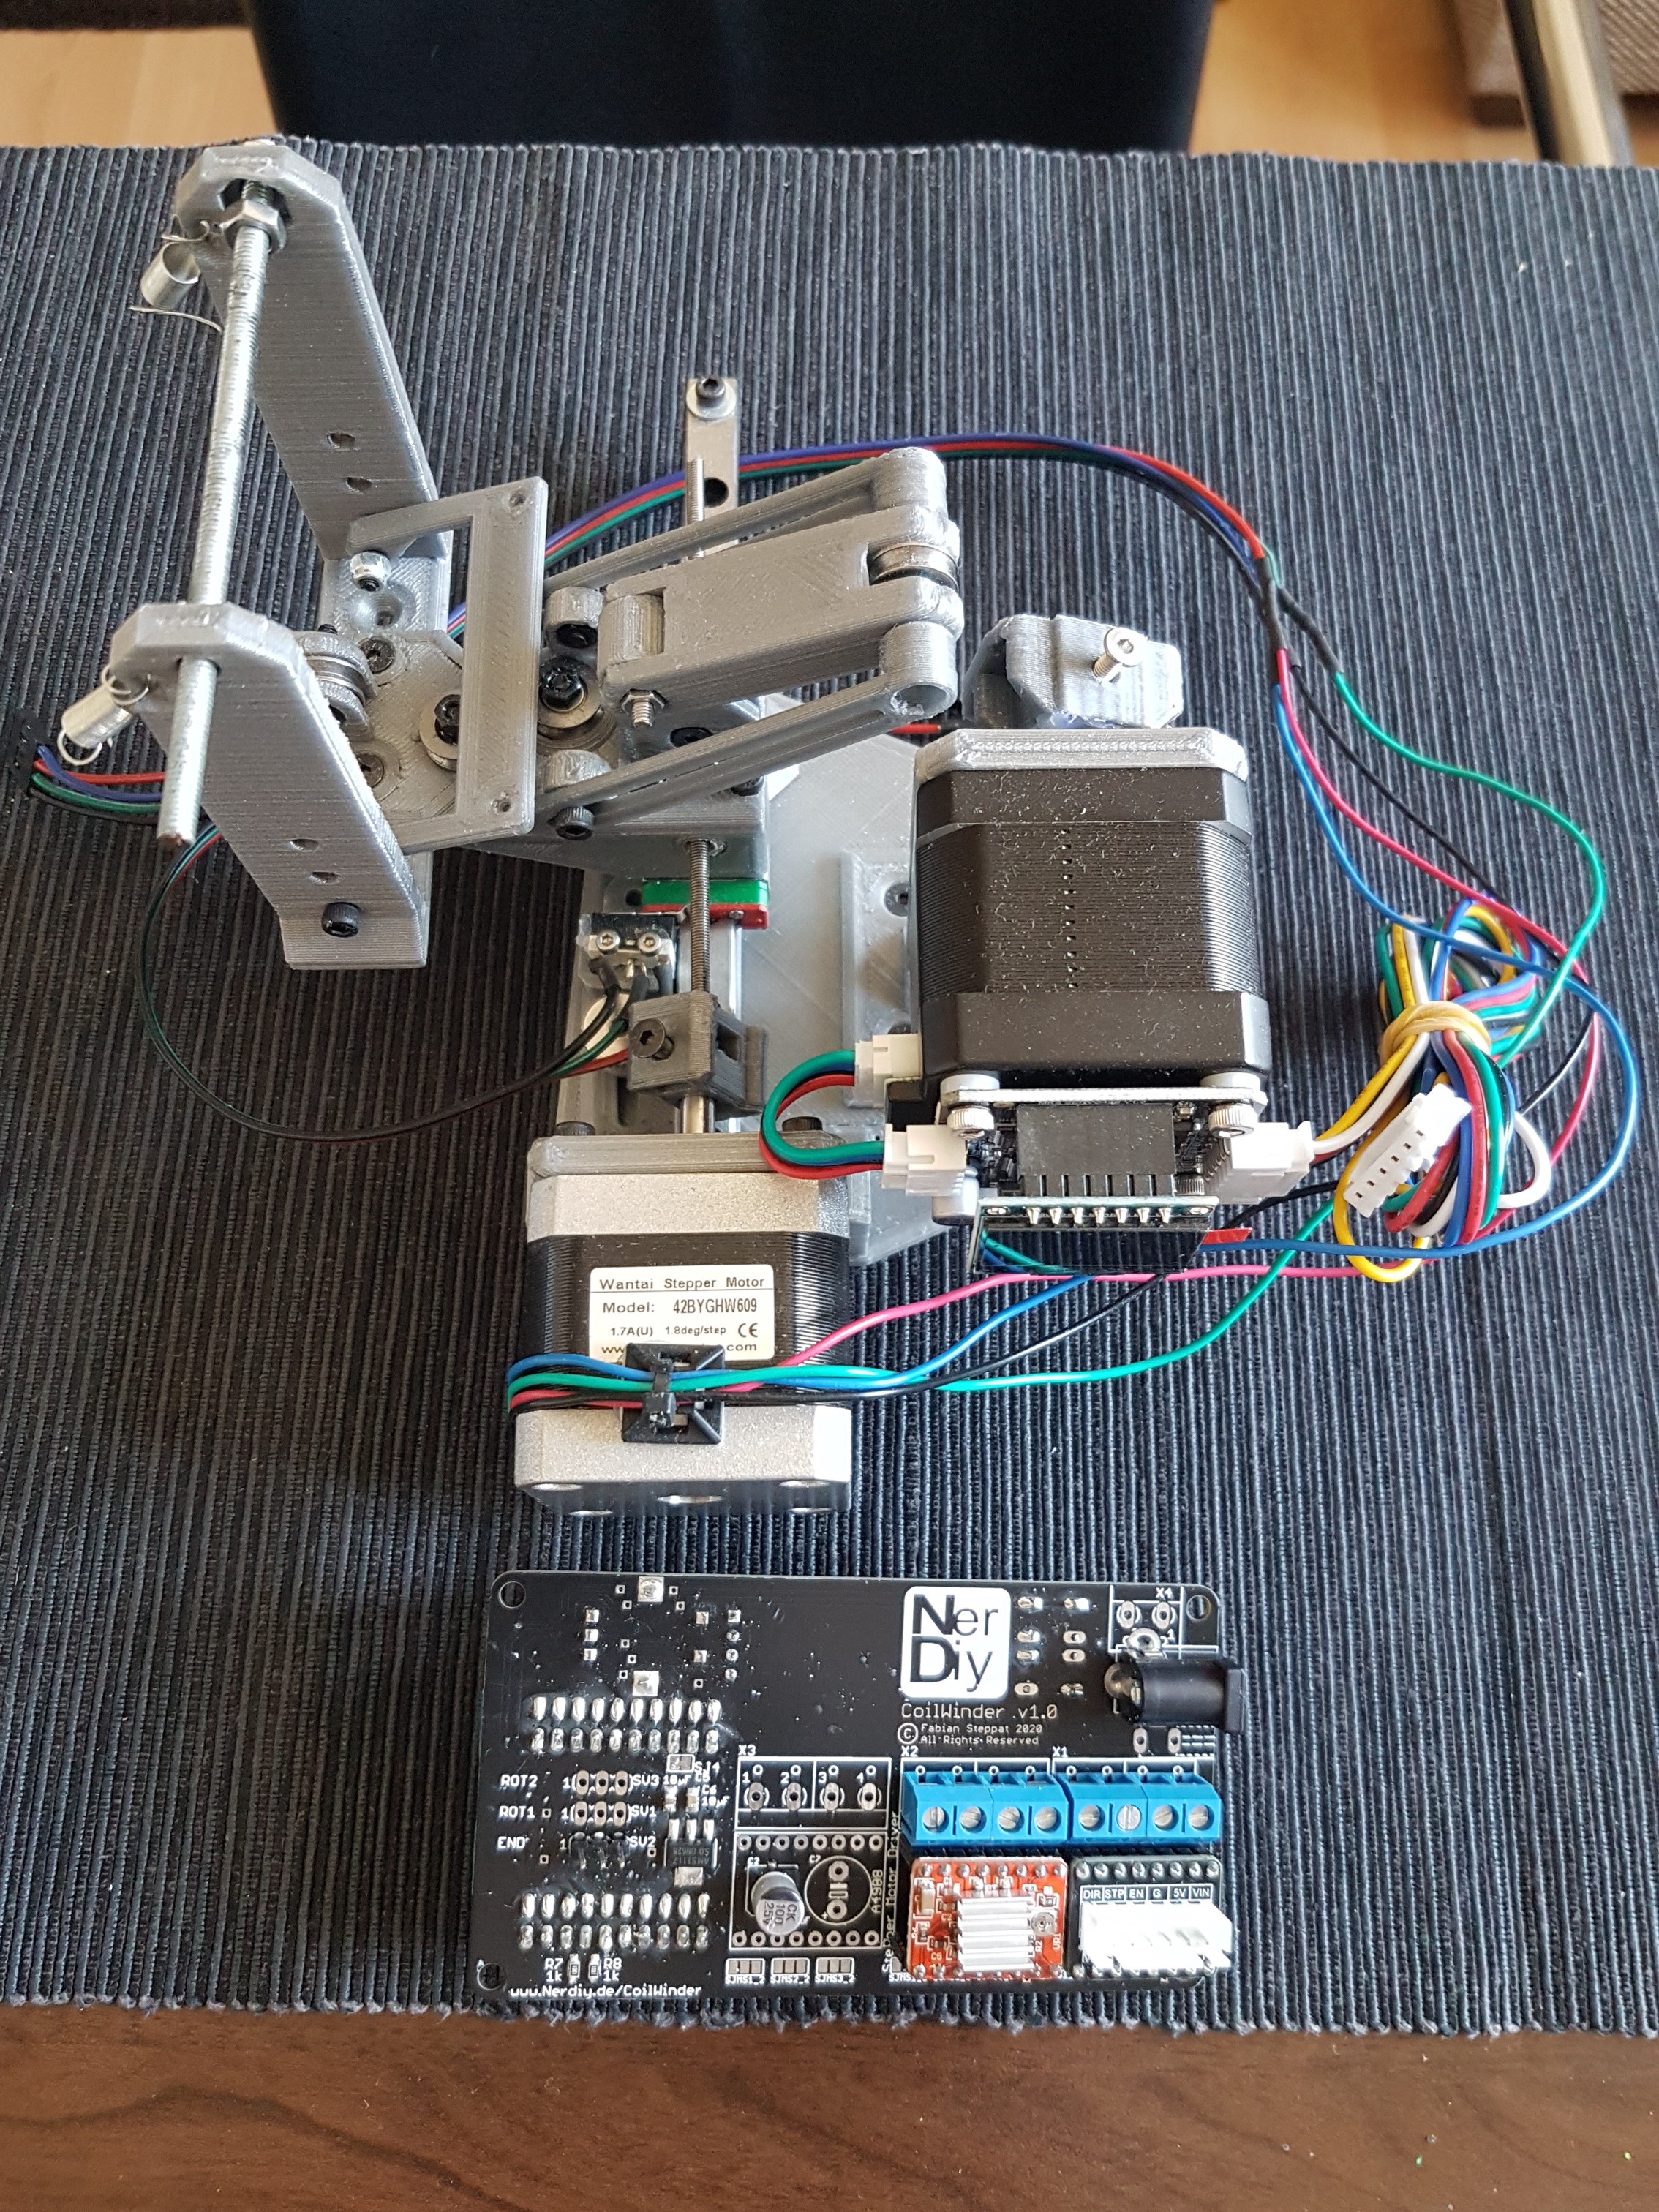
A closer look at the setup during the prototype phase. (When everything was still on an MDF board)
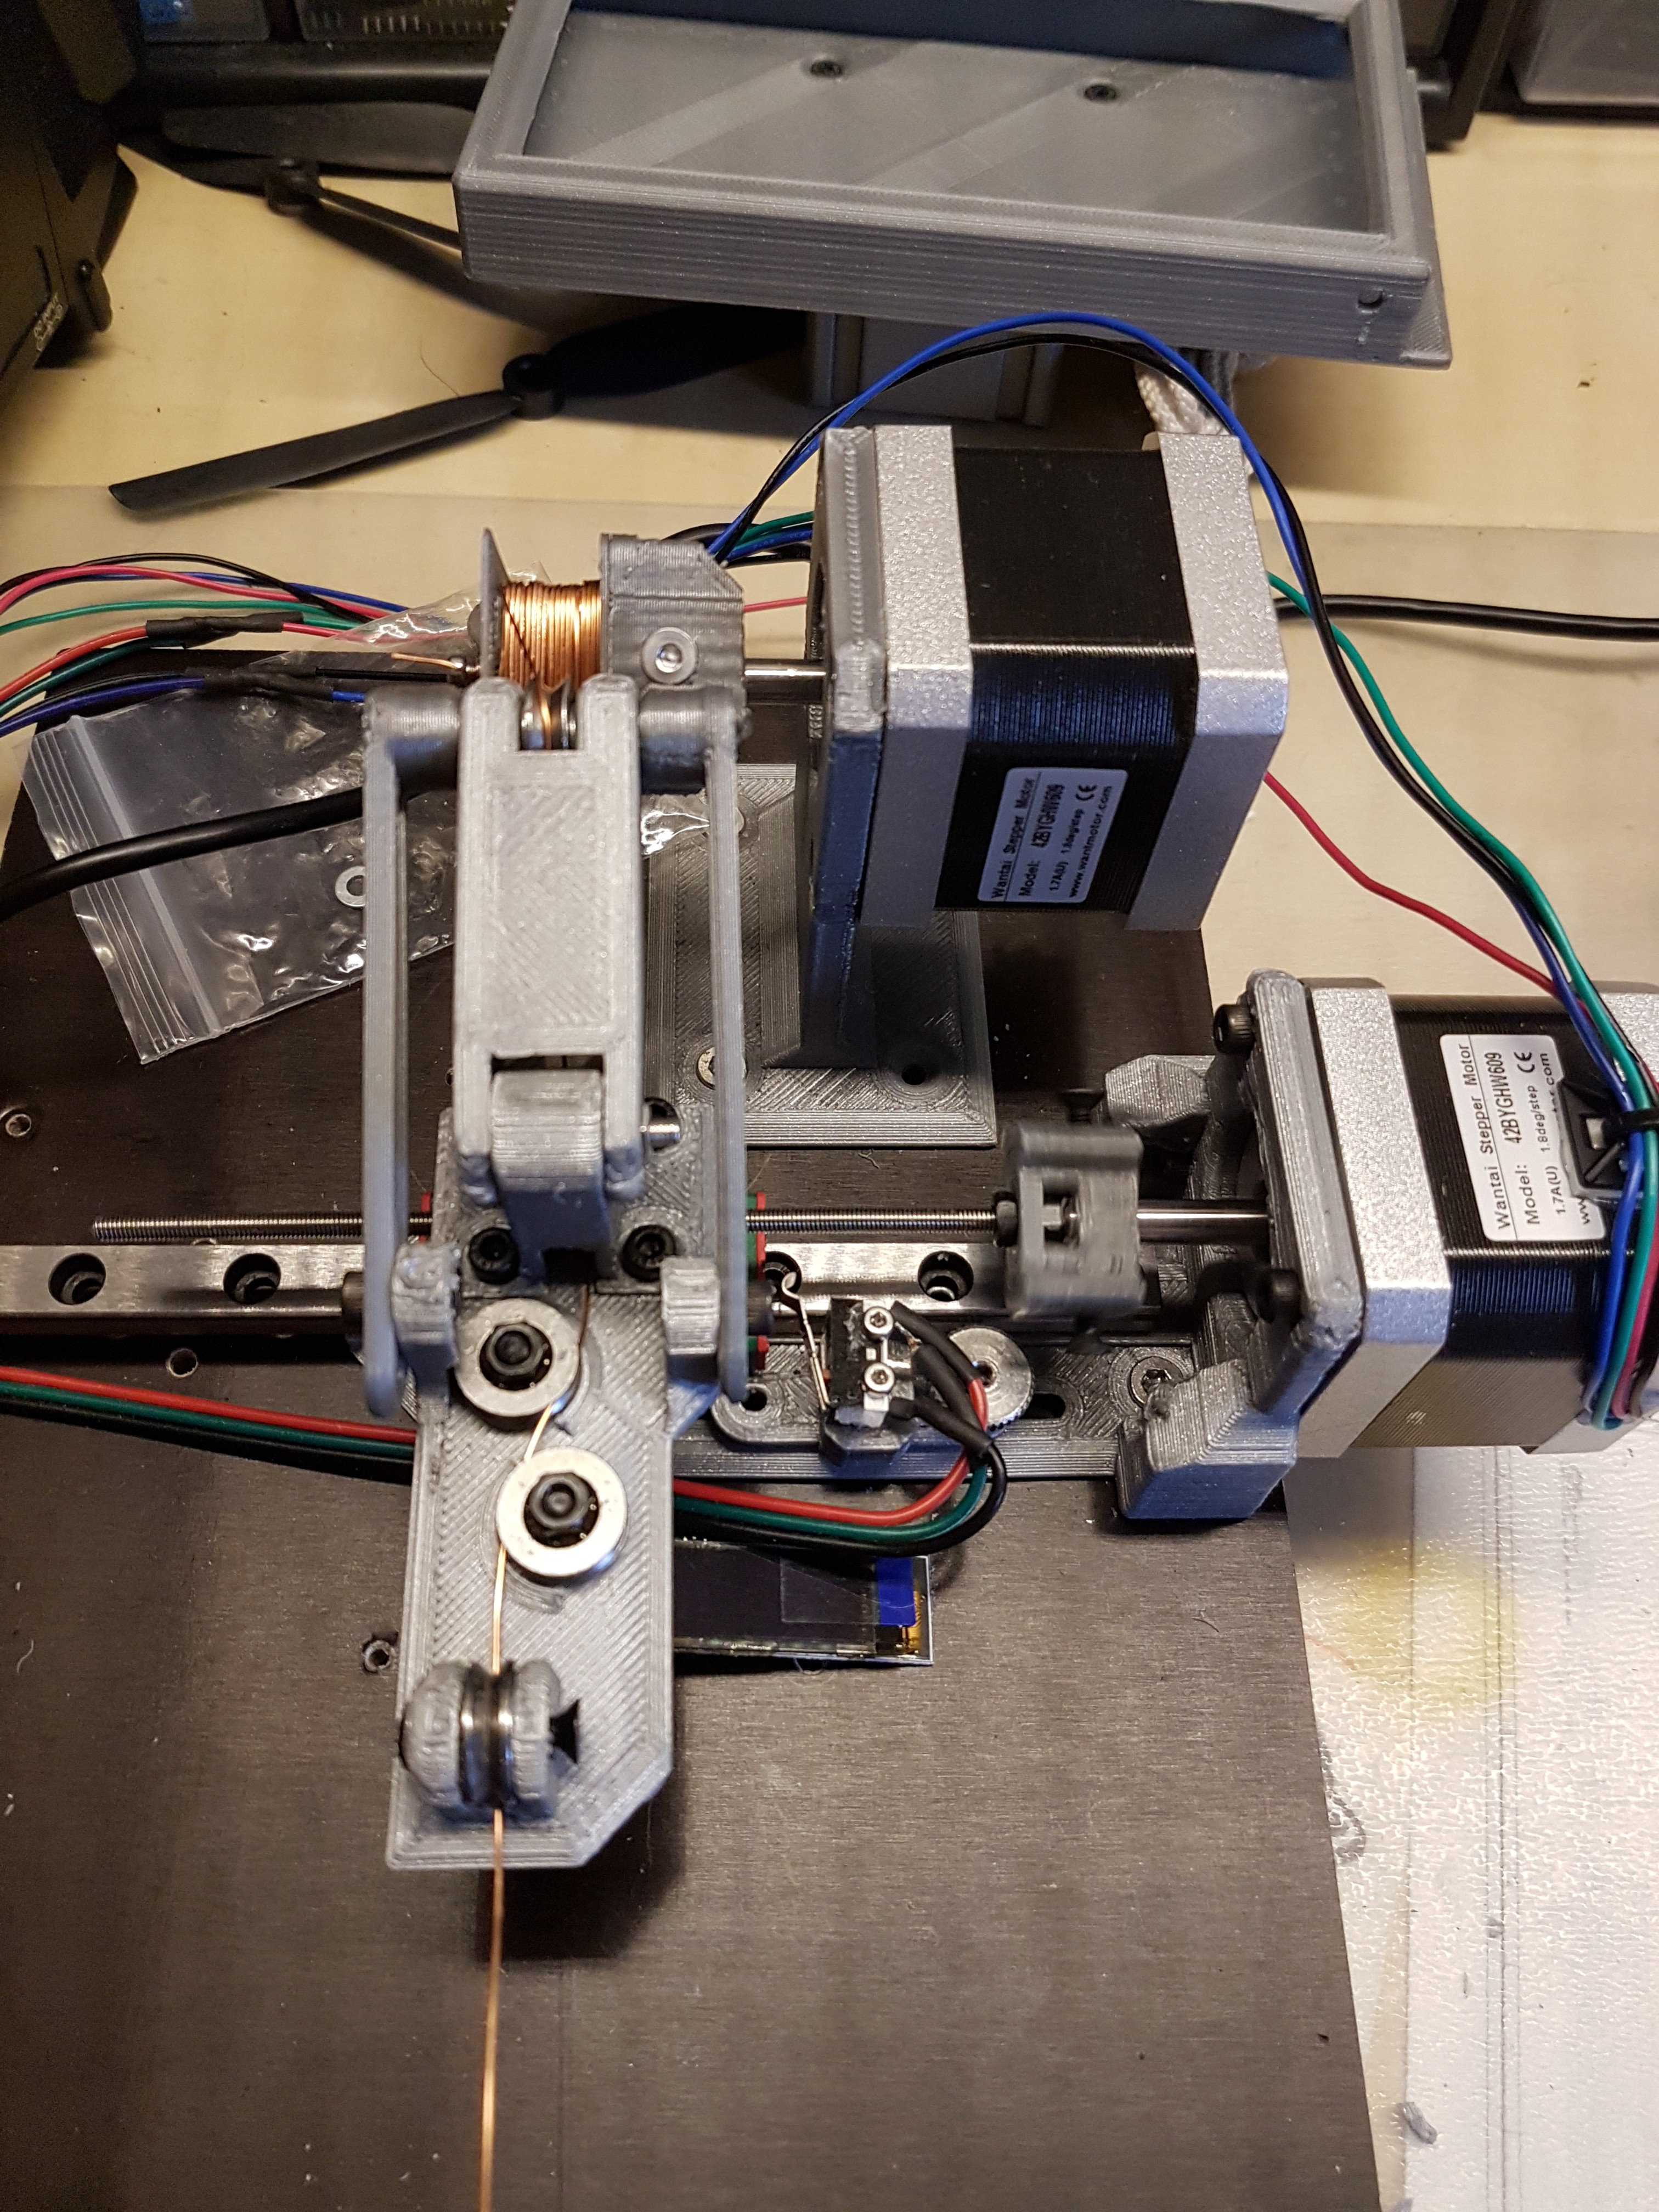
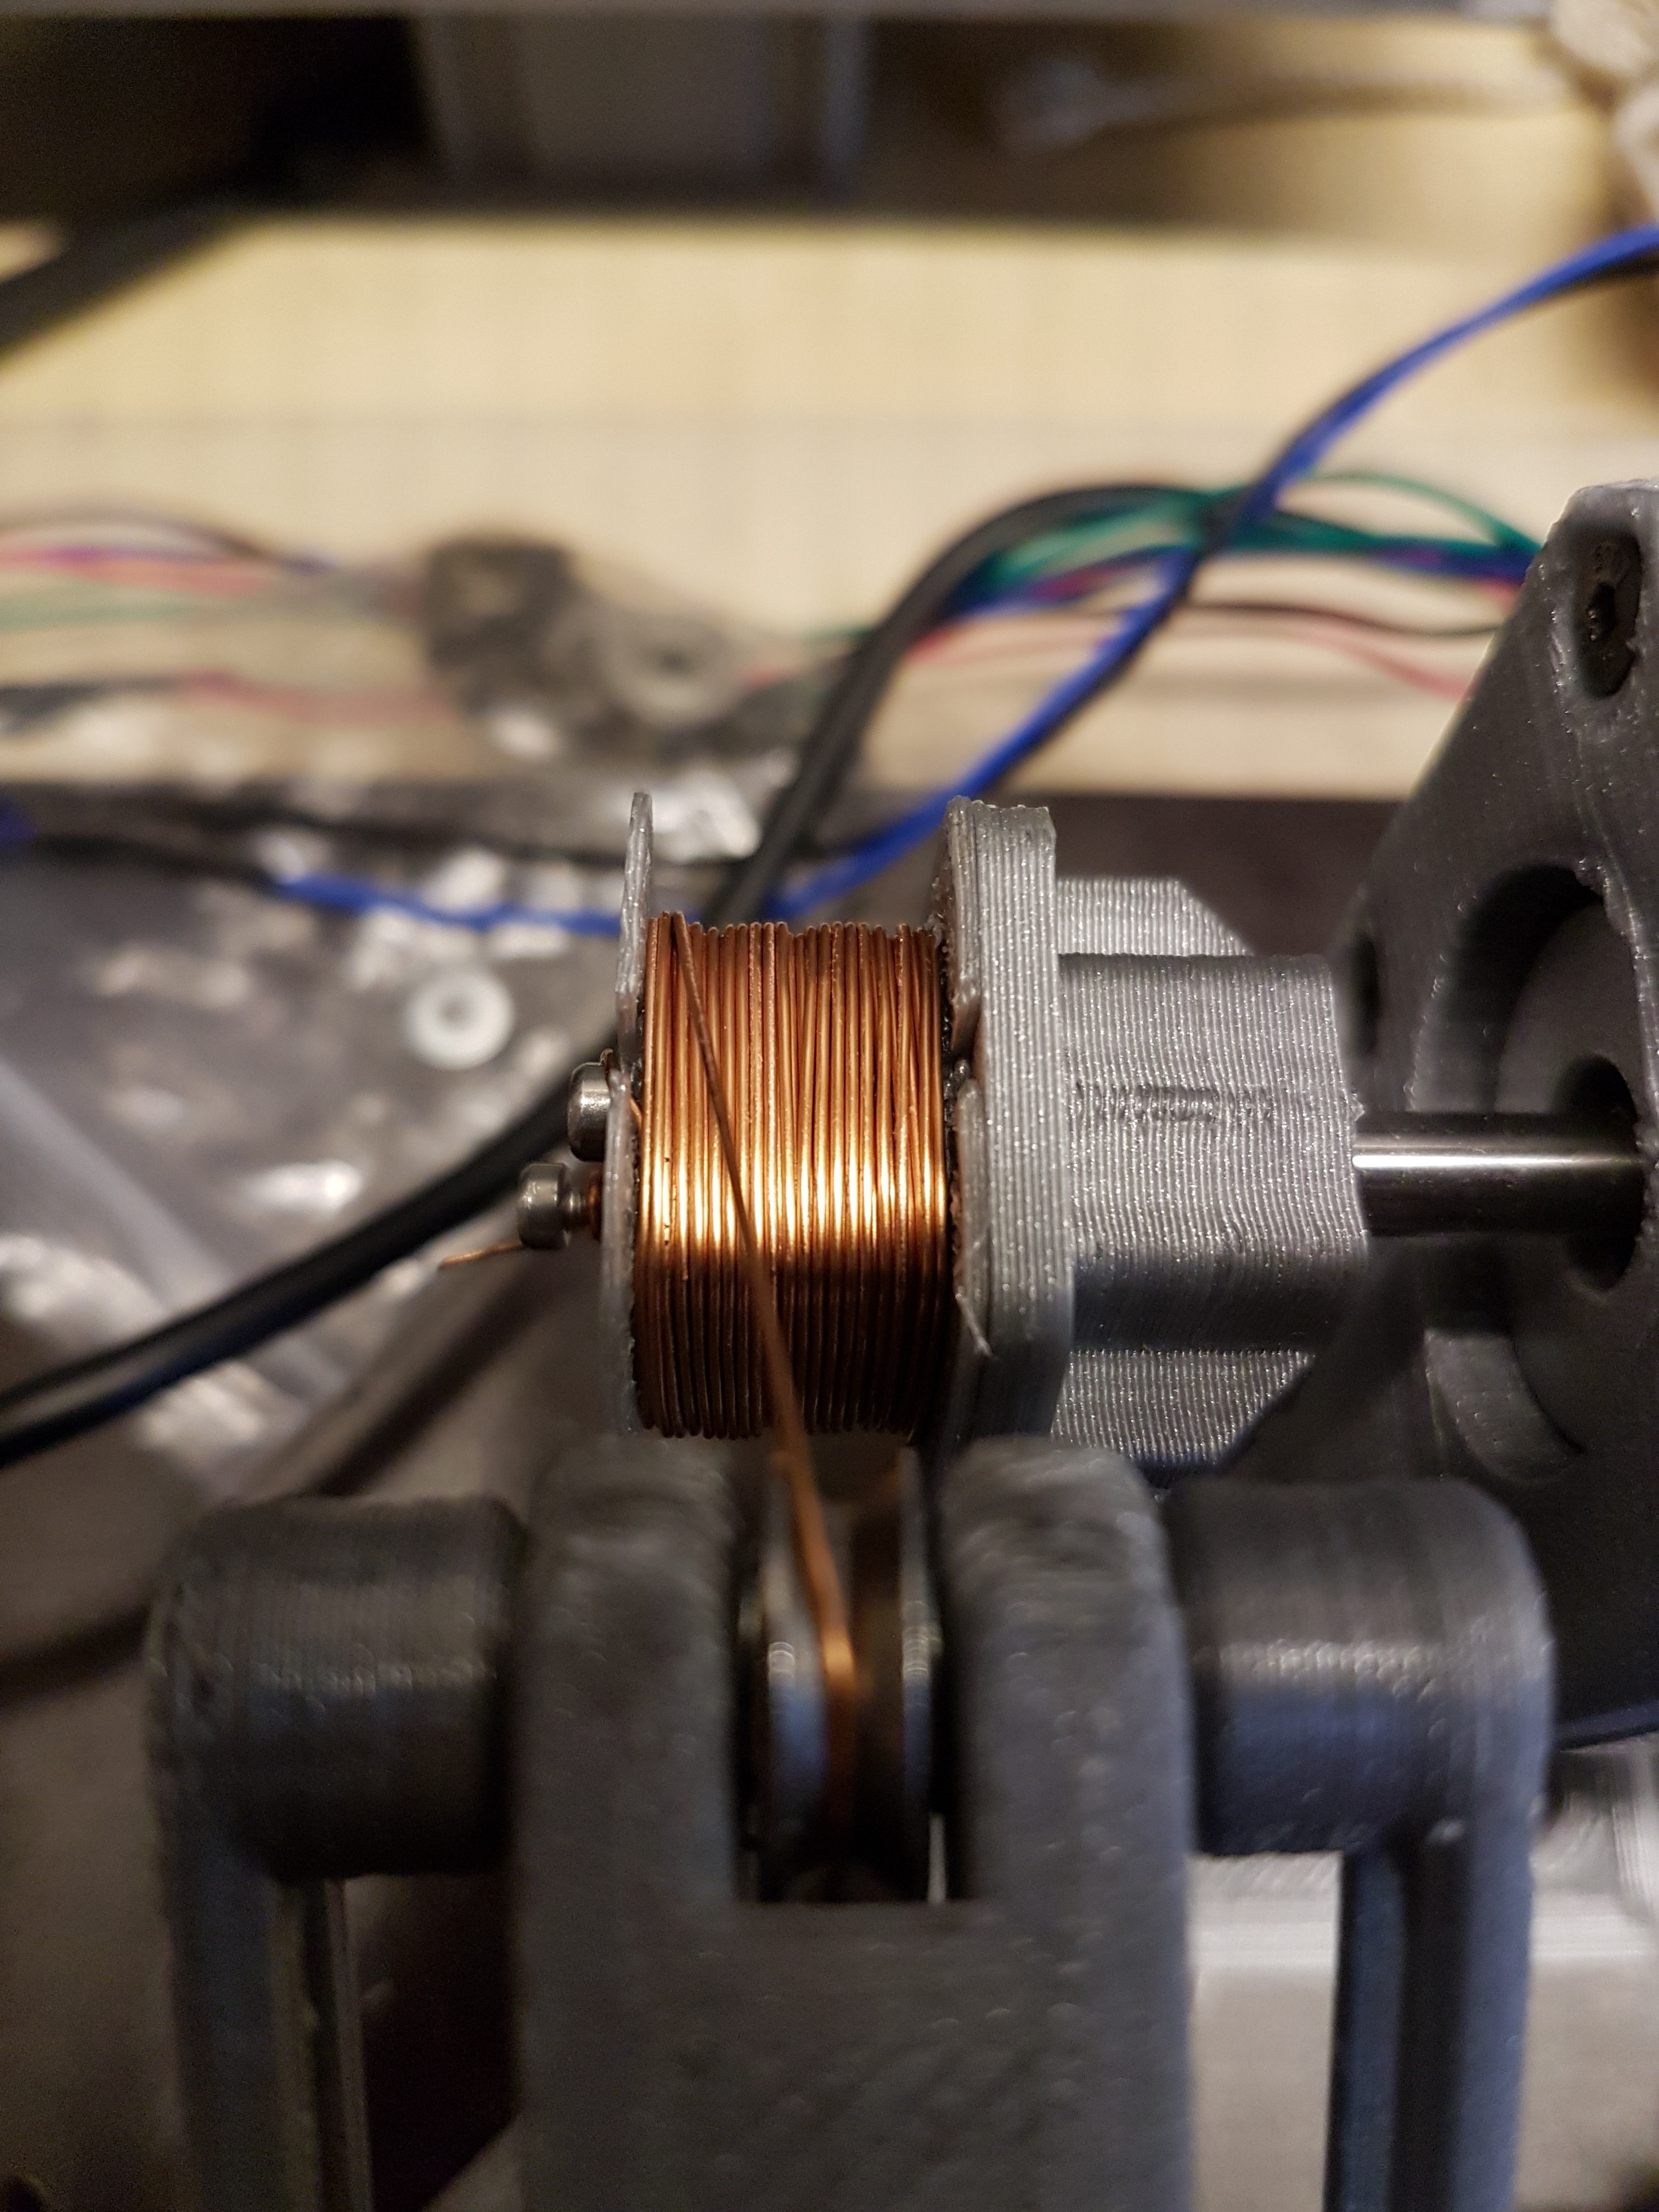
Here you can see the "wire straightening mechanism".
ToDo:
- Test PCB
- Design housing for electronics
- Design a new base plate
Licenses:
Content that is not based on software/code: Unless otherwise stated, all works presented here that are not based on software/code are subject to the CC BY-NC-SA 4.0 license (attribution – non-commercial – dissemination under the same conditions 4.0 international).
You can find a summary here: https://creativecommons.org/licenses/by-nc-sa/4.0/deed.de
You can find the complete legal text here: https://creativecommons.org/licenses/by-nc-sa/4.0/legalcode.de
Software/code-based works Unless otherwise stated, all software/code-based works presented here are subject to the GNU Affero General Public License v3.0
You can find a summary here: https://tldrlegal.com/license/gnu-affero-general-public-license-v3-(agpl-3.0)#summary
The complete legal text can be found here: https://www.gnu.org/licenses/agpl-3.0.de.html
 Fabian