 Steve Pomeroy
Key components
- The light core, which consists of strips of LEDs stuck to 80/20 extruded aluminum beams
- The finished walnut housing, which holds the diffusers and shapes the light
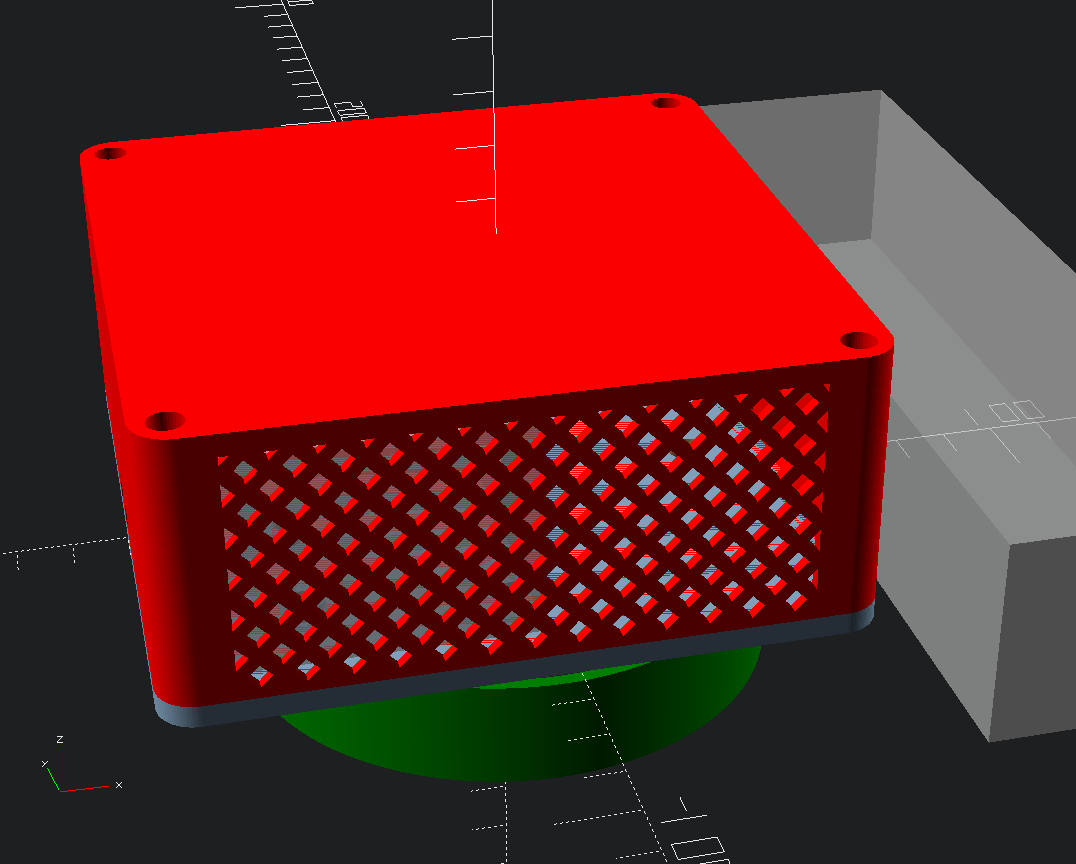
- The control box, which hides away all the control electronics and is attached to the ceiling
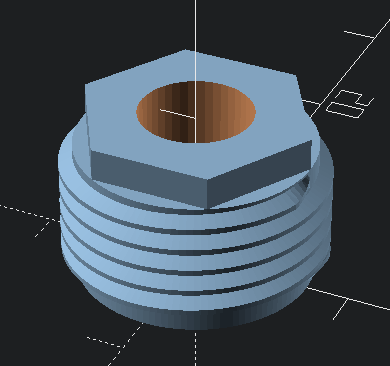
- The ceiling mounts, which are just ⅜" plumbing fixtures and a 3D printed part
- The main LED controller, hiding in a nearby closet, which has many channels of programmable LED control
All the design for this project has been done in OpenSCAD. This allows the design to be fully parametric and adjustable.
![]() Design goals
Design goals
 Design goals
- Be a great kitchen light
- Elegantly blend into the space
- Maximum flexibility
- Network control
- Party hard
For elegance and blending into the environment, this lamp should be as slim as possible and use materials that are already found in this space. The finished walnut housing matches other wooden details already in our kitchen. Having dimmable lamps facing downward as well as upward allows for a ton of flexibility. Party mode should be invisible until it's activated, but when it's active it's on. It should tie into the other programmable LEDs being installed throughout the house.
LED details
 For LEDs, one critical element for maximum elegance was to ensure that both the white and RGB LEDs had a high enough PWM frequency. One of my pet peeves about programmable LEDs is that often people use LEDs that flicker when your eyes move around the scene. Too many programmable LEDs (like the extremely popular WS2811. I've recently learned that newer versions of this chip have been silently upgraded to faster PWM frequencies. Hooray!) use a PWM frequency of ~450Hz. While this is fine if you and your art isn't moving, as soon as you move your head (or eyes) you get an annoying digital artifact and can see the LEDs flickering.
 I used WS2815 RGB LEDs both in part because the 12V power rails let me run a longer run without power injection, as well as their 2kHz PWM frequency. It's not the best on the market (that would be the SK9822 at 8kHz or APA102 at 19kHz), but at least it's not 450Hz. The DMX white LED driver I got happens to clock in at 8kHz, which was a delightful discovery.
For LED control, I'm using the Falcon F16V3 RGB LED controller. This will be used for a number of other LED art installations I'm working on around my house in addition to the kitchen lamp. This will give me a slick 30-60FPS of LED animation possibility, controllable easily through Python or TouchDesigner.
Housing
I measured the kitchen island, subtracted an amount that made logical sense, then mocked up a cardboard version to see what it would look like. With some minor tweaks, I was able to come up with some rough dimensions.
I've learned from working with LED strips for other projects that it's really useful to have your housing match the natural stride of your LED strips. That is, for the 60 LEDs/meter strips that I'm using, having the dimensions of the things the LEDs will be adhered to snap be laid out in 16.667mm (1/60/m) increments. I made sure that the white LEDs and the RGB LEDs had matching strides, though the white LEDs have their cut points in larger groups of 3. This then locked in the final dimensions of the lamp.
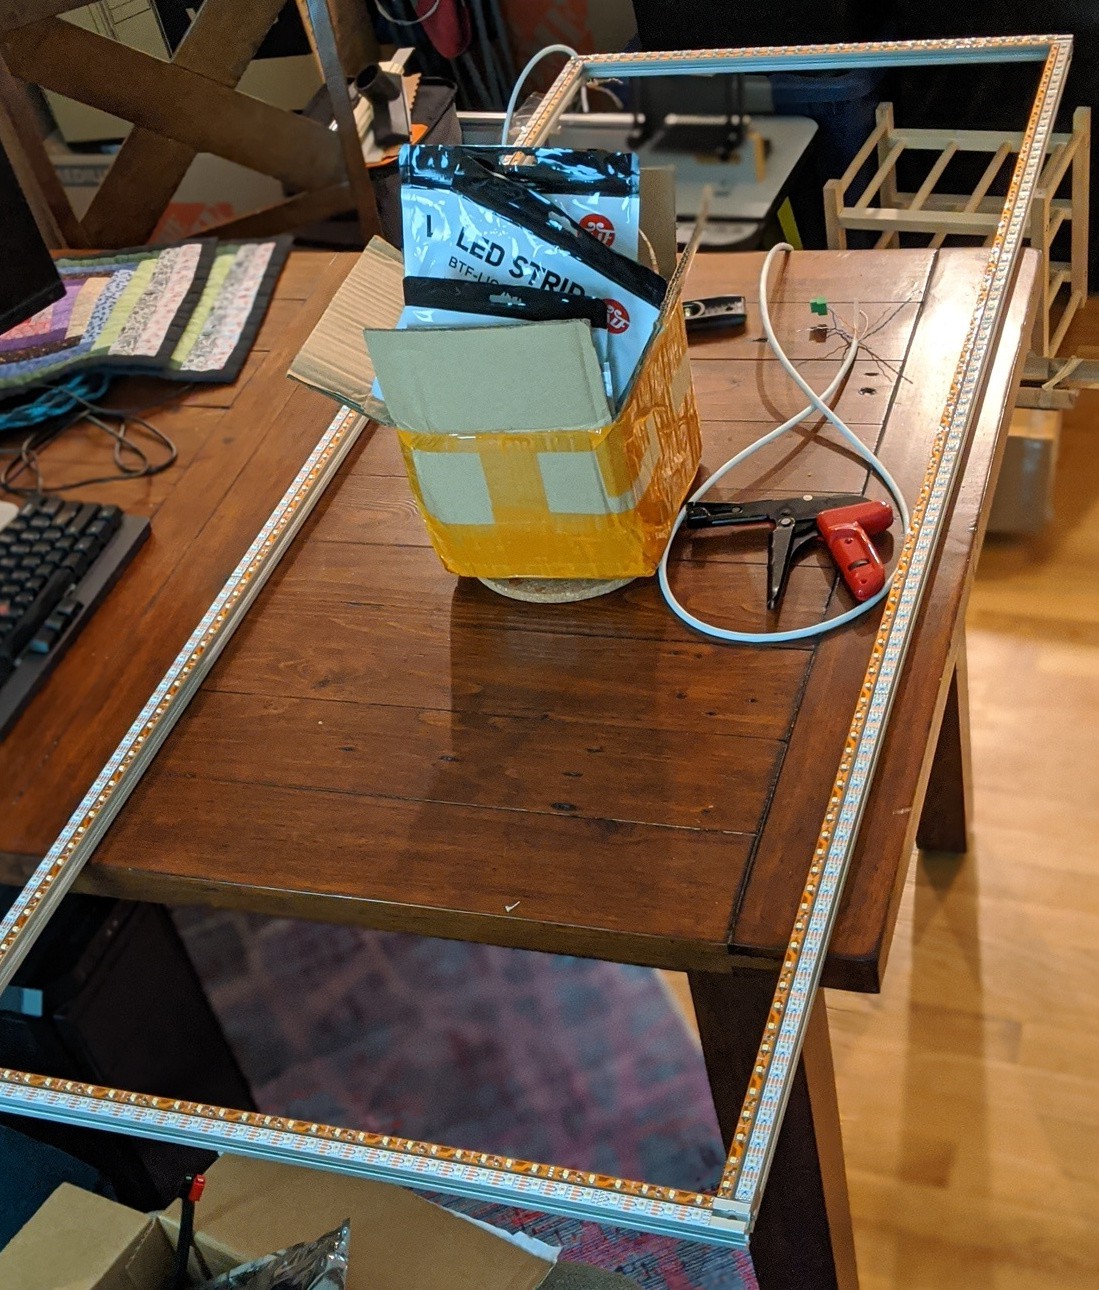
I knew I wanted to have the core of the lamp be rigid, possibly heat-dissipating, and easy to work with. I've been working with 80/20 extruded aluminum for another project and decided to order some of that. This made it super easy to adhere the wooden side panels to, gave the LEDs something to put some of their heat into as well as something to stick to. It's also dimensionally-precise and can be easily drilled with hand tools.
LEDs used for lighting a space work best when the light is diffuse. This masks the individual point light sources and also hides any color artifacts (such as the color bleed you get on the edges of white LEDs). After a bunch of experimentation, I opted to use OPTIX LED Satin HDF as it has a matte side, a textured side, and still 92% transmission. This gives the lamp a very finished look when you get up close to it and also turns the LED strips into bars of light.
Wood
Driving the LEDs


I was surprised at how well the 3D printed threads worked! The first one fit on the first go, though I did have to tweak the size of the hole.
Animations
Now the fun part! Using TouchDesigner I pixel-mapped a 2D image plane to sACN that goes straight to the Falcon board. I can then take any animations I make in TouchDesigner, a video, or just basic color values and directly drive the lamp. I'm still trying to figure out how to control TouchDesigner in a way that's integrated into the room and feels natural.