 Miguel Fernández
Thanks to Hackaday and the community vote for awarding us with the bootstrap money. One of our investments in the project was to buy a 3d printer. The reason for this decision was based on the fact that we needed to experiment with the 3d printing process. It was necessary to take full control of all the steps of the 3d printing because we have to improve the design in its final stage but also in the fabrication process.
With the 3d printer, we can optimize the use of plastic, temperatures, the resistance of materials, and we have the tool to create a detailed manual of how to produce UVA.
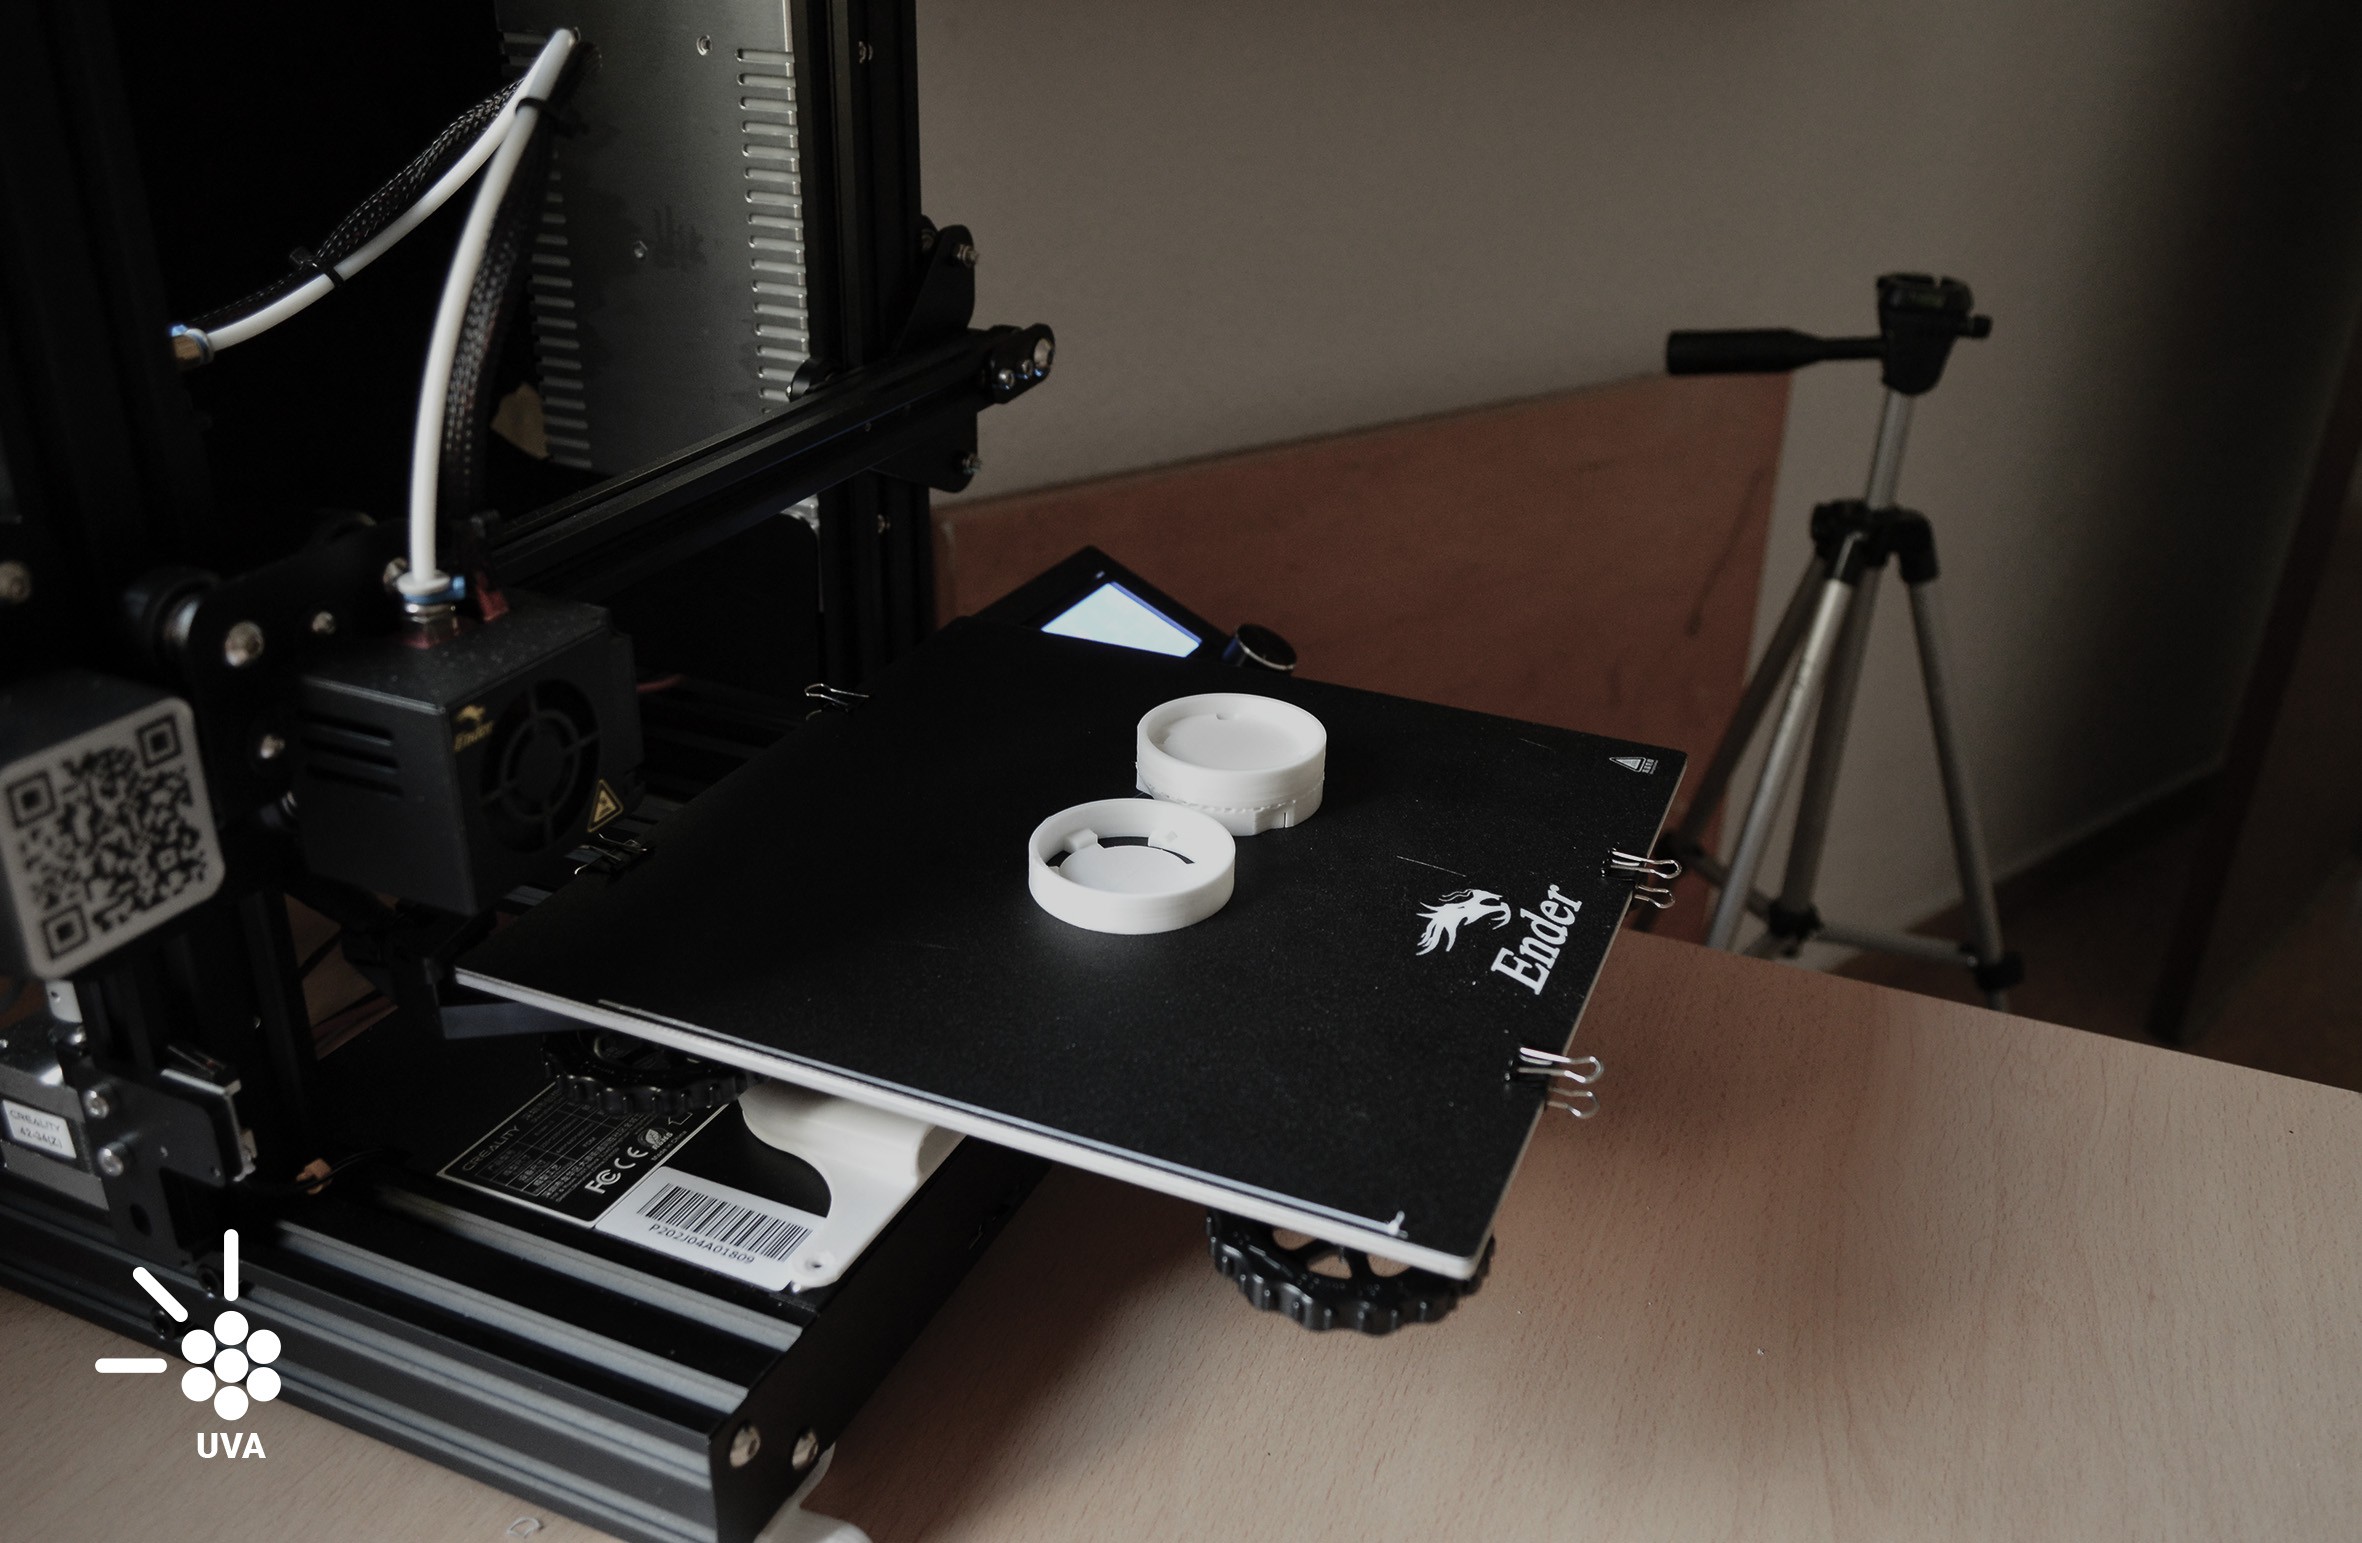
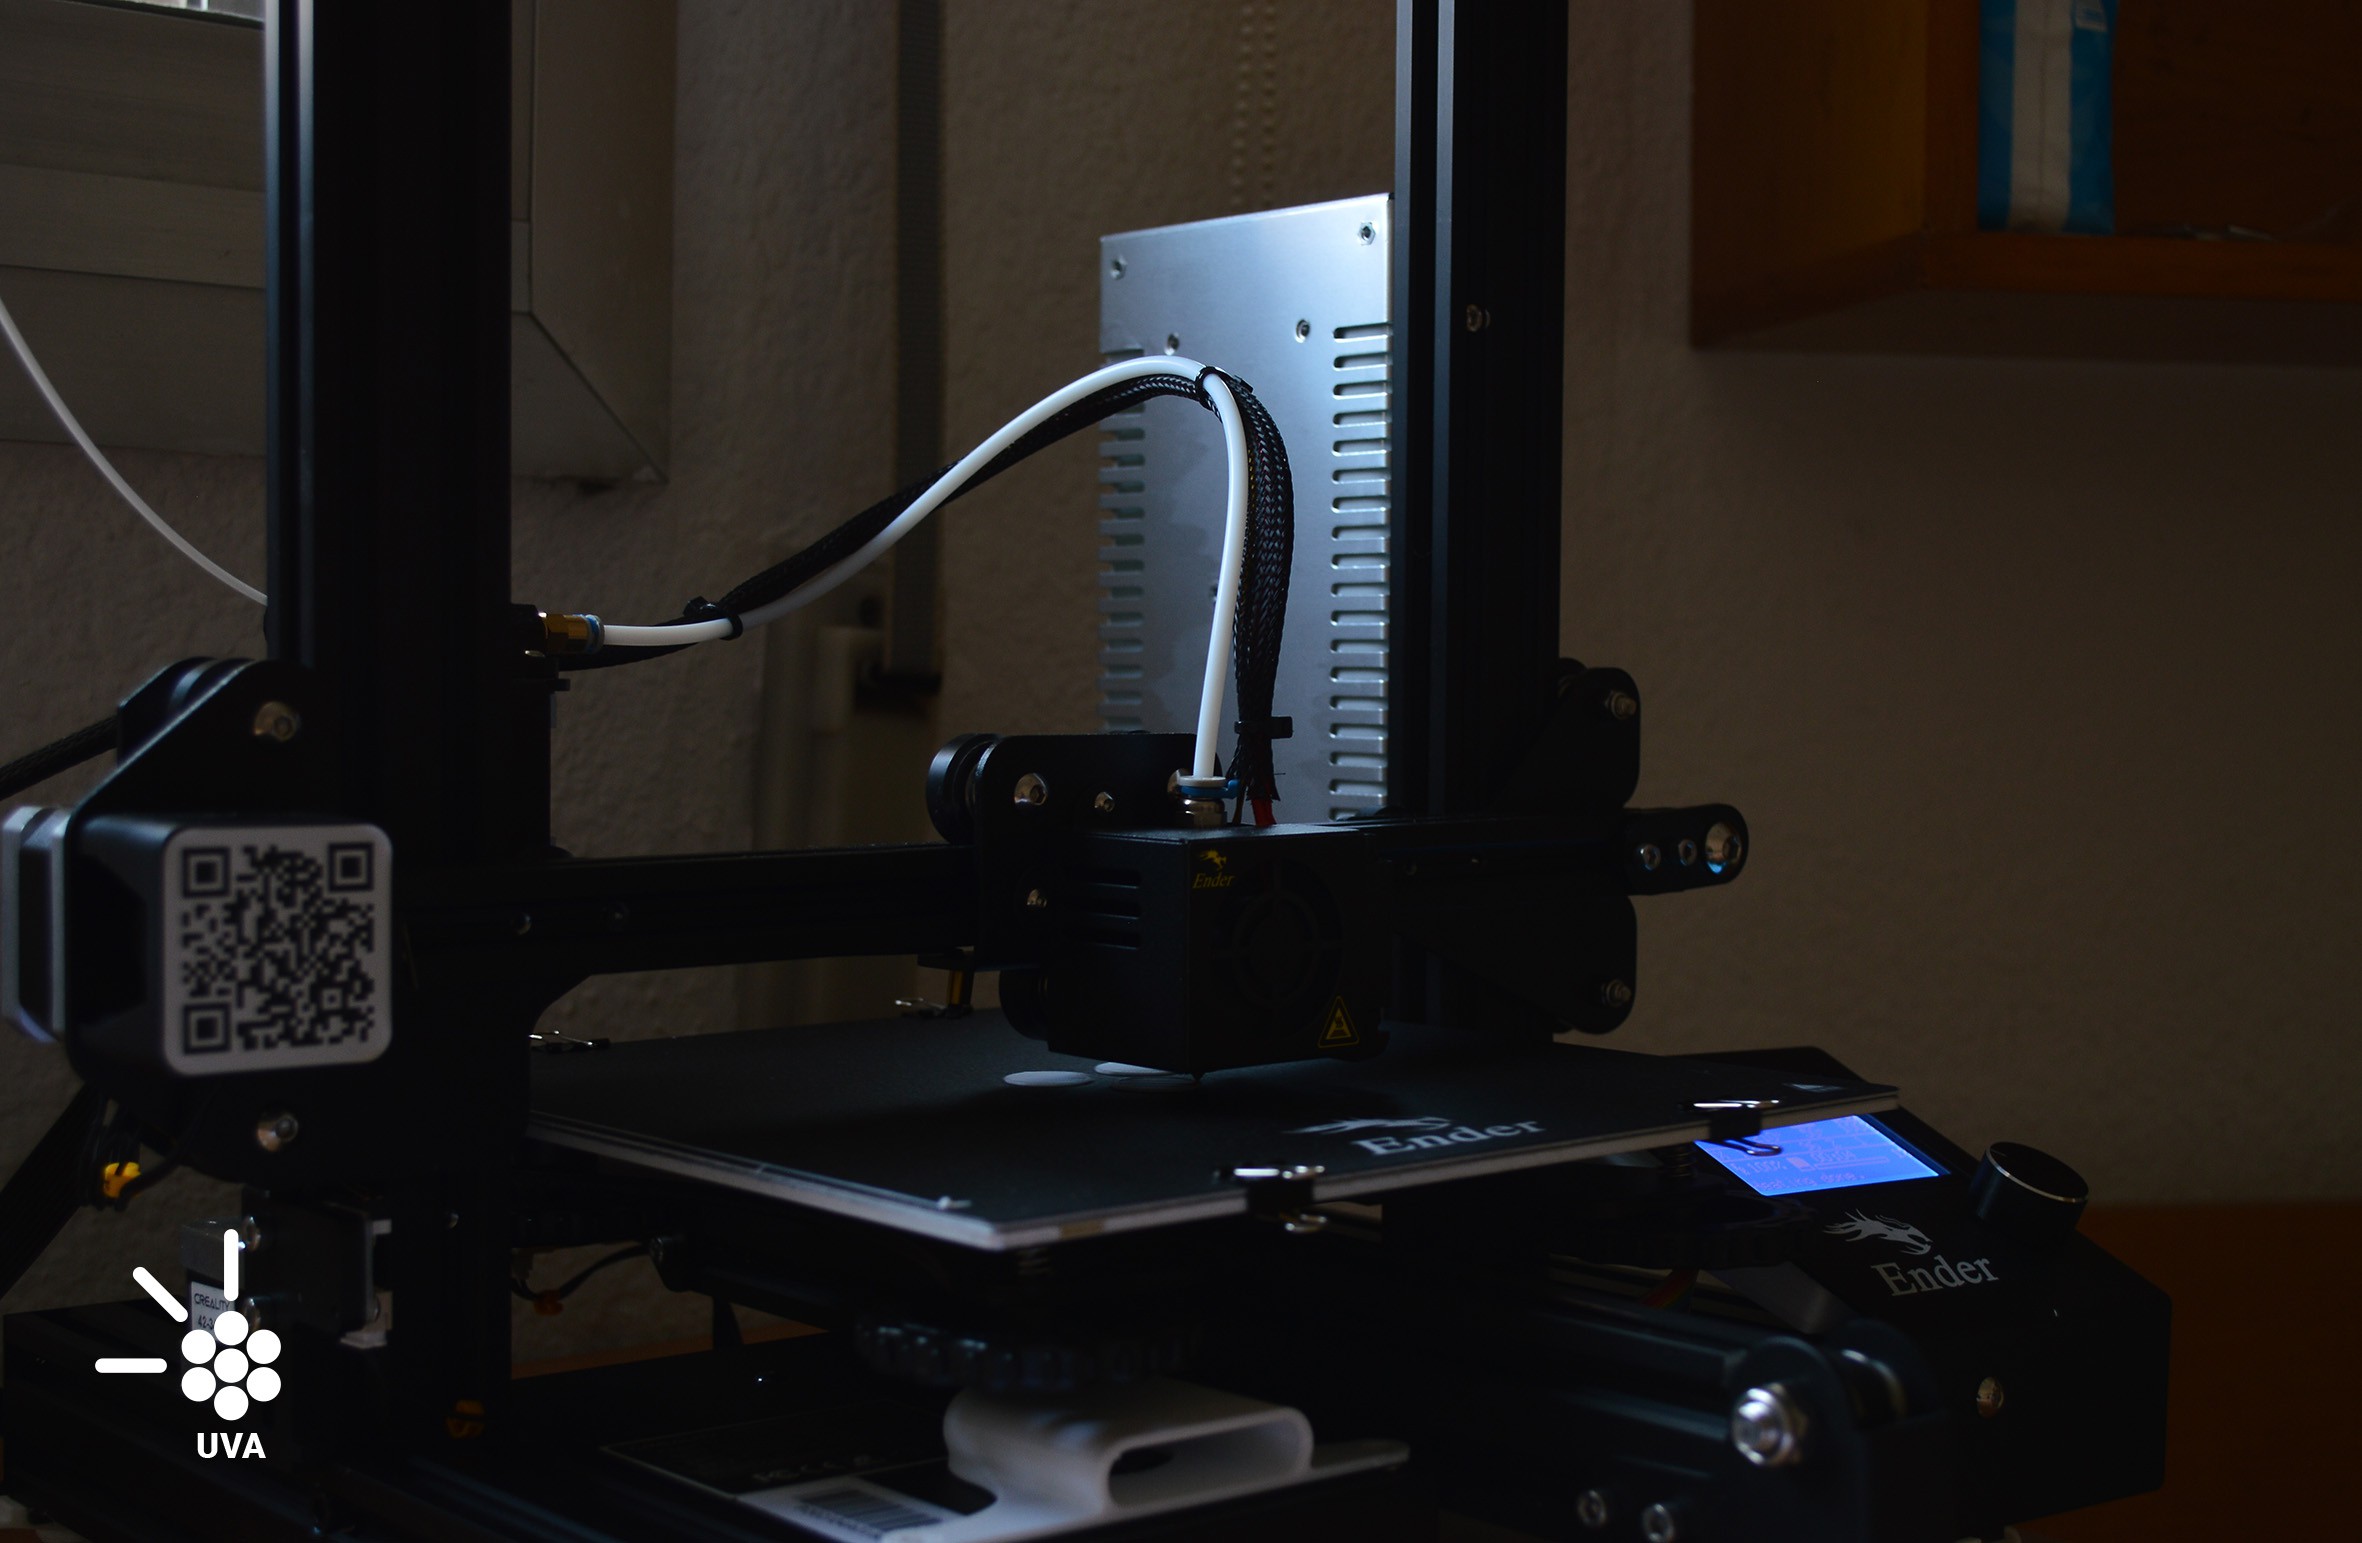
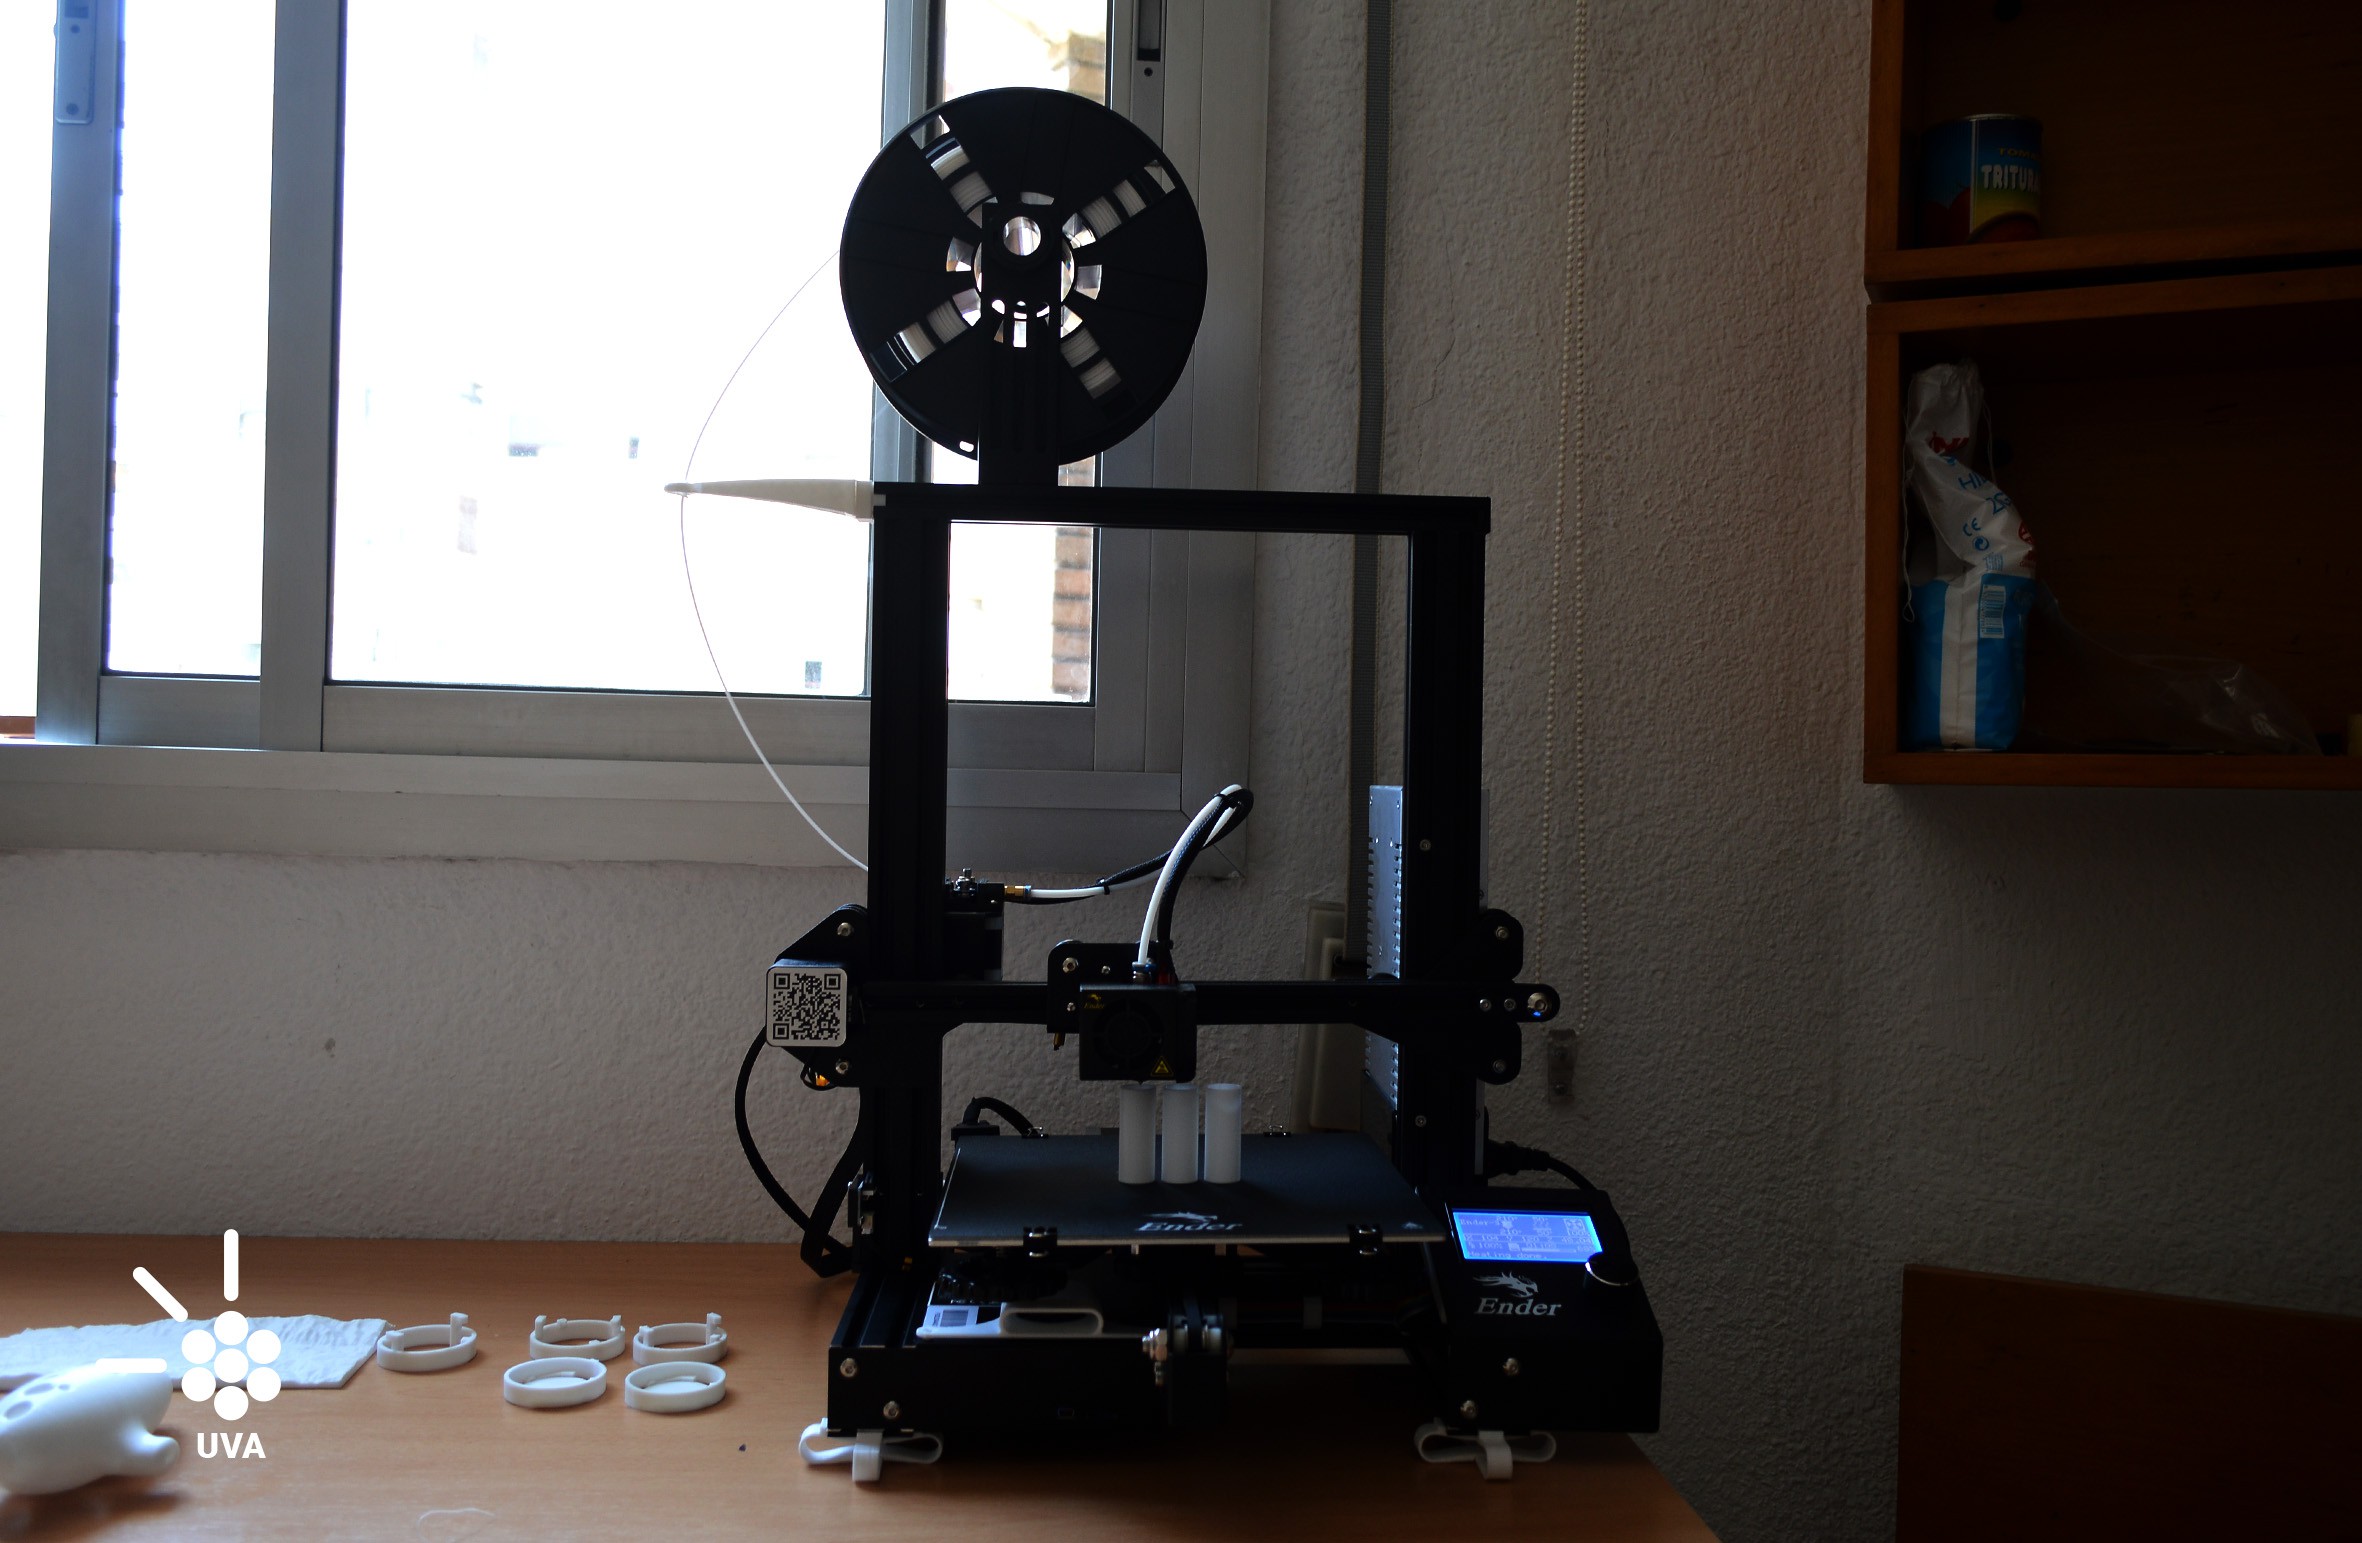
We buy a Creality Ender 3, it's one of the best in relation to price and quality. If we are designing a product to be built in adverse situations, It is interesting to design with a low-cost machine. We know that if our pieces are printable with good quality in Ender 3, it will be possible to print it in better and more expensive machines.
We also made a lot of prints to understood the limits of the machine, the tolerances and the capability to print. Here some important conclusions about the printing process with an Ender 3.
- If you want to print a piece that has to fit really tight, between 0.2 and 0.3 mm of tolerance is ok
- If the fit has to pass through and be gentle and soft we recommend 0.4mm or more
- It is important to be familiar with the tool, try and fail a lot, try to find the limits
We also find these useful resources about the capability and configuration of the Ender 3 and Cura:
https://all3dp.com/es/2/cura-ender-3-configuracion-cura-ajustes-perfil/
Discussions
Become a Hackaday.io Member
Create an account to leave a comment. Already have an account? Log In.