I've decided to run funding campaign for this project with Crowd Supply. I did it before with another project of mine and it went well. This means among other things a huge to do list for me, including finalizing design (and feature list accordingly) and working on thorough testing and validation.
Closing feature list is the most complicated for me, since it is always so tempting to add few more bells and whistles here and there. Good method in that case is implement something myself and check what is missing and what is not used along the way. Following that path I've came to conclusion that I need mini board - this designed to be placed inside all kind of smart speakers and therefore has no screen and generally take considerably less space.
I introduce to you ESP Audio Development Board Mini
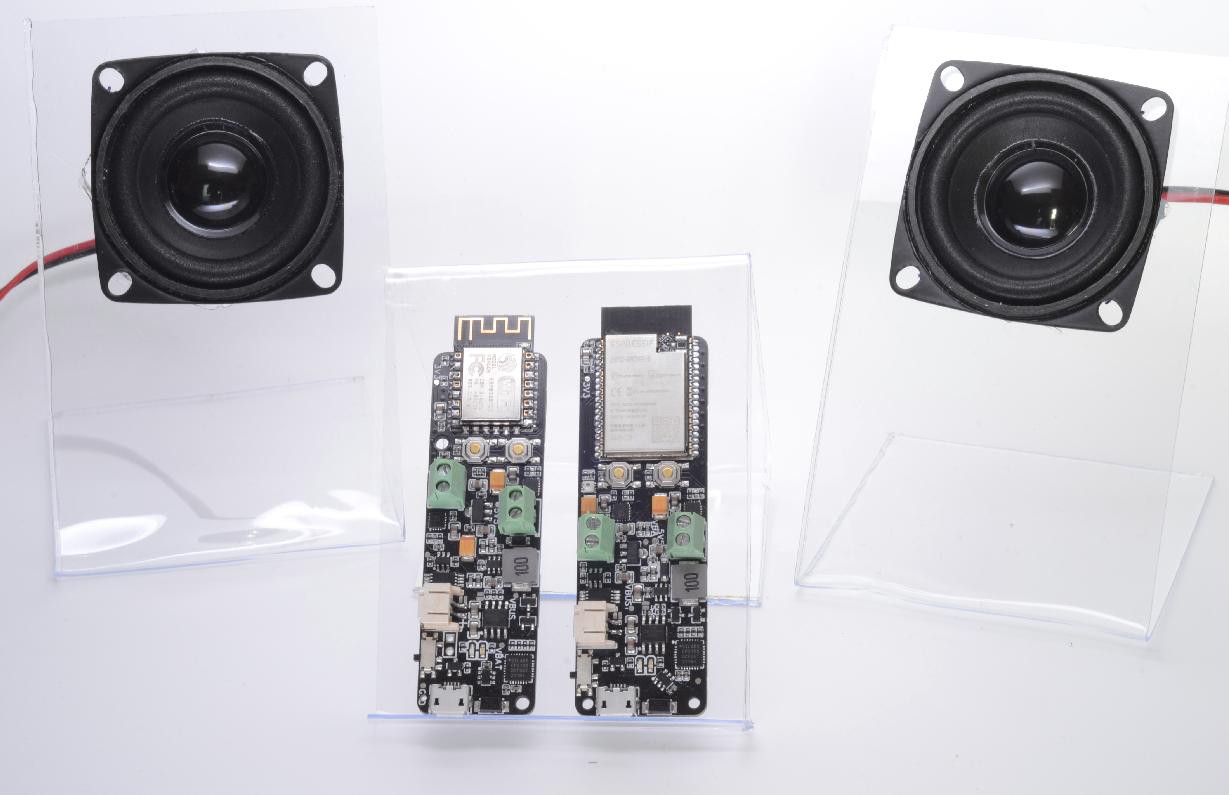
And here they are together with full-size boards, both ESP8266 and ESP32 models
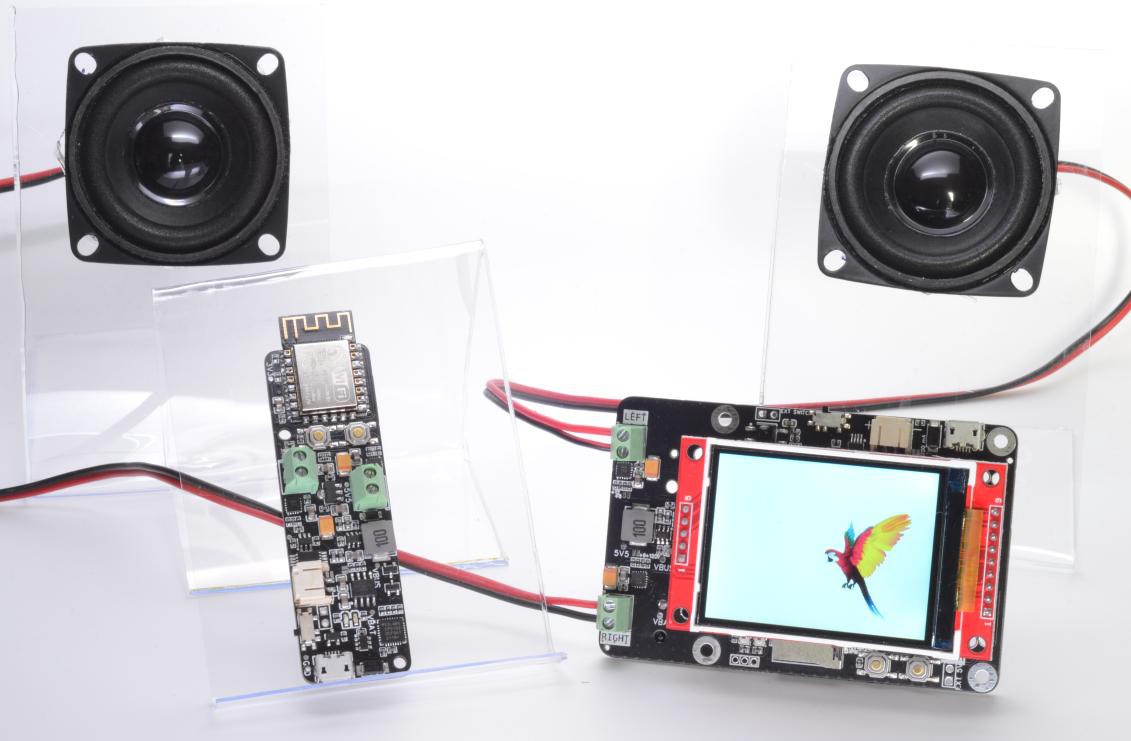
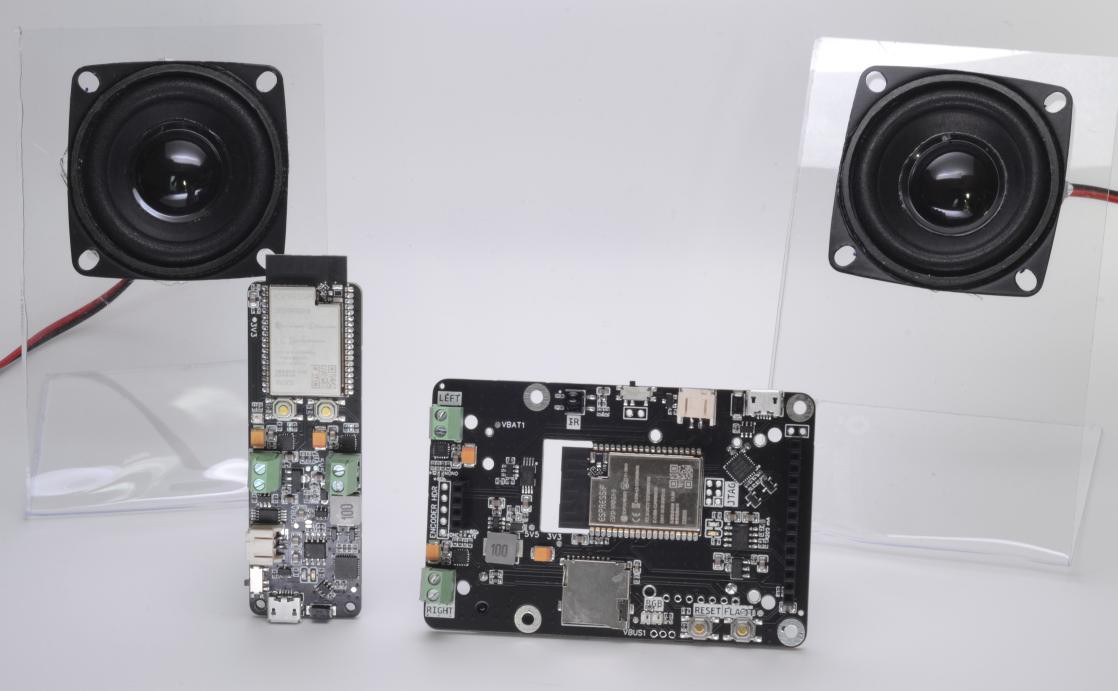
Compared to their full-size counter parts they've lost SD card and IR connectors, but in terms of audio capabilities, they're equivalent.
One question I got asked by CS team is what for I'd like to have ESP8266 model, and point is - it costs almost the same, but far less capable. I don't know it myself, it isn't rational, but I still prefer to do simpler projects with smaller MCU, perhaps I get some kind of satisfaction when MCU resources are used as much as possible.
As I said above, best way to validate design is to implement something yourself, and for that purpose I've built 2 small speakers project
The first one is a small, but extremely loud for it's size, alarm speaker. It started in life as a DIY bluetooth speaker, but given it's audio capabilities I've decided repurpose it.
So the first step is to disassemble original speaker
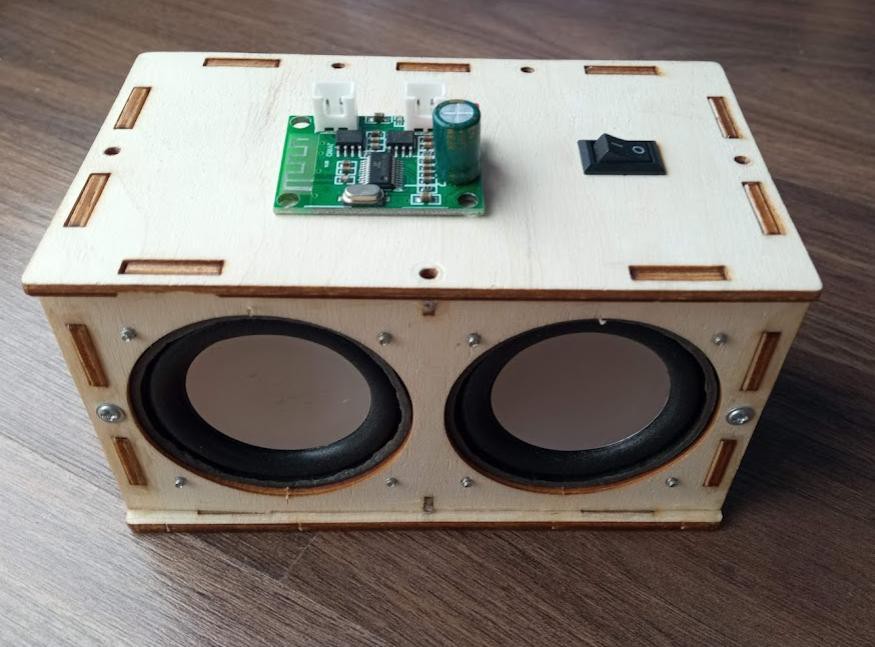
Then I'm placing inside ESP8266 Audio Dev mini board, connect both speakers to amp outputs and power switch to header
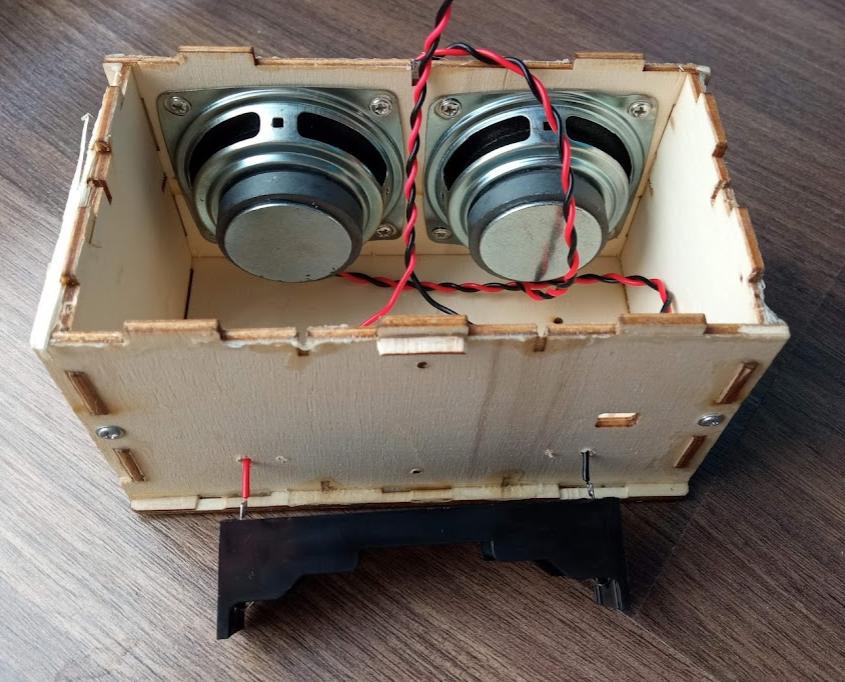
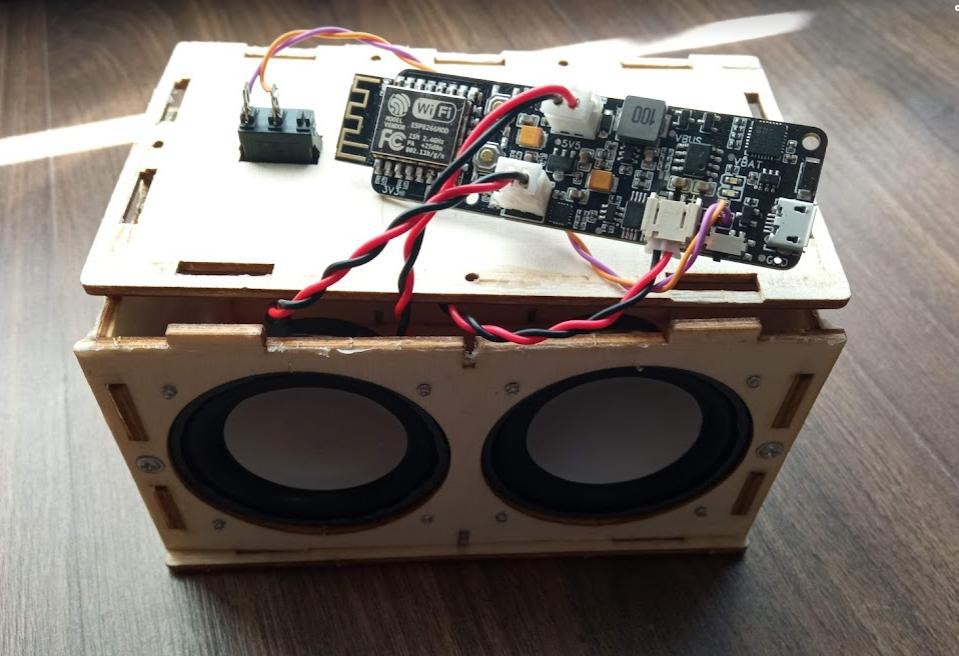 Power comes from 18650 battery placed on the back side and secured using couple of screws
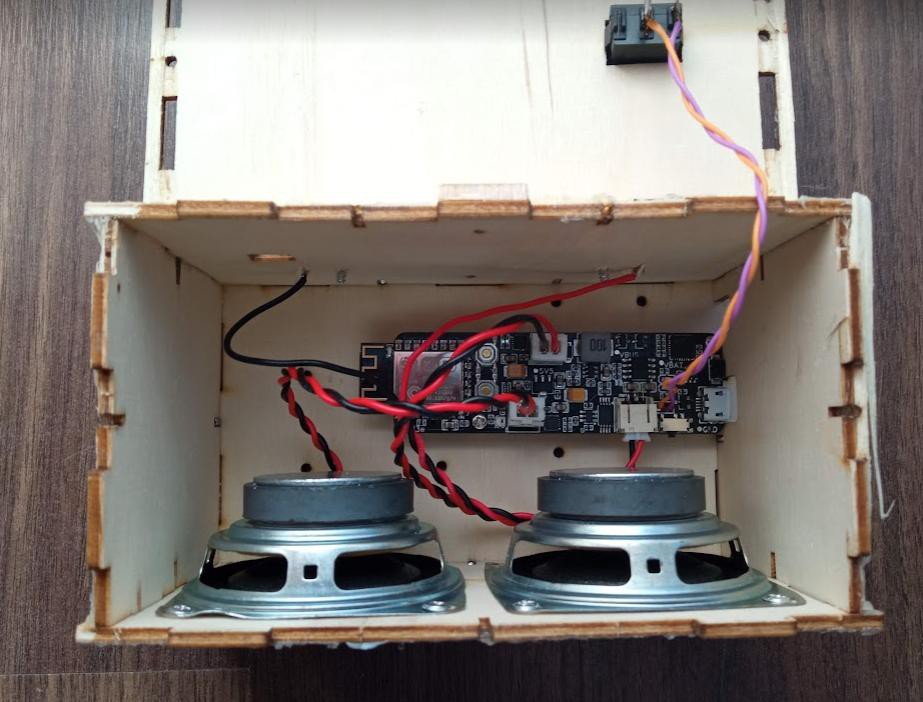
 Then it is secured inside using standoffs the way that USB port is accessible from the side to allow charging and flashing (although I'm using OTA updates for simple changes)
 I've secured a window on the top to allow indication using built-in addressable LED, and here is the end result
And the second project would be more sophisticated speaker based on ESP32 version of the board and great cspot repo which implements Spotify speaker on ESP32 chip.
To house this project I've bought Logitech iPod speaker (that what we've called smart before). It has no use in today's standards and anyway it is sold as broken and I couldn't care less if it was possible to fix it.
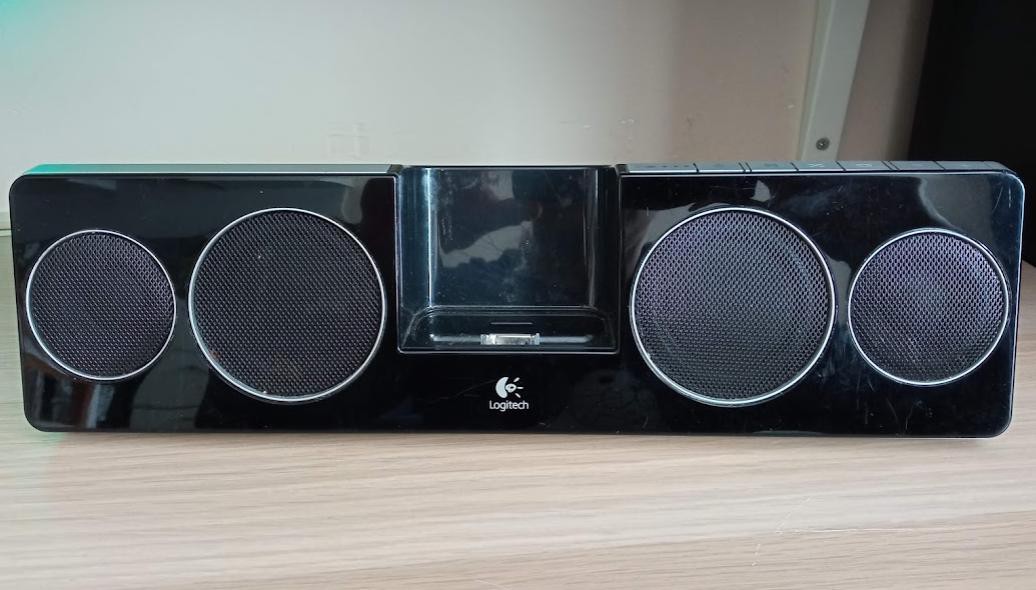
First I need to disassemble it and I did a monkey job of it and broke a couple of parts on the way, but in the end it is showing it's internals
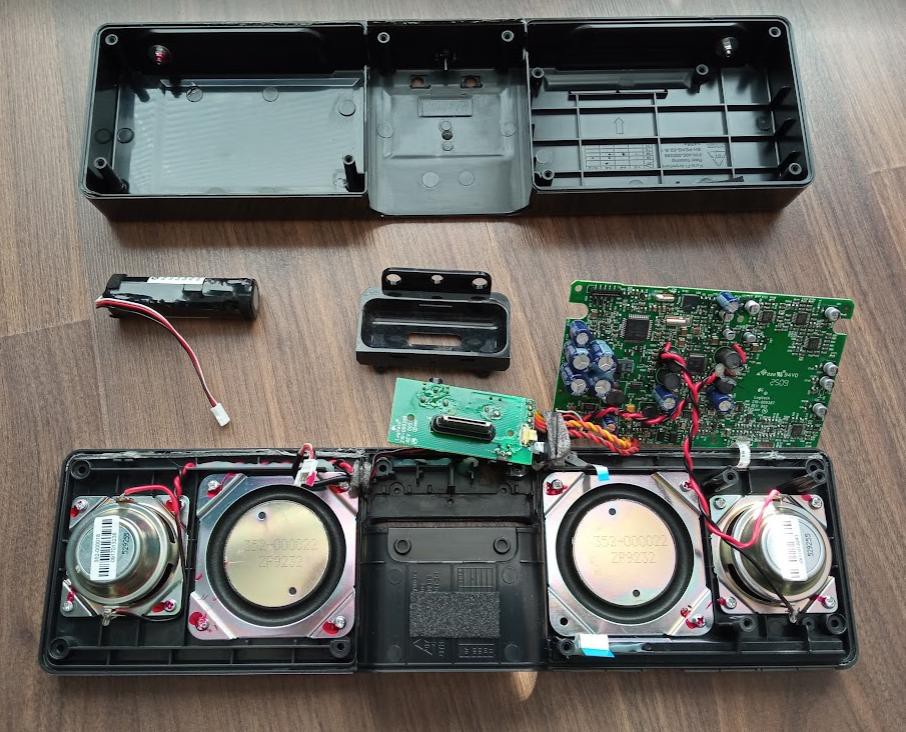
It has Li-Ion battery inside that I will use and 2 speakers (2 passives also), which is also match.
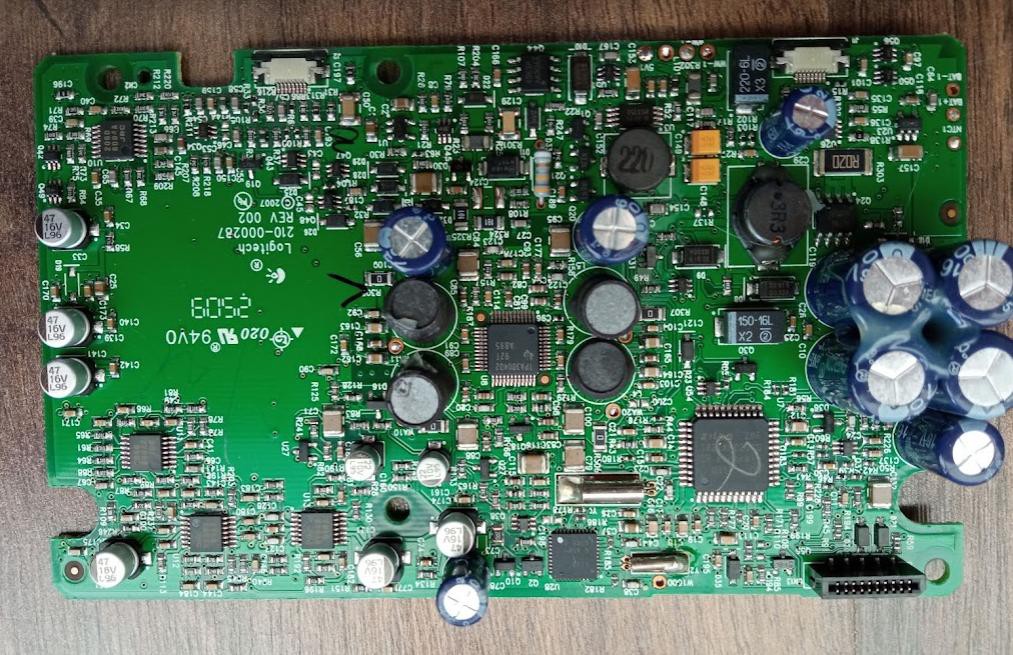
Here is the original PCB, it goes to spare parts box
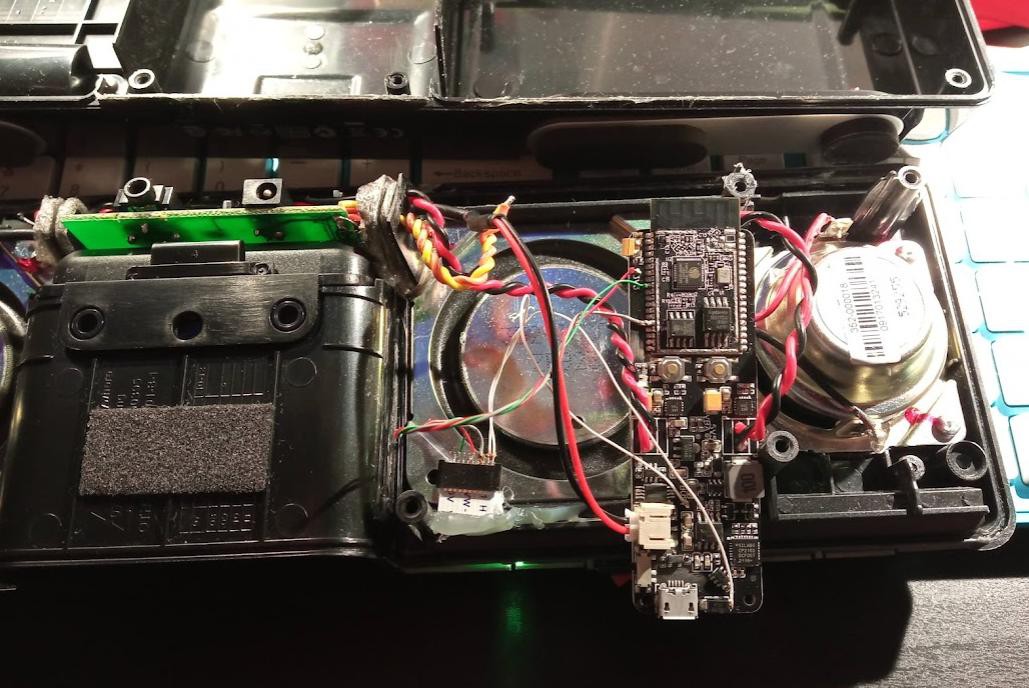
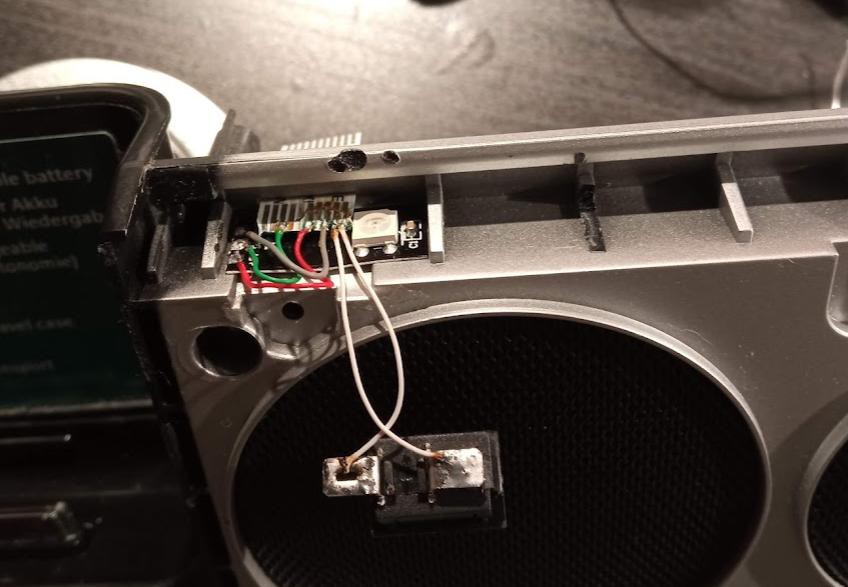
 Connections that I've made are following
- Both speakers are connected using stock wires
- On/Off switch will be placed on the buttons panel, as well as addressable status LED
- Stock battery connection
- Charging port soldered directly to USB 5V line - i can charge it using built in power port (and play audio at the same time)
Than PCB screwed in place using one of the stands left from original PCB
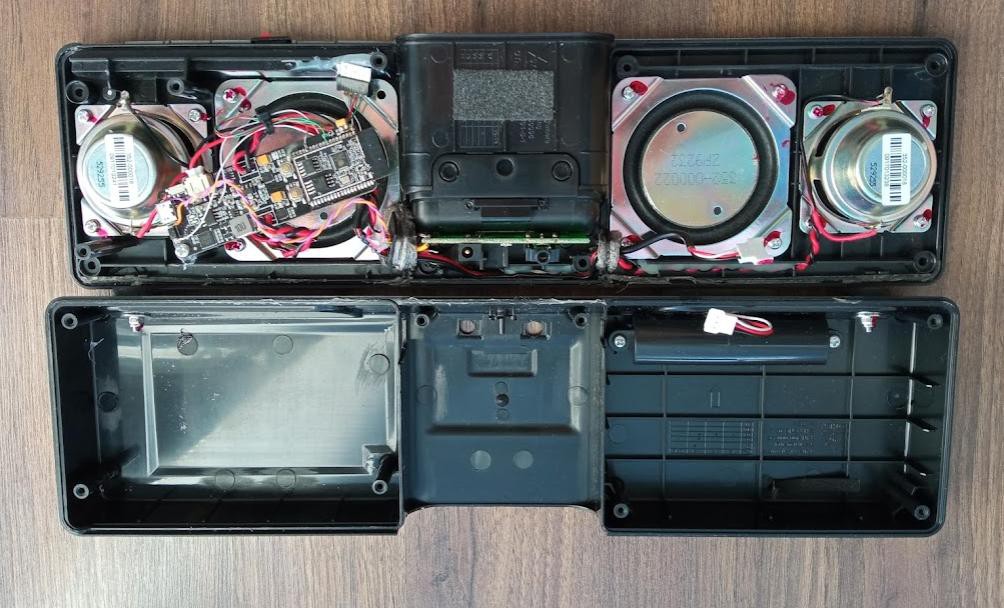 Last touch - place power switch and status led on the buttons panel, it was broken before, so my connector trying to replace missing piece
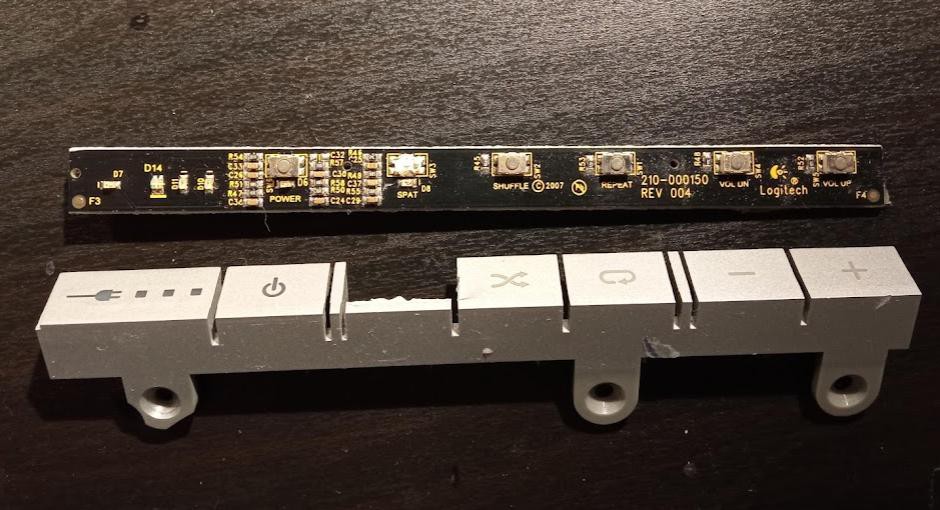
 End result doesn't look much different from the original speaker, but now has Spotify capability
 andriy.malyshenko
Discussions
Become a Hackaday.io Member
Create an account to leave a comment. Already have an account? Log In.