 parasquid
I was inspired by this video that was using an INA219 and an Arduino Pro Mini to make an ammeter, but in a very clean and compact package.
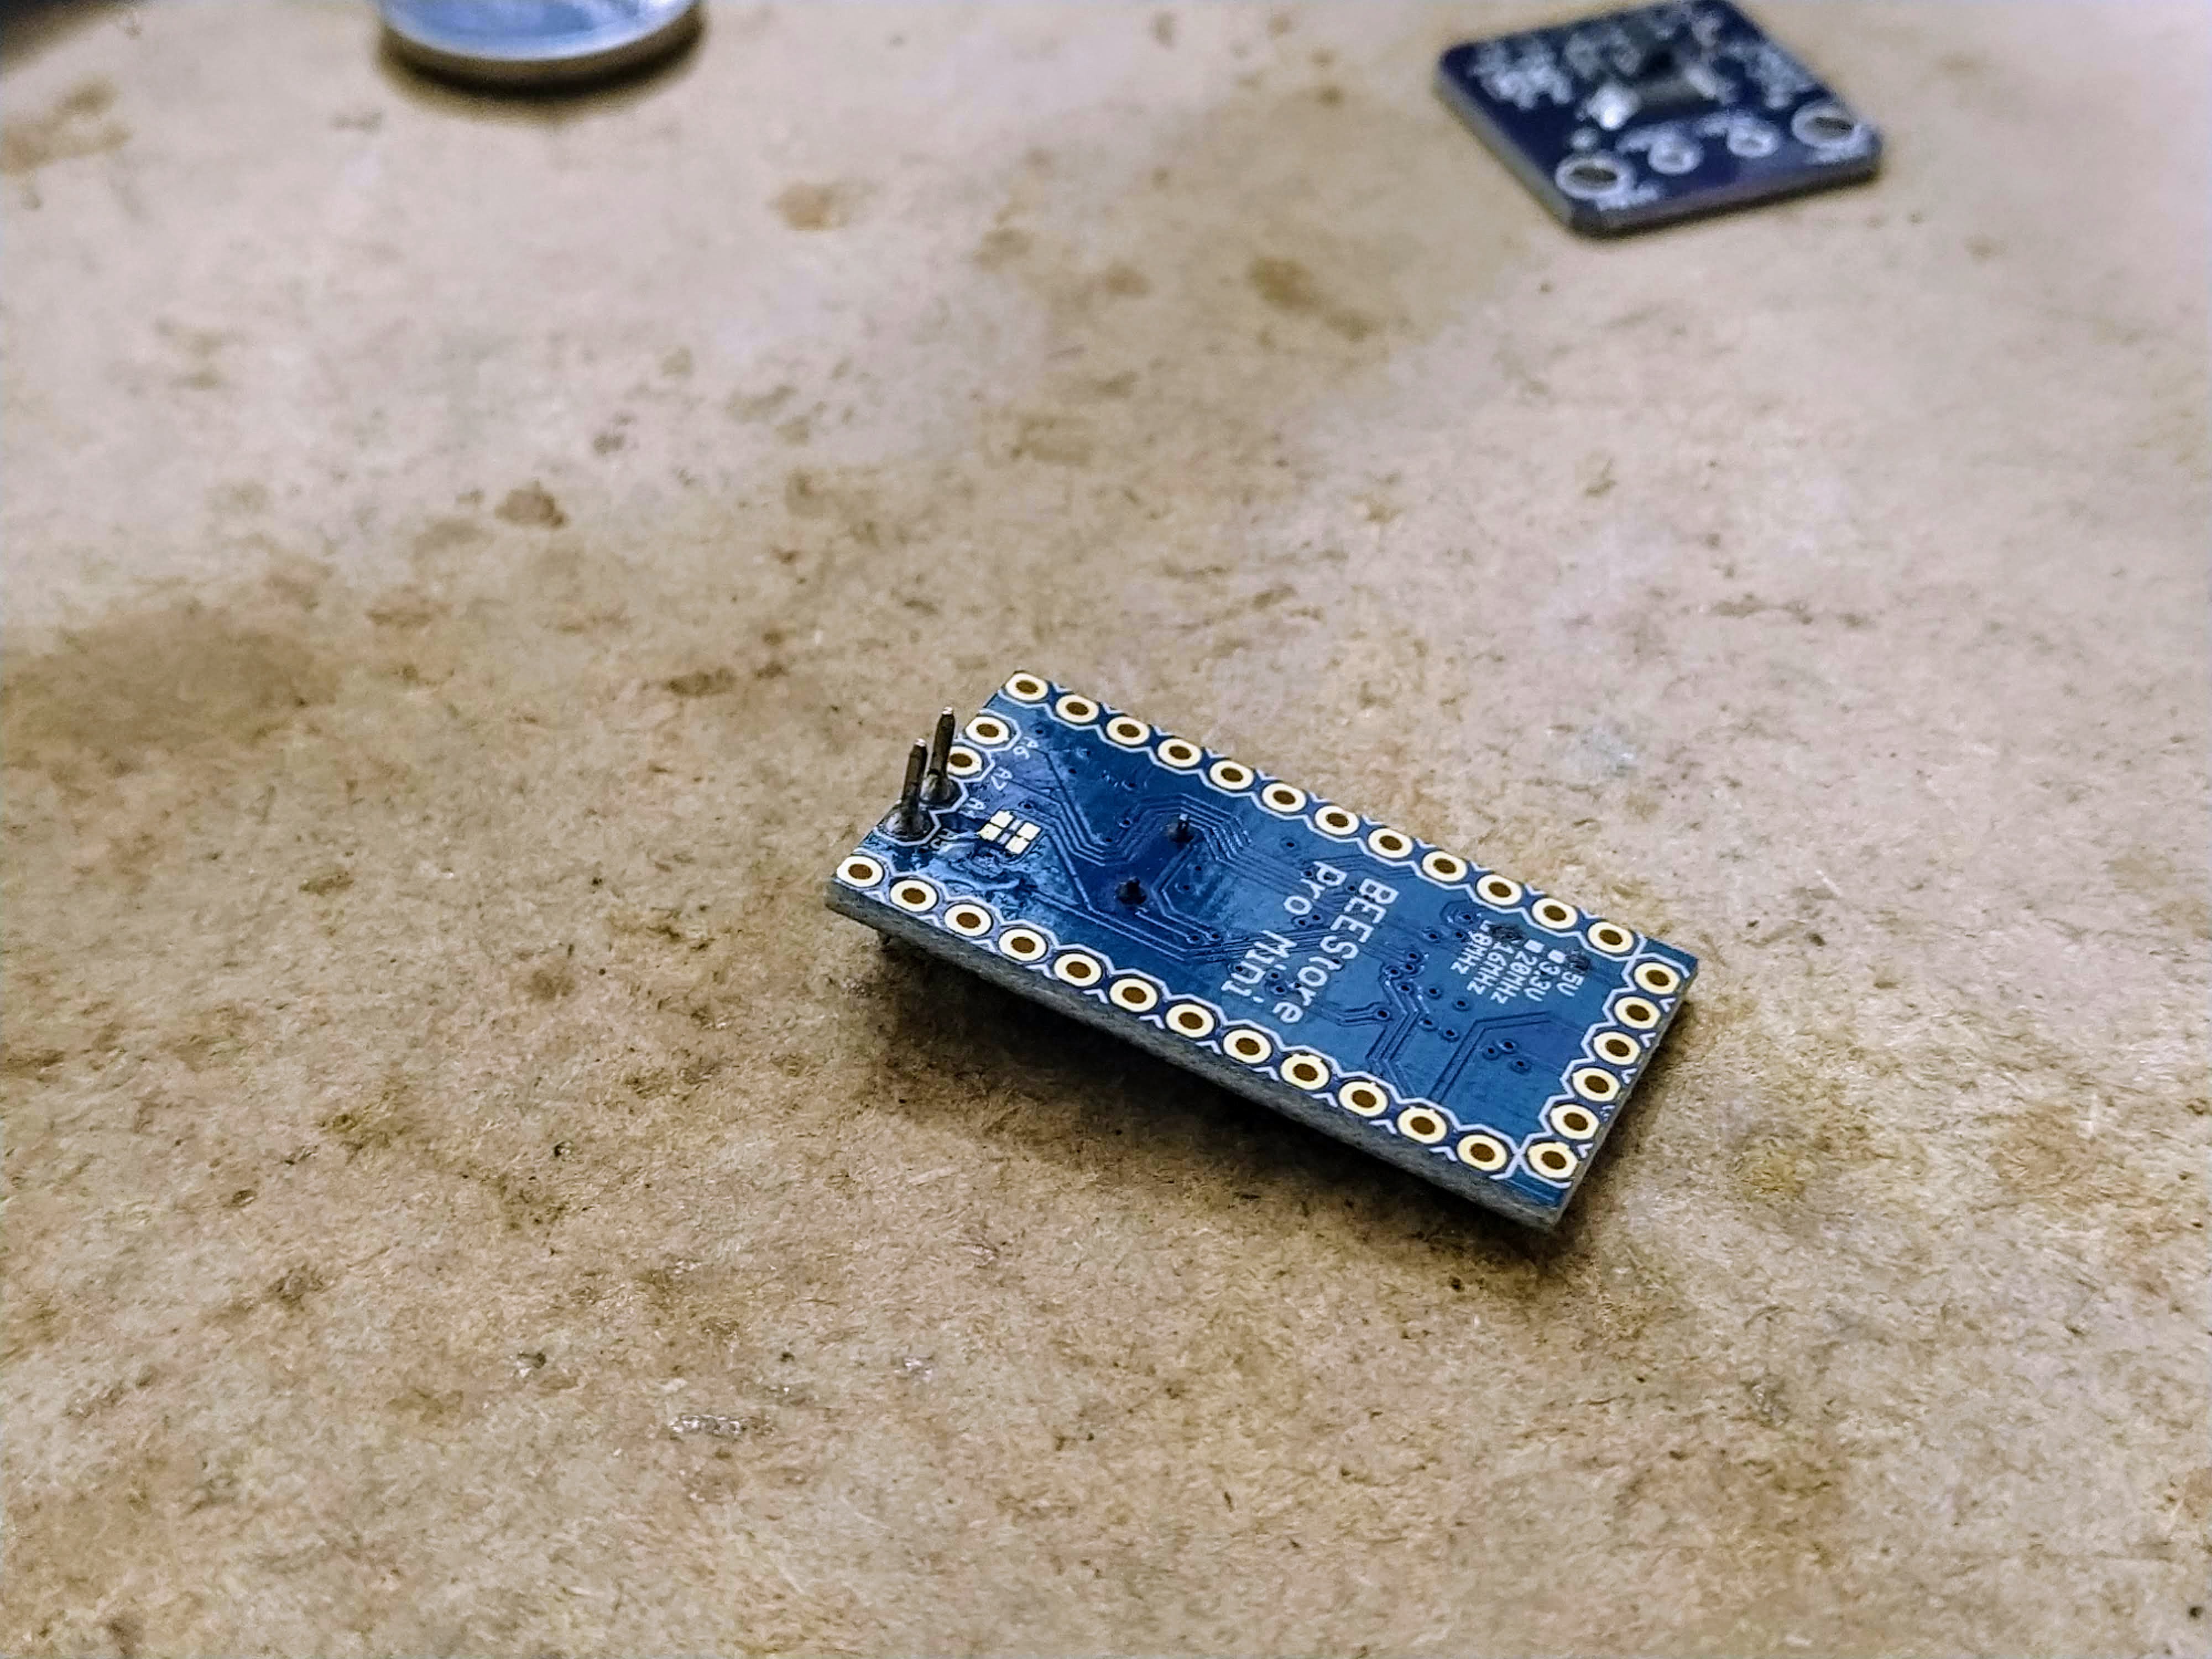
I didn't have the same pro mini as he did, however. But has that ever stopped a true maker? I still wanted to do it, if only for the challenge :)
First I soldered male headers to the A4 and A5 pins from the opposite side. This is to give more length to eventually place the 128x32 oled on the other side.
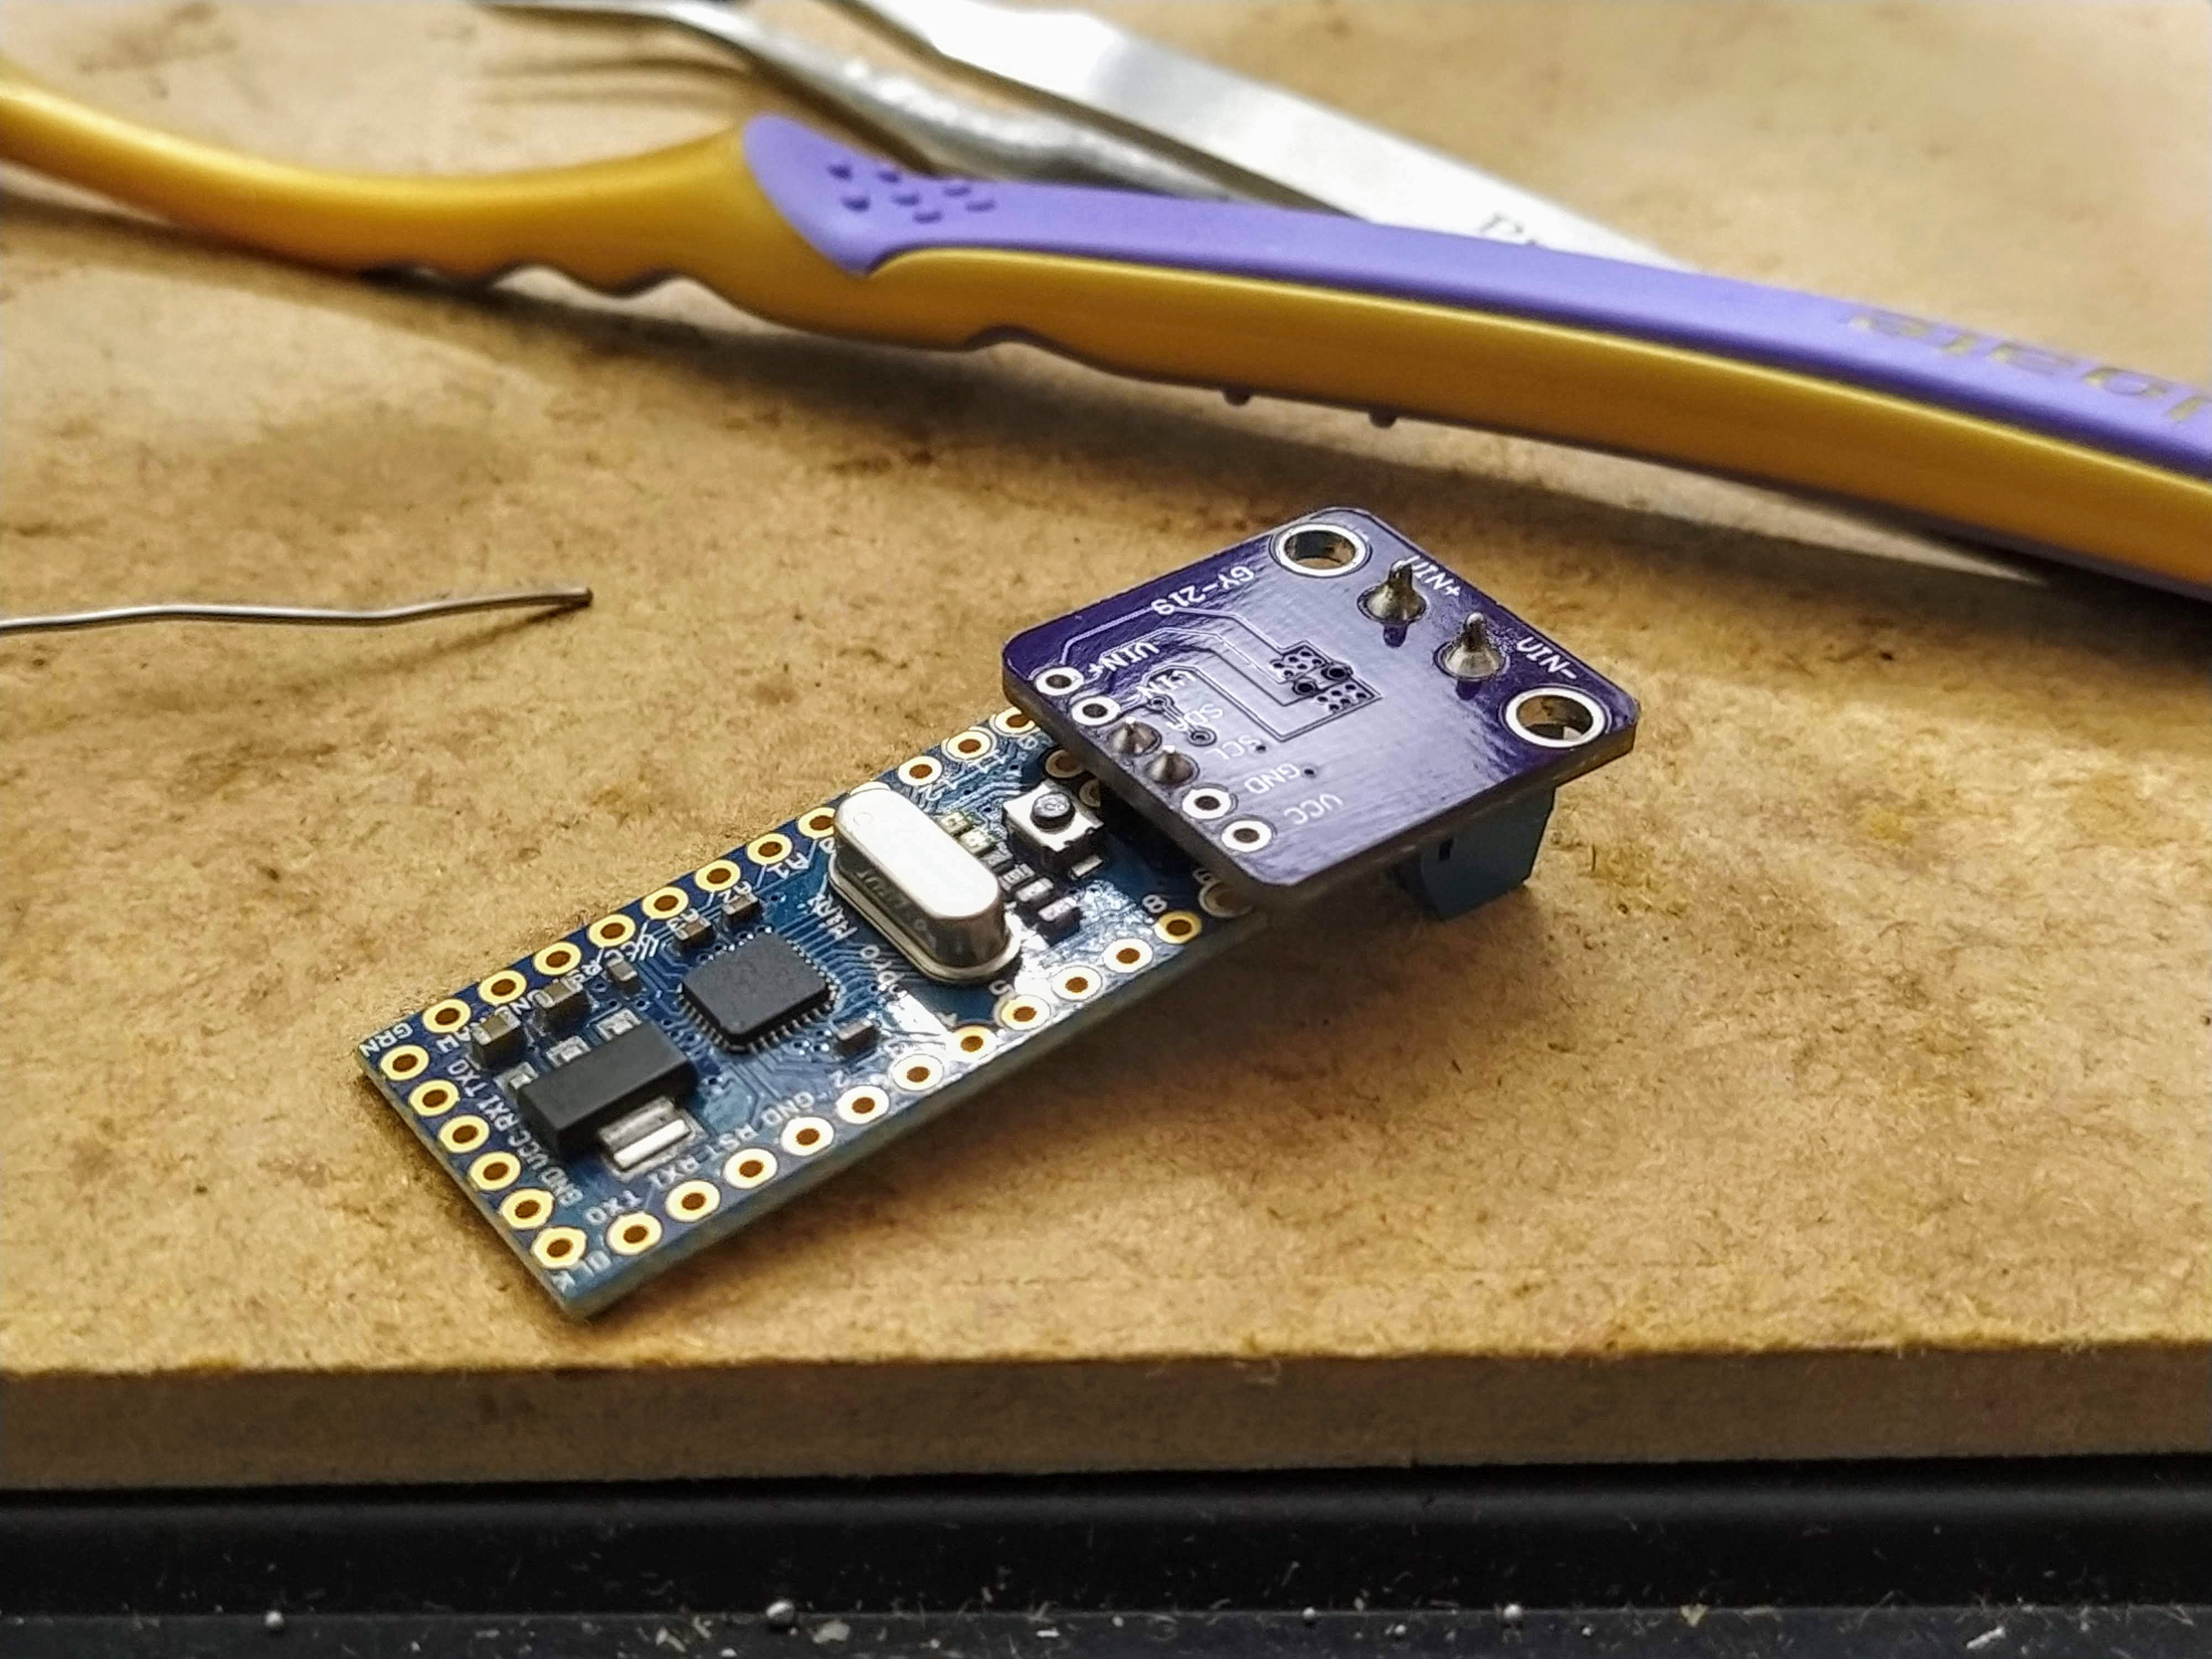
The INA219 goes to the other side, SDA to A4 and SCL to A5 (so no cross wires here). However that VCC and GND pins are a problem, as I don't have an easy access to the corresponding ones on the pro mini. Looks like I'll have to bodge this one.
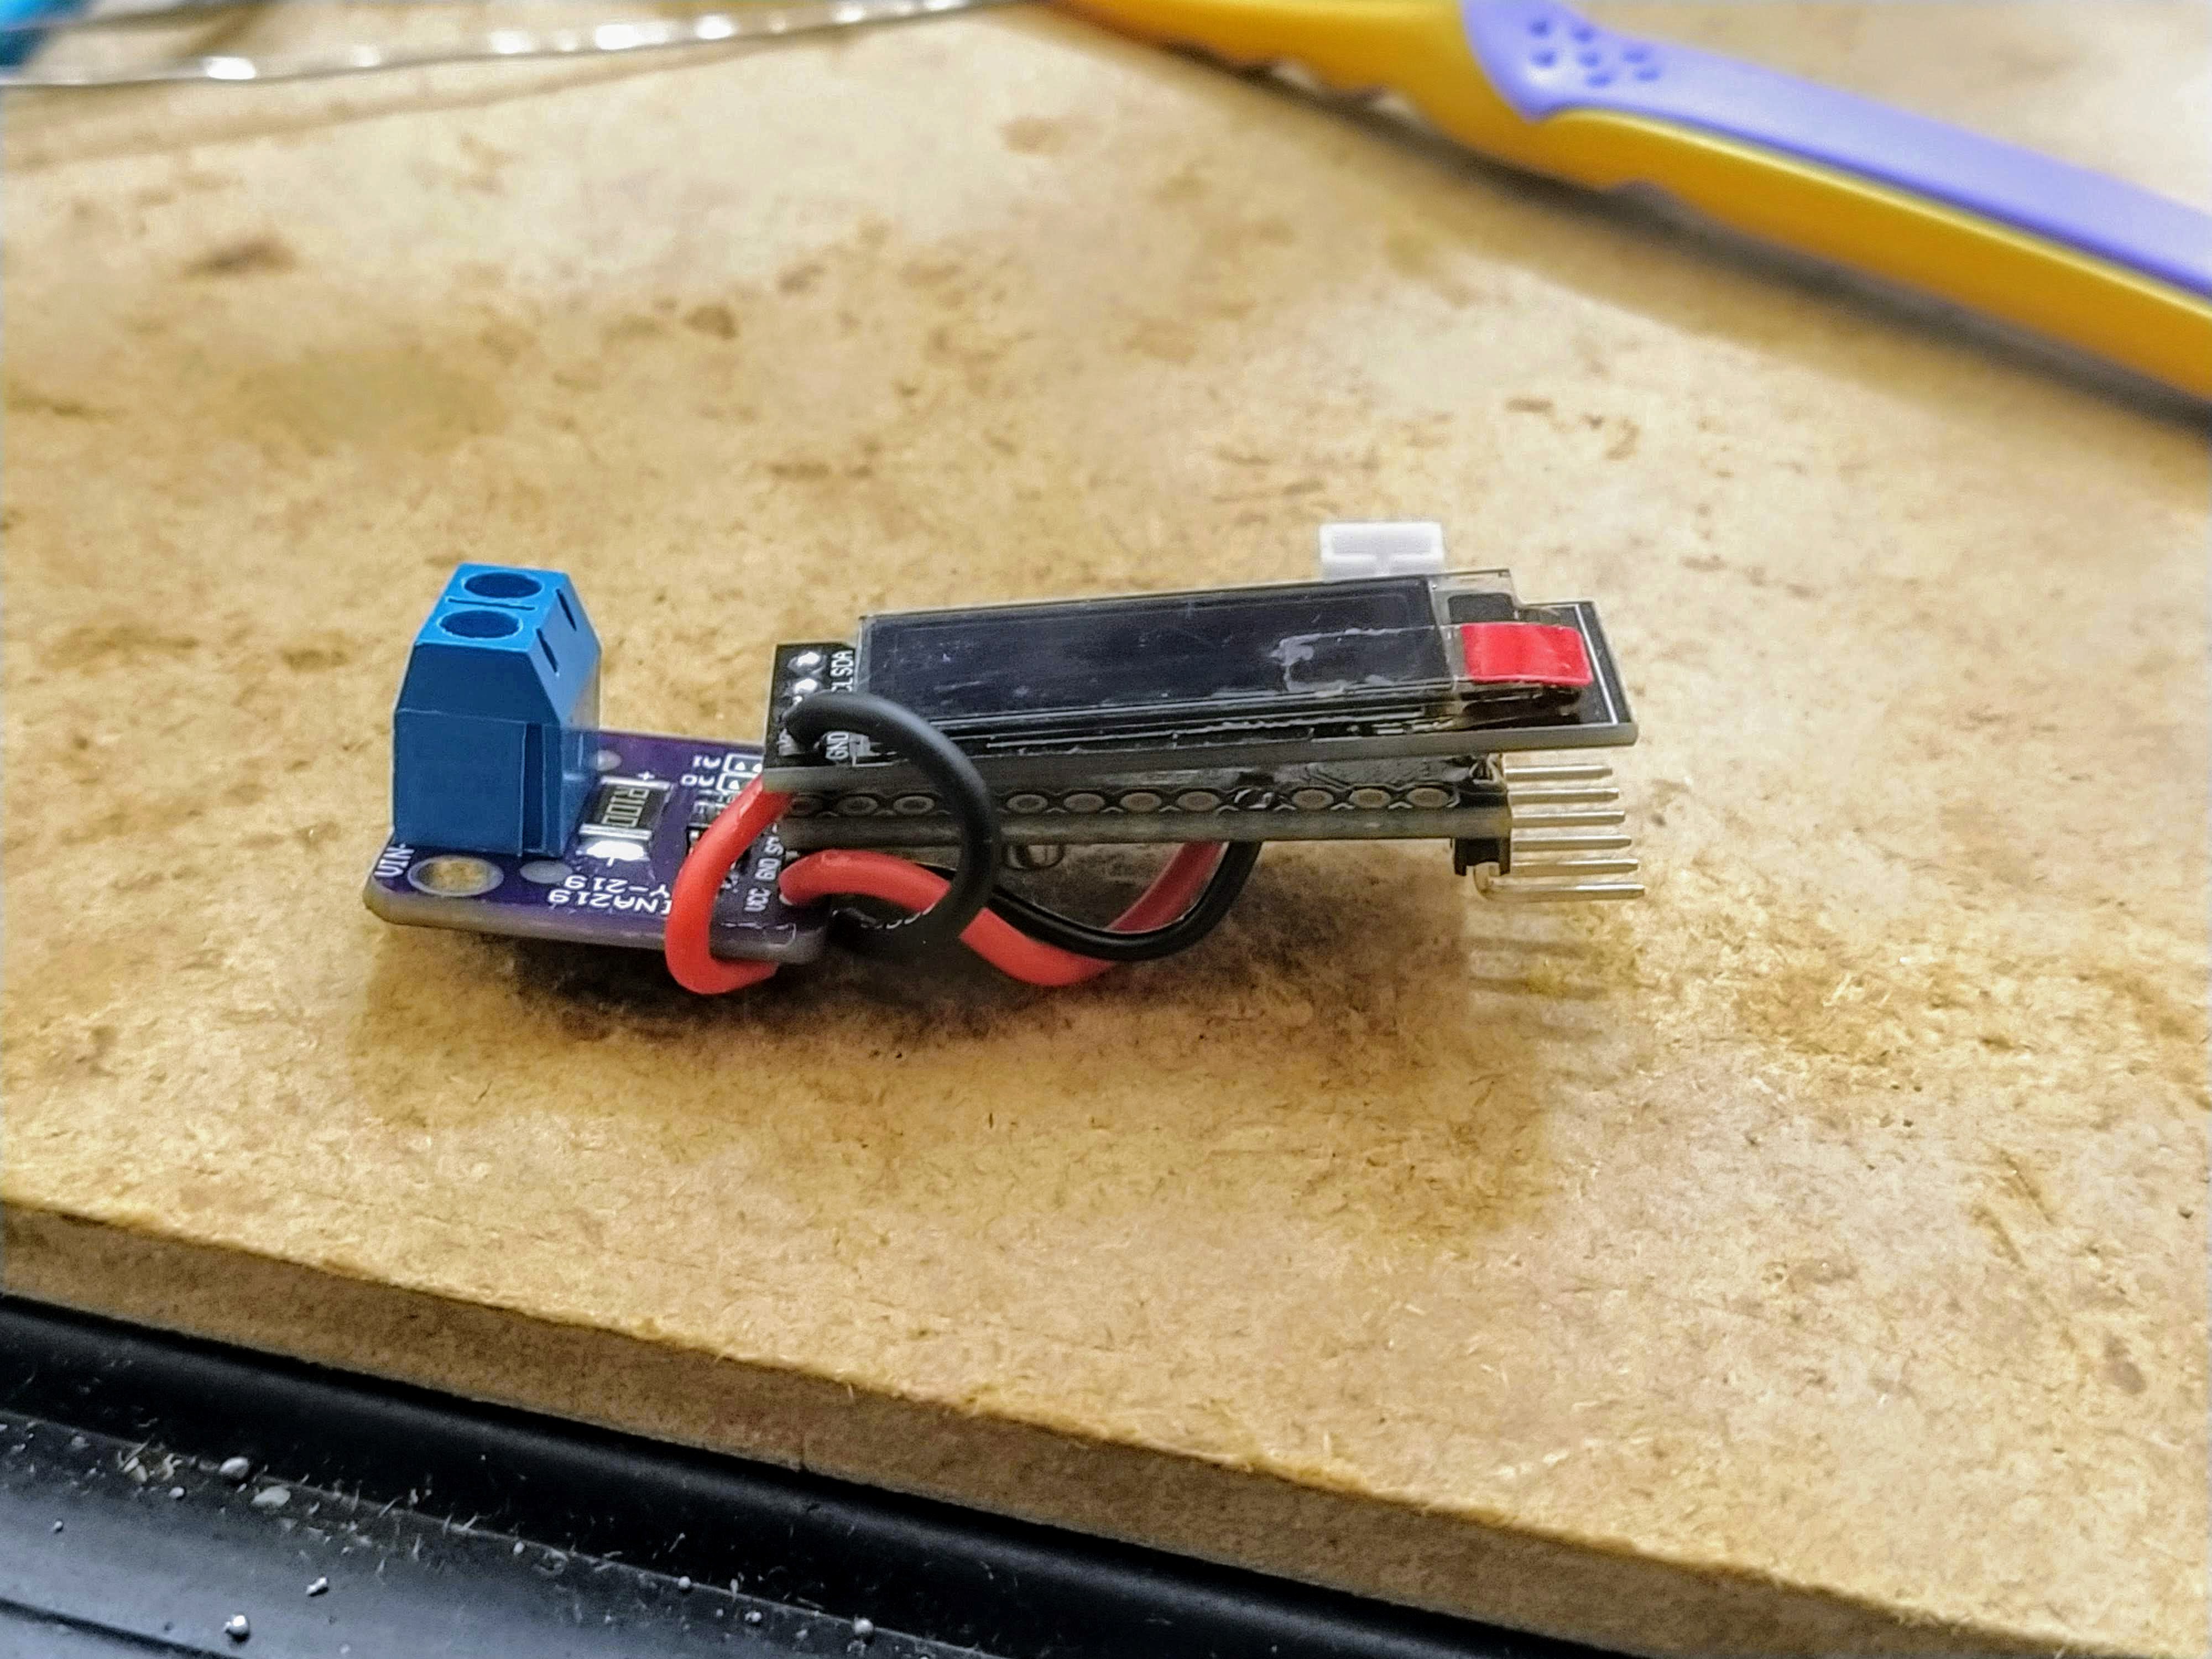
And bodge I did. The oled fits on top as the SDA/SCL locations naturally fall on top of the A4 and A5 pins in the correct orientation (again, no crossed wires) but the GND and VCC pins are quite far off. I decided to just use some hookup wires to get them connected.
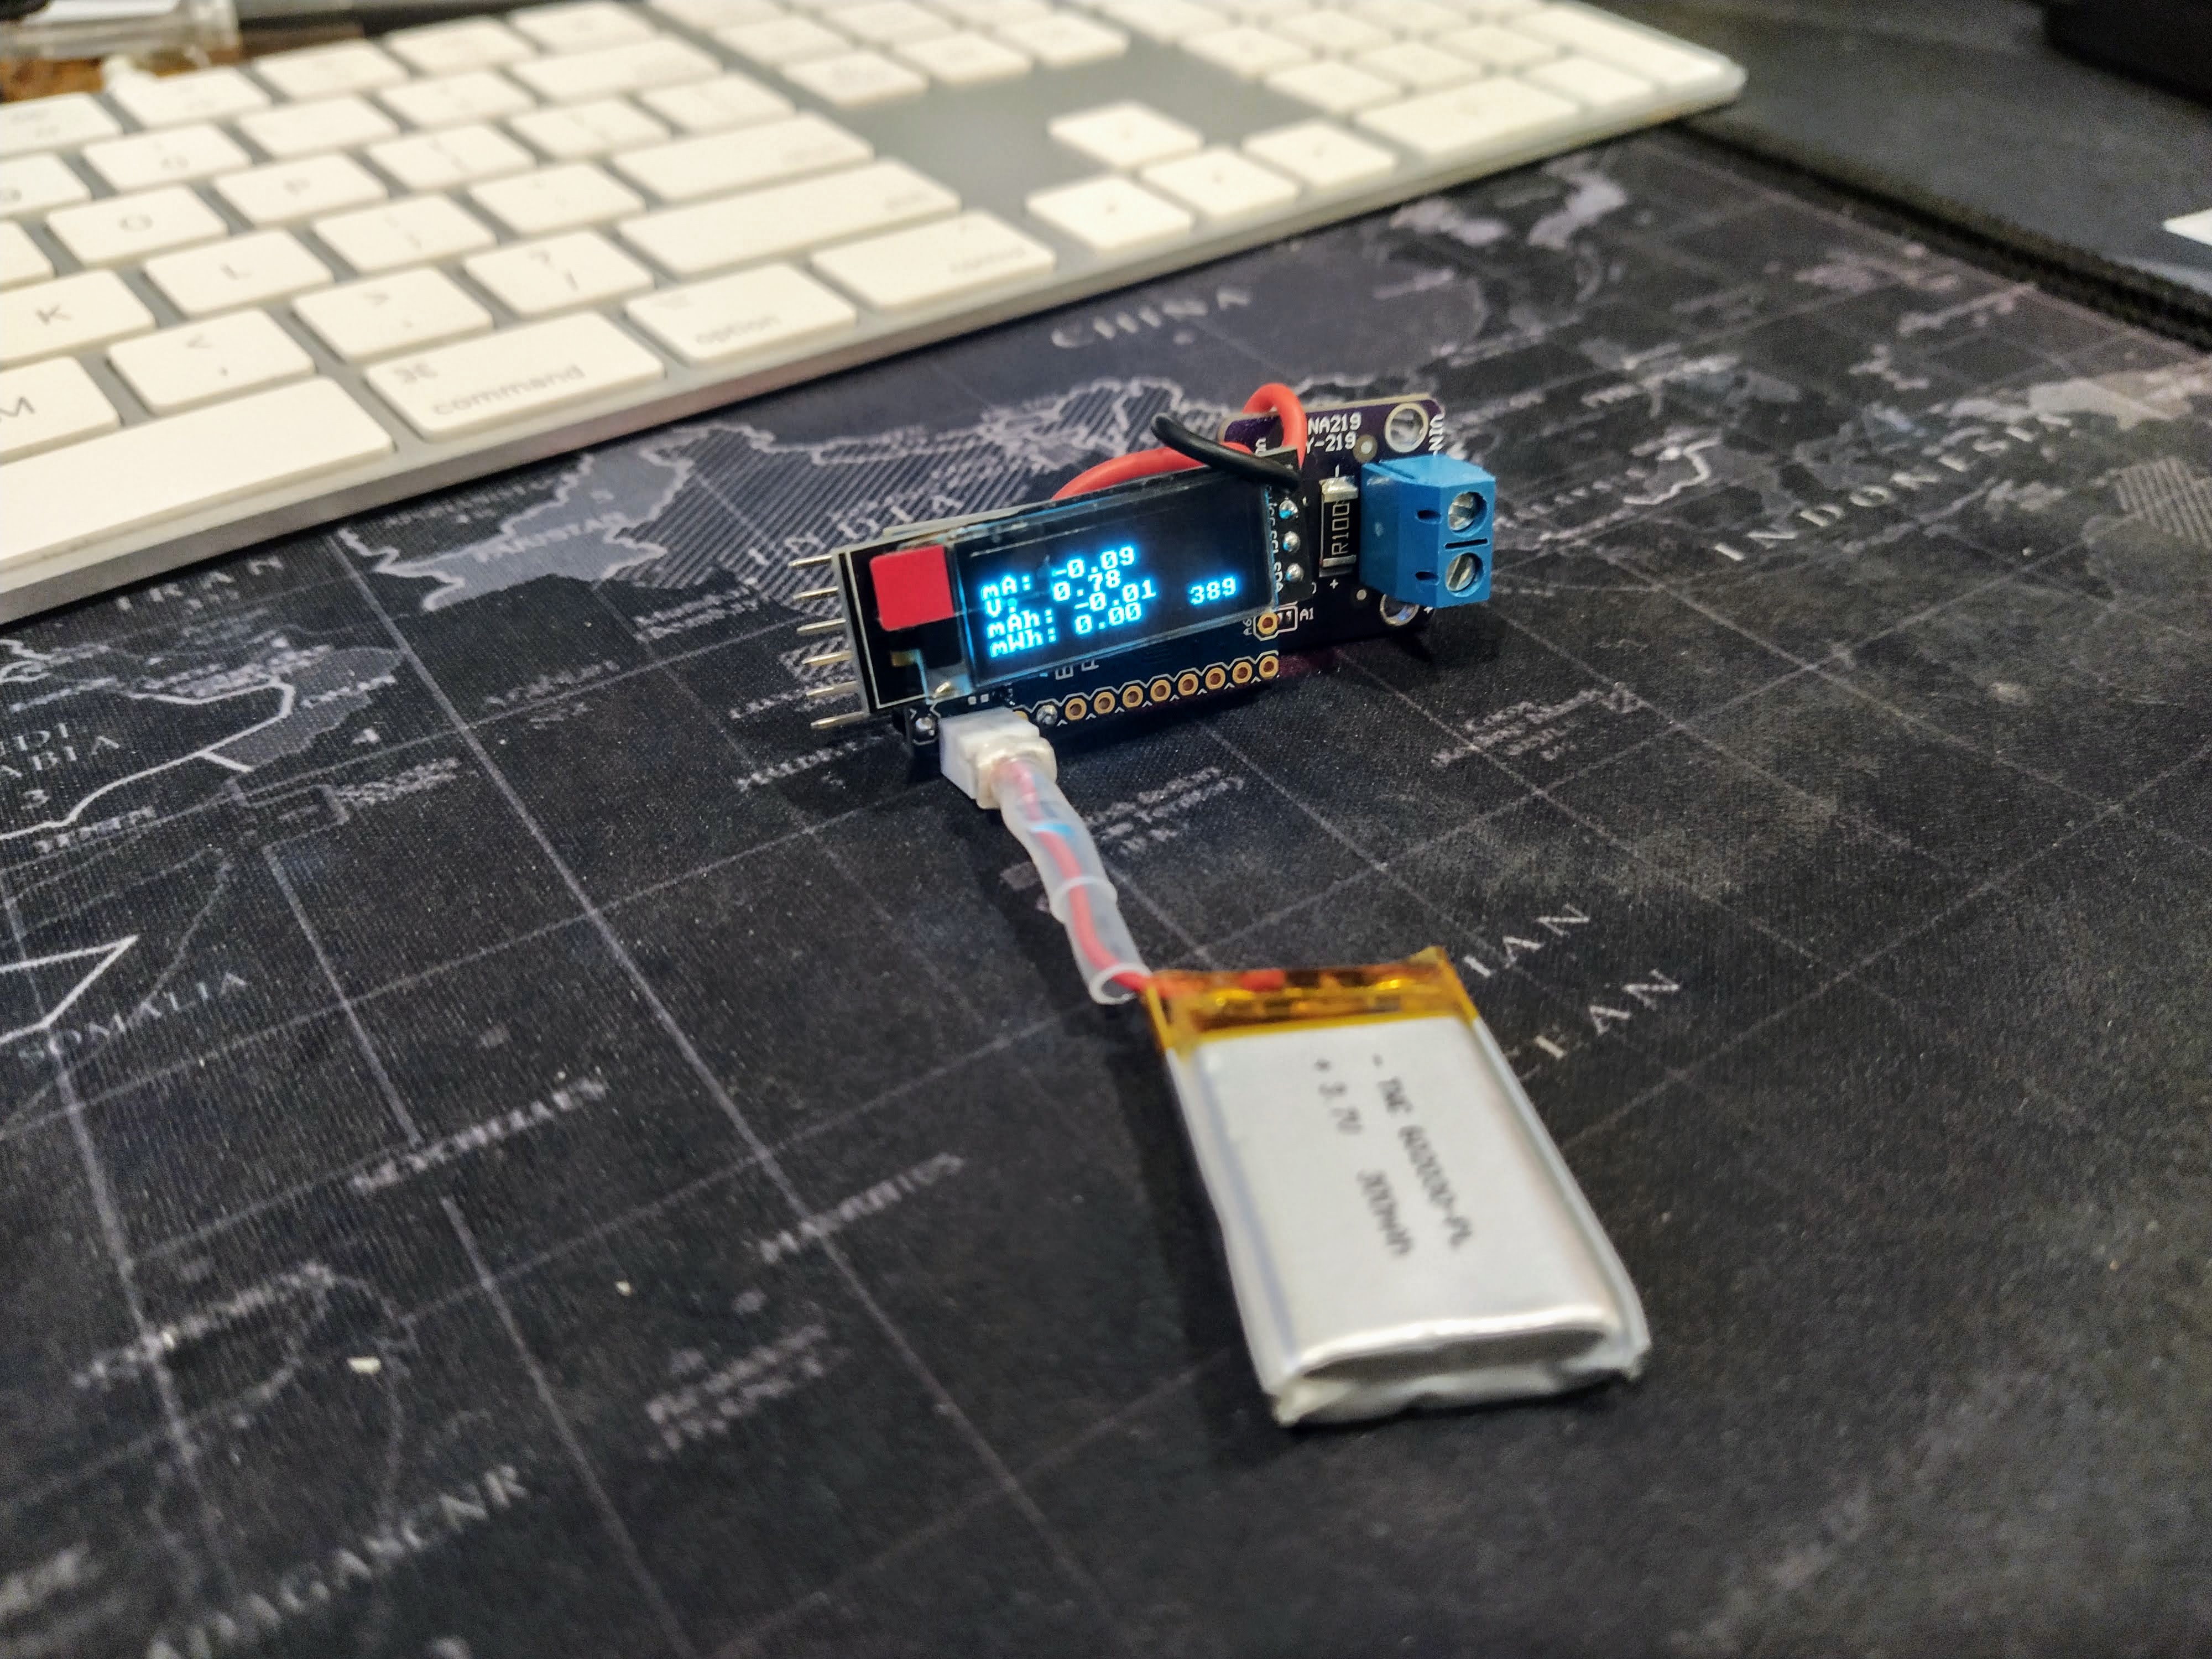
After some programming, I tested it and it works! Not as pretty, but still functional.
I decided that, unlike Julian's original ammeter that only showed amps, I wanted to show milliamp hours, and volts and milliwatt hours if I connected the ground of the circuit being measured and the amp/volt meter. I prefer flexibility over visibility in this case :)
#include <Arduino.h>

#include <INA.h>
#include <U8x8lib.h>
#include <Wire.h>

INA_Class monitor;

U8X8_SSD1306_128X32_UNIVISION_HW_I2C oled;

unsigned long lastDisplayUpdate = 0;

float bus_V = 0;
float mAh = 0;
float current_mA = 0;
float mWh = 0;
float power_mW = 0;
unsigned long lastread = 0; // used to calculate Ah
unsigned long tick;         // current read time - last read
boolean toggle = false;

#define error(msg) Serial.println(msg)

void setupDisplay() {
  oled.begin();
  oled.setFlipMode(1);
  oled.setBusClock(100000);
  oled.setFont(u8x8_font_amstrad_cpc_extended_f);
}

void setupMonitor() {
  monitor.begin(1,100000);
  monitor.setBusConversion(8500);            // Maximum conversion time 8.244ms
  monitor.setShuntConversion(8500);          // Maximum conversion time 8.244ms
  monitor.setAveraging(128);                 // Average each reading n-times
  monitor.setMode(INA_MODE_CONTINUOUS_BOTH); // Bus/shunt measured continuously
}

void loopDisplay() {
  unsigned long newtime;

  oled.setCursor(0,0);
  current_mA = monitor.getBusMicroAmps() / 1000.0;
  oled.print("mA: "); oled.print(current_mA, 2);
  oled.print("   ");
  Serial.println(current_mA);

  oled.setCursor(0,1);
  bus_V = monitor.getBusMilliVolts() / 1000.0;
  oled.print("V:  "); oled.print(bus_V, 2);
  oled.print("   ");
  Serial.println(bus_V);

  oled.setCursor(0,2);
  oled.print("mAh: "); oled.print(mAh);
  oled.print("  ");
  Serial.println(mAh);

  oled.setCursor(0,3);
  oled.print("mWh: "); oled.print(mWh);
  oled.print("  ");
  Serial.println(mWh);

  oled.setCursor(11,3);
  oled.print(millis() / 1000);

  newtime = millis();
  tick = newtime - lastread;
  mAh += (current_mA * tick)/3600000.0;
  mWh += (power_mW * tick)/3600000.0;
  lastread = newtime;
}

void setup() {
  delay(1000);
  Serial.begin(115200);
  Serial.println("starting");
  digitalWrite(LED_BUILTIN, HIGH);
  setupDisplay();
  digitalWrite(LED_BUILTIN, LOW);
  Serial.println("oled setup");
  setupMonitor();
  digitalWrite(LED_BUILTIN, HIGH);
  Serial.println("monitor setup");
}

#define DISPLAY_INTERVAL_MS 100

void loop() {
  unsigned long currentMillis = millis();

  if (currentMillis - lastDisplayUpdate >= DISPLAY_INTERVAL_MS) {
    toggle = !toggle;
    digitalWrite(LED_BUILTIN, toggle);
    loopDisplay();
    lastDisplayUpdate = currentMillis;
  }
}
Discussions
Become a Hackaday.io Member
Create an account to leave a comment. Already have an account? Log In.