The lantern is keeping track of time using a DS3231 RTC module. In order to know the sunrise and sunset times I added a library that can calculate these times given the current date and GPS coordinates that are hard coded. I programmed the lantern such that every evening it will switch on at sunset and off at 23:30. In the morning it will only switch on if sunrise is after 7:00. In that case the light will switch on from 6:30 until sunrise. The code also keeps track of DST time and switches over by itself on the last sunday of March and October.
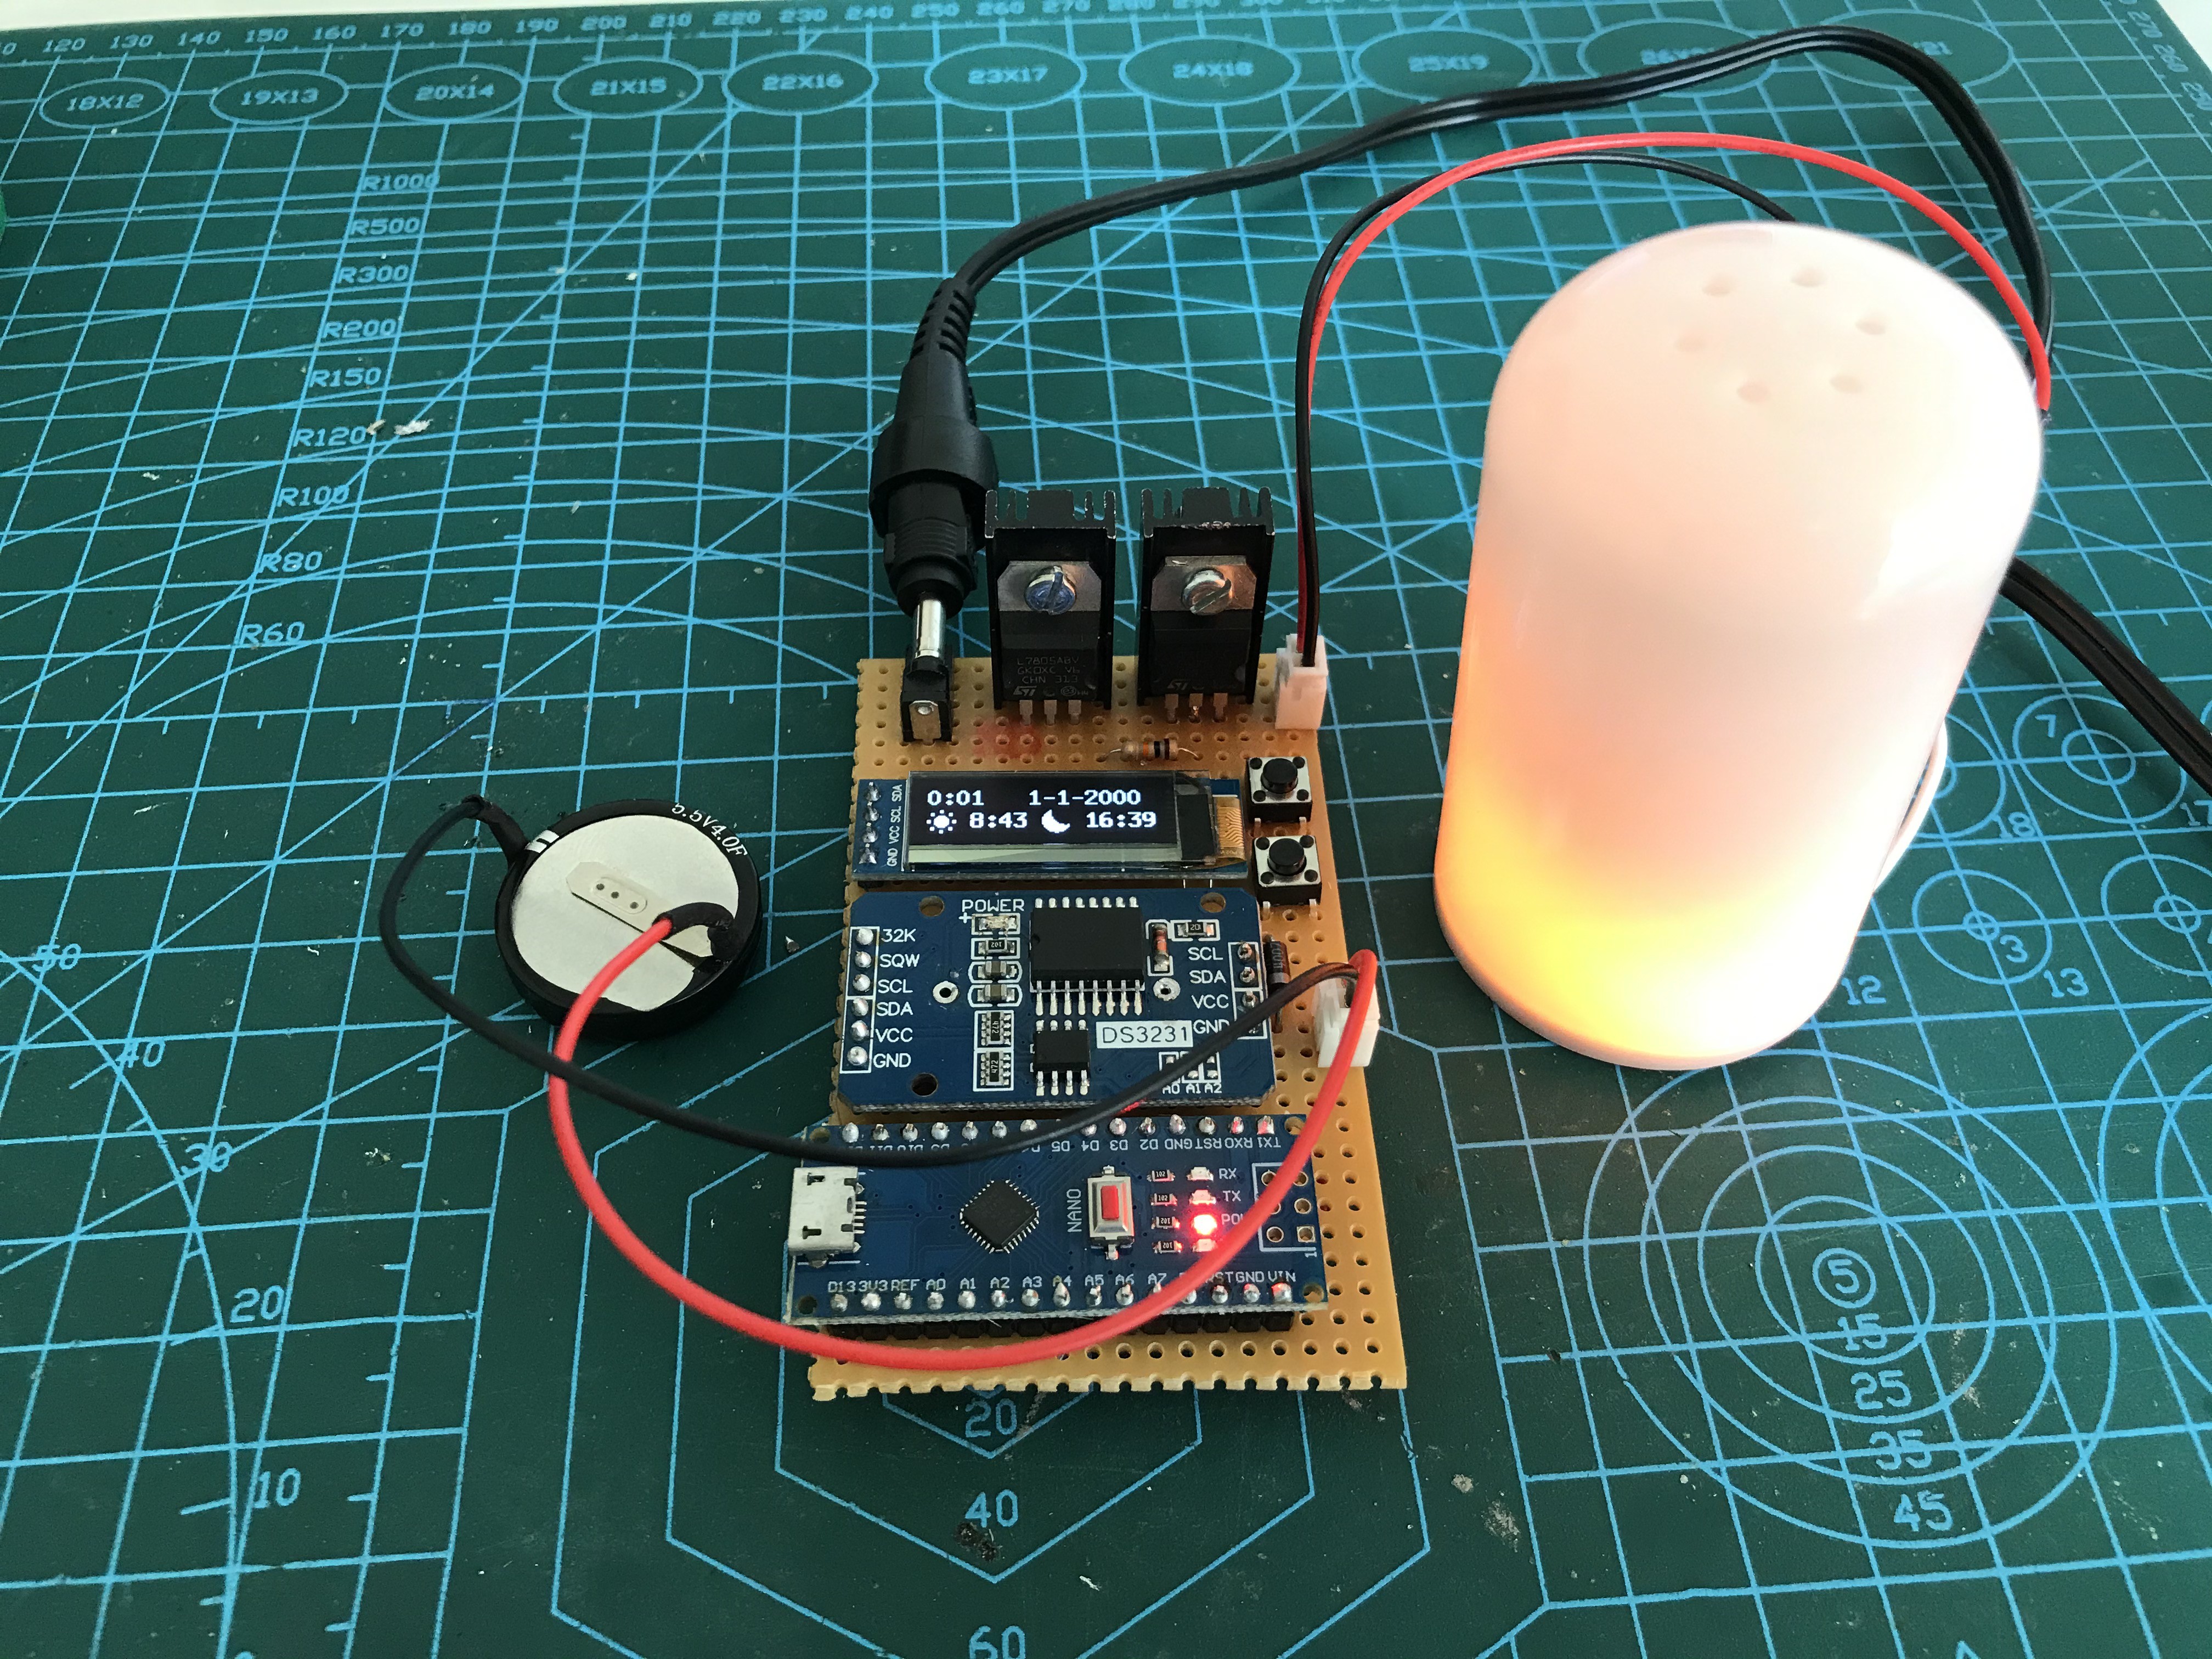
From the DS3231 module I desoldered the battery holder. I've heard that these modules will try to charge the battery you put in there and I don't like the idea of it charging a regular non-rechargeable 2032. I'm not sure if it's true for all of these cheap modules, but I didn't want to put in a battery anyway and removing it makes the module's profile lower so it sits flush with the Arduino and the OLED display. To still keep the RTC running without a battery when power is cut I added a 4F supercapacitor. This way the RTC will remain running for several hours after disconnecting power. A diode between the +5v rail and the RTC module prevents the supercap from powering components other than the RTC to keep the clock running as long as possible.
A small 128x32 pixel OLED display will show the current date / time and sunrise / sunset times momentarily when one of the buttons is pushed and is handy when setting the time of the clock. It will be switched off normally. Two push buttons to switch the lantern on and off manually and to set the time complete the hardware.
Everything is built on a 5x7cm prototype PCB and the LED and supercap are connected with JST connectors so that I cannot mistake polarity later. The two pull-up resistors for the buttons are hidden under the display and provide it with some extra support.
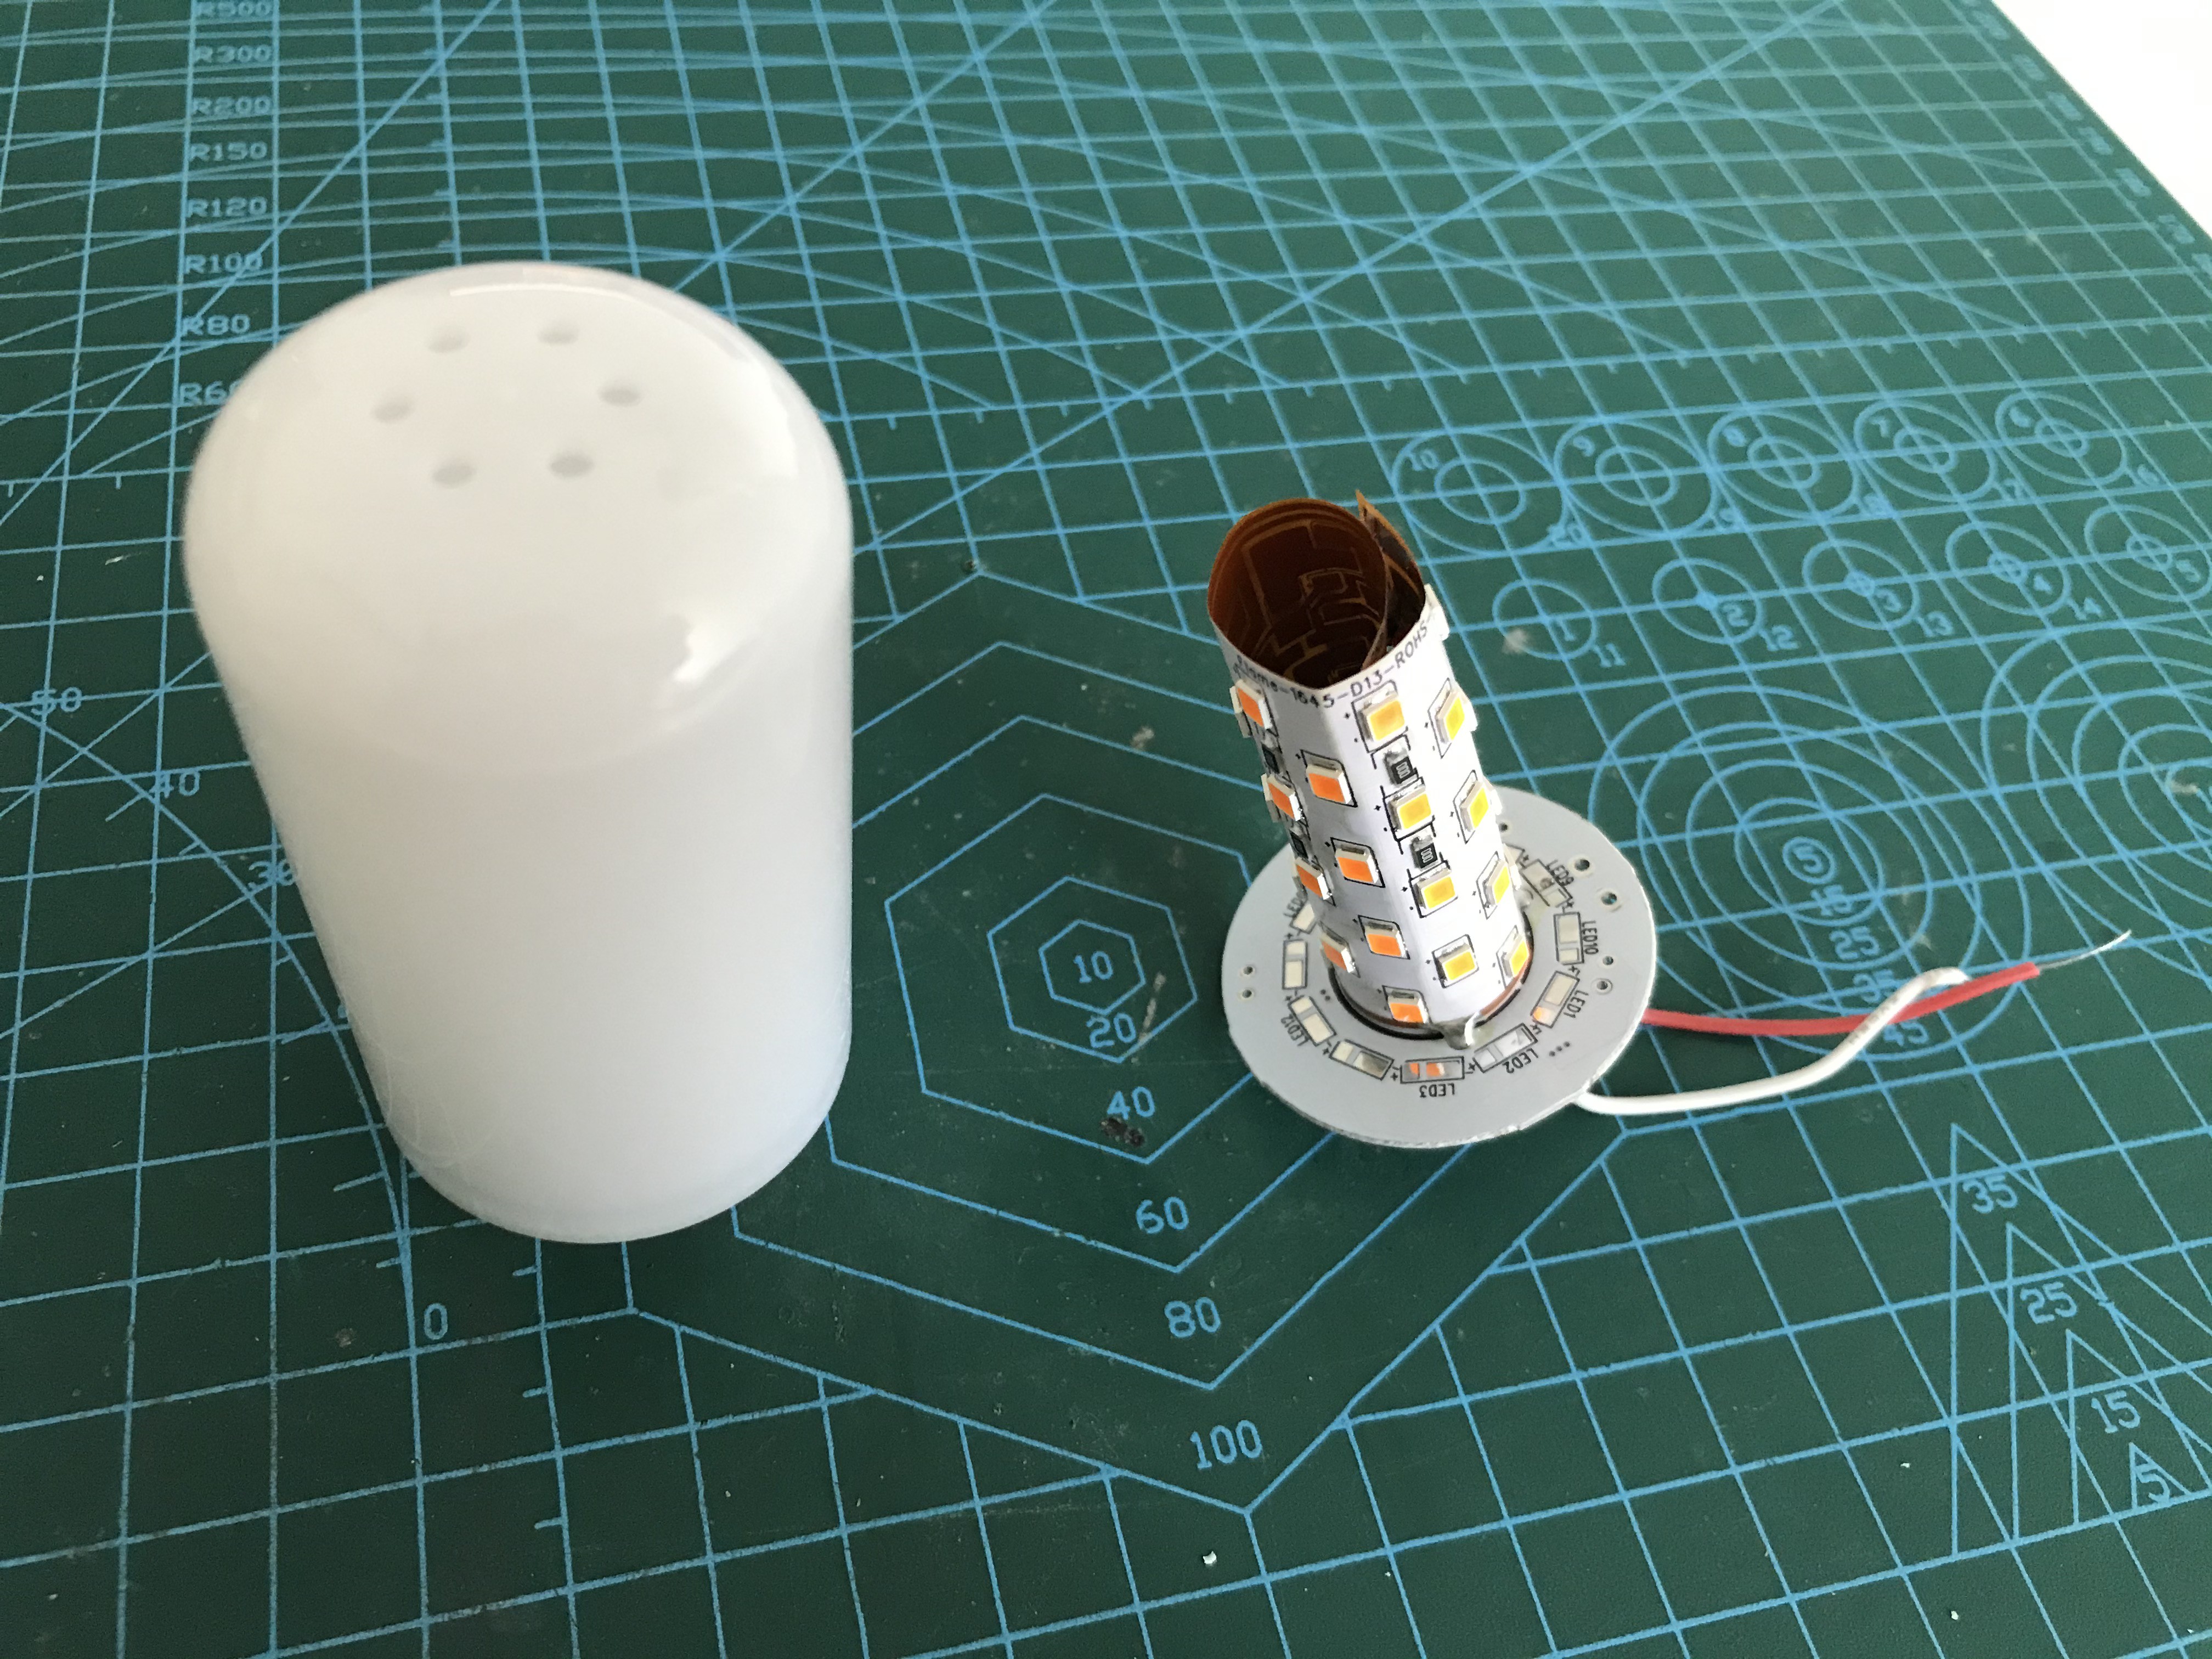
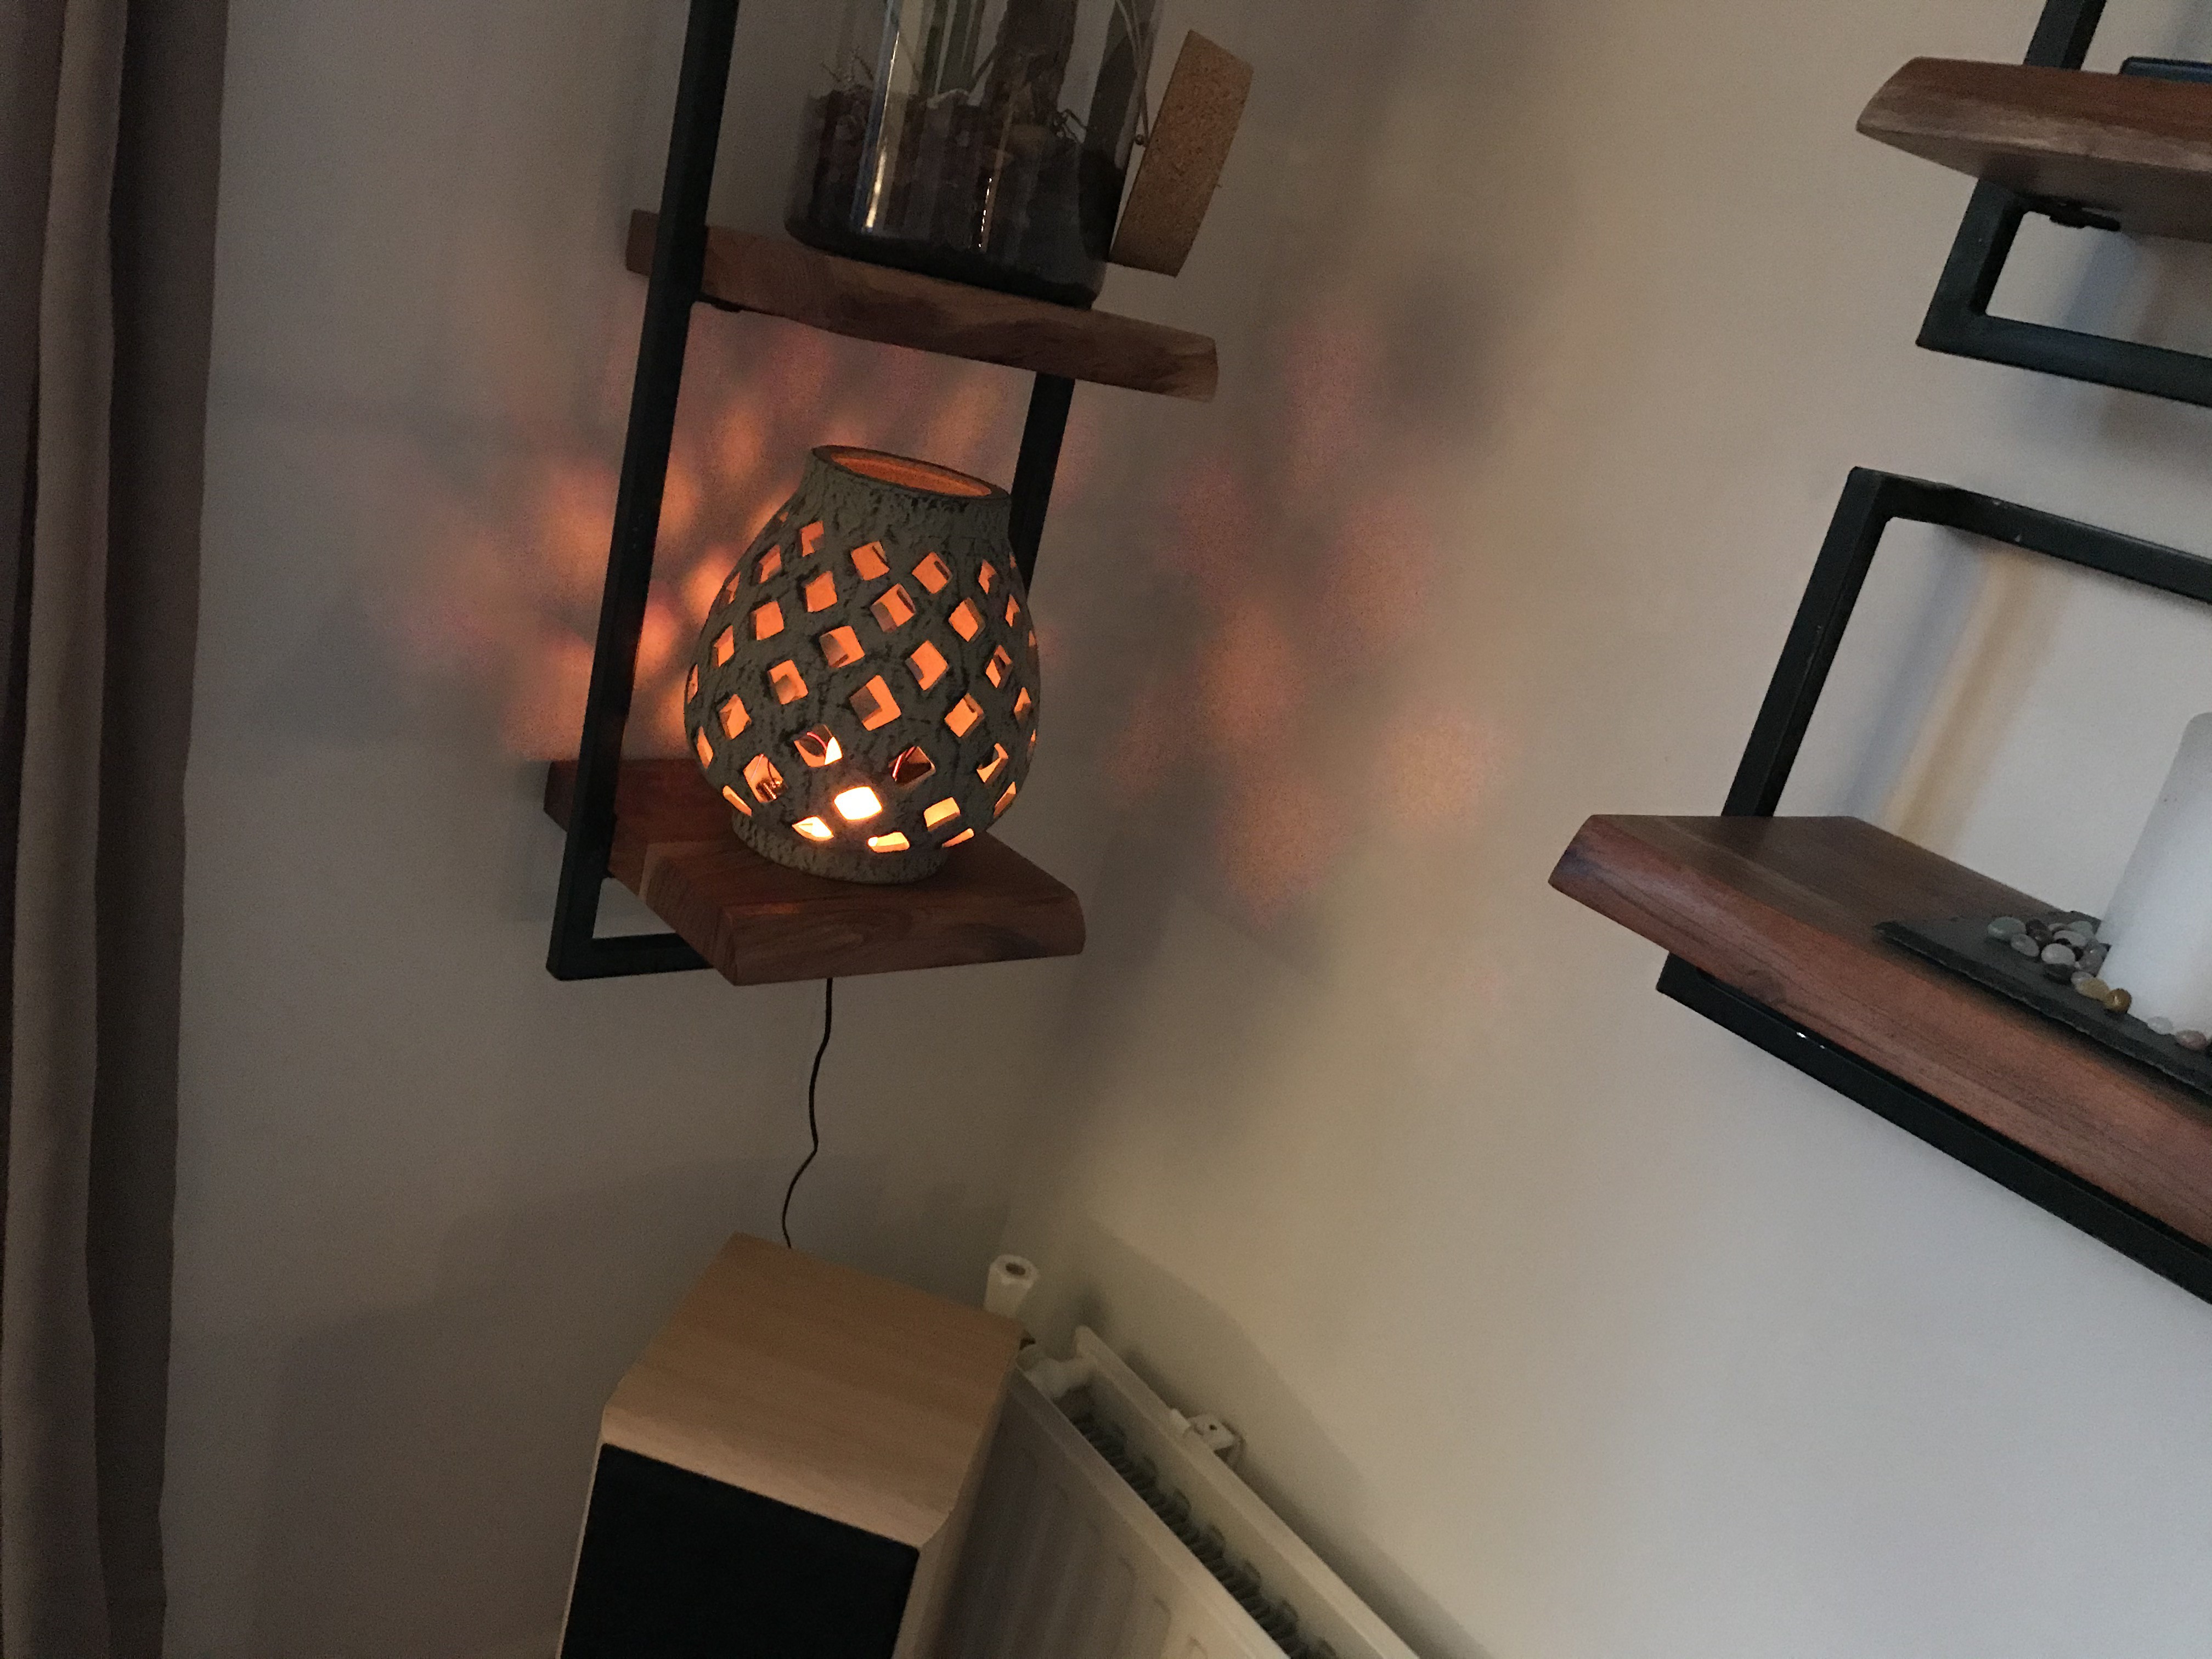
I've put the electronics into a lantern-like candle holder where I drilled an 8mm hole in the bottom to fit the plastic flame that I got from one of those LED candles. It holds the LED and is press fit into the hole after feeding the cable through. A small hole in the side will allow the USB cable through for power.
An improvement could be to desolder the power LEDs from the Arduino and the RTC module, because they make the flame glow faintly red due to the light shining through when the light is off.
Operation
When the lantern is powered on it will show its welcome screen followed by the current date / time and sunrise / sunset times of the day. The lantern is now operating normally and will switch on and off automatically. After 10 seconds the display will be switched off. A short press on one of the buttons will again show the time for 10 seconds.
The lantern will switch on every evening at sunset and stay on until 23:30. Every morning, if sunrise is later than 7:00, the lantern will switch on at 6:30 and stay on until sunrise. These times, GPS coordinates and the logic is hard coded and cannot be changed without modifying the Arduino sketch. The light can be manually switched on or off by holding button 1 for 3 seconds. Automatic sunset / sunrise switching of the light still applies.
To change the time hold down button 2 for 3 seconds. The display will switch on and enter the date / time settings. Here button 1 is used to increment the current setting and button 2 is used to confirm and go to the next setting.
 Maarten Janssen
 iSax
iSax
 Christoph Tack
 Patrick Hickey
 Dushyant Ahuja