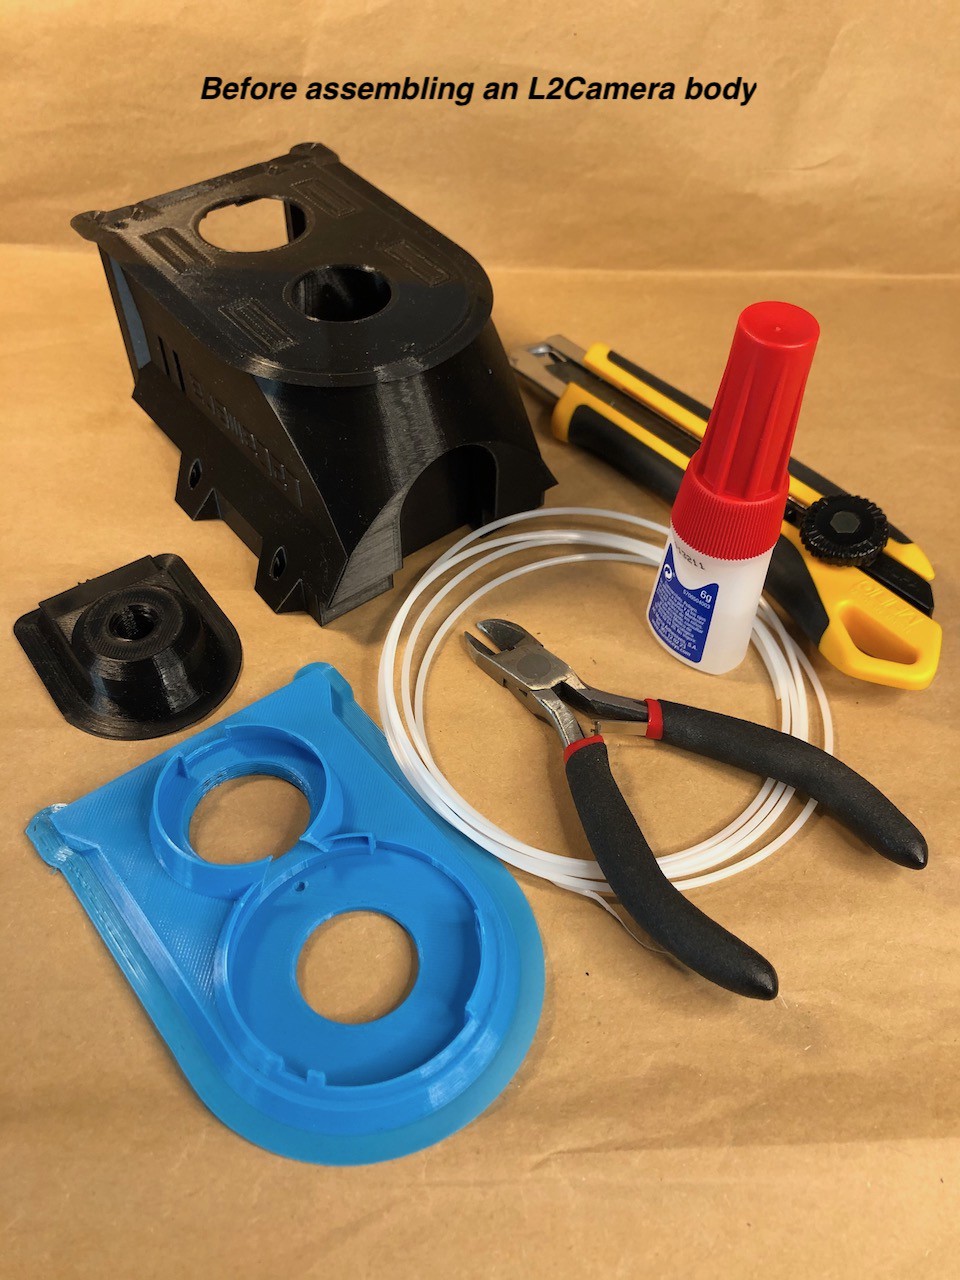
To assemble a L2Camera body the following components and tools are needed:
- a front panel, adjusted to the viewfinder lens
- a main body part
- a tripod mount
- strong glue for PLA, e.g. "super glue", "methacrylate", etc
- a wire cutters
- an utility knife
- a piece of PLA filament
First step - index pins
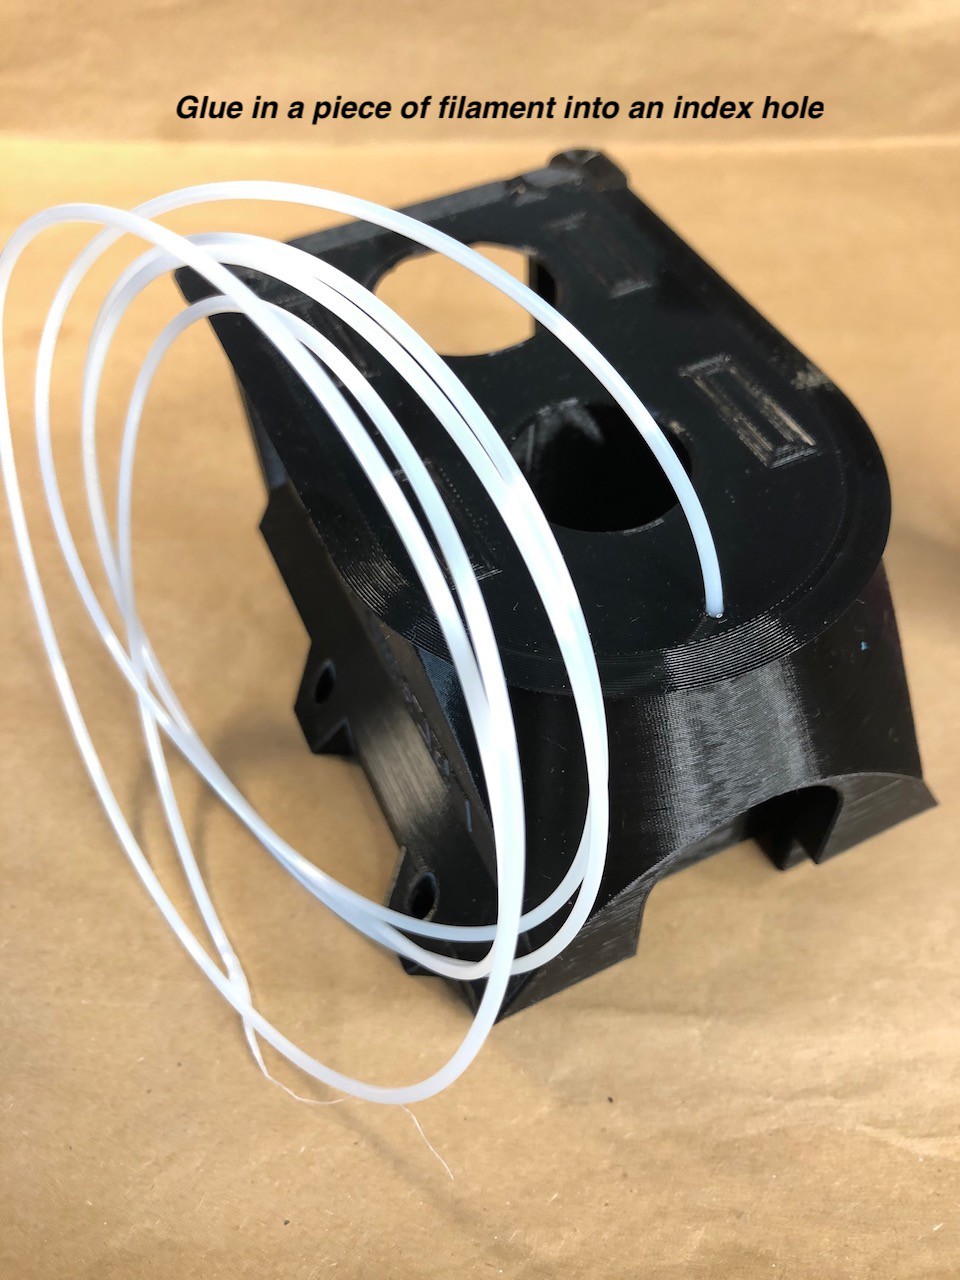
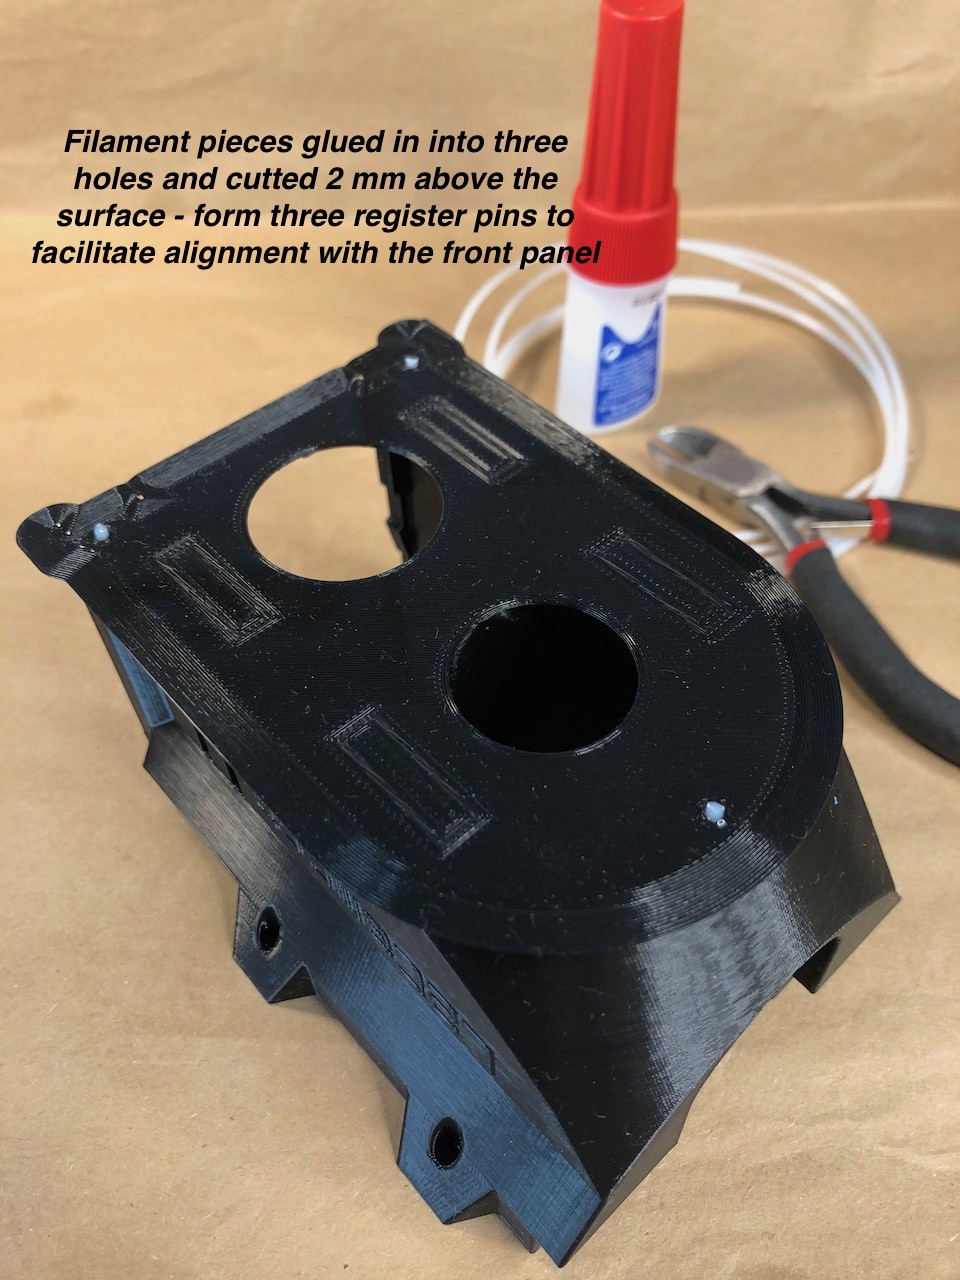
There three round holes on the rear surface of the front panel and three their counterparts on the front surface of the main part. Check that filament goes easily into the holes. If not, adjust the holes with a sharp an narrow tool. Then glue in PLA pieces into holes of the main part, and cut filament 2 mm above the surface. You got register pins to facilitate alignment of the camera body parts. Now put the main body part on a horizontal surface with the pins on top and then put the front panel above the main part, align both parts with the register pins, join the parts together and check that there is not gap between them. If there is a gap, shorten the pins and check again.
Second step - gluing the parts together
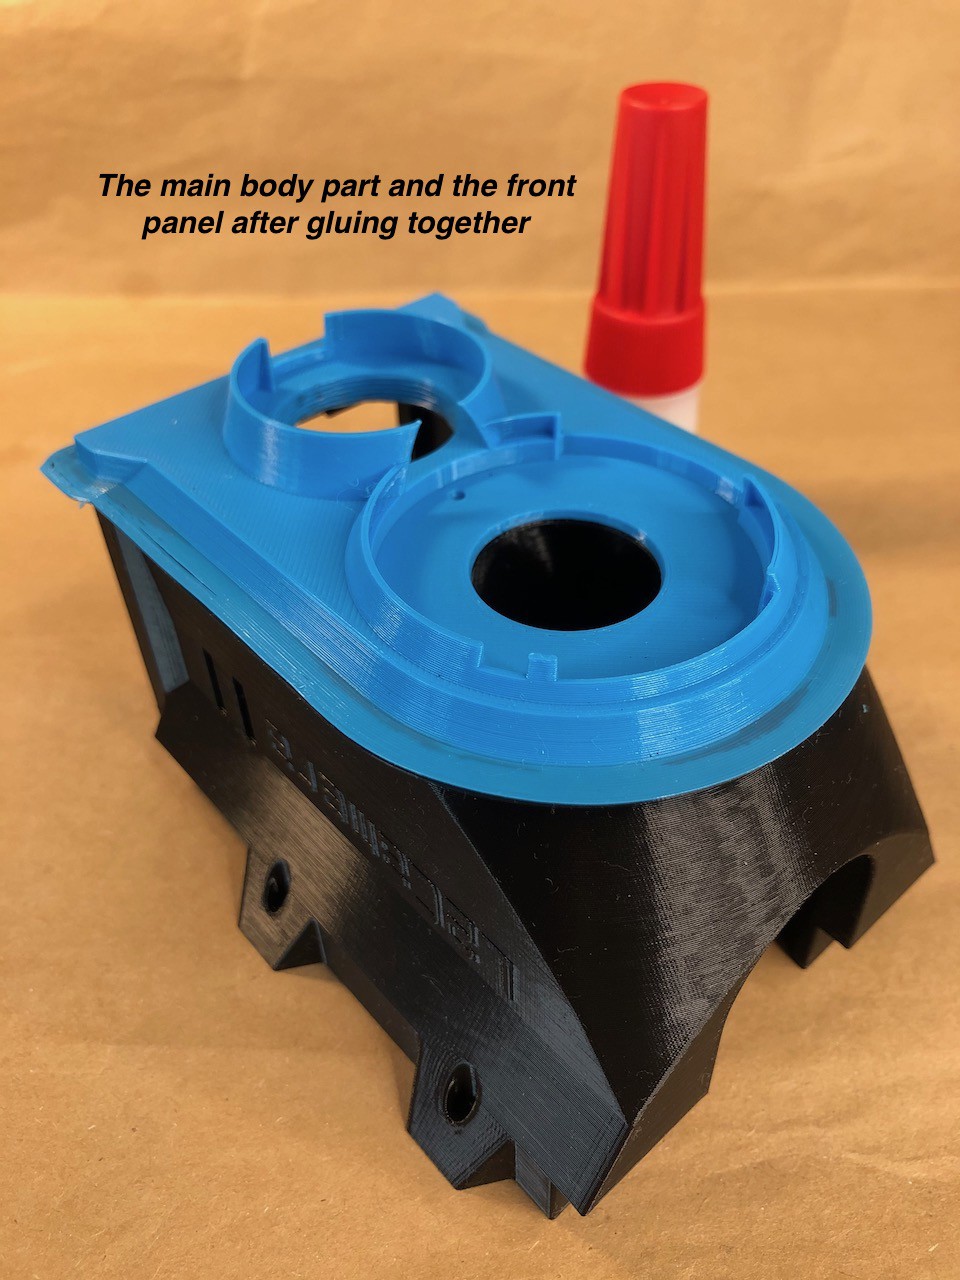
Now put again the main body part on a horizontal surface with the pins on top. There are four rectangular pads on the main body part and four their counterparts on the front panel. Apply glue to the pads on the main body part. If you printed the model with brims, them apply some glue to the brims at the edge of camera body - that will create a better looking seam. Now put the front panel above the main part, align both parts with the register pins - start with the pin near the main lens hole and then proceed with the pins near the viewfinder lens hole. Join the parts together and apply some force for approx. 10 seconds to form a tight joint.
Third step - post-gluing finishing
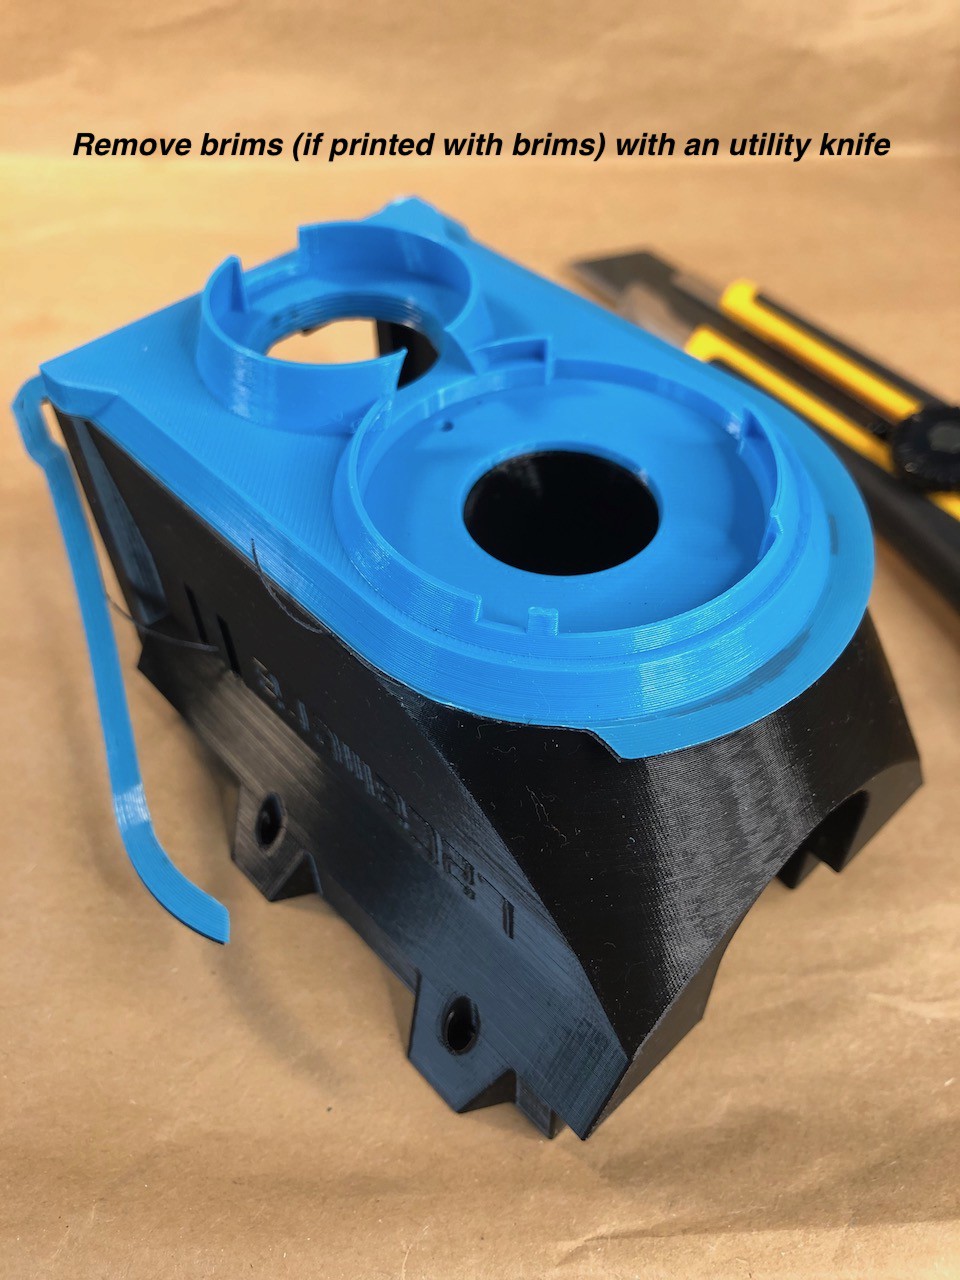
If you printed with brims, remove them with an utility knife.
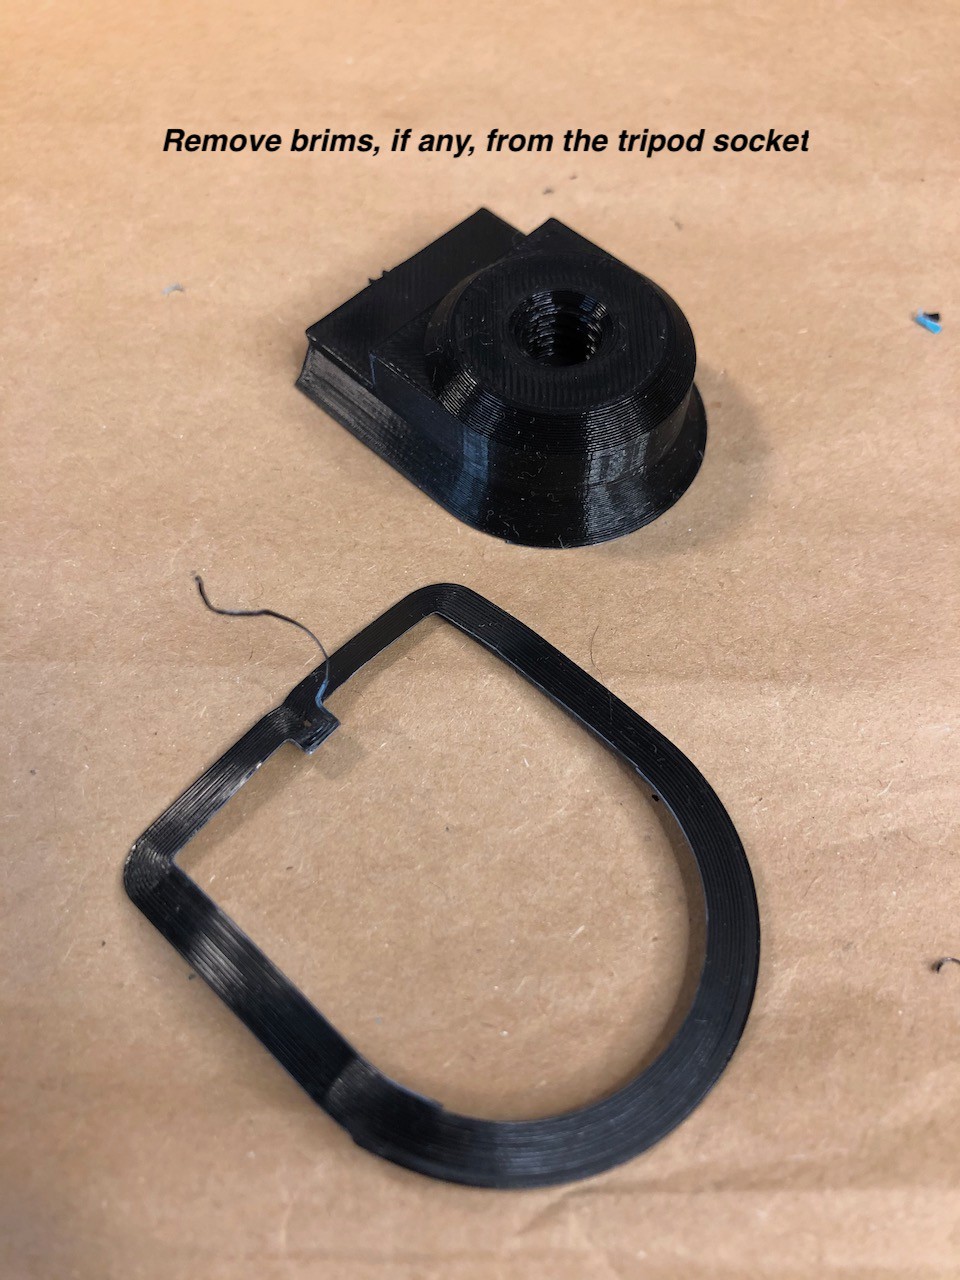
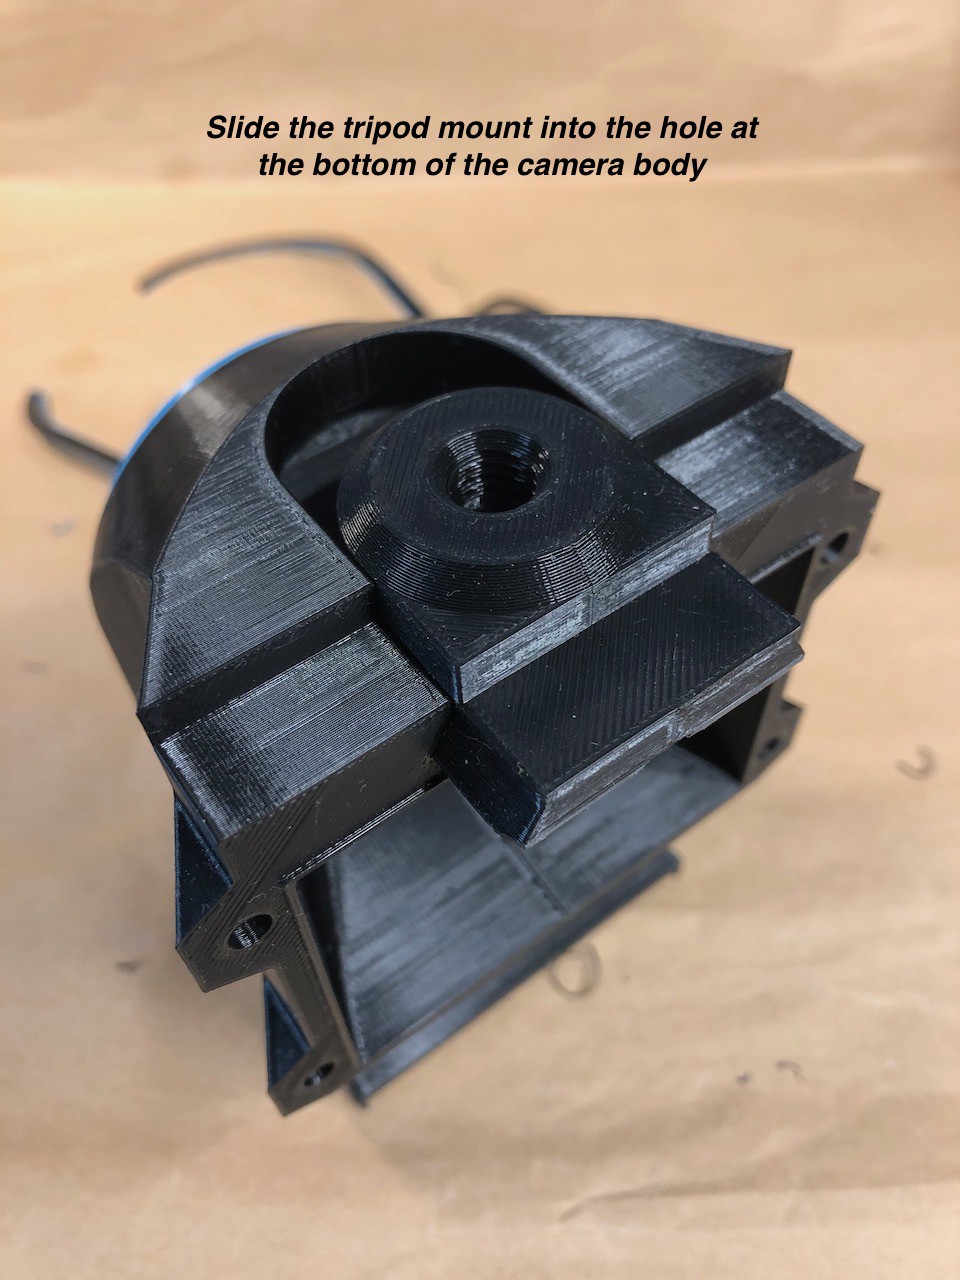
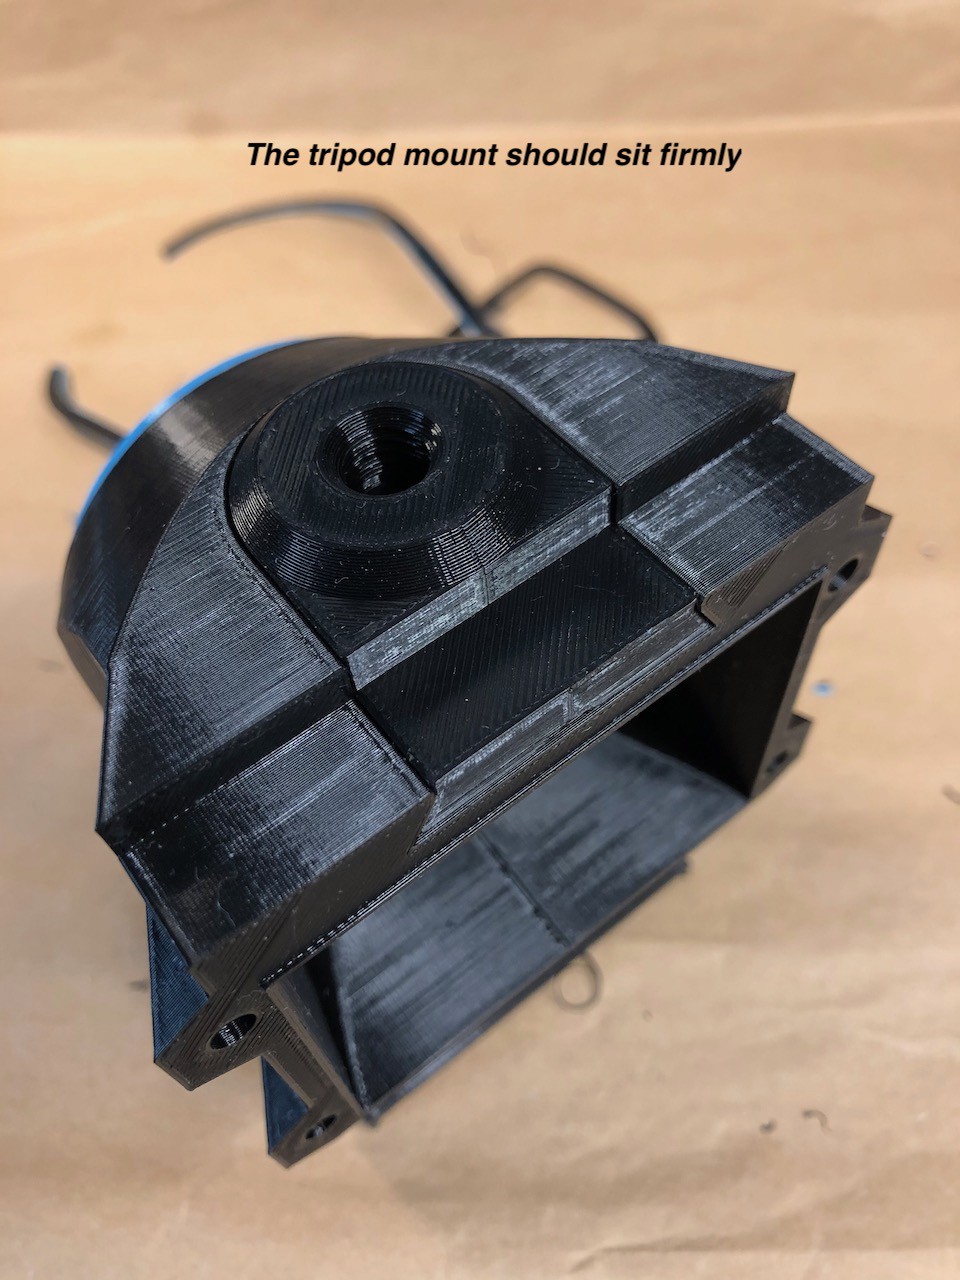
 Prepare the tripod mount part - remove the brim if you printed with brims - then slide in the socket part into the hole at the bottom of the main body.
![L2Camera body with a tripod mount attached L2Camera body with a tripod mount attached]()
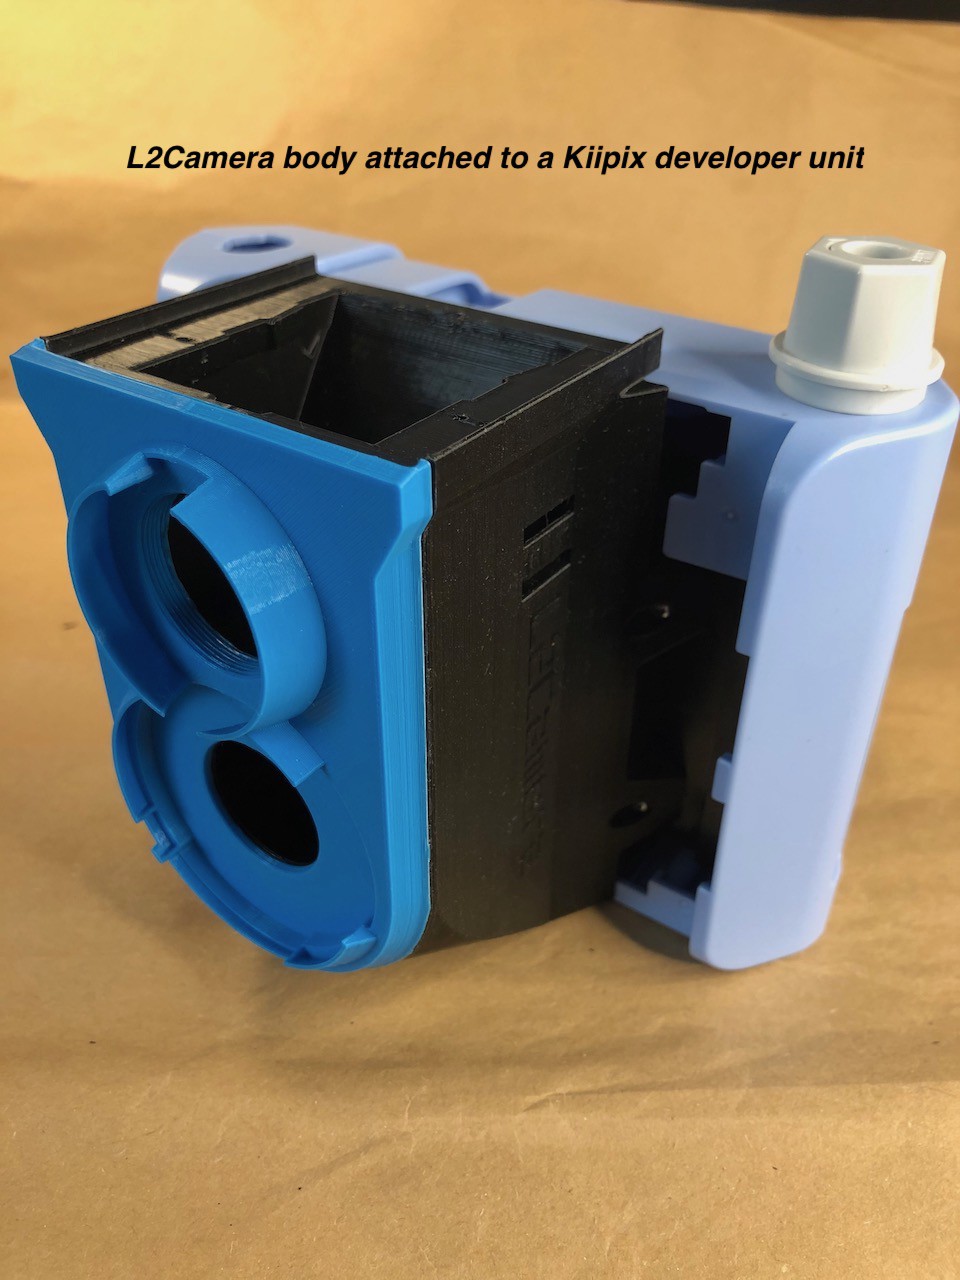
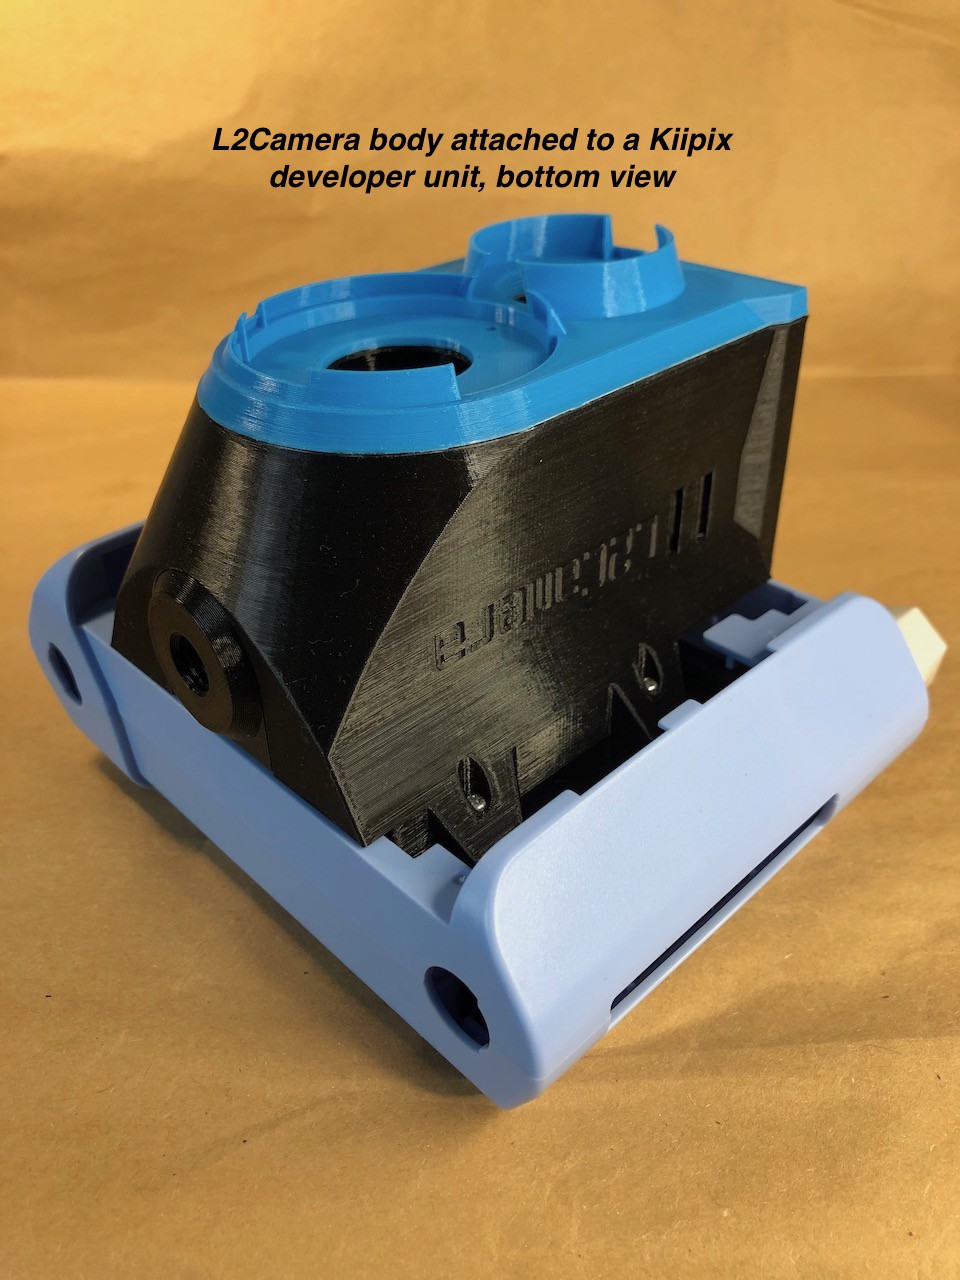
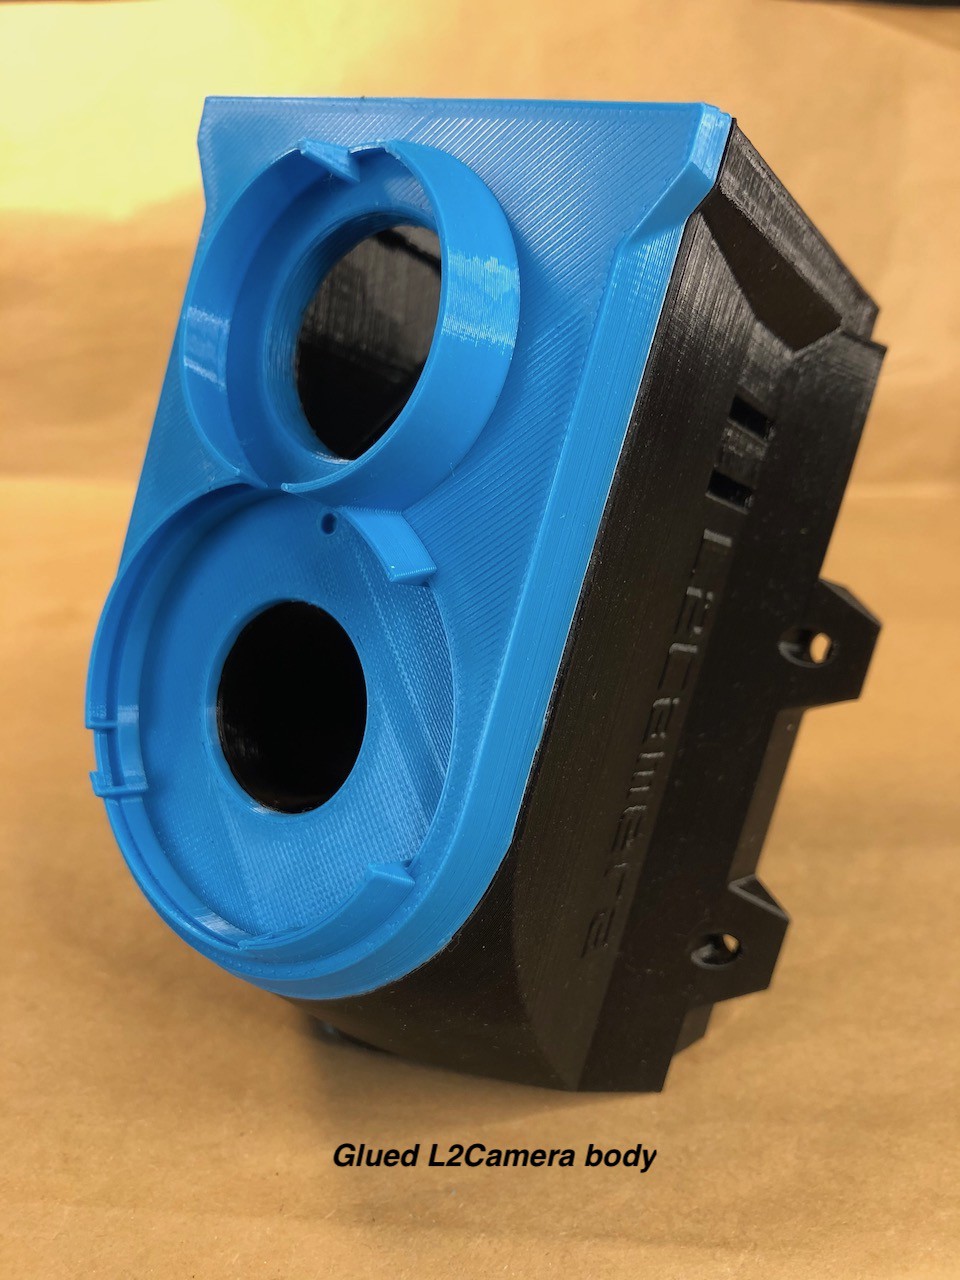
The result
Discussions
Become a Hackaday.io Member
Create an account to leave a comment. Already have an account? Log In.