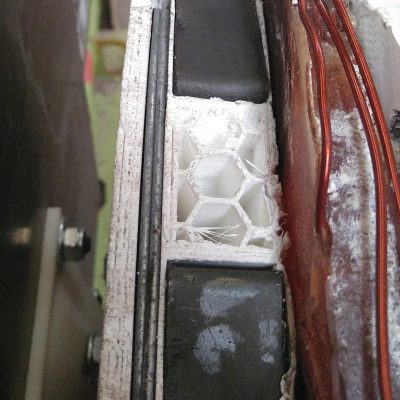
The end result after removing the mould should look like this.
12
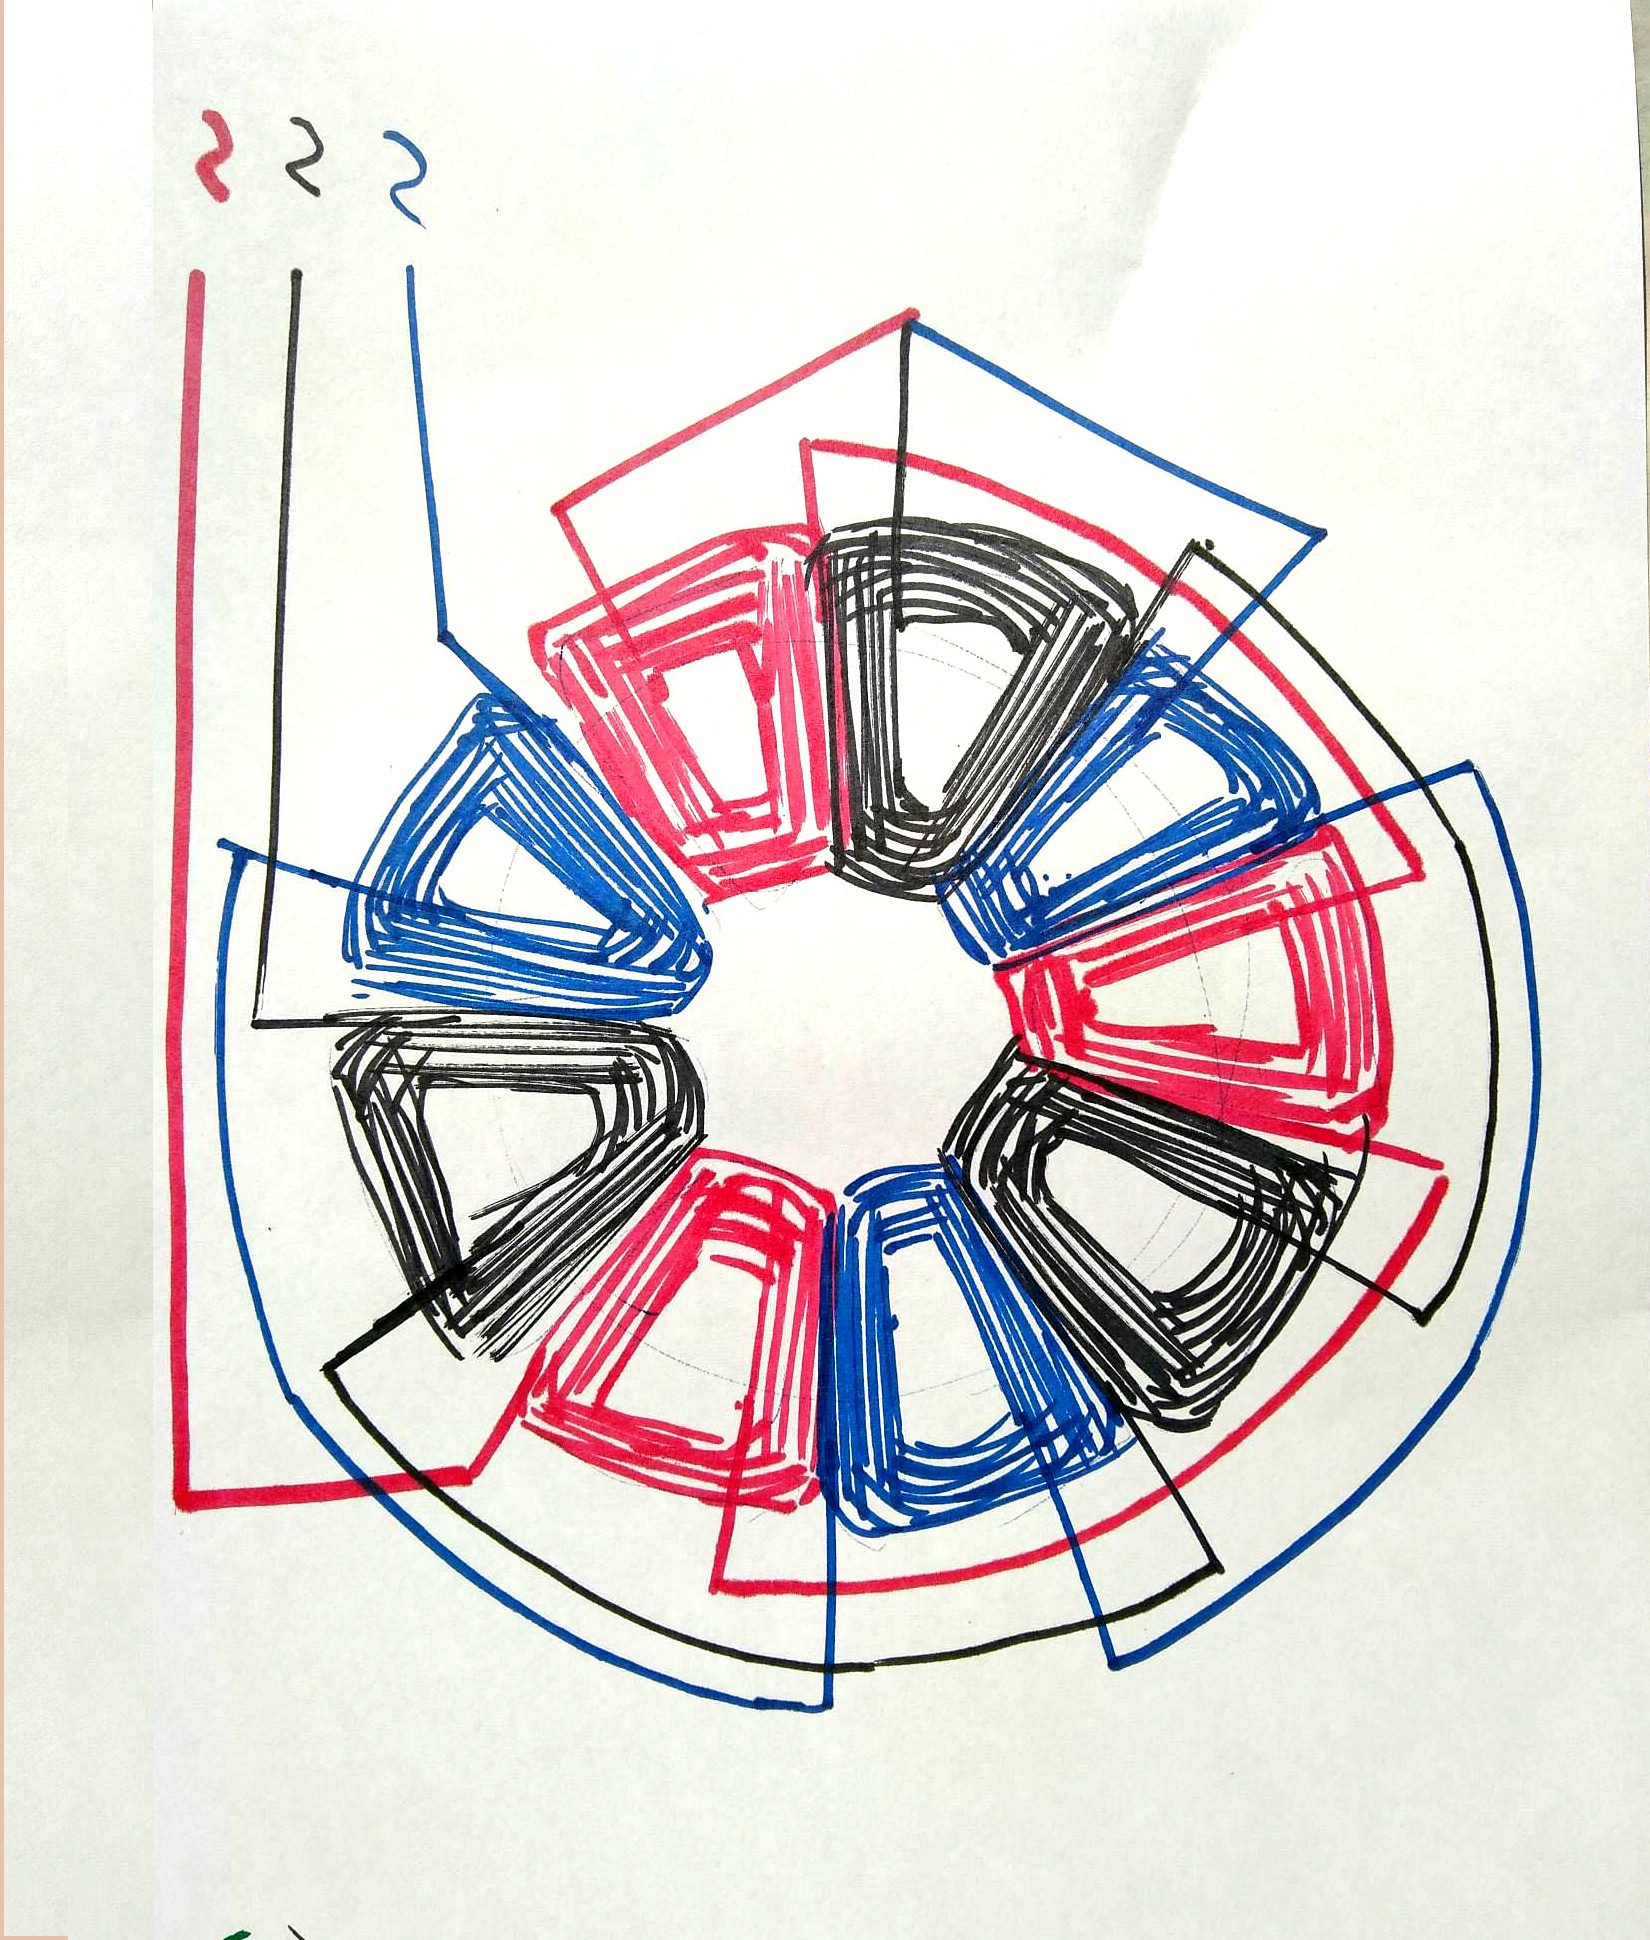
Connect the coils
The coils are connected in 3-phase star because this configuration has numerous advantages above single phase or 3-phase delta connection. Each of the 3 phases has again 3 coils that are connected in series and is represented in red, black and blue. Connect the coils like shown in the image below:
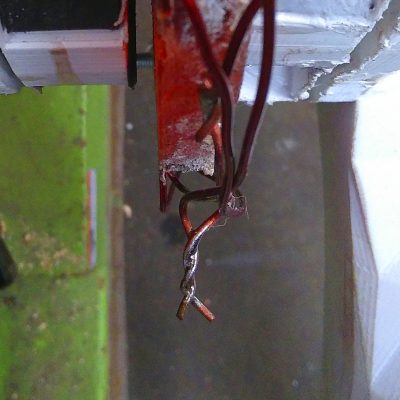
Sand off the laquer and solder the wires like shown in the image below.
13
Add the magnets and iron wire
Put a magnet in every of the 24 gaps. Reverse the magnet (polarity) everytime so we get alternating N-S-N-S... poles. After that, wind the iron wire on the generator until the void is filled:
14
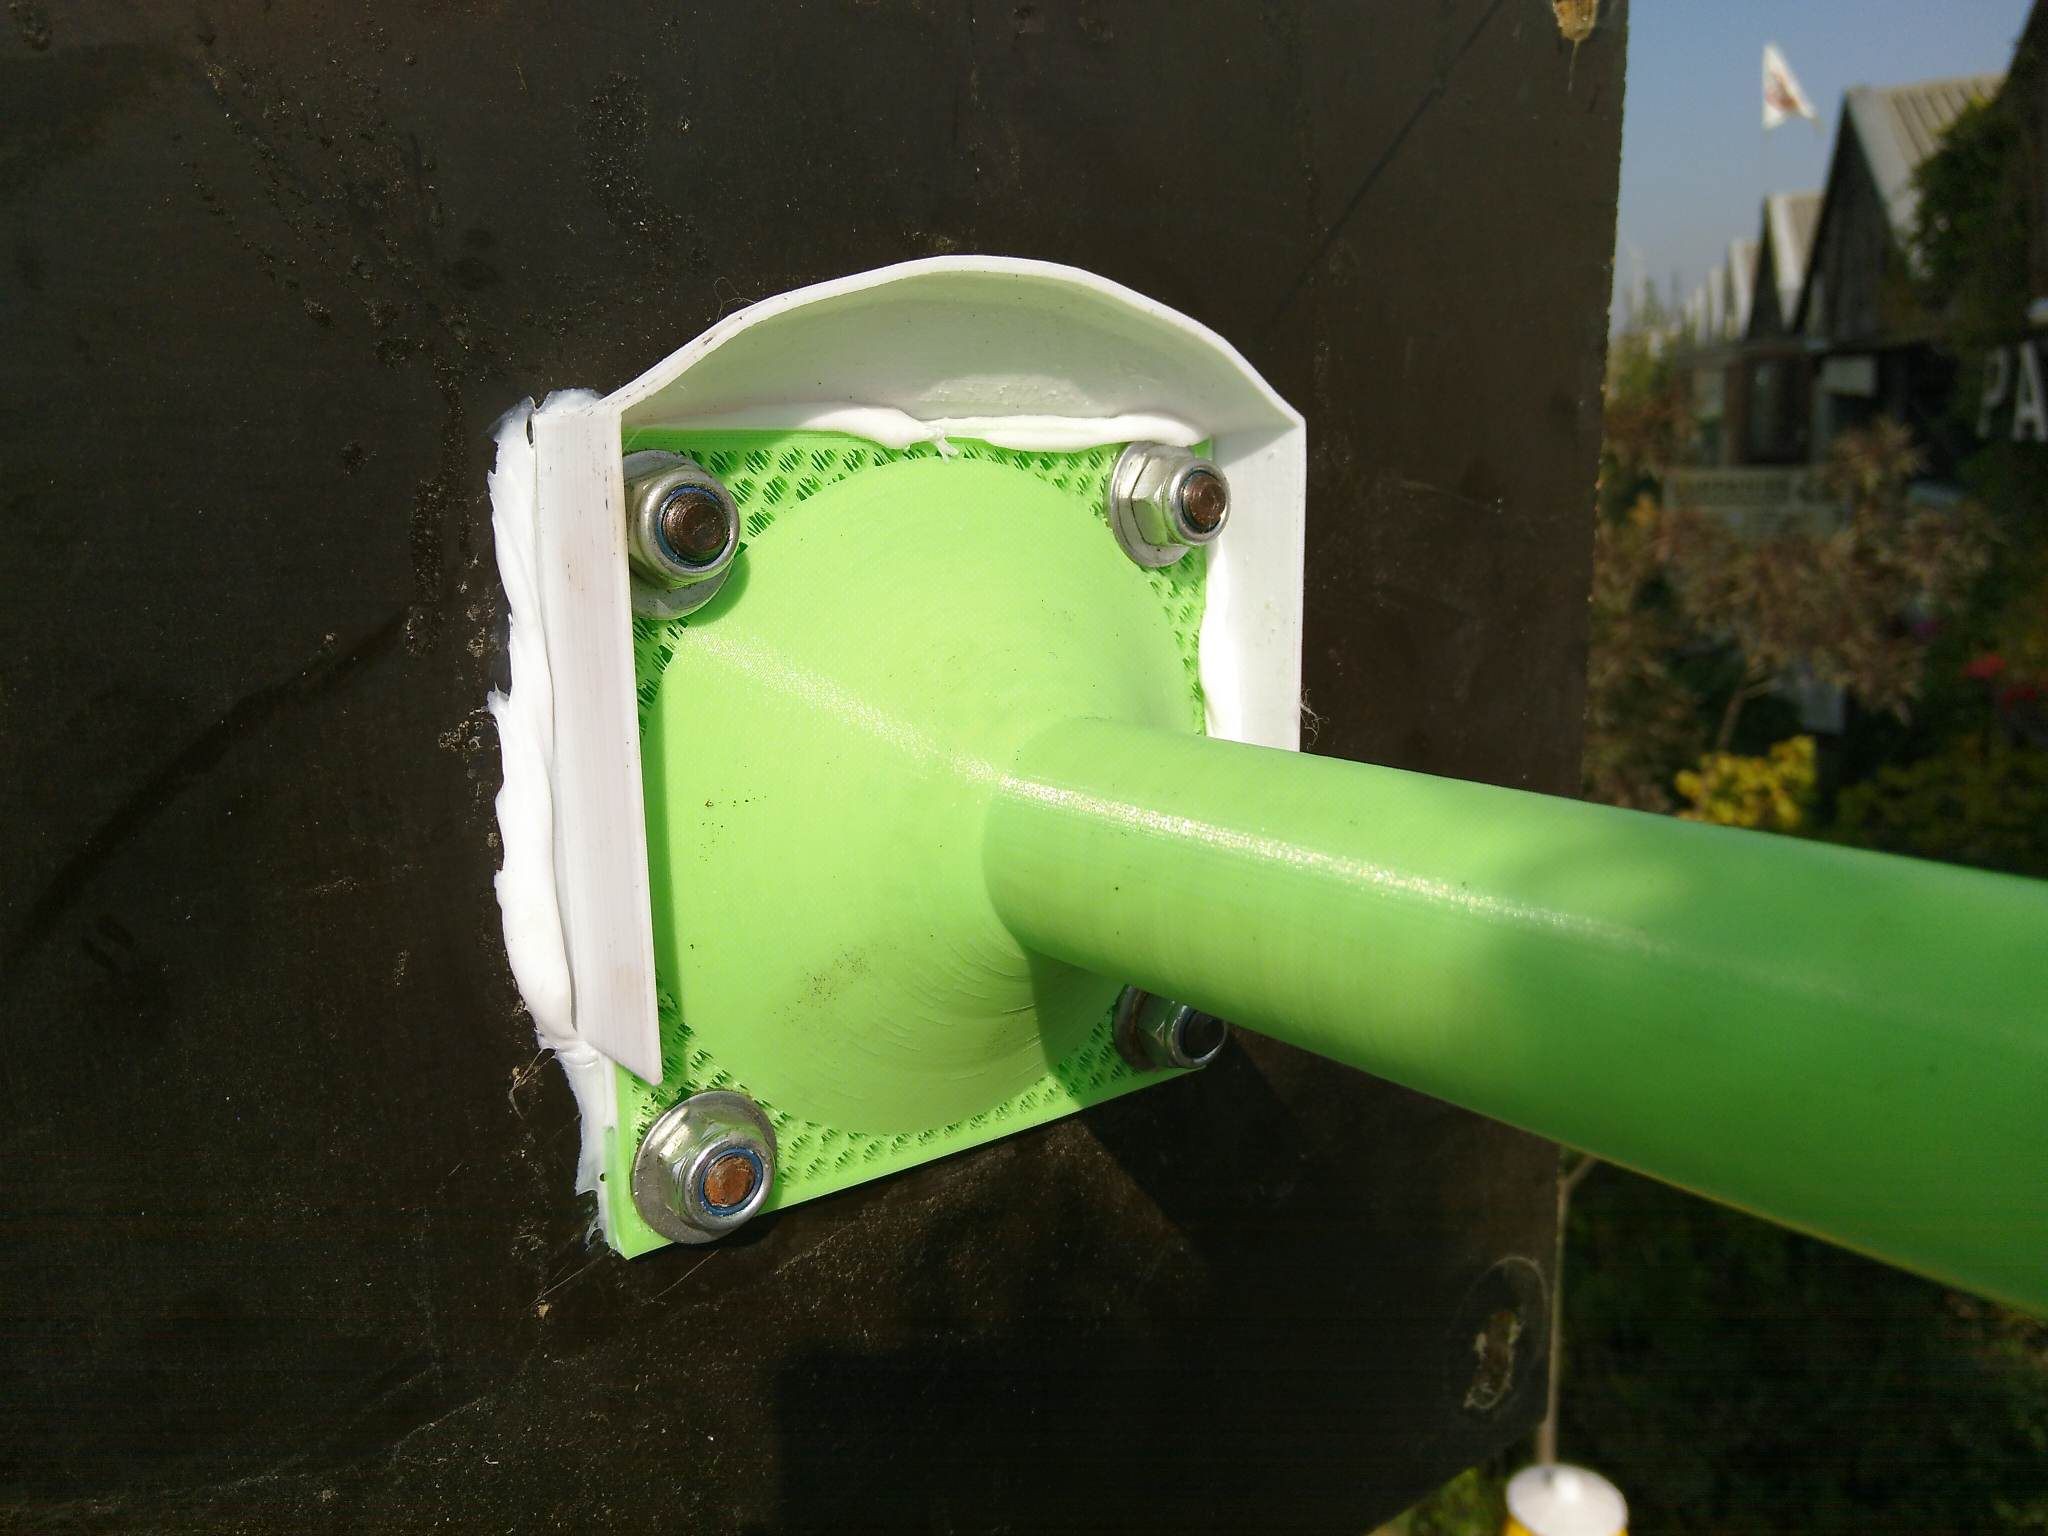
Set-up the axle
Print axle.stl that will serve as a holder for the bearings. The 20 mm rod that goes in it will do the heavy work. The axle bolts on any flat surface with 4 10mm bolts.
After the axle has been fitted, glue the raincap on top of it, using the same process as has been used with the generator and the blades:
15
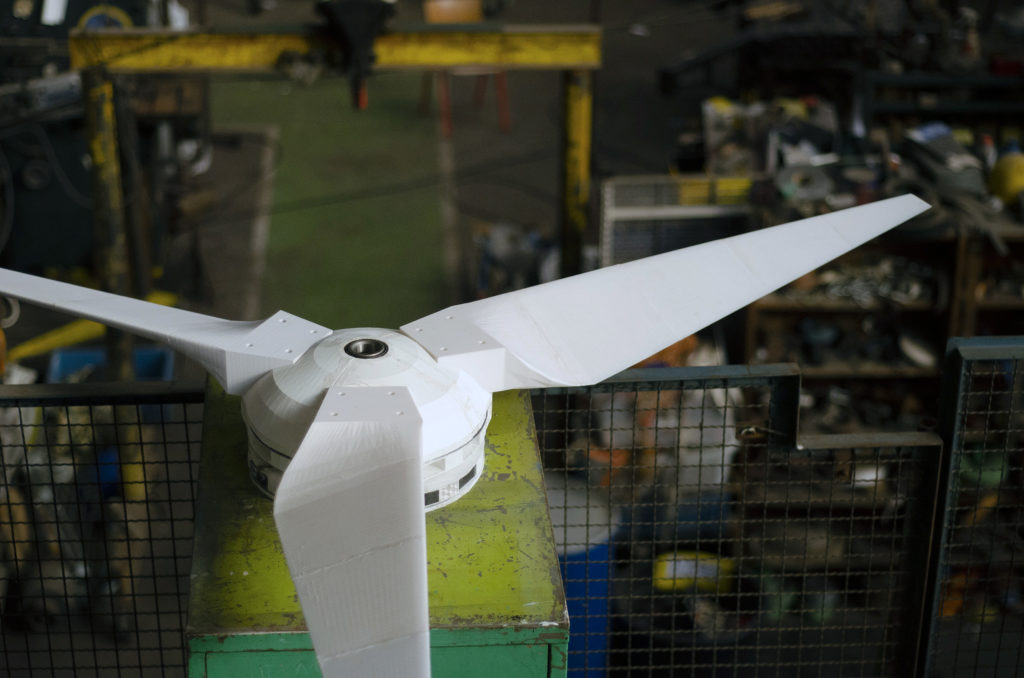
Join the blades and the generator together
Assemble the blades and generator like shown. Welding is the strongest but comes at the cost of replacebility. Don't install the bearings just yet, we will handle them in the next step.
16
Install the bearings
Print bearing_holder.stl and push the bearing in until the end:
After that, install the entire part into the generator with the same process used to bond the blades and generator parts.
17
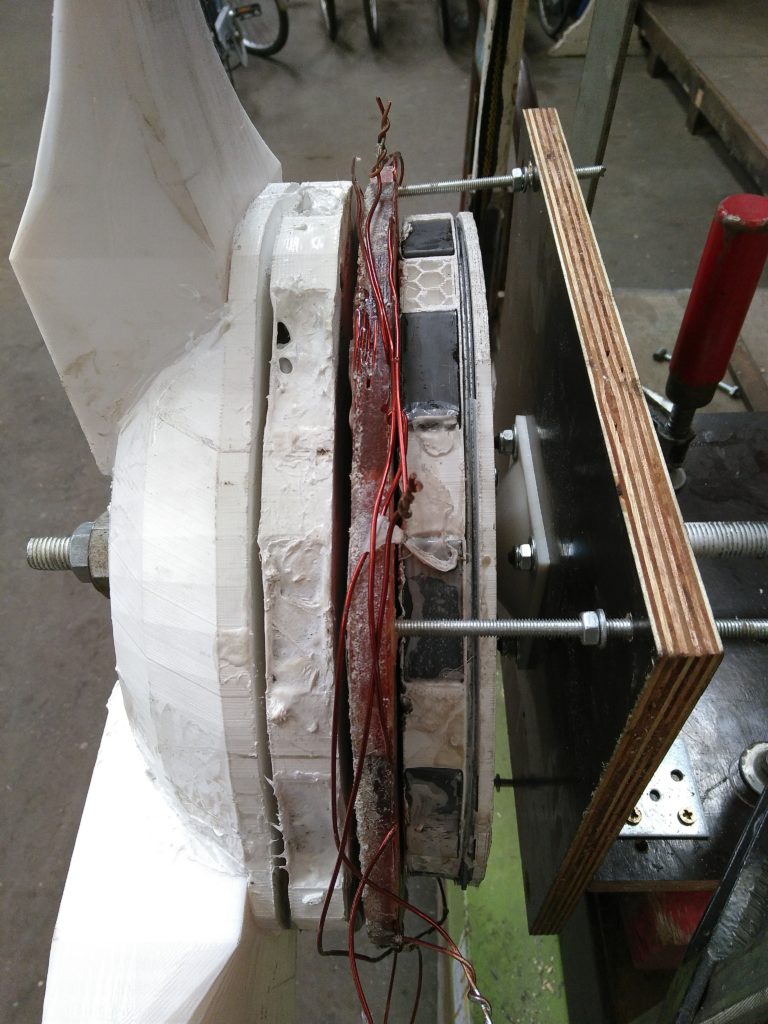
Assemble the generator
Drill four holes in the stator and screw four 8 or 10mm rods in them. After that, put the stator in between the magnets and secure the stator to the tower like you wish. Secure the magnets with the PLA-glue. Secure the windturbine with 3 nuts on the 20mm threaded rod.
18
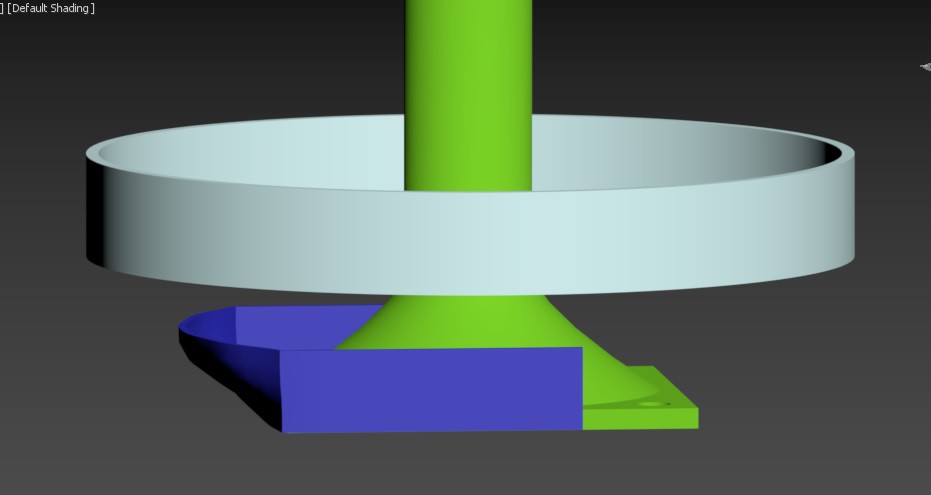
Glue the rain ring
Print rain_ring.stl and weld it centered on the back like shown below, using the same process for welding the blades and the generator.
It will slide over the axle (green) and the raincap (blue) to prevent rain and dust coming in:
19
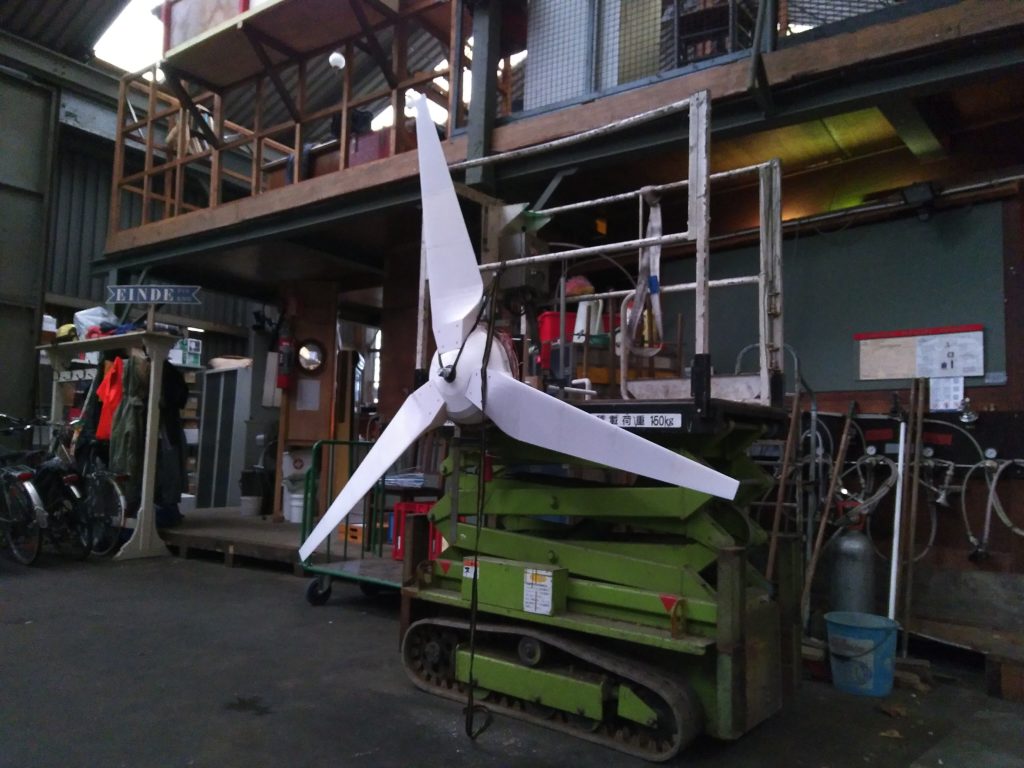
Do a test run!
Check if everything runs ok. You don’t want parts scraping against eachother. Also, check what voltage the windturbine produces. Around 15V in a gentle breeze should be ok.
20
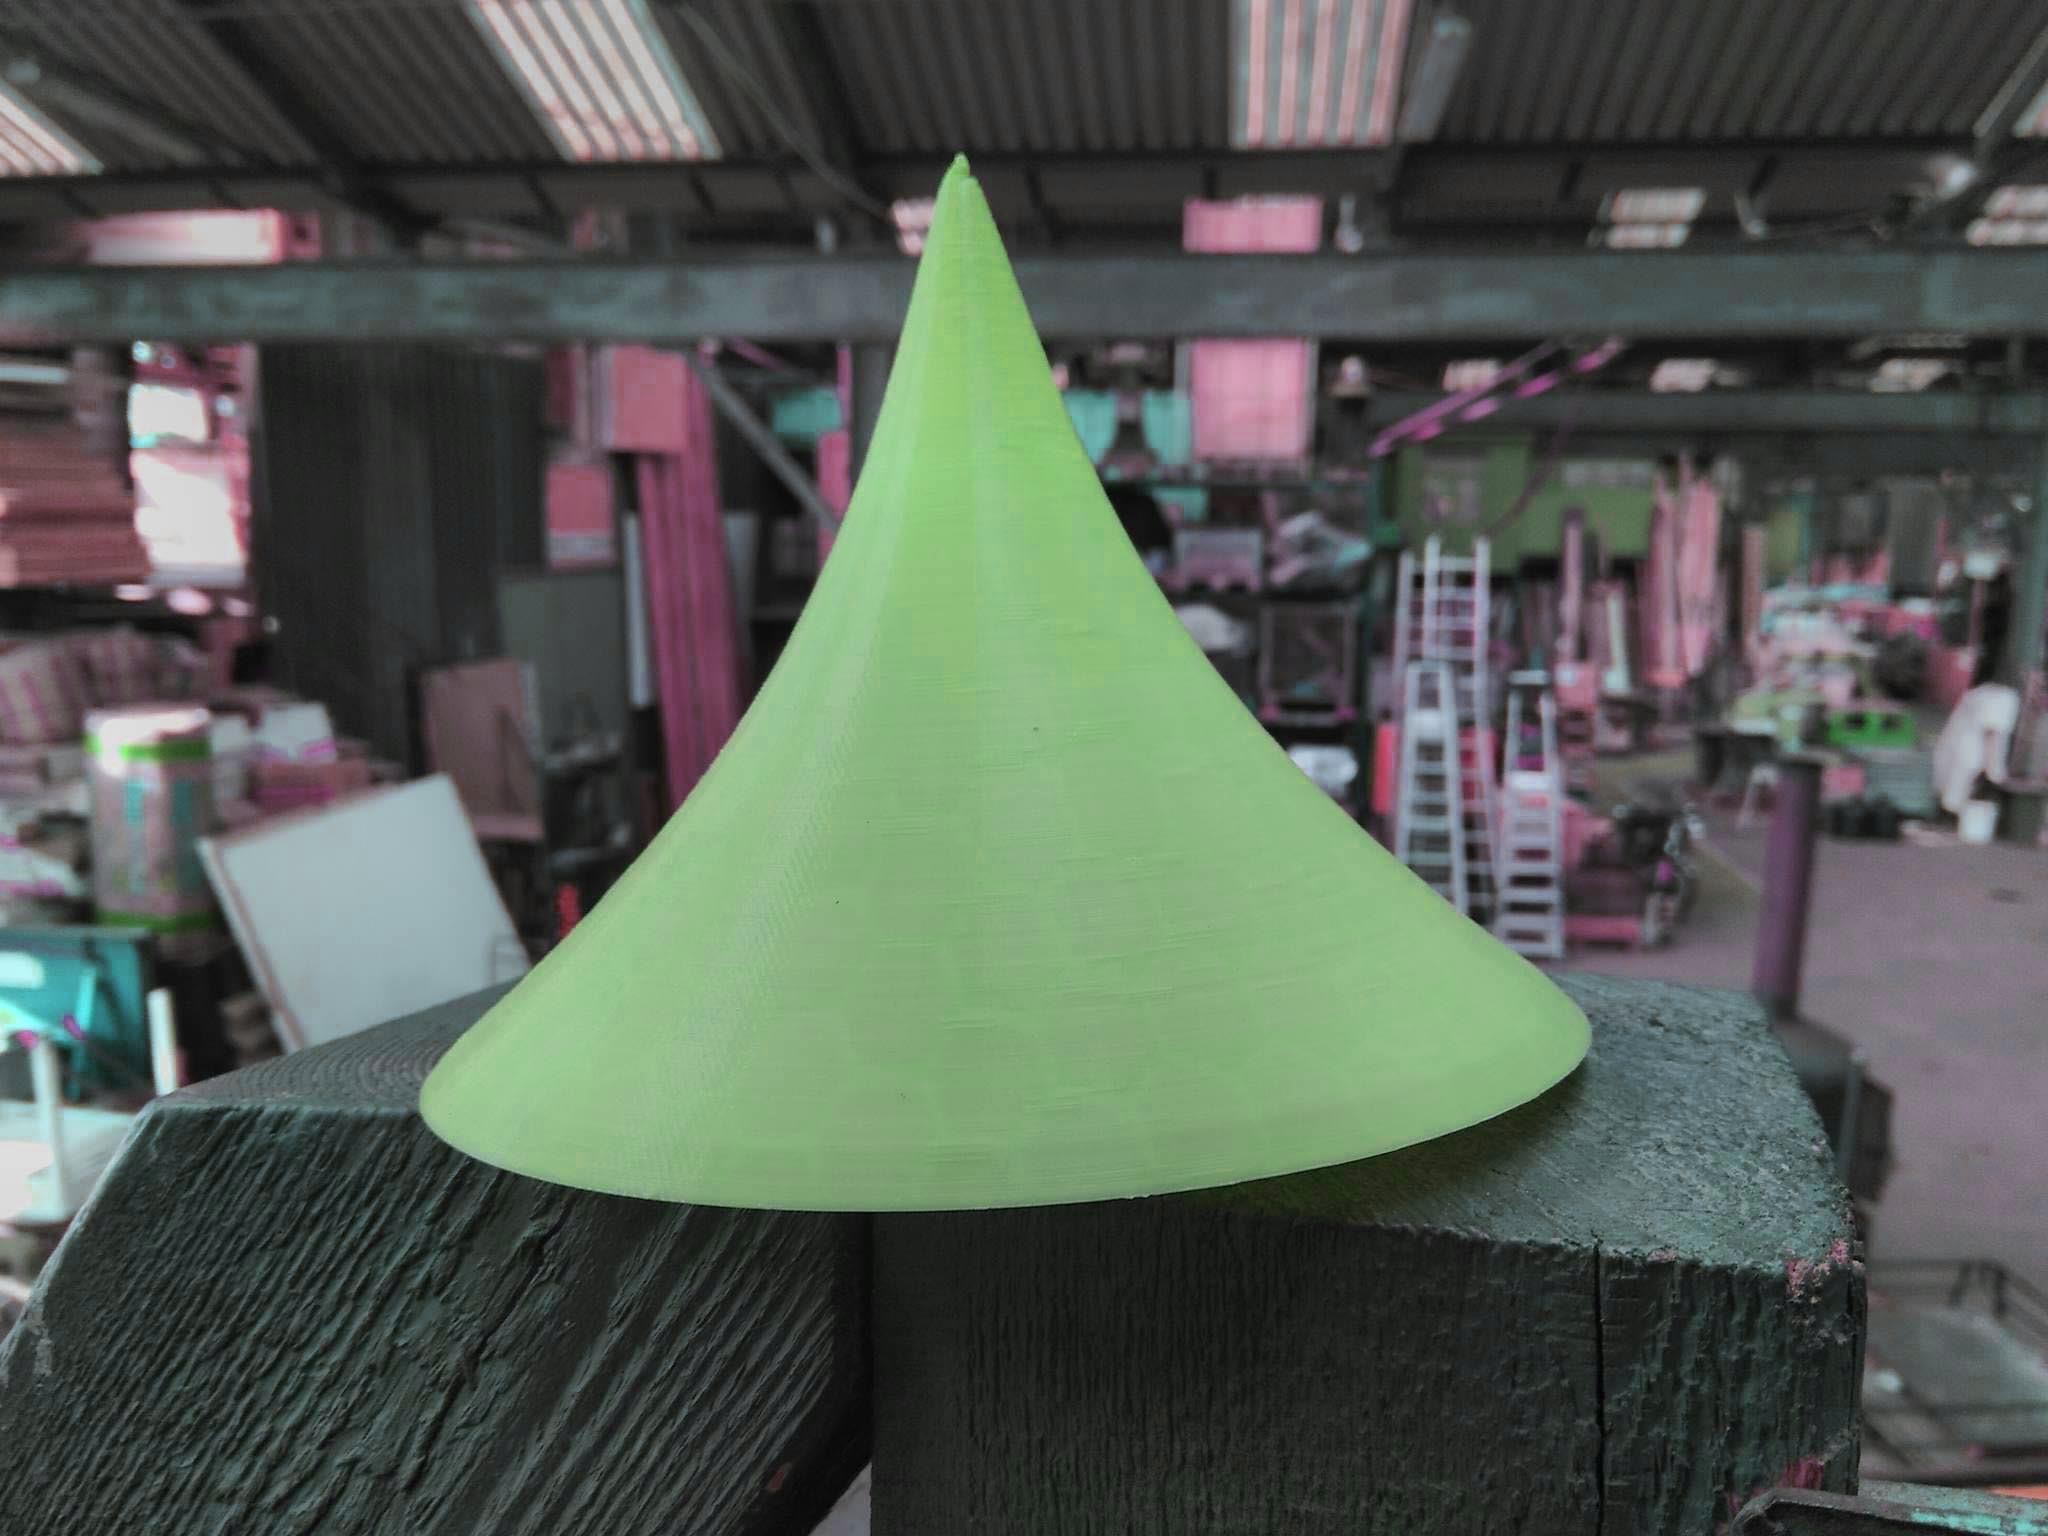
Install the nose cone
If the test-run is succesfull, glue the nose cone on the front of the windturbine to shield the axle and the bearing from rain and dust:
 Bram Peirs @ FW2W
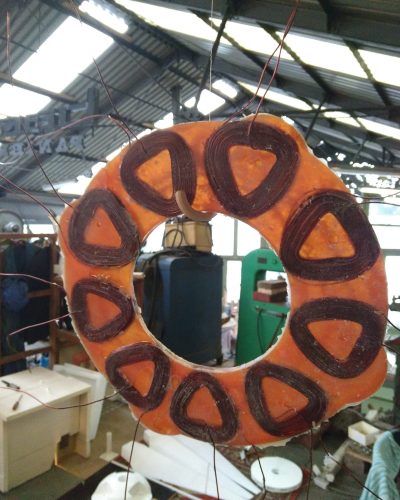


Discussions
Become a Hackaday.io Member
Create an account to leave a comment. Already have an account? Log In.