 Michael Gardi
My Raspberry Pi 4, camera, and 7" display arrived so I though I would get the hardware part of the build sorted. I designed and printed a stand for the Pi 4 and display.
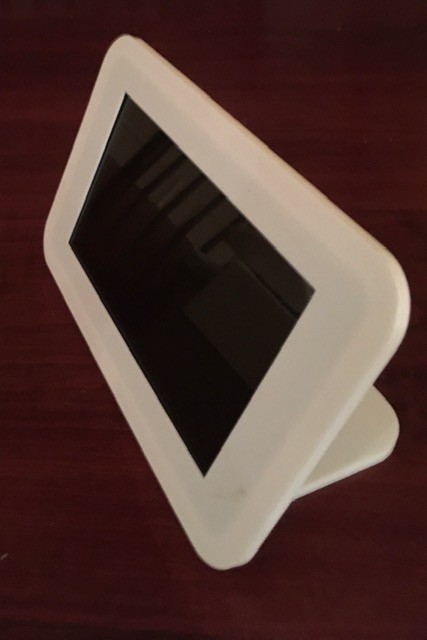

I like the way that the the two components integrate, and don't believe in hiding anything, so it's open concept much like my Working Digital Computer design.
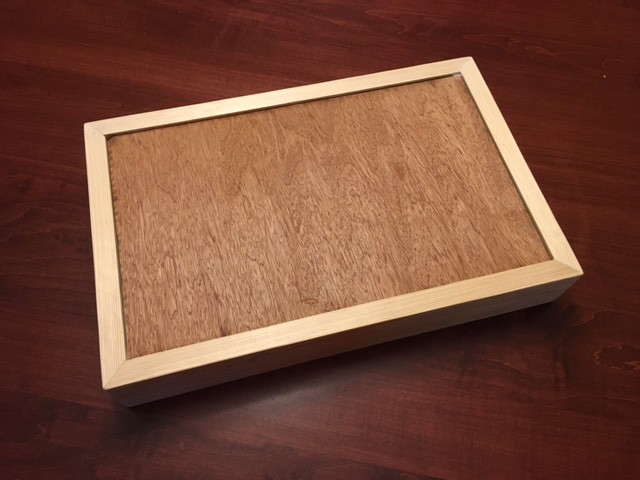
Next I built a base to hold the State "cards" and a legend with labels for each row.

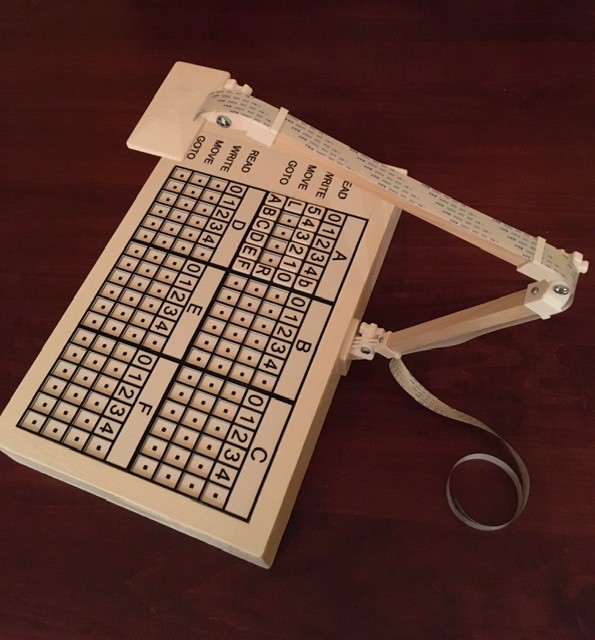
A little white paint plus the addition of the printed State Transition Table pieces looks like this.

I found an articulated arm design by Chris Rogers (hackoholic) on Thingiverse. His motion capture rig is very similar to the base that I built so it's a good fit. The Raspberry Pi camera snaps snugly into the camera mount and the ribbon cable slides easily through the guides. Great design!
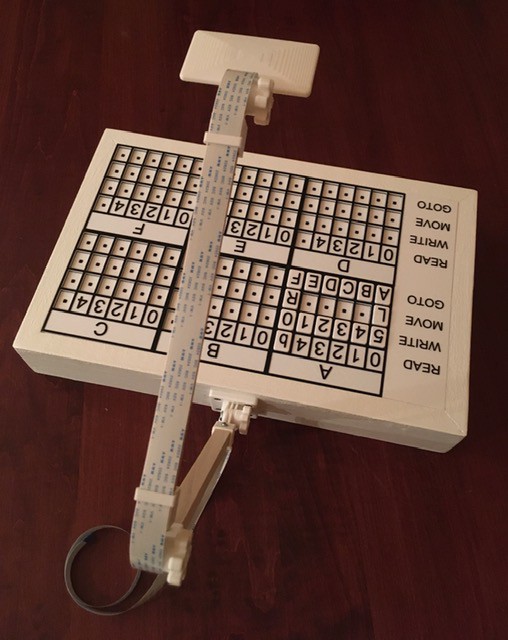
Finally I put the State Transition Table base camera together with the Pi and display. For development purposes only I have added a wireless keyboard and mouse.
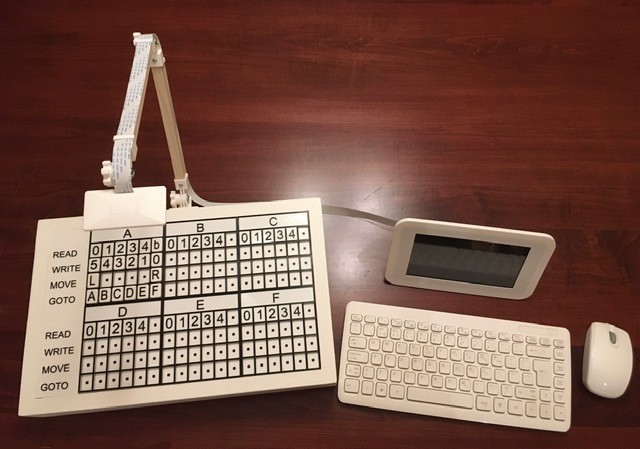
So that's basically the TMD-2 hardware done. It's mostly a software project from here on in.
Discussions
Become a Hackaday.io Member
Create an account to leave a comment. Already have an account? Log In.