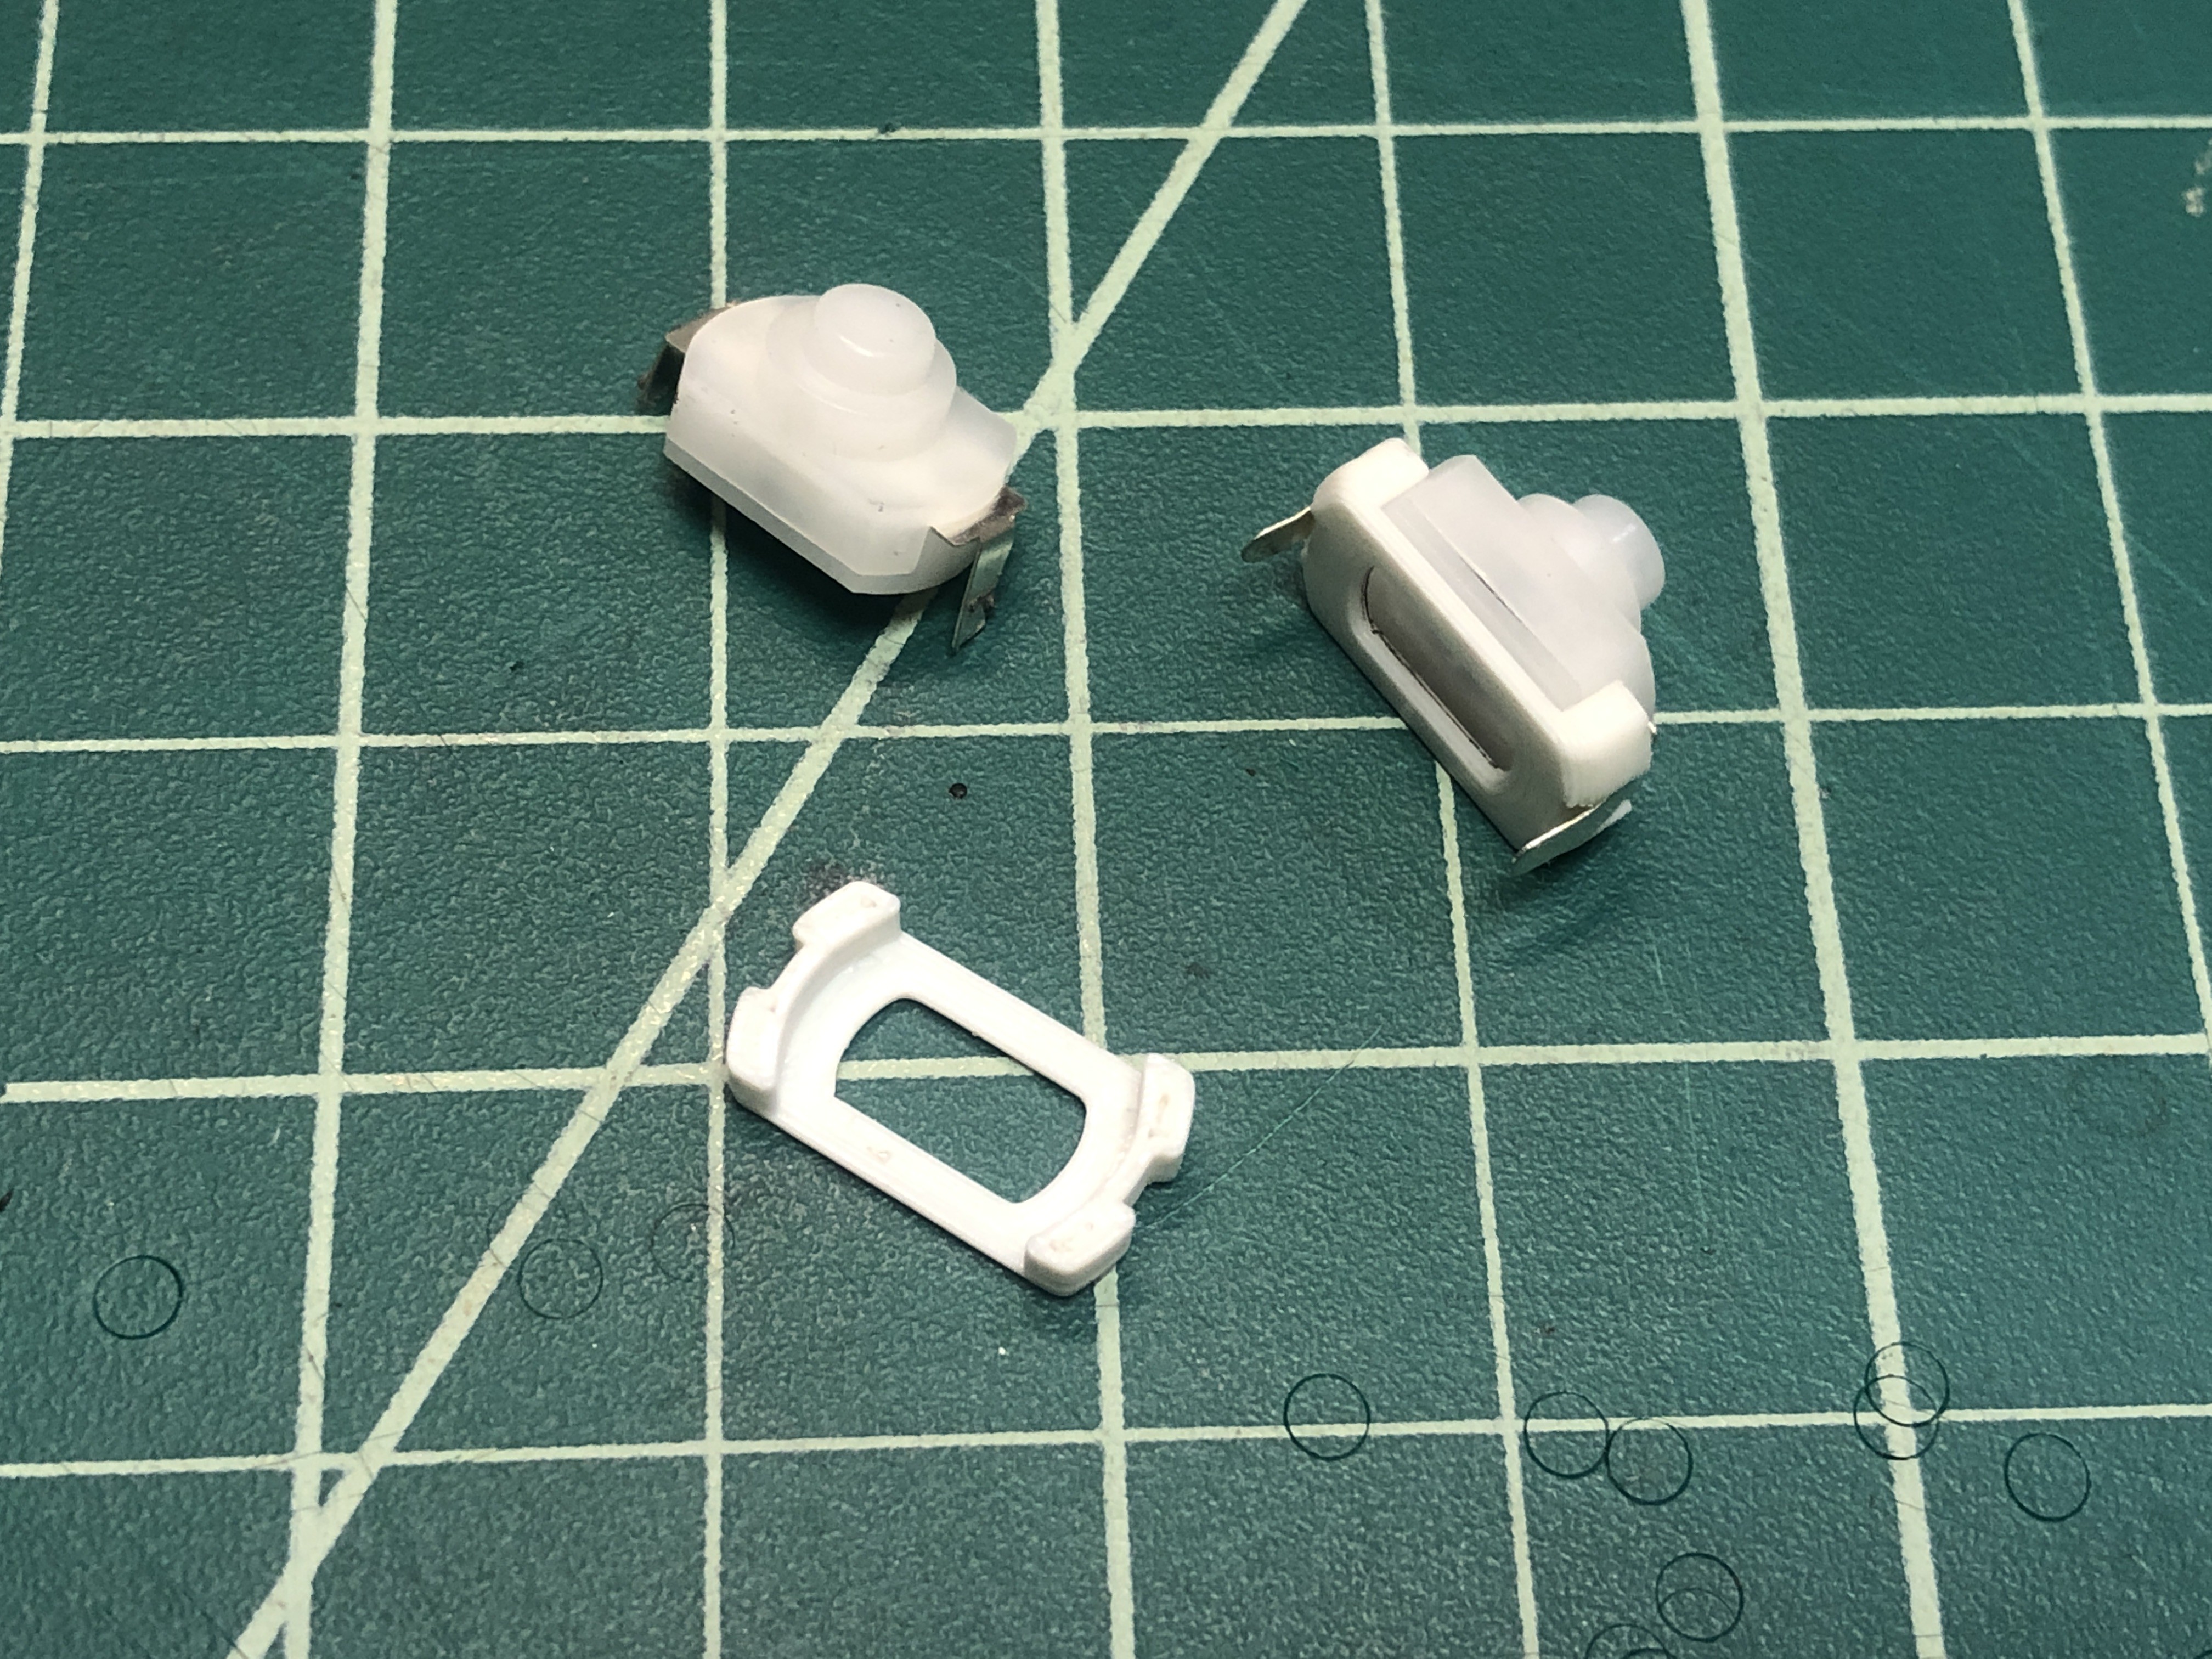
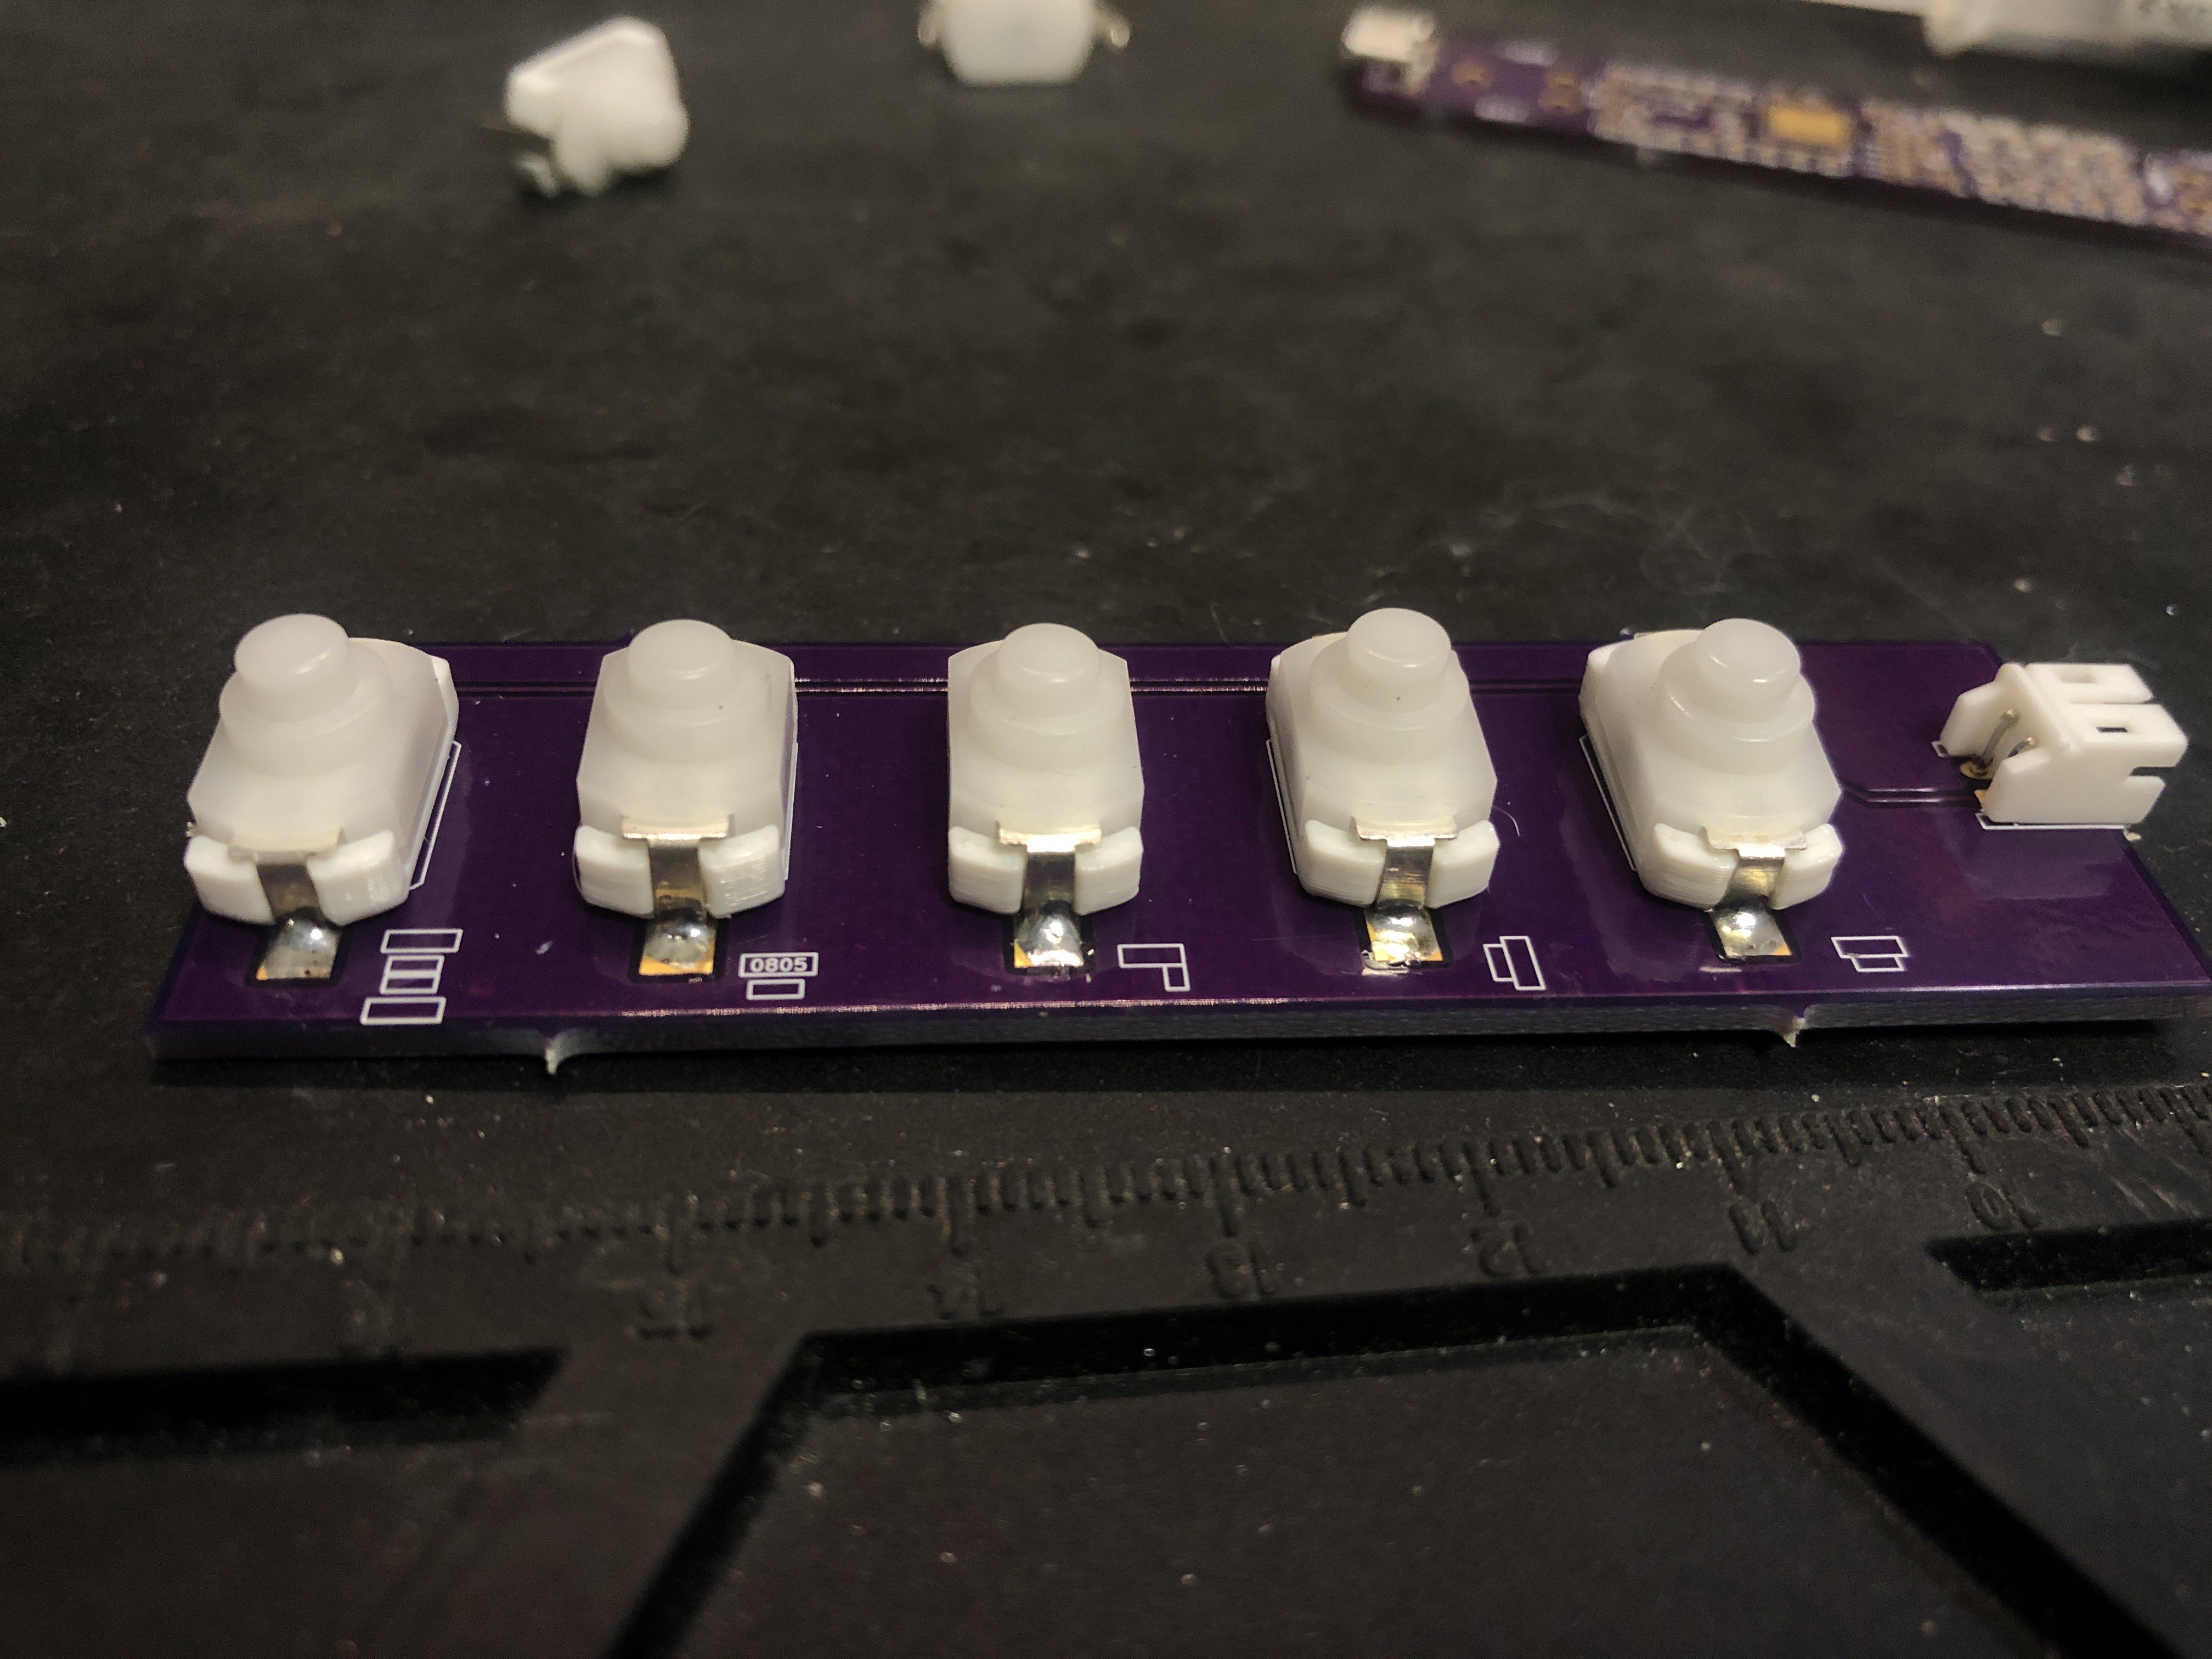
Embedding the LED inside the PCB was a cool trick, but not scalable for any meaningful production run. The next thing to test was 3D printing a small shim to create room for the LED between the PCB and the switch.

The switch's pins are long enough that this shim will fit just fine and create enough space for LEDs and their resistors.
You can download the printable model from thingiverse.
The KiCad footprints (SW_KAN-15_SMD and SW_KAN-15_PTH) also include the base on the courtyard layer to plan your PCB layout accordingly.
Temperature Considerations
Unfortunately, most consumer FDM 3D printed parts won't survive a reflow oven.
PLA's glass transition temperature (the temperature it starts to get soft) is around 40°C (100°F). That said, there are some filaments which perform much better at high temperatures. Polycarbonate Filament, for example, has the highest temperature resistance among consumer-grade printers and can withstand heat up to around 140°C (284°F). That's still not quite good enough for most reflow operations.
However, if you have an SLA or DLP printer, you can get resin, which handles temperatures up to 238°C (460°F).
Then again, the pins are pretty easy to solder by hand, so I don't see this as a huge issue.
 Next up, we'll test the LED performance in 5 different configurations under the switch.
 Jeremy
Discussions
Become a Hackaday.io Member
Create an account to leave a comment. Already have an account? Log In.