I am into this project for less than $40! That's if you include the plastic I used (Overture clear PETG) and the power I used, plus the eyeglasses. I'm feeling pretty good about this.
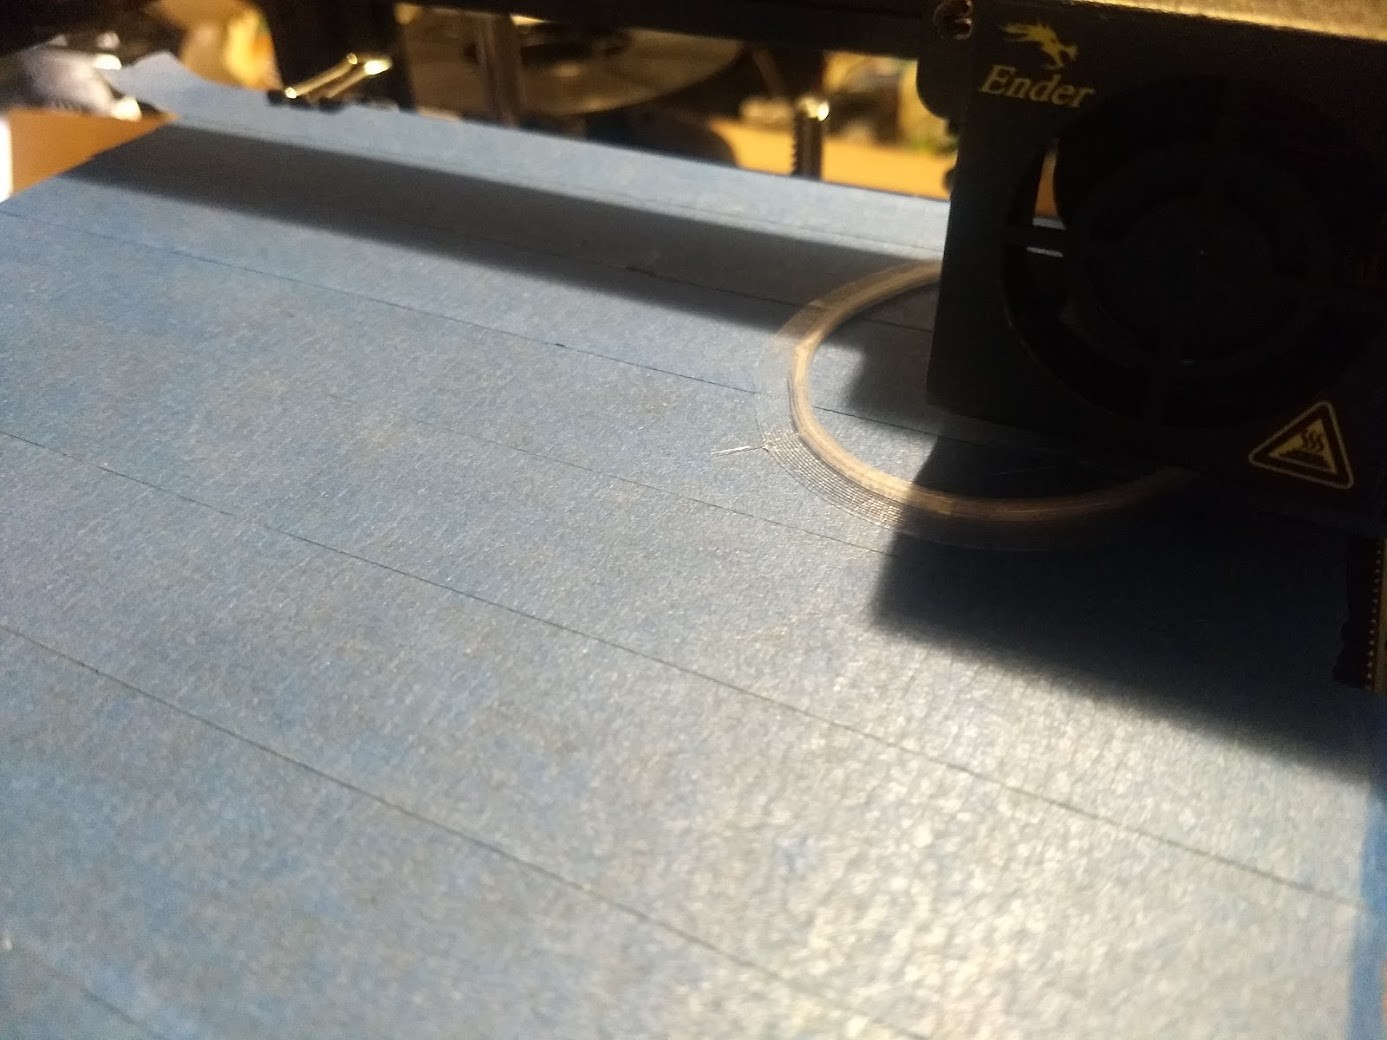
I would like to mention now that it is an amazing feeling when you are using your 3D printer to print a part that is not made to fit to your or another 3D printer. It feels like you have accomplished something amazing!
Now I am going to show you me putting the "v3" adapter I didn't end up using together, since I did not take any pictures of putting the original set together which I popped the lenses into and worked fine. The process is exactly the same however.
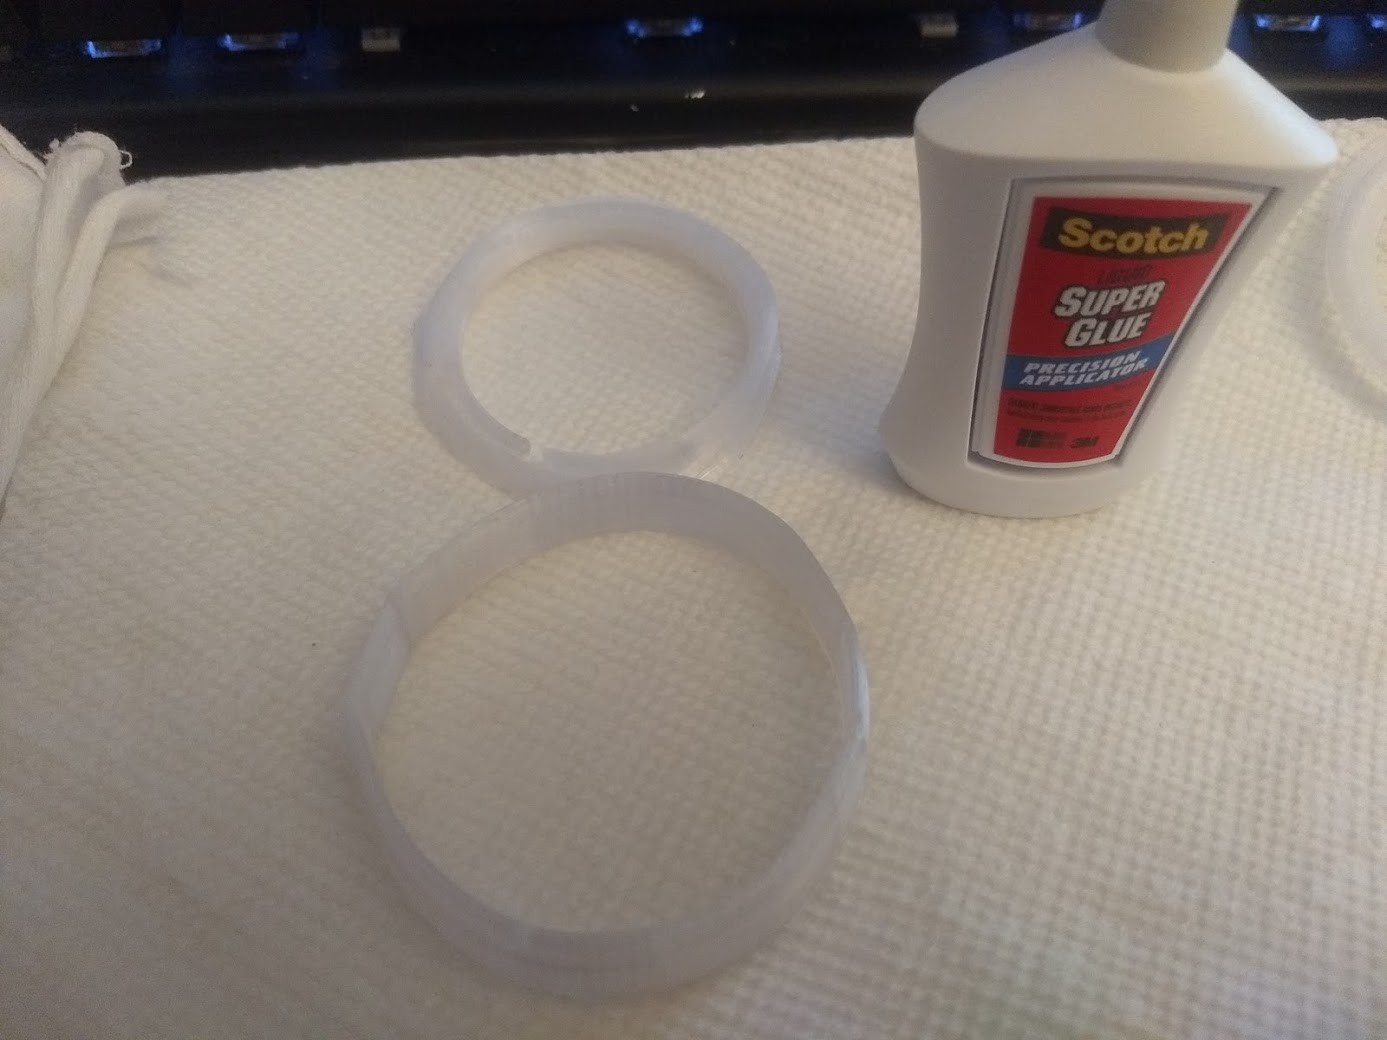
This is one of the top parts and one of the bottom parts. We will be gluing these together with super glue. Do not have the spacer inside the assembly, you do not want to accidentally glue that part in!
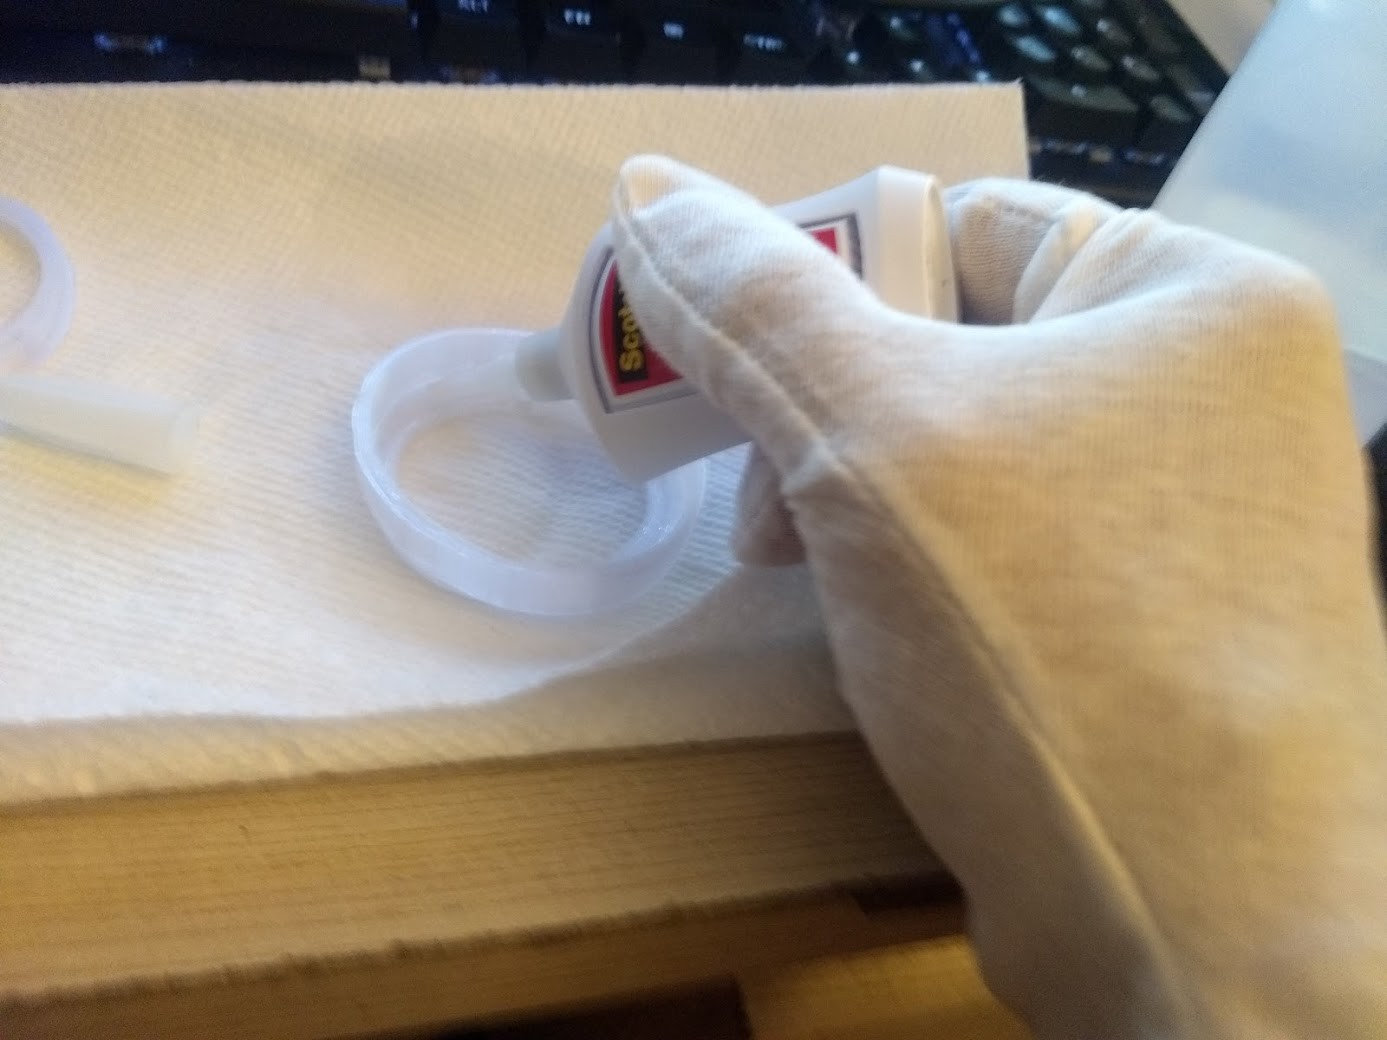
The best way for me was to first dab some glue on the perimeter, hold it together like a tack weld, then go in from behind and give the seam a good once over with the superglue.
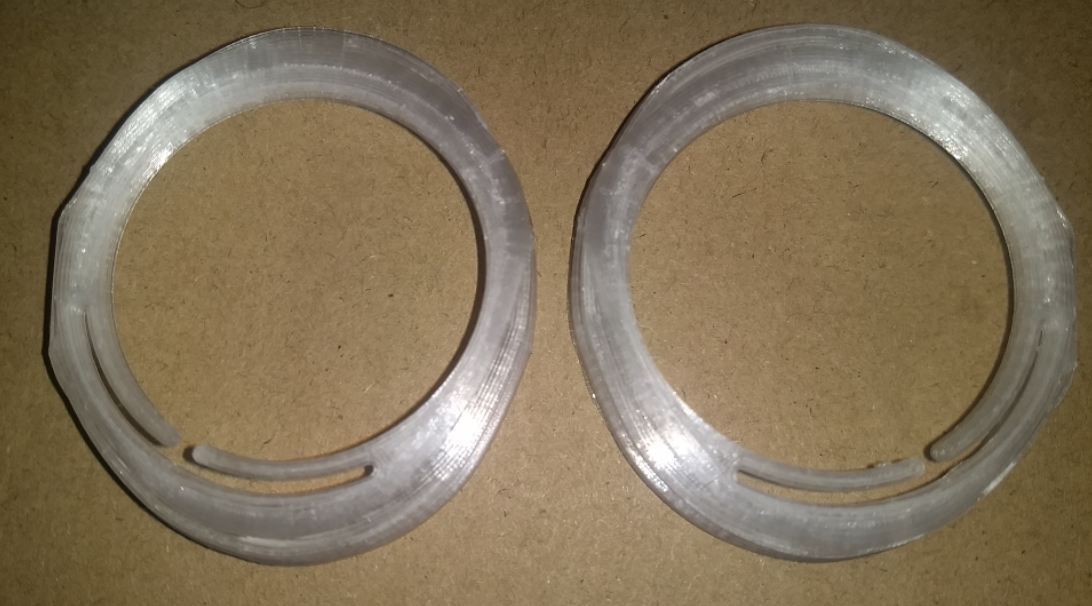
I let these cure for more than a day before trying any of them, as I had been warned that superglue has the ability to fog up optics and leave a layer you cannot remove easily (The same effect that happens when they use superglue fumes to lift fingerprints applies here, and you don't want to ruin your optics because you couldn't wait a bit!)
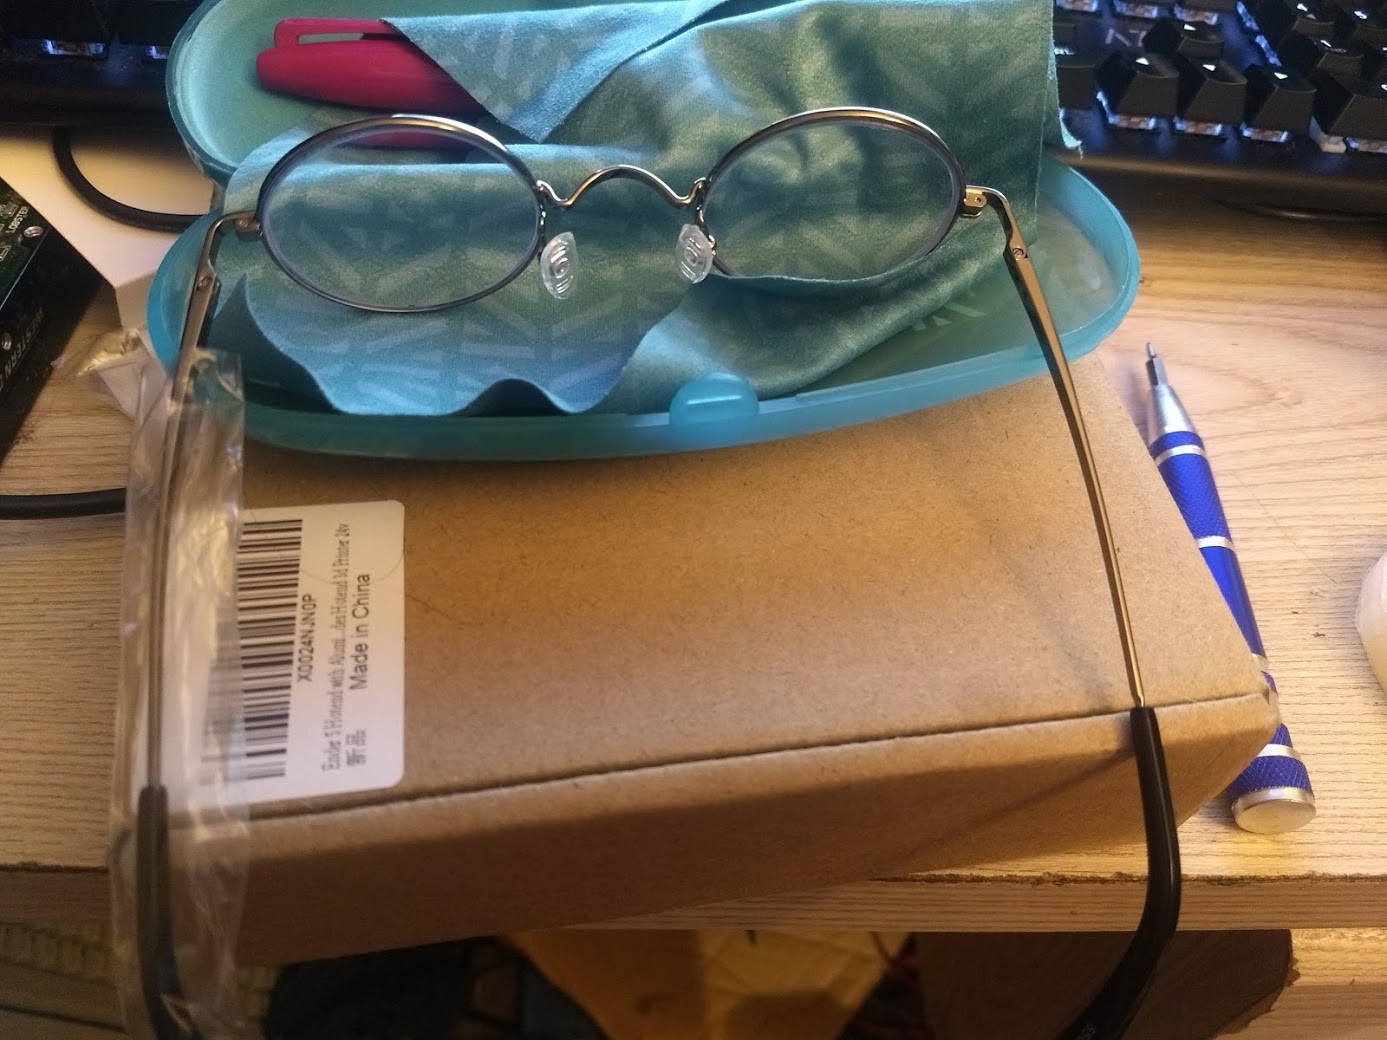
My glasses arrived, and quite frankly were amazing. They fit well, I could see through them wonderfully, and they felt like they were high quality. Probably will do this next time I need actual glasses again.
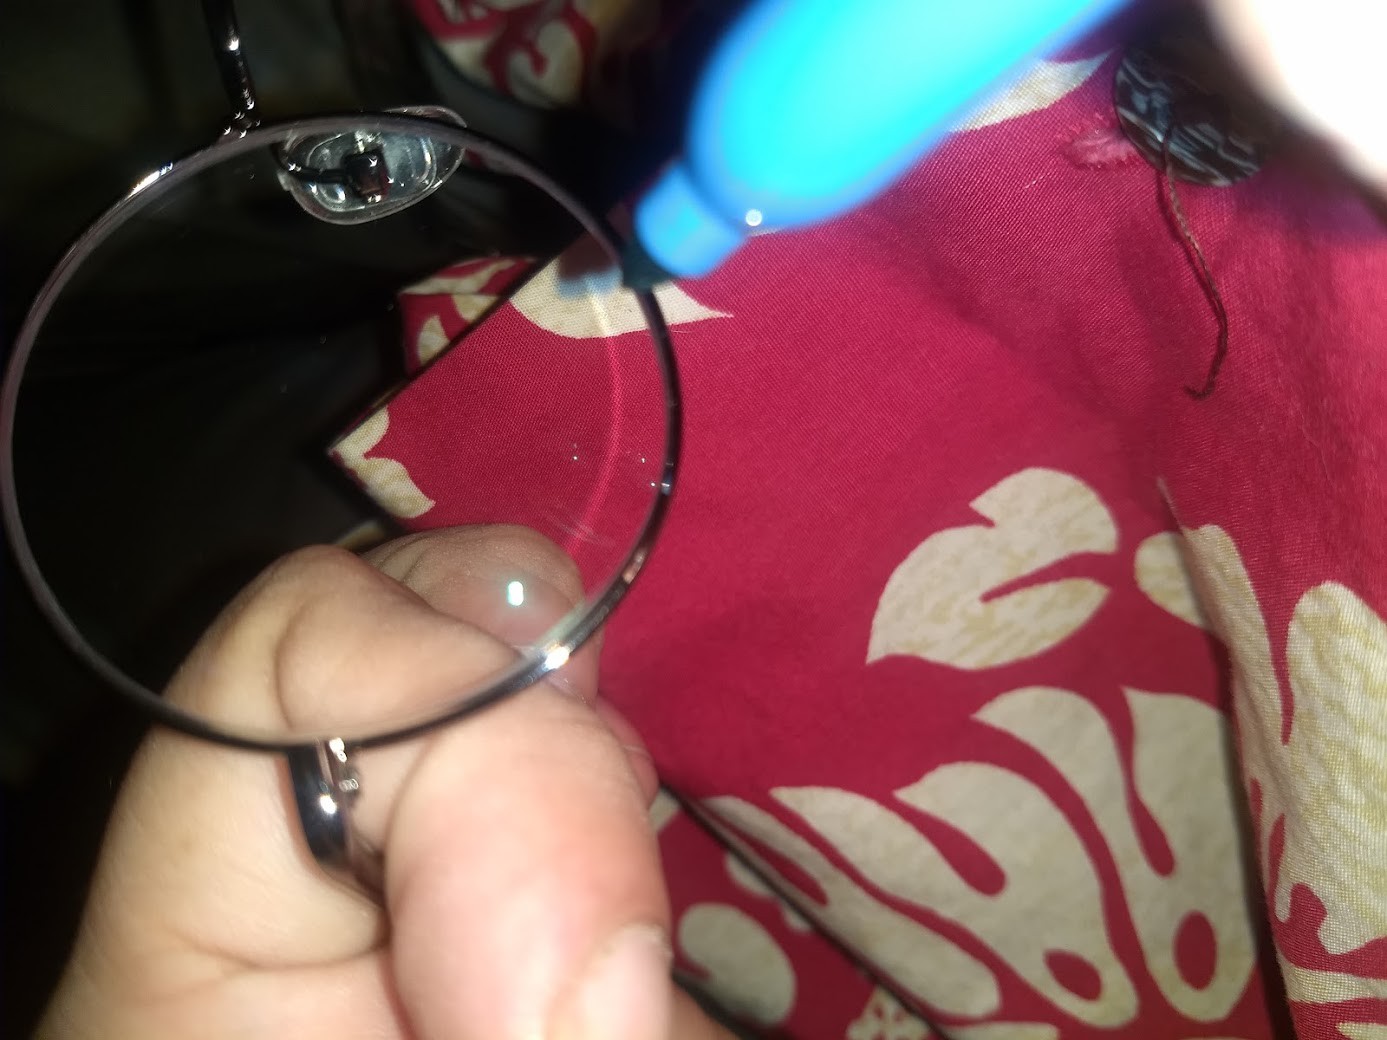
Prior to taking these apart, I marked the bottom of each lens with a different colored marker so I could identify both RIGHT and LEFT lenses by their color, and the bottom of each lens by the dot so I could match the orientation. Orientation of these lenses is important.
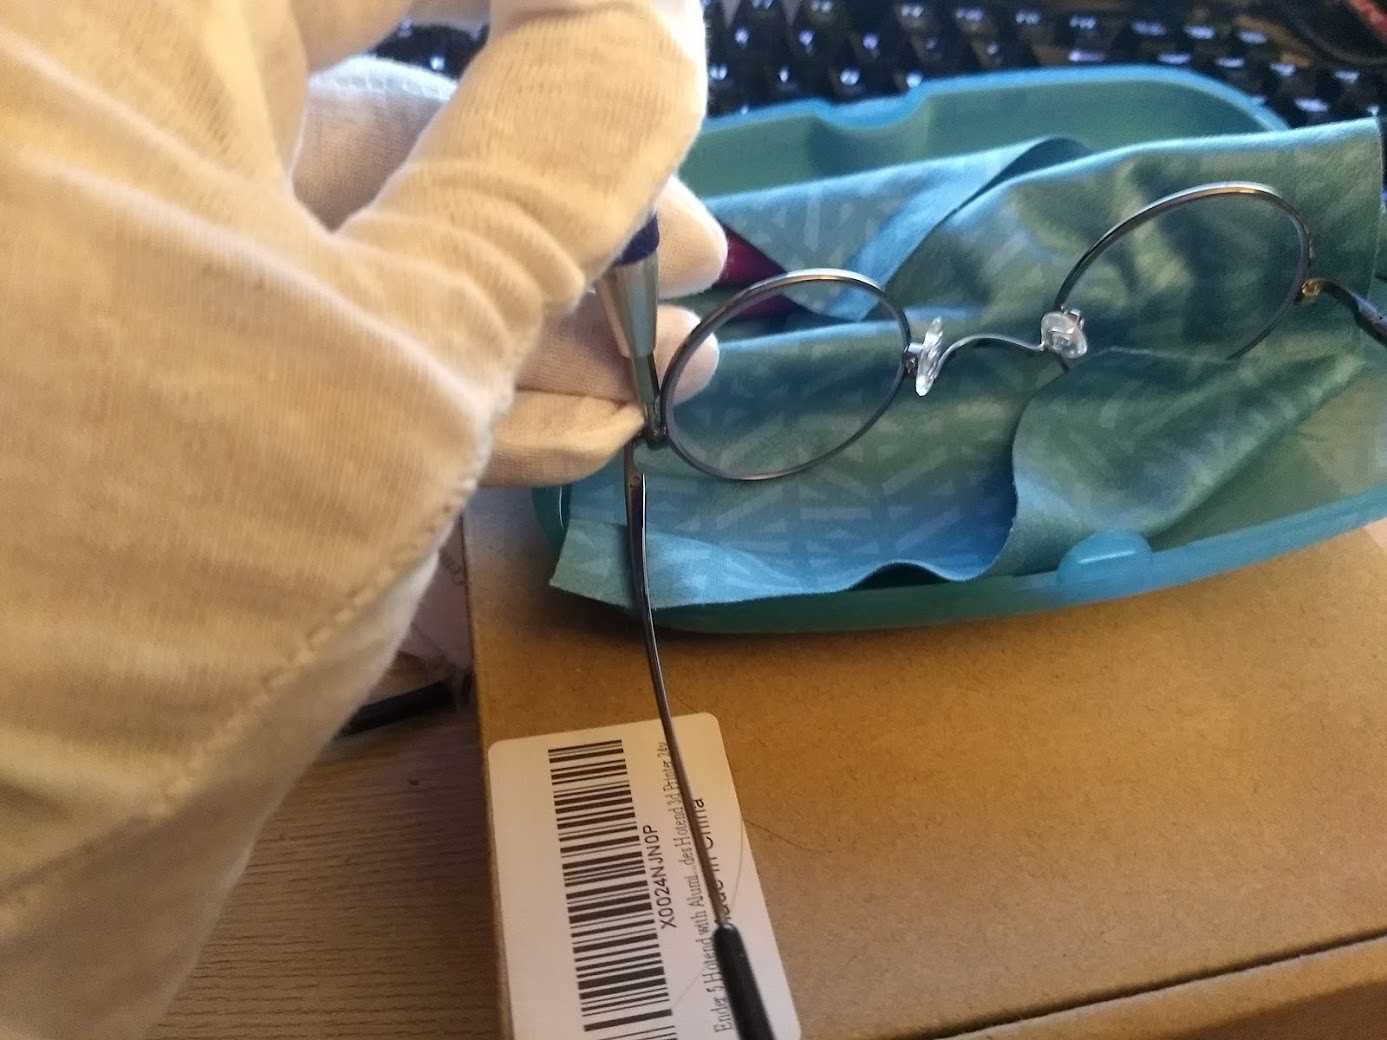
The glasses come apart with a small Phillips head screwdriver, and I was careful not to scratch anything or strip any screws. I am also wearing a pair of cotton inspection gloves so I don't scratch any lenses while I am working with them.
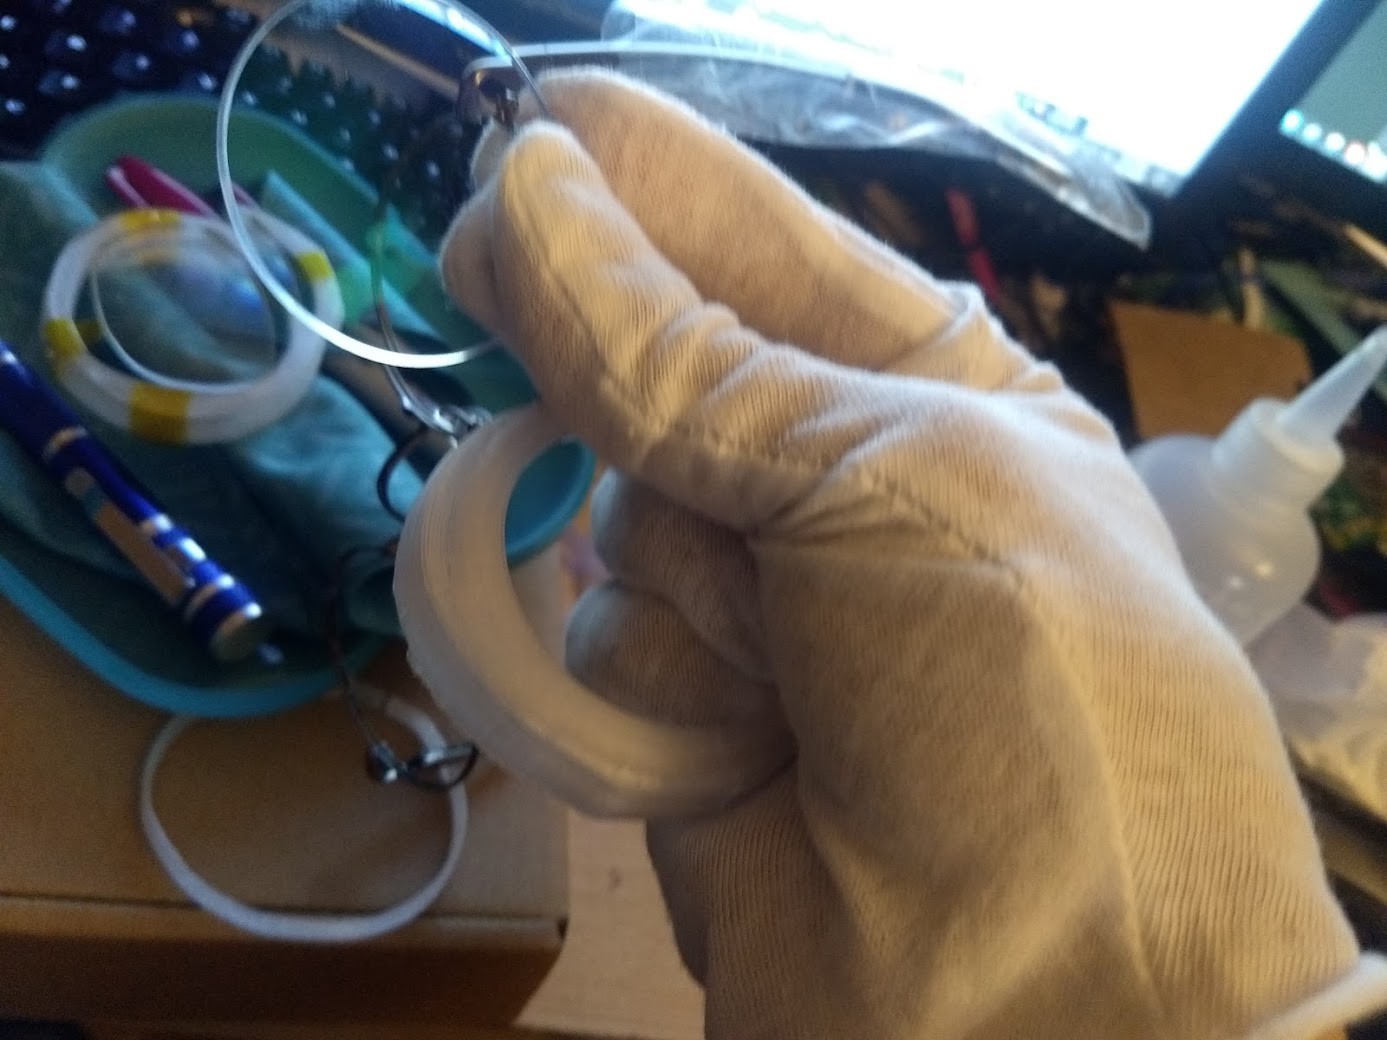
I pulled out one lens at a time, and press fit them into their holders using the 'bottom' notch as my reference compared to the dot I put on the lens.
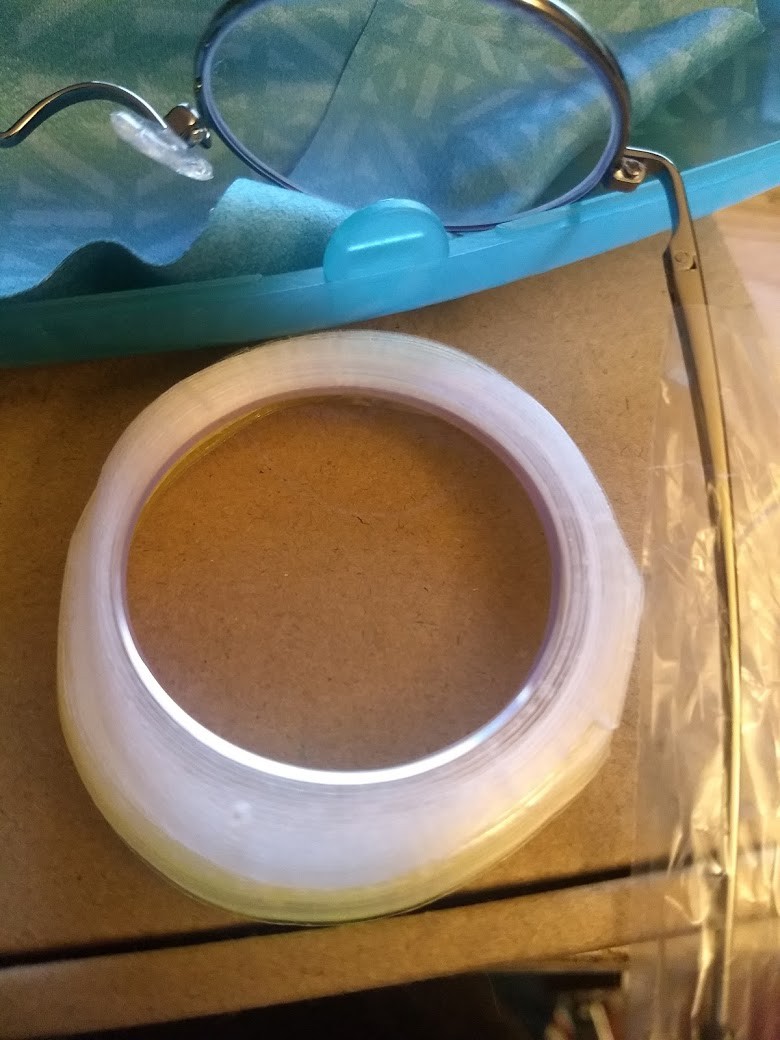
Rinse and repeat for the other side.
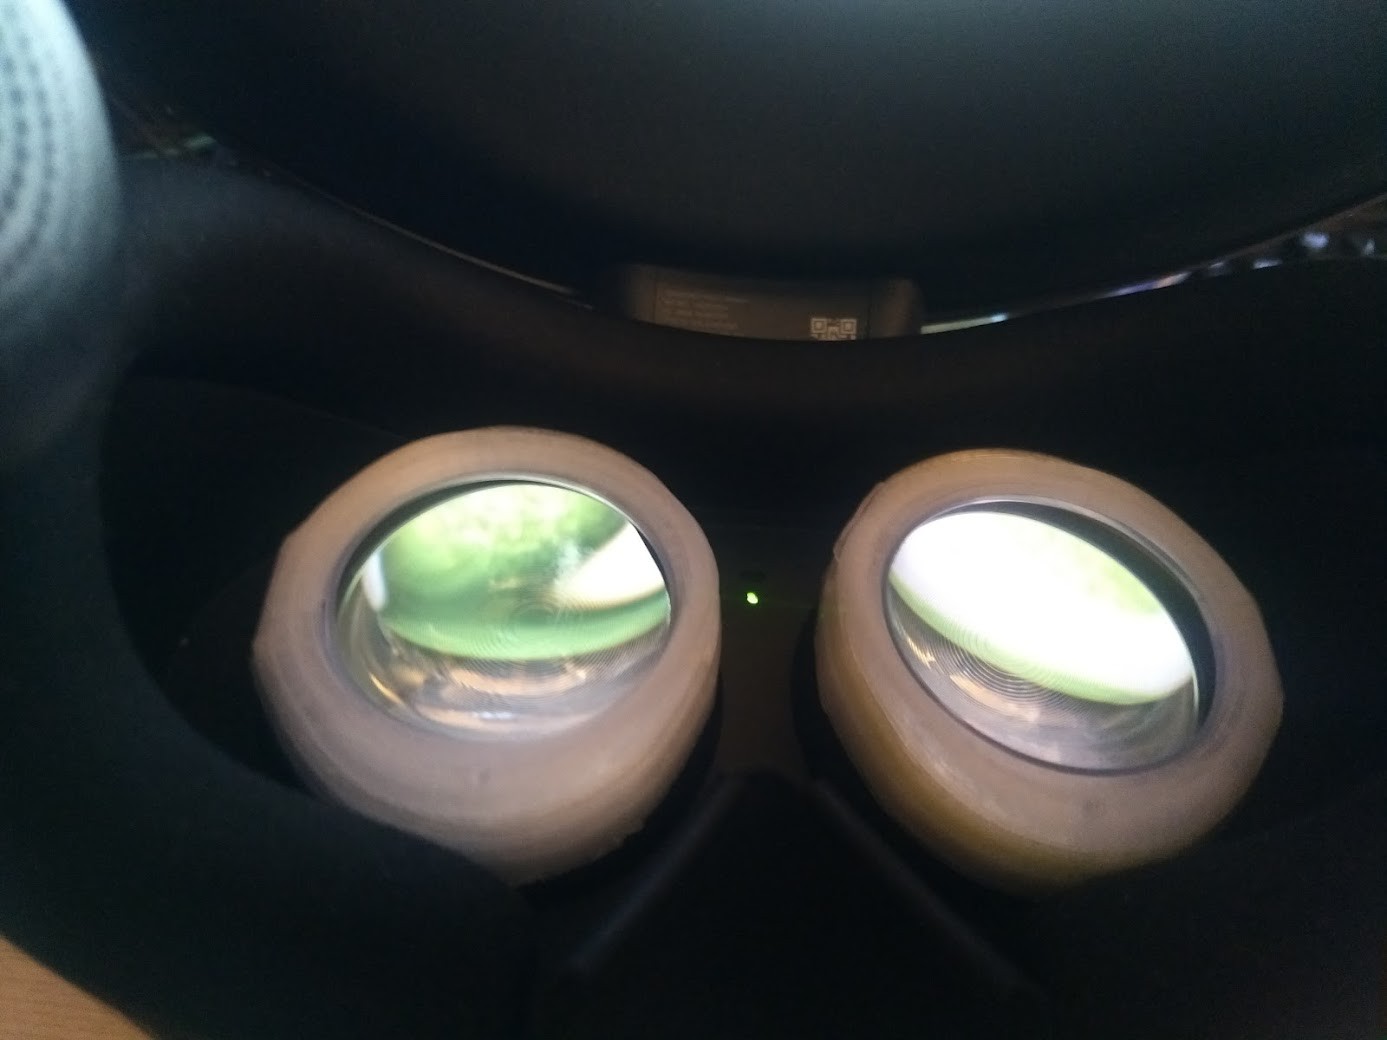
The spacer goes between the "Top" piece and the actual protrusion on the headset lenses. That way it lifts it up a bit, you might have to change the thickness of that spacer to get it where it's perfect.
I have to say I have zero complaints, this has been absolutely fantastic, and now I can just put my VR headset on and rock out without any of the annoyances or harm of wearing eyeglasses inside the headset. I can use these lenses with different adapters should I want to try out a different headset too.
If you have a VR headset and want a cheap pair of lenses to use with it, this is a great way to go, and do some searching on thingiverse, you will likely find something that works for your headset and gives you the right 'cheap' eyeglasses to order for the best fit!
Thank you to everyone who inspired this and to who provided me all the files and knowledge I needed to pull this off. I hope my documenting my journey inspires others to do similar and gain a much better VR experience for themselves along the way.
Let me know if you have any questions!
 cprossu
Discussions
Become a Hackaday.io Member
Create an account to leave a comment. Already have an account? Log In.