Usage
The device has a switch to turn it on/off and an encoder with a button. Using the encoder we can enter menu, select options and enter numerical and boolean values. Pressing the button confirms the selection.
When switching on for the first time after installing a CR2032 battery, the user interface of the device prompts the user to enter the current time. After that it works as usual (till the time the RTC module is reset again).
The dawn procedure
The more dawn duration user selected, the less fade is added to colors brightness on each minute.
Charge level control
The device measures the battery charge level at startup. If it is low, the buzzer beeps 3 times. The user can manually check the charge level by selecting the ChAr option in the menu and holding the encoder button. Since the protection board is used to charge the accumulator of the device, if the voltage level gets too low the board will cut off the power.

USB ports
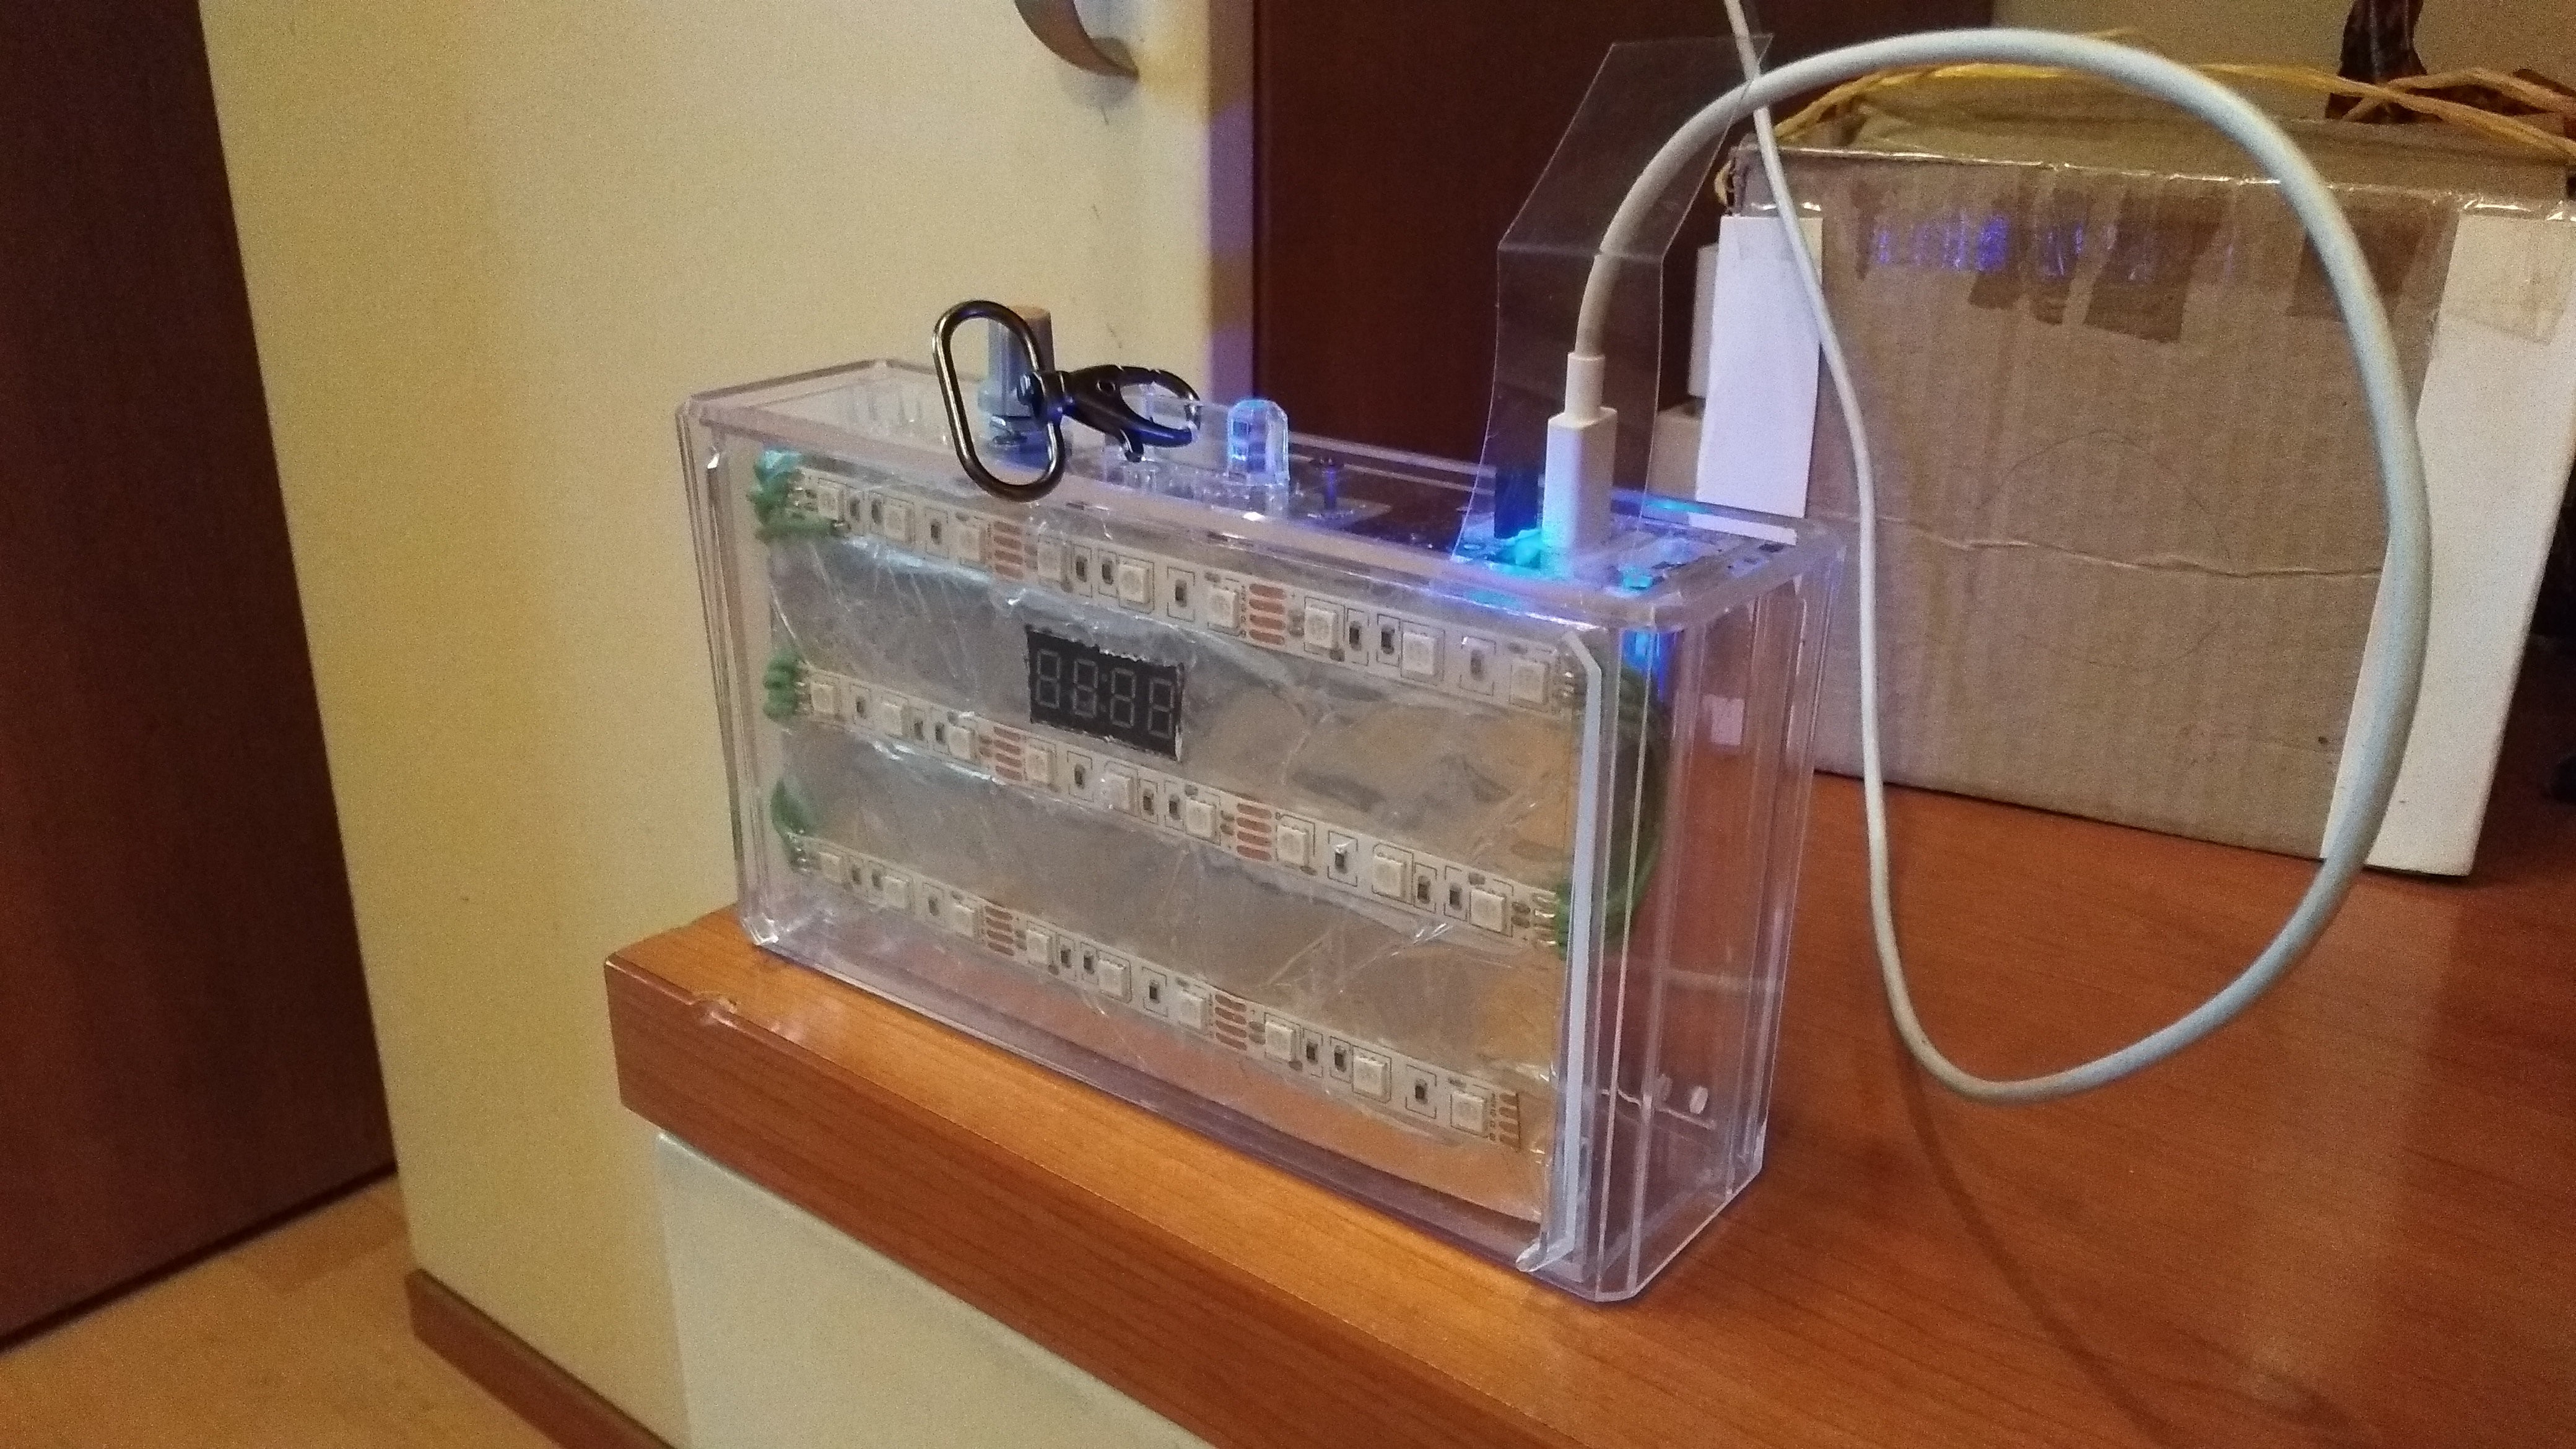
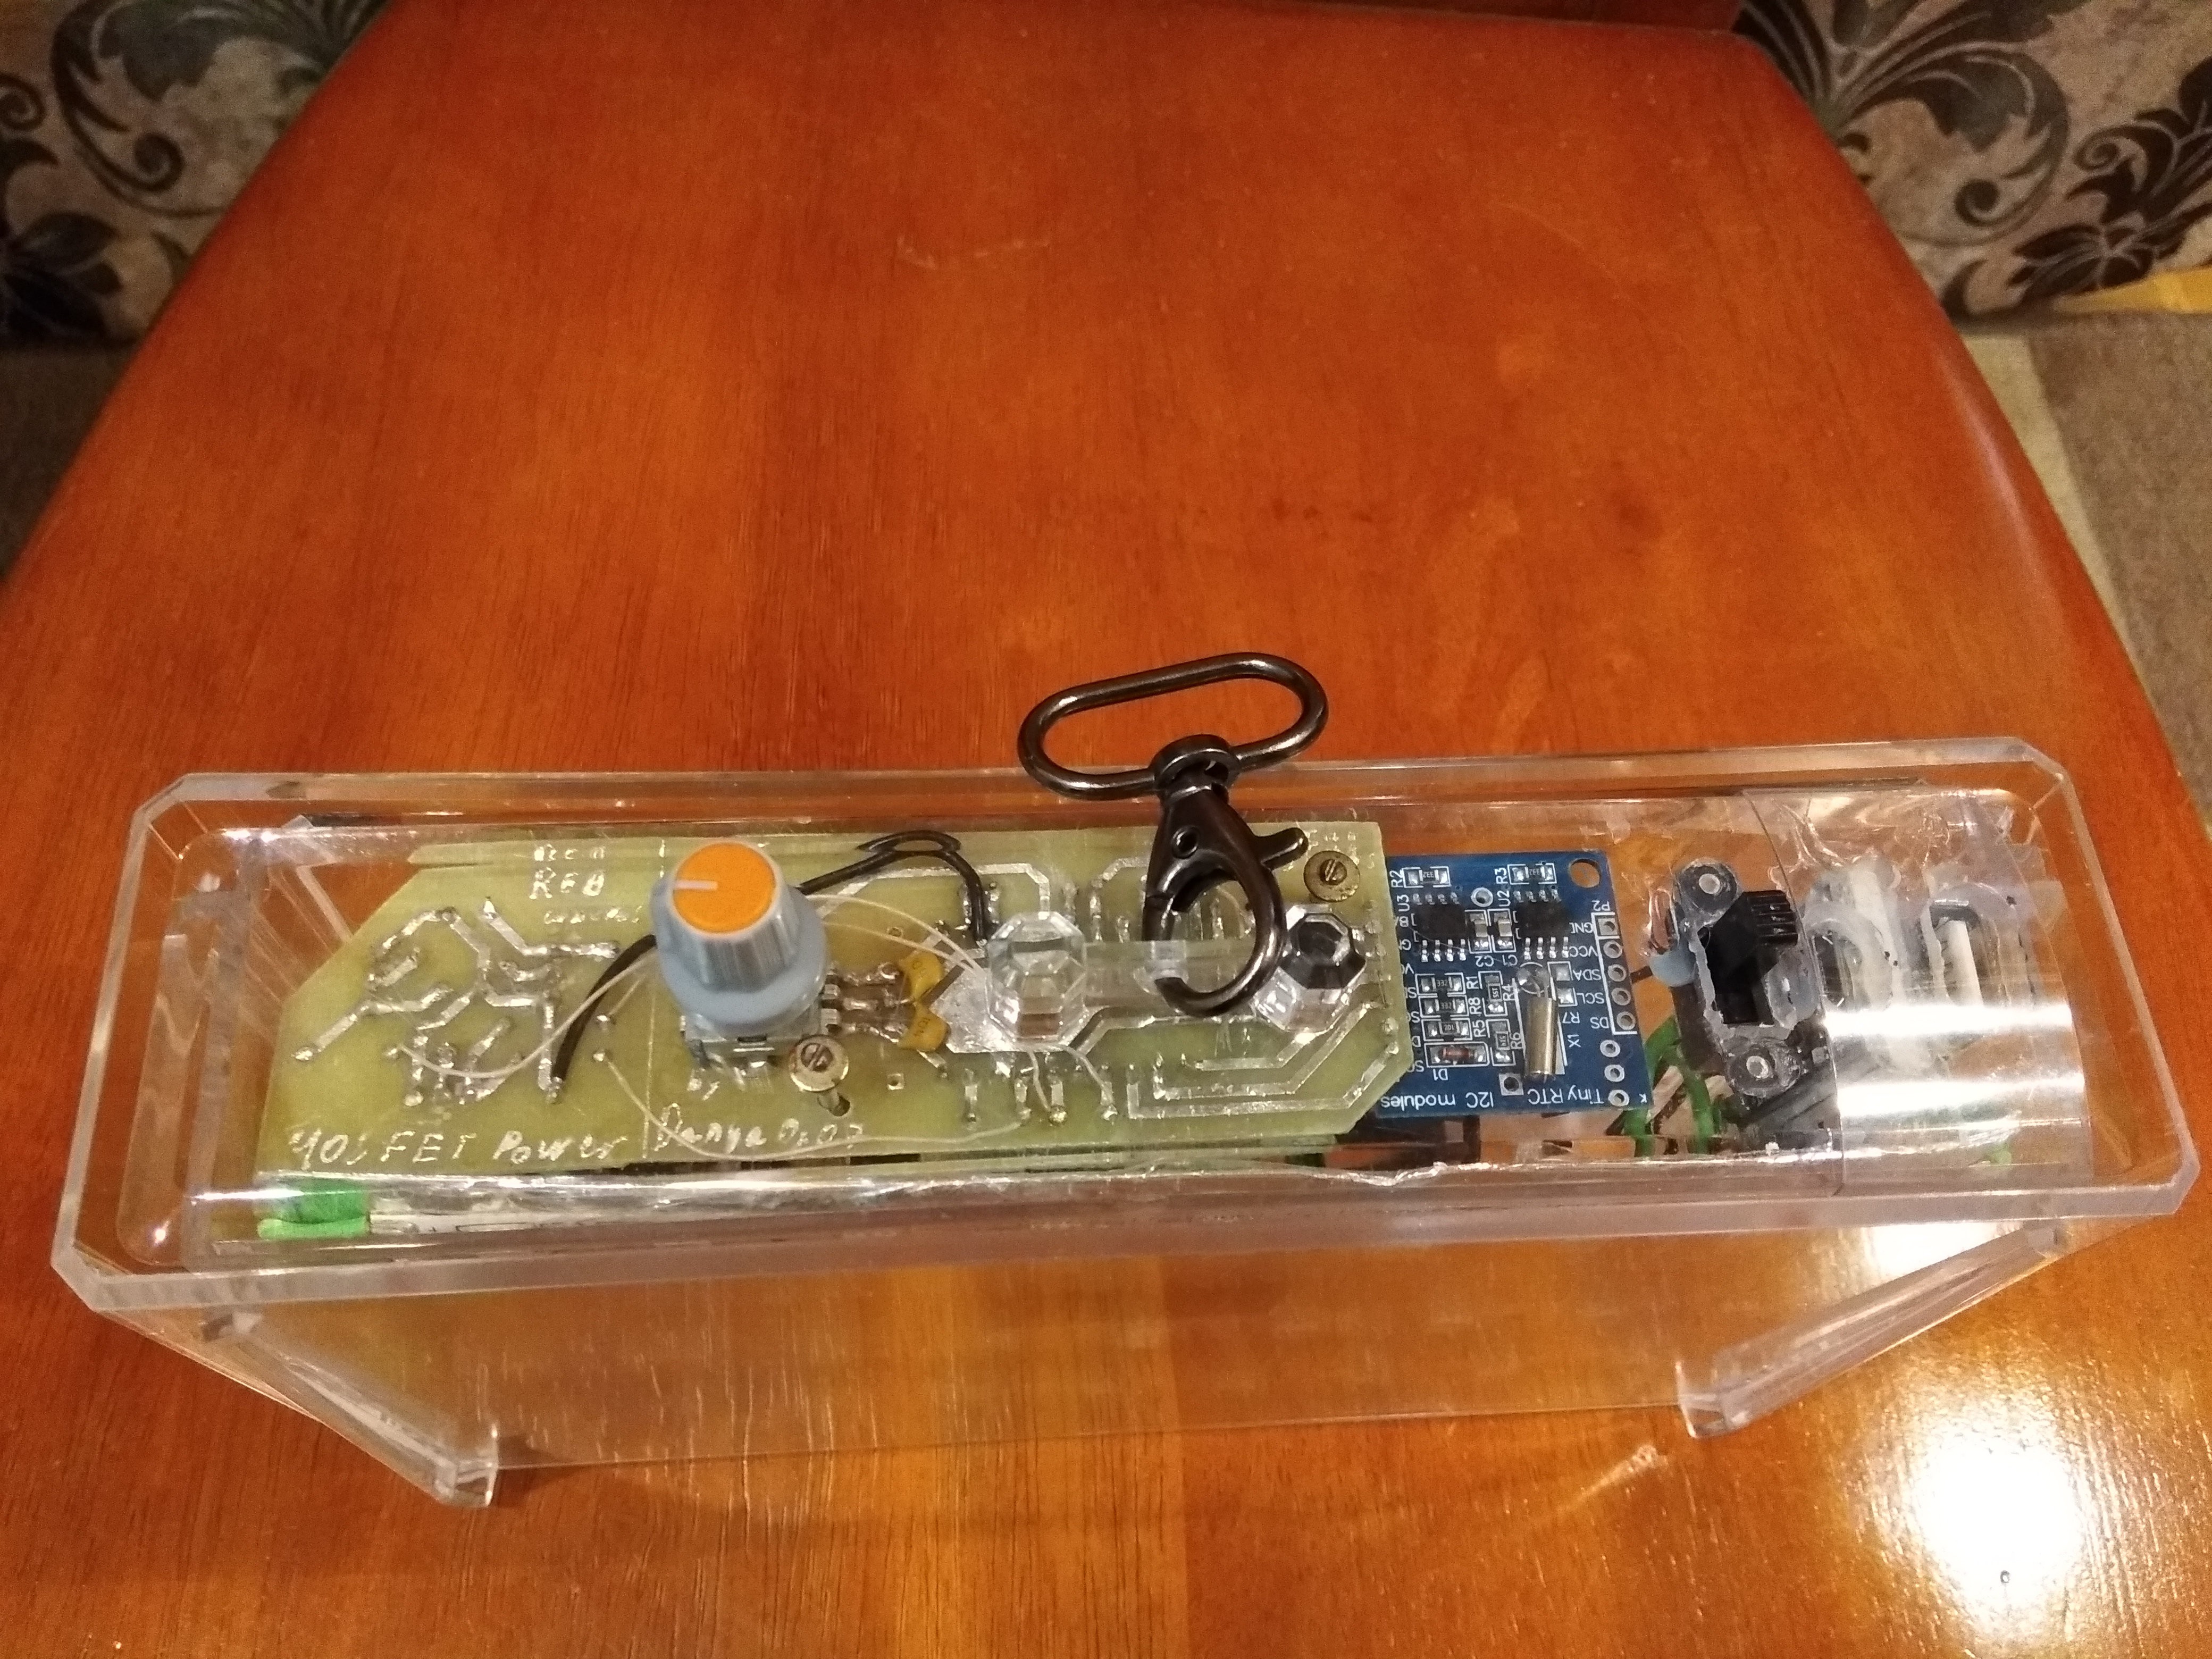
Since the boost DC-DC converter used in the device has a USB port, and it would be difficult to desolder it, I decided to bring the port out of the case. Thus, the device can power a small consumer of 5V (up to 150 mA). A transparent flexible plate protects the USB ports from dust when the USB ports are not used.

Inside
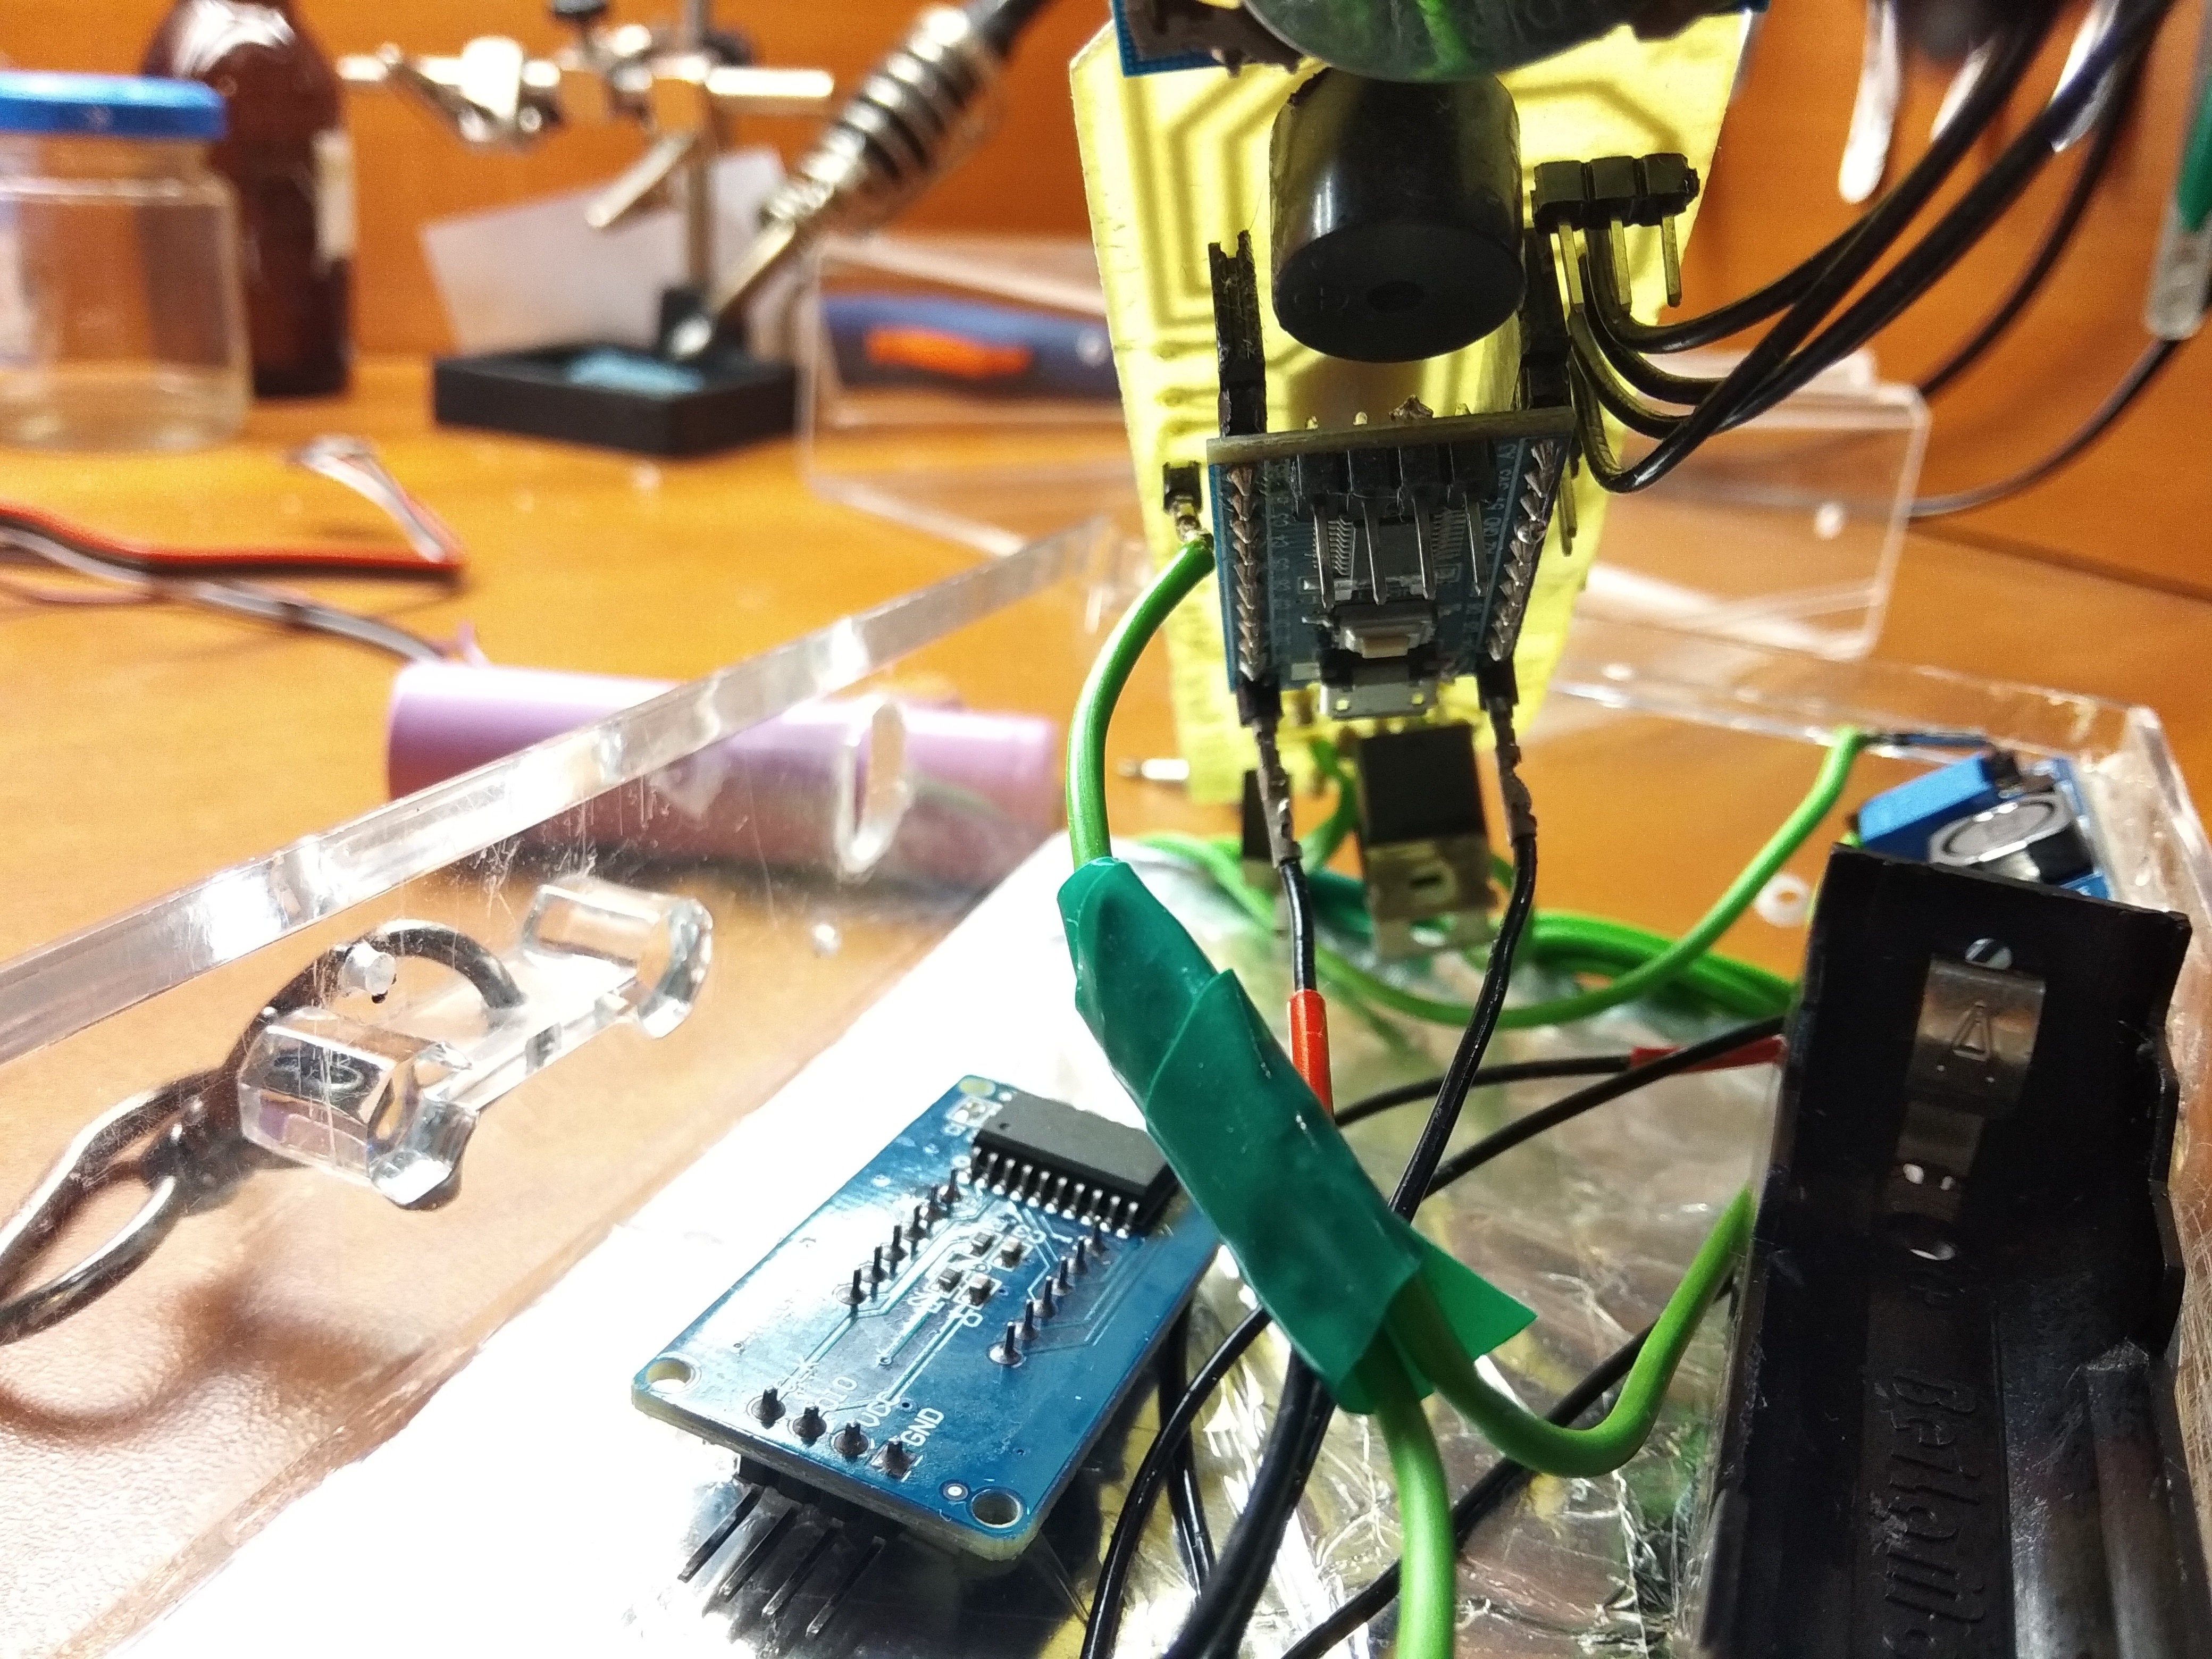
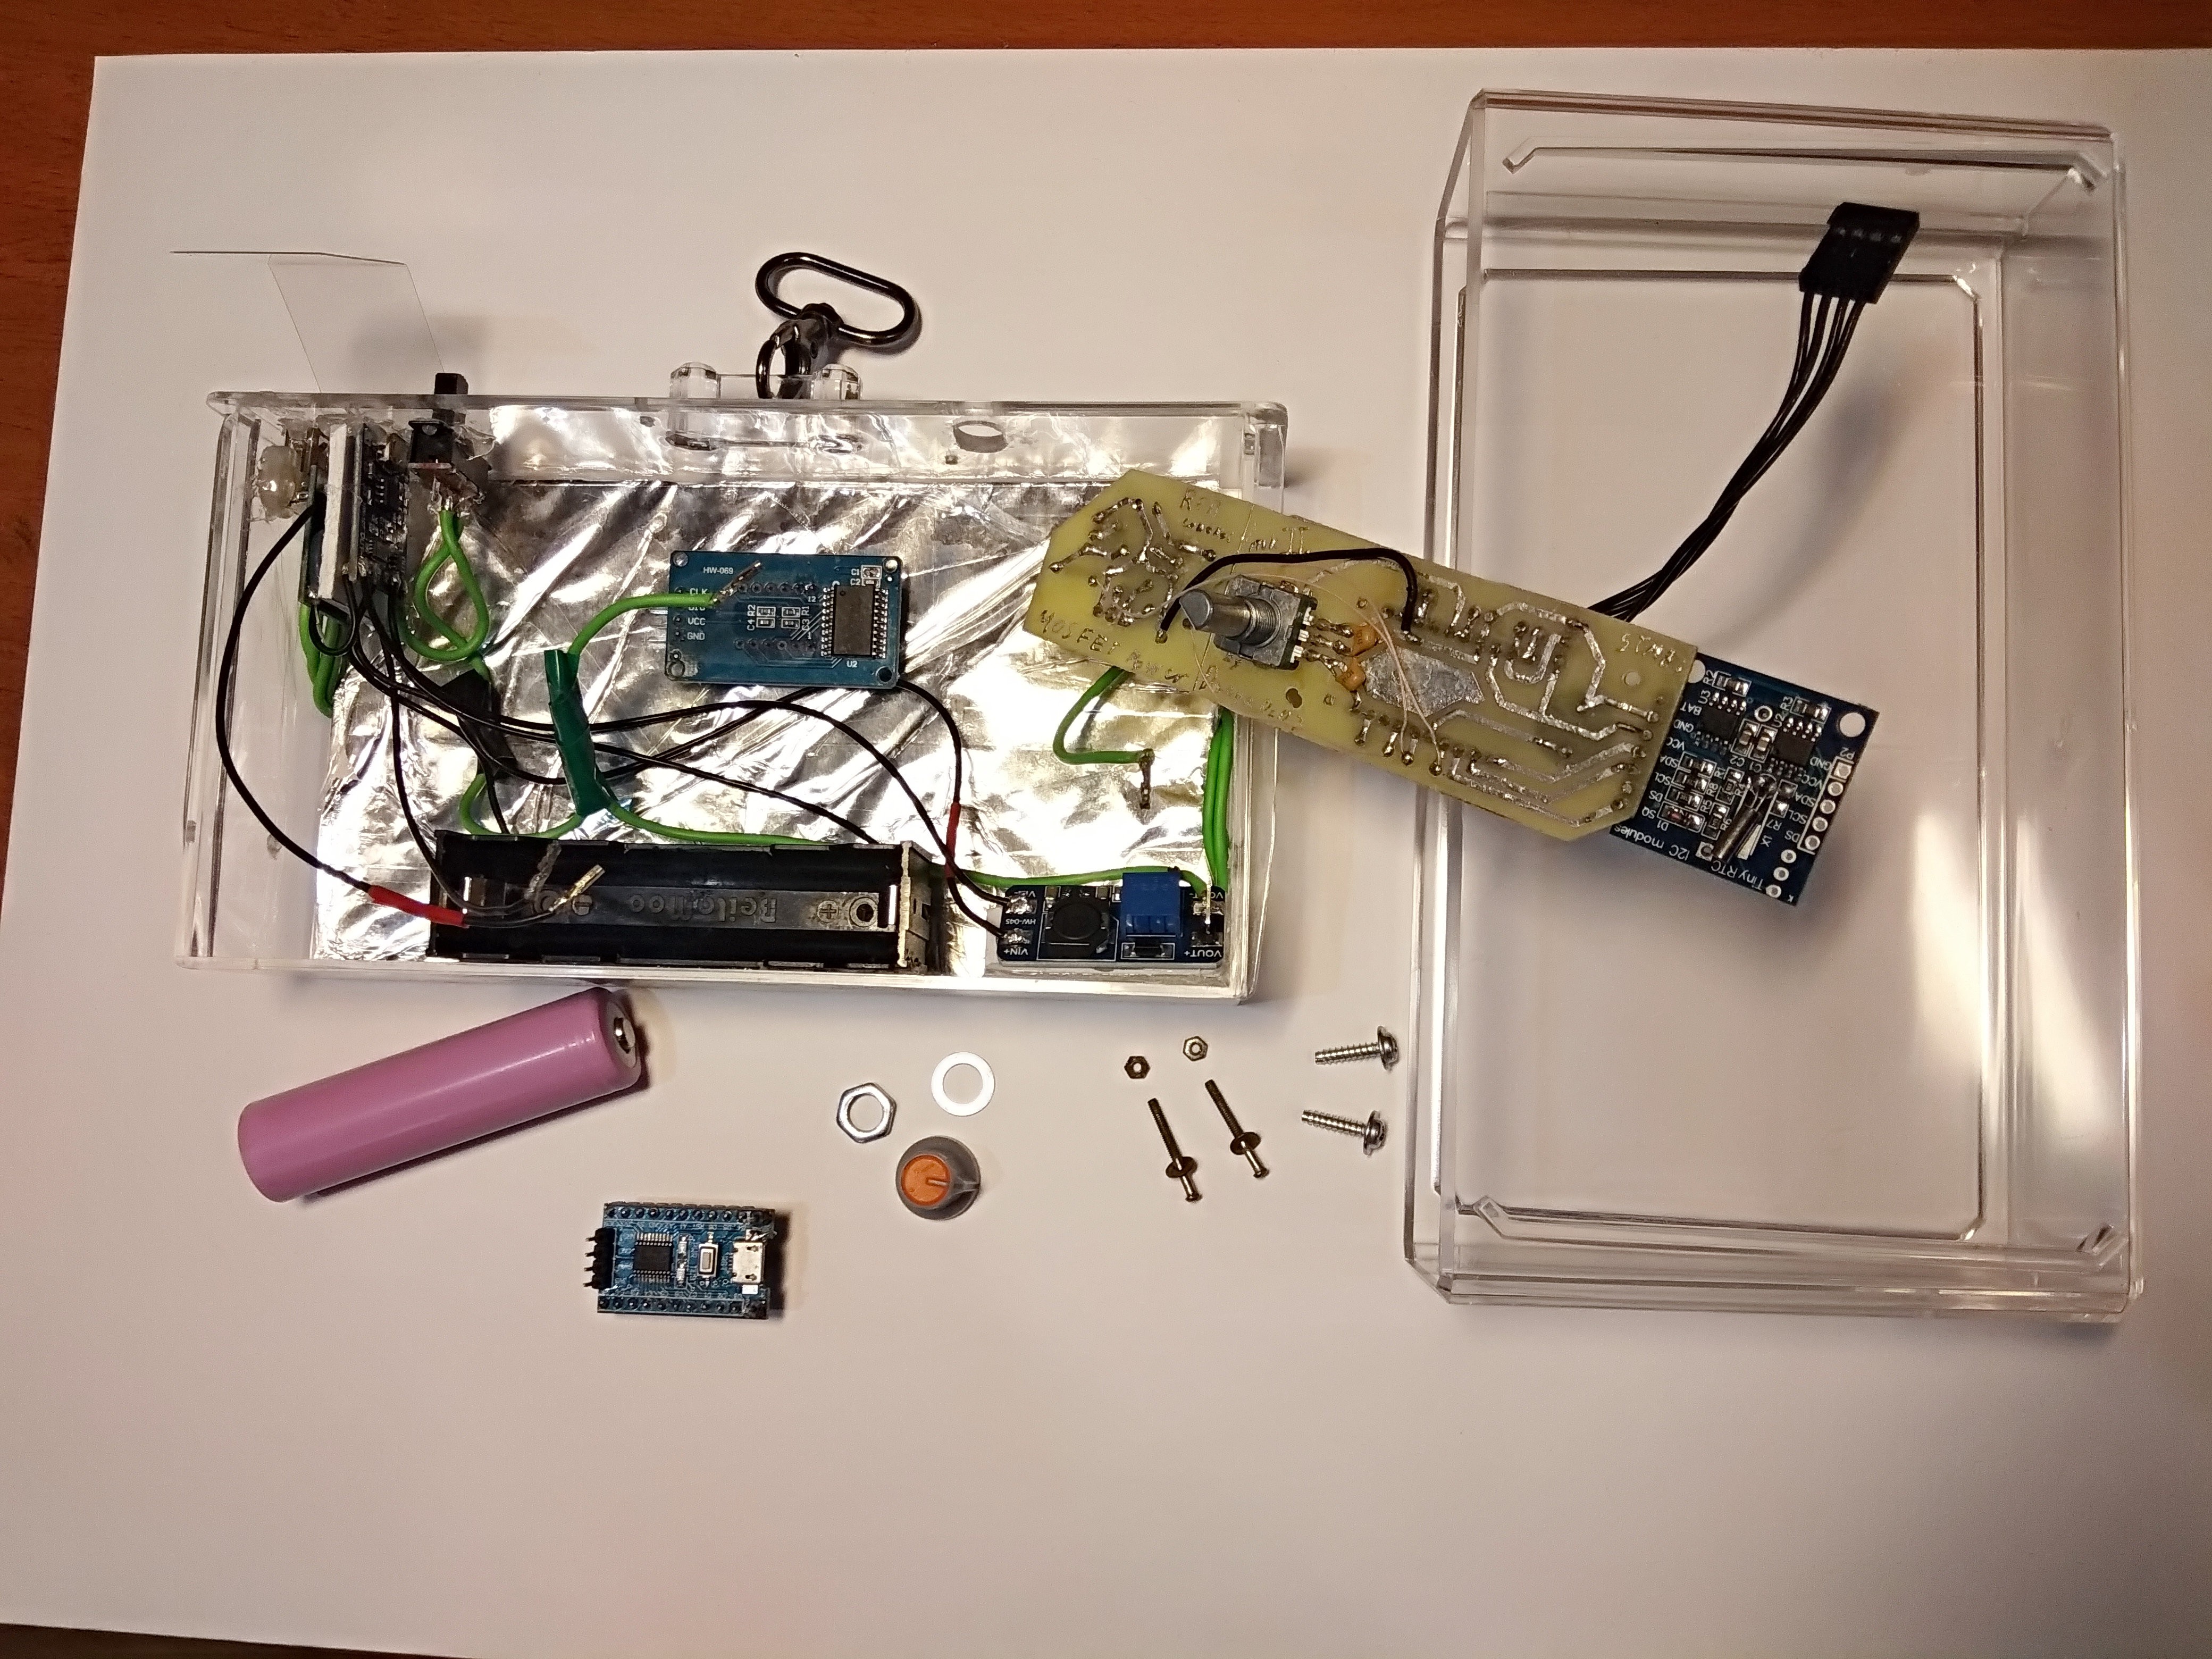
User settings are stored in the non-volatile memory of the DS1307, so they are lost when the CR2032 battery is removed. The charge level is measured using a voltage divider. The buzzer is powered through the BC337 transistor as the STM8 board was unable to provide enough power to make it buzz. The boost DC-DC converter for the RGB strip is fixed in such a way that we can access it if we open the case, so we can regulate the voltage that powers the strip. (currently 10V).

DawnAlarm_mkII was assembled in such a way that it could be partially disassembled, if desired, something to modify.
![]()
Software
Just check the repo.
Since I used the TM1637 module in this project, I wrote a simple cross-platform library for it: https://github.com/Danya0x07/tm1637-simple-library
 Danya0x07