Close
0%
0%

Wireless Doorbell using Arduino and RF Module

These systems have features such as a camera, video recorder & it can be easily installed in any part of the house as it is totally wireless

Similar projects worth following
915 views
0 followers
The project describes how wireless doorbells can be installed in any part of the house which provides additional features such as a camera, video recorder, etc.

About Project

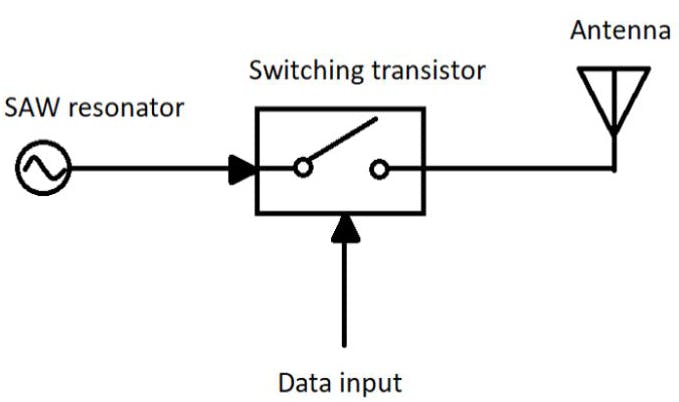
An RF module, which is a Radio Frequency module involves two modules, one which takes the data called the receiver and the one which sends the data called the transmitter.
Wireless Arduino Doorbell

The transmitter module, with the Arduino, is attached near the door and the receiver module with Arduino, can be placed in any part of the room.

When someone drives the switch, it carries the high pulse to the 5th pin of Arduino, which is attached near the door along with the transmitter module.

When this pin becomes HIGH, Arduino sends data via the transmitter and these signals are initiated by the receiver. The Arduino, which is attached to a buzzer, reads these signals and when the data is received.

Receiver Circuit

An RF tuner is utilized to tune the circuit to a specific frequency, which requires meeting the transmitted frequency. An amplifier circuit is utilized to increase a specific frequency from all other signals and to improve the sensitivity of the specific frequency.

  • 1 × RF Module
  • 1 × Arduino Uno
  • 1 × Buzzer
  • 1 × Rotary Encoder with Push-Button
  • 1 × Connecting wires

  • 1
    Run a Program

    Doorbell Transmitter Code

    // ask_transmitter.pde
    // -*- mode: C++ -*-
    // Simple example of how to use RadioHead to transmit messages
    // with a simple ASK transmitter in a very simple way.
    // Implements a simplex (one-way) transmitter with an TX-C1 module

    #include
    #include // Not actually used but needed to compile

    RH_ASK driver;
    // RH_ASK driver(2000, 2, 4, 5); // ESP8266 or ESP32: do not use pin 11


    void setup()
    {
    Serial.begin(9600); // Debugging only
    pinMode(5,INPUT);
    if (!driver.init())
    Serial.println("init failed");
    }

    void loop()
    {
    if(digitalRead(5)==HIGH){
    const char *msg = "a";
    driver.send((uint8_t *)msg, strlen(msg));
    driver.waitPacketSent();
    delay(200);
    }
    }
    Doorbell Receiver Code

    #include
    #include // Not actualy used but needed to compile
    #include "pitches.h" //add Equivalent frequency for musical note
    #include "themes.h" //add Note vale and duration

    RH_ASK driver;

    void setup()
    {
    Serial.begin(9600); // Debugging only

    if (!driver.init())
    Serial.println("init failed");
    else
    Serial.println("done");
    }

    void Play_Pirates()
    {
    for (int thisNote = 0; thisNote < (sizeof(Pirates_note)/sizeof(int)); thisNote++) {

    int noteDuration = 1000 / Pirates_duration[thisNote];//convert duration to time delay
    tone(8, Pirates_note[thisNote], noteDuration);

    int pauseBetweenNotes = noteDuration * 1.05; //Here 1.05 is tempo, increase to play it slower
    delay(pauseBetweenNotes);
    noTone(8); //stop music on pin 8
    }
    }

    void loop()
    {
    uint8_t buf[1];
    uint8_t buflen = sizeof(buf);

    if (driver.recv(buf, &buflen)) // Non-blocking
    {
    Serial.println("Selected -> 'He is a Pirate' ");
    Play_Pirates();
    Serial.println("stop");
    }
    }

View all instructions

Enjoy this project?

Share

Discussions

Similar Projects

Does this project spark your interest?

Become a member to follow this project and never miss any updates