I've always liked the light indications of modern cnc machines (red: error , green: working , orange/yellow: paused, manual operation etc.) and wanted to implement this feature in my toolchanger design. I'm using adressable LED's so it possible not just to show the overall status with red, green and yellow. The 16bit LED-bar allows to show the printing procress in 6.25% time increments. Therefore the LED's switch incrementally from white to green (based on the estimated print time).
The Frontpanel assembly:
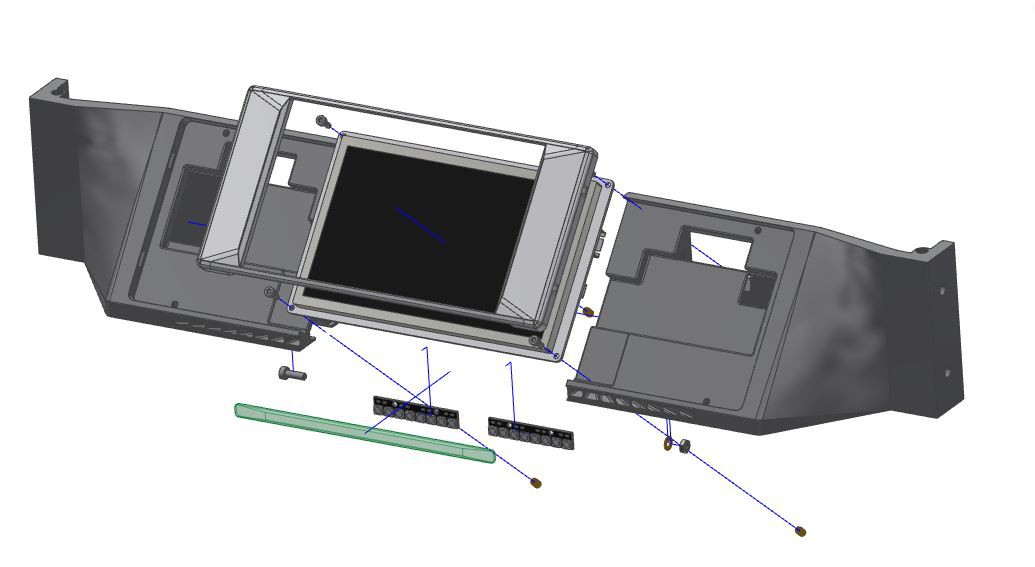
As you can see the actual status bar at the front is significantly longer than the actual 16bit-LED (2x 8Bit WS2812). Therefore I had to test the homogeneity with the brightness.
The subcomponent test:
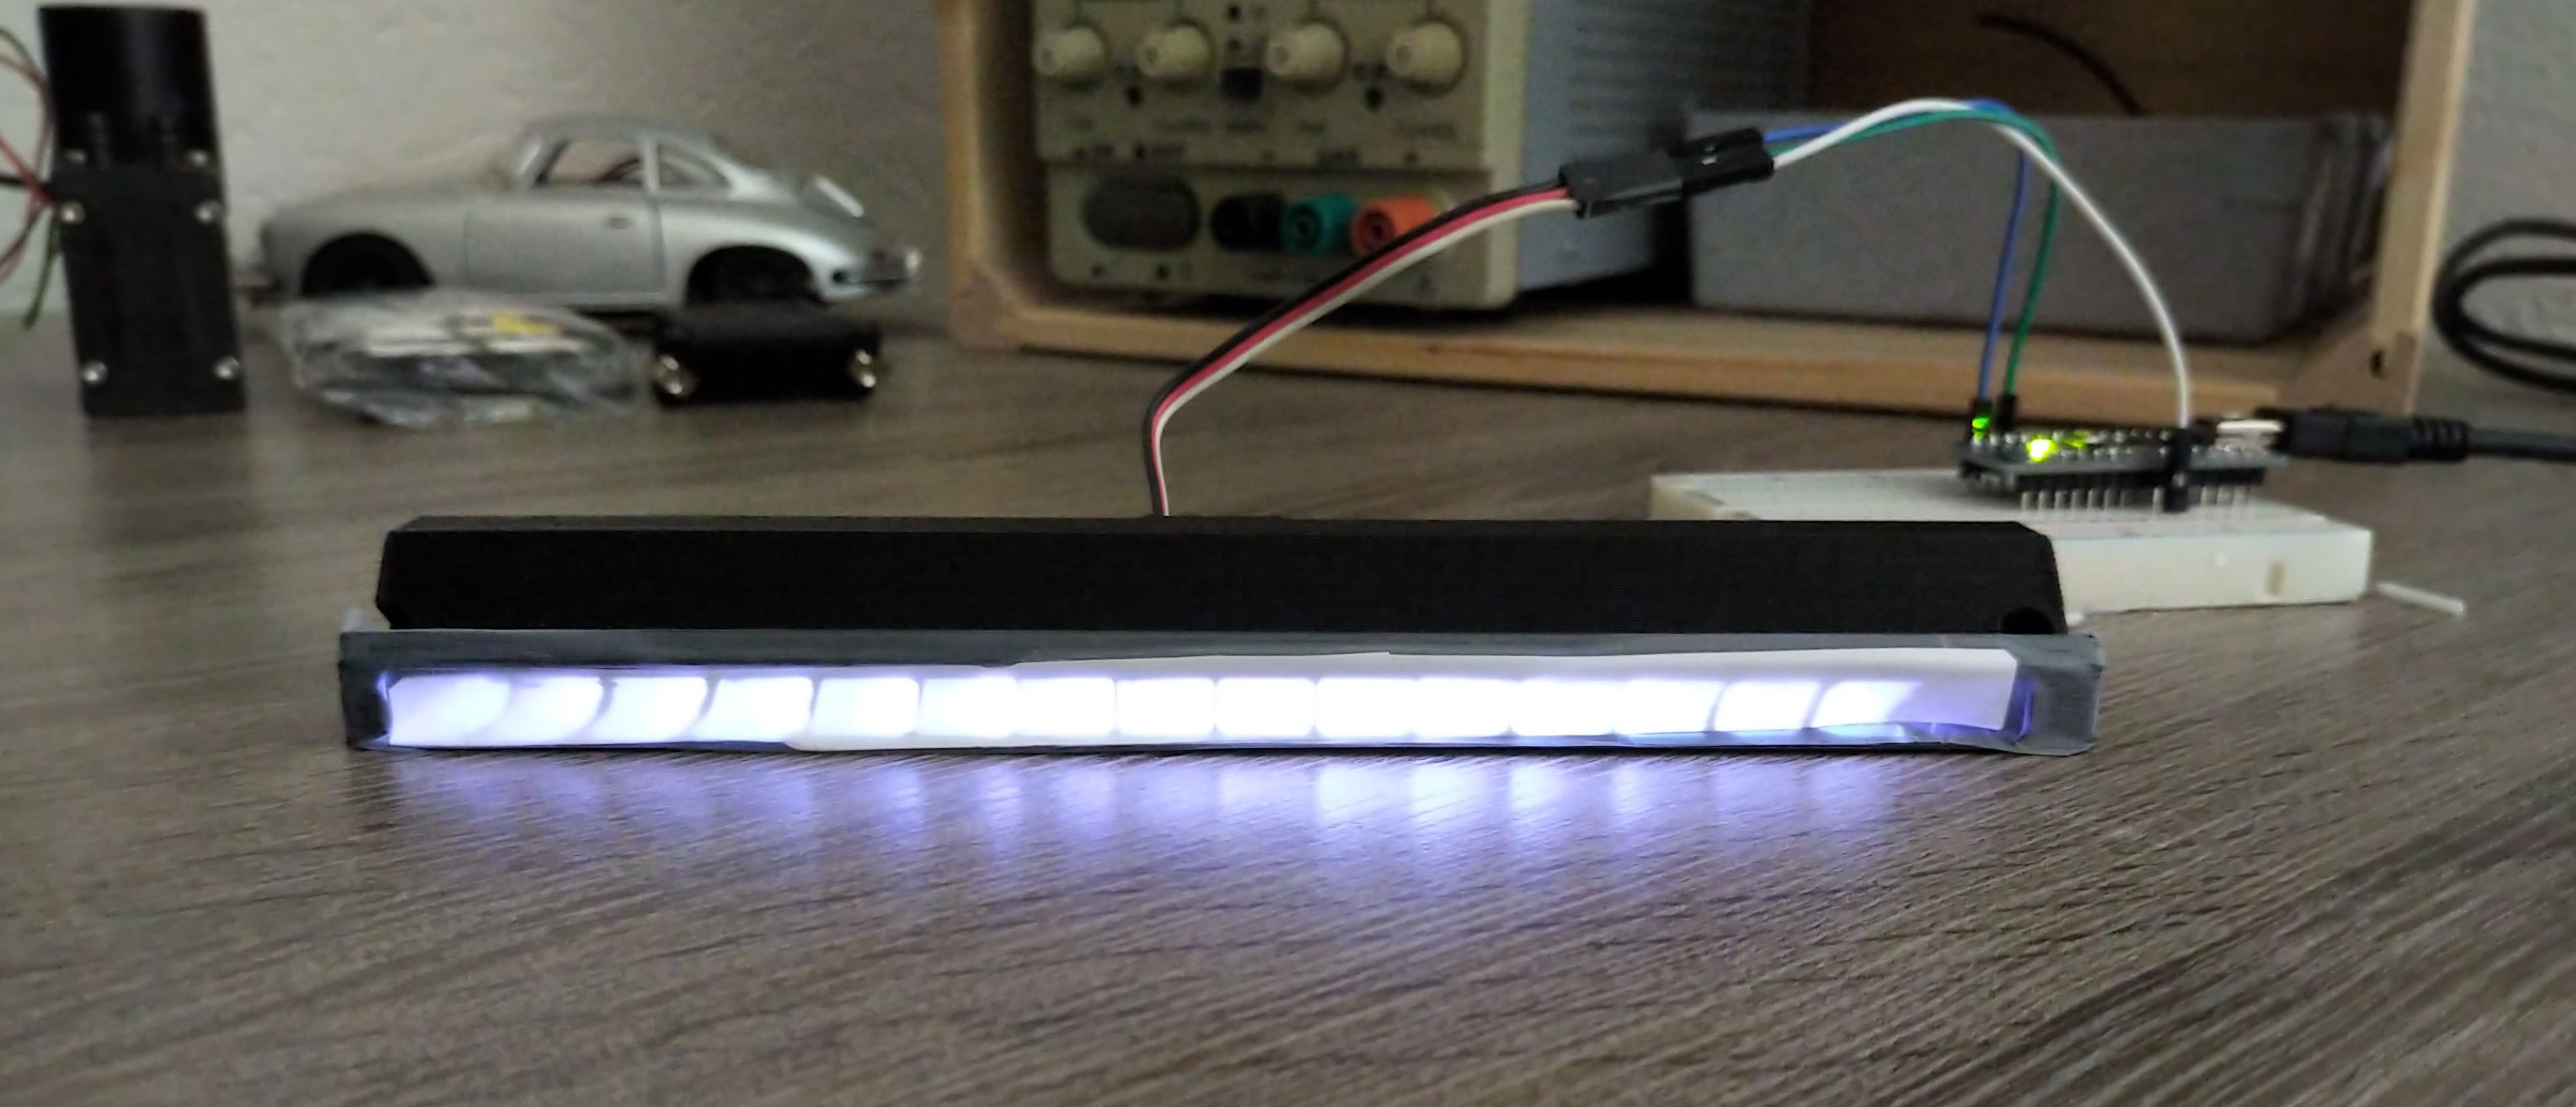
For proof of concept I've used paper and tape to see if the light ''channels'' even work.
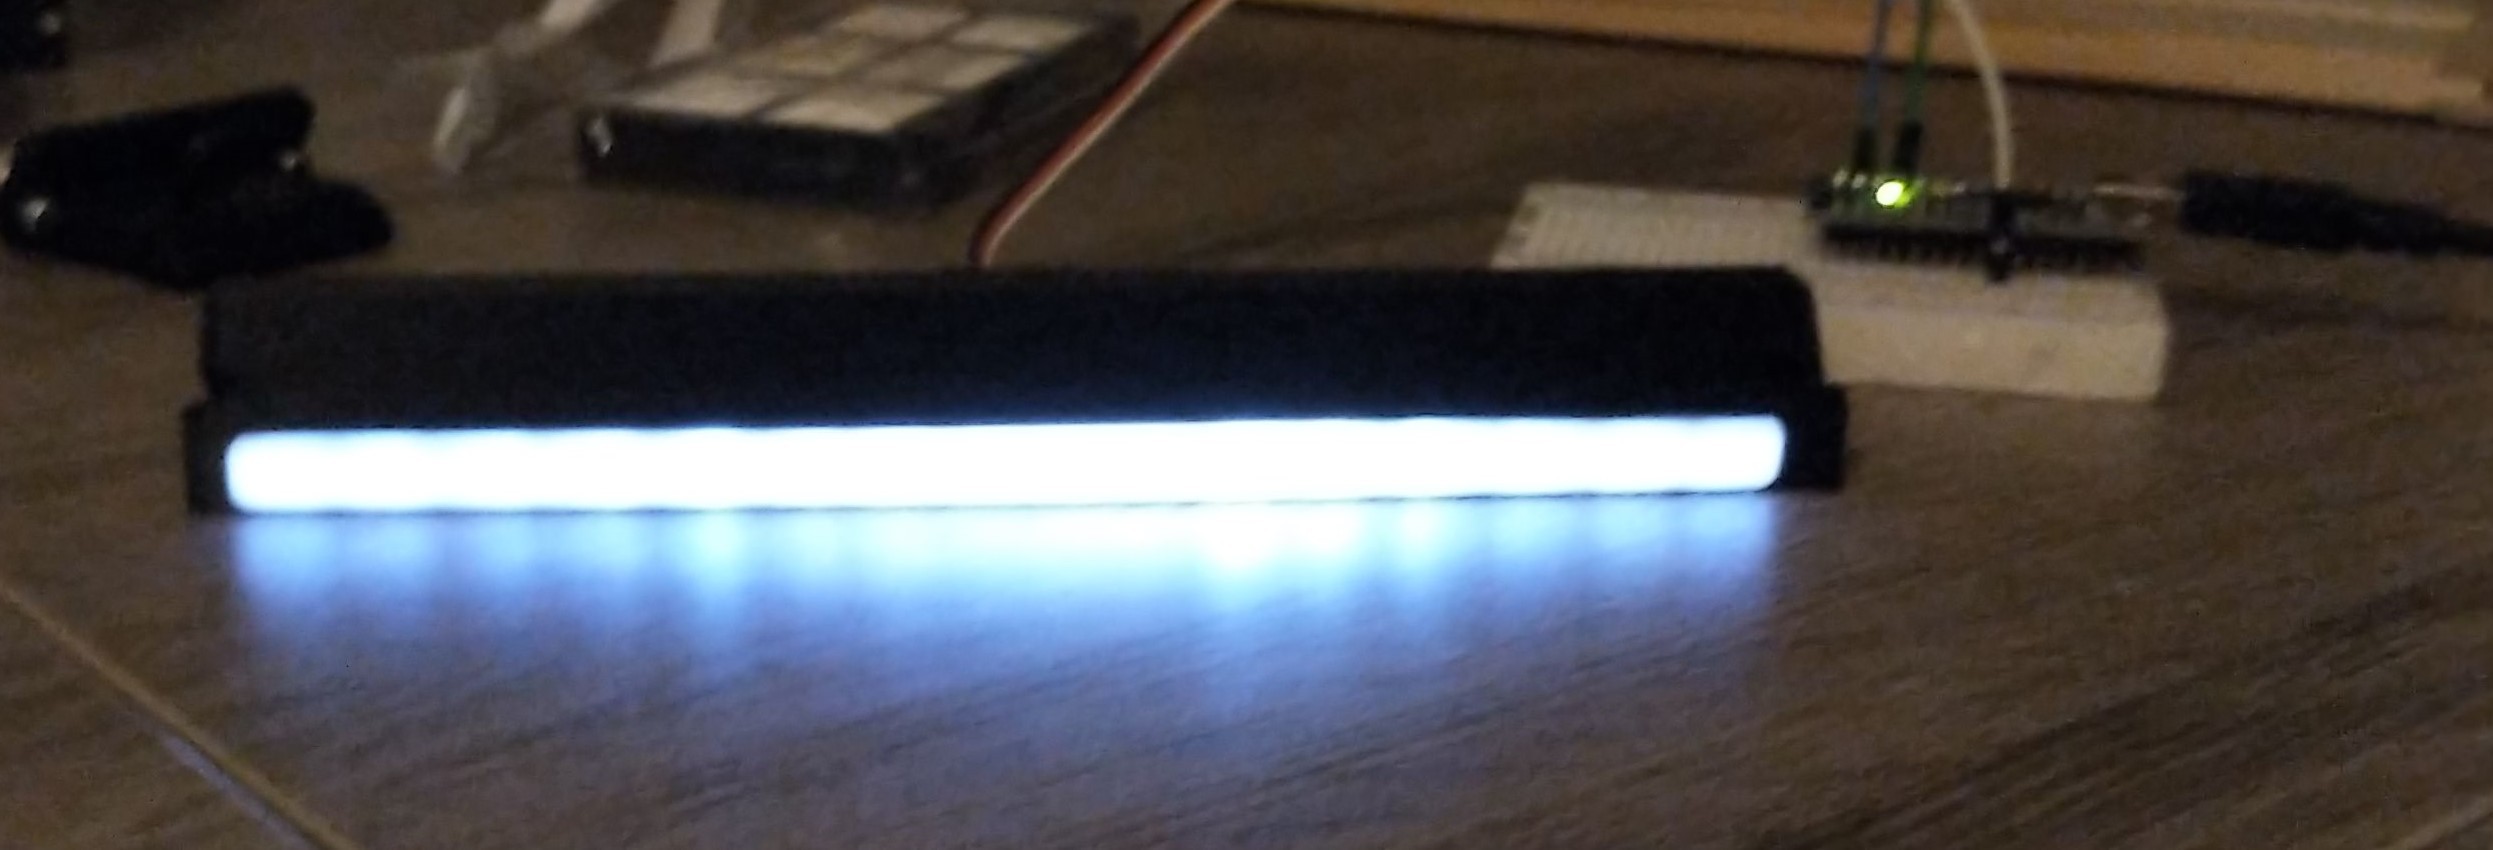
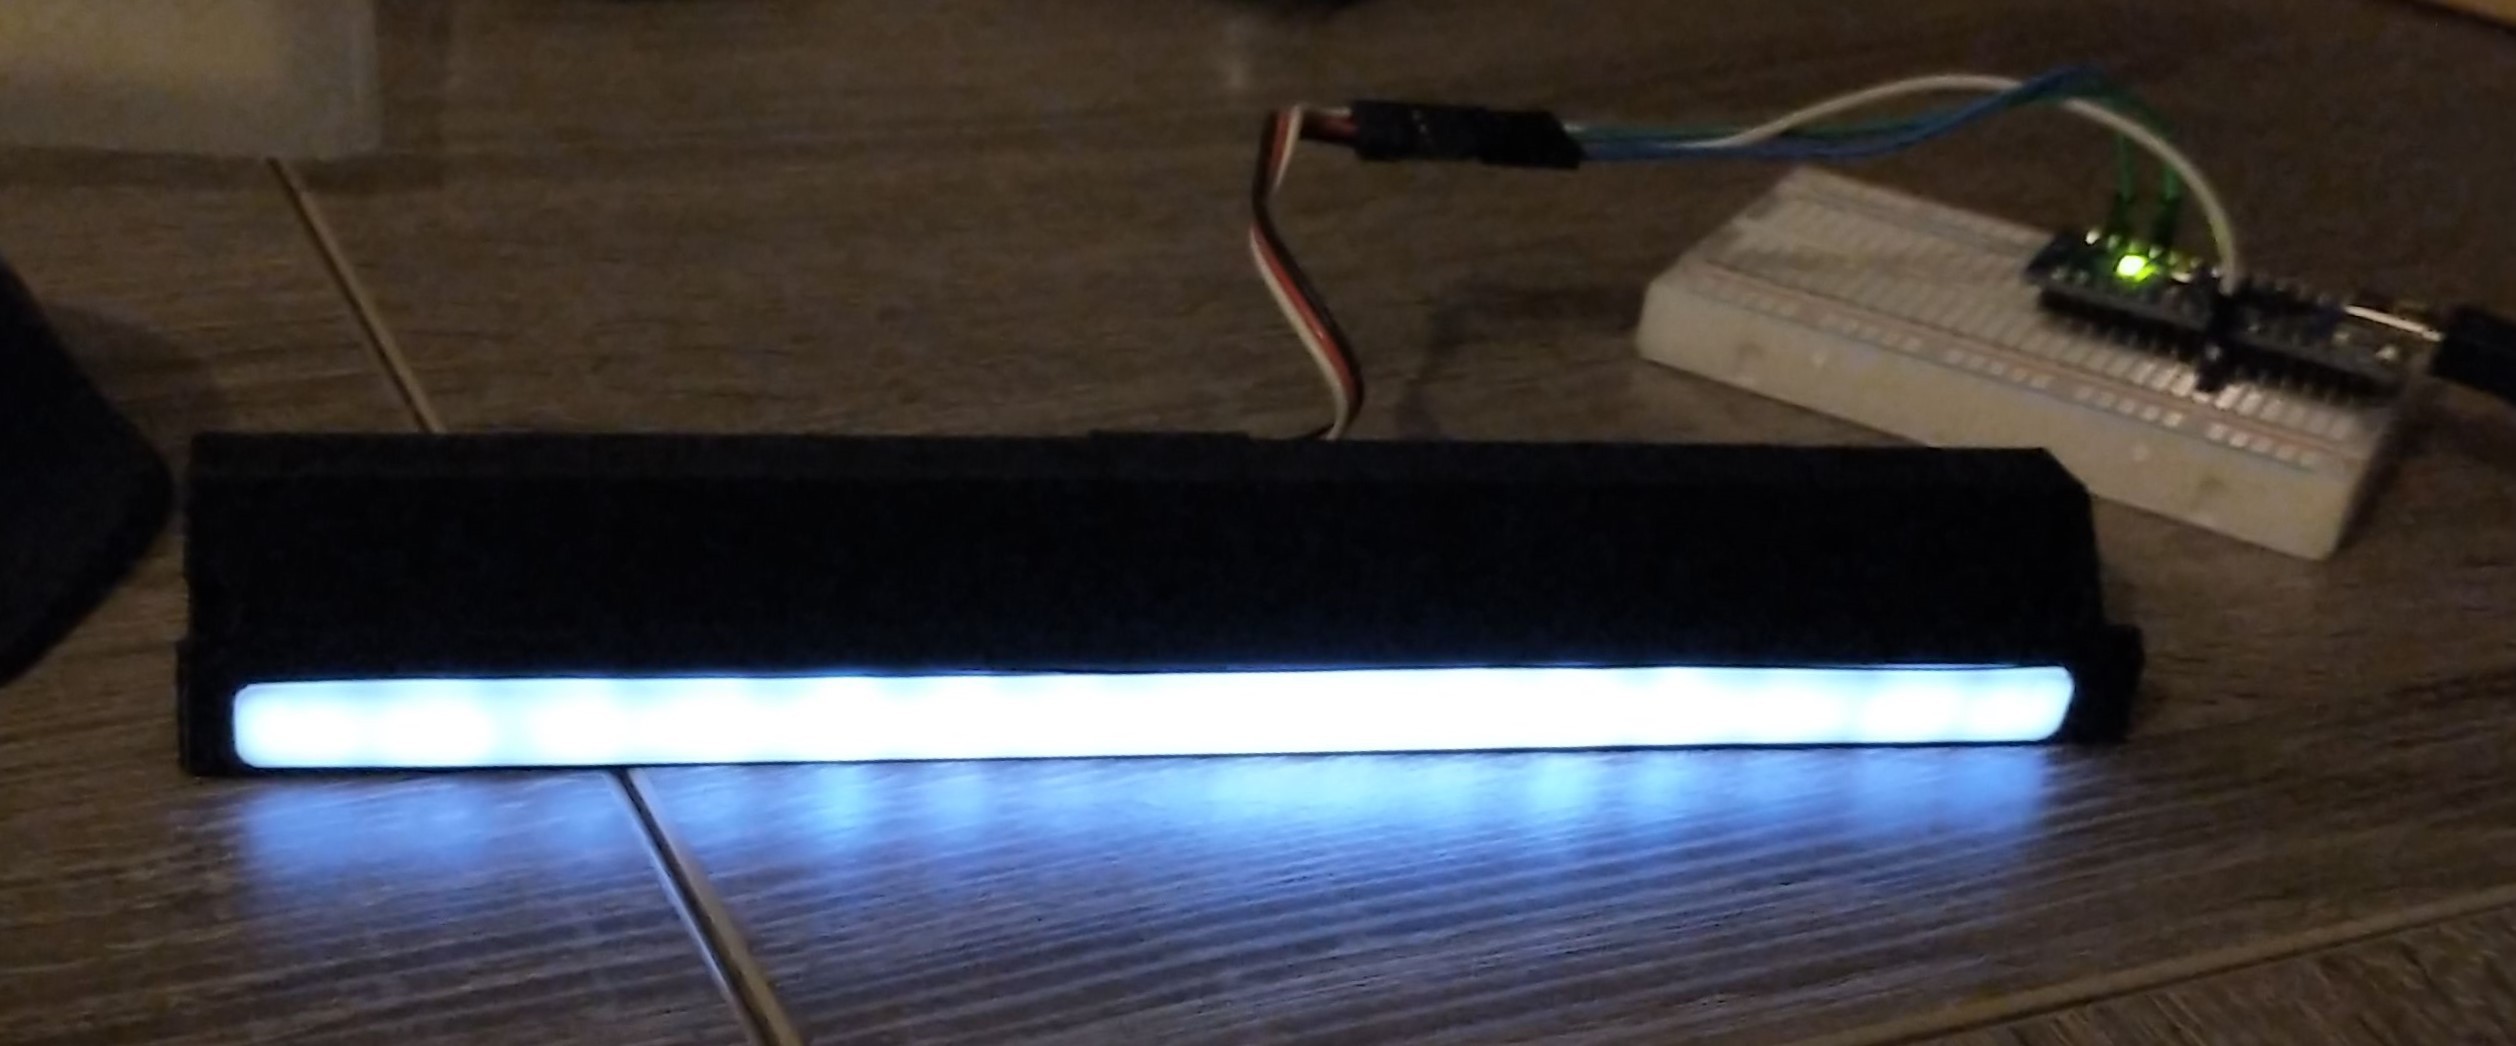
To improve the homogeinity I've adressed the LED's individually and set the brighness for better appearance.
Testing other colors with the front panel:
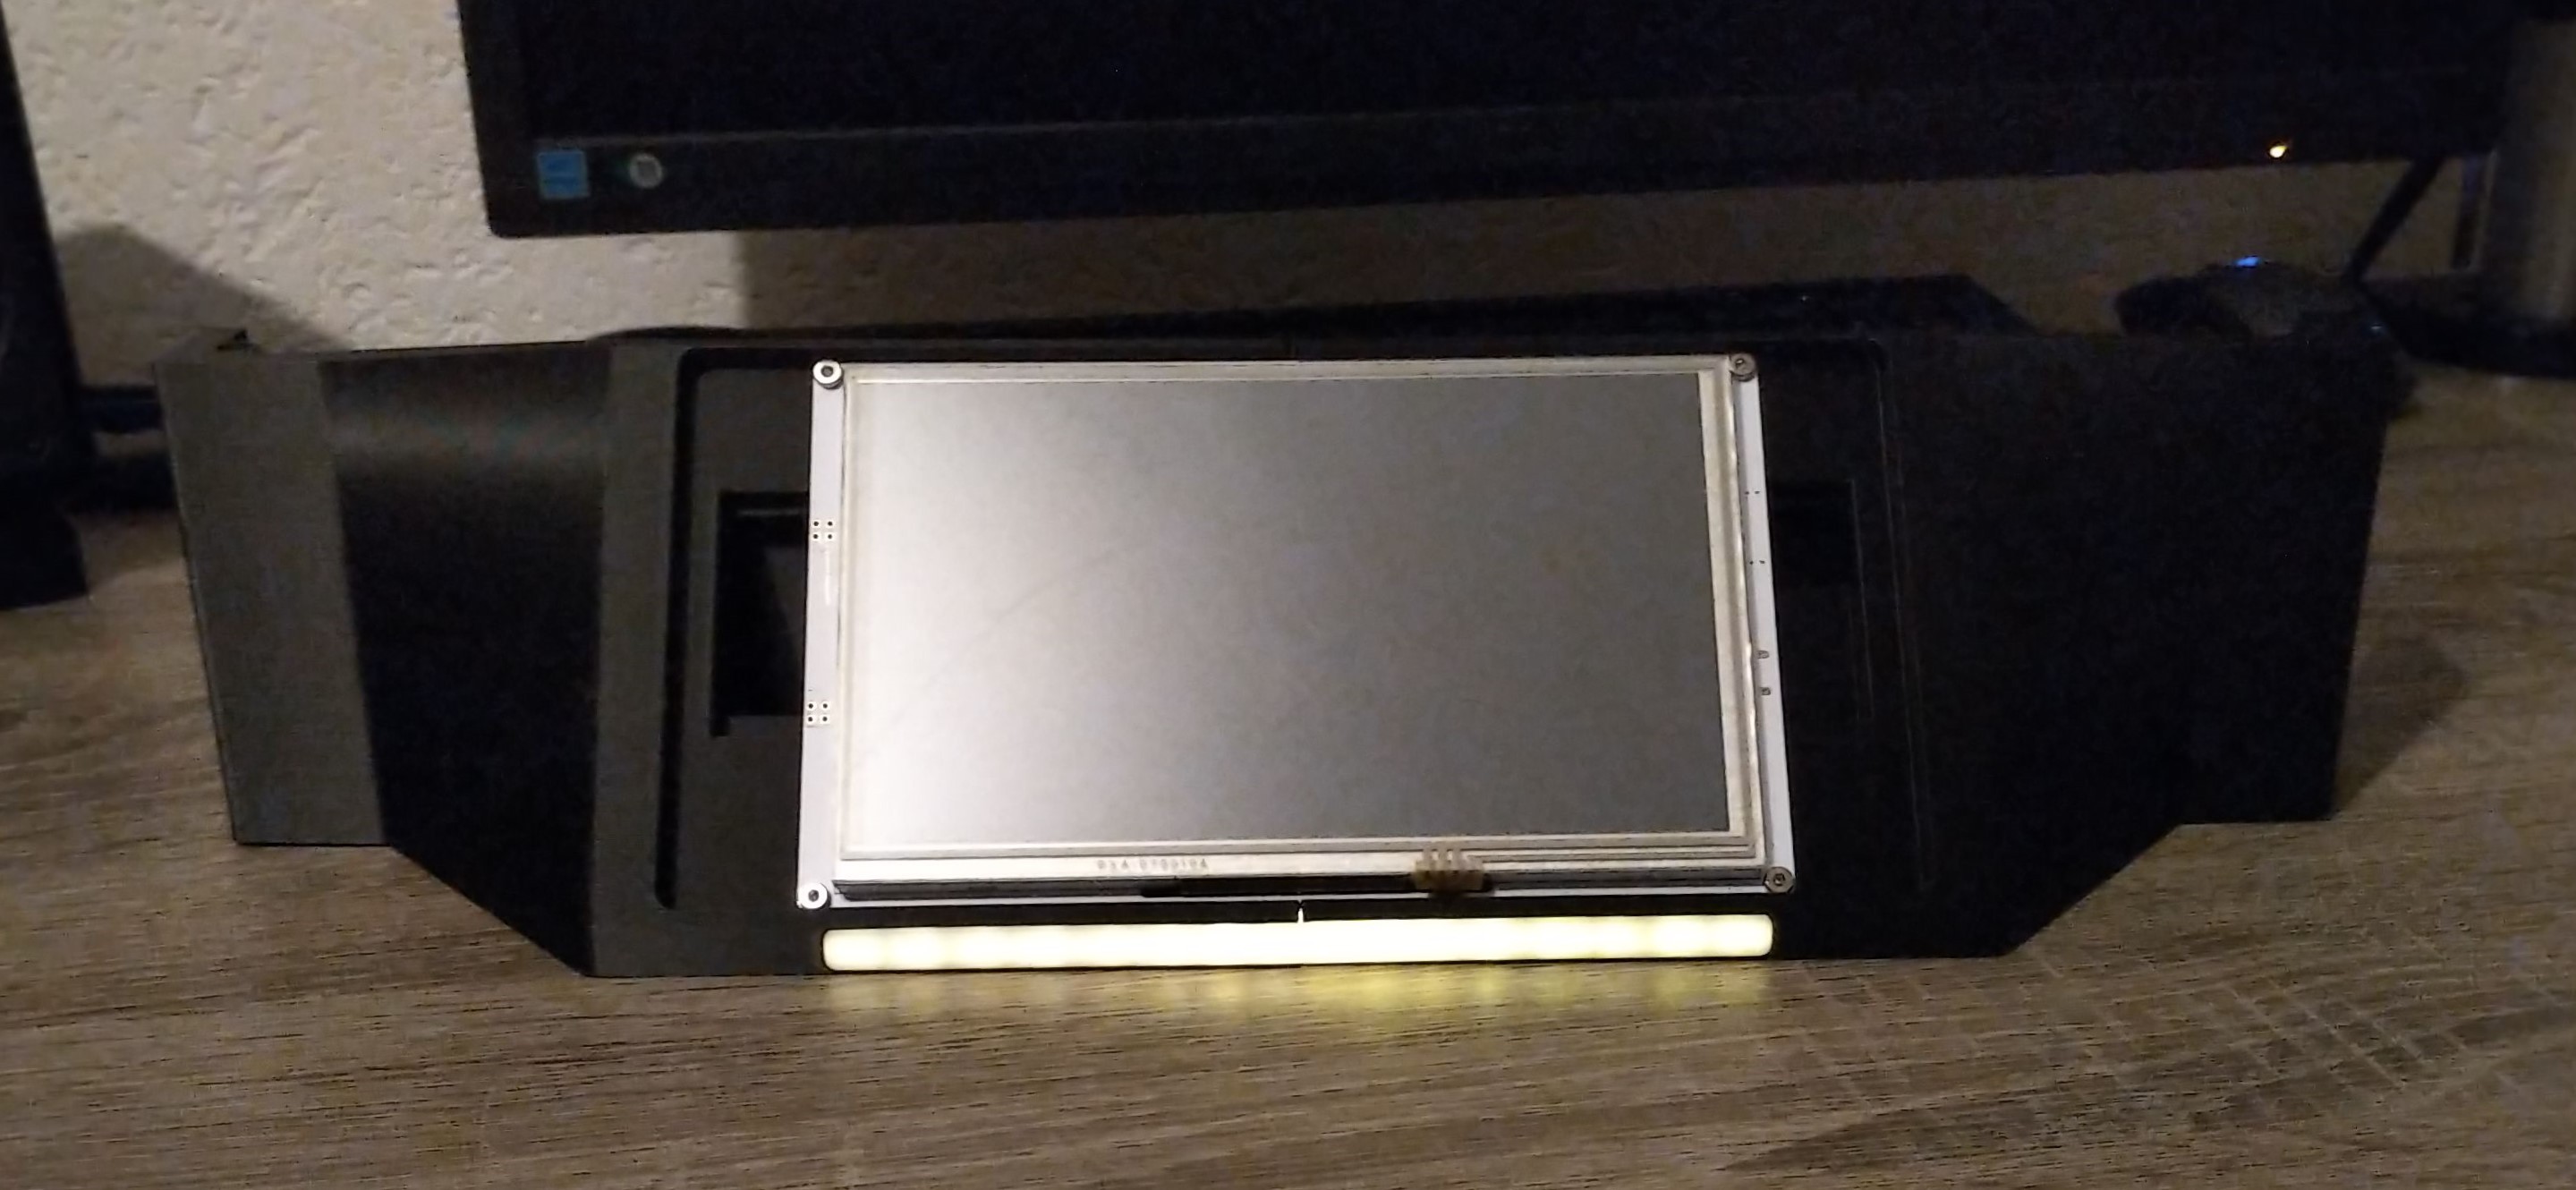
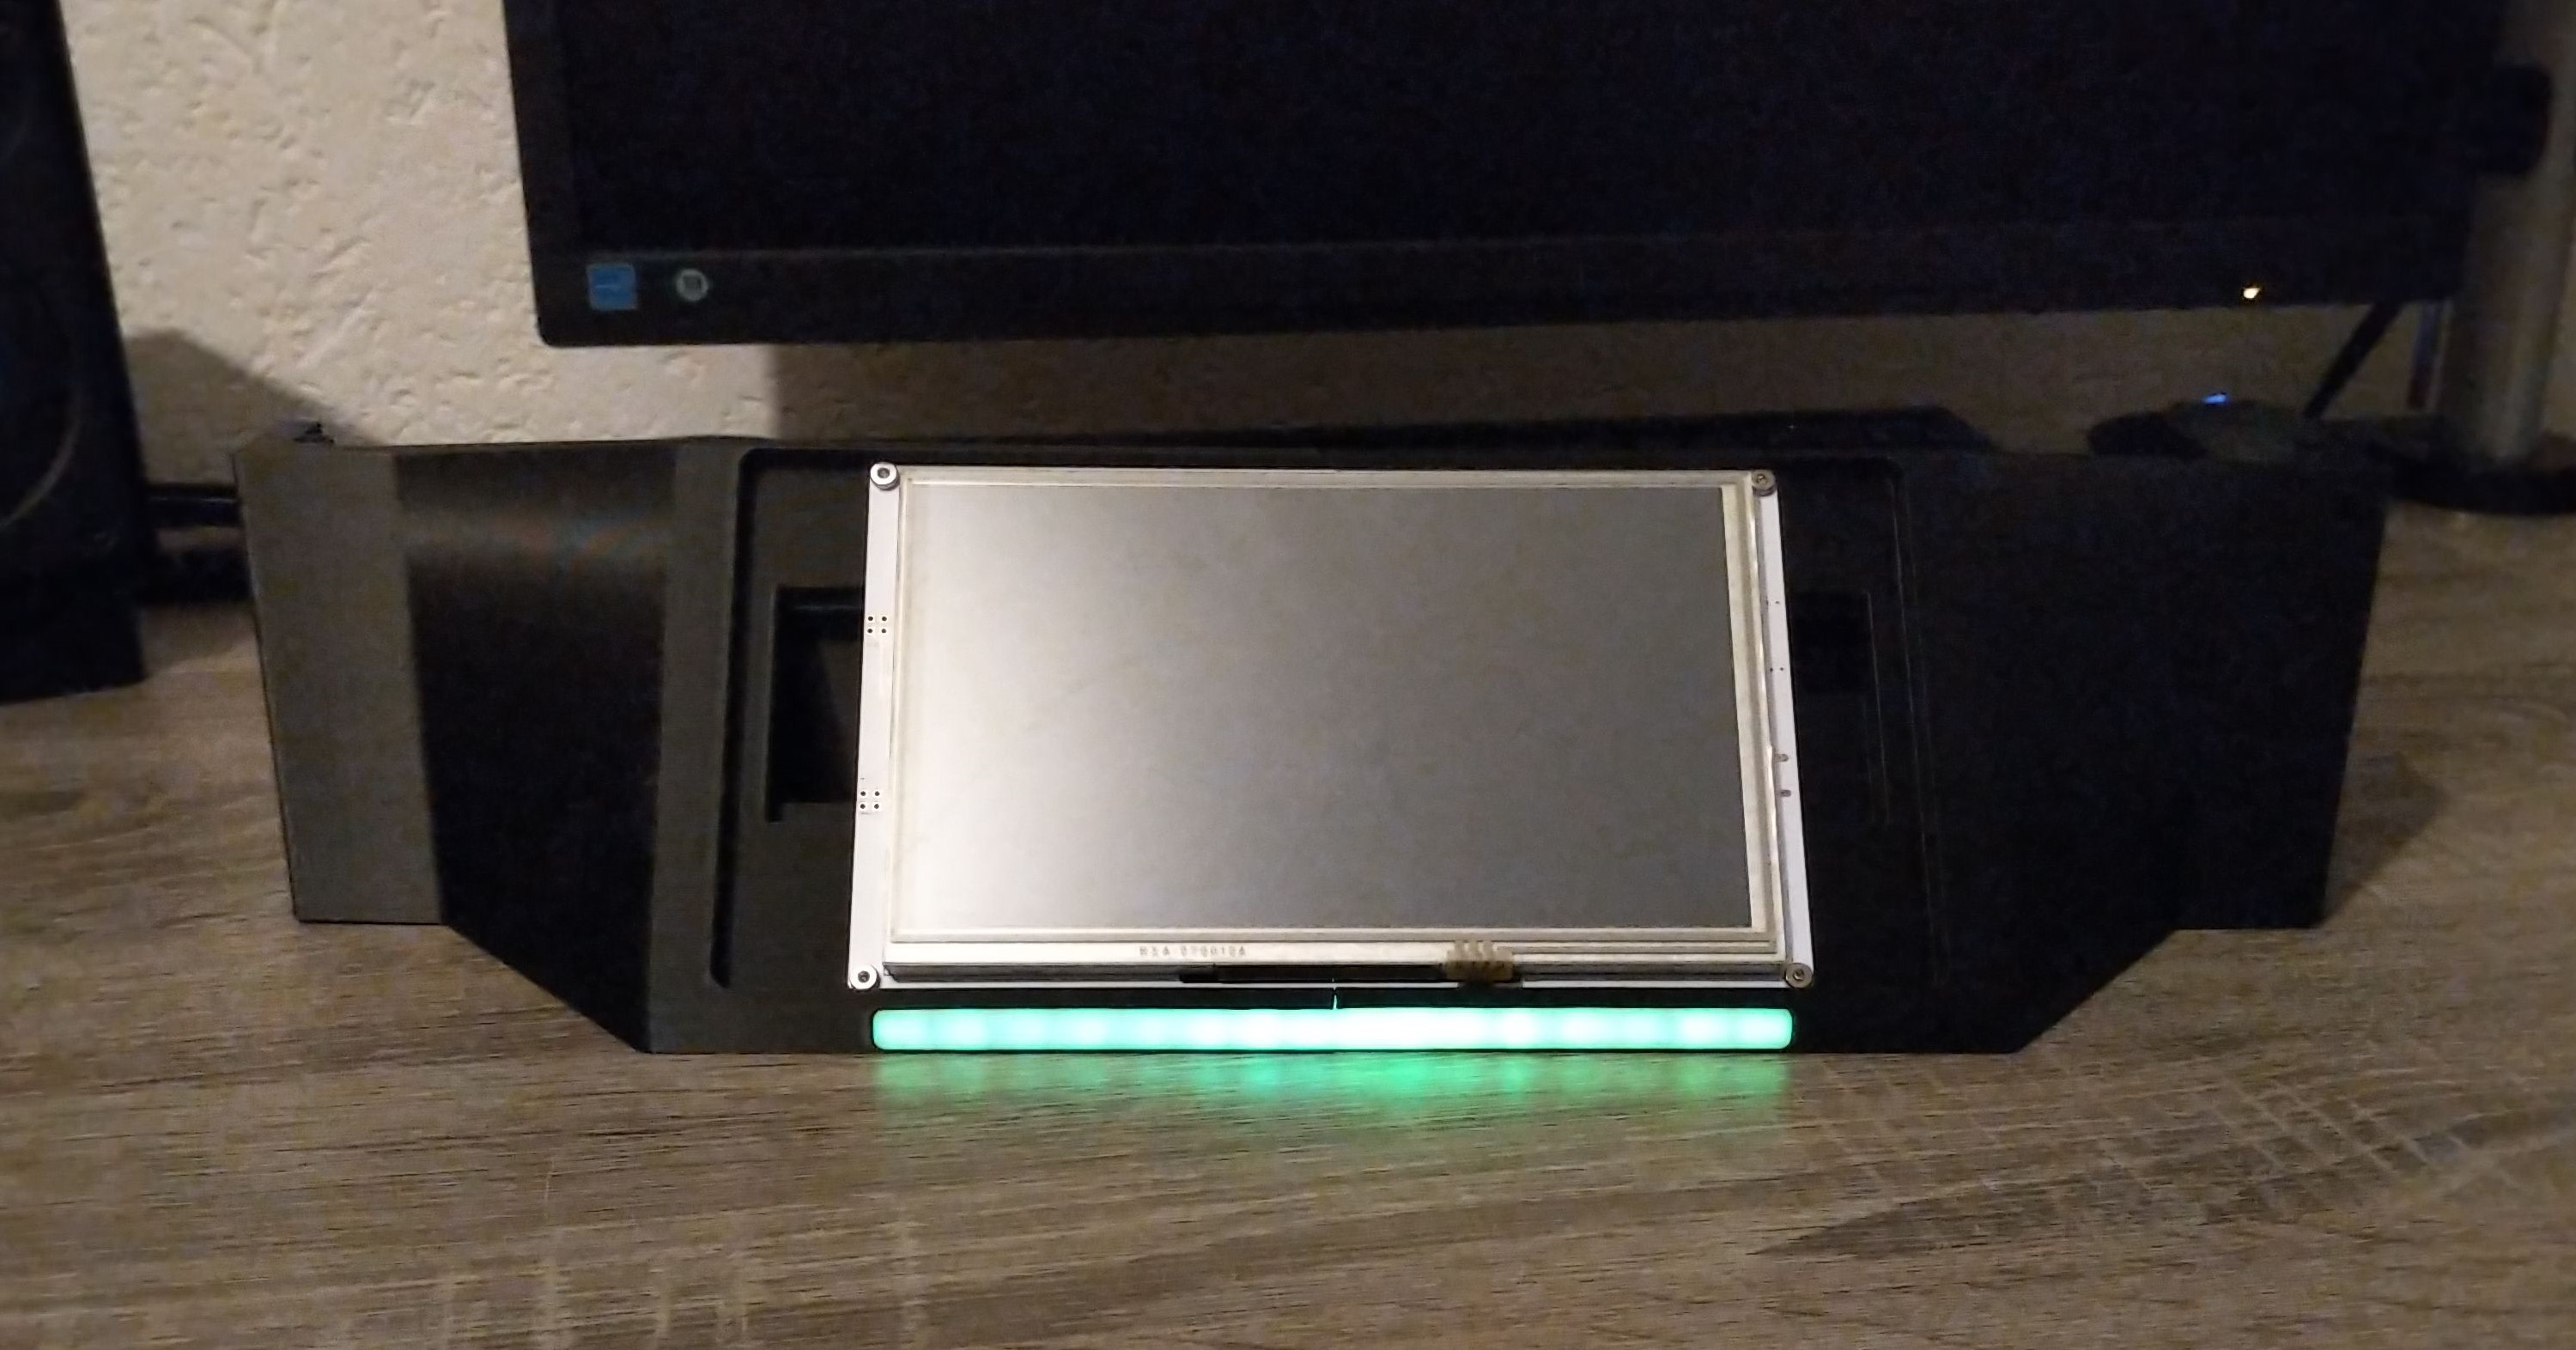
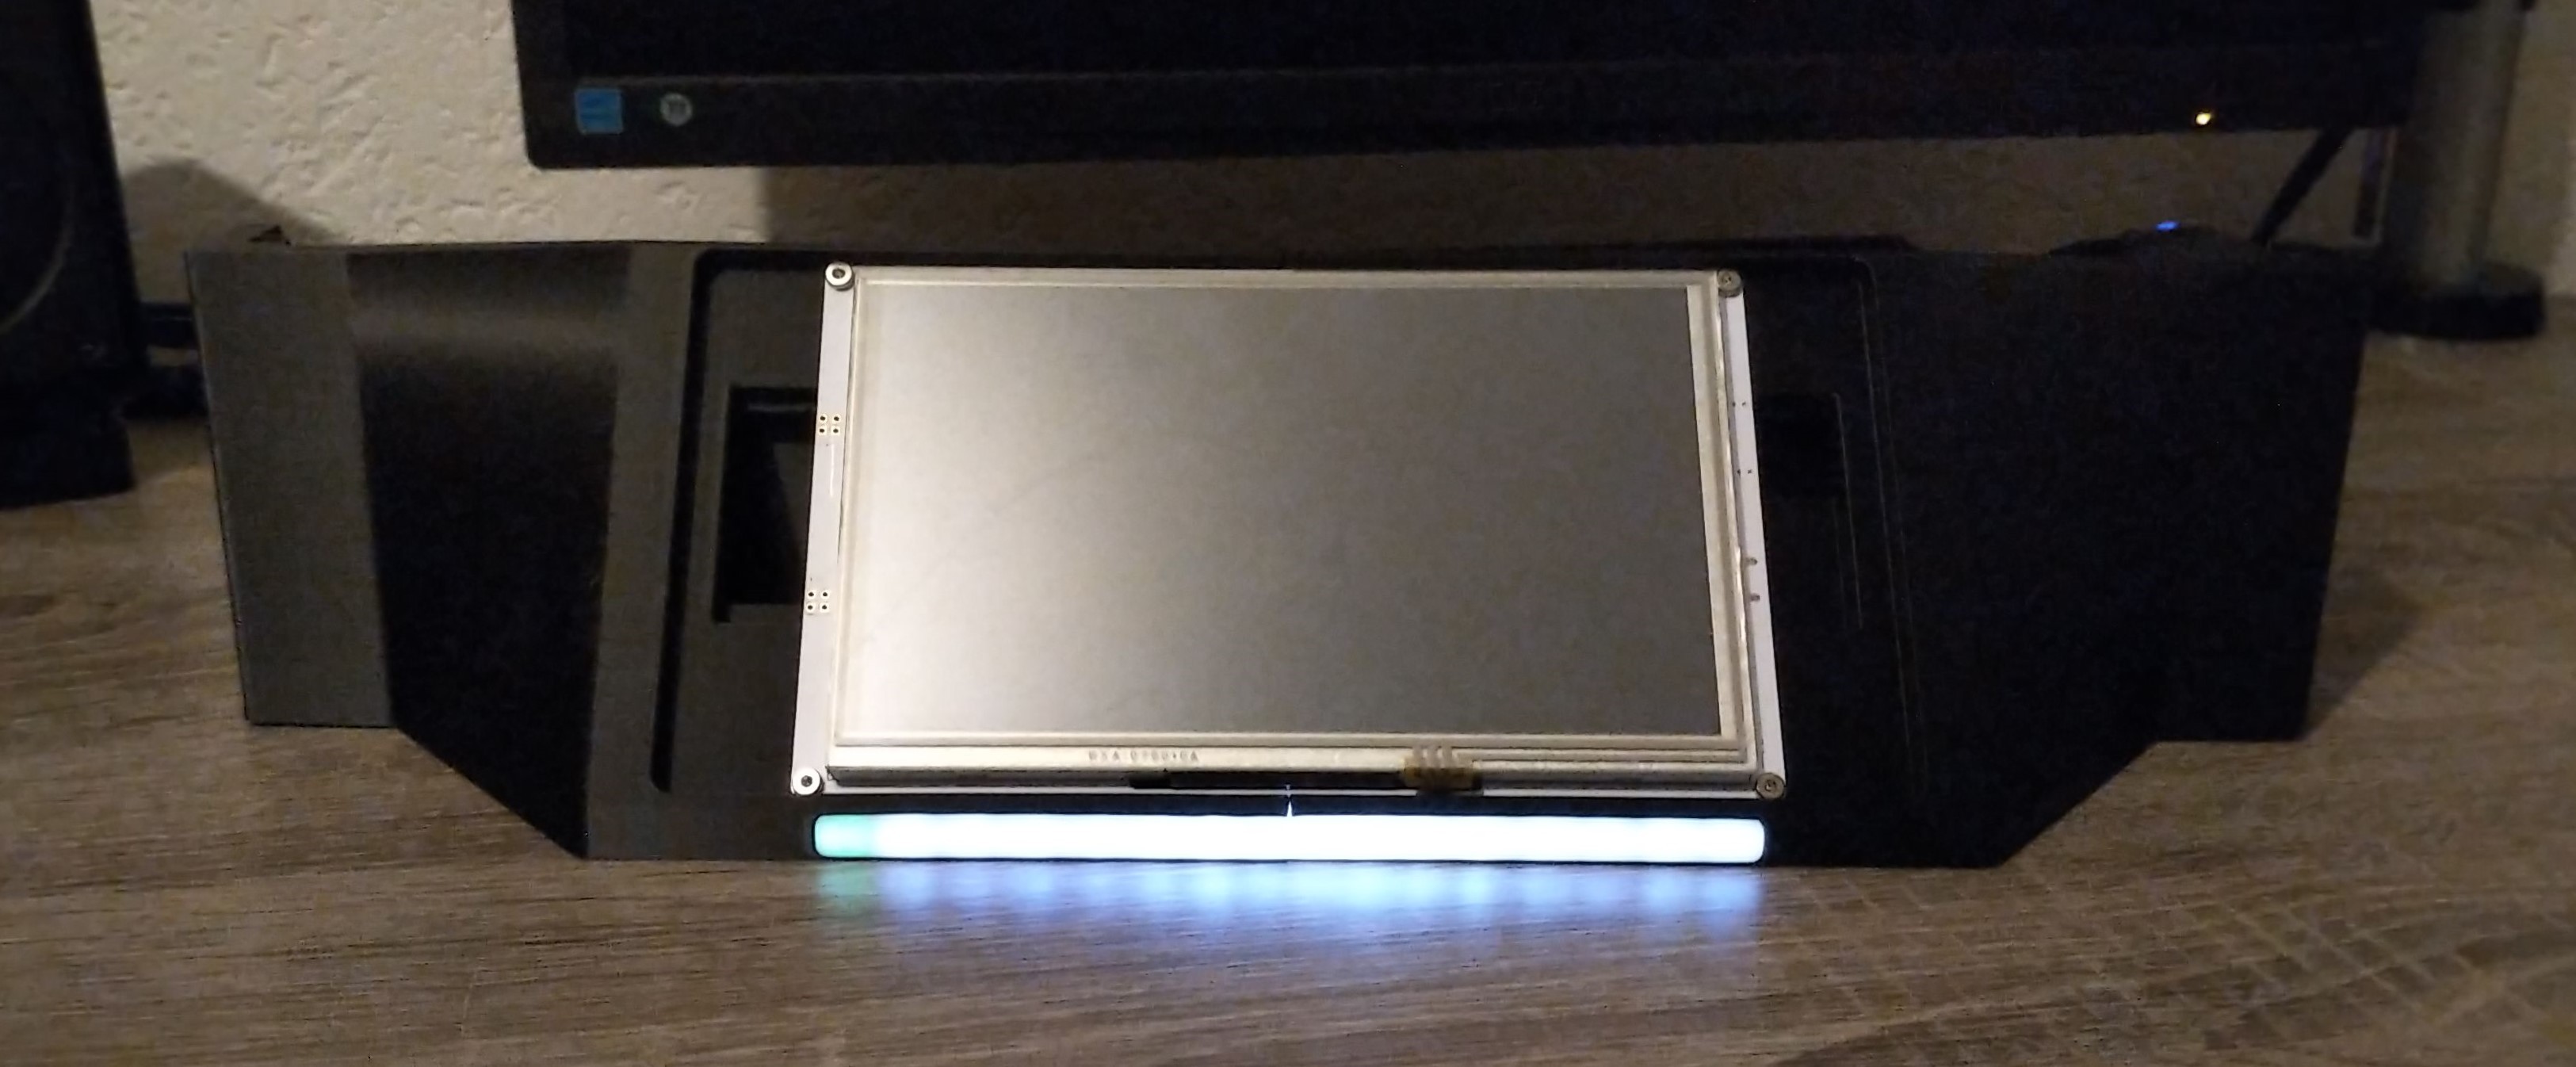
The Quick&Dirty Code for the progress bar:
for (int i = 0; i < NUMPIXELS; i++)
{
if (i <= 2 || i > 12)
{
pixels.setPixelColor(i, pixels.Color(255, 255, 255));
pixels.show(); // This sends the updated pixel color to the hardware.
delay(delayval); // Delay for a period of time (in milliseconds).
}
else
{
if (i == 3 || i == 12)
{
pixels.setPixelColor(i, pixels.Color(130, 130, 130));
pixels.show(); // This sends the updated pixel color to the hardware.
delay(delayval); // Delay for a period of time (in milliseconds).
}
else
{
if (i == 4 || i == 11)
{
pixels.setPixelColor(i, pixels.Color(100, 100, 100));
pixels.show(); // This sends the updated pixel color to the hardware.
delay(delayval); // Delay for a period of time (in milliseconds).
}
else
{
if (i == 5 || i == 10)
{
pixels.setPixelColor(i, pixels.Color(50, 50, 50));
pixels.show(); // This sends the updated pixel color to the hardware.
delay(delayval); // Delay for a period of time (in milliseconds).
}
else
{
if (i == 6 || i == 9)
{
pixels.setPixelColor(i, pixels.Color(40, 40, 40));
pixels.show(); // This sends the updated pixel color to the hardware.
delay(delayval); // Delay for a period of time (in milliseconds).
}
else
{
if (i == 7 || i == 8)
{
pixels.setPixelColor(i, pixels.Color(30, 30, 30));
pixels.show(); // This sends the updated pixel color to the hardware.
delay(delayval); // Delay for a period of time (in milliseconds).
}
}
}
}
}
}
}
}
Implementation:
For the implementation in the Duet-Firmware I will write a class ''LED_Color'' and use the arduino Nano as a slave which just receives the task ''Green'' , ''Orange'', ''Red'' and ''Status''. The actual code isn't done yet.
 Simon Wirz
Discussions
Become a Hackaday.io Member
Create an account to leave a comment. Already have an account? Log In.