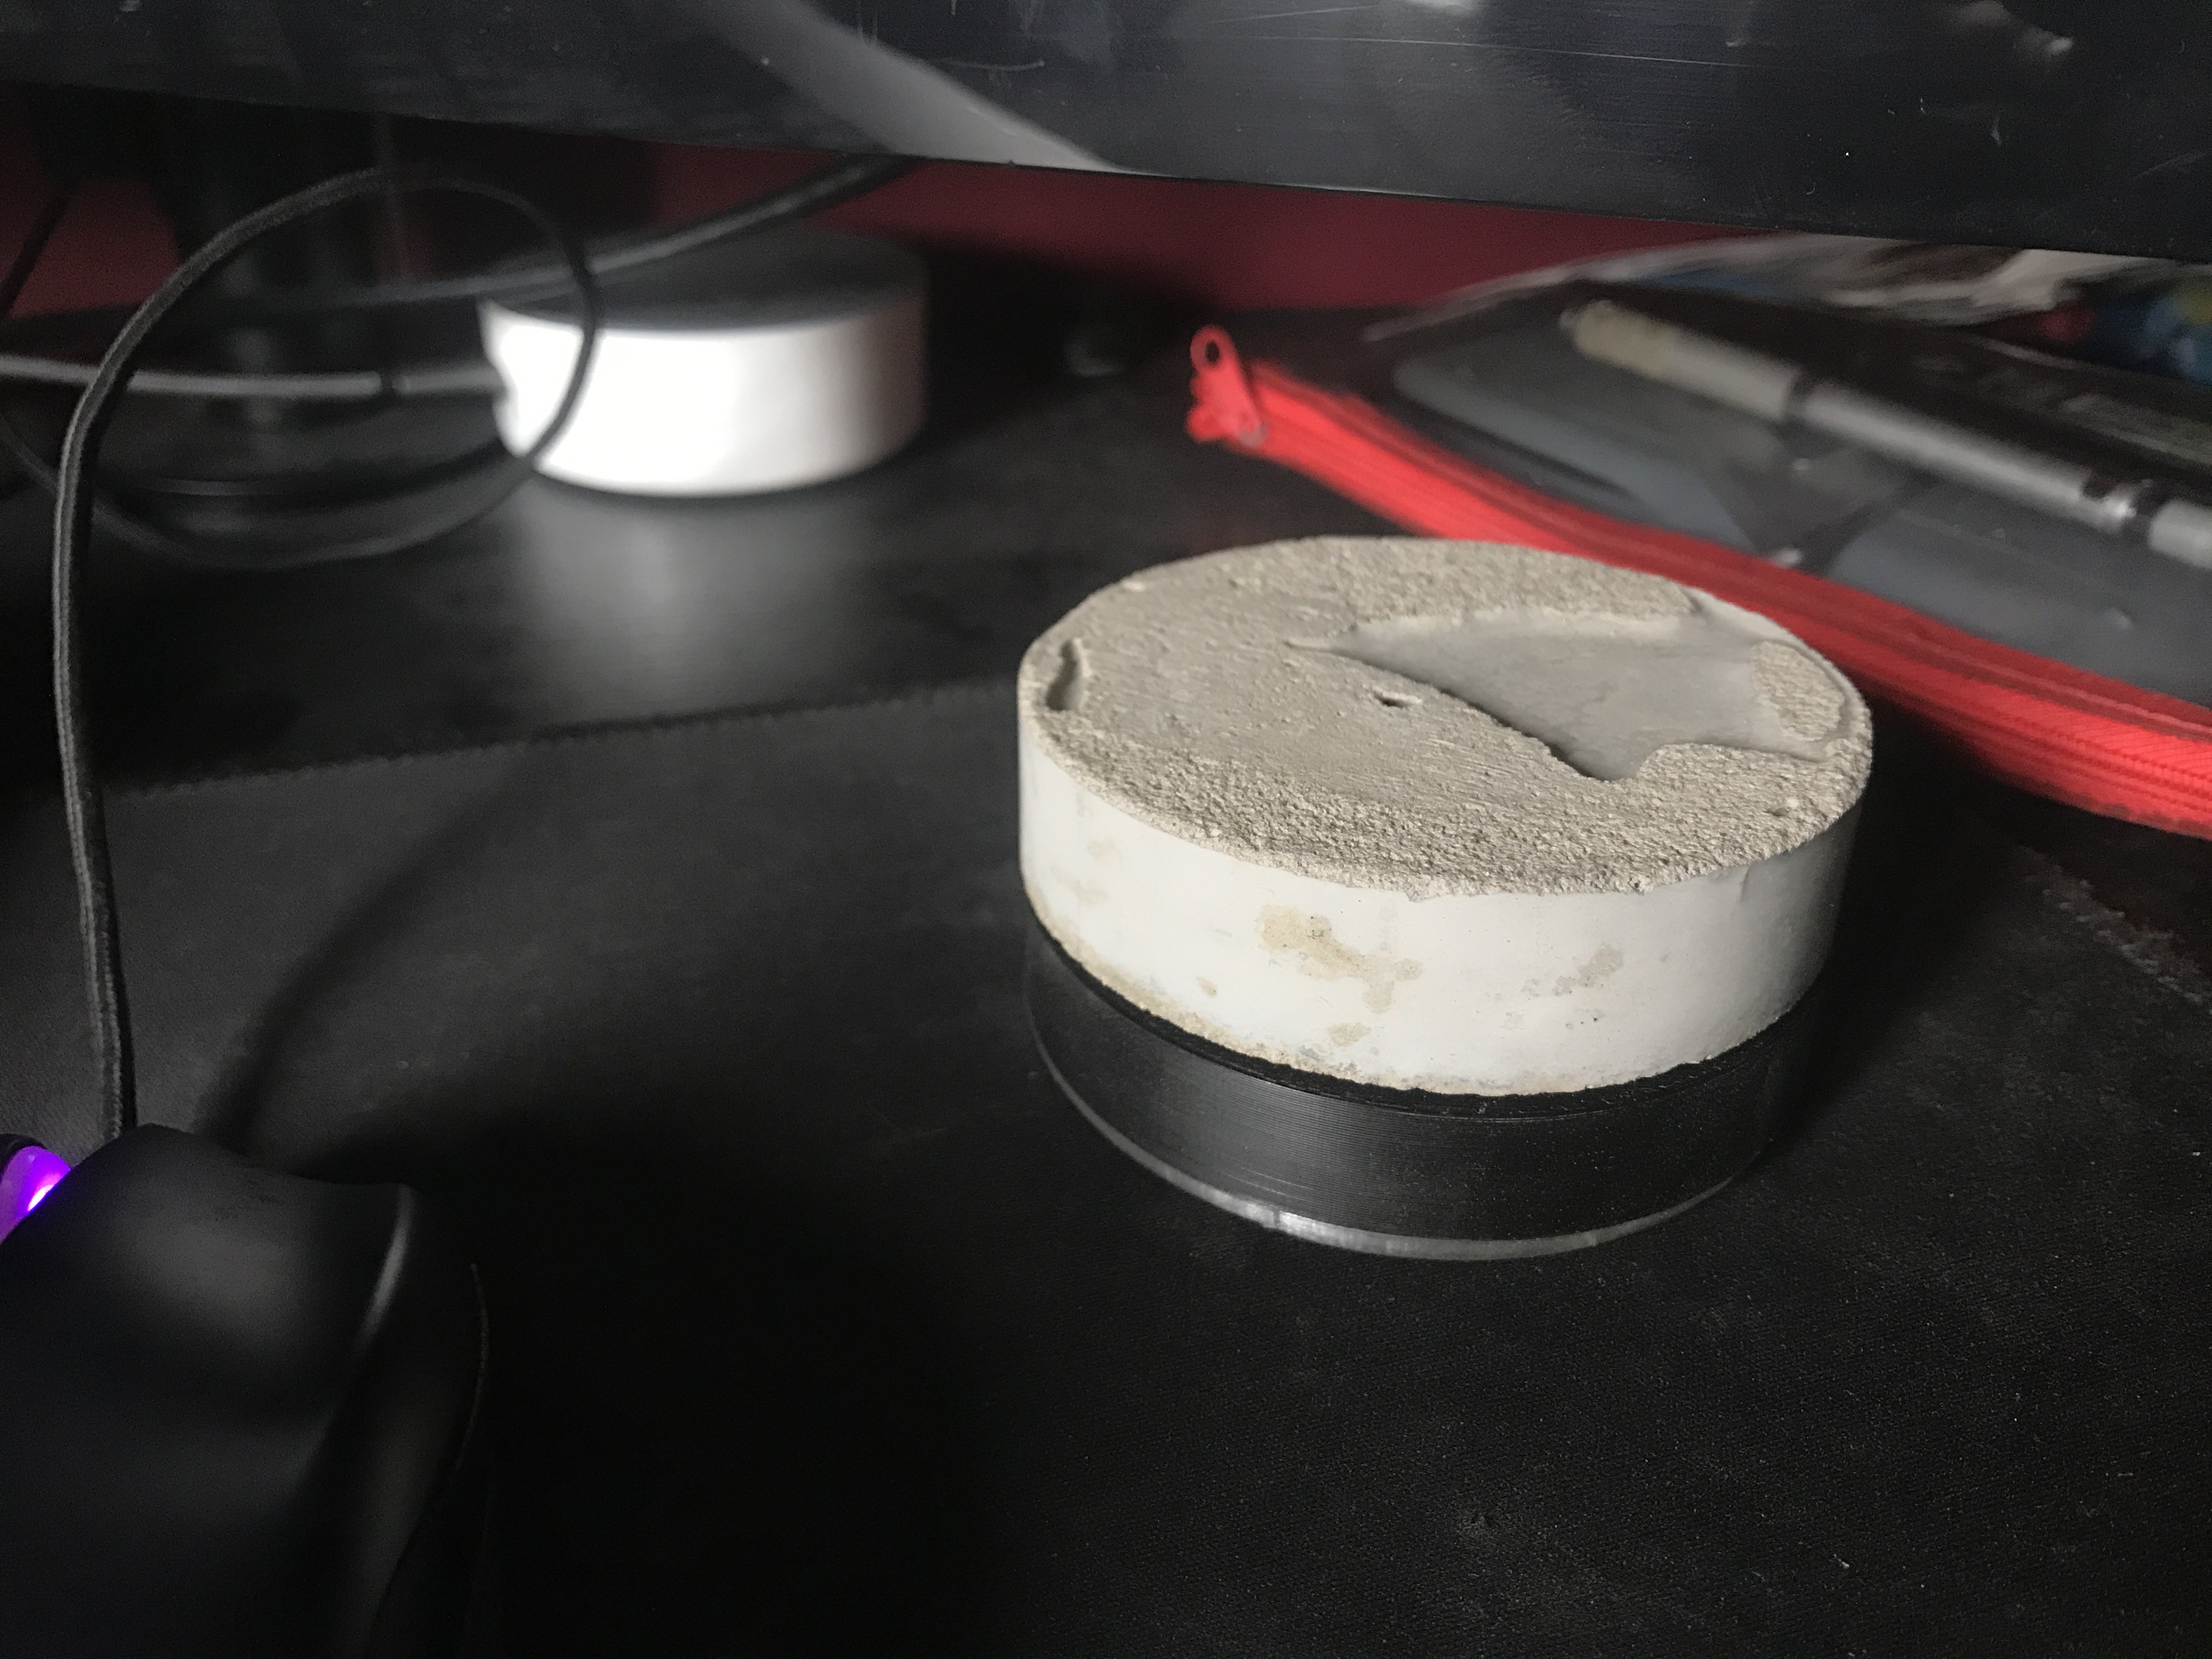
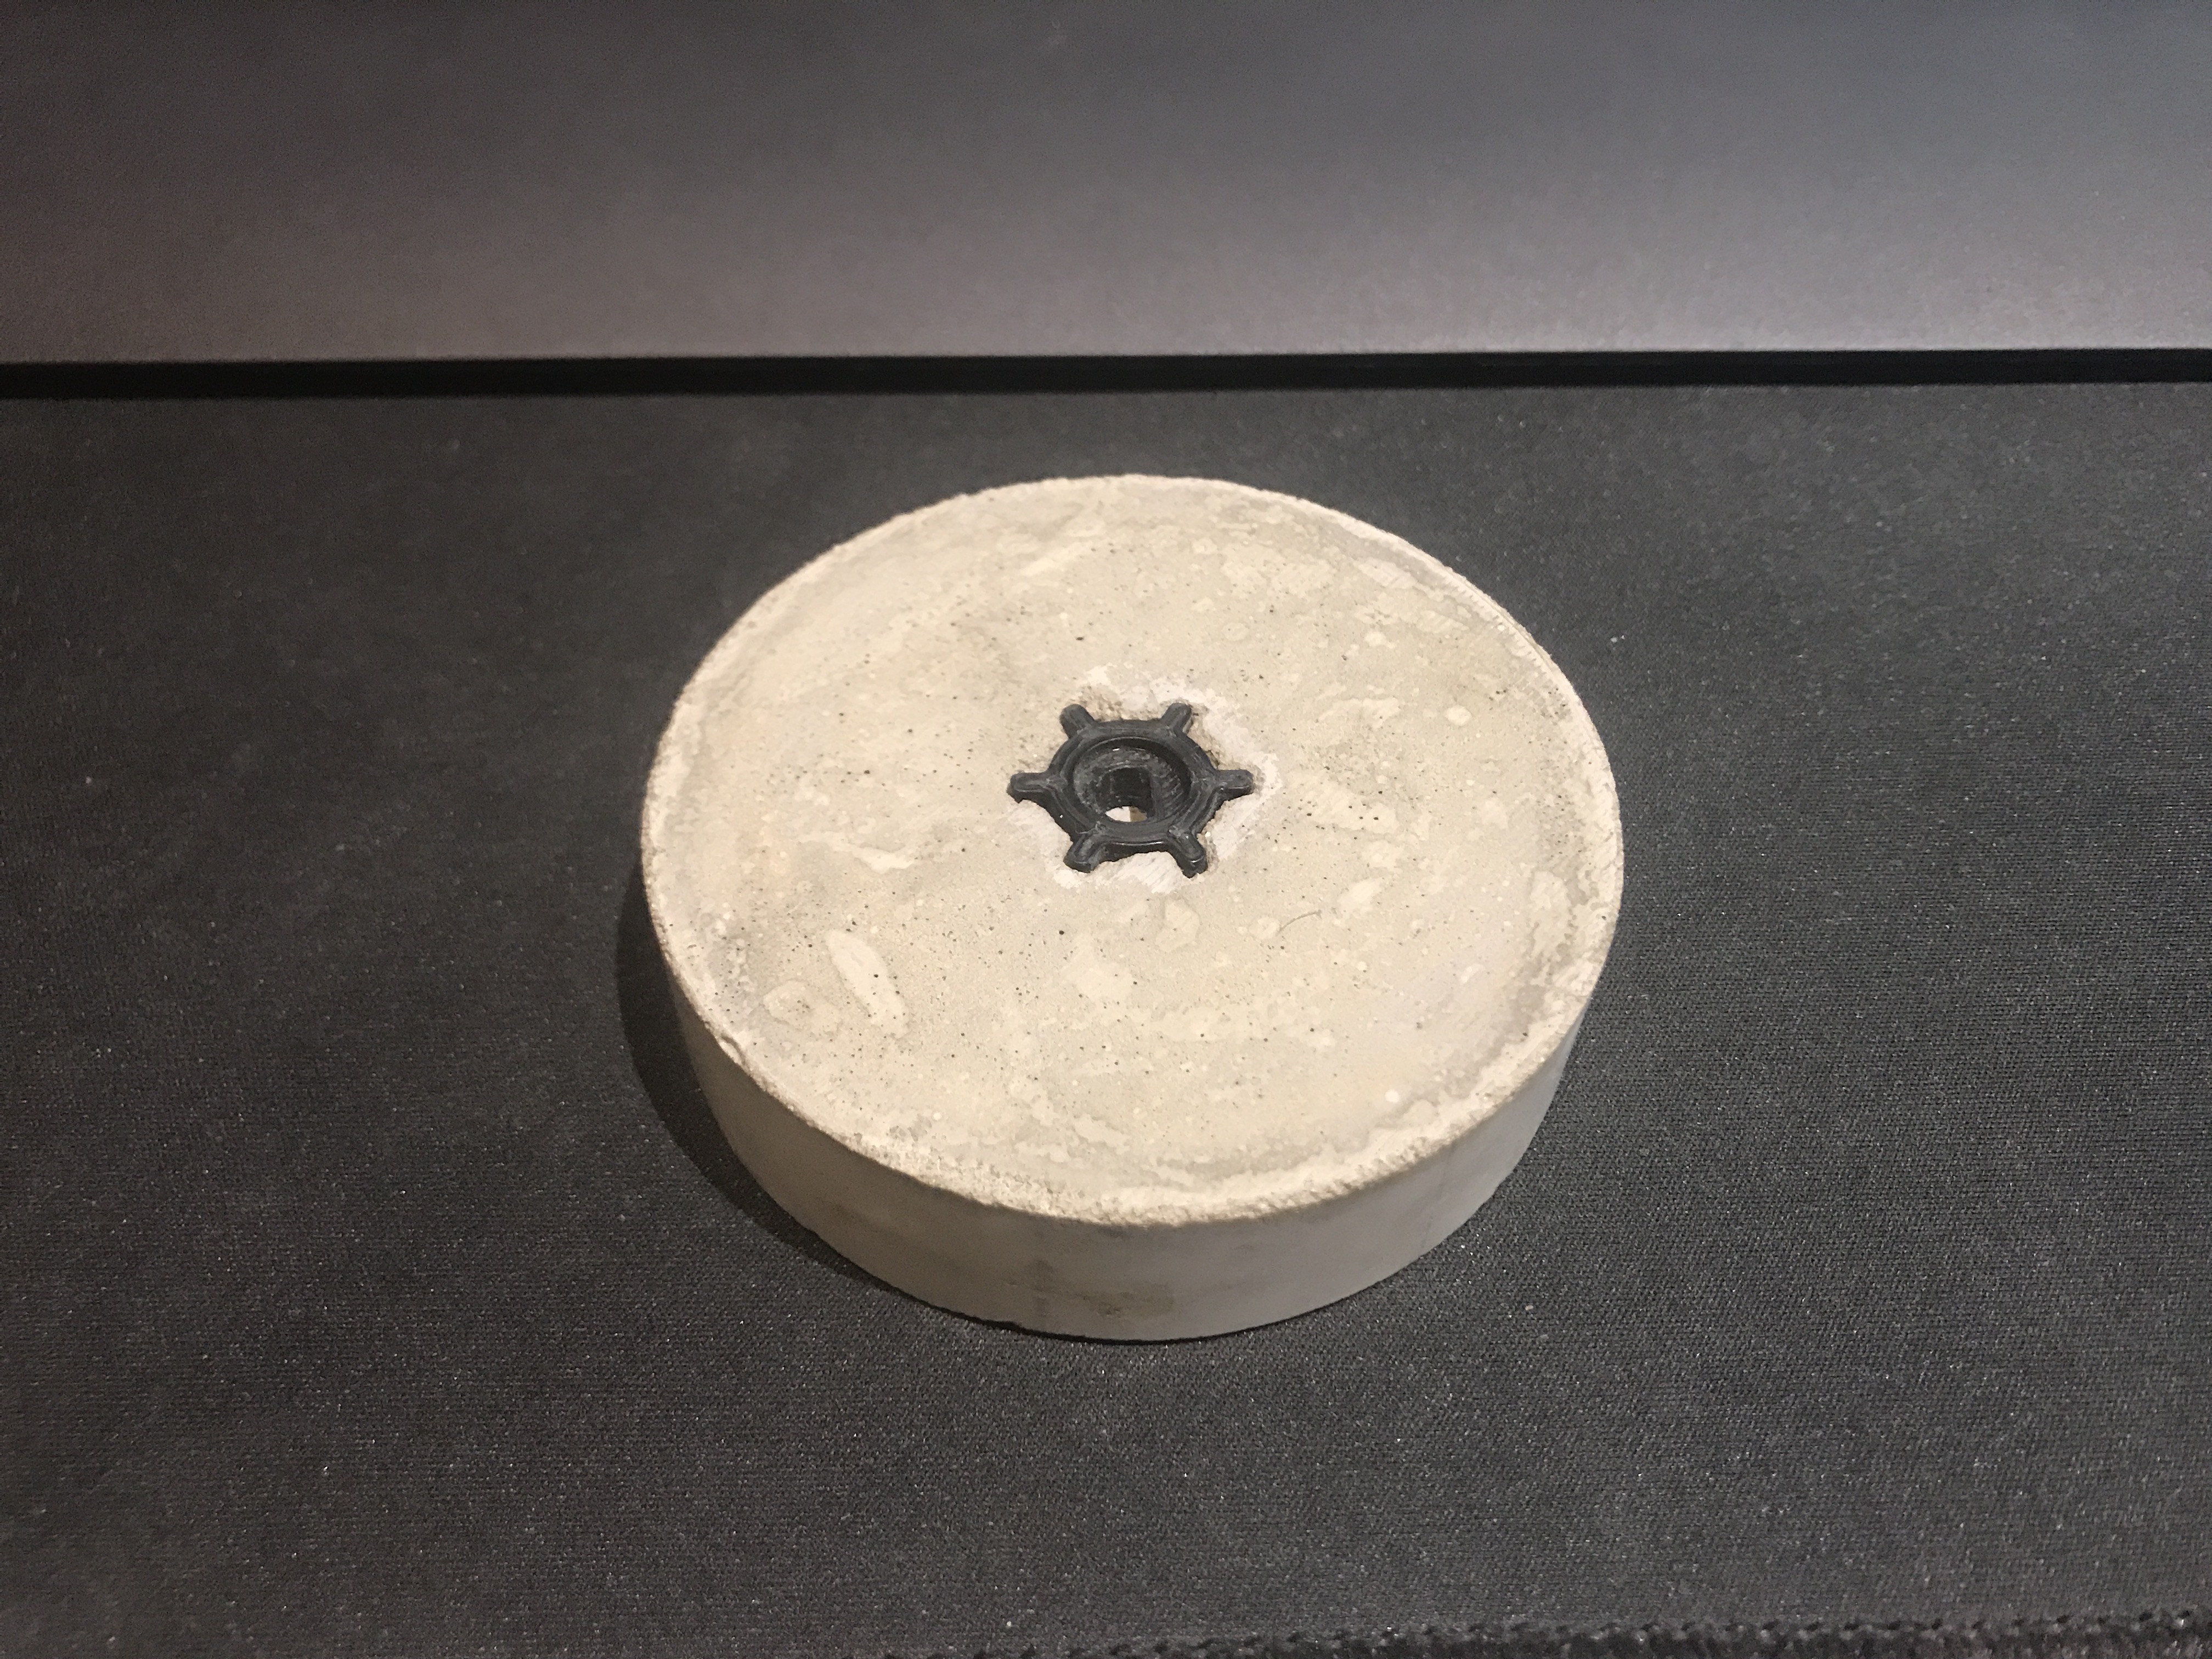
I got impatient and proceeded to start moulding the cement, I forgot to drill a small hole in the top disk so the air that was trapped (the seal between the disk's and the PVC sheet was very tight) could not escape and made it hard to push the top disk down into the mould.
Some water was able to leak out from the edges (where the PVC sheet and the bottom disk mate) and this made the knob crumbly around the circumference but it was very slight and ended up looking like a fillet.
The bottom disk with the encoder coupler blank piece got stuck in the knob and so I had to break the coupler blank away from the bottom disk and then use my hot air rework station to melt the plastic and pull it out. The cavity left by the blank was too tight for the actual coupler to slide in so I should make the blank a little bigger next time.
The top surface was ok but had lots of lines (from the bottom surface of the top disk which was 3d printed) so I had to give it a light sanding to remove those and also to level it (ended up also leaving behind a nice textured surface that looks like stone).
I have finally given in and ordered a pro micro, the idea of two attiny85's worked in my head but turns out there isn't enough voltage to power the neopixel ring. At least I will now have the hardware capability to use the neopixel to its full potential (may even add a small button to change colour sequences etc), changing colours when muted or unmuted etc etc. Hopefully will all work out in the end, however I am not sure how I will make the usb port accessible enough for a cable to plug in. I may need to allow for the whole body of the micro usb end to go inside the housing otherwise the corners of the rectangular PCB will protrude out of the housing. I will show an example once I design a new housing.


Discussions
Become a Hackaday.io Member
Create an account to leave a comment. Already have an account? Log In.