Close
0%
0%

ATtiny Flasher v2

Tool to flash and debug ATtiny MCUs using built-in socket or on breadboard

Similar projects worth following
Starting from
$25.00
andrey-malyshenko has 1157 orders / 37reviews
Ships from Poland
What is it?
This is small but handy tool, that makes ATtiny development experience as close as possible to normal Arduino boards, still using your favourite IDE and debugging tools.

Numerous projects implemented with wonderful ATtiny MCUs gave me few ideas on how to make whole process as simple as with "grown up" MCUs

Why mighty ATtiny?

  • It's dirt cheap
  • It's quite capable
  • It's just enough
  • When it's not, it's challanging ;)

Why ATtiny Flasher?

  • Code, build, flash, test, code again, without interuption. Just like normal Arduino board
  • Debug using Serial. Just like normal Arduino board
  • All GPIOs visualized, see what's happening on the fly
  • Sensor needs 3.3V, not 5V? Click, done!

Key features

  • Flashing using Arduino IDE, Platformio or any other IDE of your choice
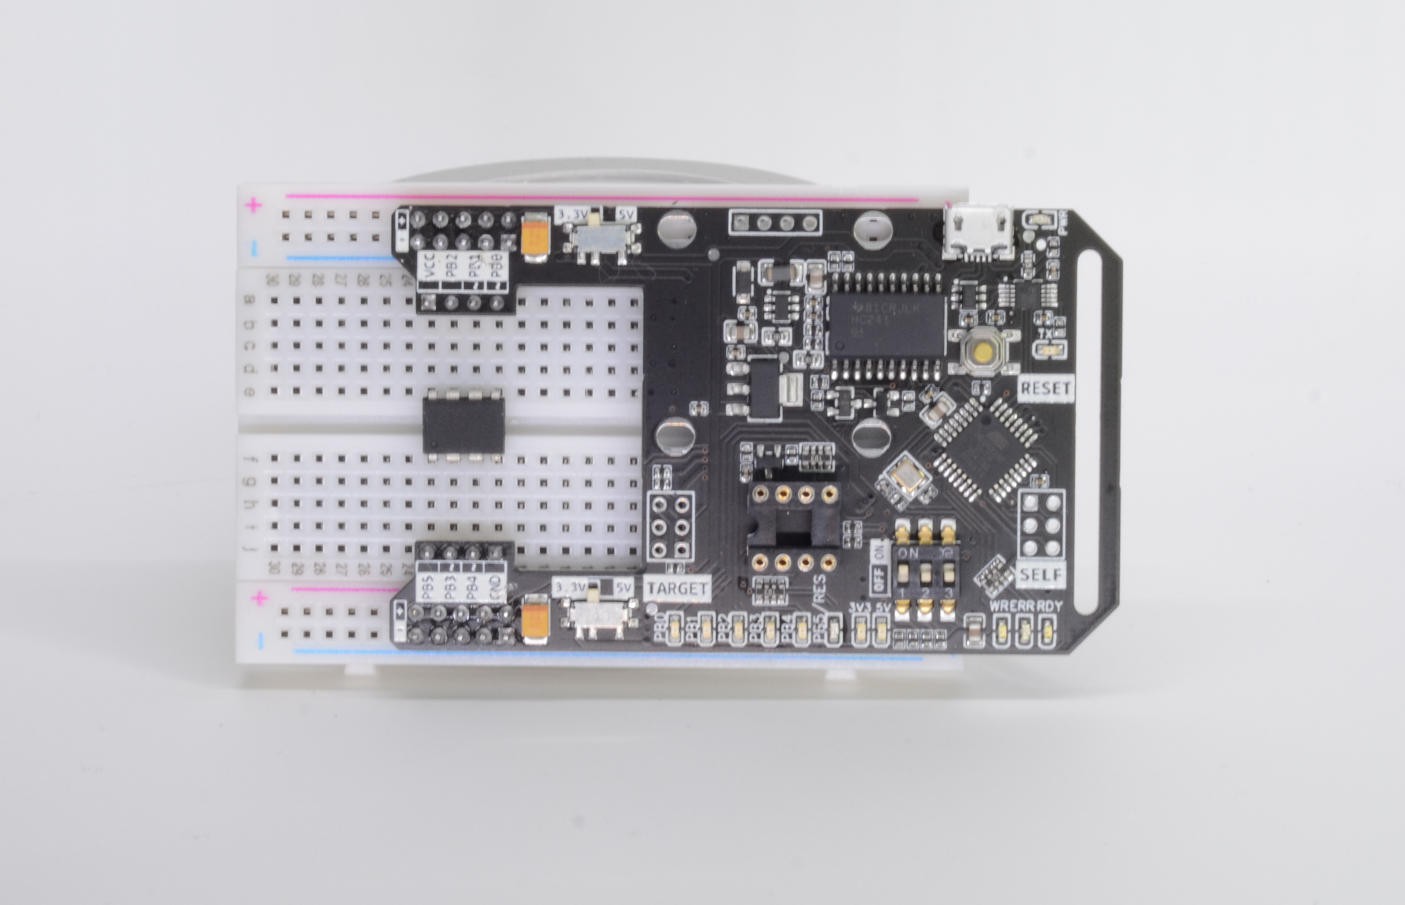
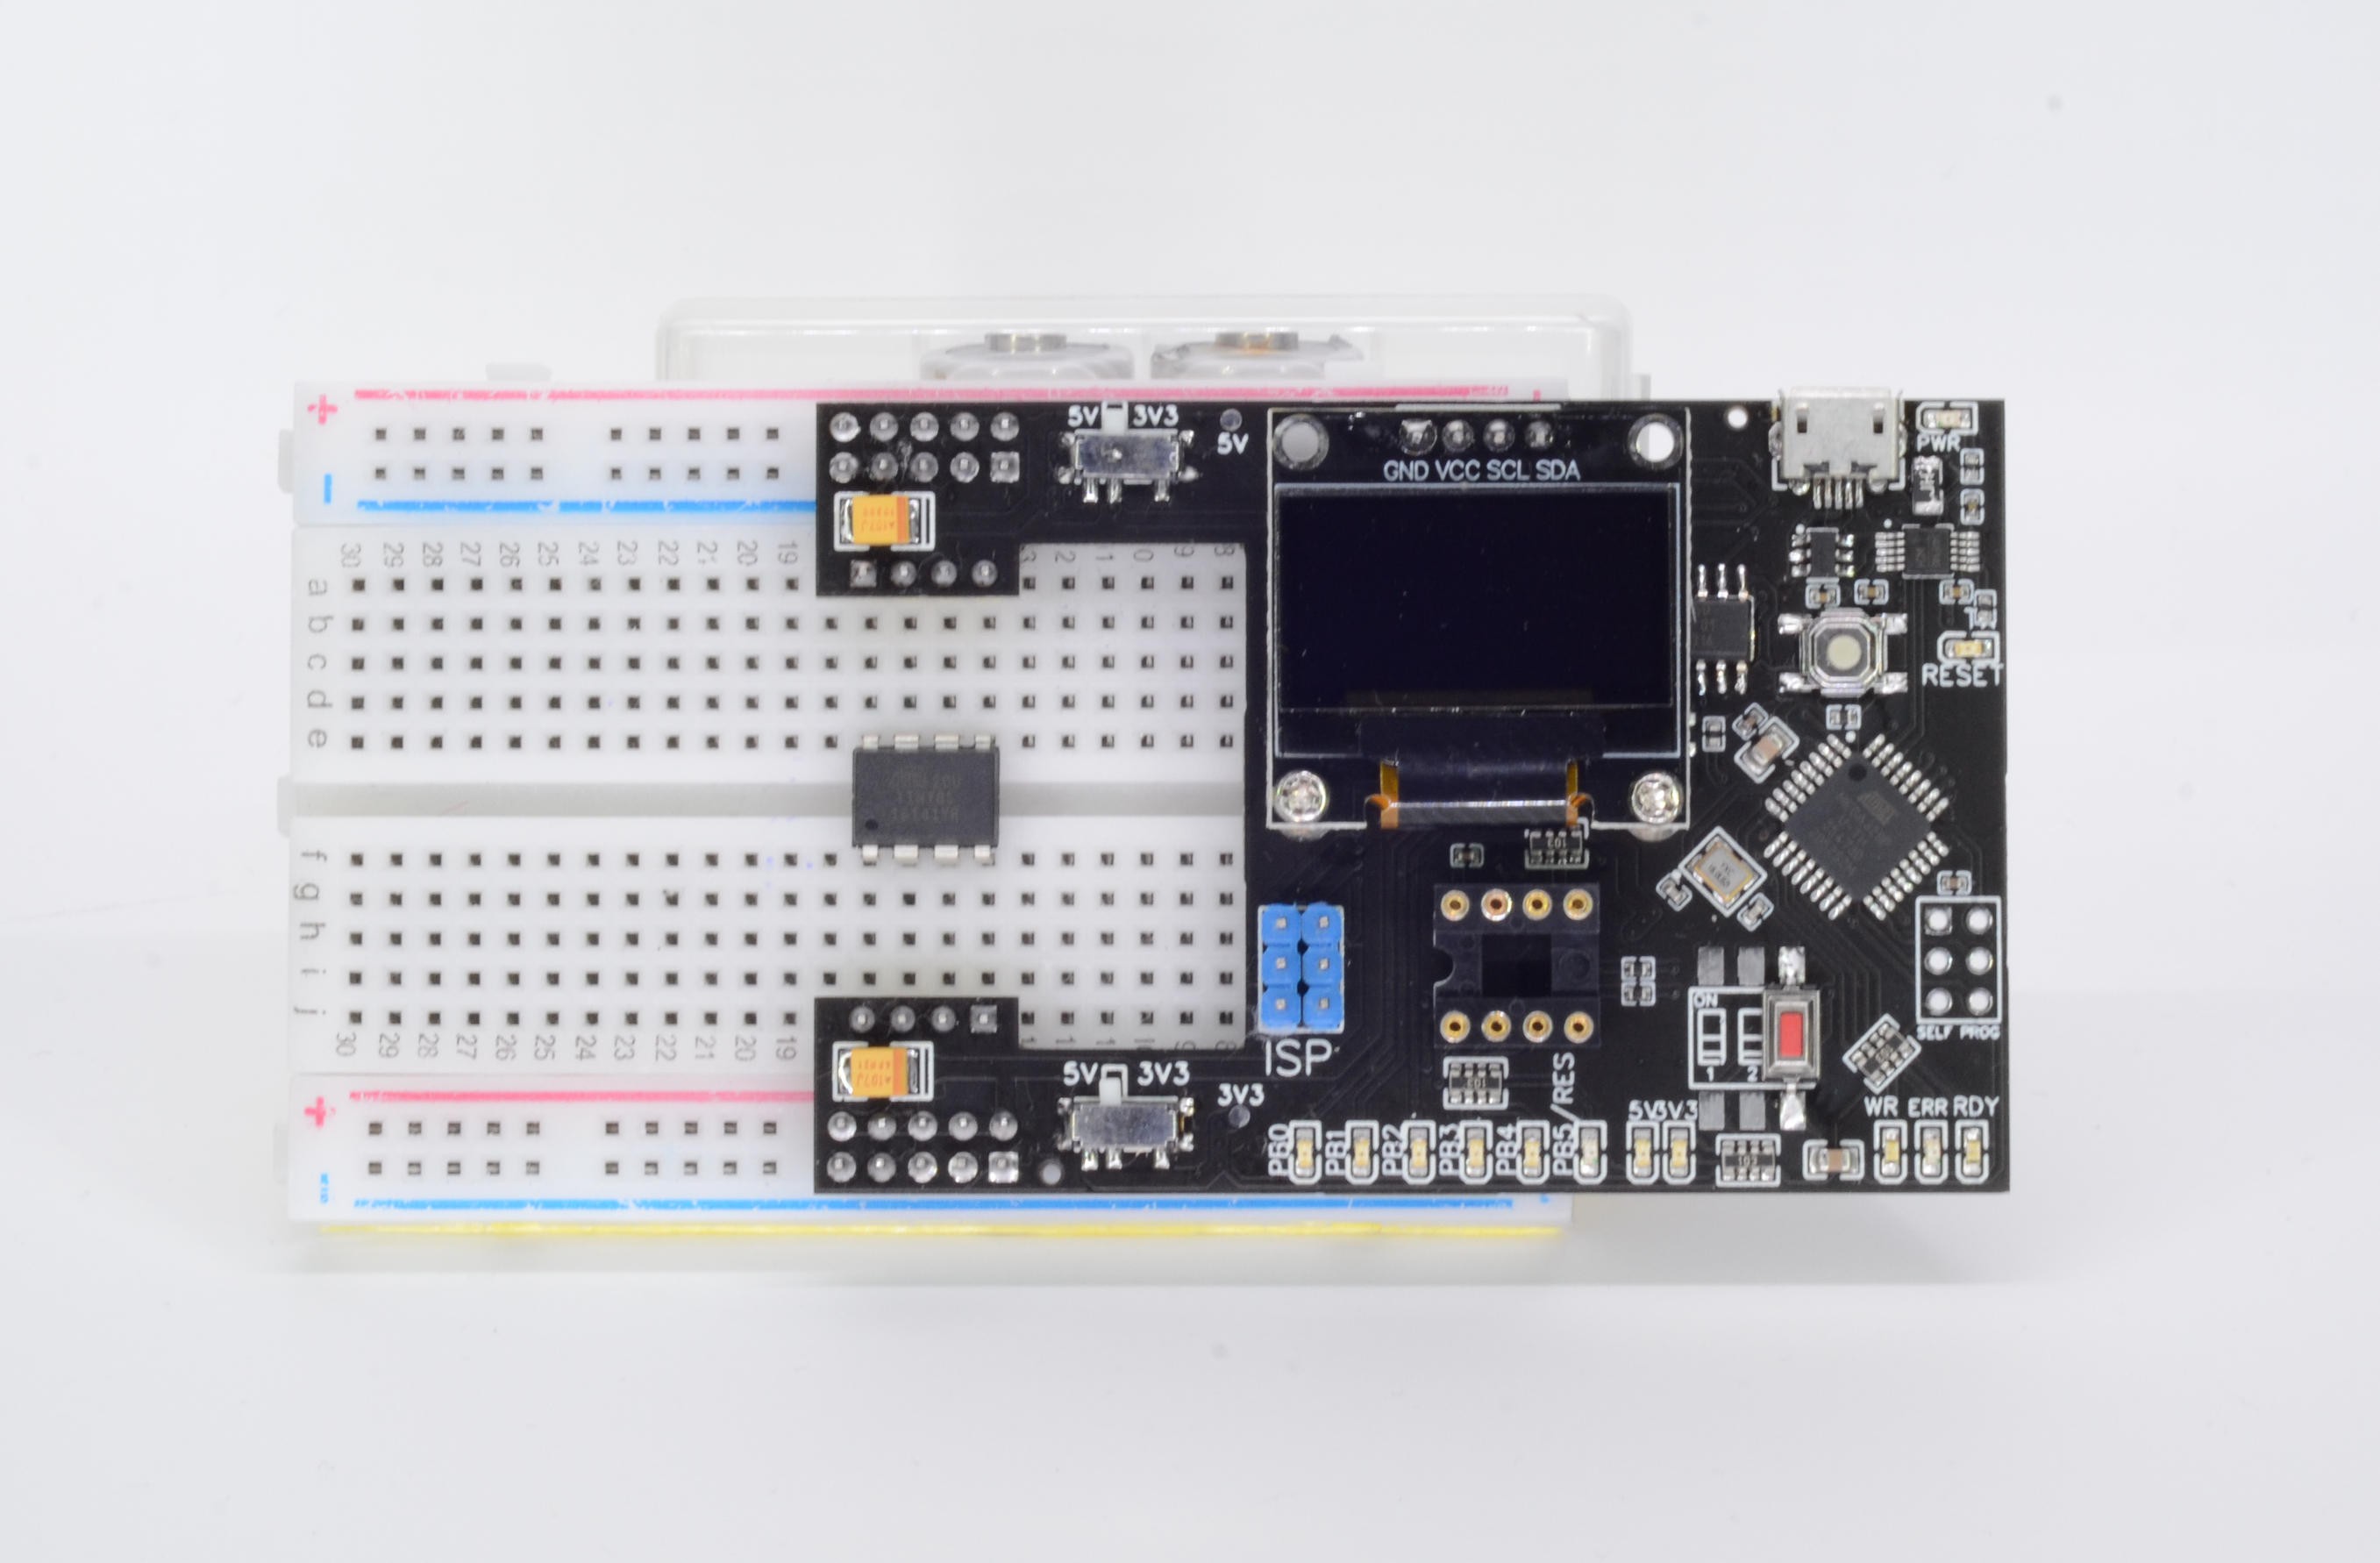
  • Supports flashing ATtiny13/25/45/85 using onboard socket or on breadboard
  • Supports ATtiny, ATmega MCUs using ISP header
  • 2 configurable power rails, either 3.3V or 5V
  • 6 GPIO "weak" LEDs
  • 3 flash status LEDs
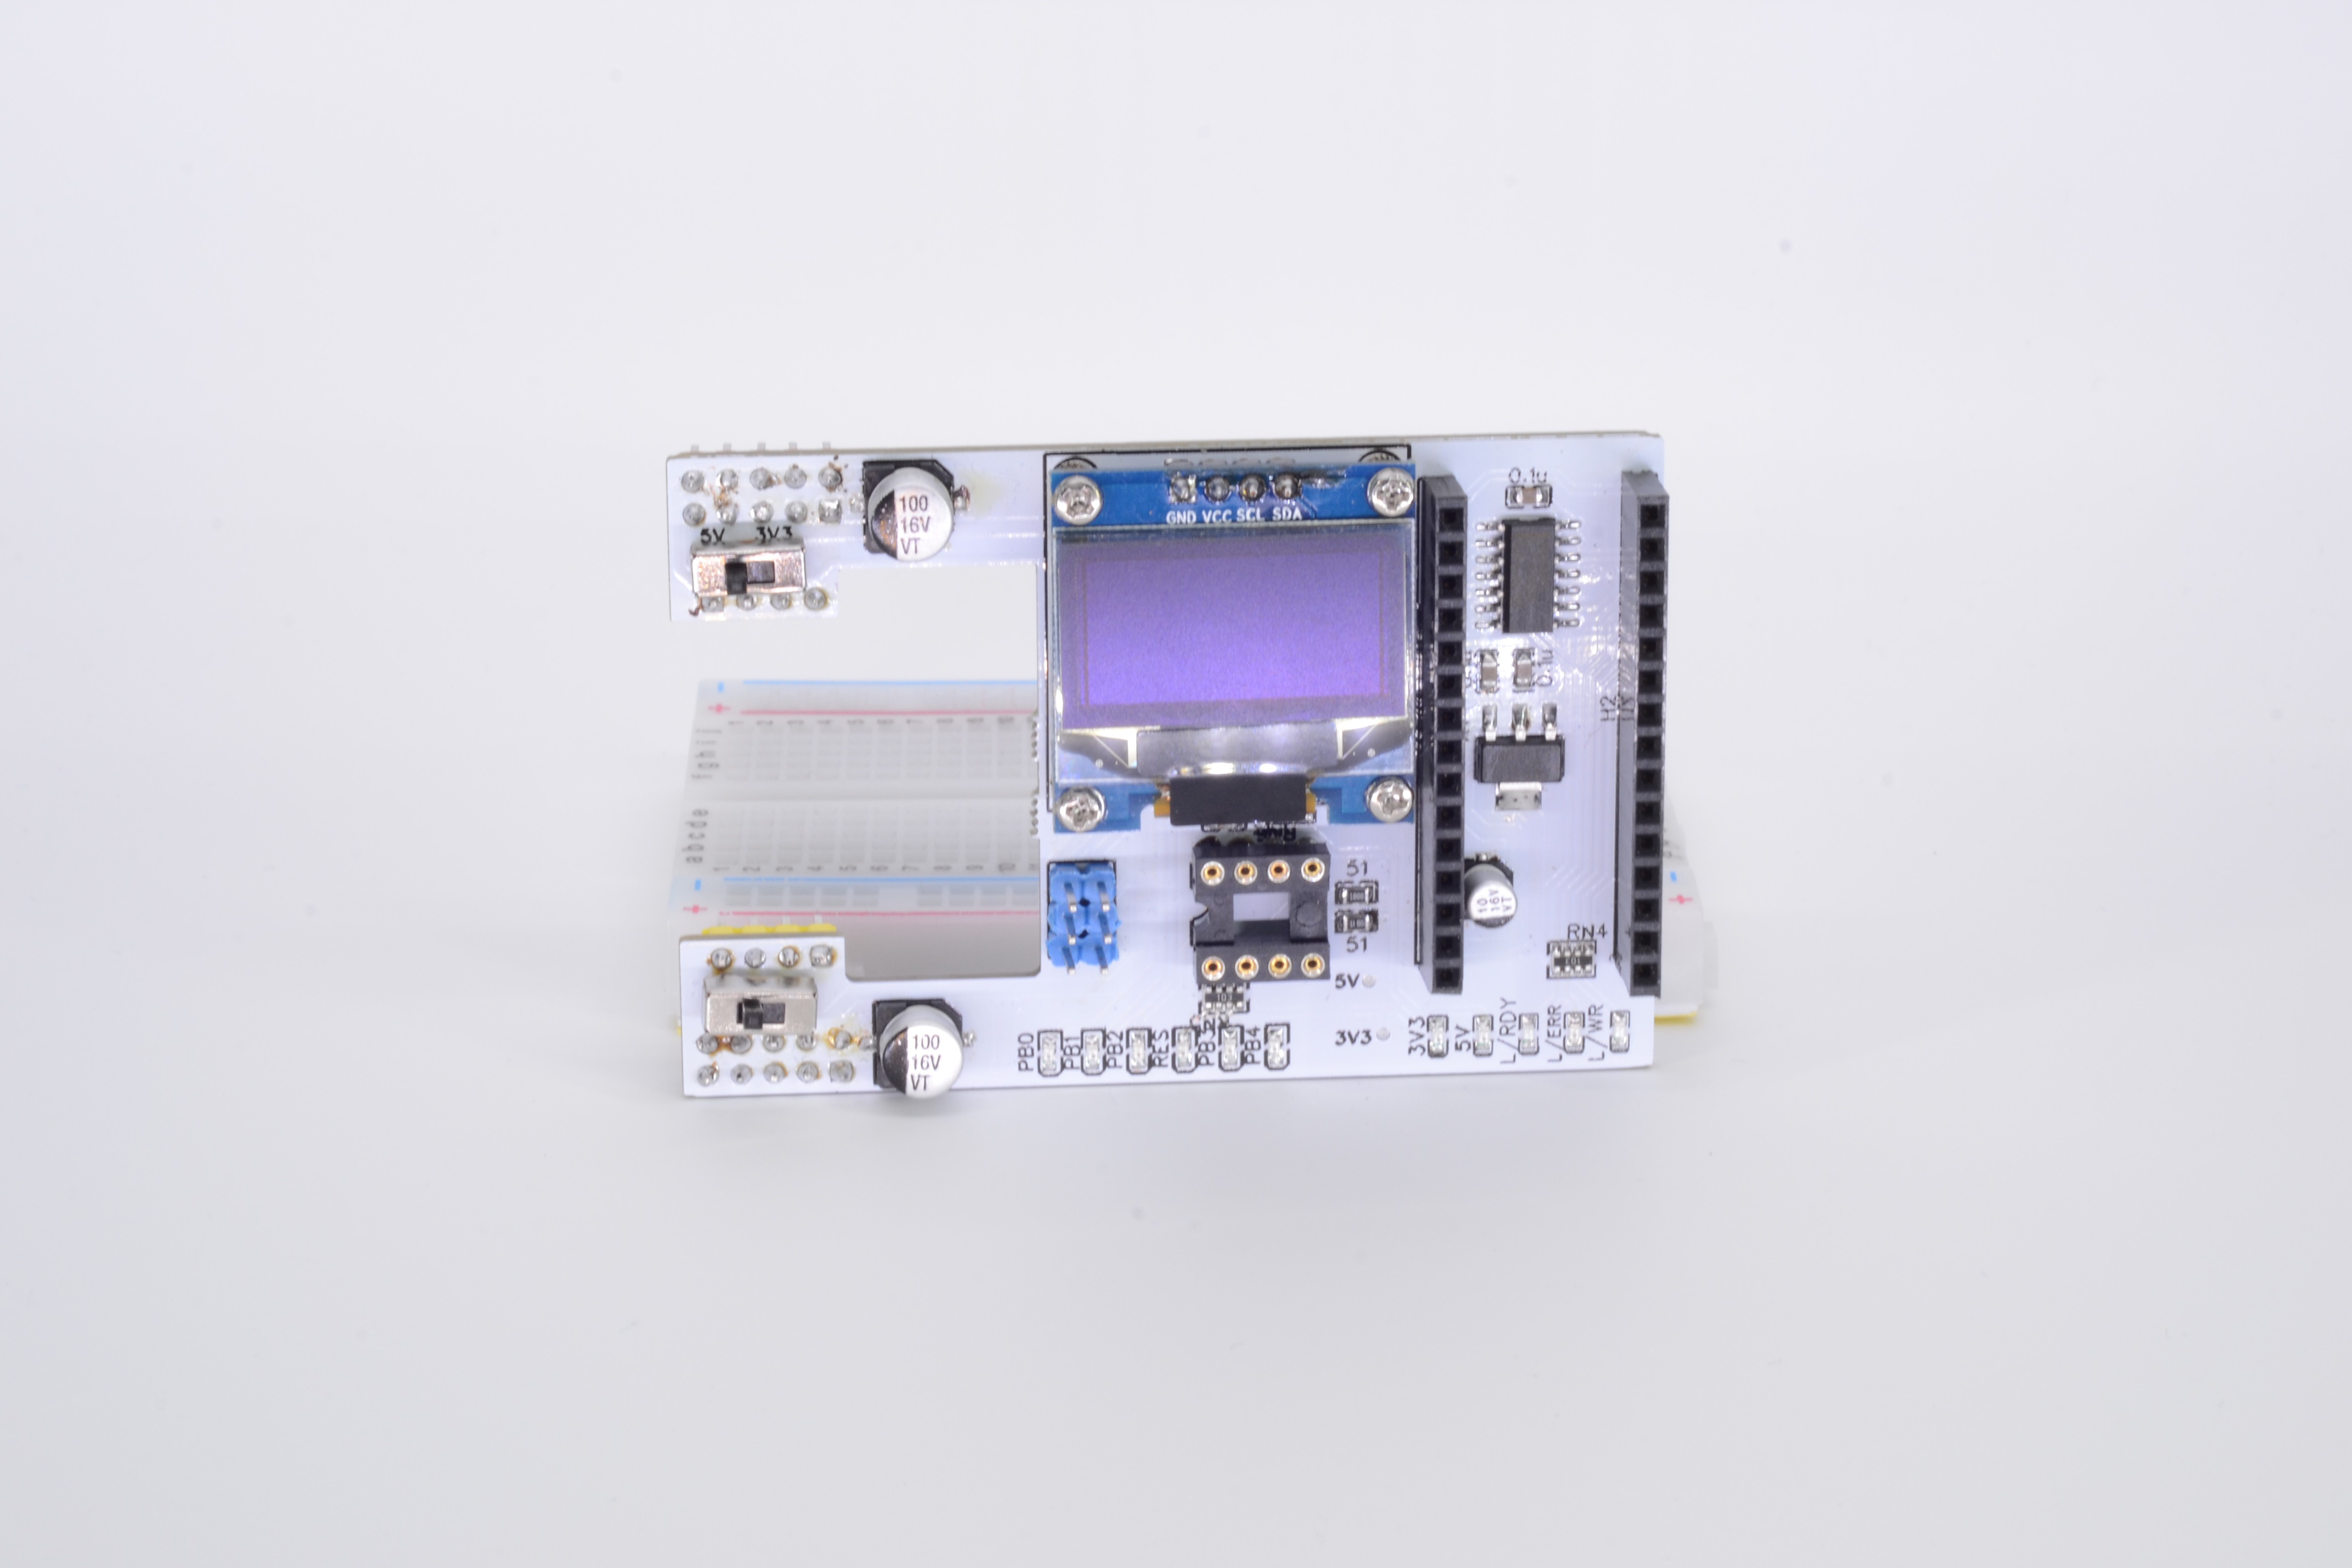
  • Onboard OLED screen connected to target MCU as live terminal
  • Streams serial data to host PC, as if you'd be connected directly
  • Buffer IC between target and host MCUs, only connects them together while flashing
  • Open source, open hardware

Credits

  • Based on ArduinoISP code by Randall Bohn, with few features added
  • Thanks Microchip for superb value for money MCUs

  • Project update

    andriy.malyshenko08/17/2021 at 10:38 0 comments

    Our Crowd Supply campaign is finished (hurray!) and currently I'm working on production batch of the Flasher tool. I'm freezing all hw changes (otherwise it will never finish) and focusing now on production process details, ordering boards, screens, parts, packaging and shipping, this sort of stuff.

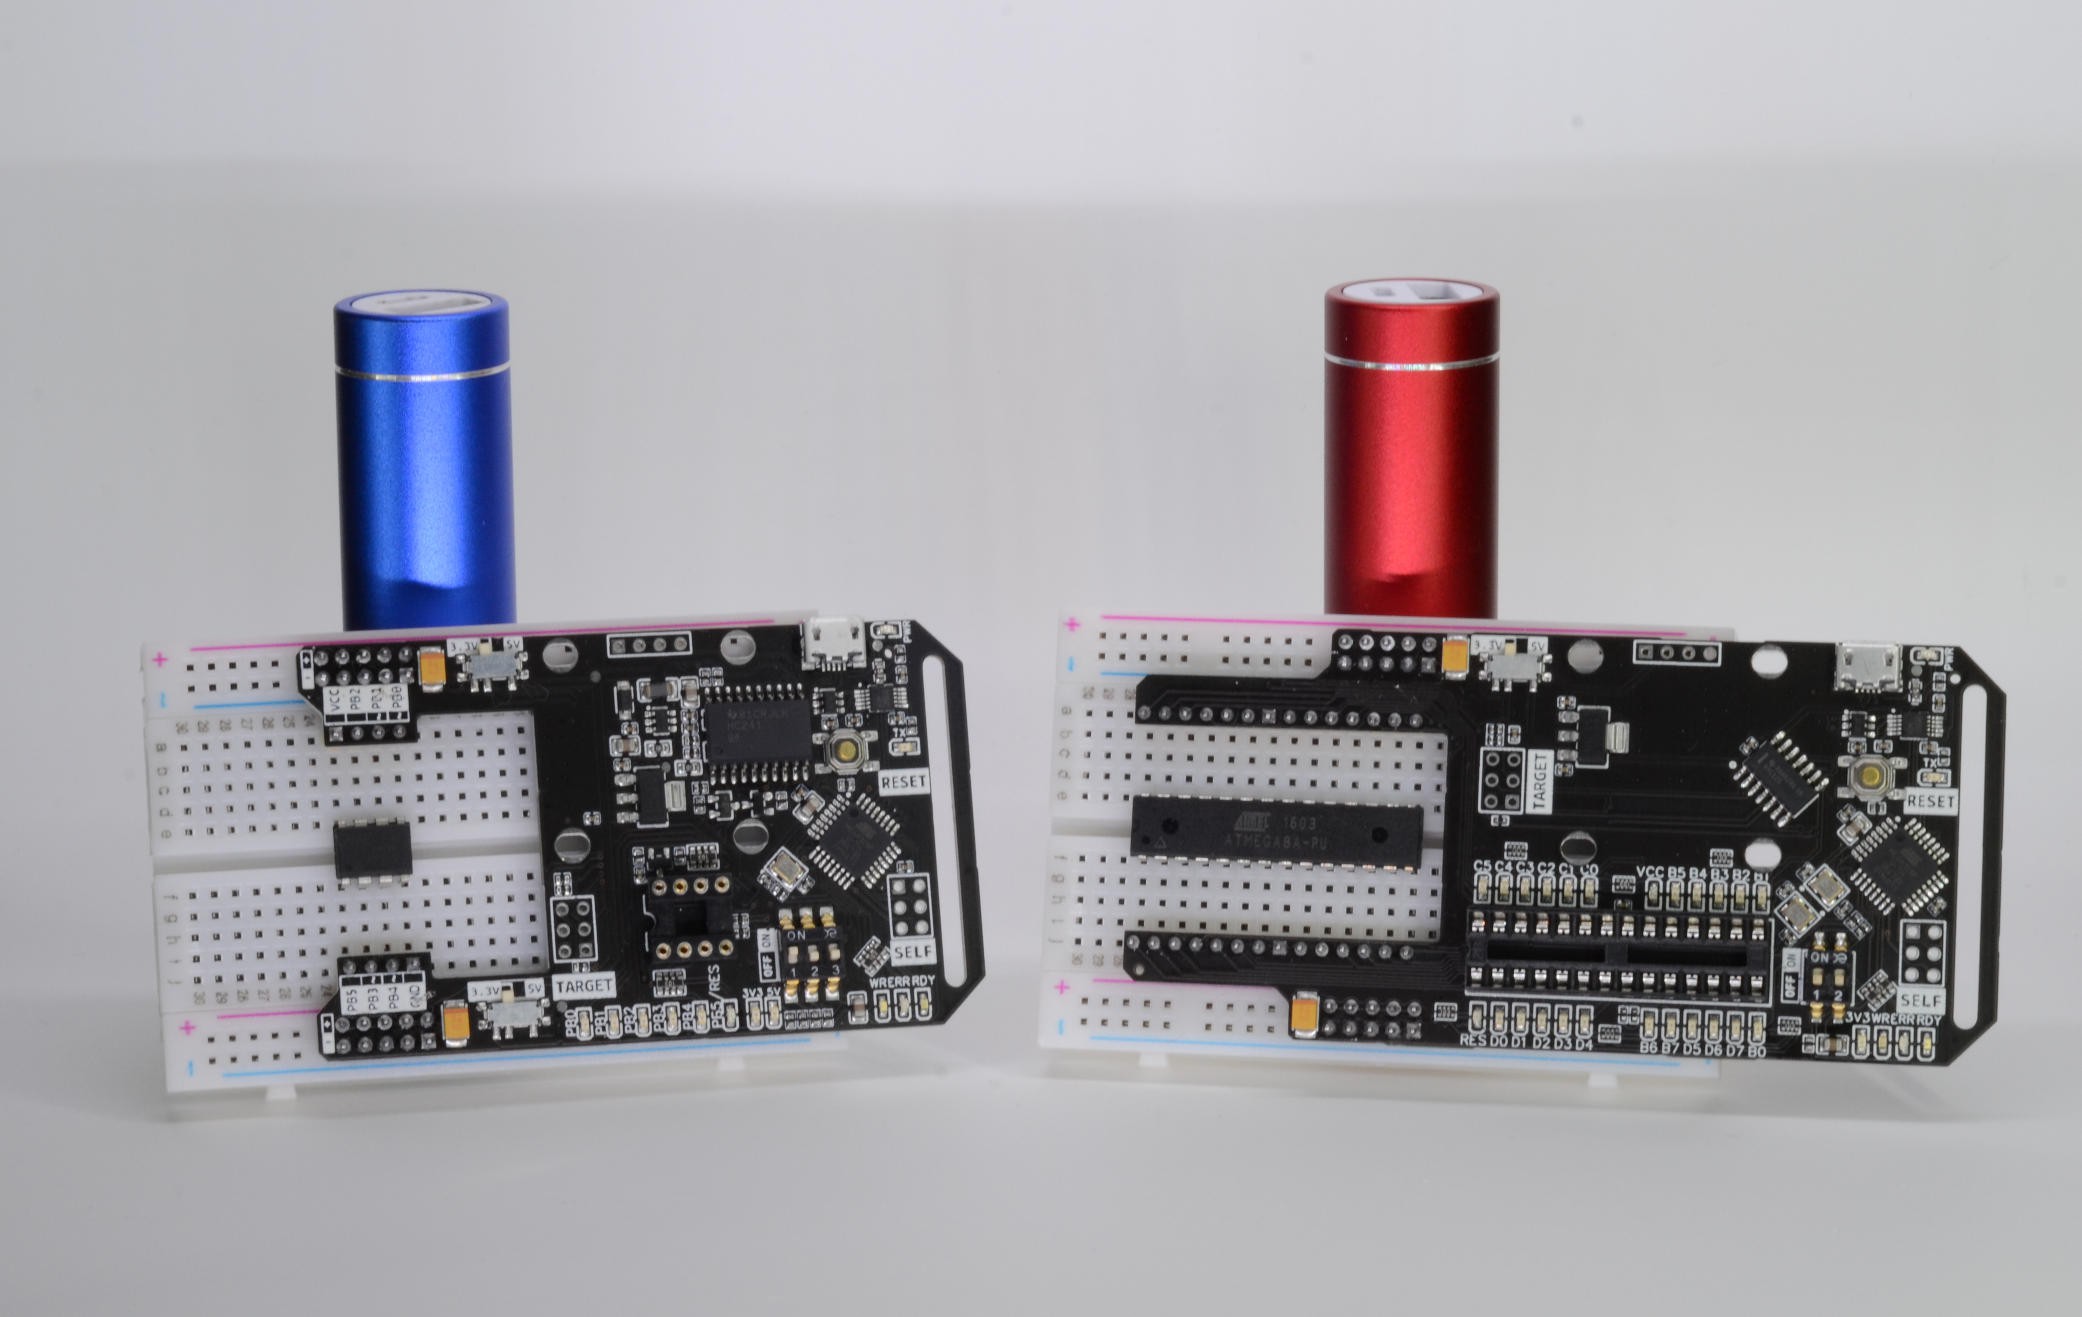
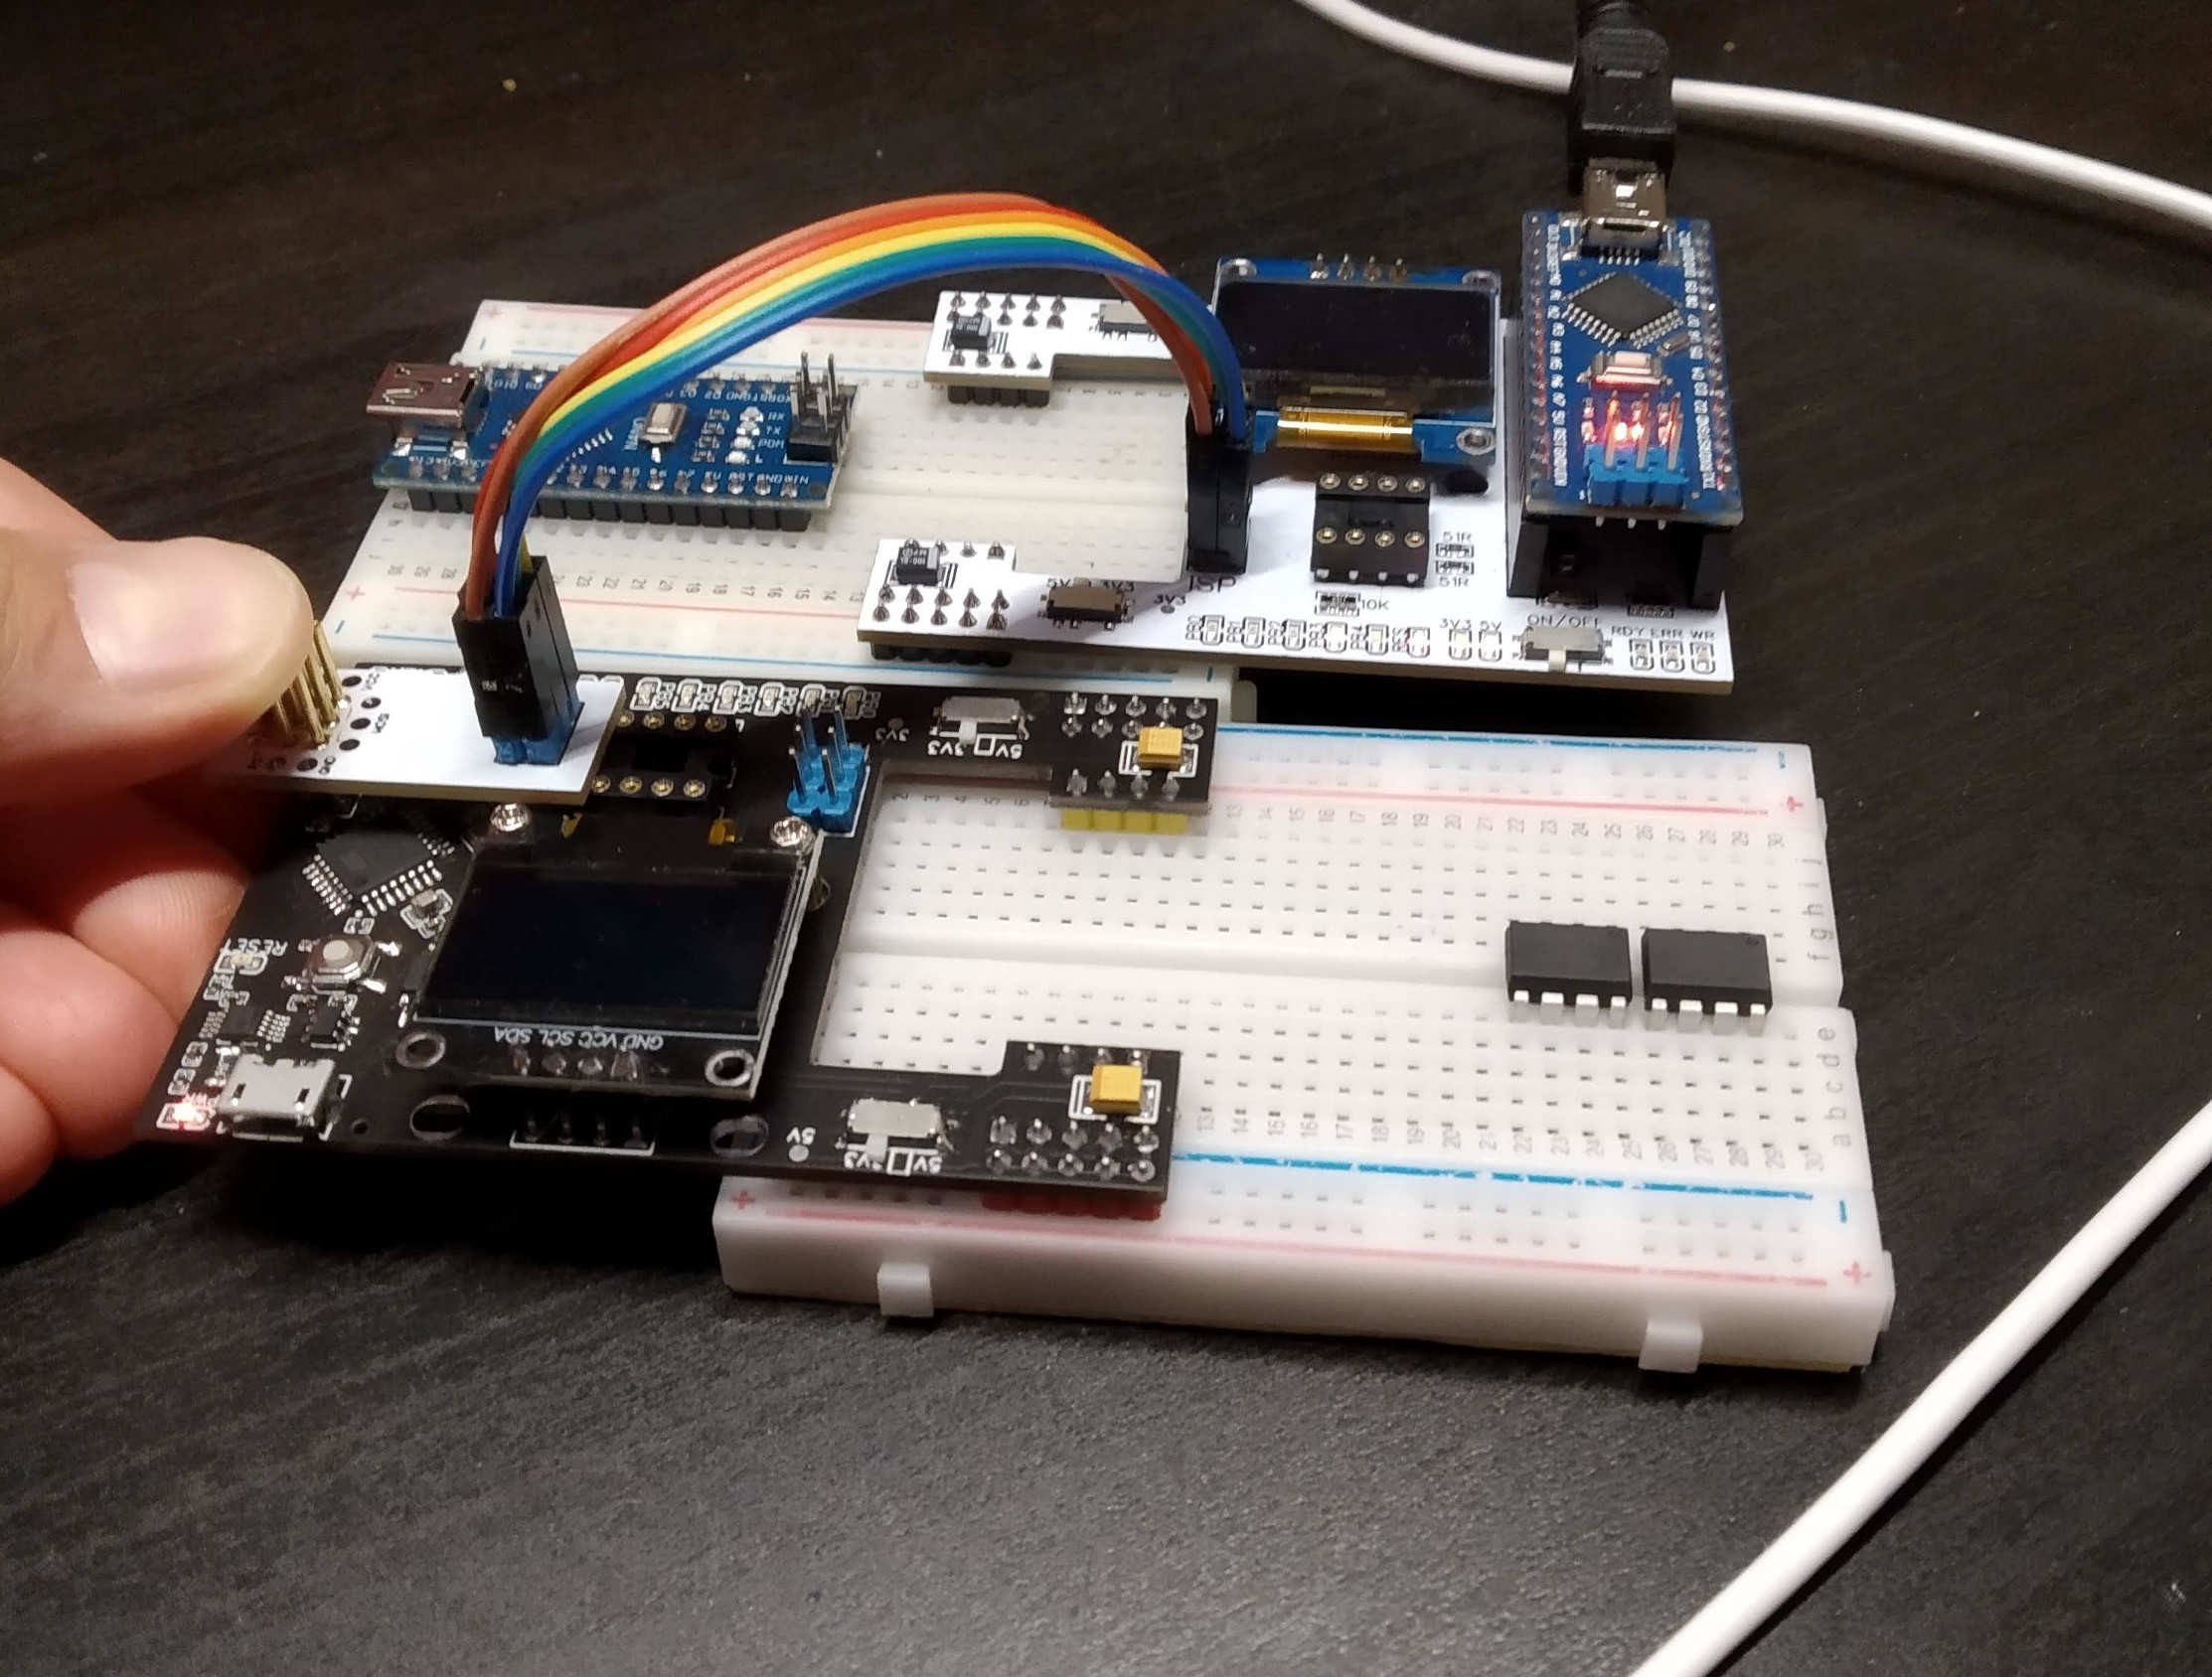
    Last revision just came in (not even tested yet). Few issues were fixed as usual, but also board share changes a little bit. I guess it is inspired by some conference badges.

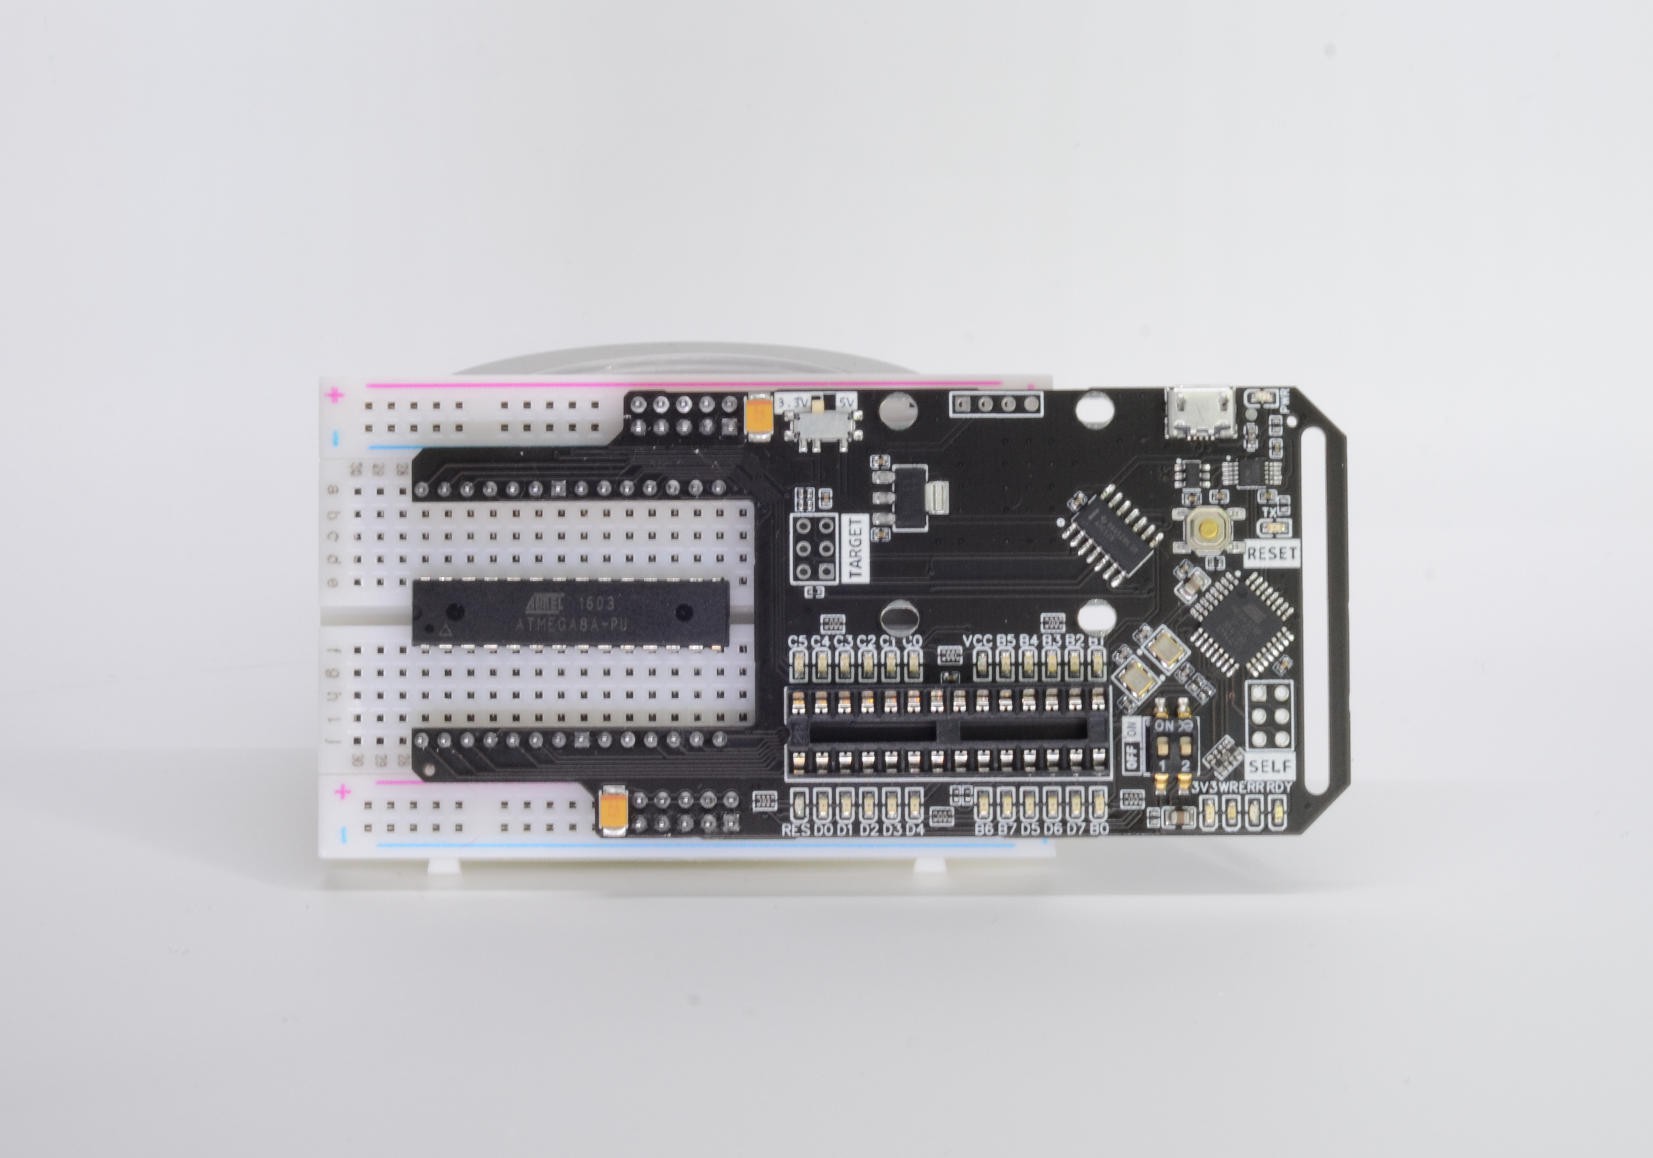
    Also just a one step away there was a request to make similar board for Atmega8 series chips, so I've prepared that one as well (first revision at this point)

    All and all it looks good, I'm quite happy with board quality and looking forward to release them into life.

  • When you no longer have Arduino board

    andriy.malyshenko06/06/2021 at 20:03 0 comments

    As I've mentioned before, I decided to drop motherboard approach and designed my own Atmega368 into the board.

    One reason for that is to have proper 5V. All Arduino boards have reverse voltage protection (even when powered from USB, what for?!), as simple as small schottky diode. As the result voltage on the MCU is at best 4.8V, and floating with the current.

    Another reason - I wanted to have more control over GPIOs and LEDs, therefore my own design over stock Arduino board will do better.

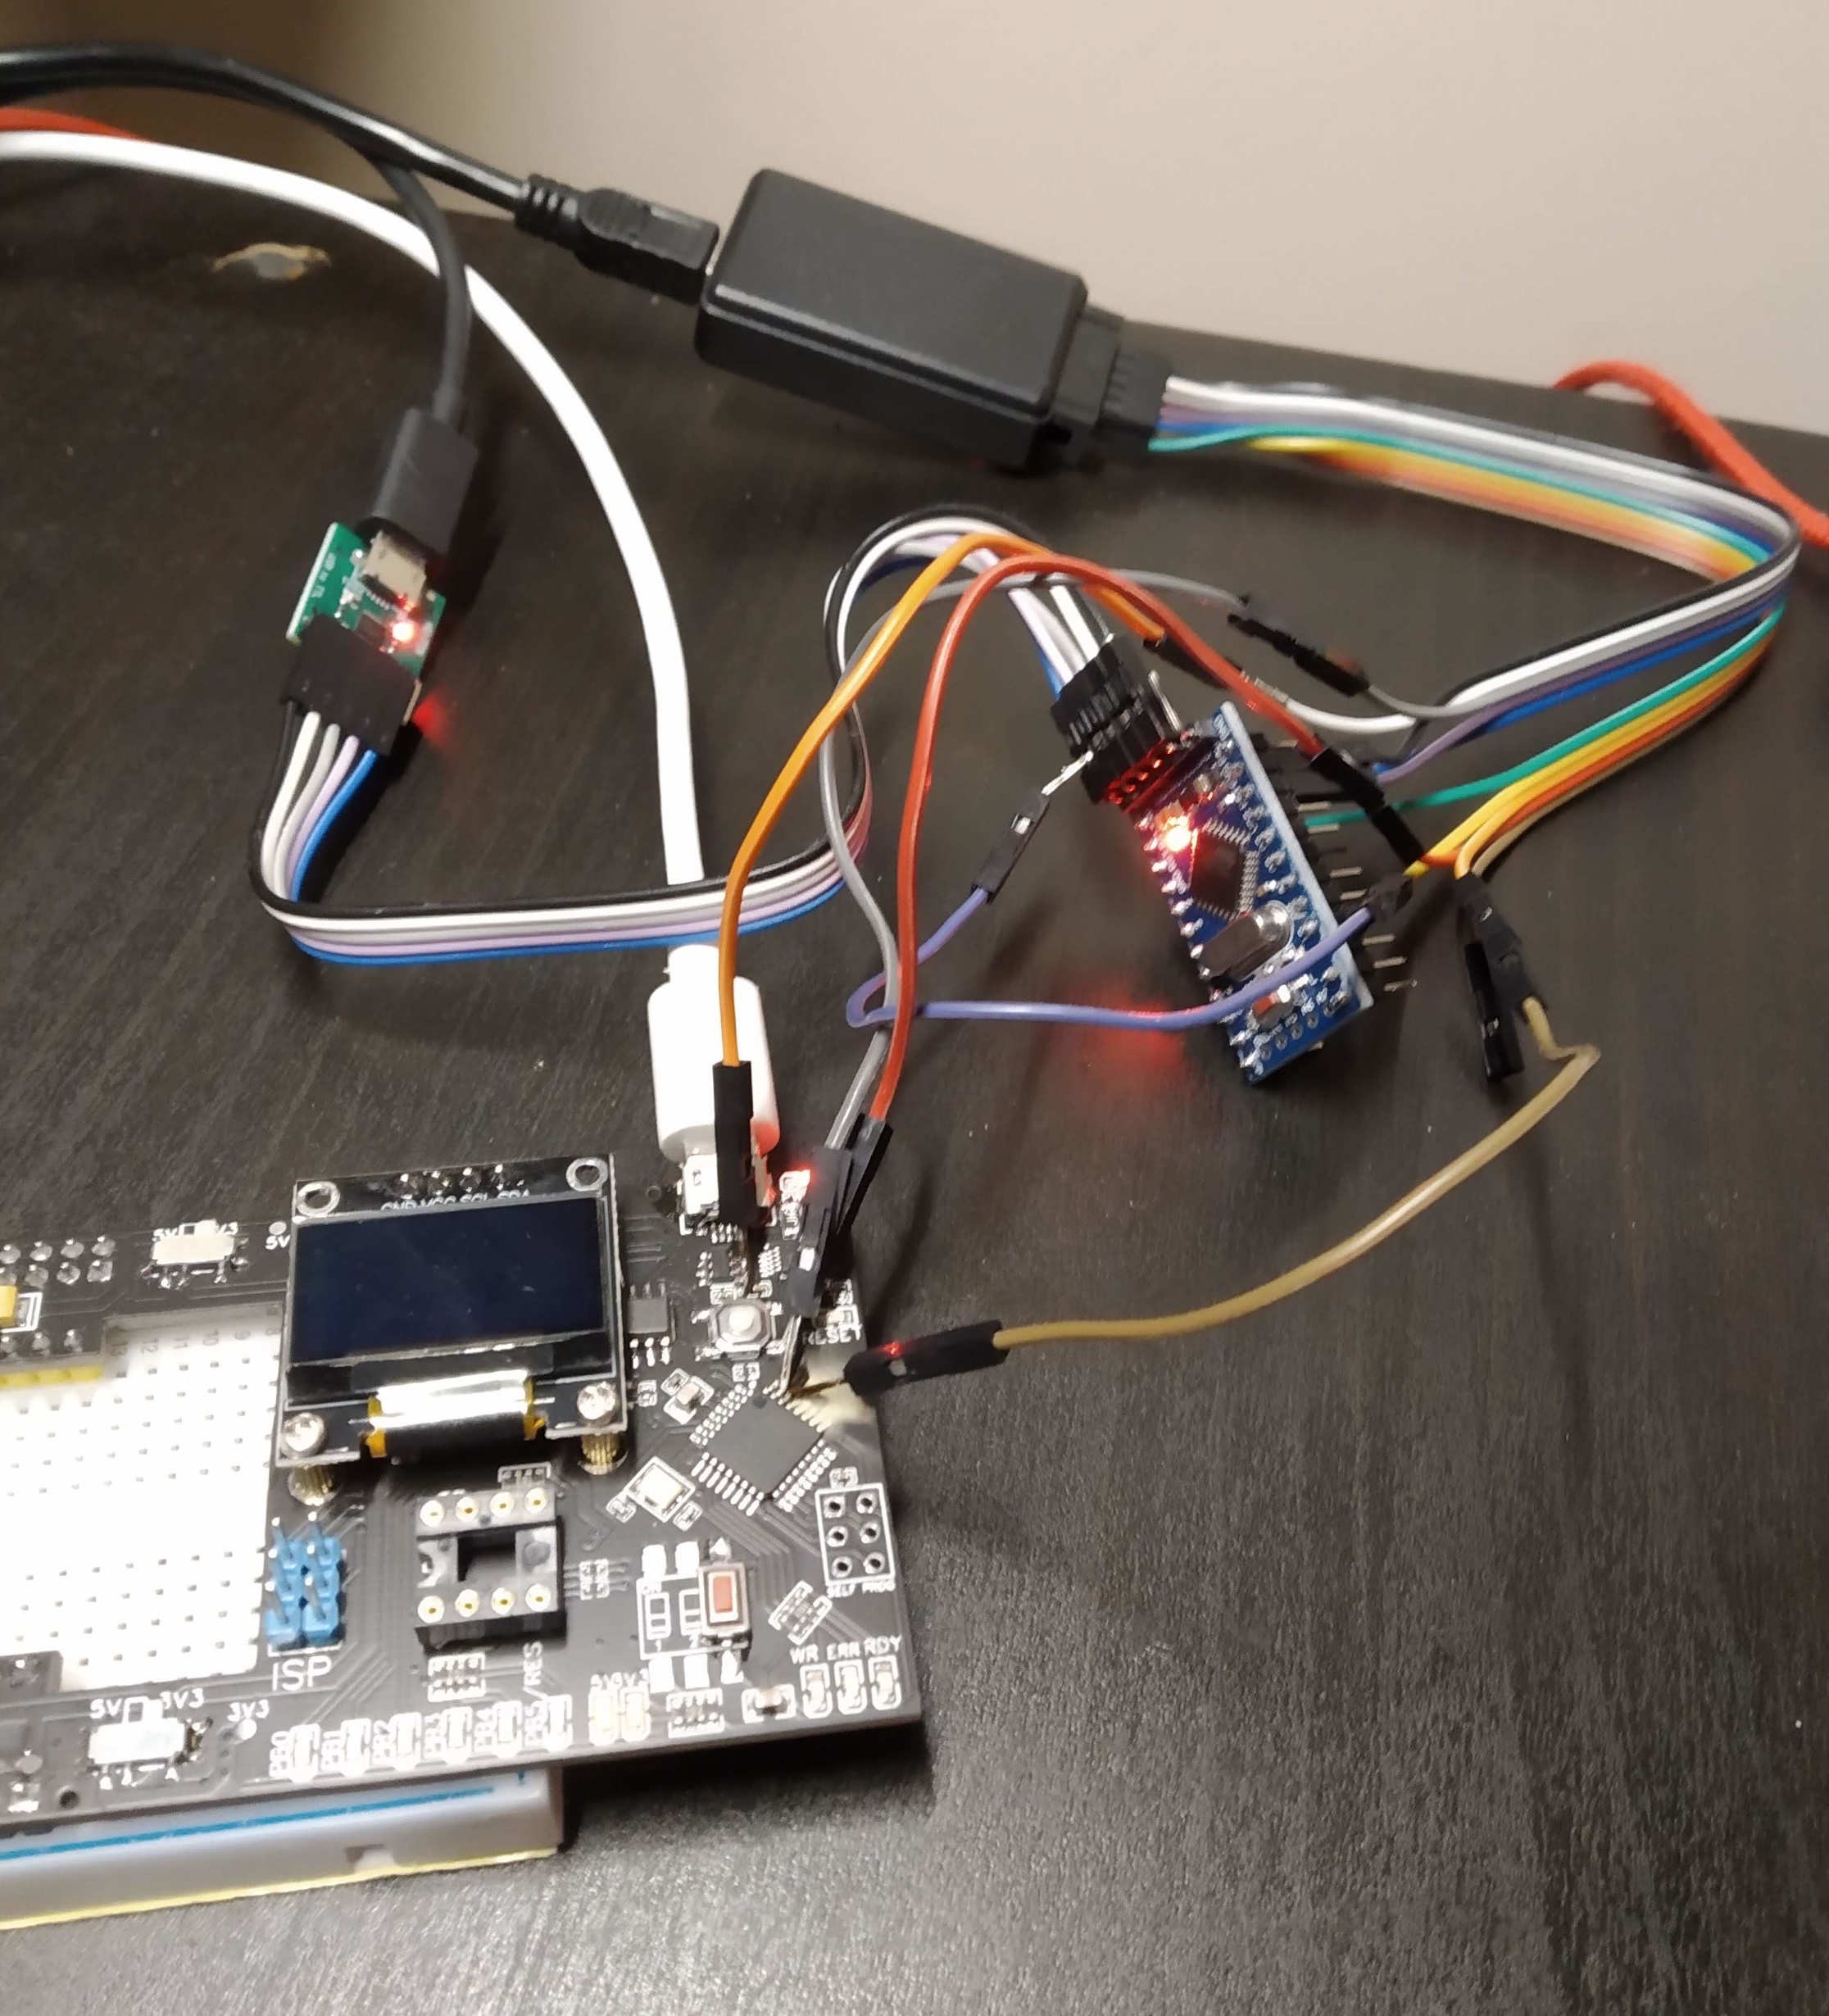
    What I struggled with at first is to flash it properly. You see, new MCU comes with no firmware, no bootloader, nothing. If you plug it in you'll get nothing but dead silence.

    Only way to flash it is to use SPI pins together with RESET pin and any ISP programmer, another Flasher (older revision) in my case. Note to myself: don't forget to solder out those pins.

    Why wouldn't it work like other Arduinos with USB-UART chip? Because it will only work with proper bootloader, the one that will wait for programming commands upon each restart. I had to take out logic analyzer to figure this out.


    Using another flashing tool is not the most convenient way, everyone get used to do it 'one-click' way. Therefore using SPI method I only need to flash proper bootloader. Once it is flashed (with proper fuse settings) I can use onboard USB-UART bridge and any Arduino-like IDE to flash it next time.


    Something I'd have to do for each board before it would leave my house towards customer.

  • Crowd Supply Campaign. TPI and UPDI support plans

    andriy.malyshenko06/04/2021 at 20:56 0 comments

    I did some effort for fill out all the formalities and since yesterday my Crowd Supply Campaign is live. I hope to get some support from community to run small batch and distribute it around the globe.

    To be honest my target is a bit more ambitious. Currently I'm doing preparation work to support TPI and UPDI protocols. TPI would allow to programm smaller Tinys (Tiny9, Tiny10 etc), and UPDI will open the doors to latest Tinys with powerful peripheries.

    I know for sure, that it is possible, but I'm not sure if i will manage to finish the work. Therefore I'm counting here on community support. Since such ennoblement is really a software task, I believe it is manageable.

  • Project status update

    andriy.malyshenko06/04/2021 at 20:47 0 comments

    Since the previous record many things have happen. I did some additional optimization of the board to hit few targets

    - I definitely want to have a high voltage programmer onboard (that's quite tricky as turns out)

    - I want to prepare my board for possible mass production, therefore I've abandoned 'motherboard' design and installed onboard MCU

    - Few small improvements here and there

    Why would you need high voltage programmer? Smaller ATtiny's have just 5 usable GPIOs, but you can program reset pin to be 6th GPIO as well. the only problem is that you cannot use it for programming anymore. Therefore there is a special routine that allows you to reprogram such MCU by applying 12V to reset pin and using special protocol to update firmware.

    Apart of necessity to have high voltage onboard (which is an easy part) you have to hire one more TINY pin to perform high voltage flashing, but worst part that pins that used for normal ISP programming are used in other directions in high voltage programing mode. This makes buffer IC useless, since it would block signal from TINY to host.

    Solution that i came up with is to drop 74HC125 quad buffer and hire 74HC241 octa-buffer instead. 4 of the channels I will use for normal programming and 4 more for high voltage.

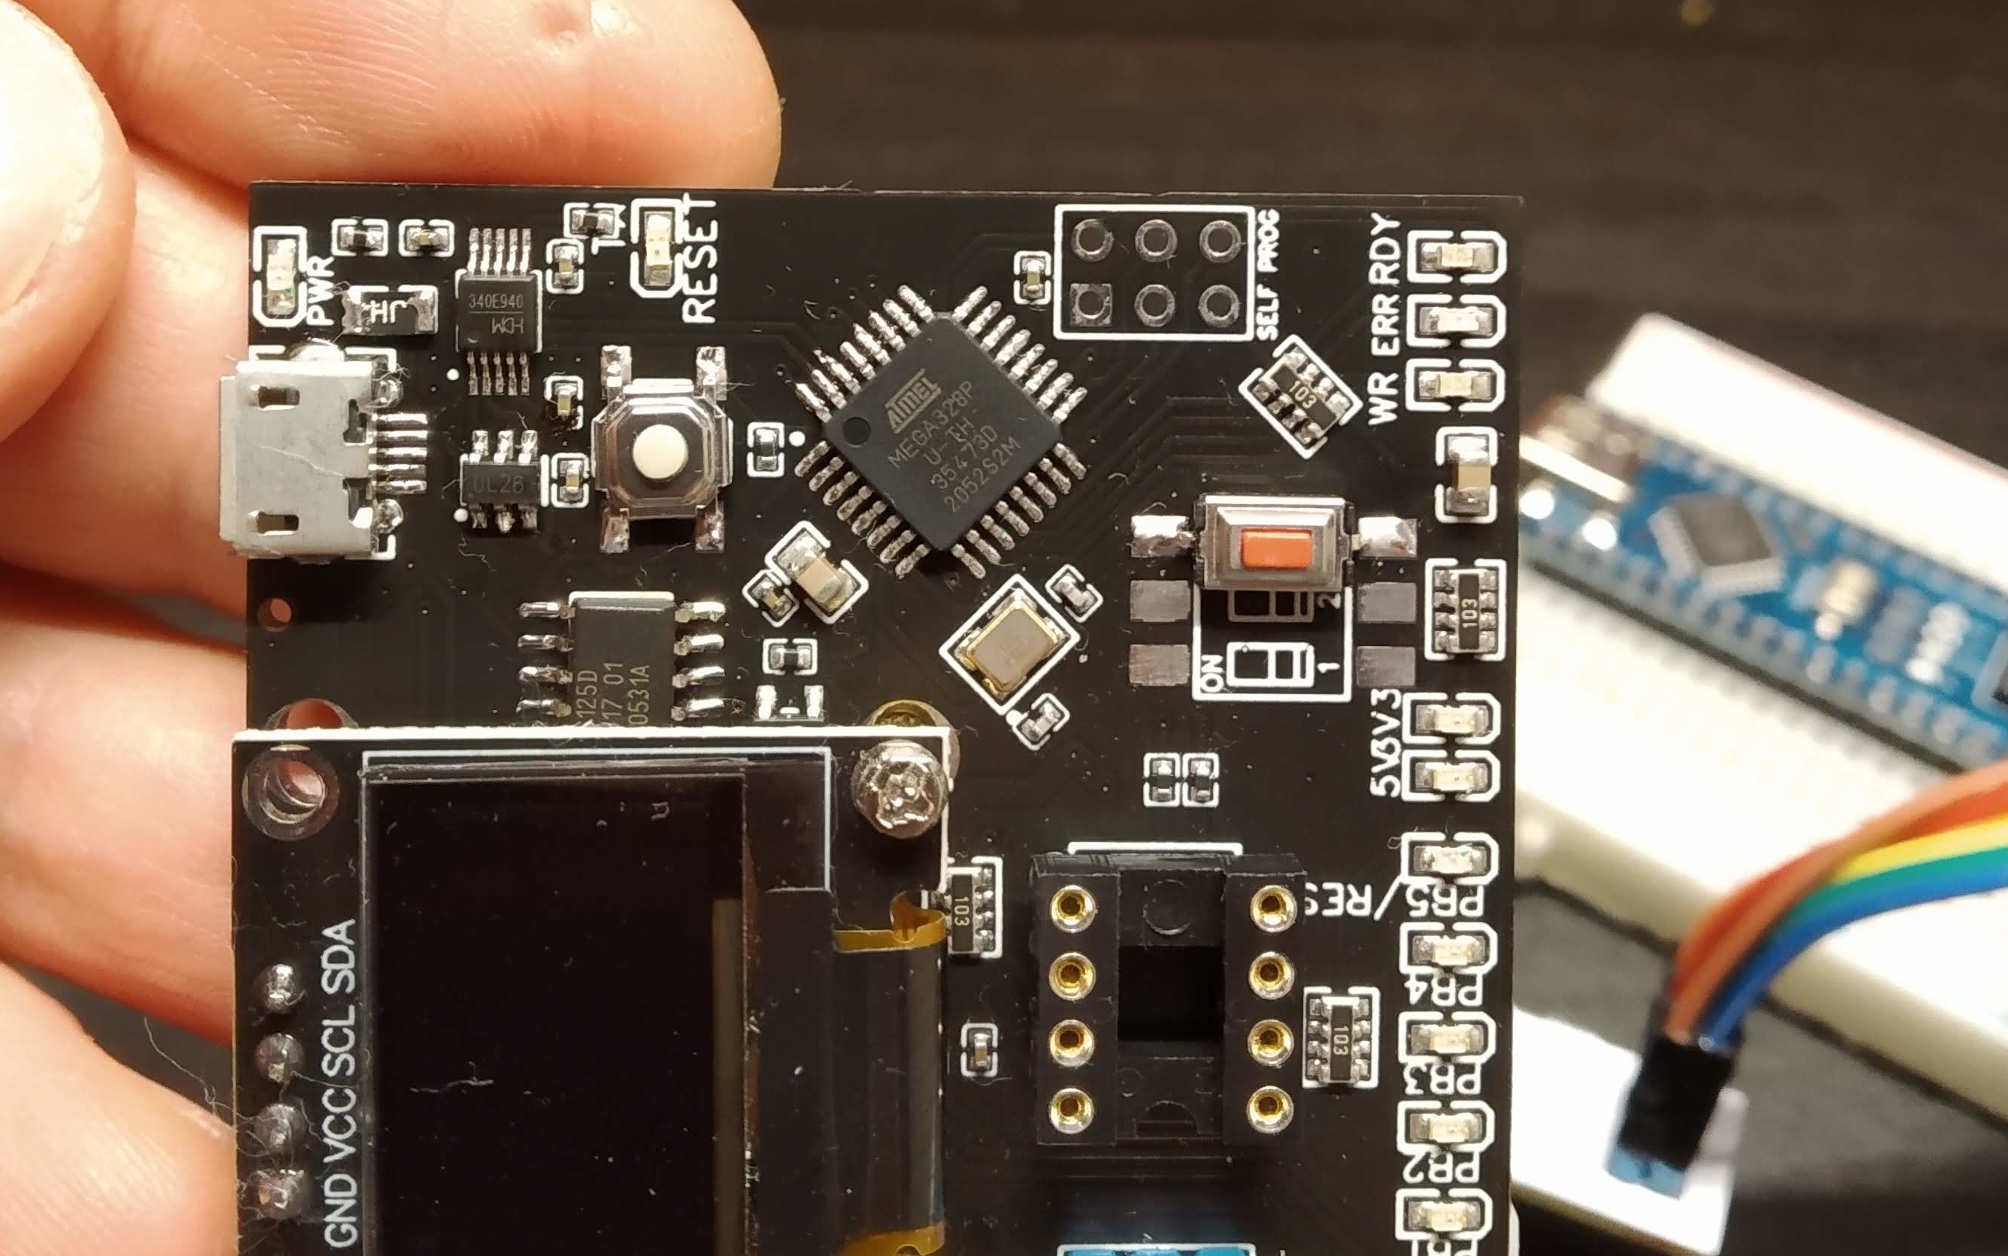
    Picture above shows revision D, where i have high voltage circuitry, but i didn't manage to run it properly. So one more revision to come with above changes.

View all 4 project logs

Enjoy this project?

Share

Discussions

dearuserhron wrote 06/06/2021 at 21:36 point

Nice thing. Add more pinouts. atmega8 pinout needed.

  Are you sure? yes | no

andriy.malyshenko wrote 06/06/2021 at 22:14 point

Hi dearuserhron, could you describe in more details your use case?

  Are you sure? yes | no

dearuserhron wrote 06/07/2021 at 13:01 point

Andrey, look, your board is designed to talk to attiny chips. atmega8 chip has different pinout and it can not be put into onboard socket, right? One have an option to use breadboard and a few additional wires to connect it. My idea was to expand your board to fit more breadboard pins and implement some logic that apply to both chips attiny and atmega.

I have dig out pinouts for both chips: https://aws1.discourse-cdn.com/arduino/optimized/4X/6/5/5/655b452e4f23e6f58e8da0c66d9a6c1ed0c5b560_2_690x404.jpeg https://atmega32-avr.com/wp-content/uploads/2012/11/atmega8_pinout.jpg

I know this isn't a perfect idea, but still it would be cool if your board can accept other chips too.

  Are you sure? yes | no

andriy.malyshenko wrote 06/07/2021 at 13:50 point

You're link below gives 403. Interesting idea, but I think it would be challenging to do one tool to fit them all.  But it should be fairly simple to prepare just atmegaX8 version of the tool.

  Are you sure? yes | no

dearuserhron wrote 06/07/2021 at 19:33 point

More strange ideas: to place attiny into onboard socket near display and make it still able to communicate with the sensor on the breadboard.

Maybe place zero-force dip-28 ZIF holder socket on board. Capable to hold various mCUs.

Don't bother listening me. It is cool device anyway.

  Are you sure? yes | no

andriy.malyshenko wrote 06/07/2021 at 19:51 point

not sure if i got you right, but you can put tiny to onboard socket and it will be connected to breadboard, that's the core idea behind the tool, you can place MCU either into breadboard, or into onboard socket, that's electrically equivalent.

  Are you sure? yes | no

Similar Projects

Does this project spark your interest?

Become a member to follow this project and never miss any updates