 Gradivis
So here's the thing - I originally set out to make a shoot-from-the-hip rpi-based camera, and I really do love the LC-A. But space was continuously a problem, particularly in terms of the battery power I wanted.
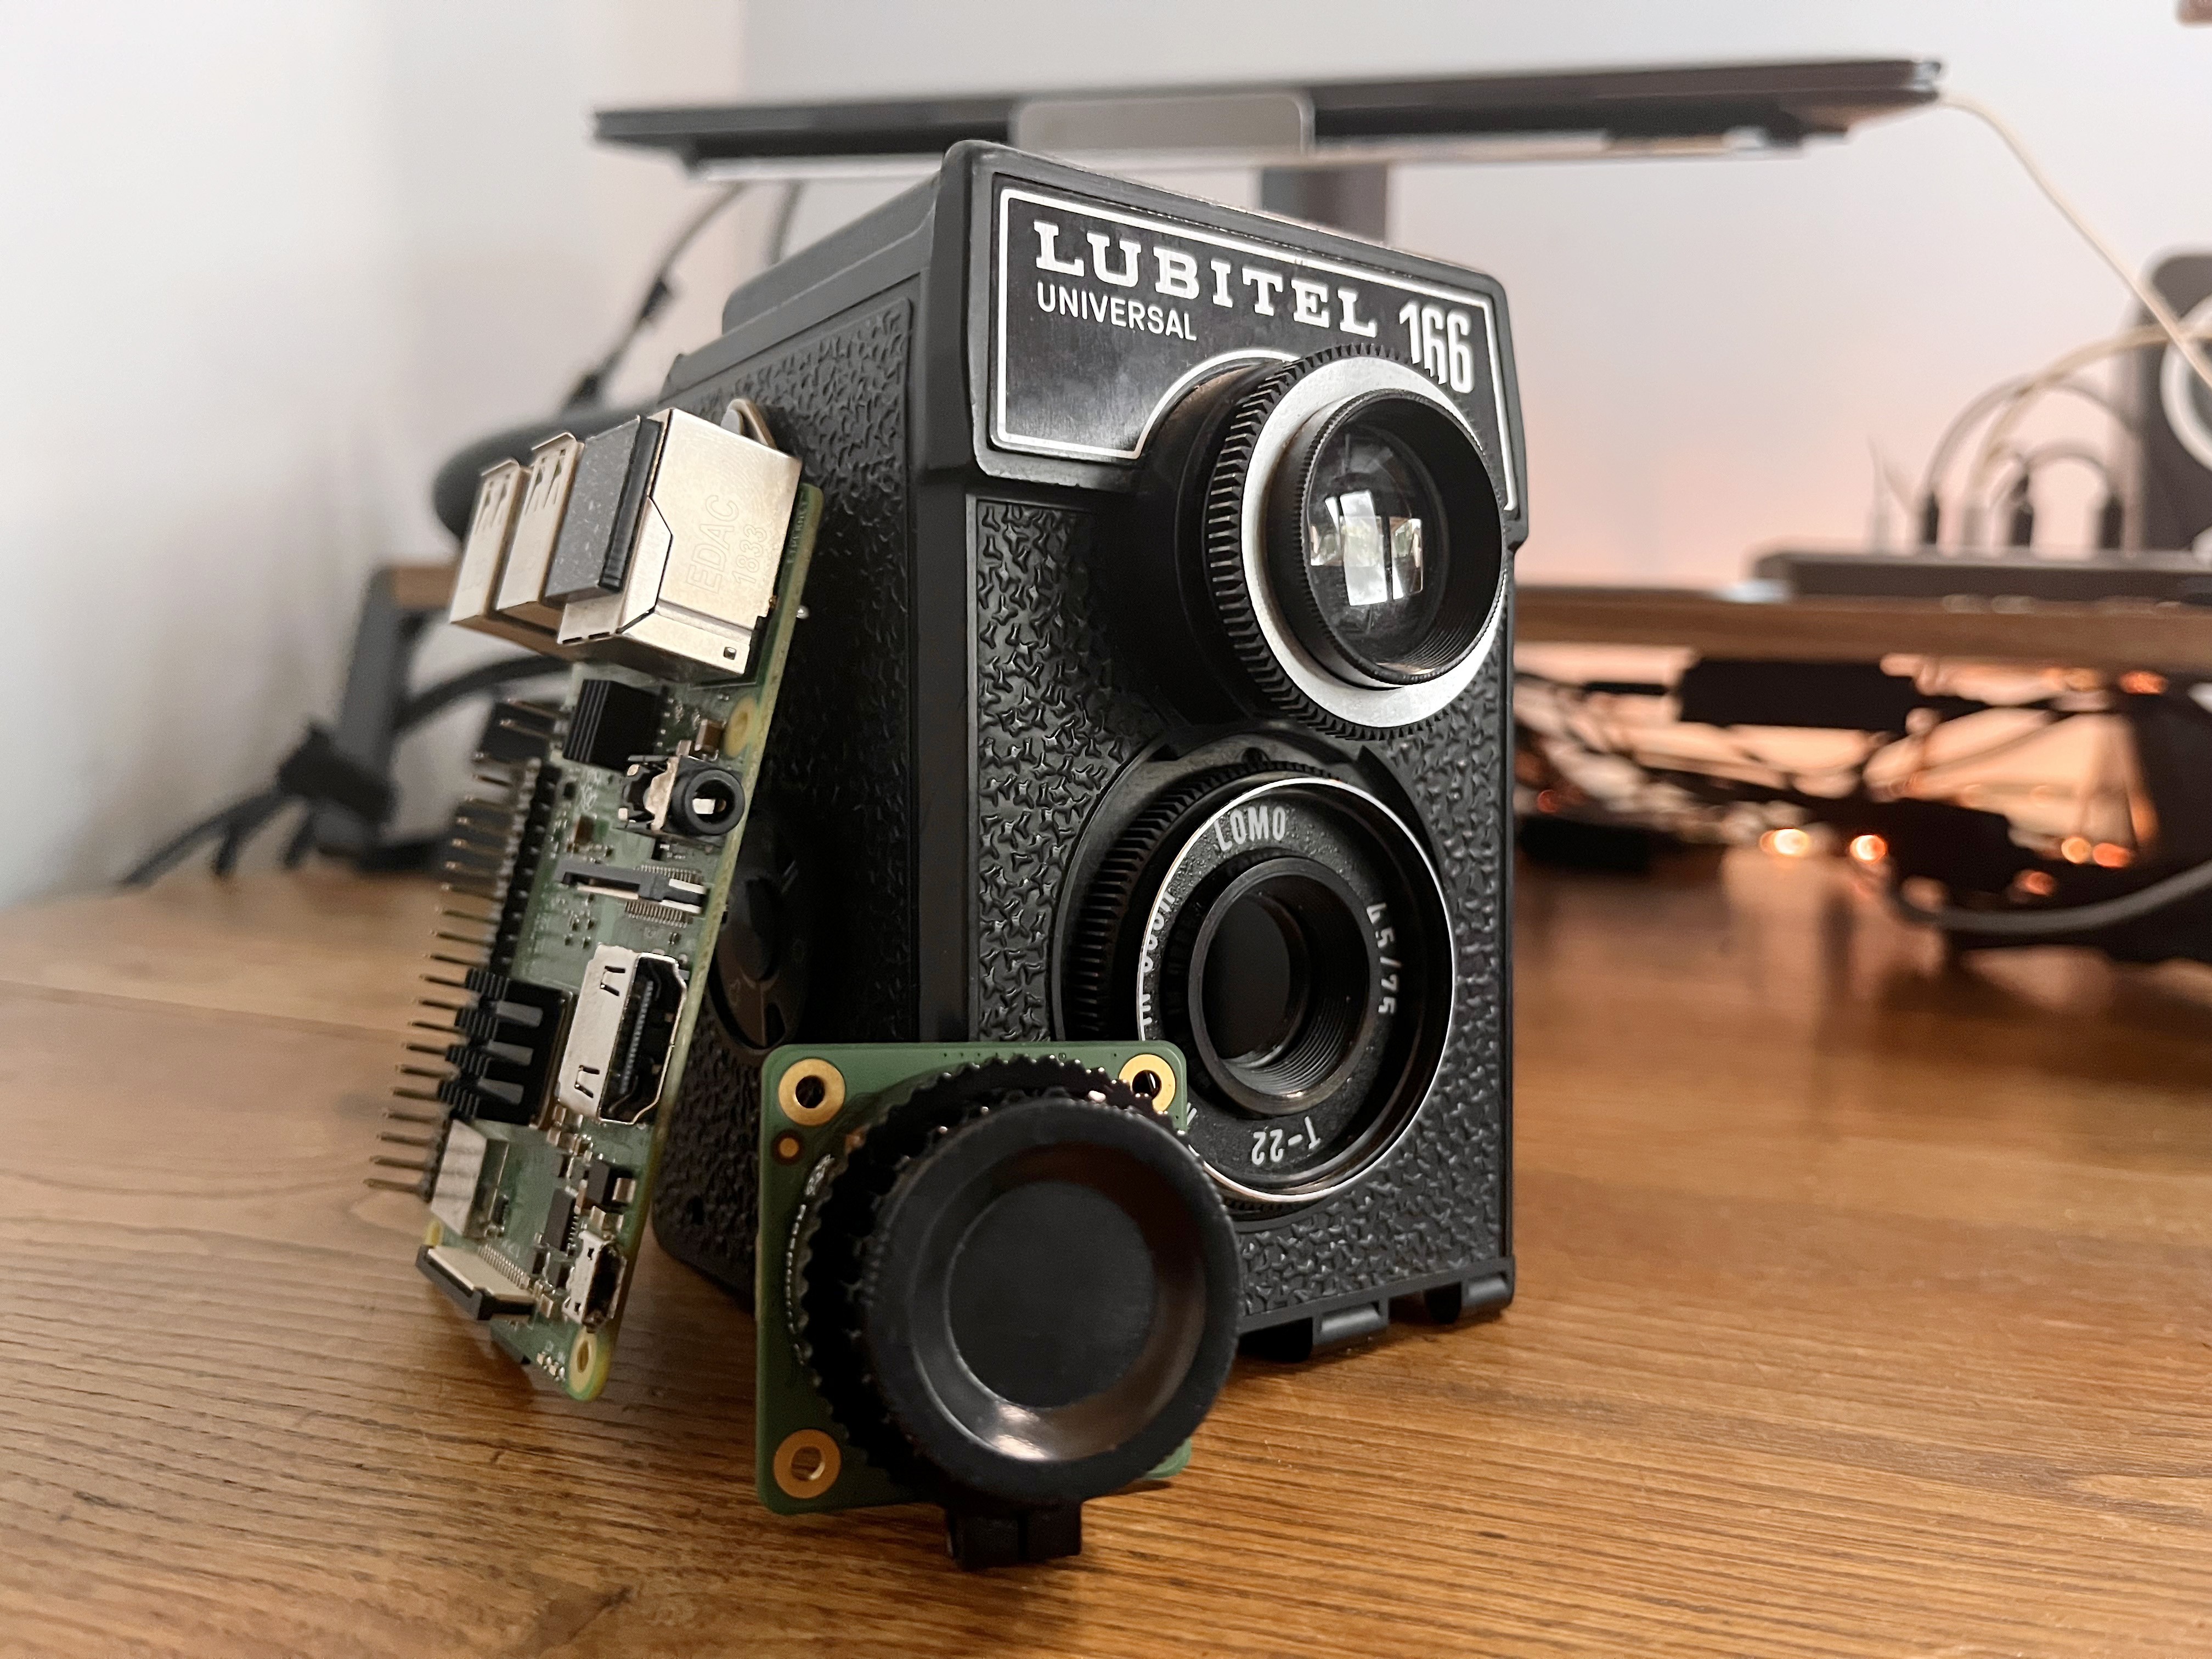
Enter the Lubitel 166, a lovely camera from Soviet-era LOMO which can take surprisingly good film pictures when in working order (I owned one for a good few years). The one that I came into possession of however was not in working order, and I immediately though it could not only solve my space issues, but could in fact take this project to a higher level.
With the Lubitel selected and with this new extra space in mind, I upgraded the project to use the HQ Camera from Raspberry Pi. I've been super impressed with the IQ, especially paired with a glass lens and not a c-mount CCTV camera thing.
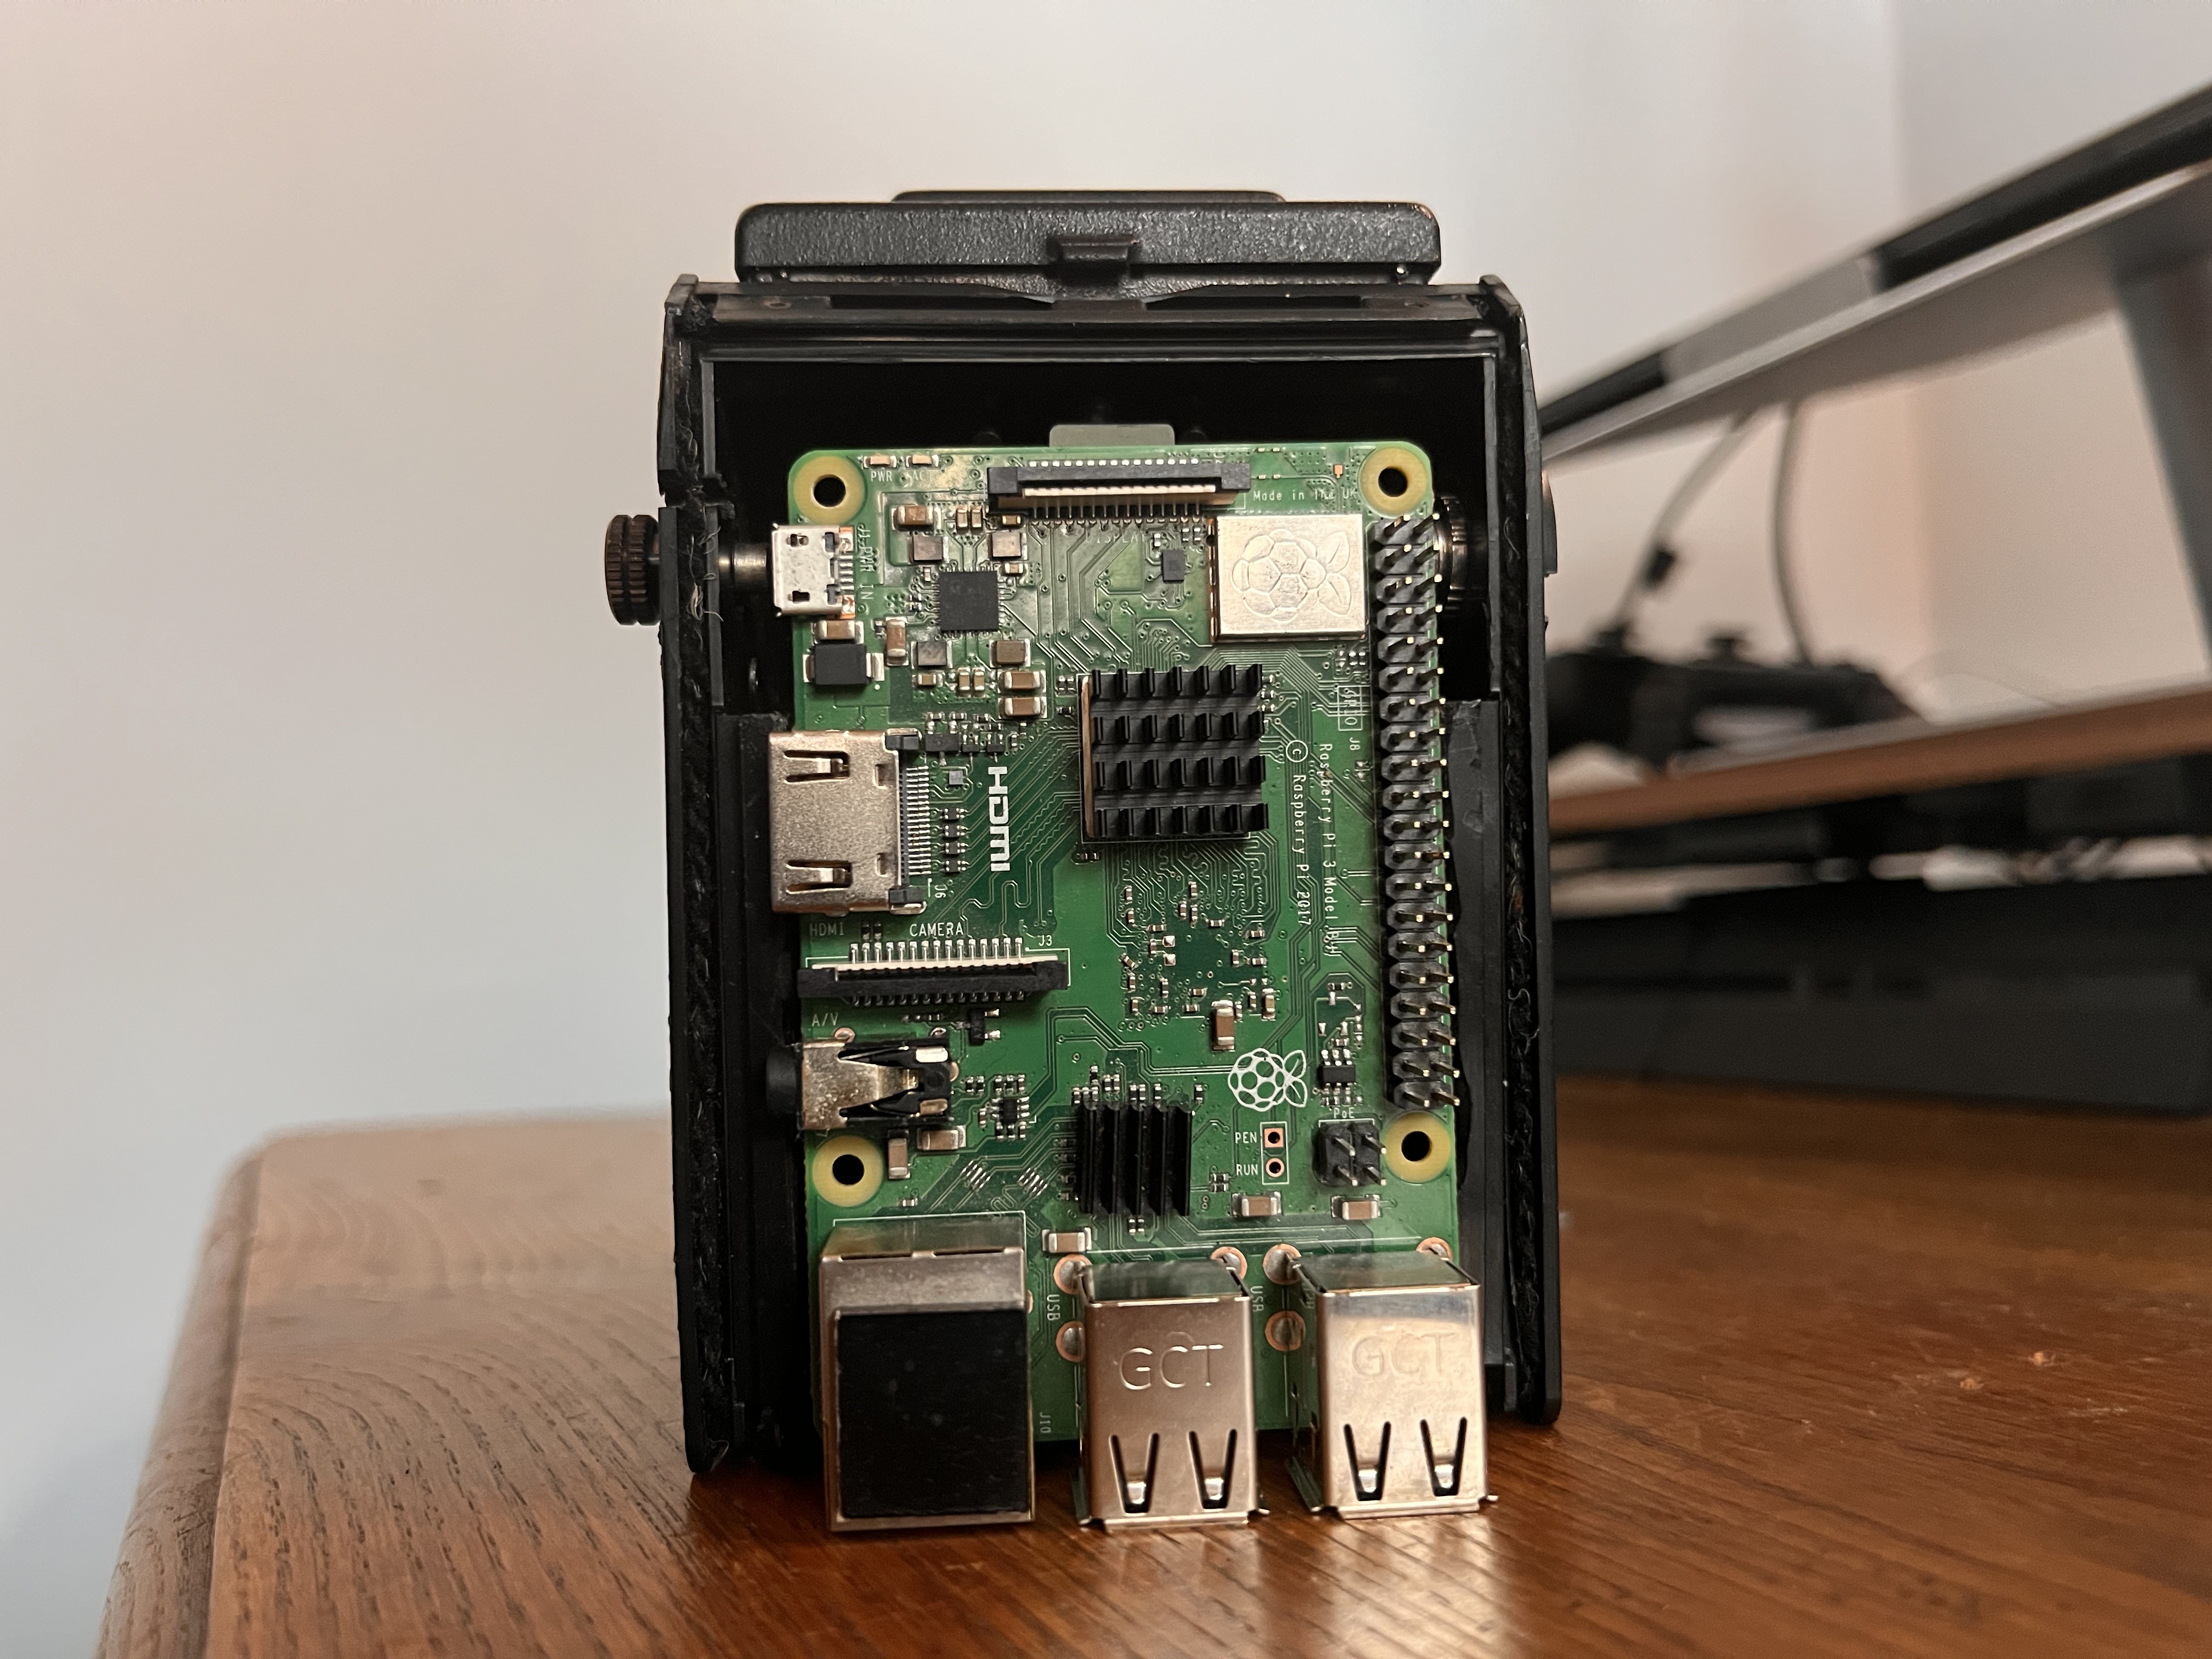
I don't have images of the process, but the Lubitel back opens on a downwards hinge. I removed it entirely - I'll be making a custom back to fit in the hinge but with more space at the bottom for an internal battery pack, and it's going to have to fit around the embedded Rpi3 (instead of the Zero) so the old back wouldn't do.
As you can see, with some trimming to the internal plastic there will be space for the Rpi3. I may switch model, but this is what I have on hand:
I also took out the lens and Iris elements - while they could have been nice to keep, optics is not my forté and I also wanted to have exposure of the c-mount threads so I wasn't just stuck with a single lens. As much fun as having the original triplet lens would be, I can't justify making more than one of these in terms of time demand, so I want it to be versatile. There's also the issue of the sensor not being centered with the hole:
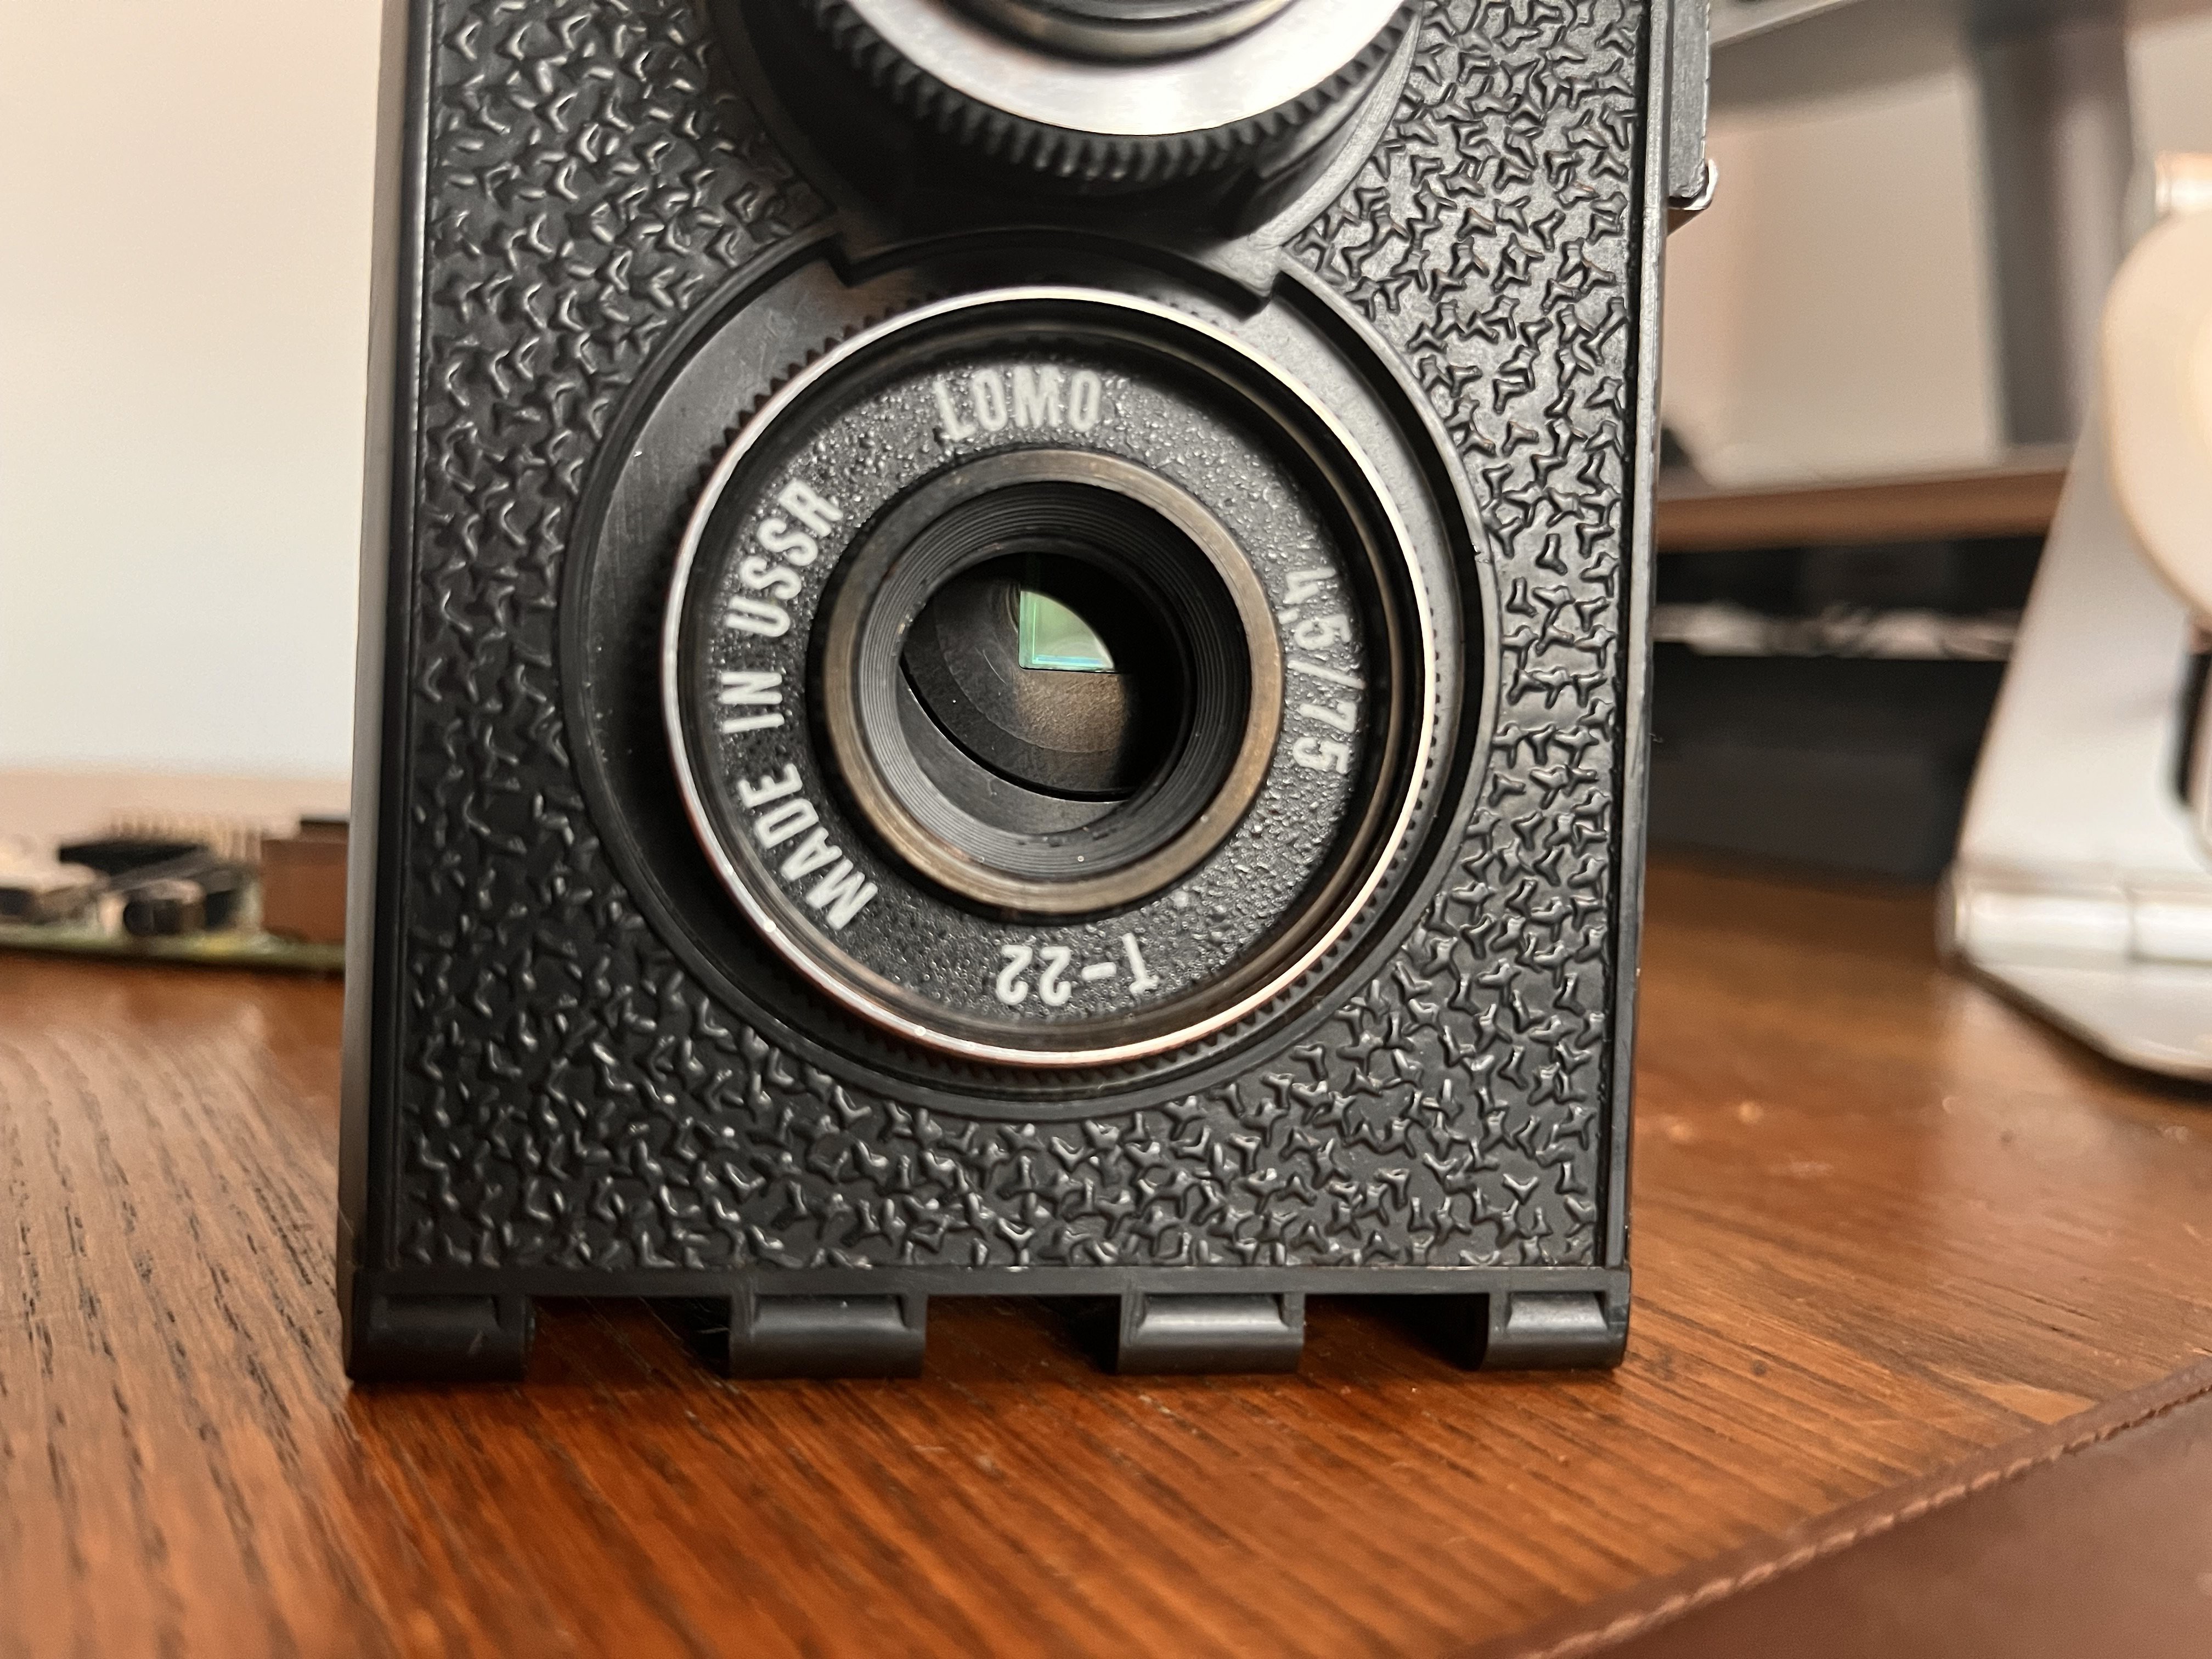
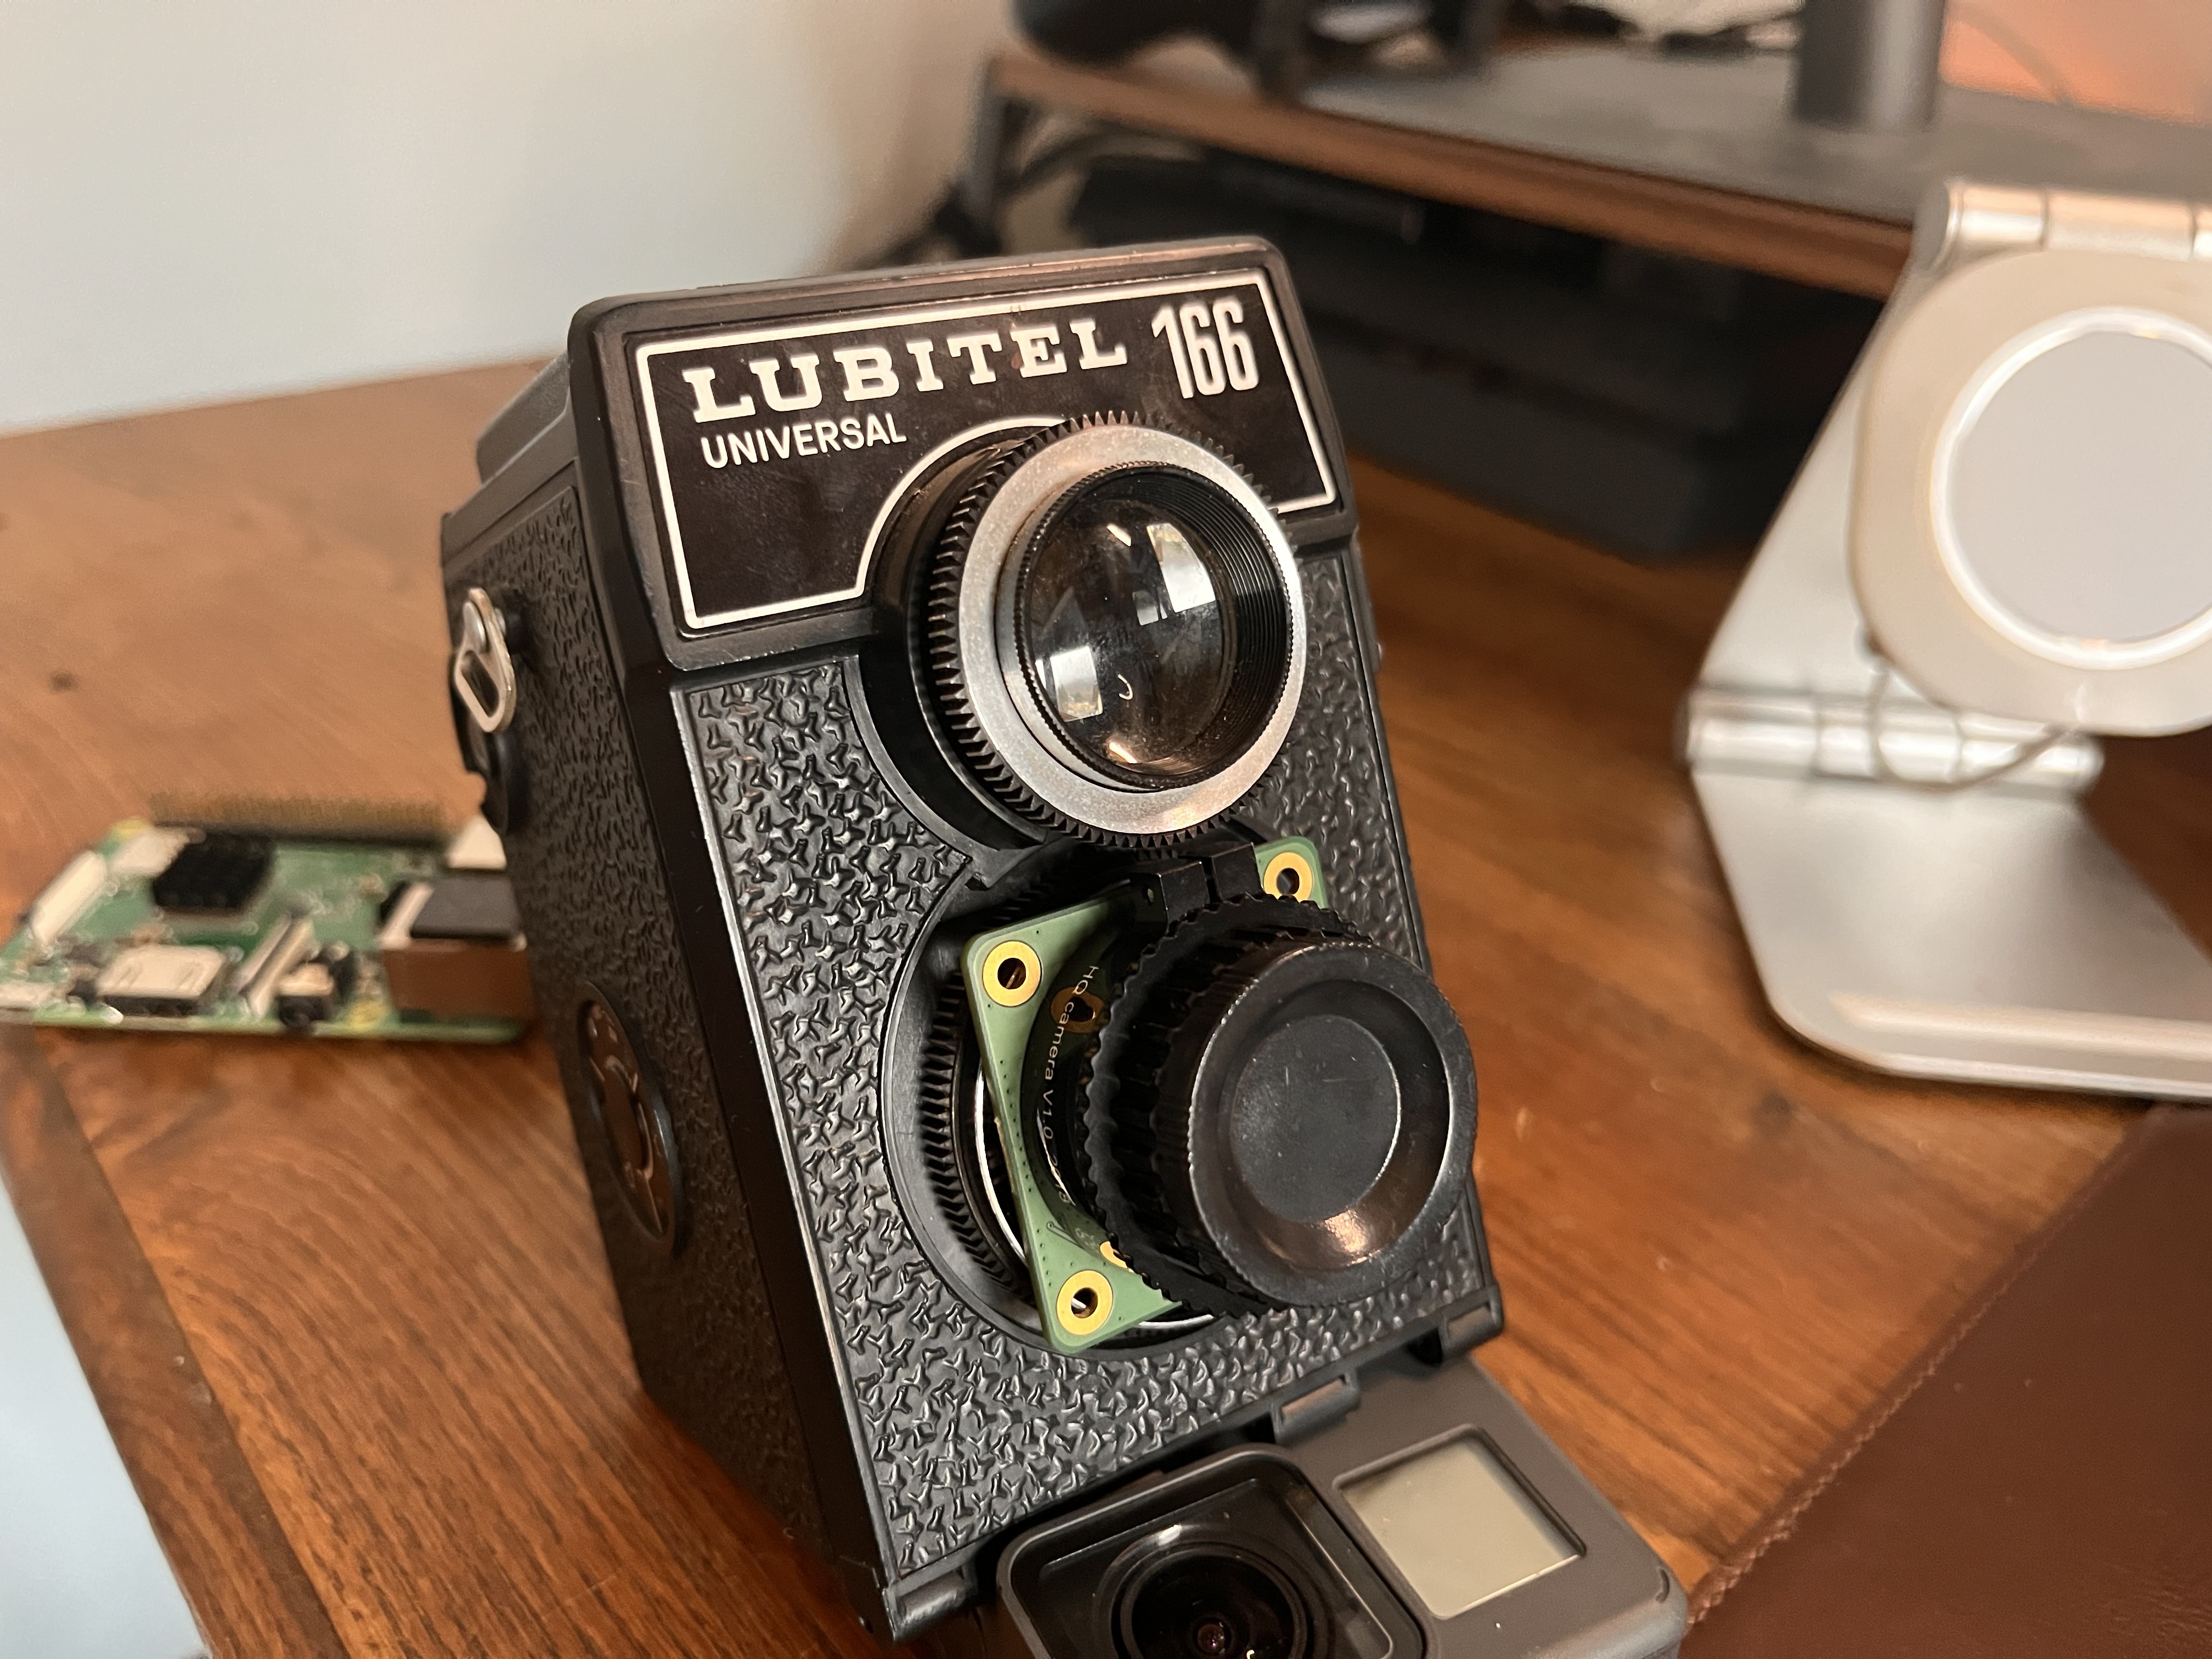
With the lens, iris and shutter mechanisms out, I am now going to have to 3D print something for the HQ camera to mount on the front - there's not enough clearance inside as-is, and the Lubitel's front opening is smaller than the c-mount threads. It's a shame, because it means covering up "made in the USSR" printed around the front.
So this is what I'm aiming for:
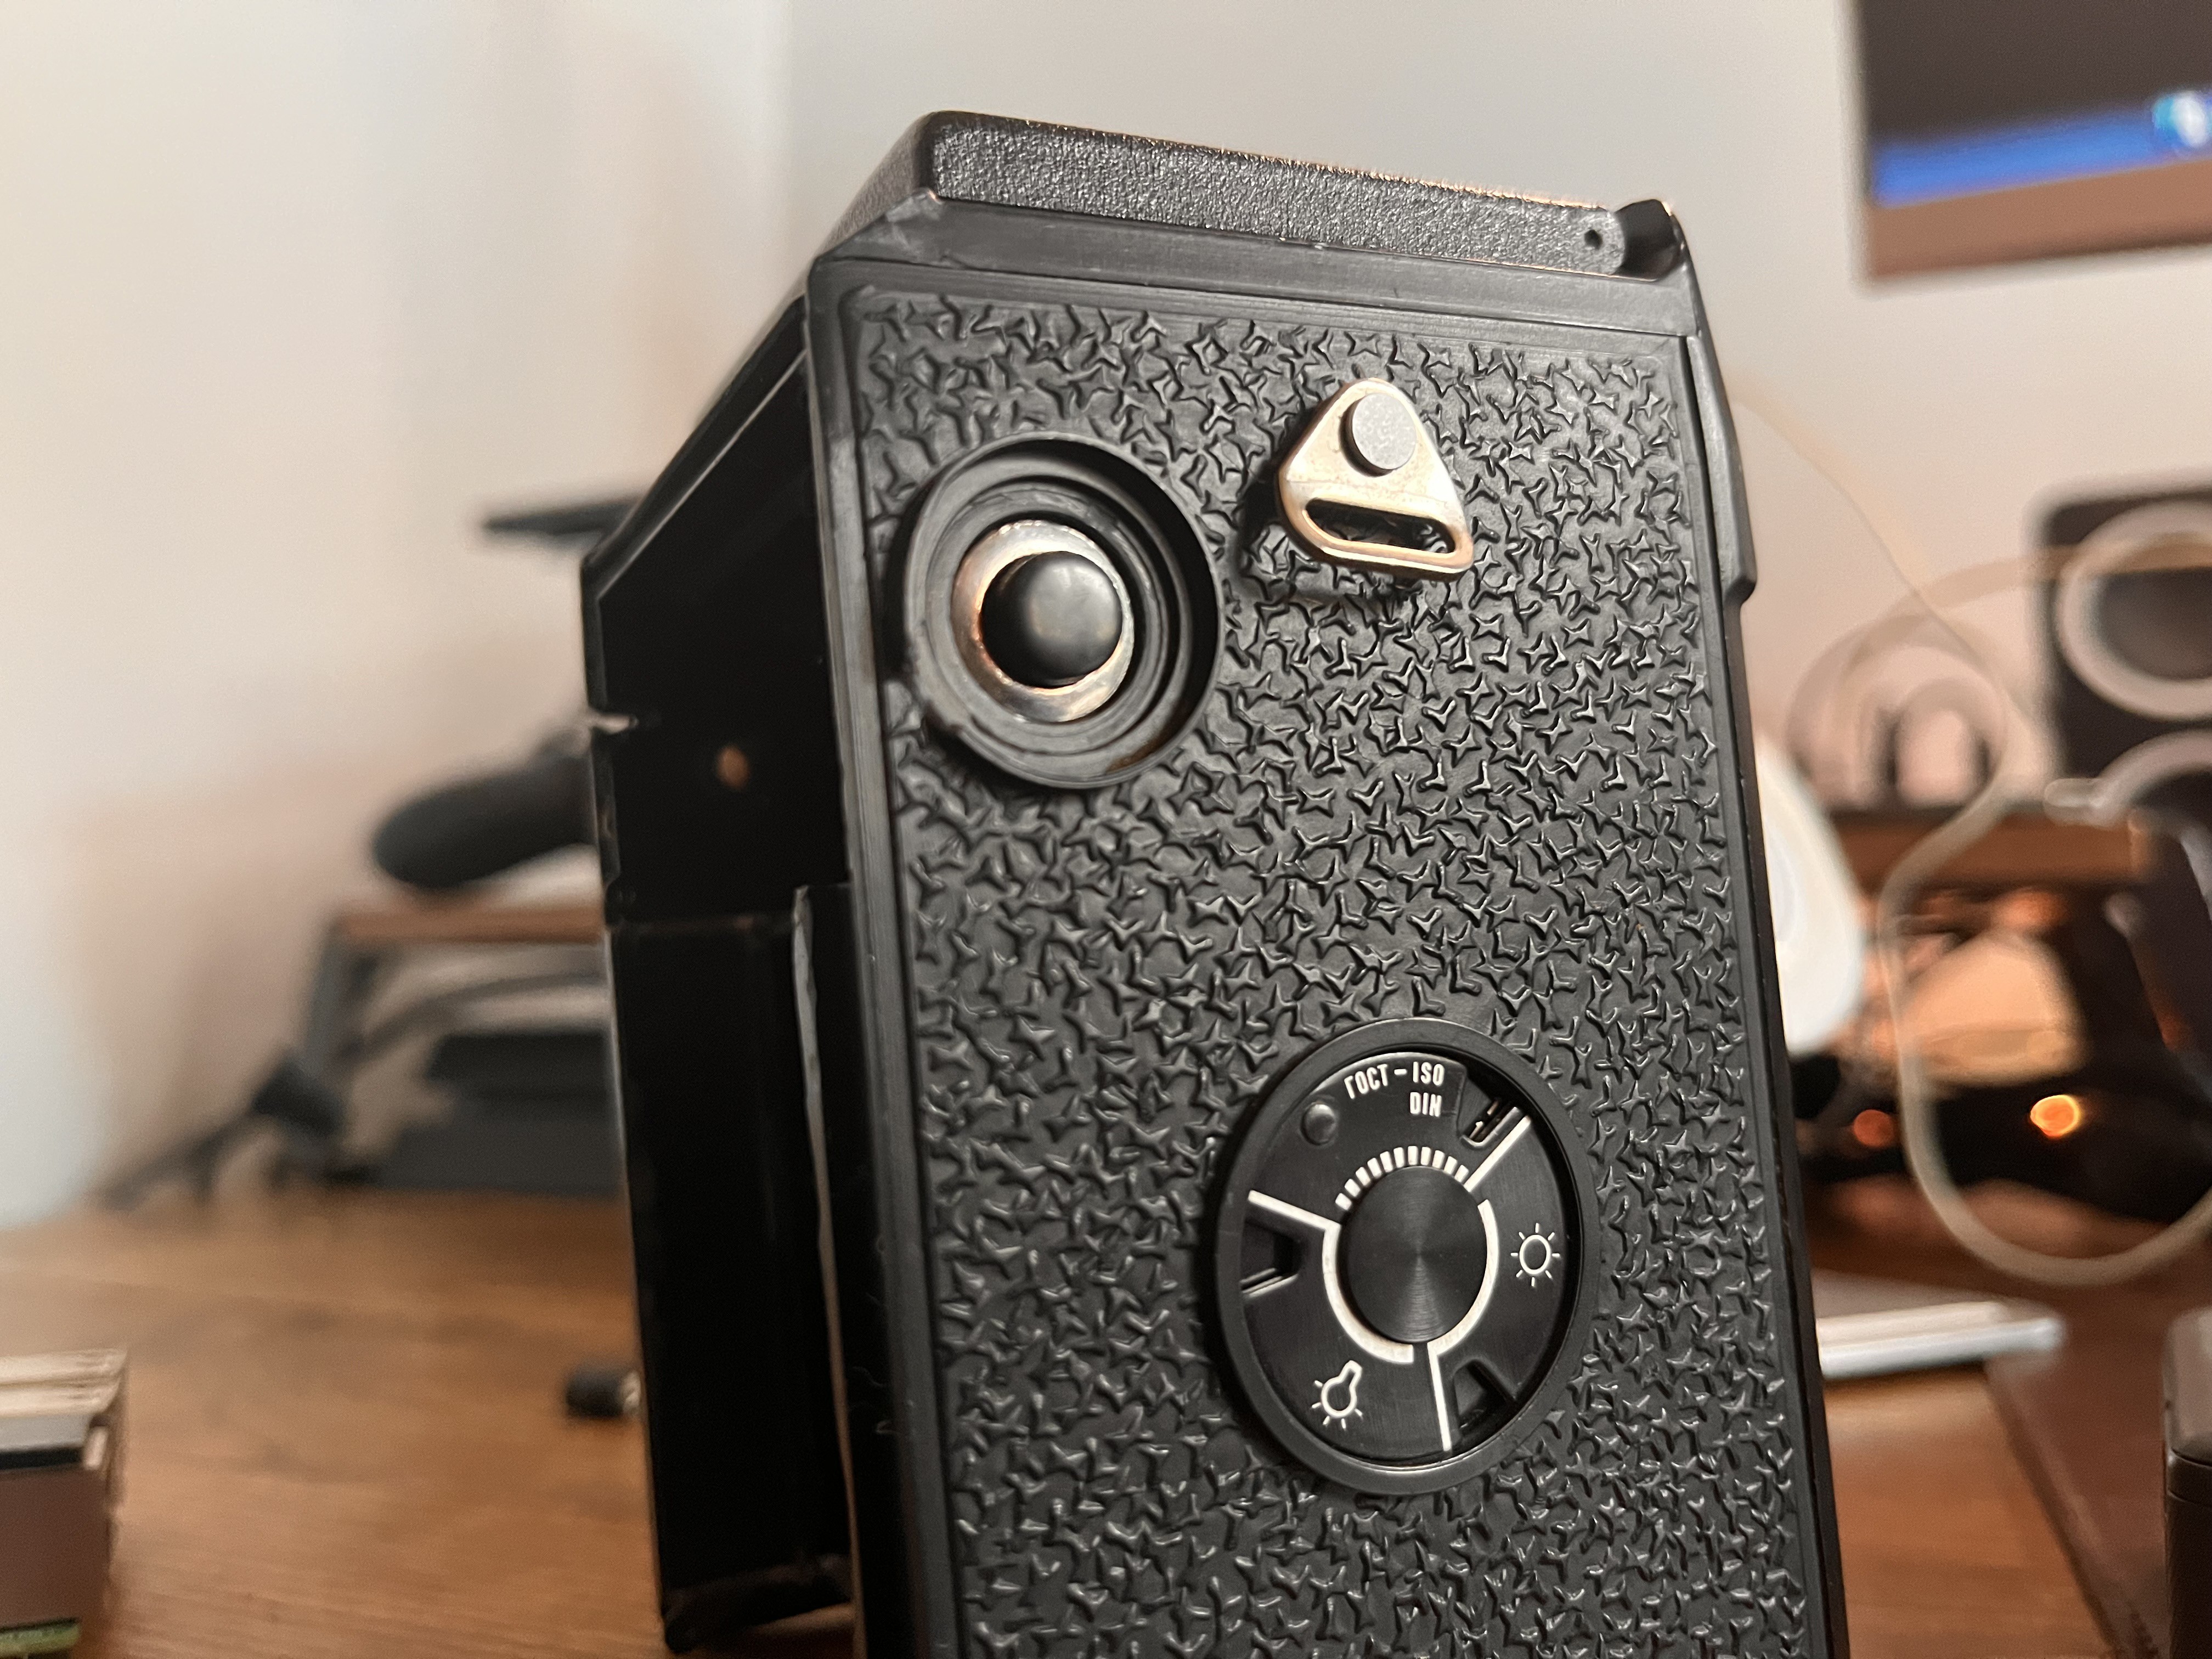
Pulling out the film winding nob, I had the perfect spot for the buttons I was going to use for the LCA!
Next up:
- Figure out spot for video-taking button
- Figure out places for LEDs
- Determine battery pack to use
- Clear out space inside for the Rpi3 and shield+secure
- Determine where I want to run wiring
then FINALLY
- Design backer with battery pack
- Design front lens mount
Thanks for your likes and interest and stay tuned!
Discussions
Become a Hackaday.io Member
Create an account to leave a comment. Already have an account? Log In.