By now I had decided that I had reached the limits of the ESP32's FFT processing power.
- Bands: 59 Bands, spanning 55 Hz - 17163 Hz (8.25 Octaves)
- Audio Samples per FFT: 4096 samples @ 36 kHz
- FFT Frequency Bins: 2048 bins (8.79 Hz each)
- Display Update interval: 27 mSec (37 Hz)
- Audio to Visual Latency: Max 40 mSec (14 mSec acquisition + 26 mSec FFT & display)
I had some ideas of how to speed up the audio updates, but if I wanted to stick with floating point math, there was no way to speed up the FFT algorithm. So I sought out a hardware solution.
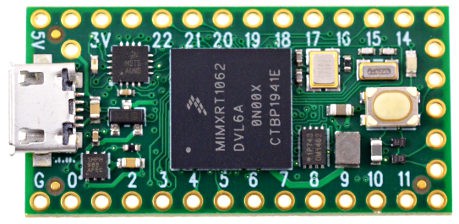
About this time I came across the Teensy processor. In it's current 4.x incarnation it was claiming processor speeds 6+ times faster than the ESP32, and it also had a hardware floating point unit. So I decided I needed to run some math speed tests.

I bought a Teensy 4.0 for about $20, and set up an Ardunio Development environment. I will admit this was a bit tricky since I had to manually install the custom Arduino extension (it's not supported by the library manager), and some of the library functions seemed to clash with some other ones I had already installed, but after some path tweaks I got it up an running.
I first decided to run some floating point math speed tests, since this is what I needed for the FFT calculations. My initial results were really confusing, since it seemed like the calculations were not consuming any time. Eventually I started increasing the loop iterations by factors of 10 and 100 and measuring the execution time in micro-seconds, rather than milli-seconds. Then I started getting some meaningful results.
Suffice it to say that FFT execution times were NOT going to be a problem any more. I was able to double my number of input samples, and still process them all in a 1/10th of the time it was previously taking the ESP32.
At this point I think it's fair to say that the ESP32's great strength is it's wireless capabilities, but the Teensy has it in spades when it comes to processing power.
Next I had to re-solve the challenge of reading the I2S microphone that I'd used on the ESP. Here is another difference with the Teensy. The Teensy Arduino install comes with an Audio library that lets you sample an audio input source in the background and pass audio packets to a processing pipeline. This essentially eliminated the need for the ESP's two cores.
The Audio library is hard coded to sample at 44100 Hz, and it assembles the audio into 128 sample packets. Each packet corresponds to 2.9 mSec of audio. Since I was already packetizing my audio in the ESP to reduce visual latency, this turned out to be a bonus. I just needed to decide how many packets I wanted to append before passing the entire sample off to the FFT.
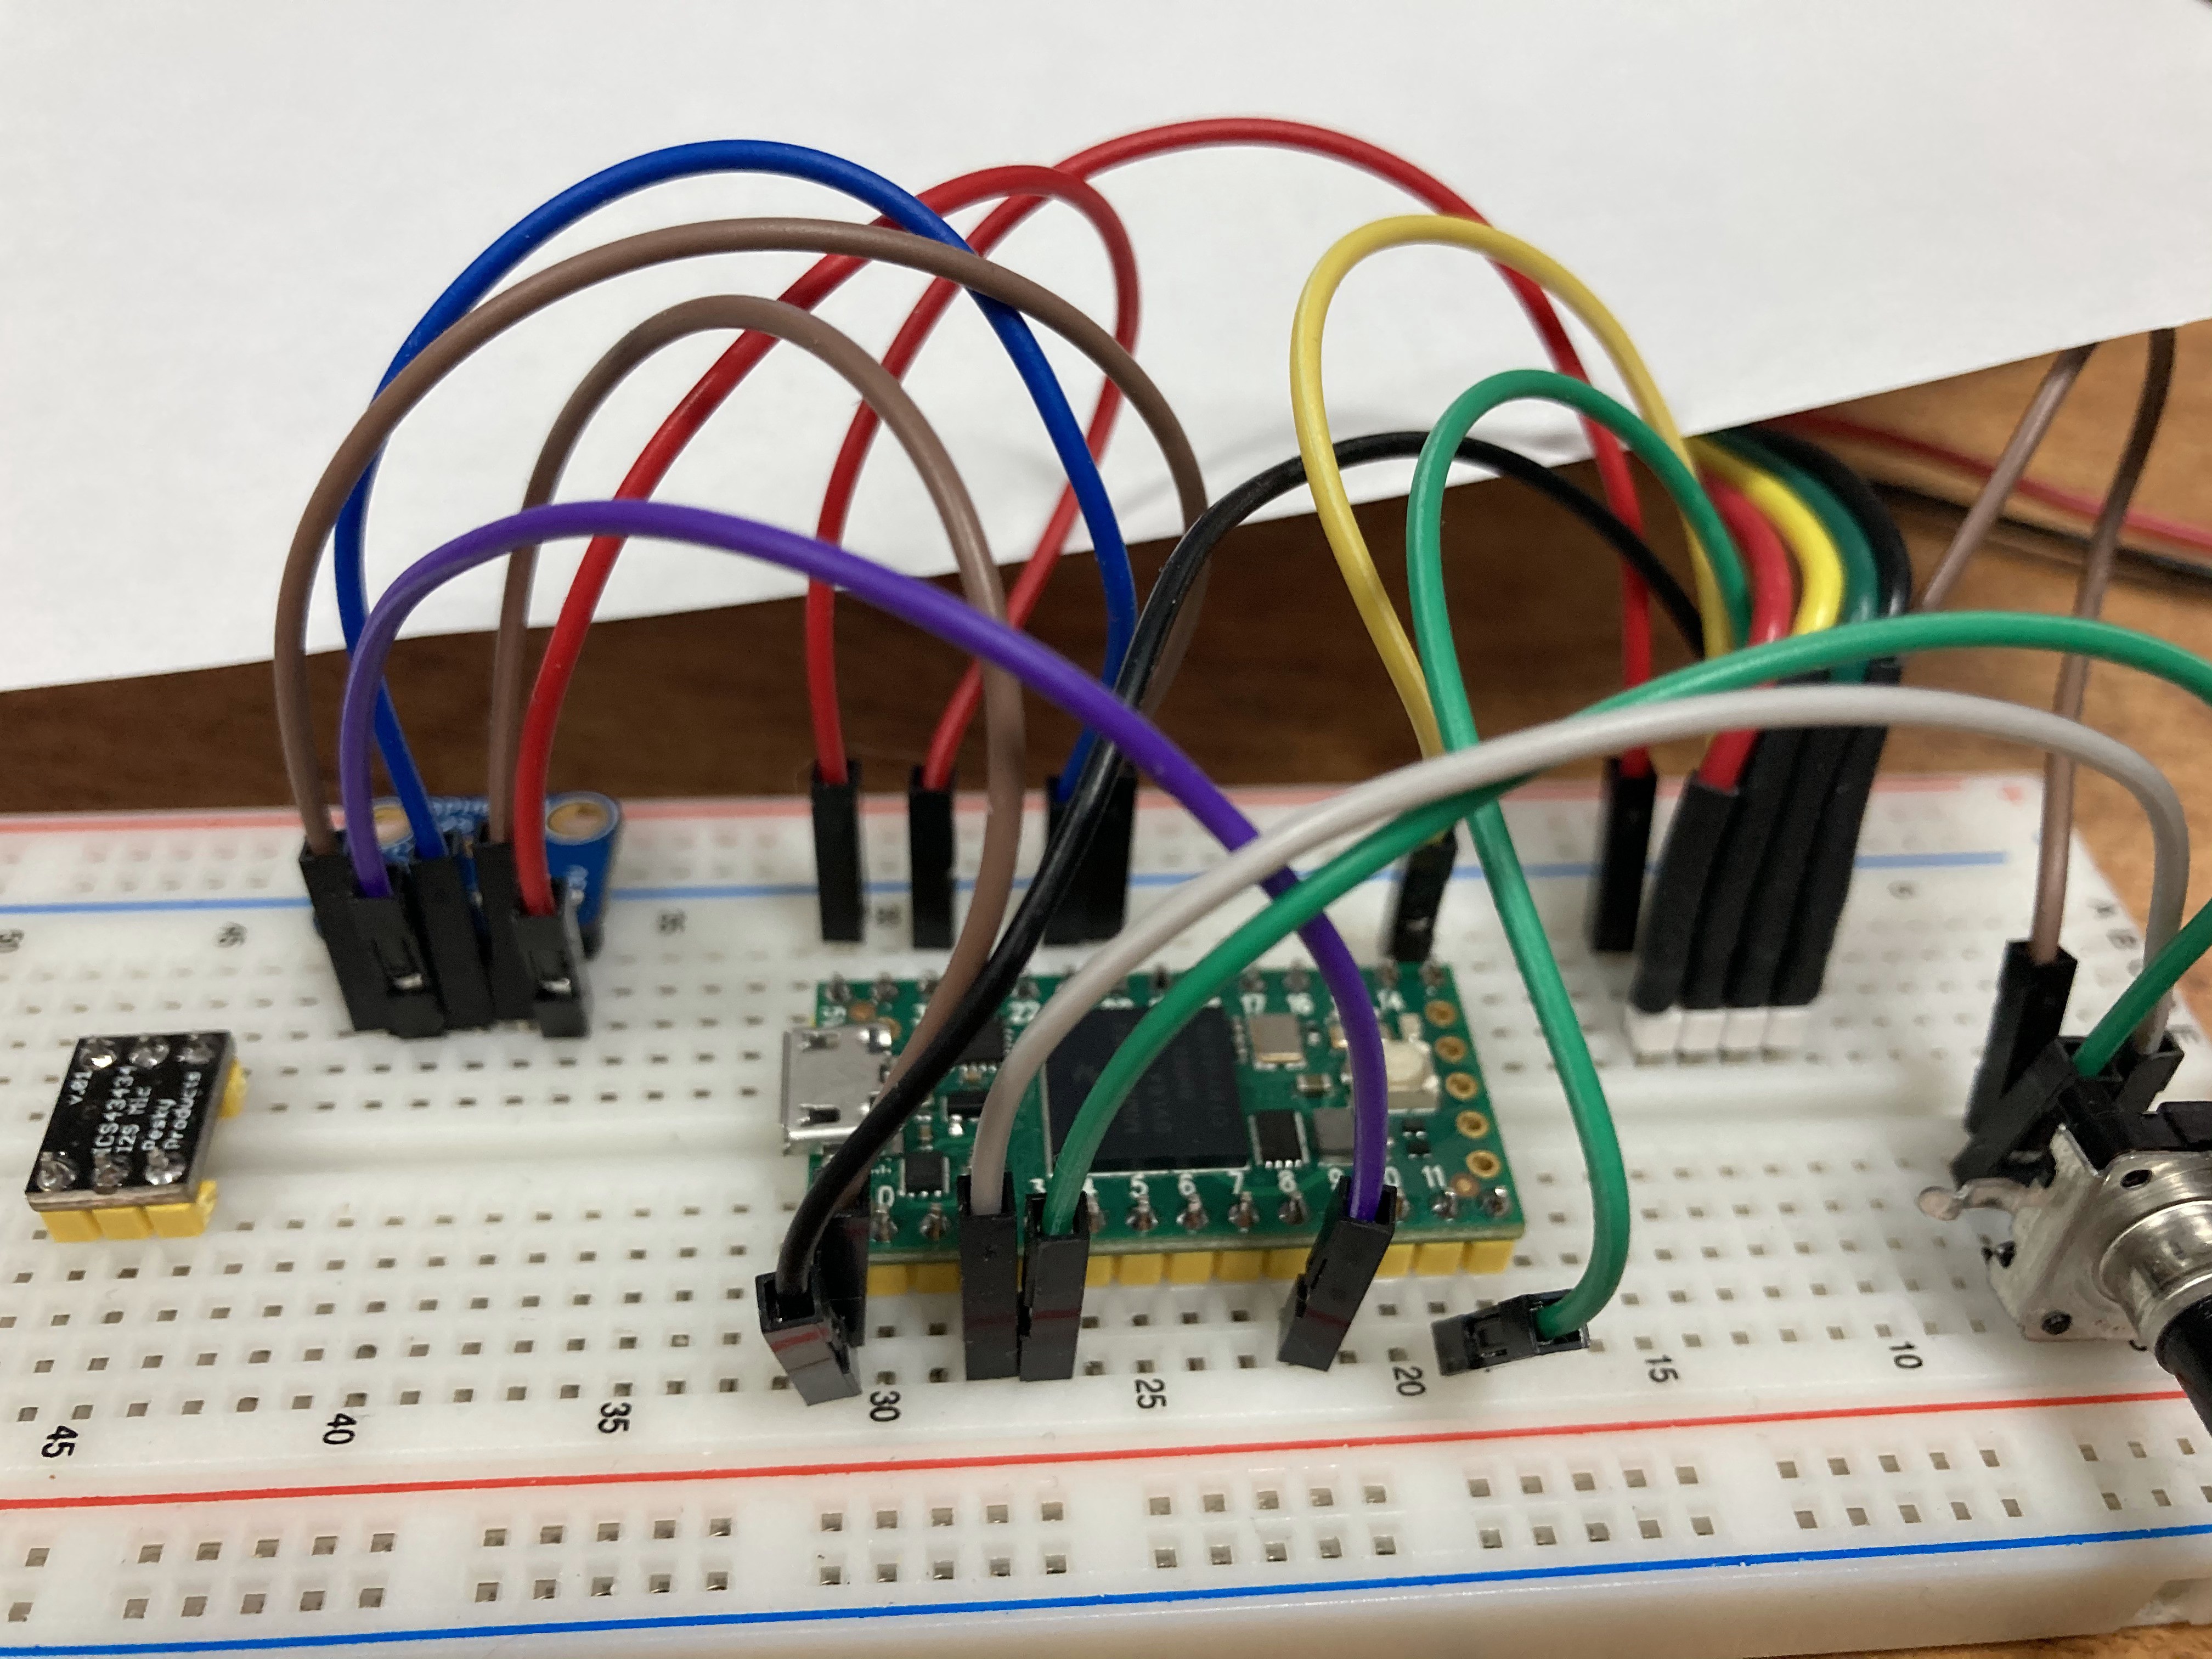
After figuring out the new pinouts, I mocked up a prototype circuit to read the microphone and drive the LED display.

The required code was sufficiently different that I thought it would be better to create a new Github repository for the Teensy, rather than creating a branch off the ESP one. So, that's why there are two code links for this project.
In the end, my first pass at optimizing the Teensy code ended up with the following specifications:
- Bands: 59 Bands, spanning 55 Hz - 17163 Hz (8.25 Octaves)
- Audio Samples per FFT: 8192 samples @ 44.1 kHz
- FFT Frequency Bins: 4096 bins (5.38 Hz each)
- Display Update interval: 11.6 mSec (86 Hz)
- Audio to Visual Latency: Max 23 mSec (11.6 mSec acquisition + 11 mSec FFT & display)
Once I had a well performing circuit, I wanted to start putting the circuit and LEDs in a decent housing. I searched online for some wide aluminum LED mounting strips, and started designing a 3D printed end-cap that could hold the circuit.
Read my next log to see more about the physical construction.
 Phil Malone
Discussions
Become a Hackaday.io Member
Create an account to leave a comment. Already have an account? Log In.