Installing Raspberry Pi OS and configure ssh and wifi access
Starting from scratch, we first install Raspberry Pi OS onto the SD card.
The easiest way is the official Raspberry Pi Imager:
https://www.raspberrypi.org/software/
You can of course also use other tools (etcher, Apple Pi Baker...) to install the system onto the SD.
Before the SD card goes into the Pi, we need to add manually 2 files into the boot partition:
one empty file named "ssh" and one file named "wpa_supplicant.conf"
I used TextEdit on my Mac to create these files. - In that case its important that you check your textEdit preferences first: under "New Documents" "plain text" should be checked.:
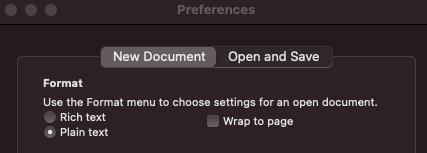
and under "Open and Safe" "Add".txt ..." is unchecked.
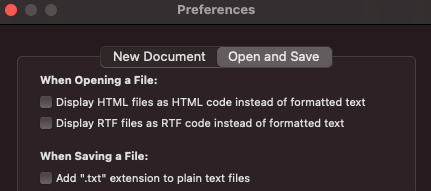
create an empty ssh file and copy it into the SD cards boot partition. This will enable access to the pi through the terminal.
create a new file and add the wifi configuration of your network:
country=SG # Your 2-digit country code - SG for Singapore in my case
ctrl_interface=DIR=/var/run/wpa_supplicant GROUP=netdev

network={
    ssid="my network"
    psk="my password"
    key_mgmt=WPA-PSK
}
(change country, ssid and psk accordingly)
Safe the file with the name "wpa_supplicant.conf" to the SD cards boot partition.
You can now put the SD card into the Pi and boot it.
After some time it should appear on your network. Use a Lan scanner or check in your router configuration the IP address.
Open the Terminal app (if you use a Mac) and connect to the Pi: (replace the x with the IP address from your Pi):
sudo ssh pi@xx.xx.xx.xx
The default password is "raspberry" (you should absolutely change it later)
once connected, edit the configuration:
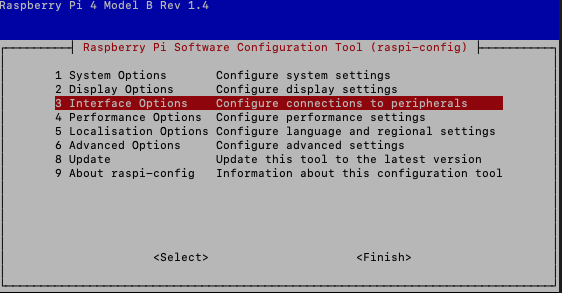
sudo raspi-config
select "Interface Options":
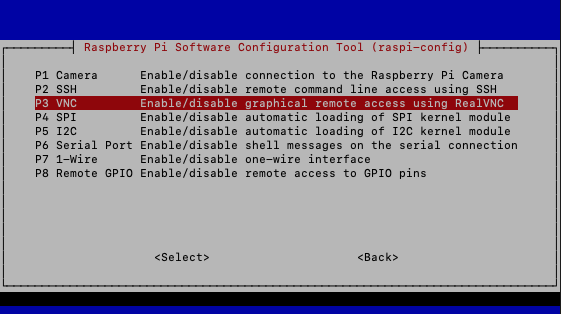
enable VNC and reboot the system.
After the reboot, connect to the Raspberry with VNC and finalize the installation.
Enable exFAT
sudo apt-get install exfat-fuse
sudo apt-get install exfat-utils
now you can read and write exFAT formatted drives.
Set up Samba
For filesharing between the Pi and the Mac / PC we install Samba.
sudo apt-get install samba samba-common-bin
I configured it in a way that I can have access to all files.
sudo nano /etc/samba/smb.conf[HOMEPI]
path = /home/pi
comment = No comment
writeable=Yes
create mask=0777
directory mask=0777
public=no
Add a password for the "pi" user:
sudo smbpasswd -a pi
(enter the password when asked)
now restart the Samba service:
sudo service smbd restart
Good, now we can access the files on the Raspberry to work on them on the computer.
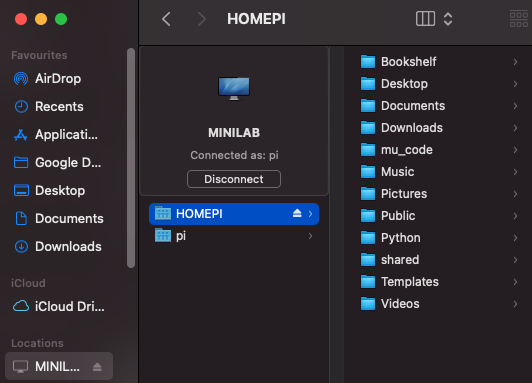
Enable an auto WIFI hotspot
in case the Raspberry cannot connect to the configured wifi network, it can automatically start a wifi hotspot you can then connect to.
Follow the very detailed manual at Raspberry Connect.
Roboberry did a terrific job in putting a working, understandable manual together:
Done
ok, thats the setup I'm using.
I have created a backup of the SD card - that way I do not go through the installation again if I want to run it on another Pi.
I also created and 3d printed a case for the Raspberry Pi and a mini breadboard. The links to the stl files are also shared in this project.
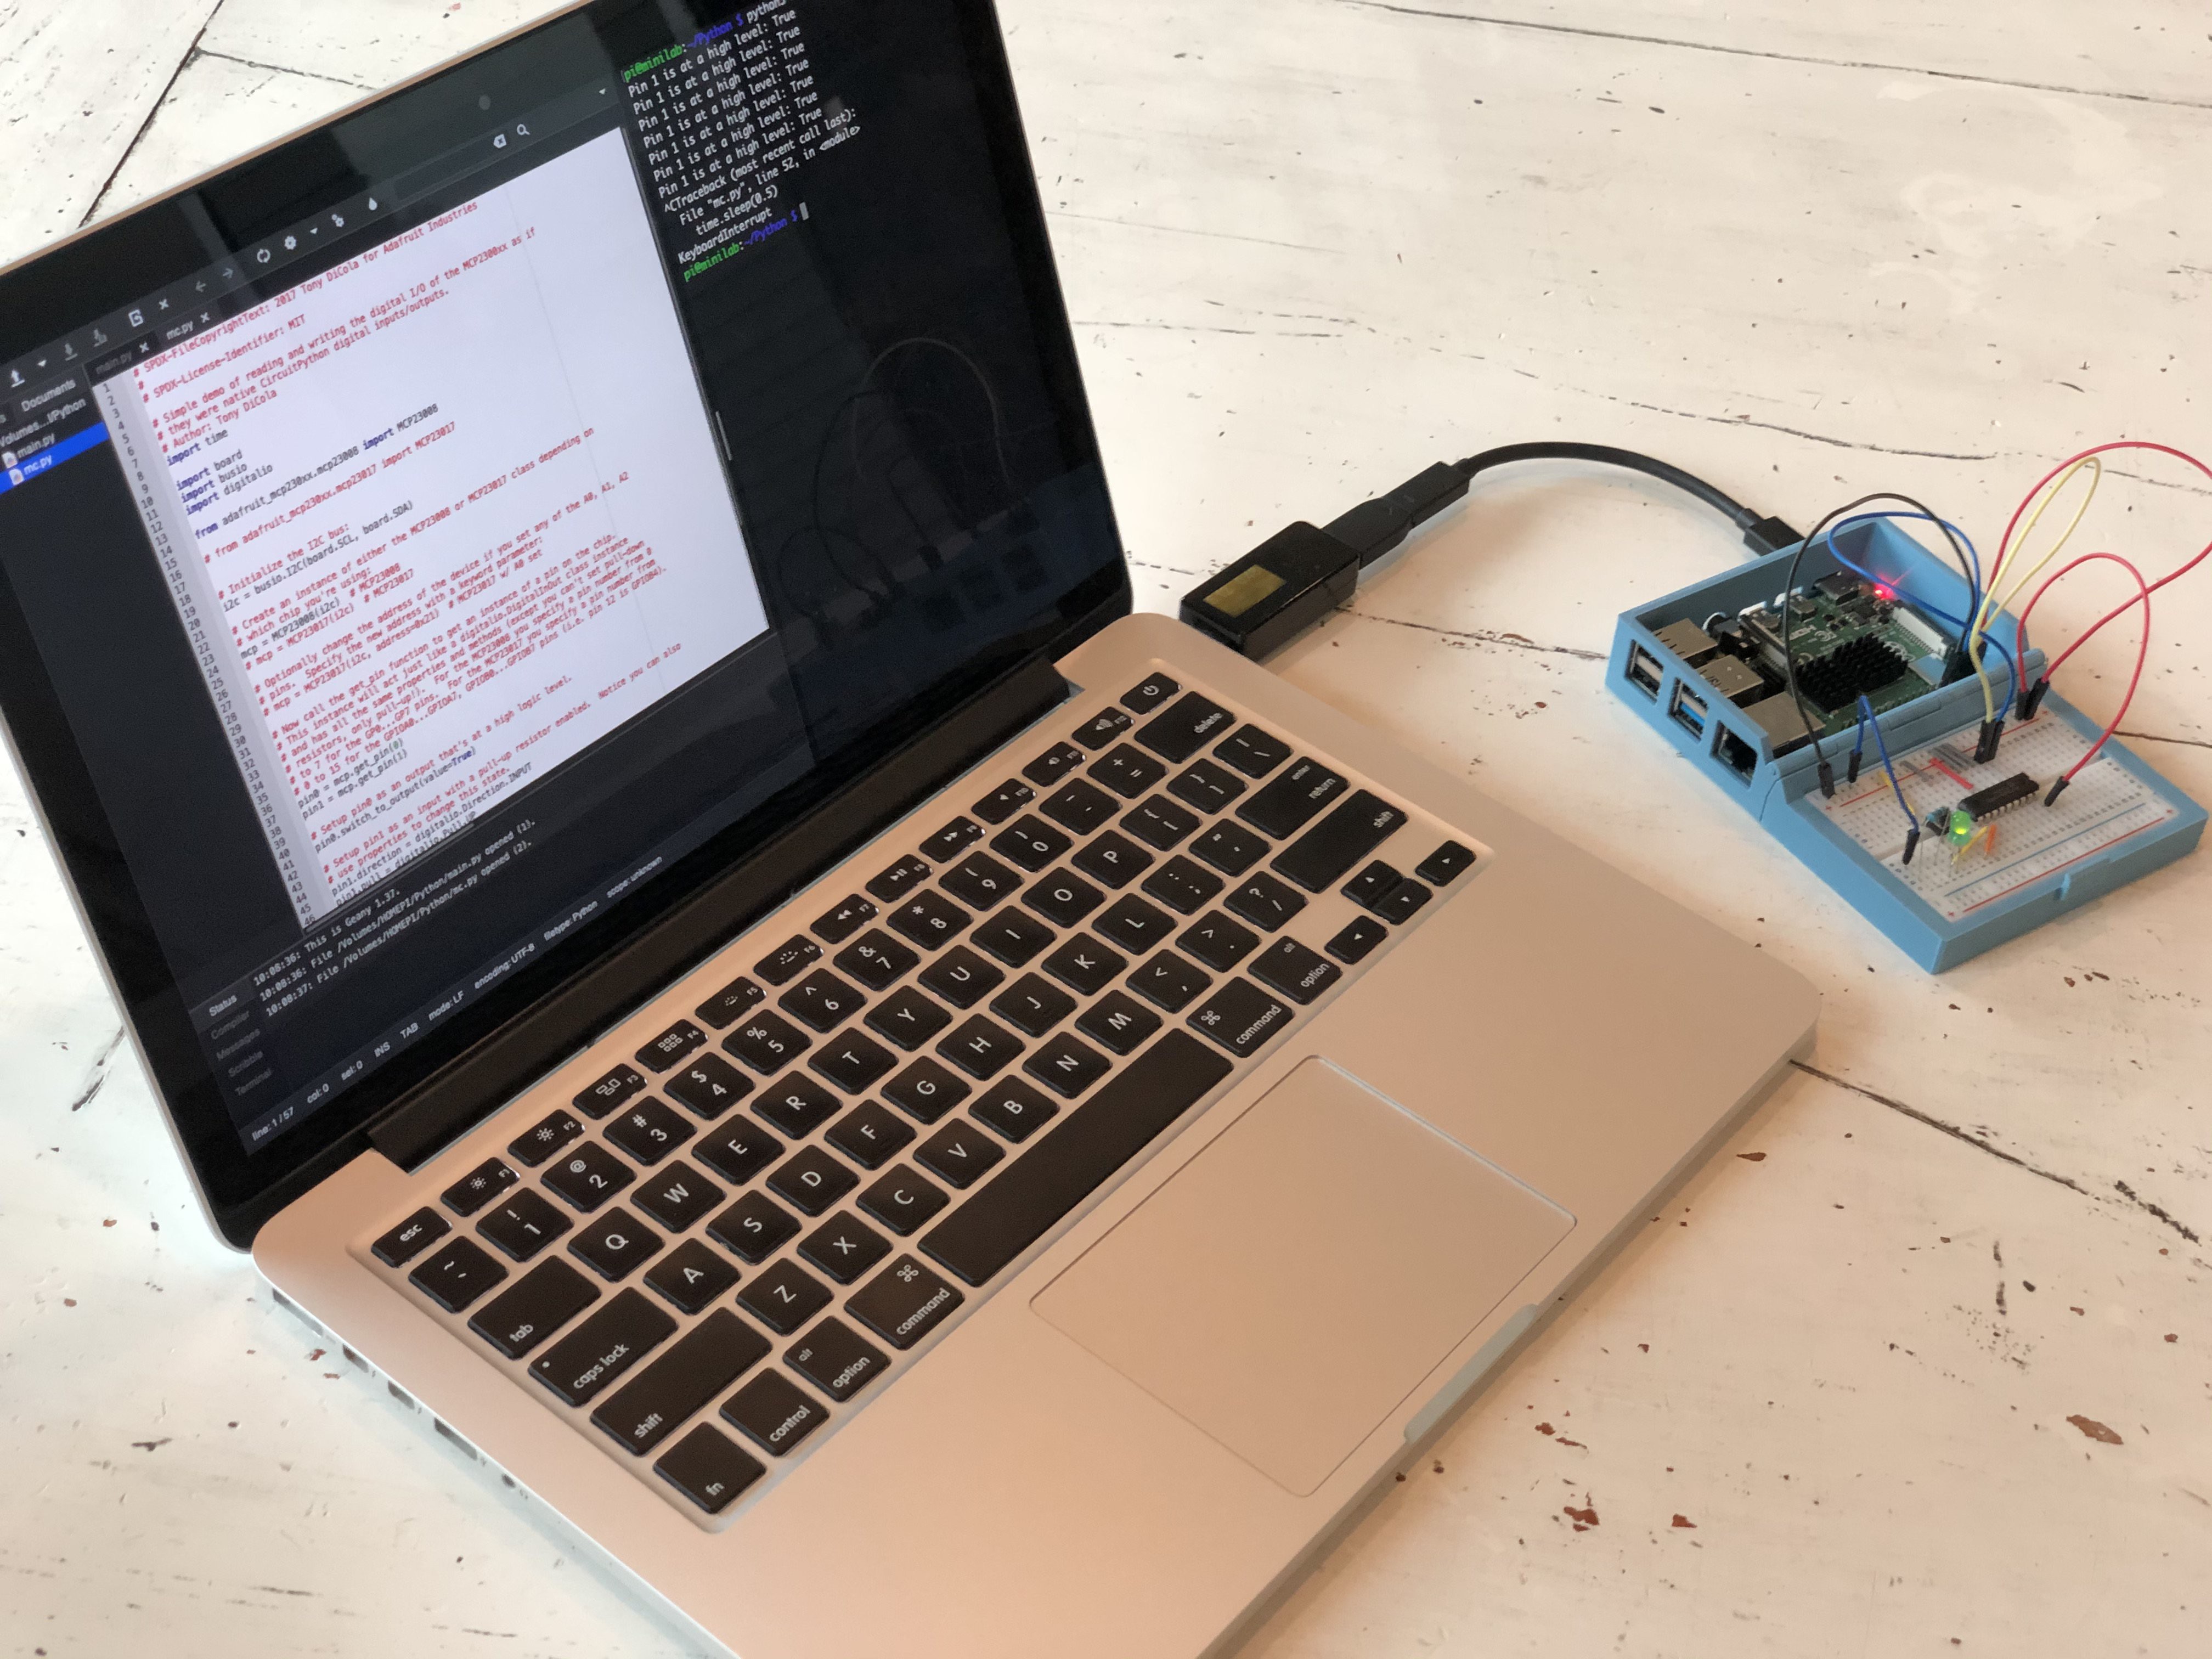
What you are now able to do is either:
a) connect the Pi to power, connect to it via VNC and work on the virtual desktop,
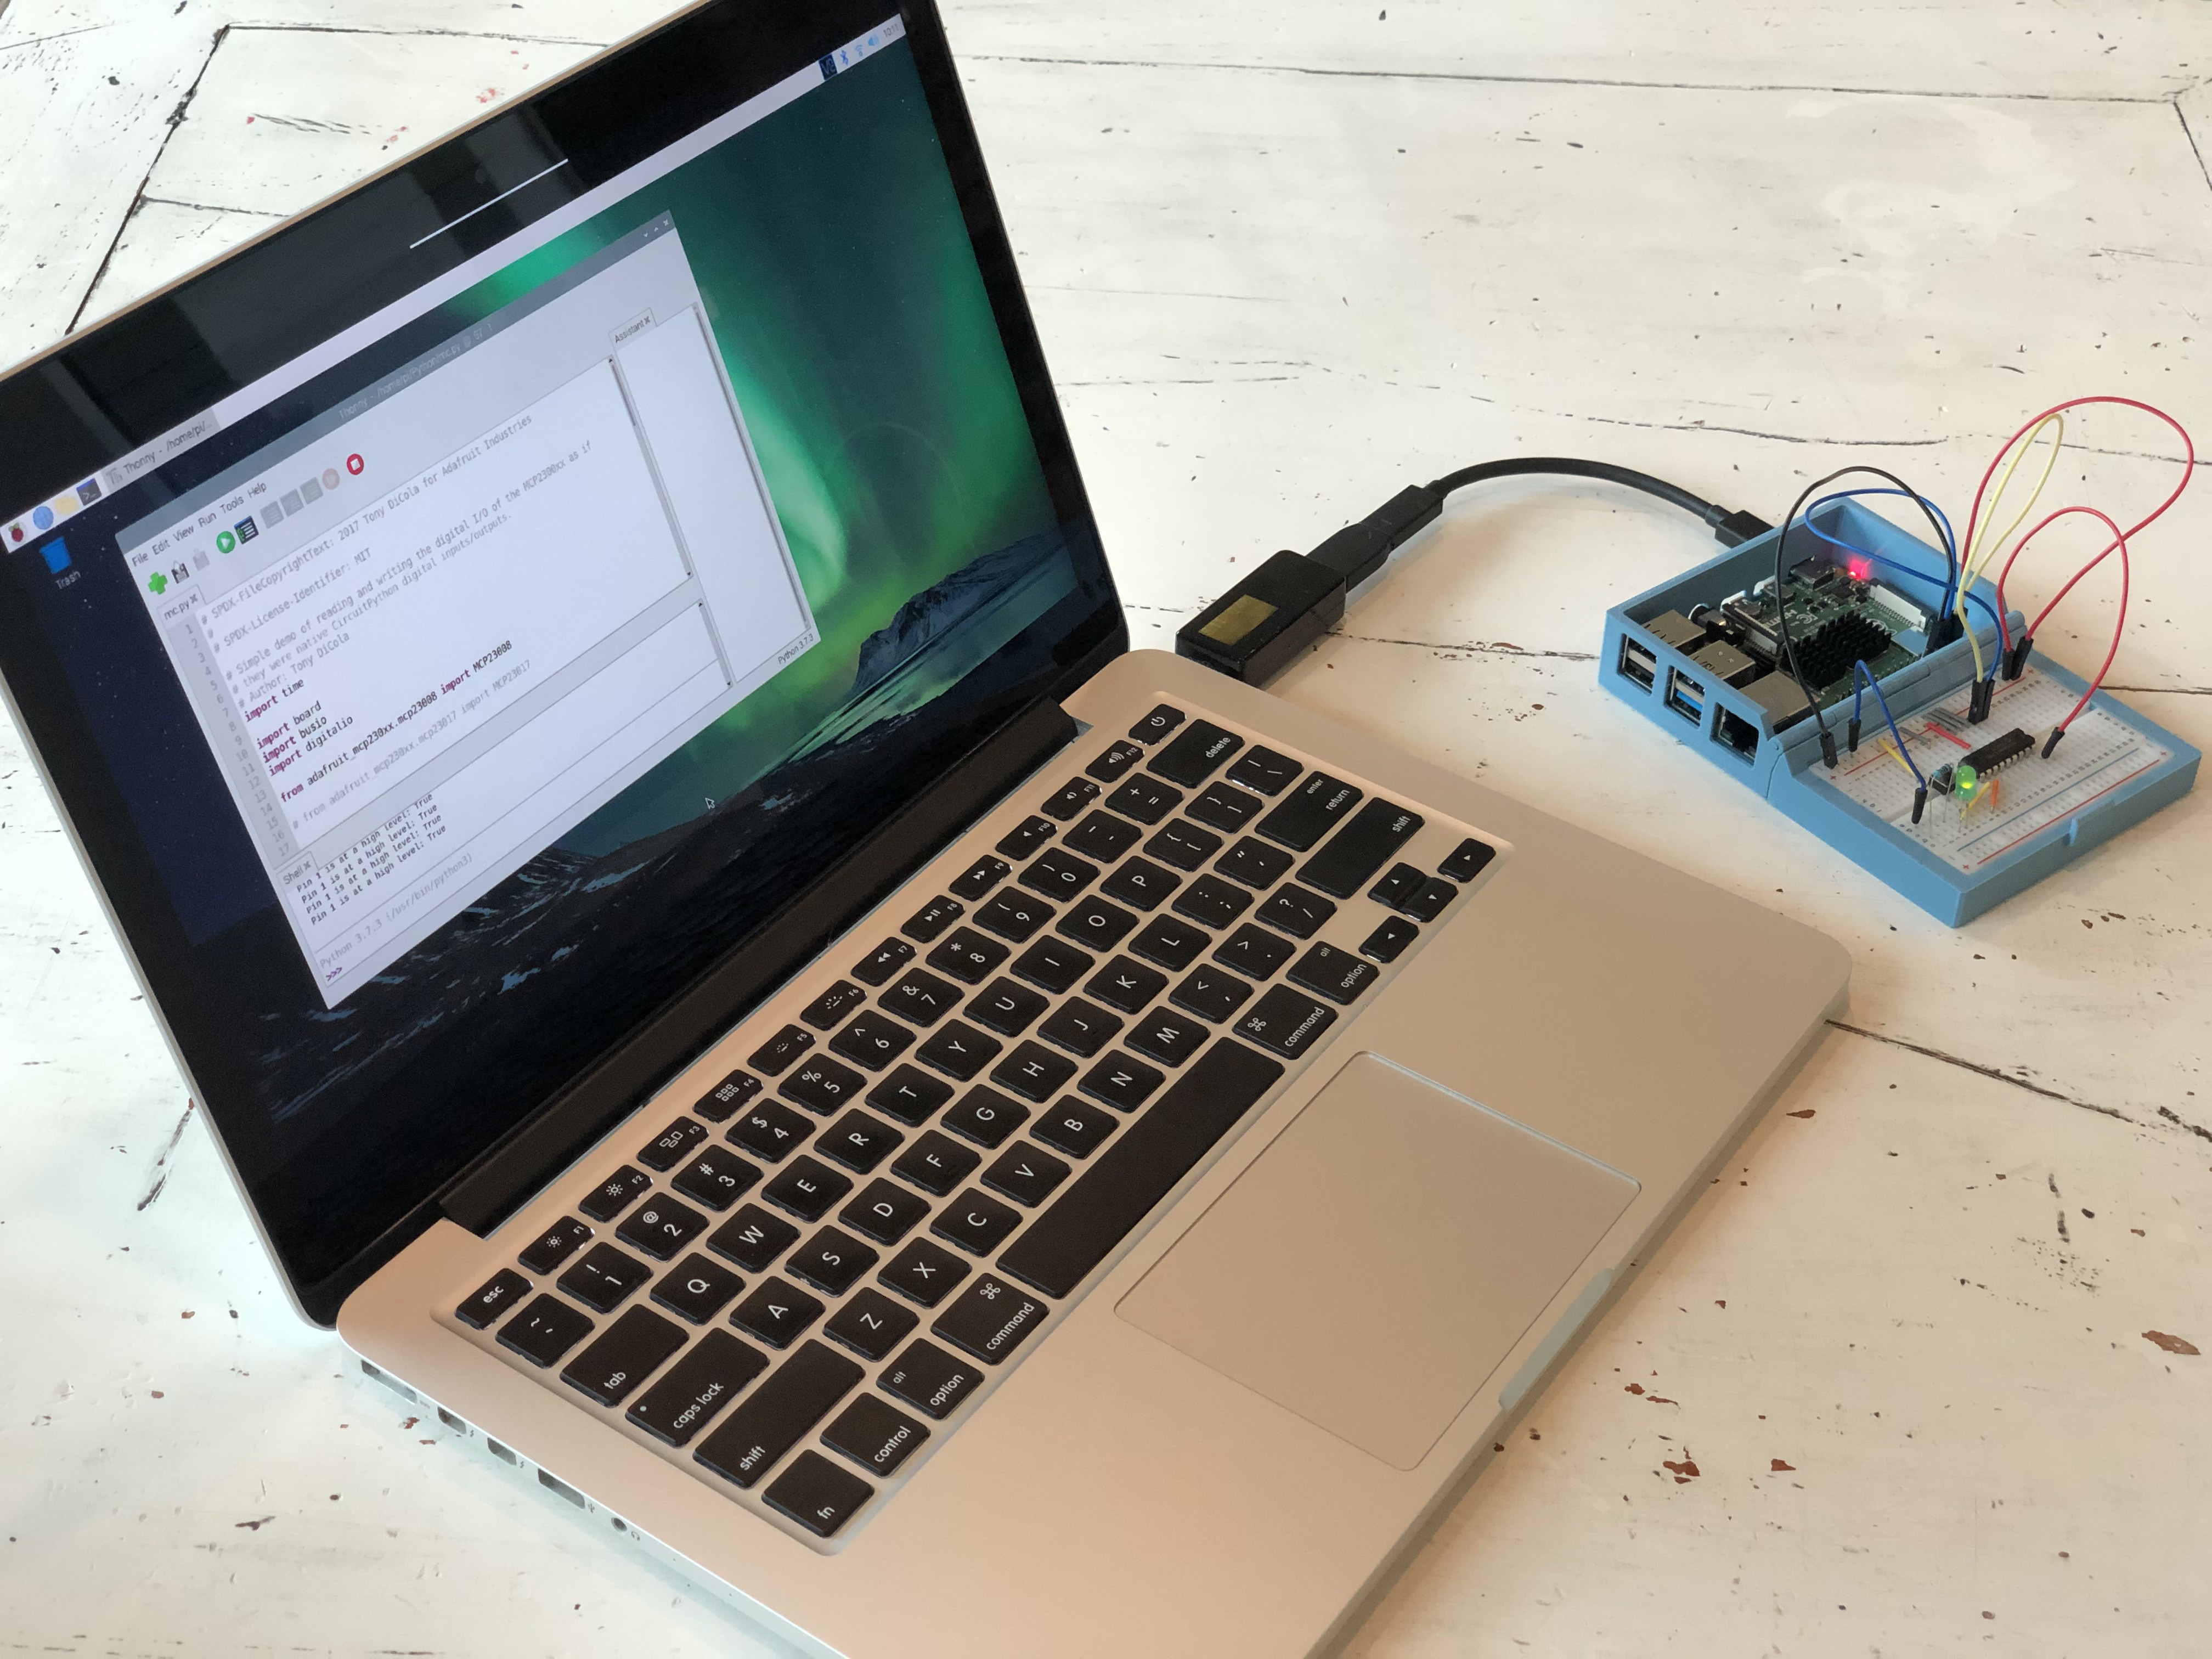
or
b) connect the Pi to power, open the file you want to work on from your computer, connect via the terminal and run your code there.
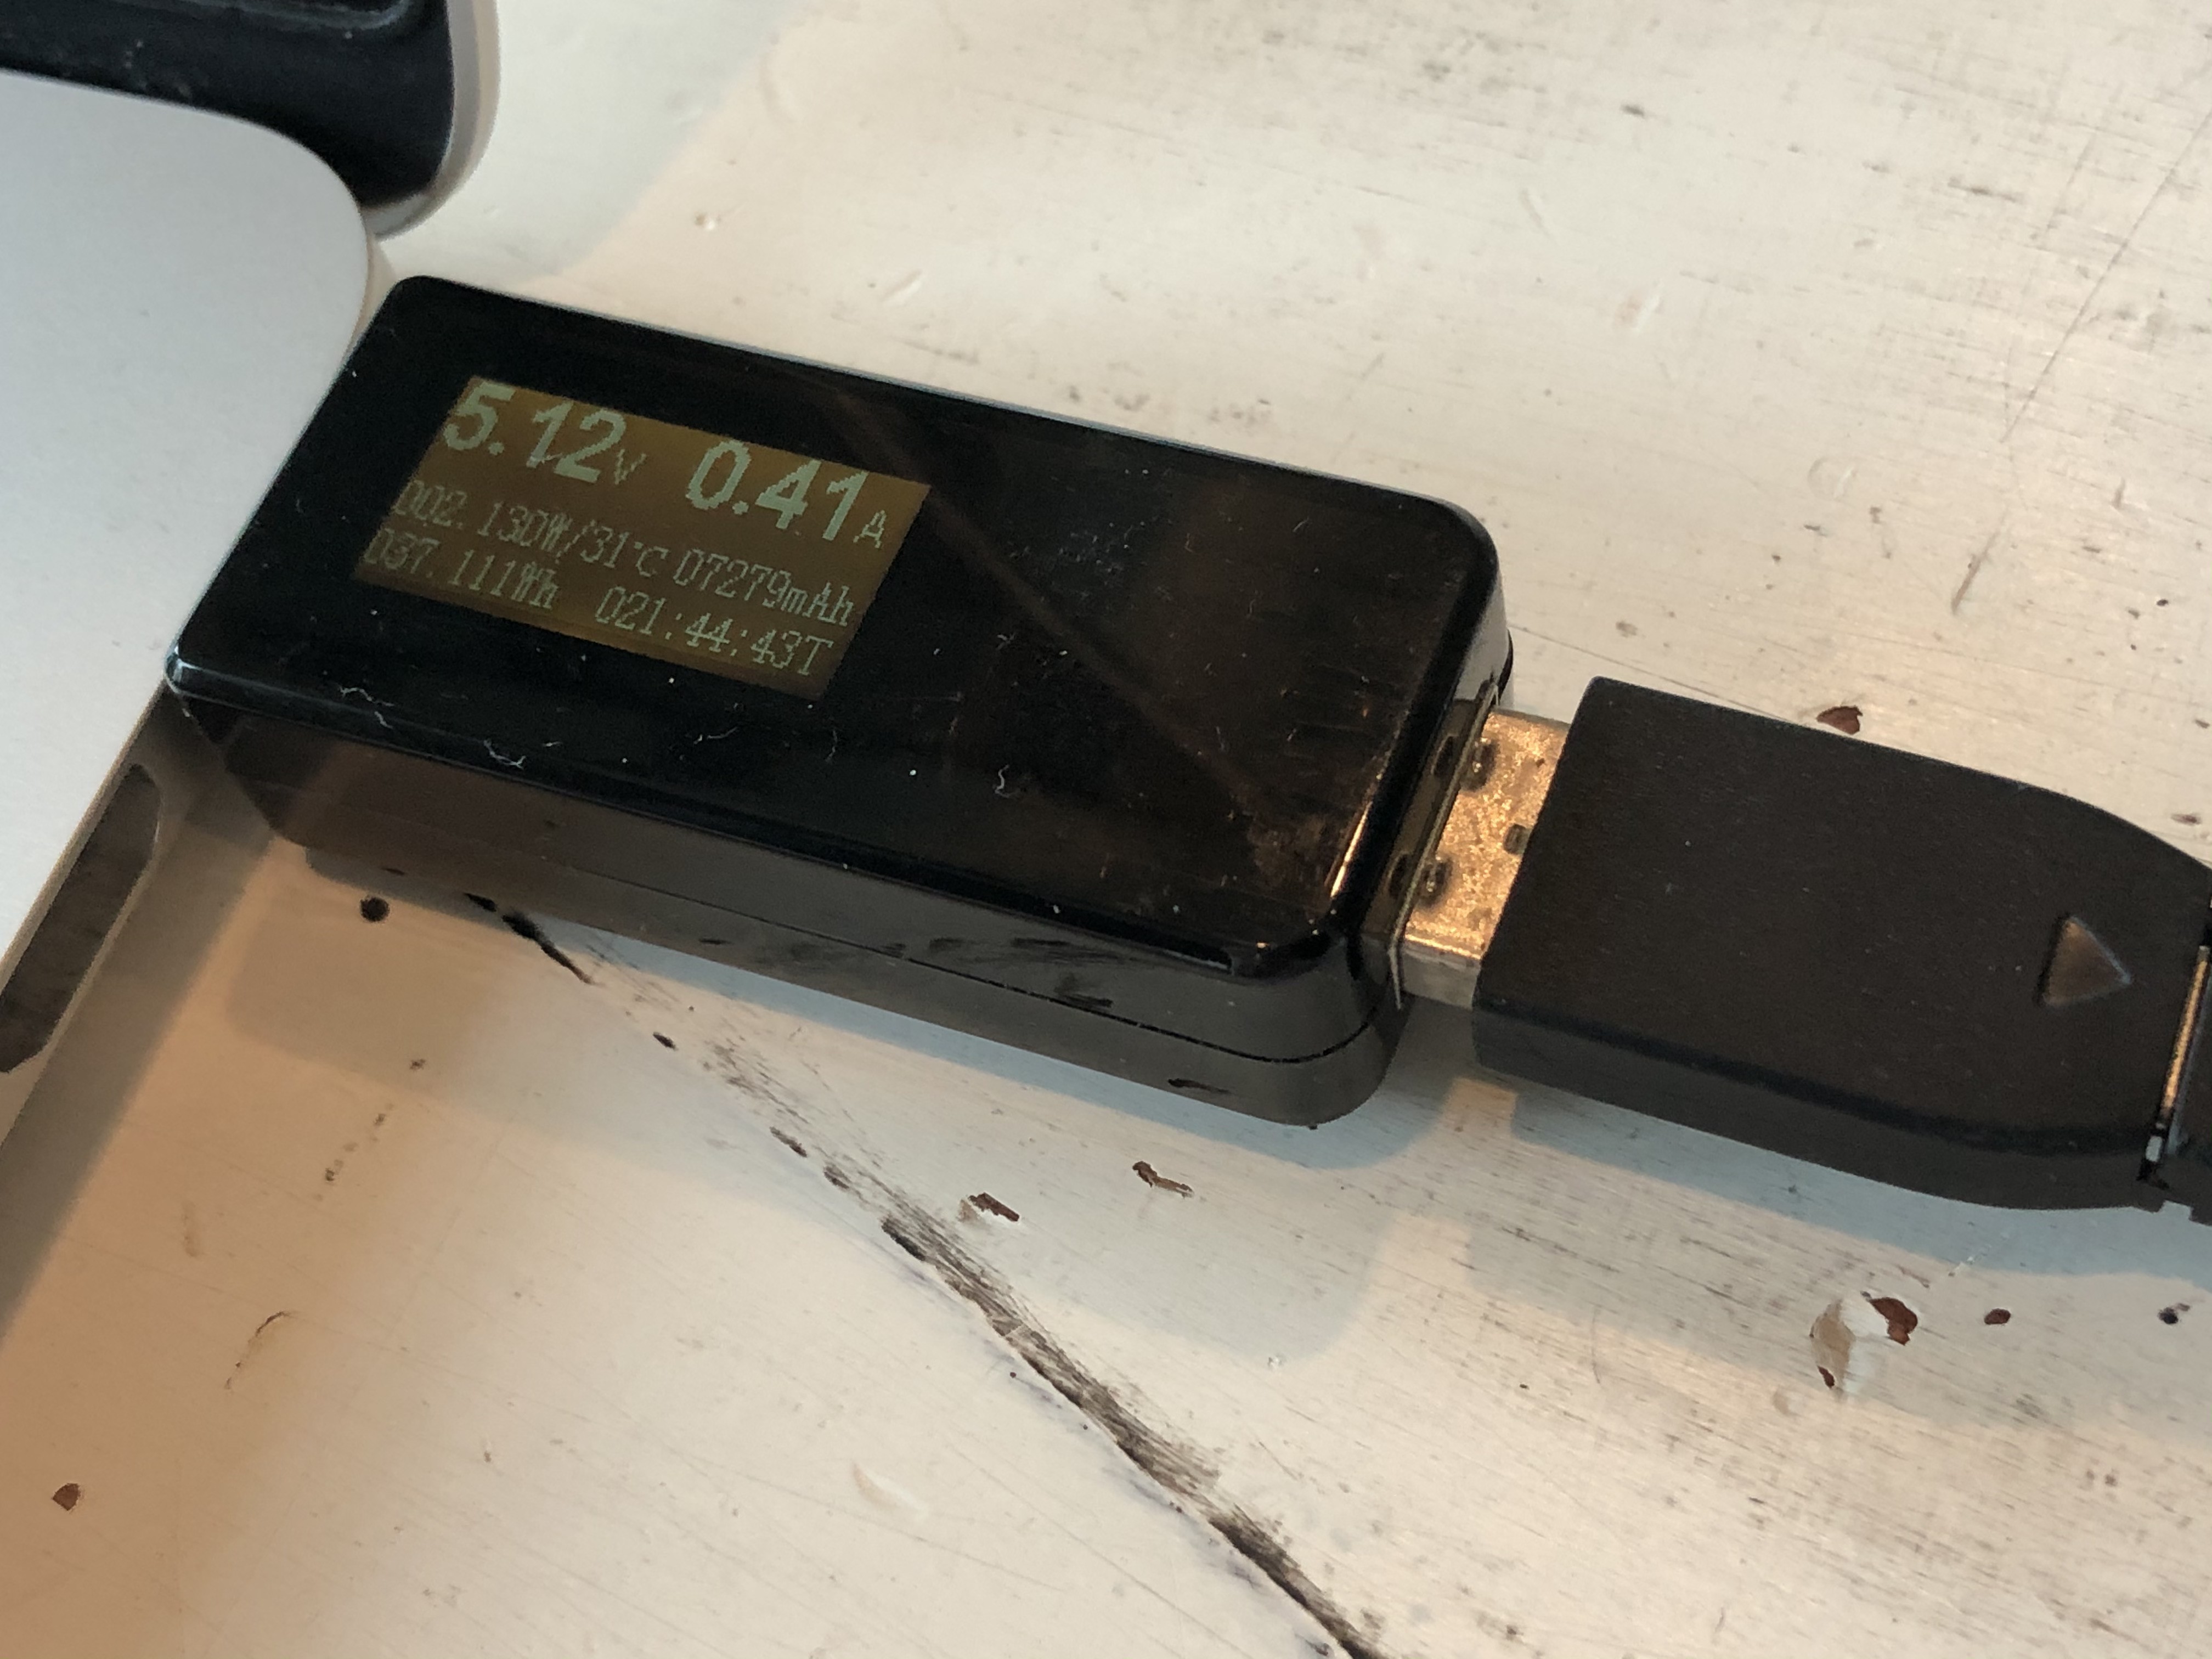
The USB port supplies the Raspi with power. In my case there is a USB tester in-between the connection. That way I can monitor power consumption.
Hope...
Read more » Anton
Anton
 Brayden DeVito
 Dmitry