 David Tucker
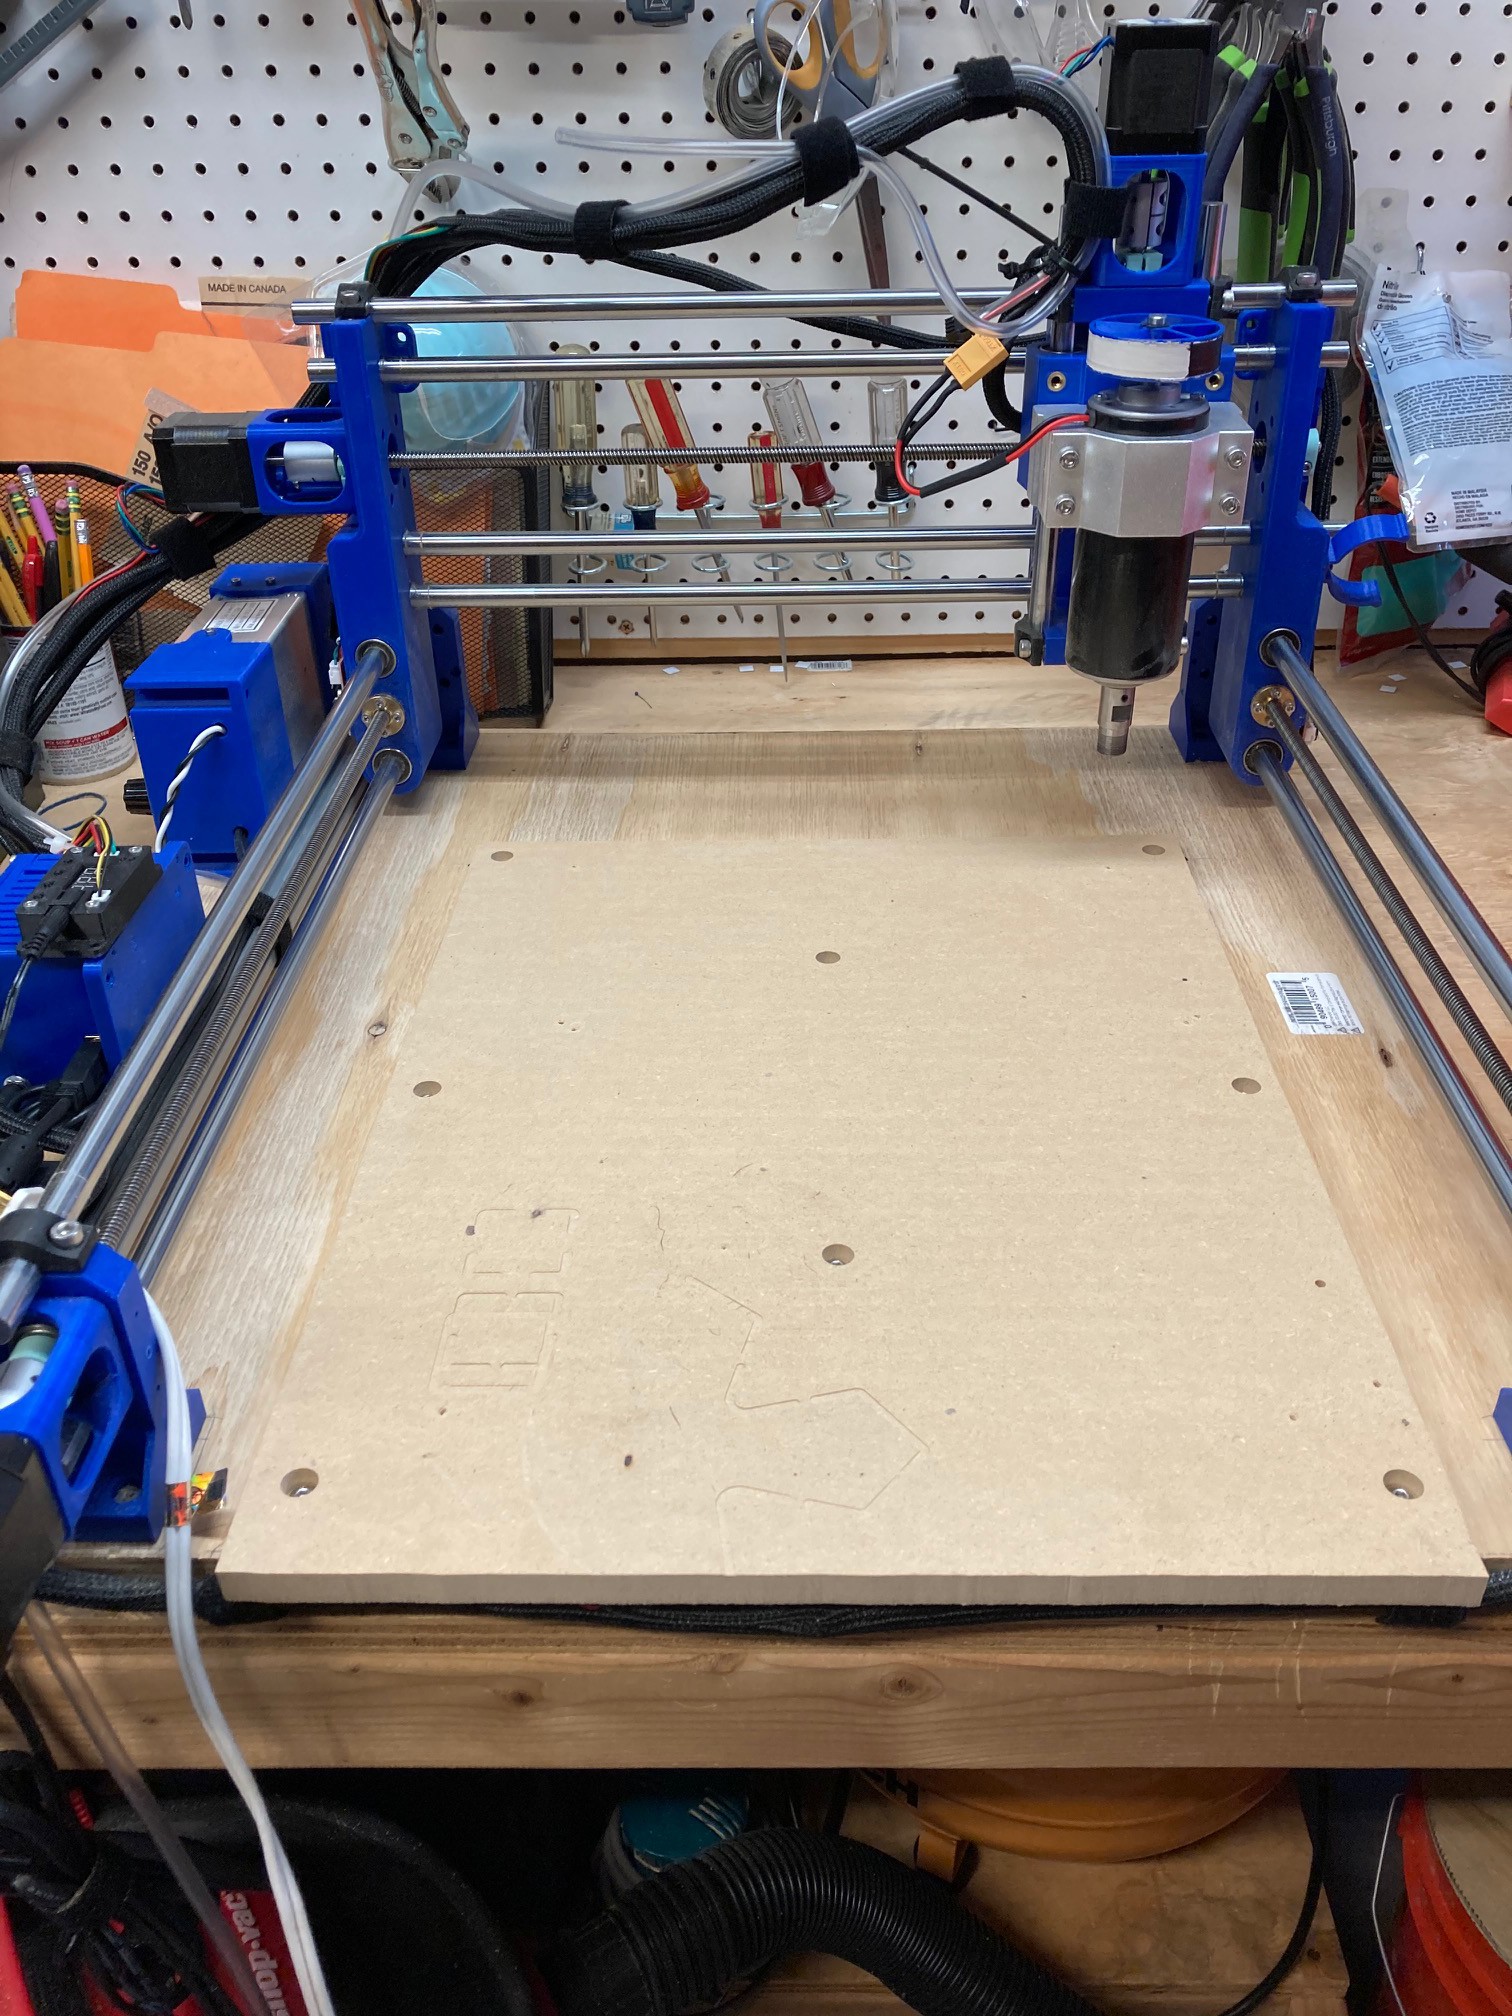
I finally got my new spoiler board all put together. I homed the machine then manually jogged it around looking for interference and worked up the min and max extent of travel in all directions. Then in Fusion 360 I modeled up a block that was as thick as the base board and had the dimensions of my travel. From there I planned out where to route my hold down bolts.
When doing the cam side I wanted everything to be based on the home switches, so I added in a dummy block that offset my waste board from the machine origin, that way I could set the cam origin at the home position. I'm sure there is a better way to handle this, but nothing jumped out at me in Fusion and this seems to have gotten the job done.
Anyway once I had everything modeled up properly I let the router drill holes in the base for some m5 3 prong t-nuts. Once the holes were drilled I flipped the machine over and pounded them in place. Then using double sided tape I placed my spoiler board on top and ran the program again to drill holes (and pockets) in the waste board. Finally I took it all apart, removed the tape then used 25 mm long m5 button head socket bolts with a washer to clamp the spoiler board firmly to the base. The waste board was 14 mm thick and I used an 8 mm deep pocket to recess the bolt heads, the heads worked out to about 4 mm thick so that should give me plenty of clearance for any accidents.

For surfacing I have an 18 mm router bit that did a good job. I used a 6 mm stepover and used the surfacing tool in Fusion to run a zigzag back and forth in the x direction. My Y axis is a bit out of tram and this way the error is hidden and with the extra step over any mistakes in my X tram would be covered up as well. Anyway I could not feel any variation in the finished surface so I don't know that I needed to be so cautious.
The surfacing tool path has an annoying habit of doing a ramp in and out past the extend of the target object, as well as doing some half circles at the end of each pass off the waste board as well. That would be fine but I sized my board to be exactly the dimensions of my routers safe travel range. To cover this up I added an inset to the tool path so that all the extra travel was inside the boundaries of the waste board. This seems to have worked well, at least I was able to complete the job. I could have used a pocket to smooth the surface out with but that uses a spiral pattern and I wanted a perfectly smooth board. I was worried this would amplify any errors on my tramming. Anyway the end result was good so no need to fuss with it.
I removed about 0.5 mm from the surface of my board. You can program this into the cut in Fusion, or more simply just zero the bit out on the surface of your waste board then manually change the z offset to be 0.5 mm higher than its current position to set the zero point 0.5 mm into the surface. This worked out well in universal gcode sender. In the end I was way to cautious on my feeds and speeds, I could have run this several times faster than I did. I ended up using the override tab in UGS to bump the feed rate up by 200% so the cut did not take forever. Even then it was still an hour long job. Next time I will practice on some waste material and dial in the cut rate first.
I could have taken some more material off to get a perfect finish, but I figured this was all just a practice. The goal was to get a repeatable process that I could use to make a fresh waste board at any time. Or more interestingly I can now use this to make any sort of an insert onto my machine, so I could swap out a laser table, or a 4th axis lathe or just a custom jig for a specialty project. As long as I don't mess with the limit switches I can repeatable cut my hold down holes in any material. That is one of my favorite parts of the CNC, it can be annoying to program but once you have it dialed in the accuracy is beyond amazing compared to what I can achieve with my simple shop tools.
I still need to add the side skirts back on and get my dust boot back in place but overall I'm really happy with this and it was a very low cost way to make the machine more versatile and more accurate.
Discussions
Become a Hackaday.io Member
Create an account to leave a comment. Already have an account? Log In.