 David Tucker
I found the time to test out cutting a full sheet of pocket hugs, well actually 3 of 4 rows since I had already cut one row earlier with my old laser. Using my NEJE A40640 dual diode module and engraving at 6,000 mm/min, 80% power, and 0.15 mm line offset and cutting at 200 mm/min, 80% power and one pass I was able to cut 3 lines of pocket hugs in 77 minutes, with 64 minutes to engrave and 13 minutes to cut. By my estimates I could have done the full sheet in 103 minutes. That is significantly faster than my first attempt that would have taken over 7 hours, more than 4x faster in fact.
My machine was making quite a bit of noise and vibration trying to run at 6,000 mm/min. It made it through but it is pushing things. If your really looking to run high speed in a production type setting your probably better off buying an open frame laser built specifically for this rather than using a heavier CNC machine. Or better yet get a proper CO2 laser with an enclosure. Still I'm glad to have the ability to process a reasonable amount of wood in a time frame I could actually commit too.
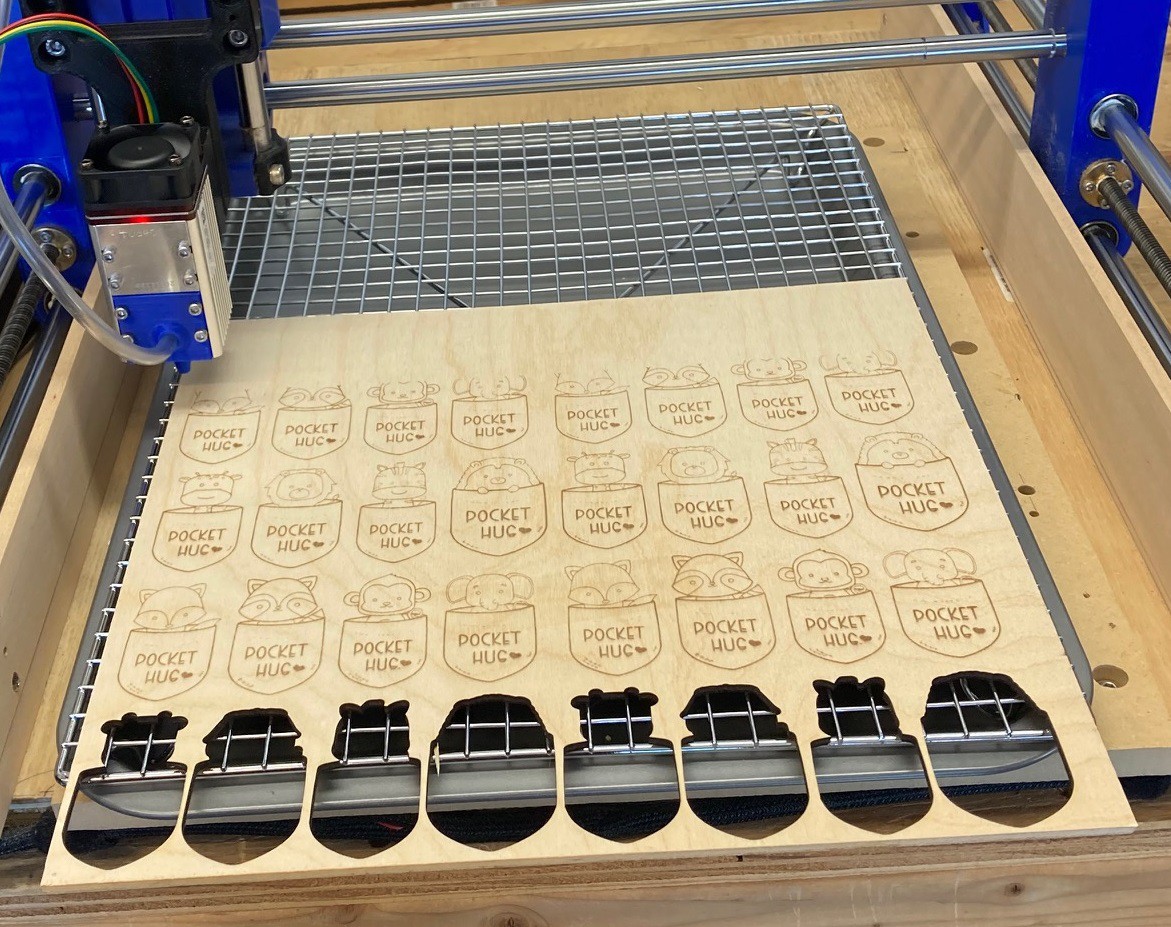
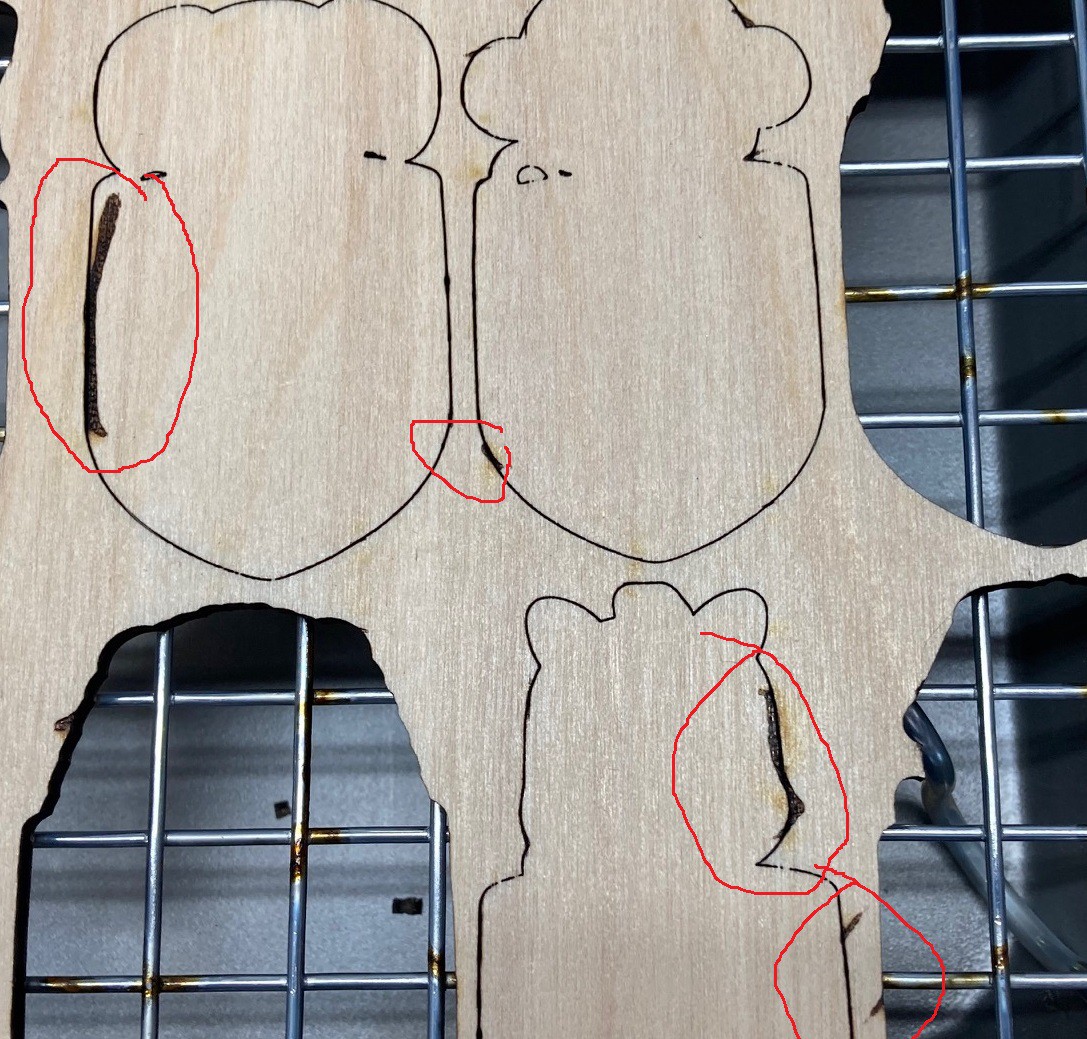
Before I ran the full sheet I ran a test cut of one piece using the same parameters. Comparing my test cut to ones from the full sheet there is quite a difference in how dark and well defined the engraving is. I suspect the single piece was small enough that the machine was unable to accelerate up to the full 6,000 mm/min. If I run this again I will try it at only 5,000 mm/min to see if I cant make the engraving darker.
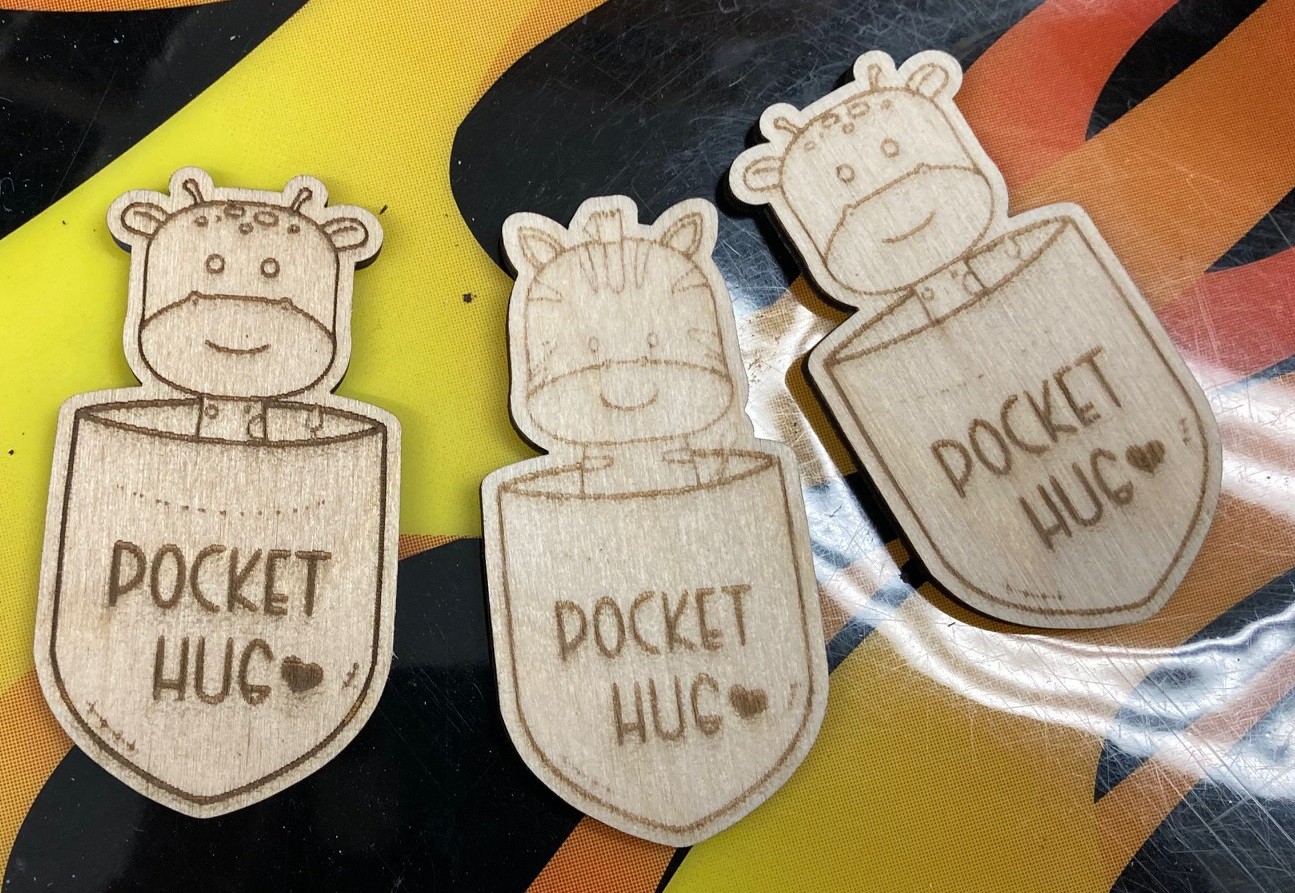
Both the second and third pocket hug were engraved at the same time, yet the second one is visibly lighter. There must be more than just speed going on, I suspect there is some variance in the surface that affects its ability to burn.
I picked up a jerky drying rack from Walmart for $9, this is very similar to my previous baking sheet and cooling rack but it is both cheaper and larger and the rack extends over the lip of the drip tray so the edge of the pan does not interfere when using pieces larger than the rack.

The rack also has a grid pattern and is better reinforced than my old rack. It is large enough to fit a 12"x12" piece of wood completely on the rack. Still not quite as large as my working volume, but it is close and for pennies on the dollar compared to a honeycomb rack.
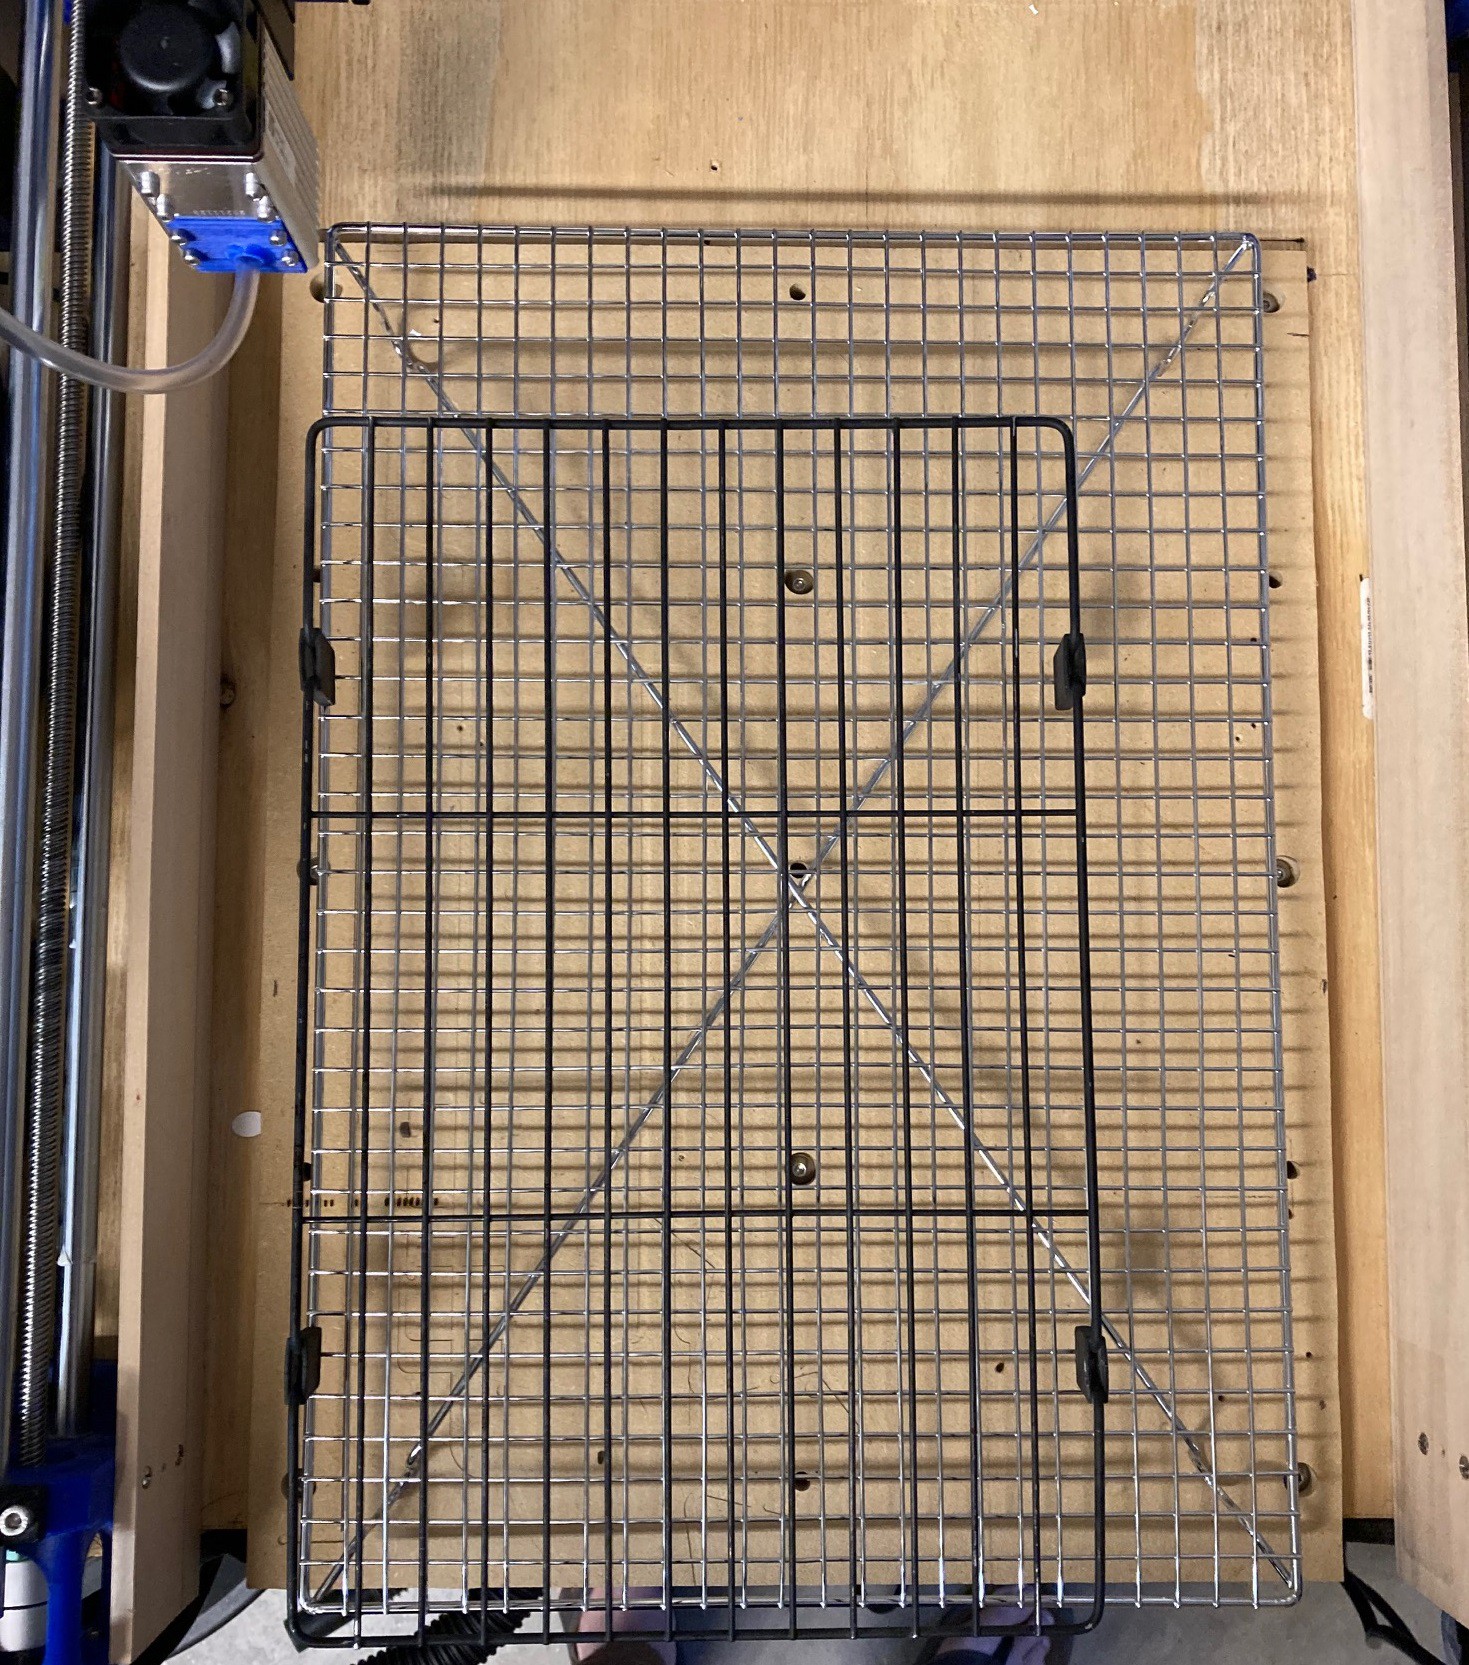
One problem with this rack is that it is very shiny and that combined with the extra power of the new laser and I'm getting a lot of flashback on the bottom side of my material. I have a can of mat black paint to try and tame this down a bit, hopefully it will help.
I'm planning on printing up some spacers to help secure the rack and pan to a piece of wood while providing some ventilation below the rack, and hopefully holding the rack rigid and level as well.
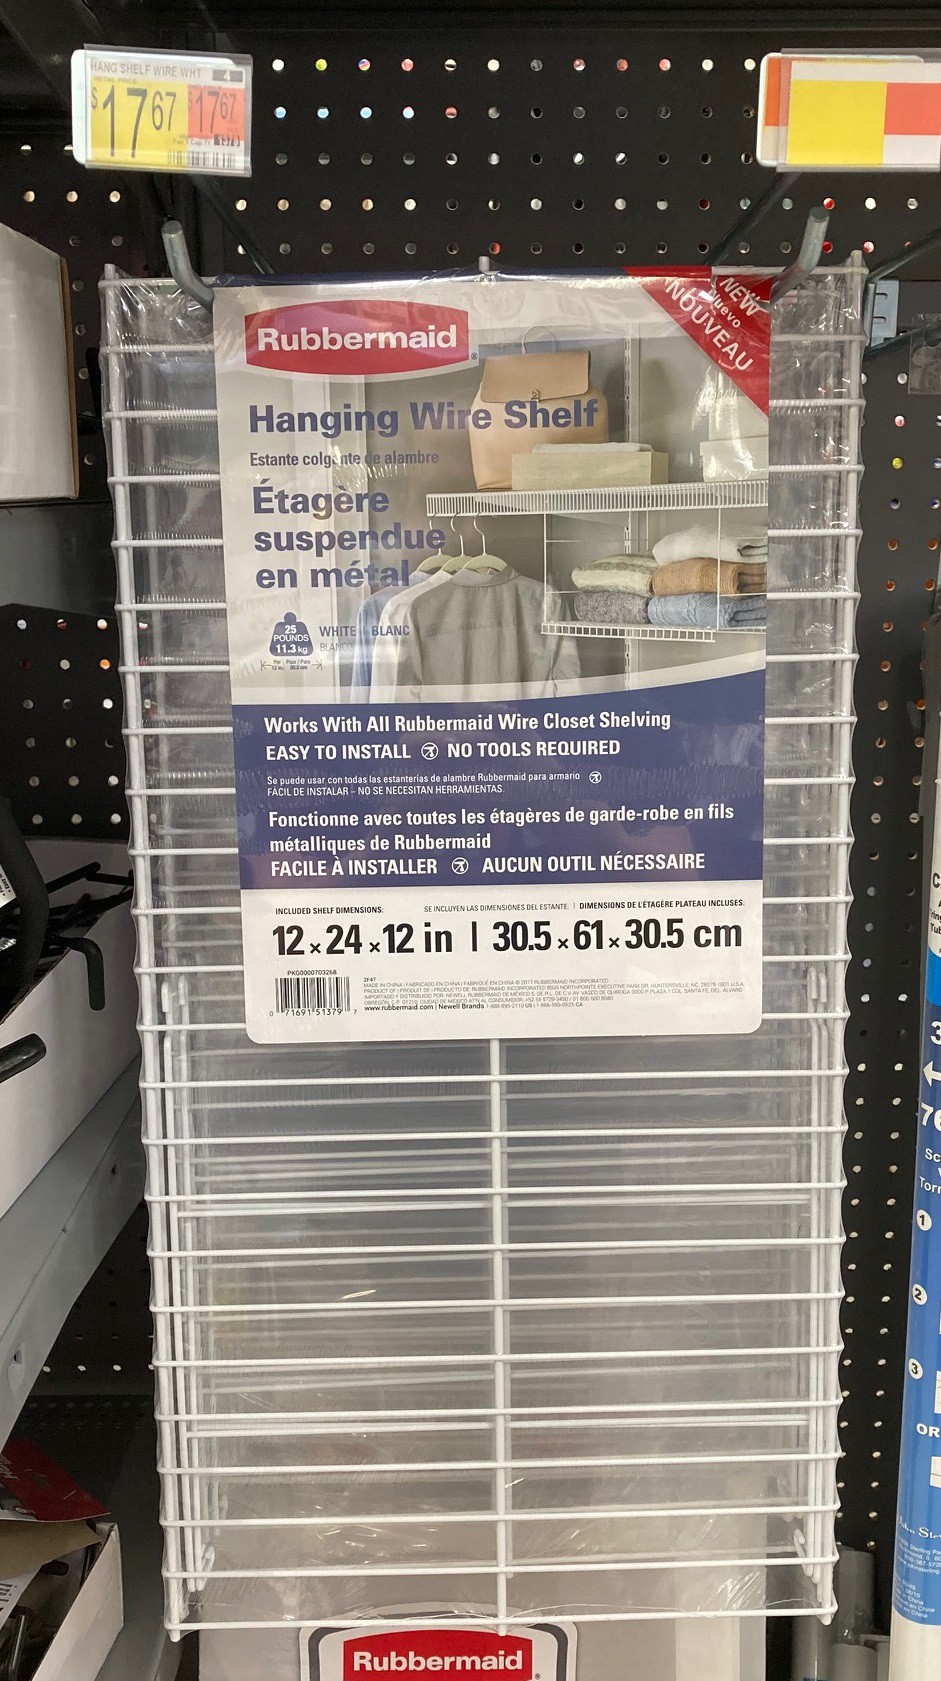
I came across the above rack at Walmart while looking around. It is very sturdy and could also make a nice bed. It is at least another possible choice.
Discussions
Become a Hackaday.io Member
Create an account to leave a comment. Already have an account? Log In.