I was wandering around the dollar store the other day and noticed they have added in a lot more hobby level supplies, probably so they can compete better with 5 below. Anyway I wondered around for a bit and picked up a pile of new materials. I have some circuit vinyl decals (for the mat knife), some fabric squares, felt squares, a cheap glass picture frame, a great 12" square piece of plywood that was made into a canvas, and 3 different $1 paint canvases.
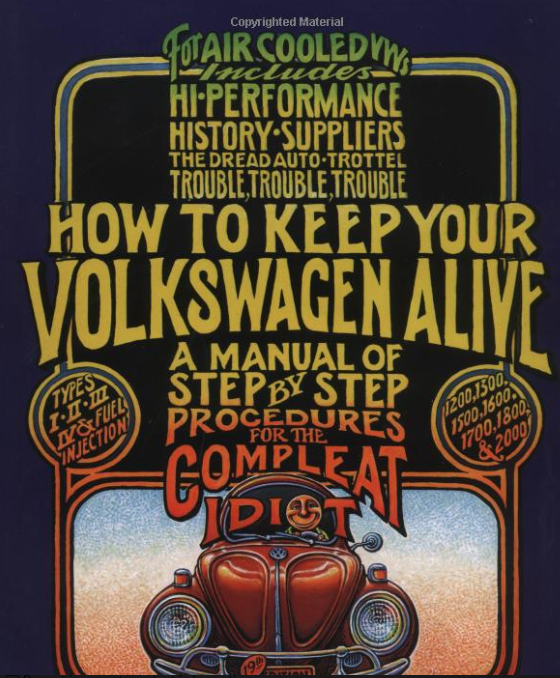
I'm a huge fan of John Muir's book How to keep your Volkswagen alive forever. Not only is it a fun read, it has some amazing images by Peter Aschwanden. I pulled out my copy and scanned in some of my favorites.
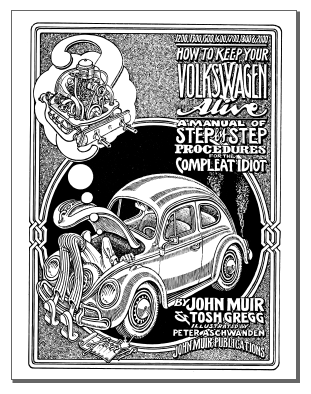
I then used the trace feature in lightburn to convert the scans into vector outlines. These are not my images, so I won't post the svg's here, but they turned out great.
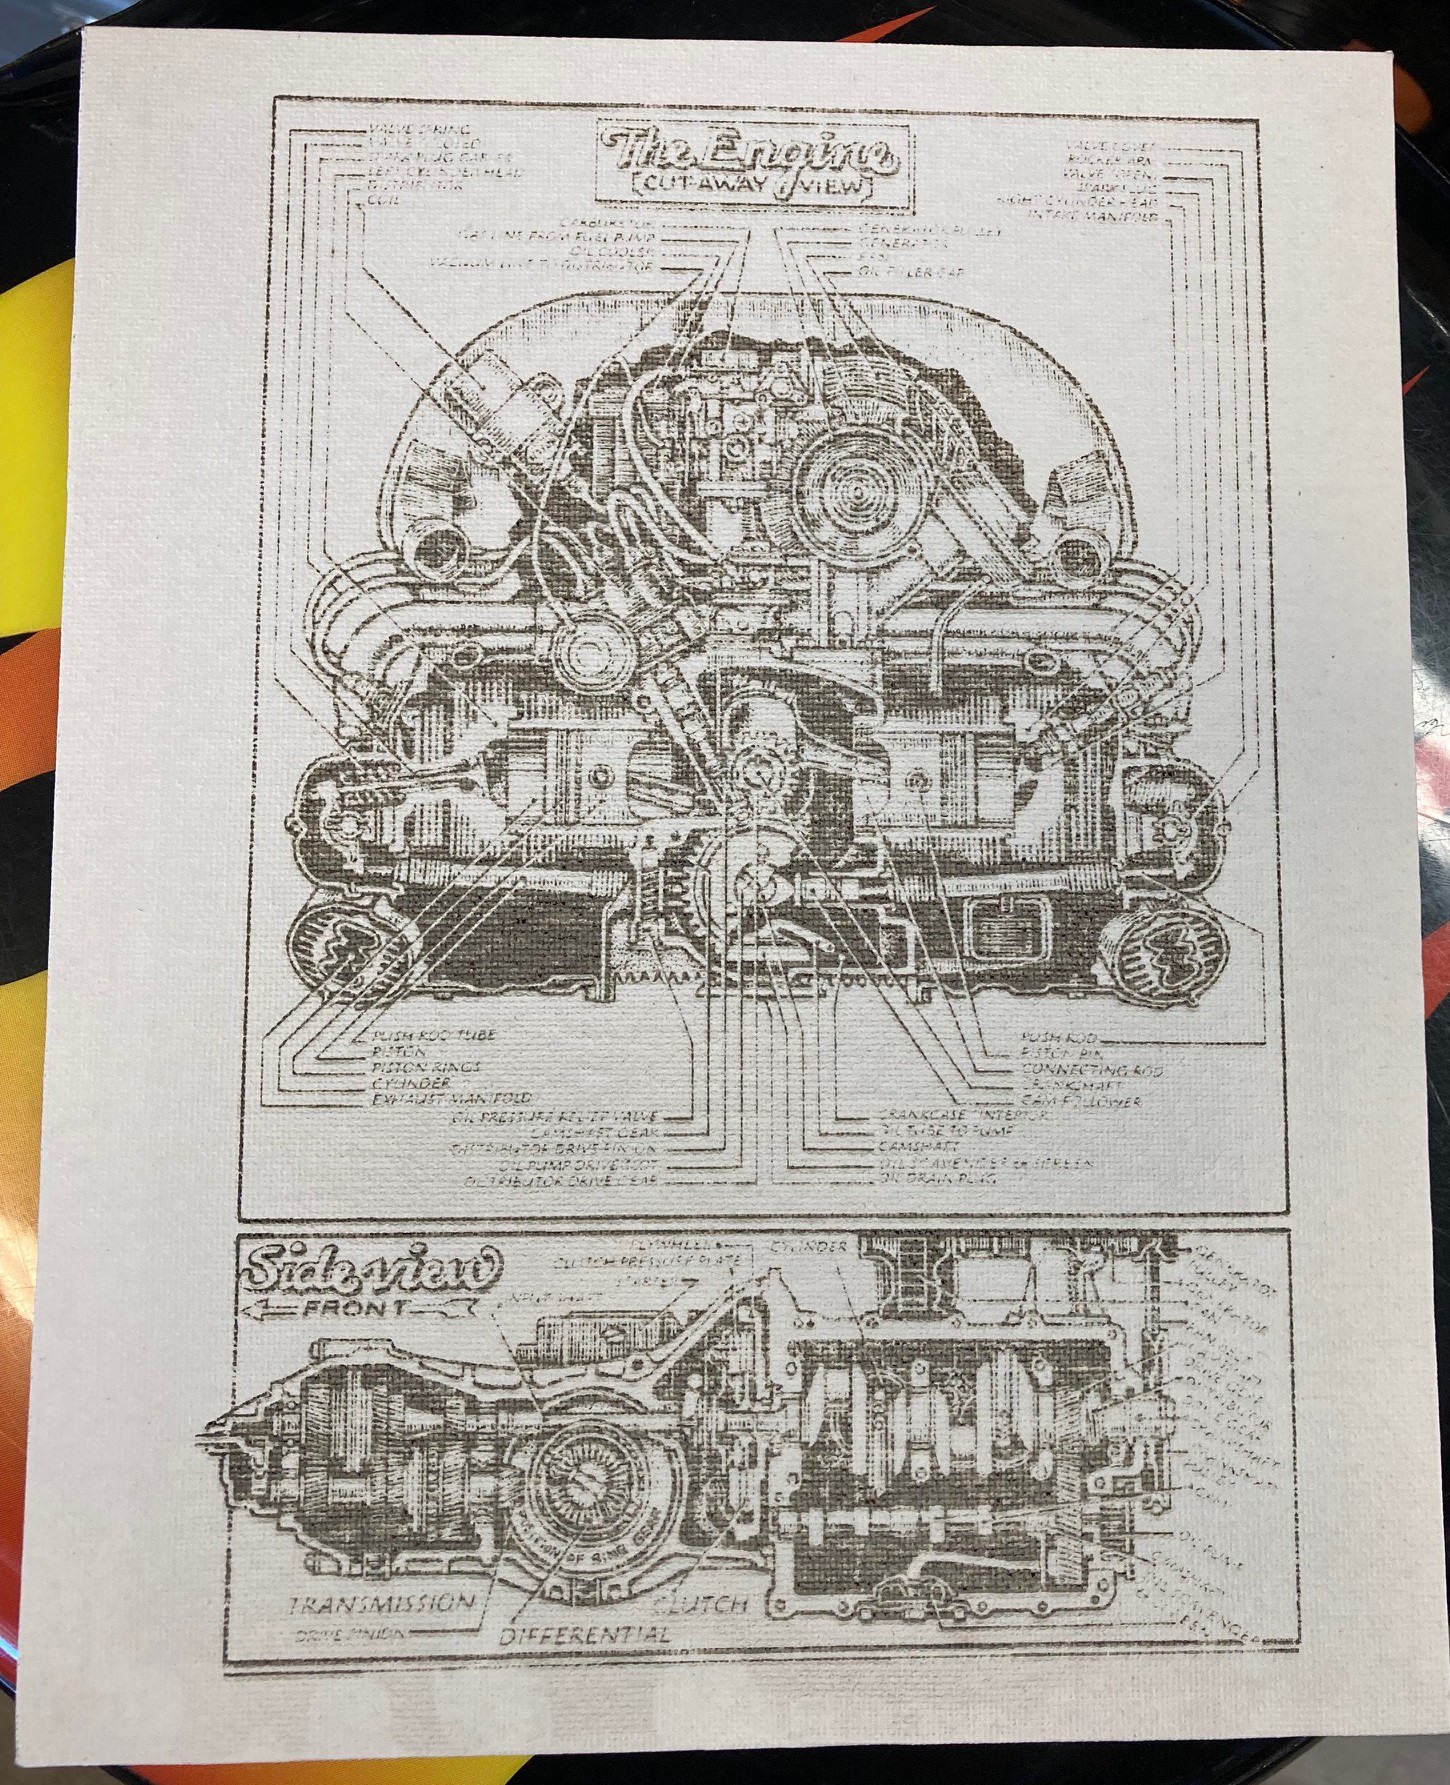
First up I tried engraving on the canvas. It was really tricky to set the power here, the distance between no marks and burning through the canvas is only a small percent of power. I ended up engraving at 4000 mm/min and 75% power. The larger details look fine, but thinner details like the text were washed out.
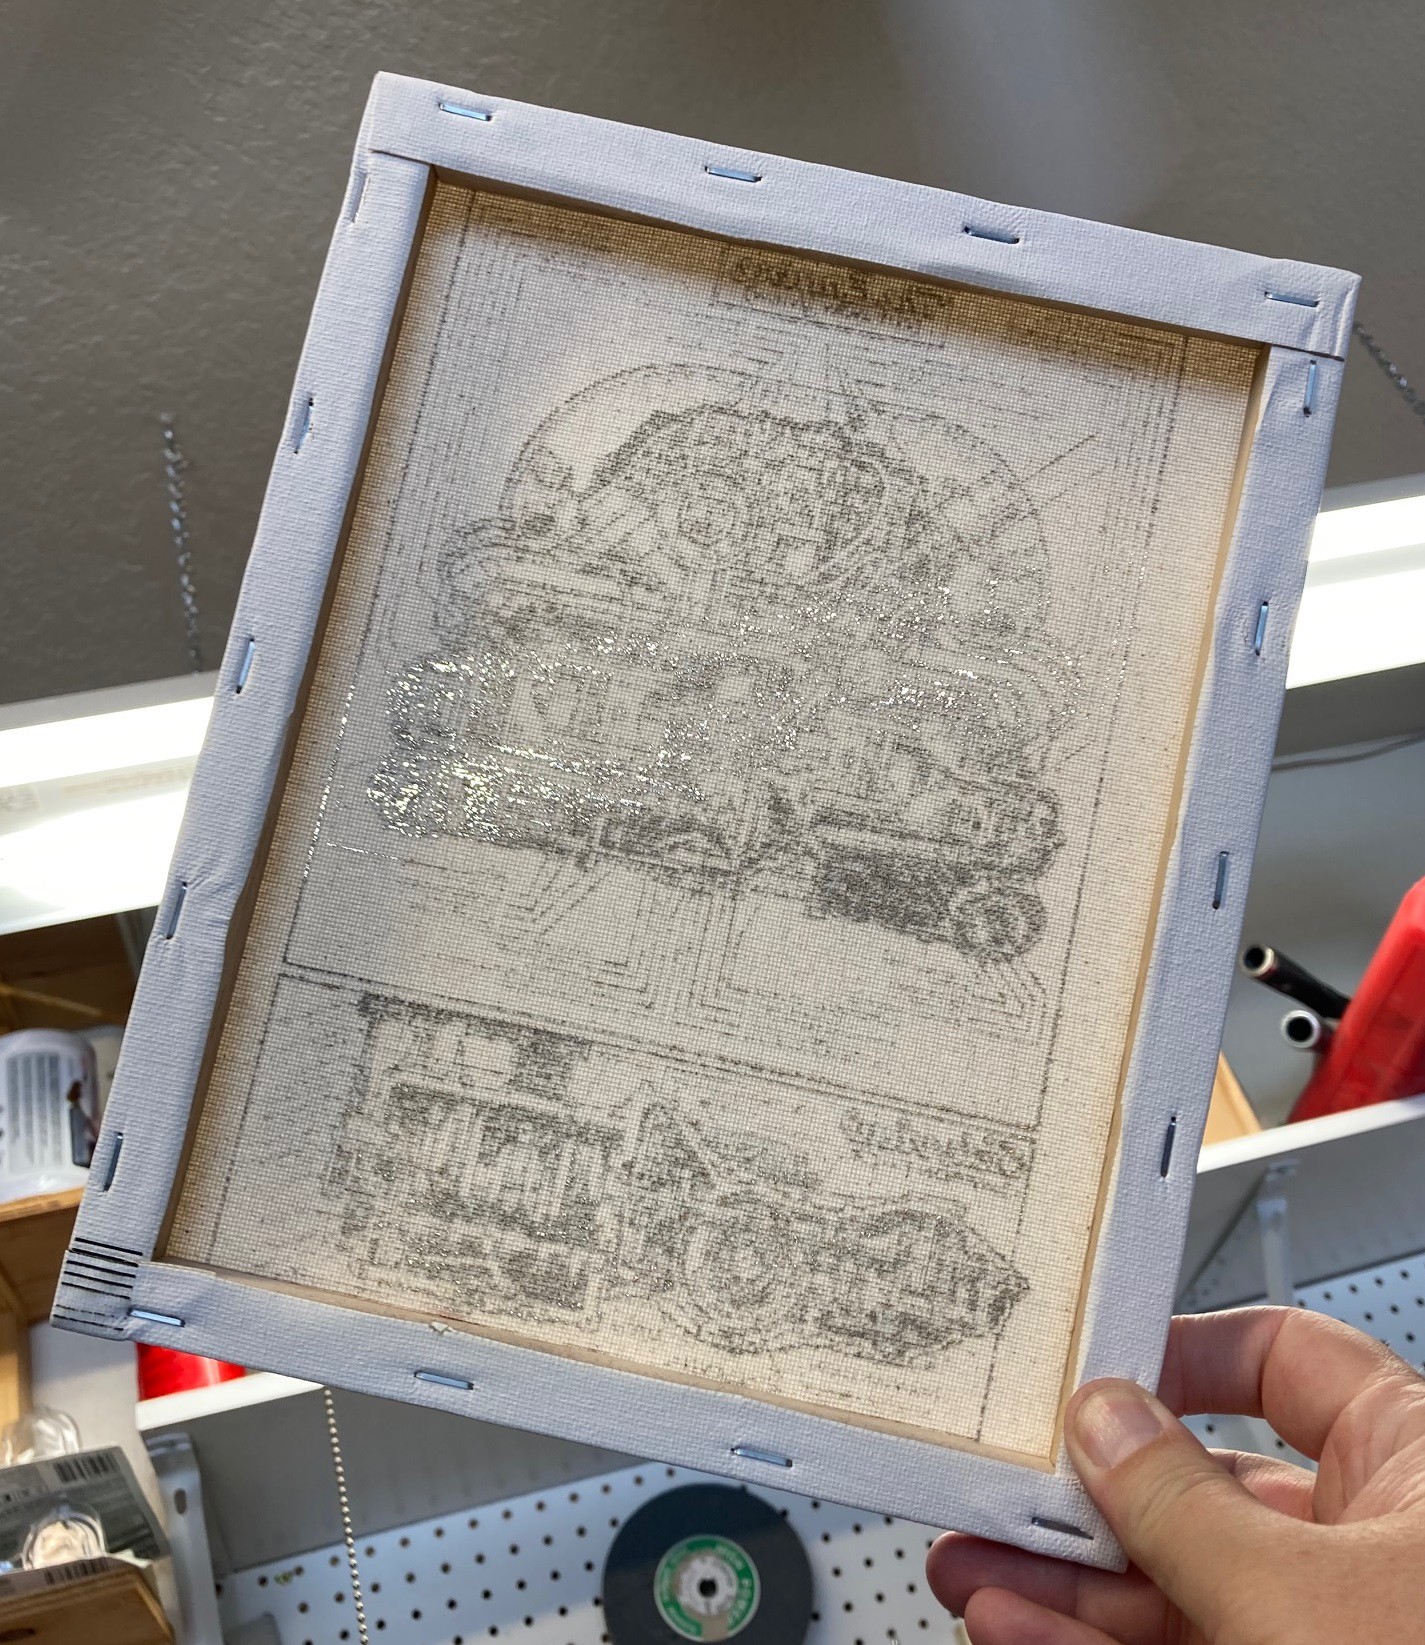
More importantly, if you look at it through the back side you can see that the material is burned all the way through, and there are large areas where the light passes right through. I suspect I could rip this without much effort. This also took a long time to run, almost 2 hours.
I have a few more canvases to experiment with. I'm going to try painting them with white paint to thicken up the material, and hopefully the paint itself will discolor without burning through, giving a darker image in the process. I'm also thinking of using a larger step size for the line so there is less overlap between lines, I think that is part of why I cant get a darker cut. Finally I used air on this, but turned it down a lot so it was just moving enough air to keep the lens clean.
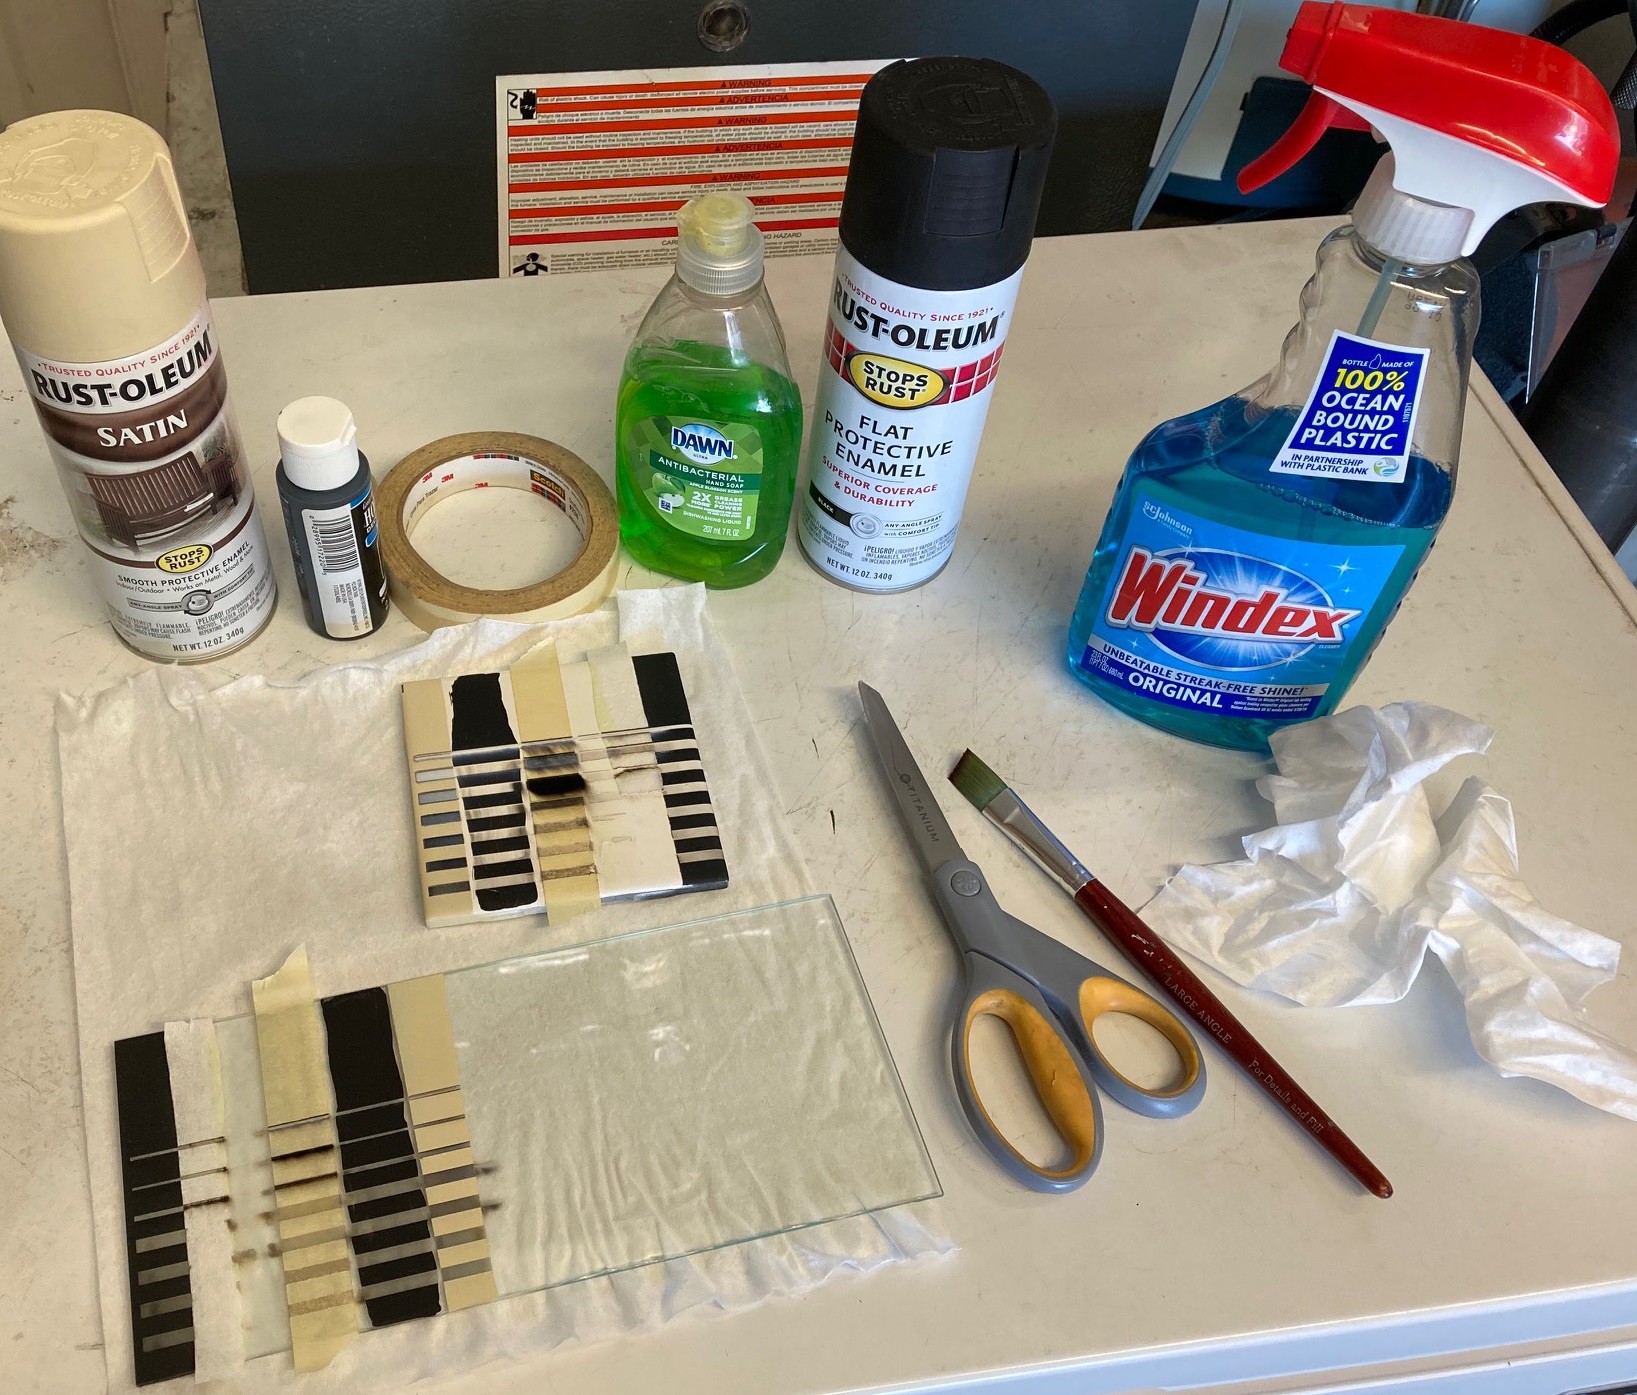
I also had an idea about etching the back side of a piece of glass in a picture frame to make a 3D'ish looking image. To test this out I pulled out a spare white tile, as well as a scrap piece of glass. I had seen several different ideas online, everything from masking tape, soap, a wet paper towel, tempera paints and black and white paint to help aid in the etching process. I prepared each in turn on both materials and ran a series of lines at varying speeds.
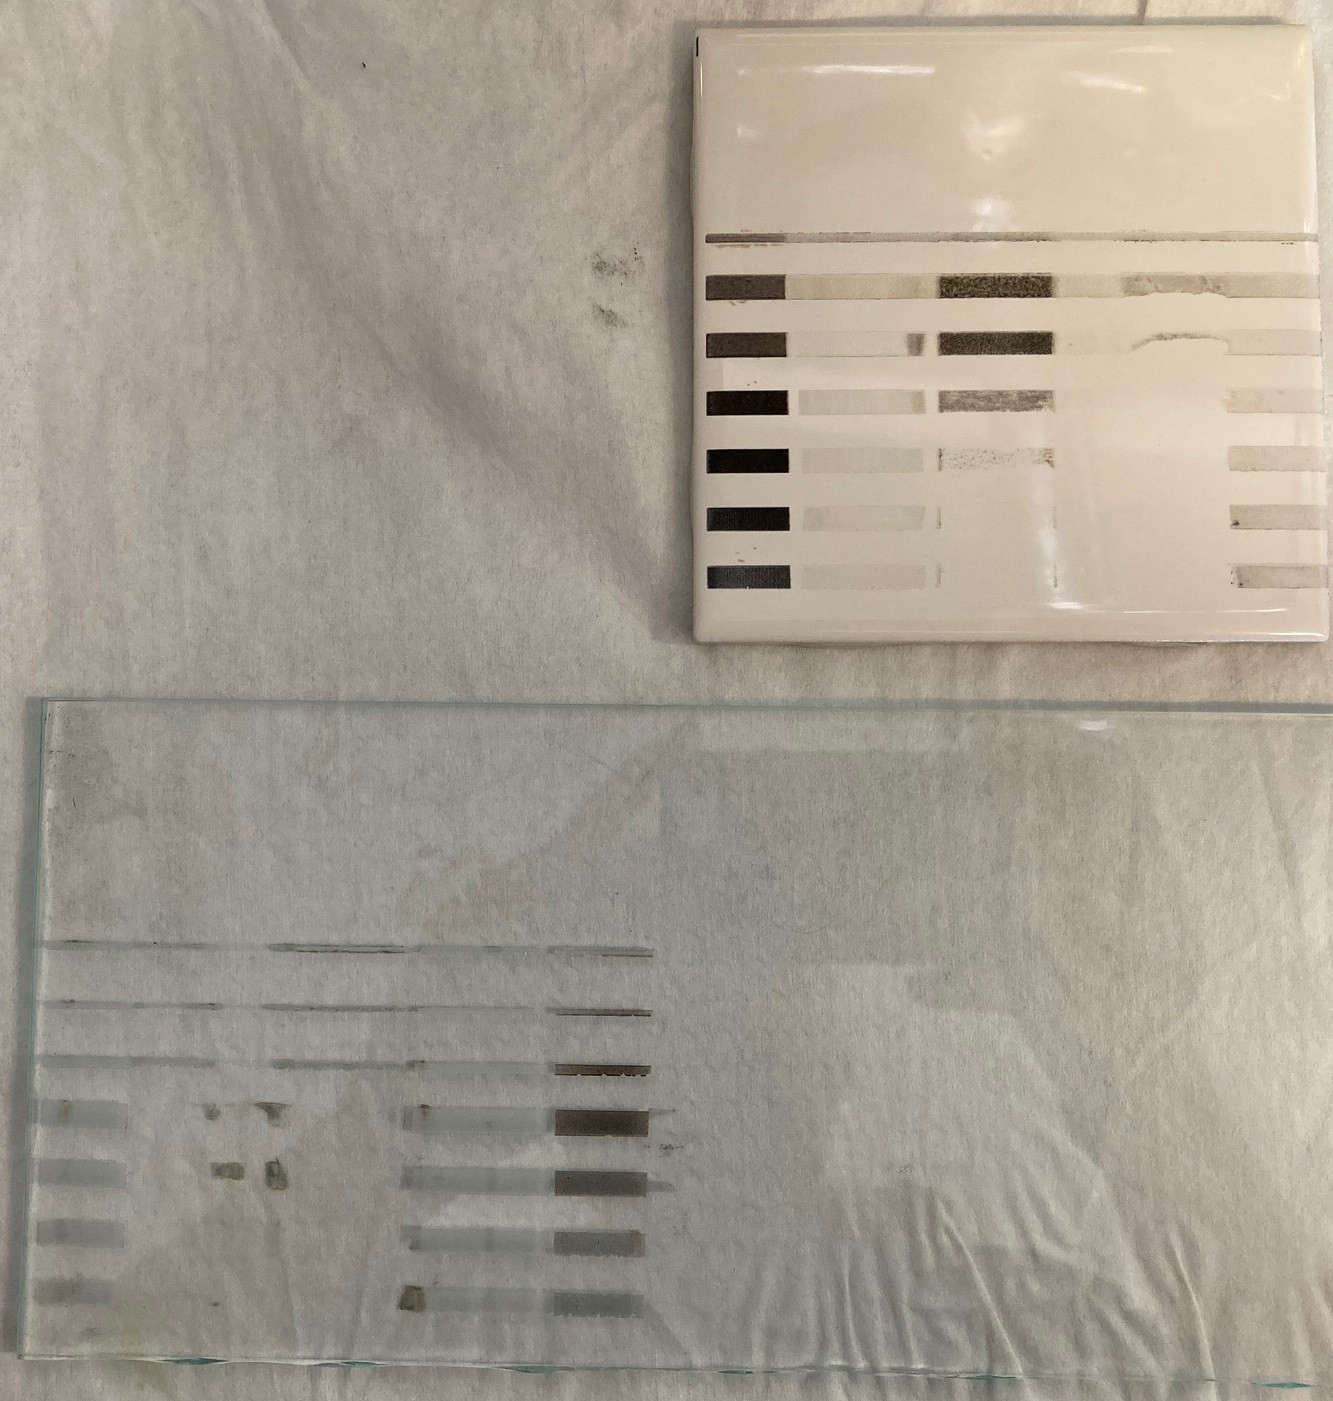
Once you clean things up you can see the white paint worked the best on the white tile. This was not the 'official' paint everyone uses, just what I had laying around. I will try it again with proper paint someday. The wet paper towel was completely useless. It was impossible to keep wet, and it stopped me from using the air assist. The soap was equally useless, I'm not sure what the idea is here, maybe I'm doing it wrong. The tempera paint worked ok, but it is impossible to apply evenly. The black paint etched the glass (and tile) well, but it does not discolor the etching so it is difficult to see. The white paint left a darkened etch that does not come off when you scrub it.
I tried using the white paint to etch a proper image on the glass, but I messed up the settings. The end result was no image at all. I need to run another test, with the right white paint. Another issue is that there was a lot of flash back and accidental etching on the back side of the glass. I'm going to try putting a uniform sheet of paper under the glass to try and minimize this.
Anyway I have low hope of this working well with a picture frame, I may need to explore other ways to burn an image and frame it.
 David Tucker
Discussions
Become a Hackaday.io Member
Create an account to leave a comment. Already have an account? Log In.