Close
0%
0%

Fast video doorbell / intercom on Raspberry Pi

I will show you how to build a smart video doorbell device with 2-way audio and iOS push notifications, using a Raspberry Pi.

Public Chat
Similar projects worth following
Build a fast video / 2-way audio doorbell with a Raspberry Pi. Get push notifications on your iPhone when the doorbell button is pressed.

Hello everyone! I came across some nice software to make a fast video / 2-way audio doorbell with a Raspberry Pi, and found a way to fit all the components in a small case.

I will show you how to build it, including how to make push notifications work when you press the button.

The hardware build requires a bit of drilling and soldering. The software portion is pretty straightforward with no coding required (unless you want to customize the sample programs). But it does require a Mac and XCode. See the following video that documents all the steps.

View all 11 components

  • 1
    Drill holes in the plastic case and paint

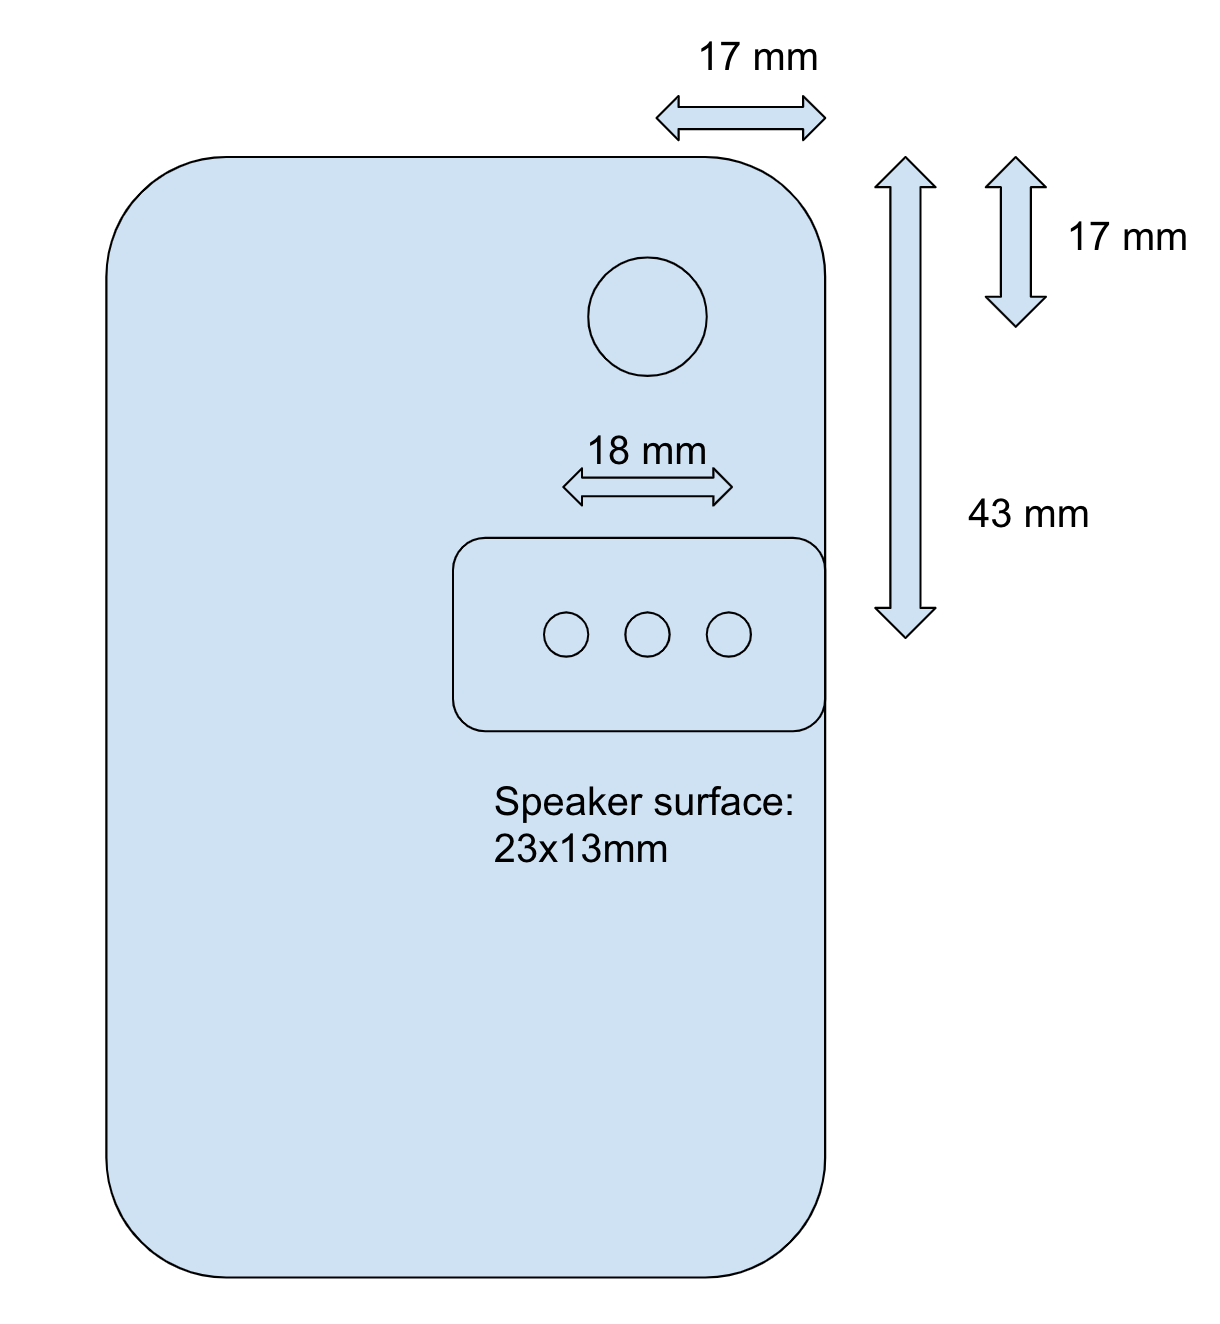
    Grab the plastic case, and mark the spots where to drill some holes as per the following diagram.

    Then drill the three small holes for where the speaker will be, so the sound can come out. Next drill the bigger hole on top right to place the button. Check your button diameter to pick the proper drill size.

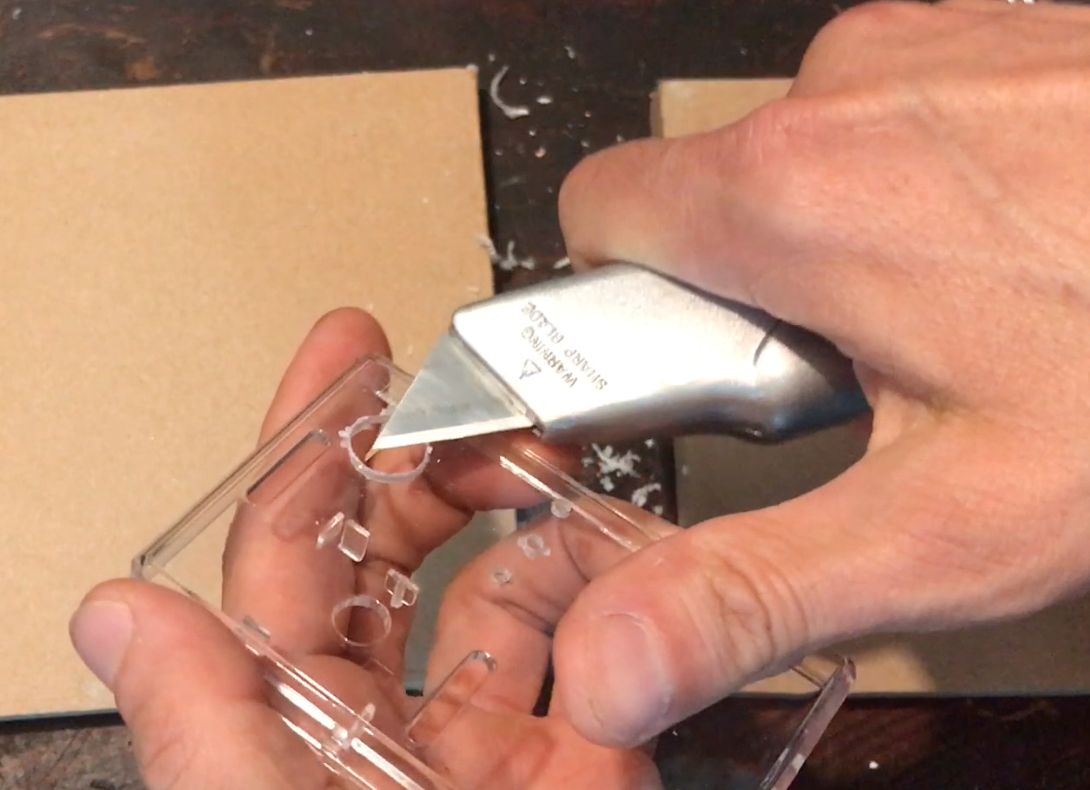
    After drilling, the edges around the holes tend to have a bit of an edge, so just cut around holes with a box cutter to make it all flat.

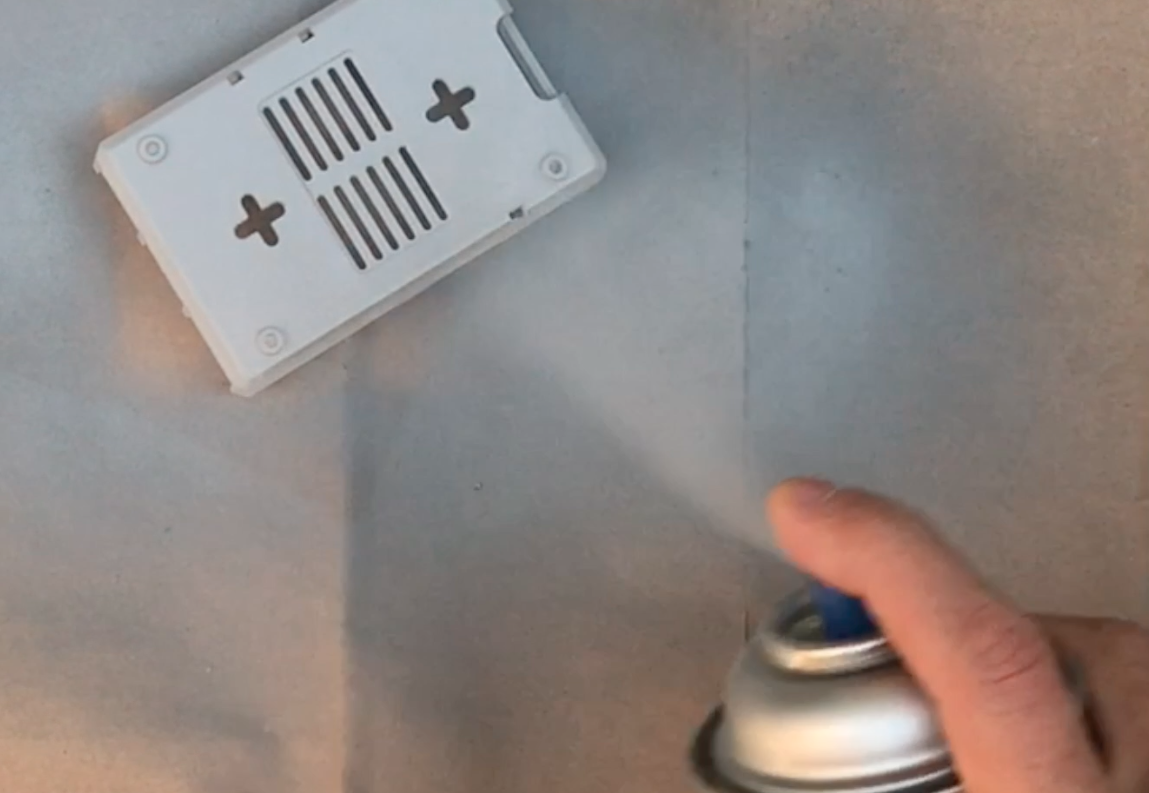
    You can leave your case transparent, or if you want to give it a paint job now is a good time. A primer paint for cars works well.

  • 2
    Prepare and attach wires for speaker and button

    Now let's prepare the speaker cables. They are really long and so they probably would be tricky to fit into the case. So shorten them by cutting and soldering them back together, and fitting a heat shrink wrap, as show in the picture.

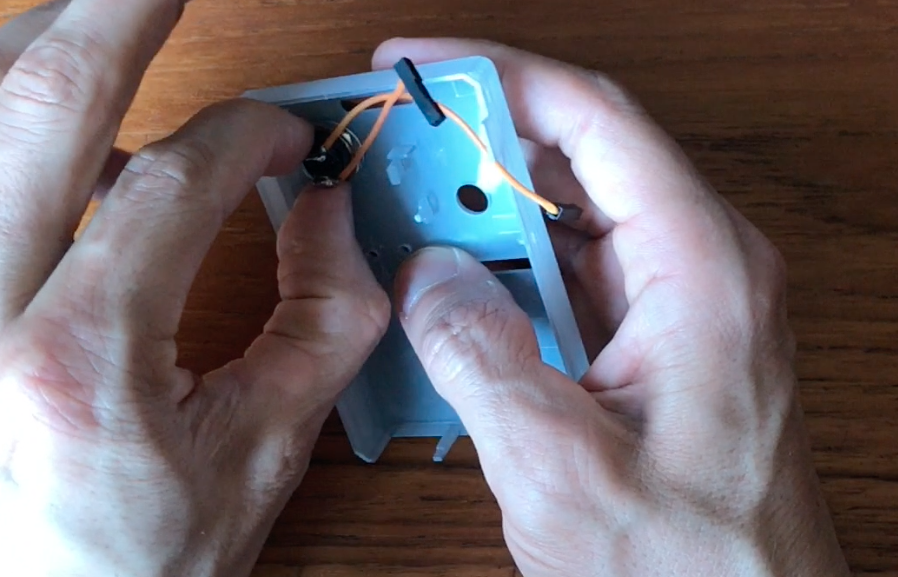
    Next, strip some extra jumper wires and attach and solder them to the button.

  • 3
    Attach button, speaker and camera module to case cover

    At this point all the components are ready to be attached to the case cover. First install the button.

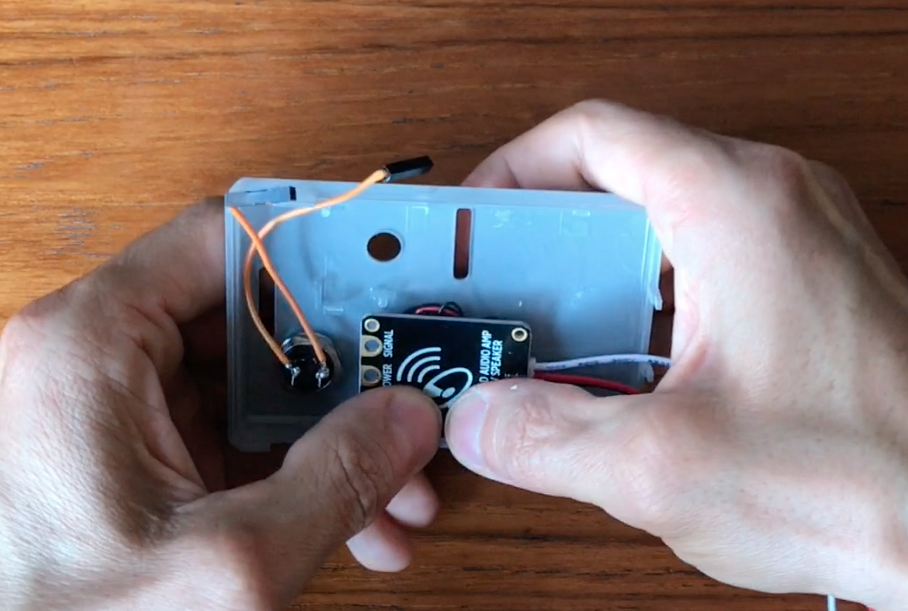
    Then the speaker: attach its wires, remove the adhesive band, and press it in place.

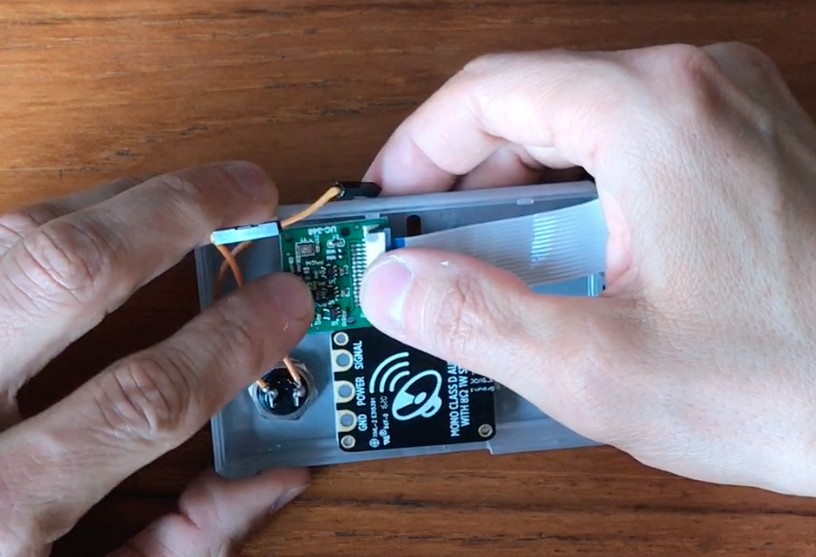
    And then attach the camera module, which clicks nicely into the special case fittings.

View all 14 instructions

Enjoy this project?

Share

Discussions

Similar Projects

Does this project spark your interest?

Become a member to follow this project and never miss any updates