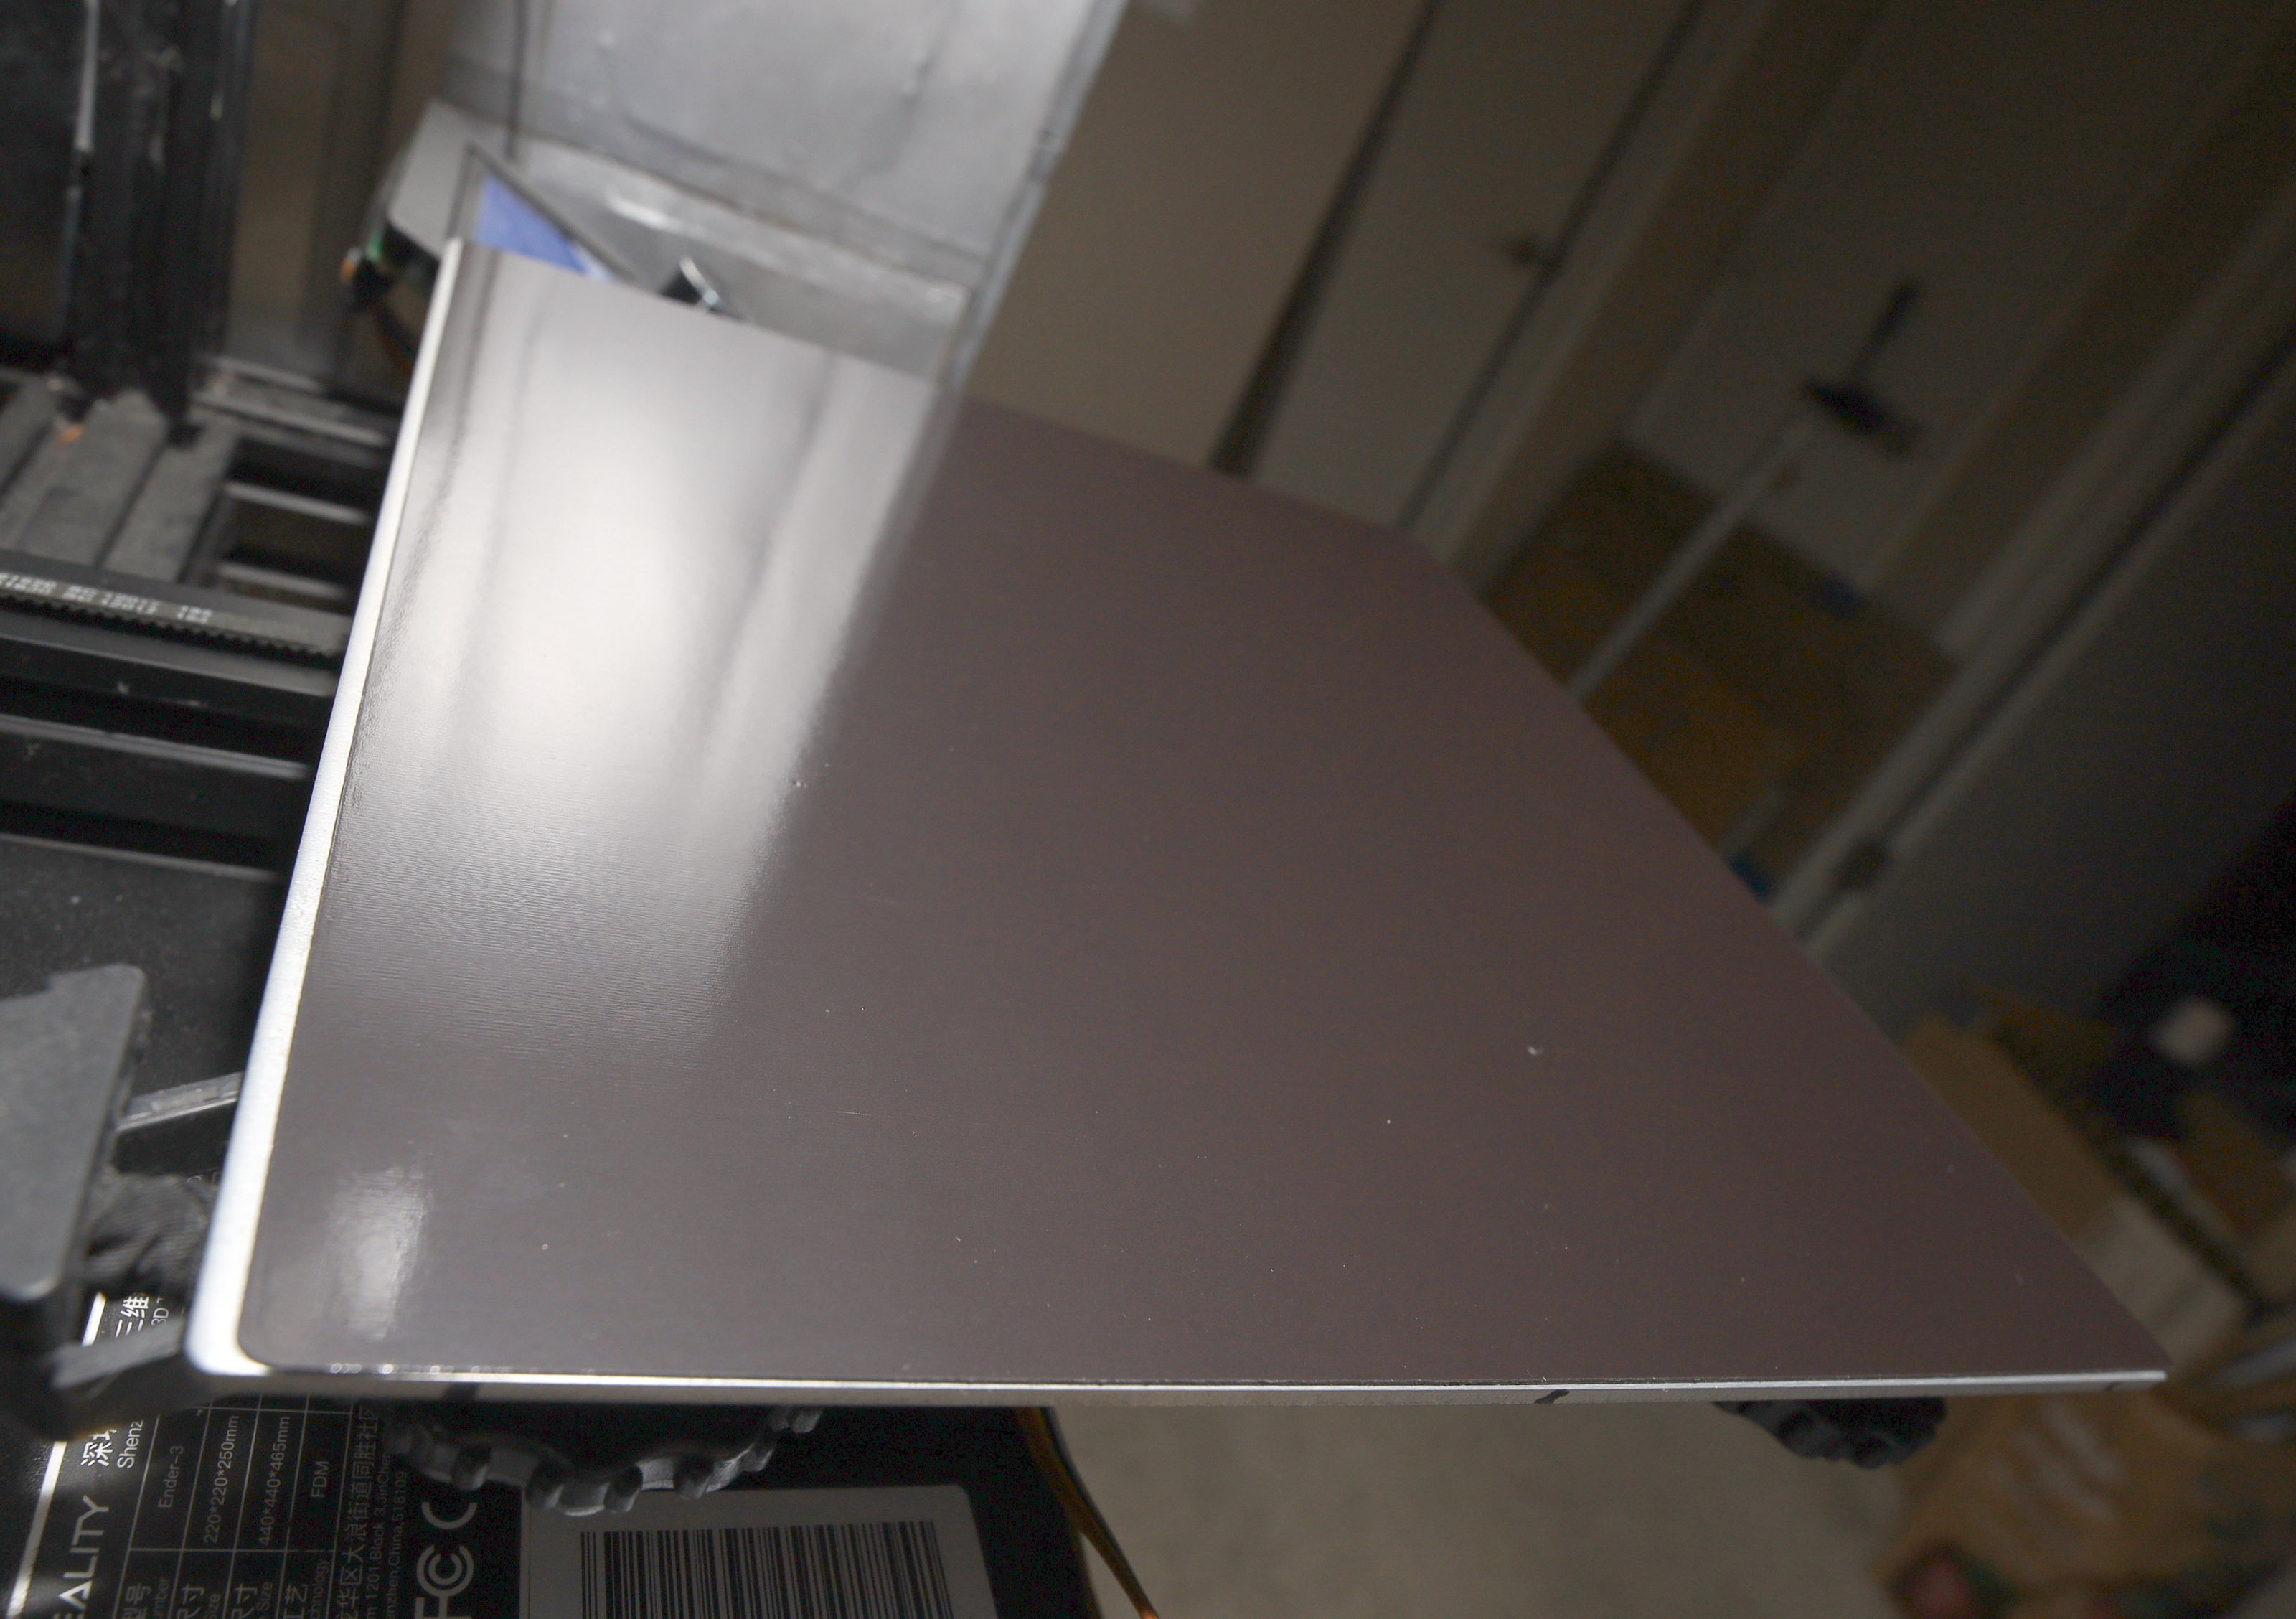
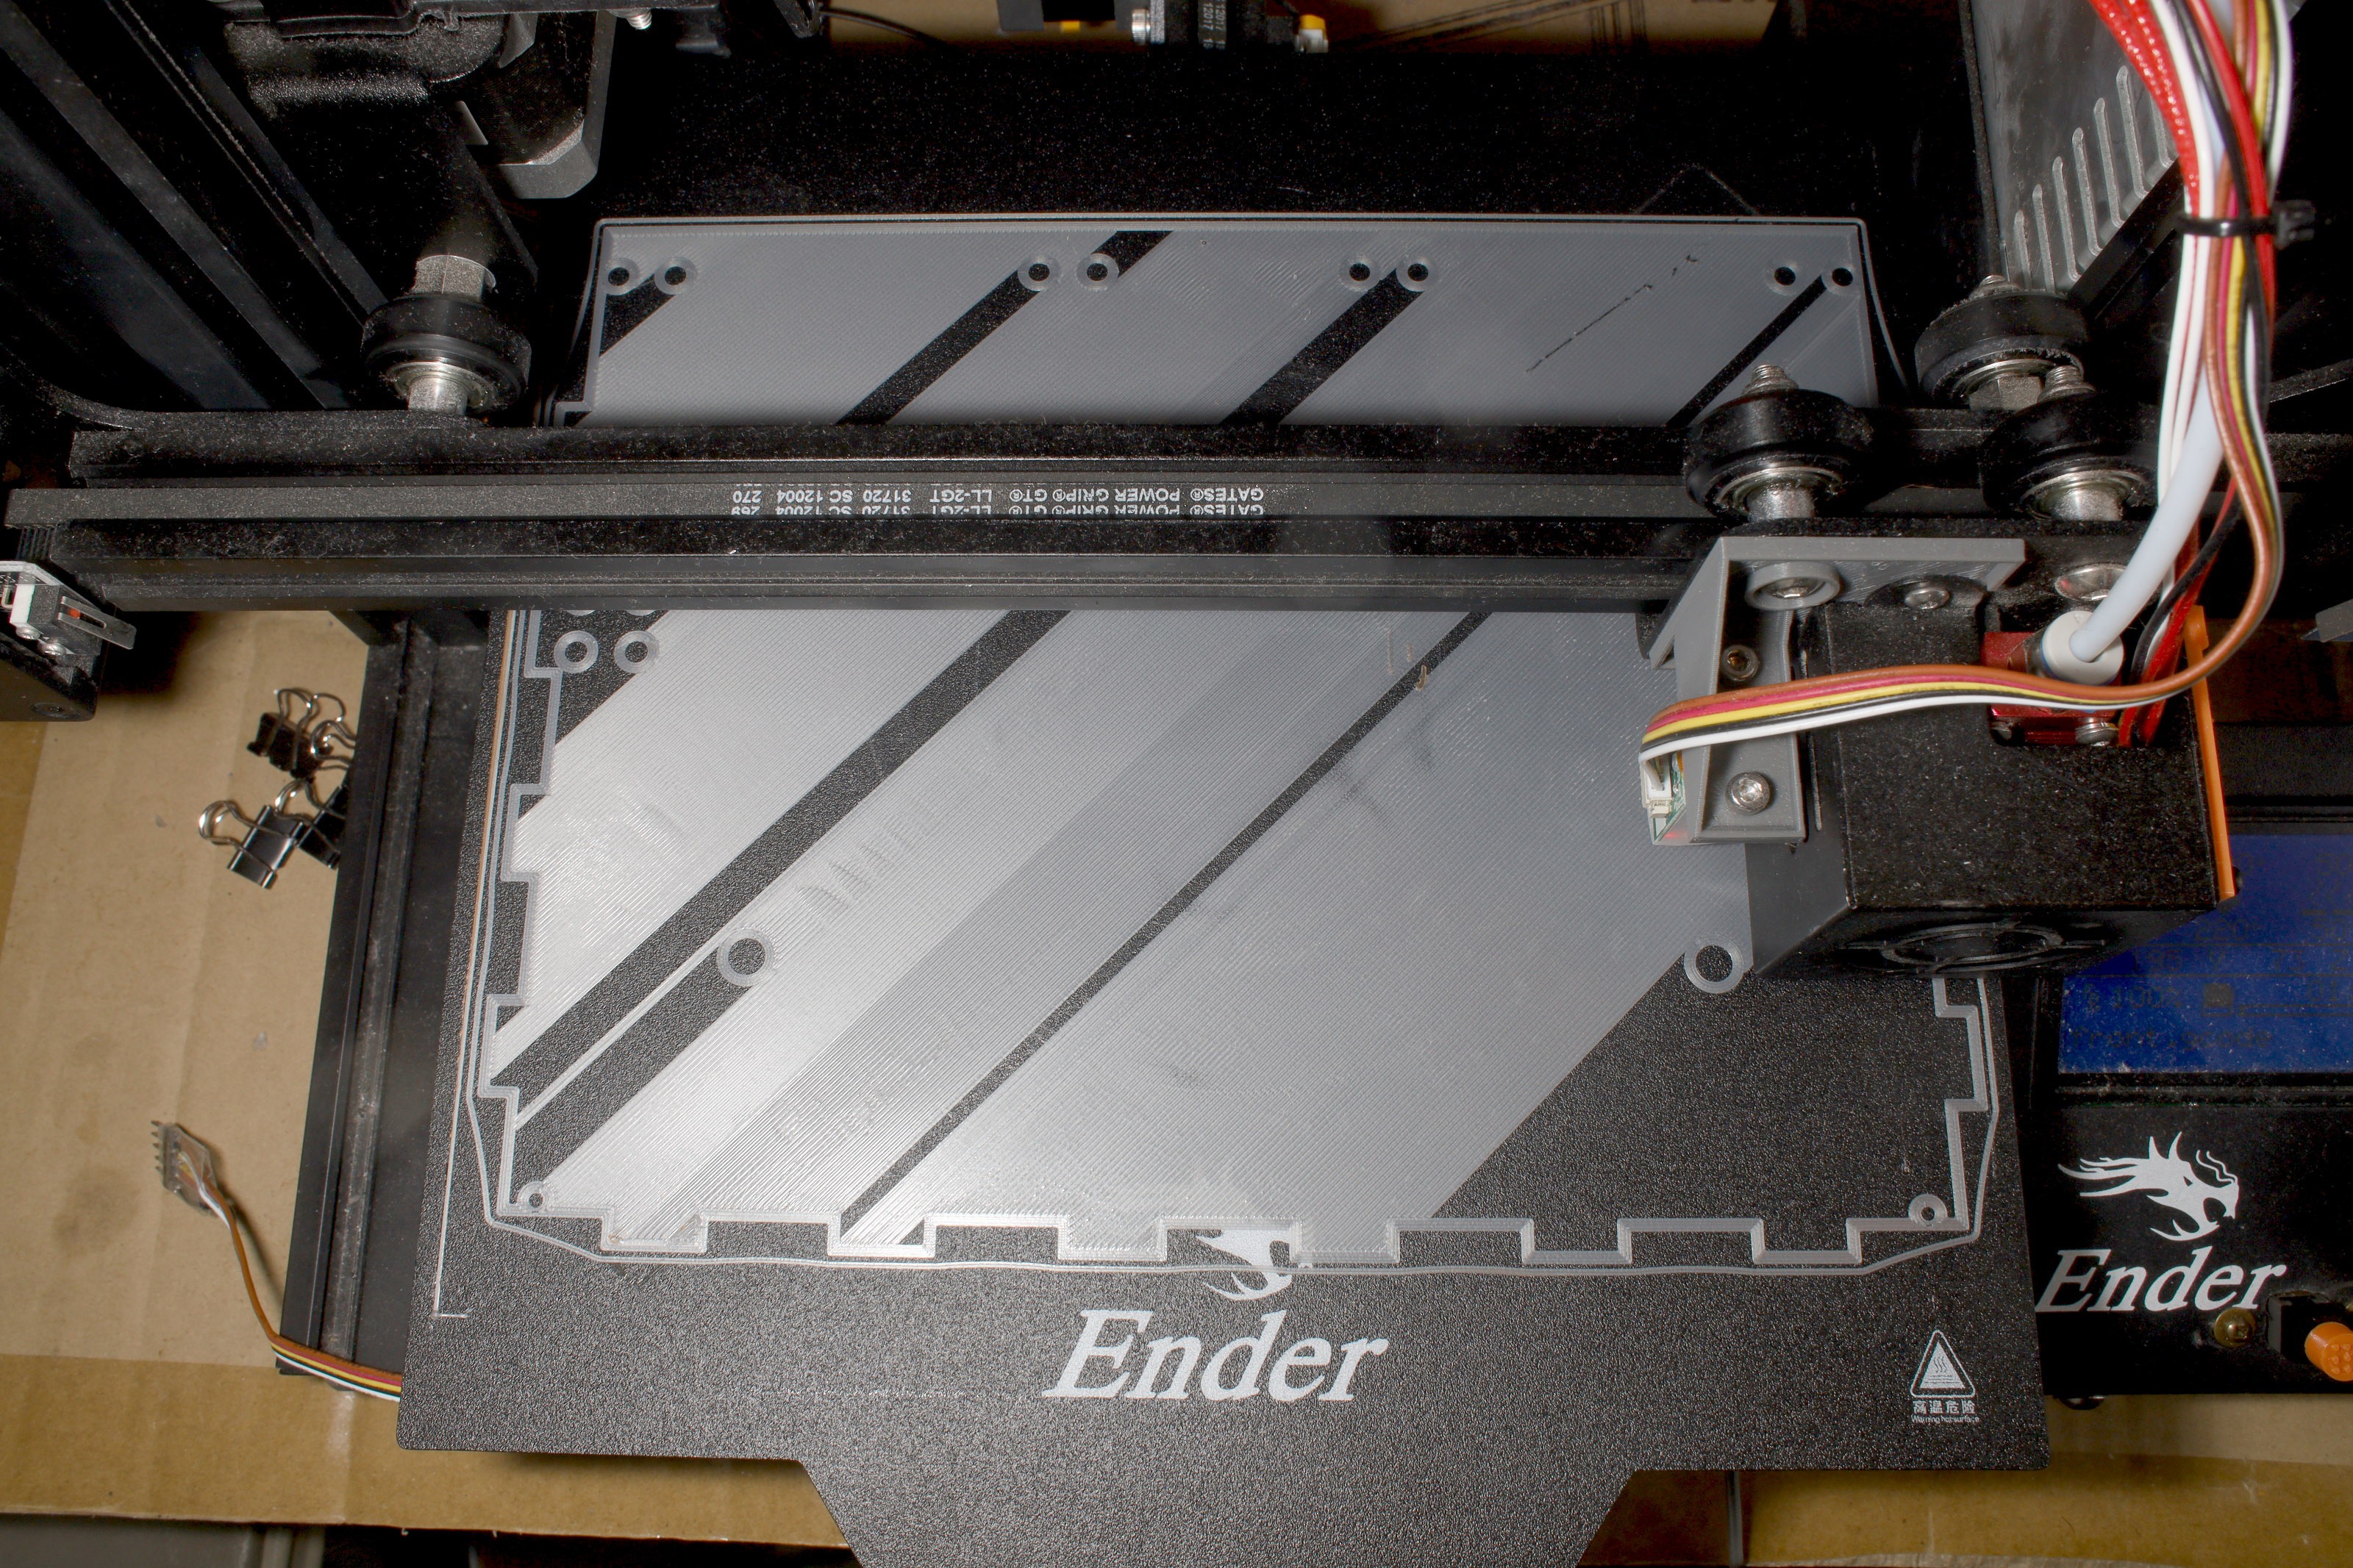
The stock buildtak on FR4 bed had problems with air pockets between the buildtak & FR4 & not sticking flat on the aluminum. The solution was seen as the mighty
"Build Plate Ultra Flexible Removable Magnetic Build Surface Hot Bed Cover for Ender 3"
https://www.amazon.com/dp/B084YSZFXL
It's overall an improvement. There are no more discernible air pockets. There's much less warping. The mane problem is sticking the adhesive magnet on the aluminum without creating air pockets. The lion tried to stick down the back edge, then roll it forward but was off by 3mm.


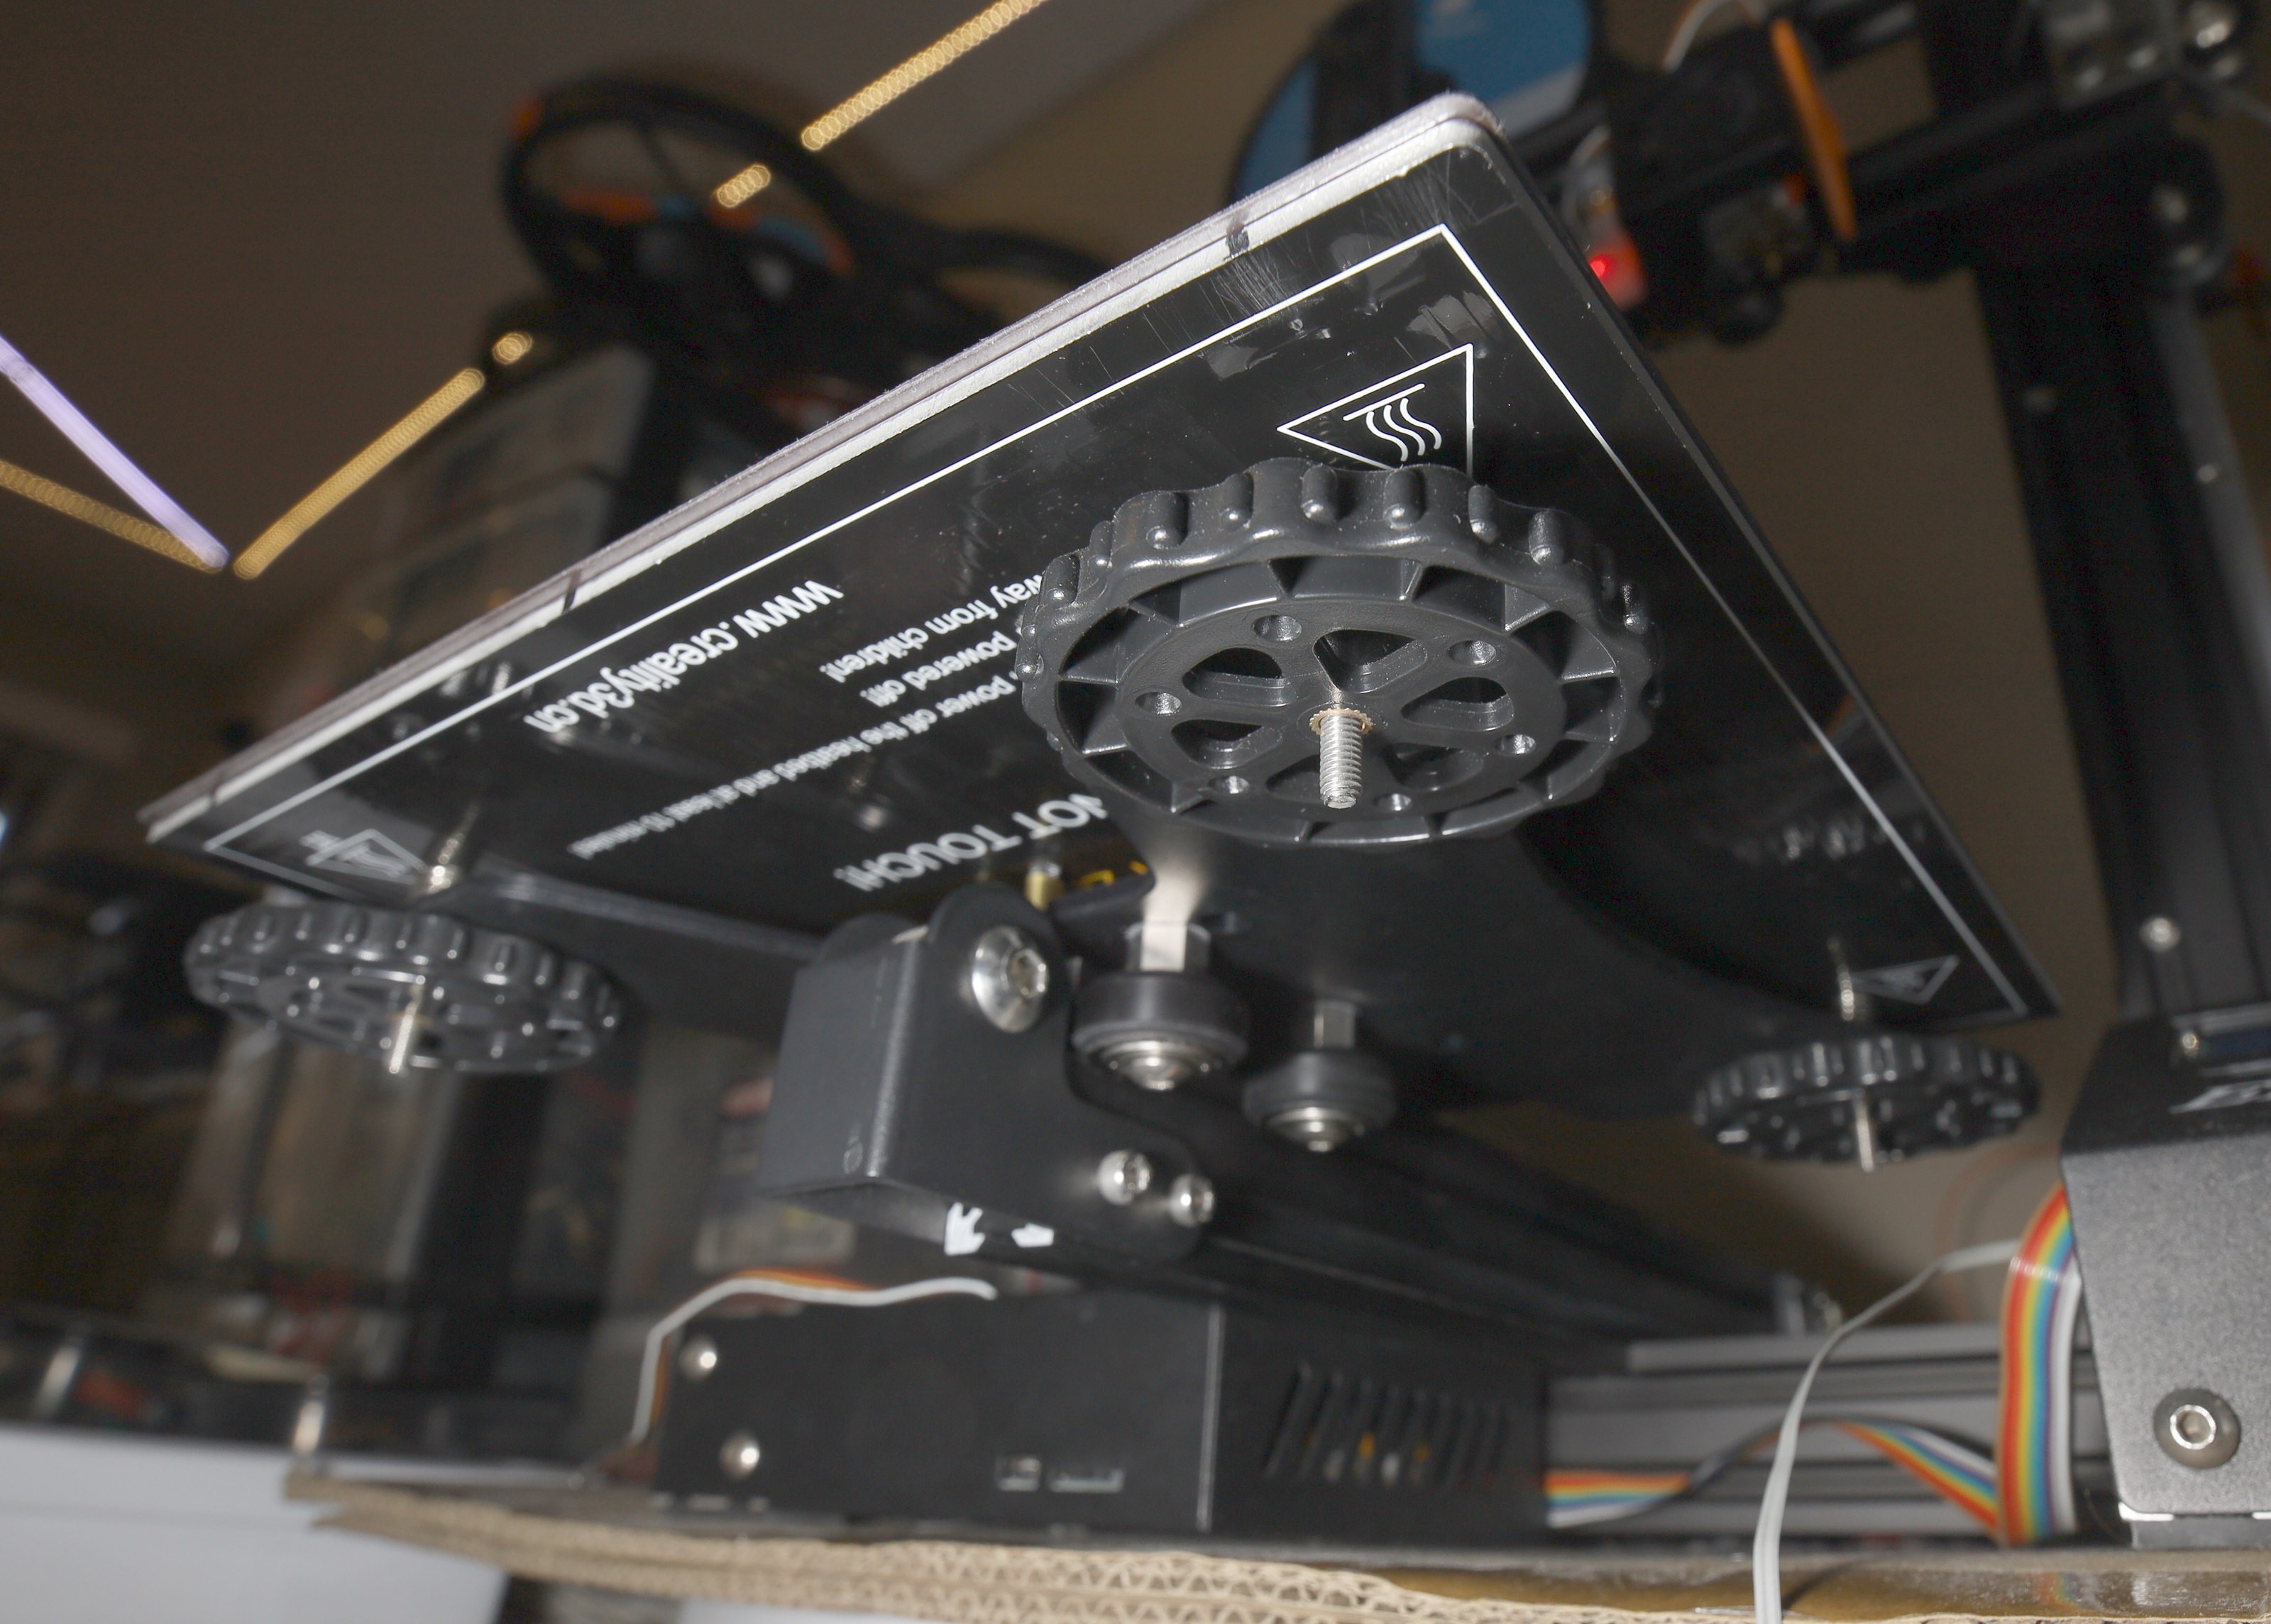
Taking it off & trying again would probably damage it or trap air bubbles. It still managed to conduct enough heat. The polarity of the magnets in bottom pad has to match the polarity of the magnets in the top pad.
There haven't been any air pockets when sticking down the buildtak magnet. The 2 magnets create a uniform bond to the aluminum with minimal warping.
Having 2 magnet pads between the buildtak & aluminum means less heat gets through. Fortunately, the magnetic buildtak is much stickier than the stock bed. 50C bed temperature was enough for PLA while the stock bed needed 65C. 0C with a 1st layer temperature of 220C is essential for TPU. Higher layers for TPU can be 250C.

Combined with automatic bed leveling, the magnetic bed yielded gootuber quality 1st layers, all the way from edge to edge. The mane problem was the magnetic bed caused the front row of probe points to always be .1mm lower, almost like a firmware bug more than a bed deformation. It could be because the front row is 1st to be probed & there's a change in bed height in that motion.
No-one really knows why the pogo probes have constant errors like this. They do provide manual tweeking in some firmware. The memory constrained Ender 3 could use some gcode commands, but only if the errors changed. The easiest solution for a constant errors was hard coding the firmware & flashing.
The mane problem with the bed is it's very fragile. Any nozzle crash leaves a hole. Fold it sharply & it leaves a crease. It tries to fold sharply & form creases when removing prints. Waiting for the print to cool, using the spatula & xacto knife is essential for tough prints.
 lion mclionhead
Discussions
Become a Hackaday.io Member
Create an account to leave a comment. Already have an account? Log In.