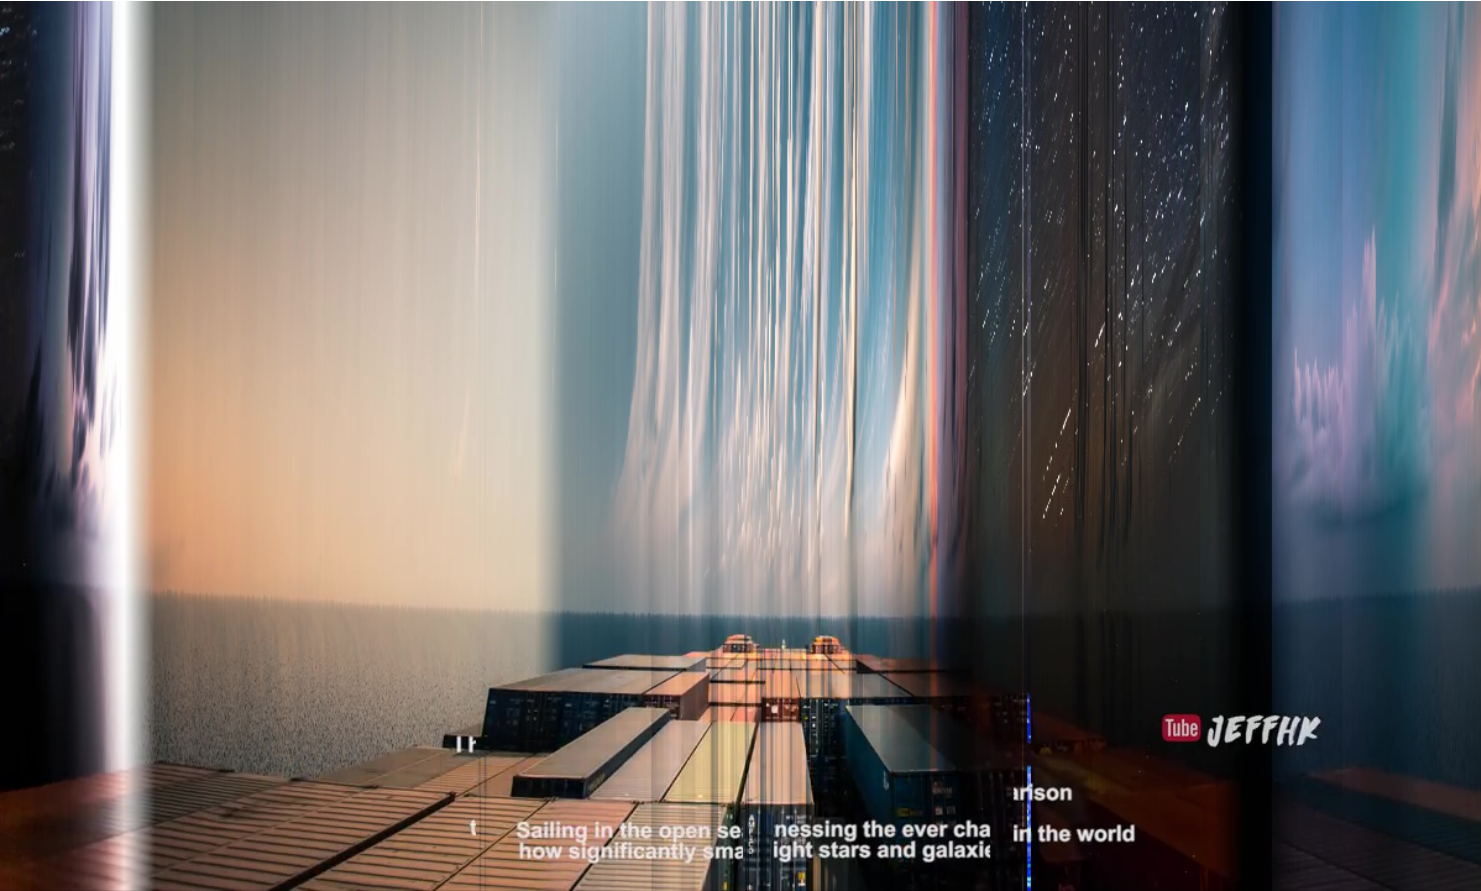
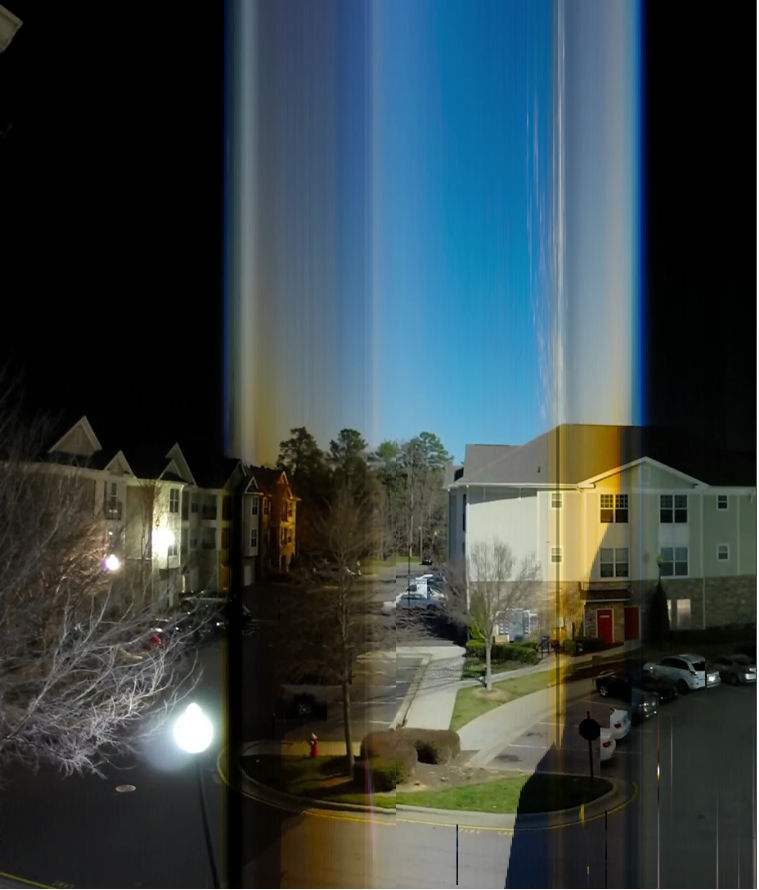
The first method that I wanted to try was to take columns of pixels from different frames of the timelapse. This would be easy to implement and give me a rough idea of how a more advanced method would look. I would specify a width that the final image would be as well as the number of columns of pixels I would take from each frame. From that, the final image could be constructed. The end result is bands of pixels from separate frames arranged next to each other.
One thing that's important to mention is that these images are all constructed from time-lapses I found online. Eventually, I might take my own timelapse but the internet is fine for trying something out. It's a little tricky to find 24h time-lapses of interesting things with still cameras (most are of the night skies, which stays relatively similar throughout the video, have moving cameras, have watermarks, or are of boring subjects.) I found two that work well enough for experimentation but suffer from one of the above issues: 30 Days Timelapse at Sea | 4K | Through Thunderstorms, Torrential Rain & Busy Traffic and 24 Hour Time Lapse the first has a watermark and text plus I found out everything happens too fast for this method to work effectively, the second is just a boring subject and the total number of frames is a bit too short to do everything I wanted (925 frames) but was great for testing because there's a good span in time but not much changes frame to frame. The last video I found was Timelapse Los Angeles / Santa Monica Beach California. This was a good still camera interesting subject timelapse that lasted a long enough time for good variation but the video is super short. There are only 616 frames and only 470 of those are useful (the rest are black or darkened from a fade in and fade out).
In order to get the frames of the video you can download youtube videos using one of many online tools, they're a little sketchy but as long as you are careful to only download the video they're fine, then I used VLC Media Player to get frames from the video using this method. Then you can use Image from PIL to get pixel data from each frame. My final code is not particularly optimized or clean but runs in a couple of seconds nonetheless:
from PIL import Image
import numpy as np

start = 0
numPix = 1
w = 1200

with Image.open(r'D:\Users\JT\Desktop\Images2\Image'+str(1).zfill(5)+'.jpeg', 'r') as image:
    endImg = Image.new( 'RGB', (w,image.size[1]), "black") # create a new black image
pixels = endImg.load() # create the pixel map
print(endImg.size[0])
for i in range(w//numPix):    # for every col:
    fileName = r'D:\Users\JT\Desktop\Images2\Image'+str((i*numPix+1+start)).zfill(5)+'.jpeg'
    with Image.open(fileName, 'r') as image:
        for k in range(numPix):
            for j in range(endImg.size[1]):    # For every row
                pix = image.load()
                pixels[i*numPix+k,j] = pix[i*numPix+k,j]


endImg.show()
A black image is created of the appropriate width and height and then filled in with pixels in some nested loops, the final image is then showed and for some reason, I can't save it so I screenshot the result if I want to keep it.
The end result of the first attempt is a little underwhelming but shows some promise and some flaws to be remedied. Here it is on the 30 Days at sea and the 24 Hour videos.

This has one pixel (column) per frame and a width of 1200 pixels.

This one's 925 pixels wide and 2 pixels per frame.
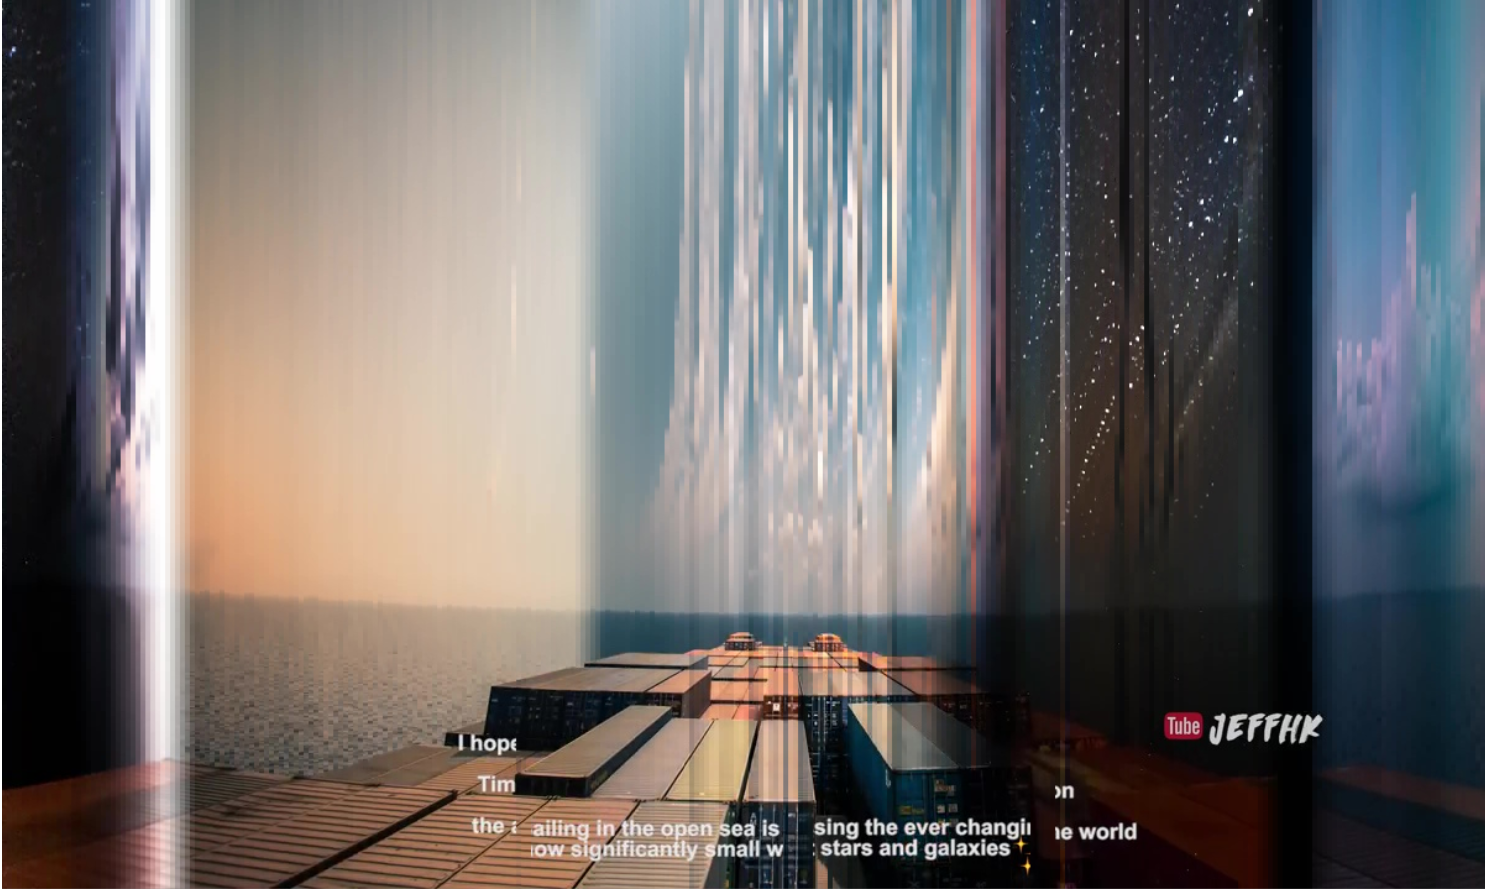
There are a few obvious issues to this method, first, the width has to be manually capped by the number of pixels per frame and the length of the video second, it just doesn't look that great, if more than 1 or 2 pixels are used in each band they become extremely obvious. Below is an example with 4 pixels per frame and you can clearly see the bands start to appear.

While I think this is a good proof of concept that this can make interesting images, it's not a great method.
 JTKLENKE
Discussions
Become a Hackaday.io Member
Create an account to leave a comment. Already have an account? Log In.